
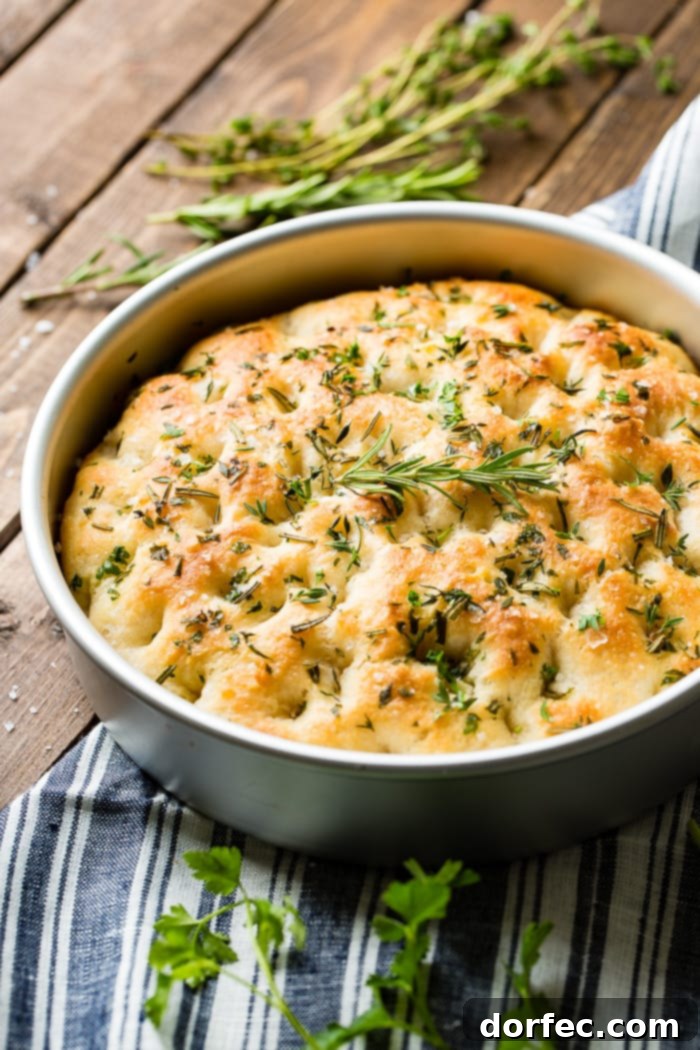
Welcome to the world of effortless baking with our incredible recipe for The Easiest Herbed Focaccia Bread. This isn’t just any bread; it’s a culinary masterpiece that combines simplicity with unparalleled flavor. Imagine a loaf that’s light as air, exquisitely fluffy, and infused with the rich, savory notes of olive oil, perfectly balanced by a delightful hint of saltiness. The vibrant aroma of fresh herbs weaves through every bite, elevating this humble bread into something truly extraordinary. Whether served as an elegant side dish, a versatile base for gourmet sandwiches, or simply enjoyed on its own with a drizzle of your finest olive oil, this herbed focaccia promises to be a showstopper. Get ready to impress your family and friends with a bread that tastes like it came straight from a Tuscan bakery, all from the comfort of your kitchen.
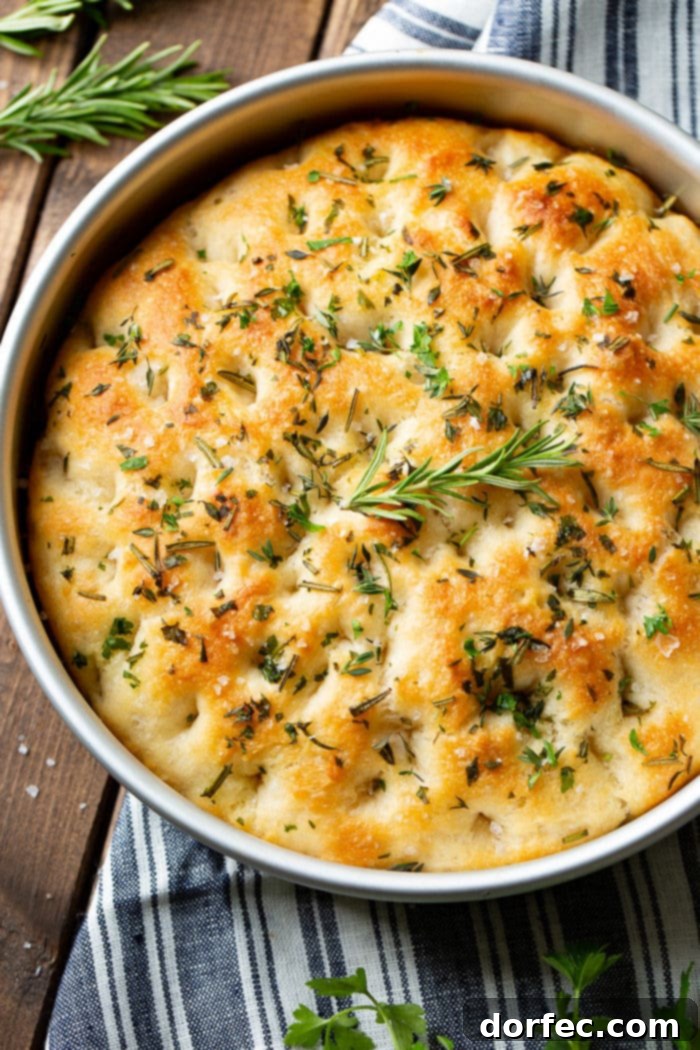
Why Herbed Focaccia is Perfect for Beginner Bakers
In our home, bread isn’t just food; it’s a way of life, a little slice of heaven. While mastering complex sourdoughs or intricate sandwich loaves can be a journey, this easy herbed focaccia bread offers a fantastic entry point into the rewarding world of yeast baking. Many aspiring bakers are intimidated by yeast, but focaccia is remarkably forgiving. Unlike some breads that demand vigorous kneading and precise shaping, focaccia dough requires minimal handling, making it an ideal recipe for beginners.
Now, a little heads-up: while the process is simple, it does require patience. This is not a bread you can whip up in an hour or two. The magic happens during an extended cold fermentation, where the dough rests in the refrigerator for at least 8 hours, and ideally overnight. This slow rise is crucial for developing its complex flavors and signature airy texture. It’s a prime example of how good things come to those who wait! This hands-off approach makes focaccia a perfect “set it and forget it” recipe for busy schedules. Prepare the dough the night before, and wake up to a ready-to-bake delight. Even if this is your very first foray into yeast bread, you’re virtually guaranteed a gorgeous, perfect loaf. It’s truly foolproof!
What Exactly is Focaccia Bread? Unveiling an Italian Classic
Focaccia bread, pronounced “fuh-KA-cha,” is a celebrated flat oven-baked yeast bread that hails from Italy, with roots tracing back to ancient Roman times. Its name is believed to come from the Latin “panis focacius,” meaning “hearth bread” or “bread baked on the hearth.” Traditionally, it’s a rustic, slightly dimpled bread, celebrated for its unique texture – a crispy, golden-brown crust giving way to an incredibly soft, airy interior. This beloved Italian staple is generously drizzled with olive oil and often adorned with fresh herbs, most notably fragrant rosemary, and a sprinkling of coarse sea salt.
However, focaccia is incredibly versatile, adapting beautifully to a myriad of toppings and flavors. While savory preparations with olives, tomatoes, or caramelized onions are popular, some regions even create sweet versions, featuring raisins, honey, or sugar for a delightful dessert bread. Each bite transports you to the sun-drenched landscapes of Italy, offering a taste of its rich culinary heritage. It’s not just bread; it’s an experience, a canvas for culinary creativity, and a testament to the power of simple, high-quality ingredients.
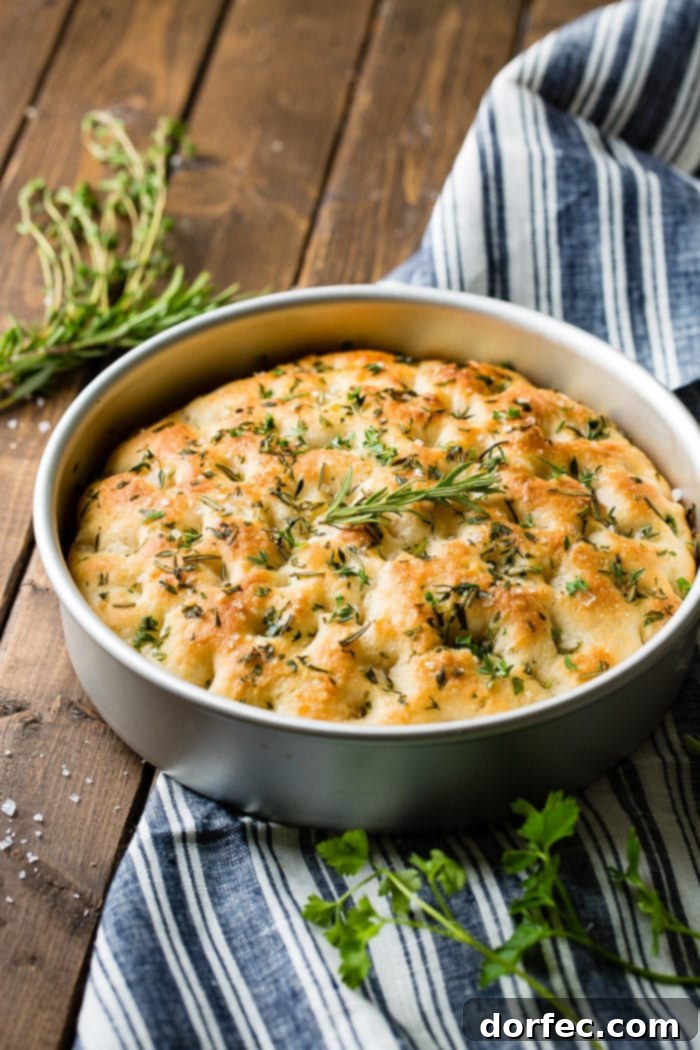
Essential Ingredients for Your Homemade Focaccia
Creating this irresistible focaccia requires a short and sweet list of ingredients, emphasizing quality for the best results. Each component plays a crucial role in developing the bread’s signature flavor and texture:
- Bread Flour: The high protein content in bread flour is key to developing strong gluten, which gives focaccia its characteristic chewiness and open, airy crumb. While all-purpose flour can work, bread flour delivers superior results.
- Kosher Salt: Essential for flavor, kosher salt enhances the taste of the bread and controls yeast activity.
- Warm Water: Crucial for activating the instant yeast. Ensure it’s warm (around 105-115°F or 40-46°C), not hot, to avoid killing the yeast.
- Instant Yeast: This type of yeast can be mixed directly with dry ingredients, simplifying the process and making it perfect for beginners.
- Granulated Sugar: A small amount of sugar acts as food for the yeast, helping it activate and ensuring a good rise. It also contributes to browning.
- Olive Oil: A generous amount of high-quality extra virgin olive oil is non-negotiable for authentic focaccia. It imparts rich flavor, tenderness, and contributes to the crispy crust. Don’t skimp on this!
- Fresh Rosemary: Its pungent, pine-like aroma is a classic focaccia topping, adding a fragrant, savory depth.
- Fresh Parsley: Offers a fresh, herbaceous note and a lovely green visual appeal.
- Fresh Thyme: Provides earthy, slightly minty undertones that complement the other herbs beautifully.
- Maldon Sea Salt: These flaky crystals provide bursts of briny flavor and a delightful crunch on the crust, making every bite extra special.
Fresh vs. Dried Herbs: What’s the Best Choice?
While fresh herbs truly elevate the flavor and aroma of focaccia, providing a vibrant freshness that’s hard to beat, you absolutely can use dried herbs if fresh ones aren’t available. As a general rule, when substituting dried for fresh, use about one-third of the amount called for, as dried herbs are more concentrated in flavor. For example, if the recipe calls for 1 teaspoon of fresh rosemary, use about ⅓ teaspoon of dried. You can also opt for a blend of dried Italian seasoning for a convenient and flavorful alternative. The key is to still get those wonderful herbaceous notes into your bread, so choose what works best for you!
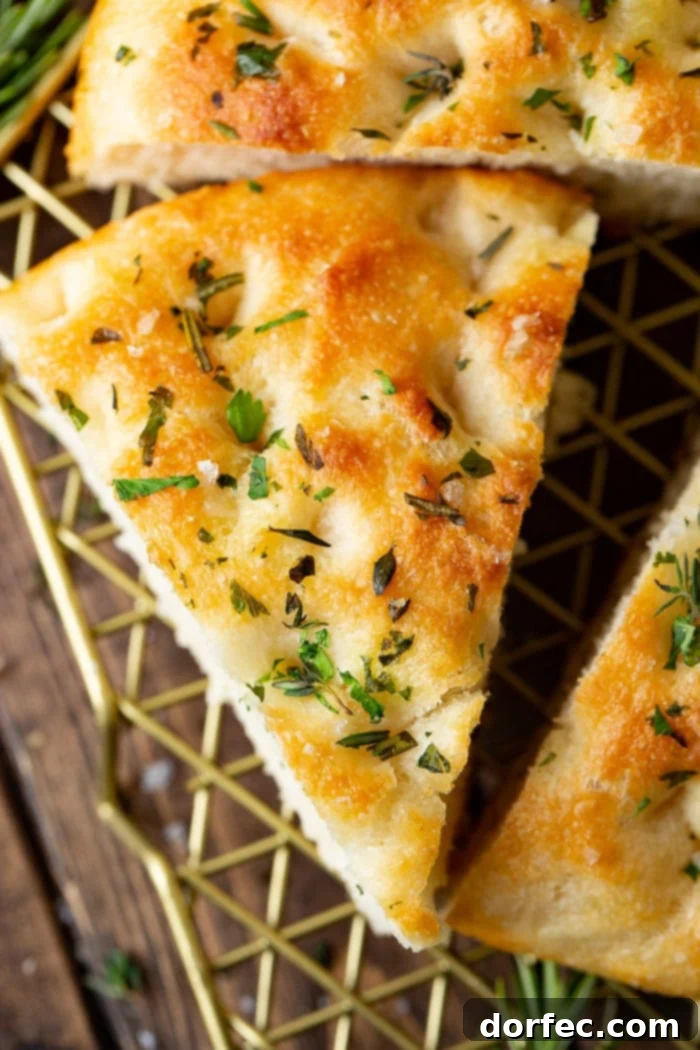
Step-by-Step Guide: Crafting Your Delicious Focaccia Bread
Despite its impressive appearance, this focaccia bread recipe is surprisingly simple, especially given its no-knead method. Here’s how to bring this homemade focaccia to life:
- Prepare the Dry Ingredients: In a large glass mixing bowl, combine the bread flour and kosher salt. Whisk them together briefly to ensure the salt is evenly distributed.
- Activate the Yeast: In a separate glass measuring cup, gently mix the warm water, instant yeast, and granulated sugar. Let this mixture sit for 5-10 minutes until it becomes frothy. This indicates that your yeast is active and ready to work its magic.
- Combine Wet and Dry: Pour the frothy yeast mixture into the flour and salt. Using a sturdy wooden spoon, stir until the dough just comes together. It will be quite wet and shaggy, not a smooth, elastic dough – this is perfectly normal for no-knead focaccia.
- First Rise (Cold Fermentation): Cover the mixing bowl tightly with plastic wrap and transfer it to the refrigerator. Allow the dough to chill and ferment for a minimum of 8 hours, or ideally, overnight (up to 24 hours). This slow, cold rise develops incredible flavor and texture.
- Prepare for Baking: The next day, remove the dough from the fridge. Lightly oil an 8-inch round cake pan (or a similar size square/rectangular pan) with olive oil, ensuring the sides are also coated. Gently transfer the cold dough into the center of the oiled pan, tucking the edges underneath to form a somewhat round shape.
- Second Rise (Proofing): Loosely cover the pan with plastic wrap or a clean kitchen towel and let the dough rise at room temperature for about 2 hours. It should noticeably expand and fill the pan, becoming soft and puffy.
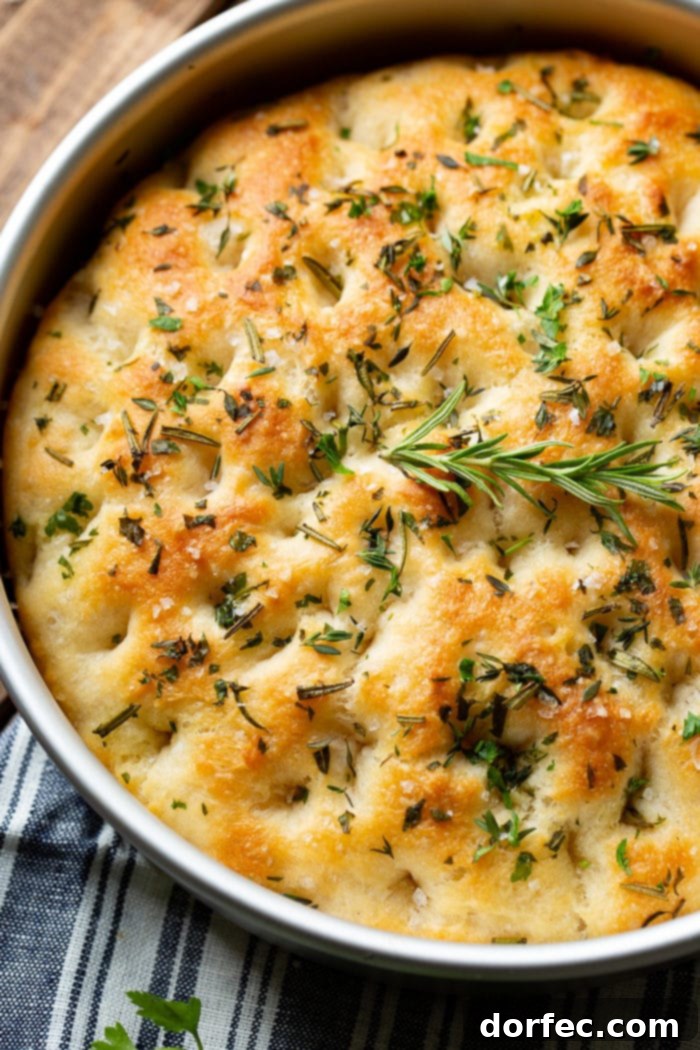
- Preheat Oven and Dimple: About 30 minutes before the second rise is complete, preheat your oven to 450°F (230°C). Once the dough has risen, drizzle it generously with more olive oil. Use your fingertips to gently press dimples all over the surface of the dough, pushing down to the bottom of the pan but being careful not to tear through the dough.
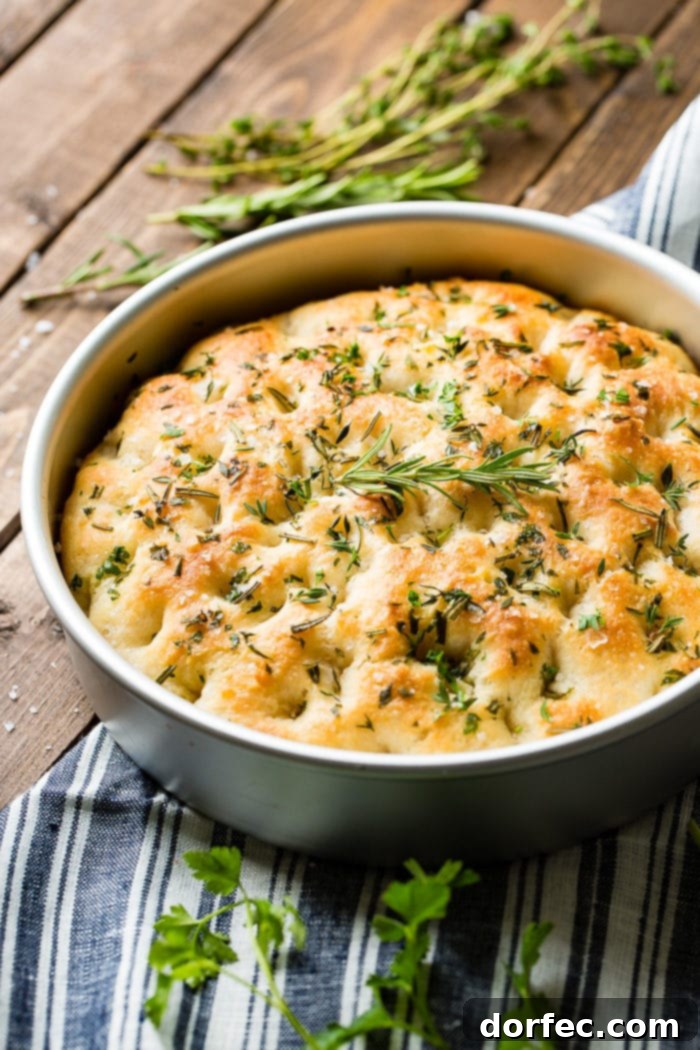
- Top and Bake: Sprinkle your chosen fresh herbs (rosemary, parsley, thyme) and flaky Maldon sea salt evenly over the dimpled dough. Carefully place the pan in the preheated oven. Immediately reduce the oven temperature to 425°F (220°C) and bake for 22-24 minutes, or until the focaccia is golden brown on top and cooked through.
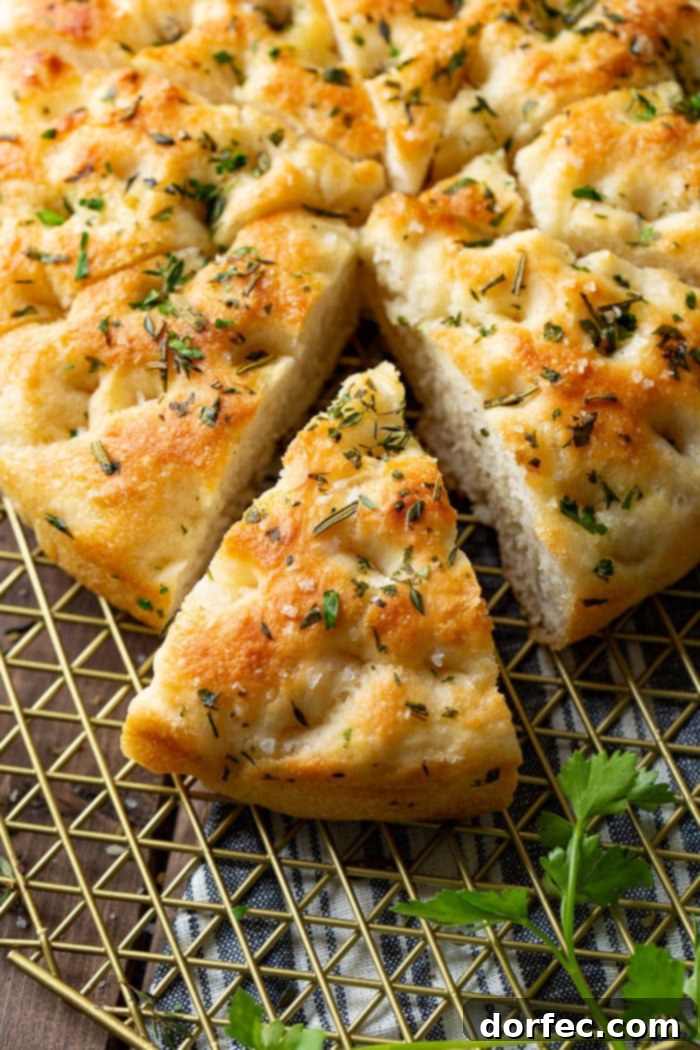
- Cool and Serve: Once baked, remove the focaccia from the oven and carefully transfer it to a wire rack to cool slightly before slicing and serving. Enjoy the warm, aromatic perfection!
The Art of Dimpling Focaccia Dough: More Than Just Aesthetics
The characteristic dimples on a focaccia loaf are not just for show; they serve several important purposes that contribute to its unique texture and flavor. While there are varying opinions on the exact science, the most widely accepted reasons are both practical and delicious. Firstly, dimpling creates small pockets that fill with the olive oil drizzled on top, ensuring that every bite is infused with its rich flavor and helping to achieve that wonderfully crisp crust. These oil-filled depressions also prevent the dough from puffing up too much in the oven, encouraging the signature flat, yet airy, structure of focaccia. Furthermore, the indentations help trap steam during baking, contributing to the bread’s soft, chewy interior. So, when you dimple your focaccia, you’re not just decorating; you’re actively enhancing its sensory experience.
Storing Your Homemade Focaccia for Lasting Freshness
It’s a rare day when we have leftover focaccia in our house – our kids absolutely devour it! But for those times you manage to bake an extra loaf (or two!), proper storage is key to maintaining its deliciousness. Thanks to its generous olive oil content, focaccia remains wonderfully moist and flavorful. Simply wrap the cooled focaccia tightly in plastic wrap or place it in a zip-top bag. Store it on the countertop at room temperature, where it will stay fresh and delightful for 2-3 days. For longer freshness, especially if you want to enjoy it warm, a quick reheat in a preheated oven (around 350°F or 175°C for 5-10 minutes) can bring it back to its just-baked glory.
Freezing Focaccia: Enjoying Your Bread Later
Focaccia is an excellent candidate for freezing, allowing you to prepare ahead or save leftovers for future meals. To freeze, ensure the focaccia has completely cooled to room temperature. Wrap the entire loaf (or individual slices for convenience) tightly in plastic wrap, then place it in a freezer-safe zip-top bag. For extra protection against freezer burn, you can even use a FoodSaver vacuum sealer. Properly stored, your homemade focaccia will keep well in the freezer for up to 3 months. When ready to enjoy, simply thaw the focaccia on the counter at room temperature. For the best experience, I highly recommend warming it up in the oven until heated through and slightly crisp, enhancing its texture and bringing out its fresh-baked aroma. There’s nothing quite like warm focaccia!
Perfect Pairings: What to Serve with Herbed Focaccia
Our herbed focaccia bread is truly phenomenal all on its own, a testament to its simple yet rich flavor profile. Its substantial thickness and delightful texture make it incredibly versatile. It’s robust enough to slice horizontally and use as a delicious sandwich bread, elevating any filling to gourmet status. But arguably, one of the most classic and satisfying ways to enjoy focaccia is as a dipping bread. Its absorbent crumb is perfect for soaking up flavorful liquids, making it an ideal companion for a variety of dishes.
Here are a few of our favorite dip-worthy soups that perfectly complement the savory notes of focaccia:
- Brown Butter Cauliflower Soup
- Zupas Copycat Tomato Basil Orzo Soup
- Creamy Tortellini Butternut Squash Soup
- Irish Beef Stew
- The Ultimate Cheeseburger Soup
- Homemade Cream of Tomato Soup
Beyond soups, consider serving focaccia alongside a vibrant charcuterie board, with a platter of roasted vegetables, or simply with a high-quality balsamic vinegar and extra virgin olive oil for dipping. It’s also a fantastic accompaniment to pasta dishes, grilled meats, or even as a unique base for mini pizzas.
Expert Tips for Focaccia Perfection
Achieving that perfect focaccia isn’t difficult, but a few key tips can elevate your bread from good to truly exceptional:
Use a strong flour. Focaccia bread benefits immensely from a strong, high-gluten flour like bread flour. This protein content develops the robust gluten network needed to create focaccia’s signature chewy texture and large, airy holes. While all-purpose flour will still yield a tasty loaf, bread flour provides a noticeable improvement in structure and chewiness.
Opt for a glass mixing bowl. While not strictly mandatory, many experienced bakers, myself included, find that glass bowls work best for mixing bread dough. There’s a common belief that metal bowls can sometimes impart an off-flavor or react with the yeast, although I haven’t personally conducted exhaustive tests. More practically, I find that dough develops beautifully and is easier to observe in a clear glass bowl, allowing you to monitor its rise and consistency.
Stir with a wooden spoon. A wooden spoon is ideal for combining focaccia dough. Its sturdy nature allows for effective mixing of the wet, shaggy dough without overworking it. In my experience, wooden spoons incorporate ingredients more efficiently than spatulas, helping the dough come together smoothly and evenly.
Don’t skimp on the olive oil. High-quality extra virgin olive oil is a star ingredient in focaccia. It’s not just for flavor; it contributes significantly to the bread’s tender crumb, crispy crust, and overall richness. Be generous with the olive oil when coating the pan, drizzling on the dough, and even for serving. A good olive oil makes all the difference!
Embrace cold fermentation. The extended overnight chill in the refrigerator is a game-changer. This slow fermentation allows the yeast to work gradually, developing deeper, more complex flavors and enhancing the dough’s texture. Don’t rush this step – patience will be rewarded with superior taste and a beautifully airy crumb.
Preheat your oven thoroughly. A hot oven is essential for achieving that initial burst of rise (oven spring) and a perfectly crispy crust. Make sure your oven is fully preheated to the specified temperature before placing the focaccia inside. This ensures even baking and prevents the bread from drying out.
Finish with flaky sea salt. A generous sprinkle of flaky sea salt, like Maldon, just before baking adds a wonderful textural contrast and bursts of briny flavor. The larger crystals don’t dissolve immediately, providing a delightful crunch with every bite that complements the soft interior.
More SIDE DISHES You’re Sure to Love:
- Brazilian Coconut Rice
- Macaroni Salad
- Wild Rice and Chickpeas
- Sweet Cornbread
- Instant Pot Refried Beans
- Cilantro Lime Cauliflower Rice
- Best Mashed Potatoes
- Easy 7-Up Biscuits
- Grilled Corn
- Best Baked Beans
- Southern Macaroni and Cheese
- Best Potato Rolls
- All our SIDE DISH recipes!
More EASY BREAD RECIPES You’ll Love:
- Homemade Baguette
- Garlic Parmesan Focaccia
- Buttermilk Biscuits
- Skillet Cornbread
- Bread Blossom
- Easy Hoagie Rolls
- Feta Muffins
- Awesome Cheesy Herb Rolls
- Homemade Naan
- Best Potato Rolls
- Easy No-Knead Artisan Bread
- One Hour Rolls
- 7-Up Biscuits
- Whole Wheat Potato Rolls
- Sweet Potato Rolls
- Cheesy Ranch Rolls
- All our BREAD RECIPES here!
The Easiest Herbed Focaccia Bread
By Sweet Basil
This Easy Herbed Focaccia Bread is such a simple bread recipe to make, but the flavor is outstanding! This bread is light and airy, with a yummy olive oil saltiness and those fresh herbs bring the whole loaf to life.
Ingredients
- 2 Cups Bread Flour (or all-purpose)
- 1 teaspoon Kosher Salt
- 1 Cup Warm Water
- 1 1/8 teaspoon Instant Yeast
- 1/2 teaspoon Granulated Sugar
- Olive Oil, for drizzling and pan
- 1 teaspoon Fresh Rosemary, chopped (or 1/2 teaspoon dried)*
- 1 teaspoon Fresh Parsley, chopped (or 1/2 teaspoon dried)*
- 1/2 teaspoon Fresh Thyme leaves, chopped (or 1/4 teaspoon dried)*
- Maldon Flaked Sea Salt, for sprinkling
Instructions
- In a glass bowl, add the flour and salt. Mix to combine.
- In a glass measuring cup, mix the warm water, yeast and sugar. Allow to sit for a minute until frothy (see note below) and stir into the flour with a wooden spoon until the dough just comes together.
- Cover the bowl with tight plastic wrap and place in the fridge for 8 hours or up to overnight.
- Remove the bowl from the fridge.
- In an 8-inch round cake pan, drizzle oil and place the dough in the center, tucking ends under.
- Cover with plastic wrap and allow to rise at room temperature for 2 hours.
- Heat the oven to 450ºF (230°C).
- Once risen, the dough should fill the pan. Drizzle with additional olive oil and use your fingers to press holes down to the bottom of the pan but not through the dough.
- Sprinkle with fresh herbs and Maldon sea salt.
- Place in the oven and turn down to 425ºF (220°C) and bake 22-24 minutes or until golden brown.
Recipe Notes
- *If you don’t have fresh herbs you can use dry herbs as stated above or just sprinkle with Italian Seasoning.
- Activated yeast should bubble and foam up within a few minutes if your yeast is good.
- Focaccia bread should be wrapped in plastic wrap and stored at room temperature for 2-3 days.
Nutrition
Calories: 96kcal,
Carbohydrates: 20g,
Protein: 3g,
Fat: 1g,
Saturated Fat: 1g,
Sodium: 235mg,
Potassium: 40mg,
Fiber: 1g,
Sugar: 1g,
Vitamin C: 1mg,
Calcium: 4mg,
Iron: 1mg
Nutrition information is automatically calculated, so should only be used as an approximation.
Remember to subscribe to our FREE Oh Sweet Basil newsletter and receive easy recipes delivered into your inbox every day!
When you try a recipe, please use the hashtag #ohsweetbasil on INSTAGRAM for a chance to be featured in our stories! FOLLOW OH, SWEET BASIL ON FACEBOOK | INSTAGRAM | PINTEREST | TWITTER FOR ALL OF OUR LATEST CONTENT, RECIPES AND STORIES.