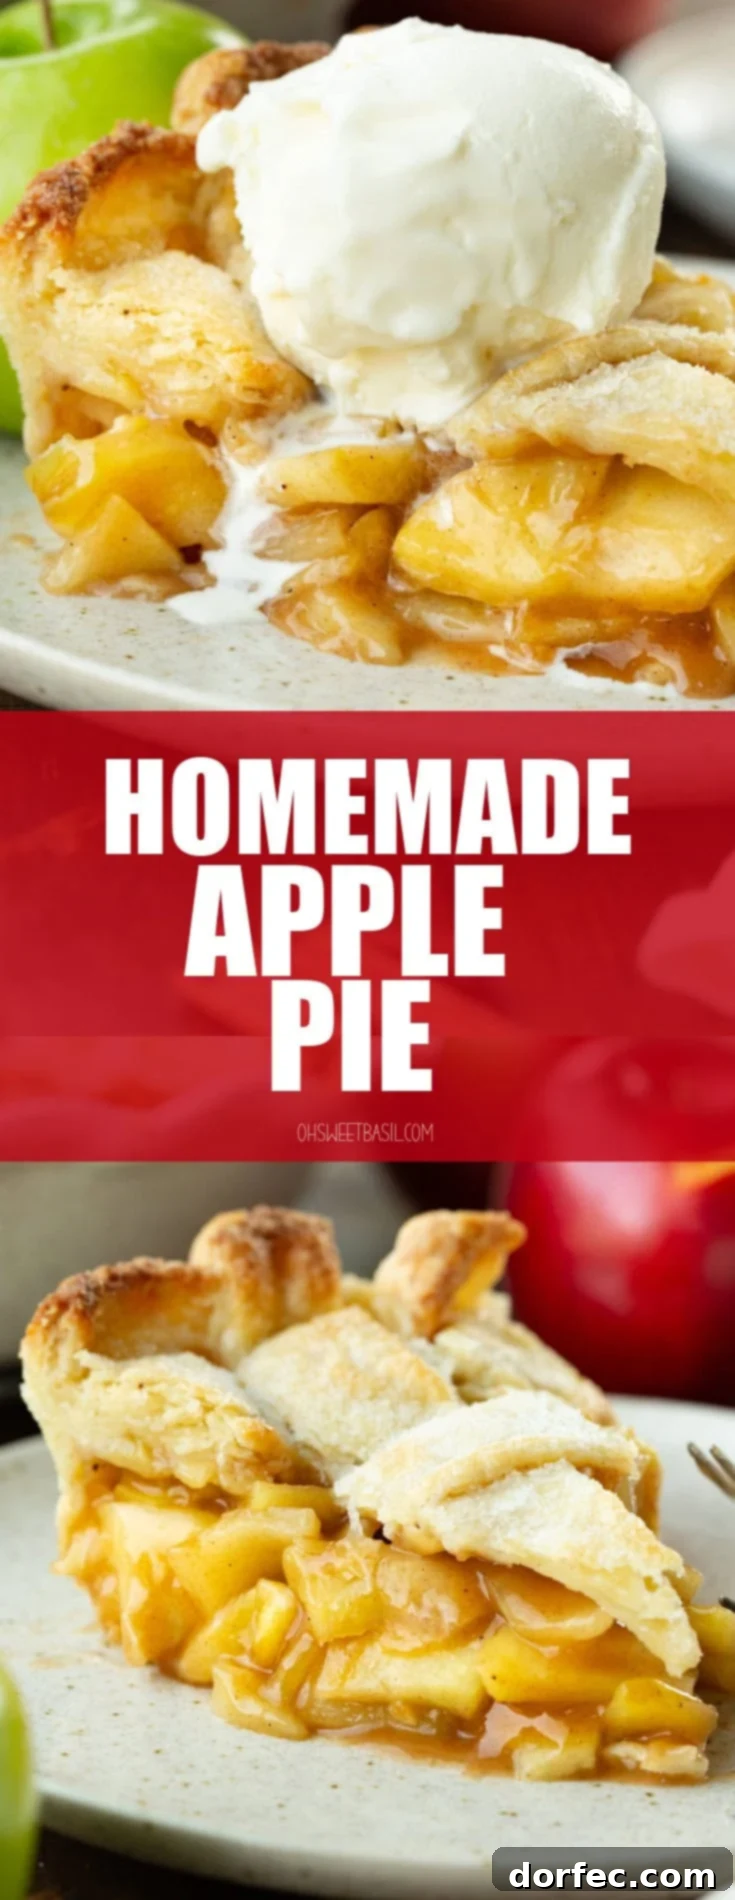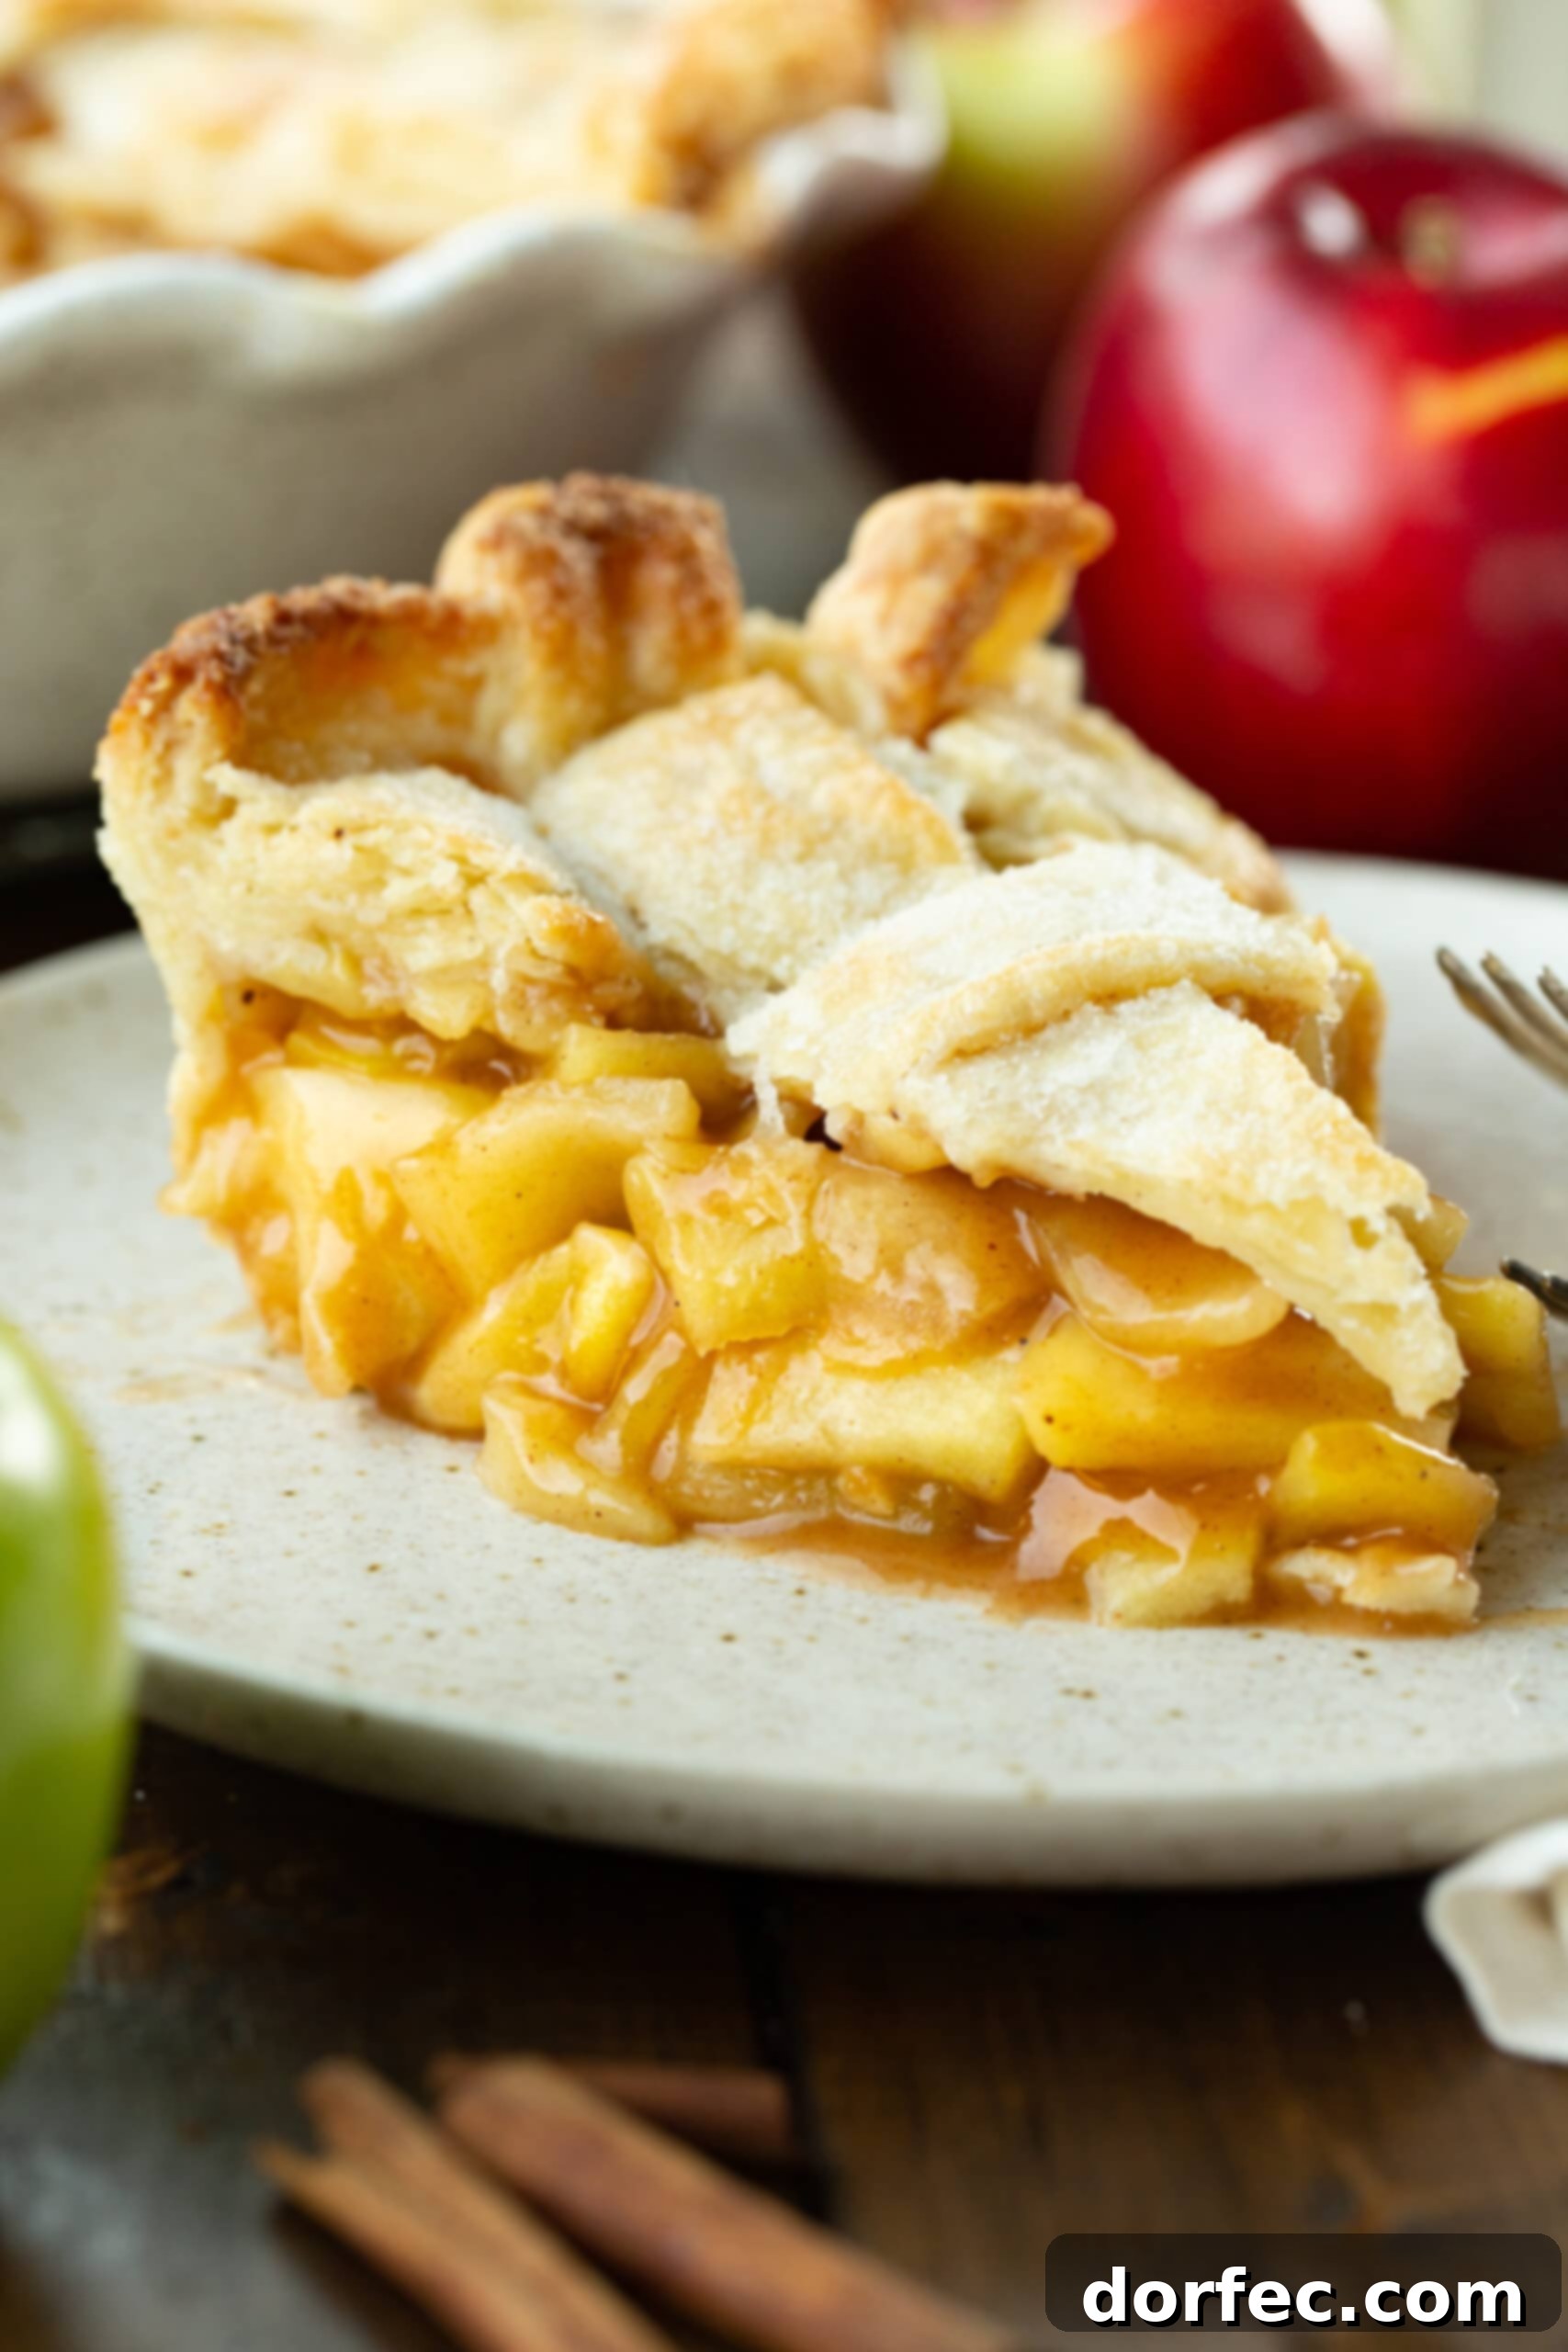
There are few culinary delights that evoke such a profound sense of comfort and nostalgia as a warm slice of homemade apple pie, especially when generously topped with a melting scoop of vanilla ice cream. It’s a timeless classic, a dessert that truly captures the essence of home and simple pleasures. This comprehensive guide will walk you through crafting the ultimate apple pie, featuring a perfectly balanced blend of the best baking apples, a fragrant mix of spices, and a beautifully flaky crust that will have everyone asking for your secret recipe.
My journey into the world of baking began with a childhood filled with cookies. I have vivid memories of learning alongside my dad, making his famous oatmeal raisin chocolate chip cookies, and with my mom, decorating Halloween sugar cookies. While the sugar cookie dough was always a delightful treat, the baked cookies themselves never quite captured my heart. As I’ve grown older, my palate has evolved, and I’ve found an increasing appreciation for the comforting embrace of a well-made pie. This particular homemade apple pie has become a true favorite, a testament to how simple ingredients can create something extraordinary.
It seems that when it comes to apple pie, people tend to fall into one of two camps: you either adore it or you don’t. Interestingly, my own mother wasn’t a fan of apple pie, which explains why I don’t have a family recipe from her. However, I am a proud adorer of this quintessential dessert. And after trying this recipe, I believe you will be too!
Crafting the Perfect Homemade Apple Pie: Essential Ingredients
Many people believe that baking an apple pie from scratch is a complicated and time-consuming endeavor. In reality, it’s surprisingly straightforward, requiring just a few basic ingredients and a little love. The pie crust, for instance, comes together with only five staple components. For the luscious filling, we combine a thoughtful blend of apples with sugar, a touch of salt, warming spices, and flour for thickening. It’s an approachable recipe that yields incredibly delicious results!
Here’s a detailed look at what you’ll need to create this culinary masterpiece:
For the Flaky Pie Crust: Our go-to all-butter pie crust is simple yet yields a wonderfully tender and flaky base, forming the perfect foundation for our apple filling. You will need:
- All-purpose flour
- Unsalted butter (kept very cold)
- Kosher salt
- Granulated sugar
- Ice water
For the Irresistible Apple Filling: The heart of any great apple pie lies in its filling. Our blend of apples ensures a harmonious balance of sweetness, tartness, and texture.
- Apples: A balanced mix of Honeycrisp (for sweetness and crisp texture), Granny Smith (for tartness), and Golden Delicious (for a softer texture and rich flavor).
- Granulated sugar
- Light brown sugar (for depth of flavor)
- Kosher salt (to enhance all the flavors)
- Spices: Freshly ground nutmeg, warm cinnamon, and a hint of cardamom for an aromatic profile.
- All-purpose flour (as a thickening agent)
- Milk (for an egg wash)
- Egg (for an egg wash)
- Sprinkling sugar (optional, for a glistening crust)
You’ll find the precise measurements for all ingredients in the comprehensive recipe card located at the end of this post. While some bakers advocate for adding a splash of lemon juice to their apple pie filling, I personally find it can sometimes overshadow the pure, vibrant apple flavor. However, if you’re a fan of a subtle citrus note in your pie, feel free to incorporate it to your taste!
The Foundation: Crafting the Perfect Pie Crust for Apple Pie
For many years, I relied on my mom’s fail-proof pie crust, which consistently delivered excellent results. However, upon discovering this all-butter pie crust, I was completely won over. It truly is the ideal companion for a rich apple filling. Its texture is incredibly flaky, and its rich, buttery flavor perfectly complements the sweetness and spice of the apples.
The secret to an exceptionally flaky crust lies in using very cold butter and handling the dough minimally to prevent overworking the gluten. Chunks of cold butter melt during baking, creating pockets of steam that separate the dough layers, resulting in that coveted airy flakiness. The detailed instructions for preparing this amazing crust are available in our dedicated pie crust post, but rest assured, it’s remarkably simple to make and consistently turns out perfect.
The Key to Perfect Apple Texture: Pre-Cooking the Apples
One of the most common challenges in apple pie is achieving the perfect apple texture – a delicate balance between crisp and mushy. Nobody wants a pie with raw, crunchy apples, nor do they want a watery, shapeless filling. In my experience, and after extensive testing, gently pre-cooking the apples is the only way to guarantee a consistently tender yet intact filling that holds its shape beautifully. This step is just as crucial as the crust in creating a truly exceptional pie.
My personal observations are strongly supported by culinary science, as validated by experts like Cooks Illustrated. When apples are cooked gently over a longer period, the pectin within them undergoes a transformation, converting into a more stable form. This process allows the apples to soften without collapsing into a watery, mushy state during the final bake. In essence, the texture you achieve when you finish cooking the apples on the stovetop will largely be the texture you find in your baked pie.
This pre-cooking step also helps to release some of the apple’s natural juices, which are then combined with the sugar and flour to create a rich, gooey sauce rather than a watery filling. Remember, personal preference plays a role here. If you prefer softer apples, extend the stovetop cooking time with gentle stirring. For those who enjoy a bit more bite, a shorter cooking duration will maintain a firmer texture. Experiment to find your ideal consistency!
Choosing the Best Apples for Your Apple Pie
The variety of apples you choose can significantly impact the final flavor and texture of your pie. While Granny Smith apples are often the go-to for their tartness, I’ve found that a blend offers a much more complex and appealing flavor profile. My preferred combination includes Honeycrisp, Granny Smith, and Golden Delicious apples. Honeycrisp brings a delightful sweetness and maintains a pleasant bite, Granny Smith contributes essential tartness to balance the sugars, and Golden Delicious adds a wonderful sweetness and breaks down slightly more, creating a rich, tender filling. This trio strikes the perfect harmony of sweet, tart, and texture.
Understanding the characteristics of different apple varieties will empower you to create your perfect pie. Here’s a list of excellent apples for baking, along with a brief description of why they work well:
Recommended Apples for Apple Pie:
- Granny Smith: Crisp, tart, and holds its shape well. Essential for balancing sweetness.
- Honeycrisp: Sweet, very crisp, and retains its texture beautifully, adding a satisfying crunch.
- Golden Delicious: Sweet, soft, and breaks down nicely to create a rich, thick filling.
- Braeburn: A good balance of sweet and tart, with a firm texture.
- Macintosh: Softer texture, aromatic, and slightly tart. Best used in combination with firmer apples.
- Ambrosia: Sweet, juicy, and has a firm, crisp texture that holds up well.
- Gala: Mildly sweet and crisp, good for adding sweetness without being overpowering.
- Fuji: Very sweet and crunchy, adds great texture and natural sugar.
The Importance of Cooled Apples for a Flawless Crust
A crucial tip I learned from pie expert Erin McDowell is to allow your pre-cooked apples to cool completely, spread out on cookie sheets, before transferring them into the pie crust. This step might seem minor, but it’s incredibly important for two main reasons:
- Prevents Excess Steam: Hot apples placed directly into the crust will generate steam as the pie bakes. This steam can get trapped between the filling and the bottom crust, leading to a soggy and unappetizing base.
- Ensures Even Baking: A cold pie crust going into a hot oven is ideal for achieving maximum flakiness. Hot apples would prematurely warm the dough, compromising the butter’s cold state and thus the crust’s texture.
Allowing the apples to cool ensures that your crust remains wonderfully flaky and crisp, exactly as it should be.
Mastering a Perfectly Flaky Pie Crust: Avoiding Soggy Bottoms
A soggy pie crust is a baker’s nemesis. Fortunately, there are several simple techniques you can employ to ensure your crust is always crisp and golden. These methods focus on heat management and proper dough preparation:
- Choose the Right Pie Plate: Opt for a glass pie plate, as it conducts heat most effectively, promoting a crisp bottom crust. Ceramic dishes are also a great choice. Avoid metal or thin tin pie plates, which can result in uneven baking.
- Chill Your Dough: After forming the pie crust in the plate, chill it thoroughly in the refrigerator (or even the freezer for a short while) before baking. Cold dough reacts better to the hot oven, ensuring butter pieces remain solid longer, which creates more steam and, consequently, a flakier crust.
- Preheat with a Baking Sheet: Place an empty cookie sheet in the oven while it preheats. Once hot, carefully place your pie plate directly onto this preheated sheet. The radiant heat from the hot baking sheet provides an extra boost of bottom heat, crucial for crisping up the base of the pie.
- Adjust Baking Temperatures: Start your pie at a higher temperature, typically 400°F (200°C), for the initial 20-30 minutes. This high heat helps to set the crust quickly and encourages a deep golden-brown color. After this initial blast, reduce the temperature to 375°F (190°C) to allow the filling to cook through gently without over-browning the crust. Be prepared to loosely tent the edges of the pie with foil if they start to brown too quickly.
Freezing and Baking Homemade Apple Pie for Future Enjoyment
Homemade apple pie is a wonderful dessert to prepare in advance, whether for unexpected guests or simply to have a comforting treat on hand. You have the flexibility to freeze your apple pie either before or after baking, depending on your needs.
To freeze before baking: Assemble your entire pie (with the top crust in place), but do not bake it. Wrap the unbaked pie tightly with heavy-duty aluminum foil or place it in a large, freezer-safe bag to prevent freezer burn. Label with the date. It can be stored in the freezer for up to 3 months.
To bake a frozen pie: When you’re ready to bake, remove the frozen pie from the freezer. Do not thaw it. Place the frozen pie directly onto a foil-lined cookie sheet (this helps catch any potential drips from the filling). Preheat your oven to 400°F (200°C). Bake the pie at this temperature for 30 minutes. Then, reduce the oven temperature to 350°F (175°C) and continue baking for an additional 35-45 minutes, or until the crust is golden brown and the filling is bubbly. If the crust edges start to brown too quickly, loosely tent them with aluminum foil. Always allow a frozen pie to cool completely before slicing to ensure the filling sets properly.
Storing Your Homemade Apple Pie: Fridge or Counter?
One common question about apple pie is how long it keeps and whether it needs refrigeration. The good news is, thanks to its high sugar content acting as a natural preservative, a freshly baked apple pie can be safely stored at room temperature for up to 2, or even 3 days. Think of those classic movie scenes with a pie cooling on a windowsill – they had it right!
After the first few days, if you happen to have any leftovers (a rare occurrence with a pie this delicious!), it’s best to transfer it to the refrigerator. Storing it in the fridge will extend its freshness, allowing it to keep well for up to a week. Just make sure it’s covered loosely to prevent it from drying out.
Now that you’re equipped with all the knowledge to create an unforgettable homemade apple pie, I encourage you to try your hand at this rewarding baking project. And if you’re looking for another fantastic apple dessert, don’t forget to explore my true favorite, the Dutch Apple Pie with White Chocolate Sauce! It’s an epic pie crowned with an amazing streusel topping.
More Fruit Pies You’re Sure to Love:
- Peach Pie with Lattice Top
- Perfect Razzleberry Pie
- Dutch Mixed Berry Pie
- Simple Blueberry Pie
- Fresh Strawberry Pie
- Lemon Jello Peach Pie
- Strawberry Rhubarb Pot Pies
- Sour Cream Peach Pie
- Homemade Apple Pie
- Dulce de Leche Banana Cream Pie
- Dutch Apple Pie
Homemade Apple Pie
1 hr
40 mins
1 hr 40 mins
8 -10 slices
Print Recipe
Ingredients
Pie Crust
- All Butter Pie crust
For the Pie Filling
- 3/4 Cup Sugar
- 1/4 Cup Brown Sugar
- 1/4 teaspoon Kosher Salt
- 1/4 teaspoon Nutmeg
- 1 1/2 teaspoons Cinnamon
- 1/2 teaspoon Cardamom
- 3 Tablespoons Flour, + 1 teaspoon
- 2 Golden Delicious Apples, Peeled and sliced
- 2 Granny Smith Apples, Peeled and sliced
- 3 Honey Crisp Apples, peeled and sliced
For the Topping
- 1 Tablespoon Milk
- 1 Egg
- Sugar
Instructions
For the Crust
-
Prepare the all-butter pie crust according to its recipe directions. Set aside in the fridge until ready to use for the pie.
-
Roll out one pie disc and carefully place it into a 9″ pie dish. Keep the second disc chilled in the fridge for the top crust.All Butter Pie crust
-
Cover the pie dough in the pan with plastic wrap and return it to the fridge to keep it chilled while you prepare the apple filling.
For the Pie Filling and Assembly
-
In a very large bowl, combine all the dry filling ingredients: granulated sugar, brown sugar, kosher salt, nutmeg, cinnamon, cardamom, and 3 tablespoons of flour. Whisk them together thoroughly.3/4 Cup Sugar, 1/4 Cup Brown Sugar, 1/4 teaspoon Kosher Salt, 1/4 teaspoon Nutmeg, 1 1/2 teaspoons Cinnamon, 1/2 teaspoon Cardamom, 3 Tablespoons Flour
-
Add the peeled and sliced Golden Delicious, Granny Smith, and Honeycrisp apples to the bowl with the dry mixture. Gently fold until the apples are evenly coated with the sugars, salt, spices, and flour. Transfer all ingredients to a deep skillet or large pot and cook over medium heat. Cover with a lid and set a timer for 5 minutes. Every 5 minutes, remove the lid, gently stir the apples, and then replace the lid. Continue this process for 20-30 minutes, or until the apples reach your desired tenderness. I typically cook them for 20 minutes for a slightly firm-tender texture.2 Golden Delicious Apples, 2 Granny Smith Apples, 3 Honey Crisp Apples
-
Once the apples are cooked, immediately spread them out in a single layer onto large cookie sheets to cool down completely. This step is crucial for preventing a soggy bottom crust.
-
While the apples are cooling, prepare your top crust. You can either roll out the second disc and cut vents into it for a traditional look, or create an elegant lattice top (refer to the recipe notes for lattice instructions).
-
Once the apples are completely cool, spoon them evenly into the prepared bottom pie crust. Carefully place the top crust over the filling. Trim any excess dough from the edges and crimp them together to seal the pie. Place the assembled pie into the freezer for at least 30 minutes. This ensures the butter in the crust is very cold, contributing to maximum flakiness.
-
Preheat your oven to 400°F (200°C) and place an empty cookie sheet on the center rack to preheat along with the oven. This provides bottom heat to prevent a soggy crust.
-
Remove the chilled pie from the freezer. In a small bowl, whisk together the milk and egg to create an egg wash. Brush this mixture evenly over the top crust of the pie, then generously sprinkle with granulated sugar for a beautiful, sparkling finish.1 Tablespoon Milk, Sugar, 1 Egg
-
Carefully place the pie onto the hot cookie sheet in the preheated oven. Bake at 400°F (200°C) for 30 minutes on the center rack. After 30 minutes, reduce the oven temperature to 375°F (190°C) and continue baking for another 15-20 minutes, or until the crust is deeply golden brown and the filling is bubbling. If the edges of the crust start to brown too quickly, lightly tent them with aluminum foil.
-
Allow the baked pie to cool on a wire rack for several hours (at least 3-4 hours) before slicing. This allows the filling to set properly, preventing it from running out when cut.
Recipe Notes
- Roll out the second pie dough disc into a rectangle. Using a pastry wheel or knife, cut the dough into even strips (about 1/2 to 3/4 inch wide).
- Evenly place 6 of your dough strips horizontally across the pie filling, allowing the edges to hang over the pie plate.
- Starting at one end, lift three alternating horizontal strips (e.g., lift the 1st, 3rd, and 5th strips).
- Place one of your unused pie dough strips vertically on top of the horizontal strips that are still lying flat. Fold back down the three lifted horizontal strips over the vertical strip you just laid down.
- Now, fold back the horizontal strips that you left flat in the previous step (e.g., the 2nd, 4th, and 6th strips), alternating so they fold over the vertical strip. Place another unused vertical strip parallel to the first. Re-unfold the horizontal strips. Continue this alternating pattern, weaving in the remaining vertical strips until your lattice top is complete.
- Trim any excess dough from your lattice strips around the edge so they line up with the outside edge of the bottom crust in your pan. Gently lift and fold the bottom piece of dough overtop and inward over your lattice strips, pressing them together tightly to help seal.
Nutrition
Nutrition information is automatically calculated, so should only be used as an approximation.