
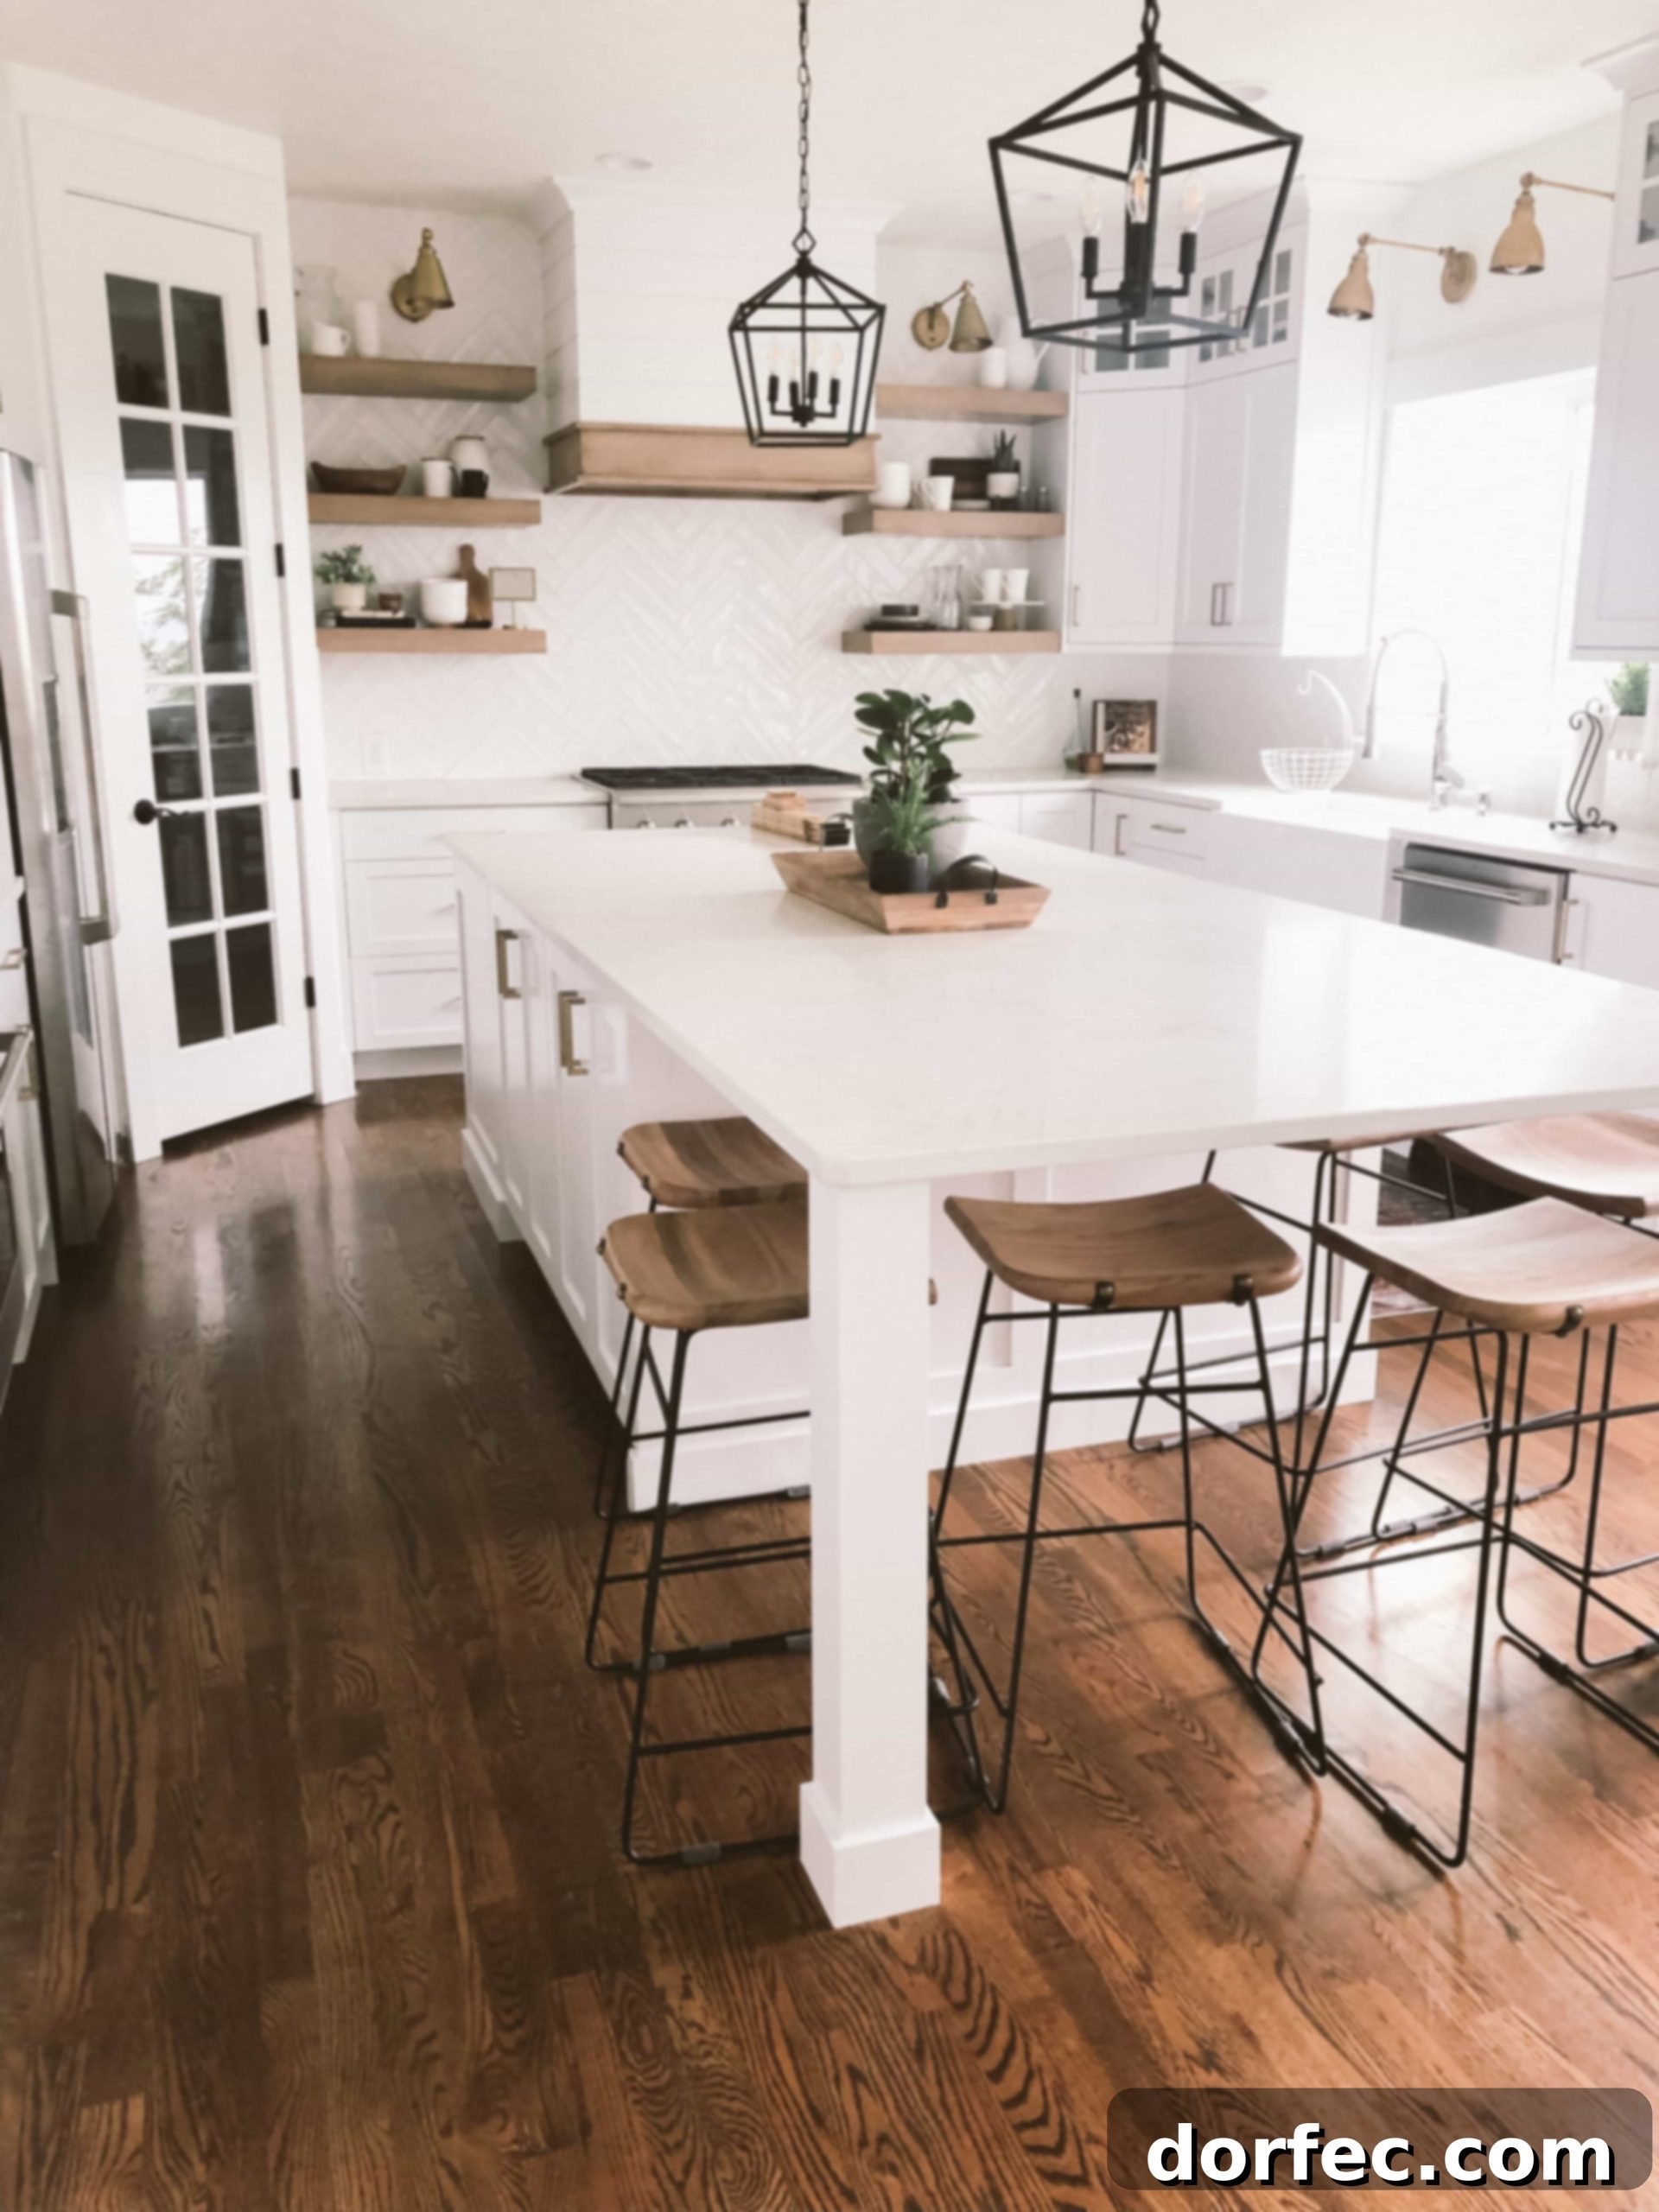
Transforming a kitchen from its dated state into a gleaming, all-white, meticulously organized dream has been an incredibly rewarding journey. The process, while challenging at times, culminated in a stunning space that truly reflects our vision for modern, functional, and aesthetically pleasing home design. This comprehensive guide will walk you through our renovation experience, sharing invaluable lessons learned, design choices, and trusted contractor recommendations to help you navigate your own kitchen transformation.
Before diving into the specifics of our all-white kitchen, let’s address one of the most crucial pieces of advice we can offer: **avoid living in your home while undertaking a major remodel, especially if it involves multiple critical areas like a kitchen and three bathrooms simultaneously.** We speak from experience when we say: do not do it. The dust, the constant disruption, the lack of essential facilities – it’s an arduous test of patience. While our outcome was undeniably worth every moment, the journey was punctuated by significant stress that could have been mitigated with better planning. However, if circumstances dictate you must remain on-site, fret not. We’ve distilled our experience into actionable tips that made our process smoother, alongside a list of reliable contractors who proved to be true lifesavers.
One common refrain from those who have endured renovations is that they inevitably take far longer and are more chaotic than anticipated. They are, for the most part, absolutely right. Our kitchen, though not outwardly dilapidated to a casual observer, harbored numerous functional and aesthetic flaws that only we, as daily users, truly understood. Every broken hinge, every malfunctioning appliance, every peeling surface contributed to a growing desire for a complete overhaul.
Let’s begin with the very first rule of thumb we wish we had followed more strictly, particularly when considering a large-scale renovation while living in your space:
- **Avoid tackling all major projects simultaneously.**
We understand the impulse: get it all done at once, power through the inconvenience, and emerge with a fully transformed home. However, when residing in the midst of a renovation, a slower, more deliberate approach is often far more sustainable for your sanity. My husband, Cade, was keen to tackle the kitchen and three bathrooms concurrently. Despite my initial reservations, I relented, aiming to be a supportive partner. Looking back, his eventual admission that my cautious approach was correct felt, well, a little validating. The sheer scope of work, coupled with the daily impact on our living environment, proved challenging.
But let’s return our focus to the star of this transformation: the kitchen. (If you’re interested in seeing our bathroom remodels, let us know in the comments, and we’ll share those updates in a future post!) Our journey to an all-white kitchen started with a clear understanding of what needed changing.
Why an All-White Kitchen? Identifying the Imperfections and Envisioning a Brighter Future
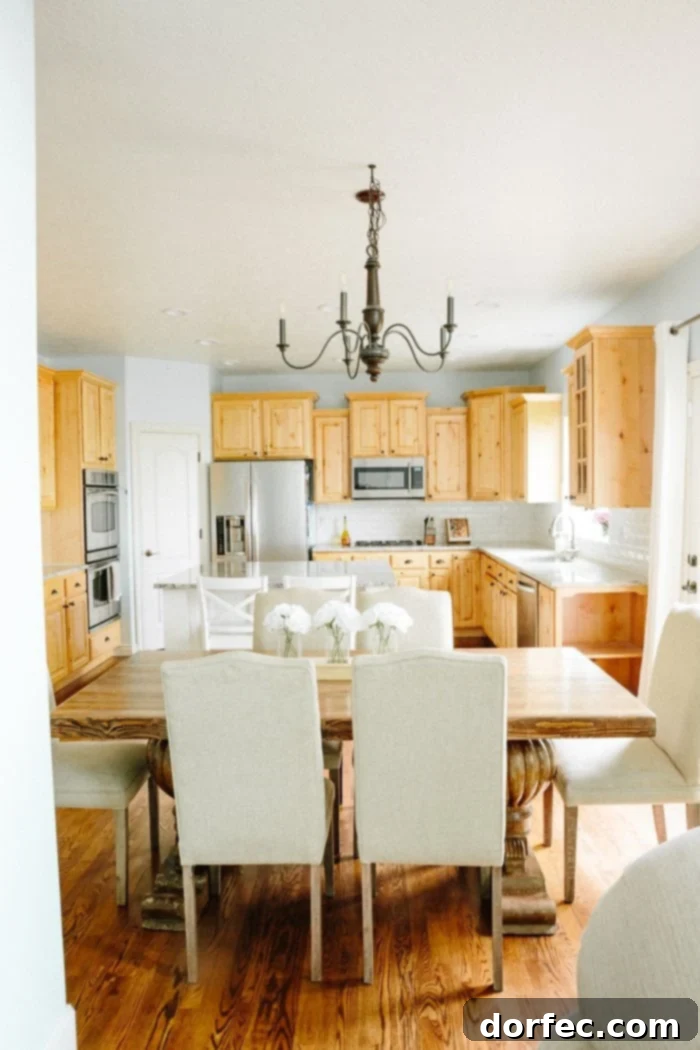
The decision to undertake a major kitchen renovation stemmed from a myriad of issues that had accumulated over time, making the space less functional, less appealing, and frankly, a source of daily frustration. Our vision was an all-white kitchen – a timeless, bright, and versatile palette that would open up the space and provide a clean canvas for culinary creativity and family gatherings. But first, we had to confront the “before.”
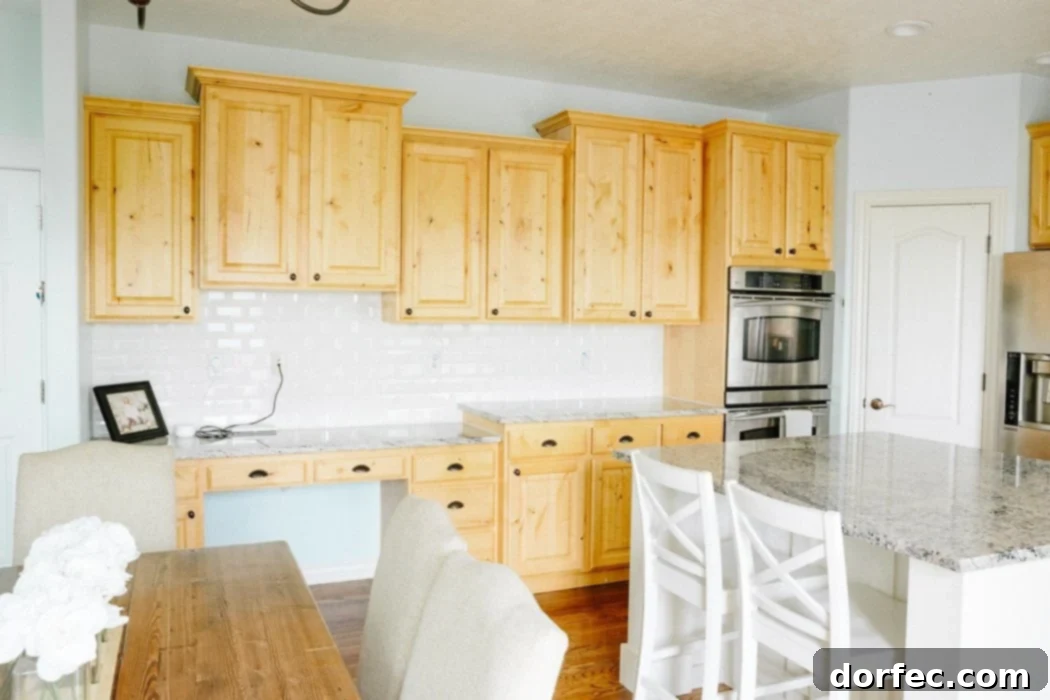
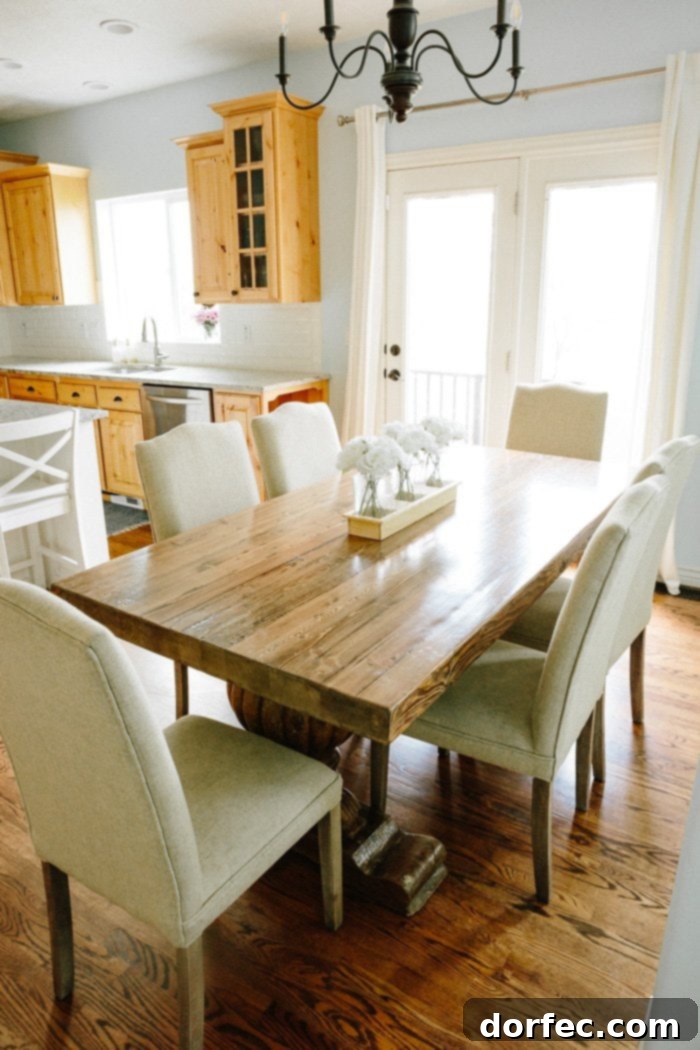
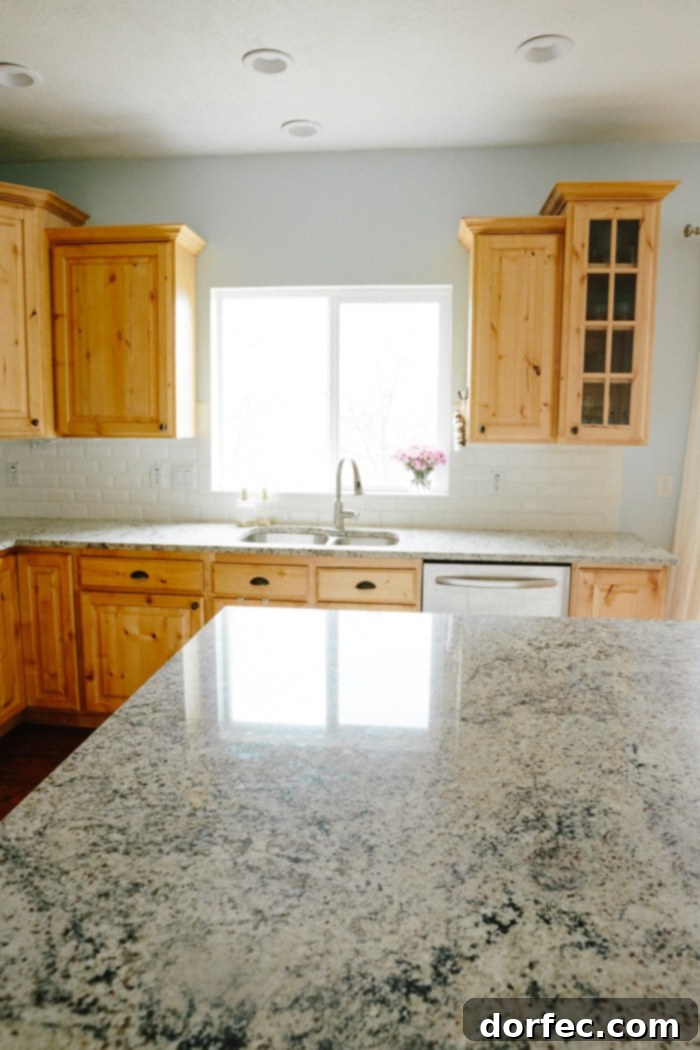
- **Poorly Applied and Reflective Paint:** The kitchen walls were painted a subtle blue, which, while not overtly displeasing, created an unwanted blue cast on all our photos, distorting natural light and colors. More critically, the paint was poorly applied and began peeling, especially near the ovens, indicating a lack of proper surface preparation.
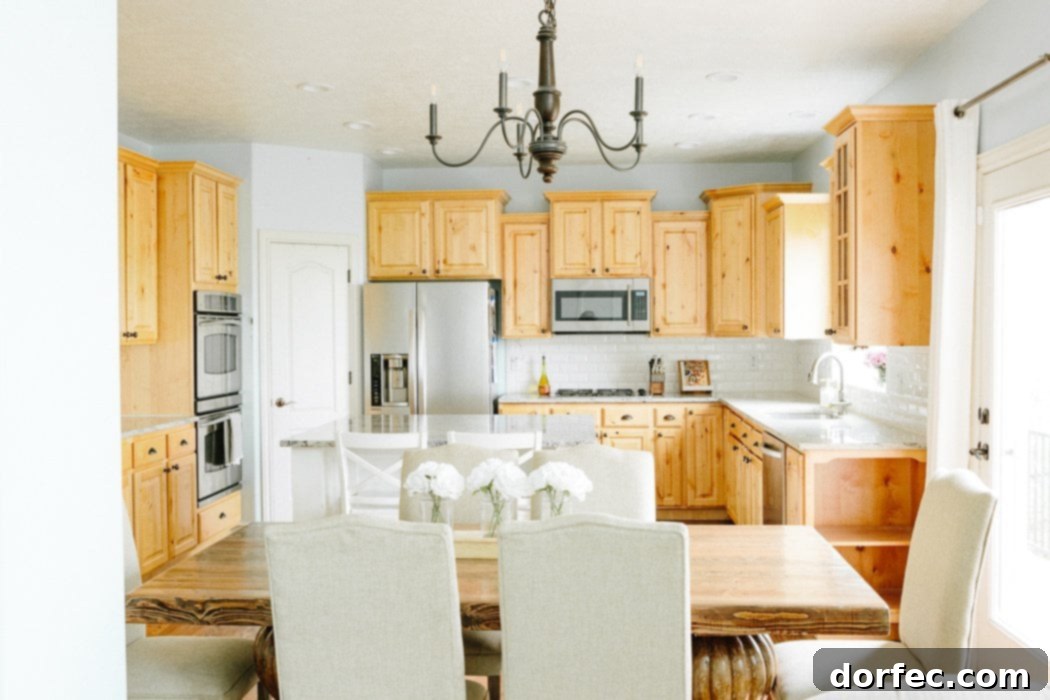
- **Failing Appliances:** Our double ovens were on their last legs. Soon after moving in, we noticed inconsistent baking temperatures and times. Over time, one oven completely ceased to function, followed shortly by the other, rendering our baking capabilities severely limited.
- **Improper Oven Installation:** Beyond their malfunction, the ovens were installed incorrectly. Opening them would invariably scrape off chunks of paint and even drywall from the surrounding wall, a clear sign of a shoddy initial installation that made simple tasks like cleaning an ordeal.
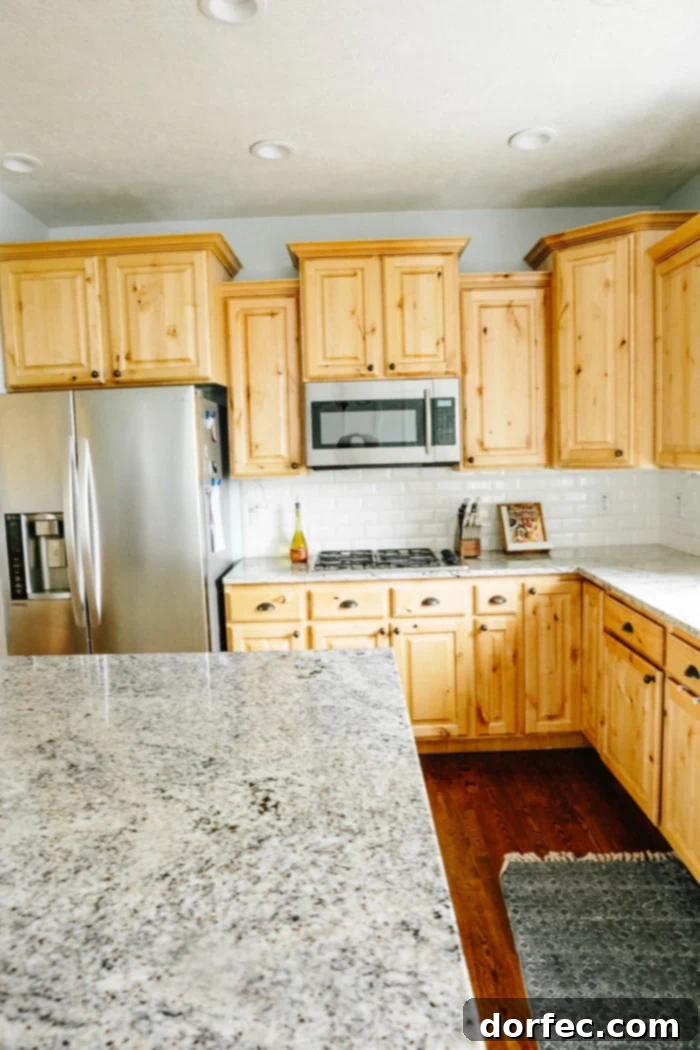
- **Faulty Cooktop:** The cooktop, too, was showing signs of wear, either failing to heat properly or overheating, leading to burnt food and an unpredictable cooking experience.
- **Inefficient Island Design:** The existing island was poorly designed, lacking both adequate surface area and practical storage solutions. It failed to serve as an efficient workspace or a comfortable gathering point.
- **Deteriorating Cabinetry:** Perhaps the most significant issue was the state of the cabinetry. Doors were falling apart, finishes were peeling, and many had clearly been poorly repaired or glued back together by previous owners. This not only created an unsightly appearance but also compromised the functionality and storage capacity of the entire kitchen. Everything seemed crooked, and the overall quality was abysmal.
As this list of necessary repairs grew longer and more complex, it became evident that piecemeal fixes wouldn’t suffice. We needed a complete reset. The realization hit that if we were replacing major appliances and cabinetry, we might as well upgrade the remaining appliances and, by extension, the countertops. This is the classic “If You Give a Mouse a Cookie” phenomenon of remodeling, where one improvement logically necessitates another, leading to a full-scale renovation.

Our initial task was to gut the kitchen, a step that truly brought the magnitude of the project into focus. What emerged from the demolition was a blank slate, ready for its all-white transformation. Below, we’ve compiled a collection of “after” photos, followed by a detailed list of lessons we learned and the exceptional contractors who helped us realize our dream kitchen. Take notes!
The All-White Dream Kitchen: After the Transformation
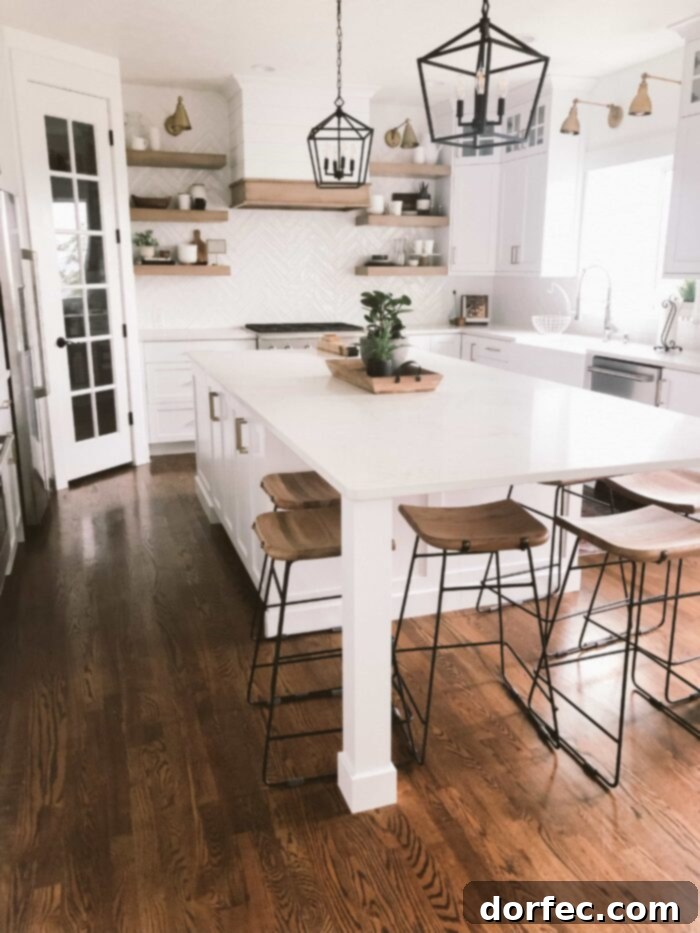
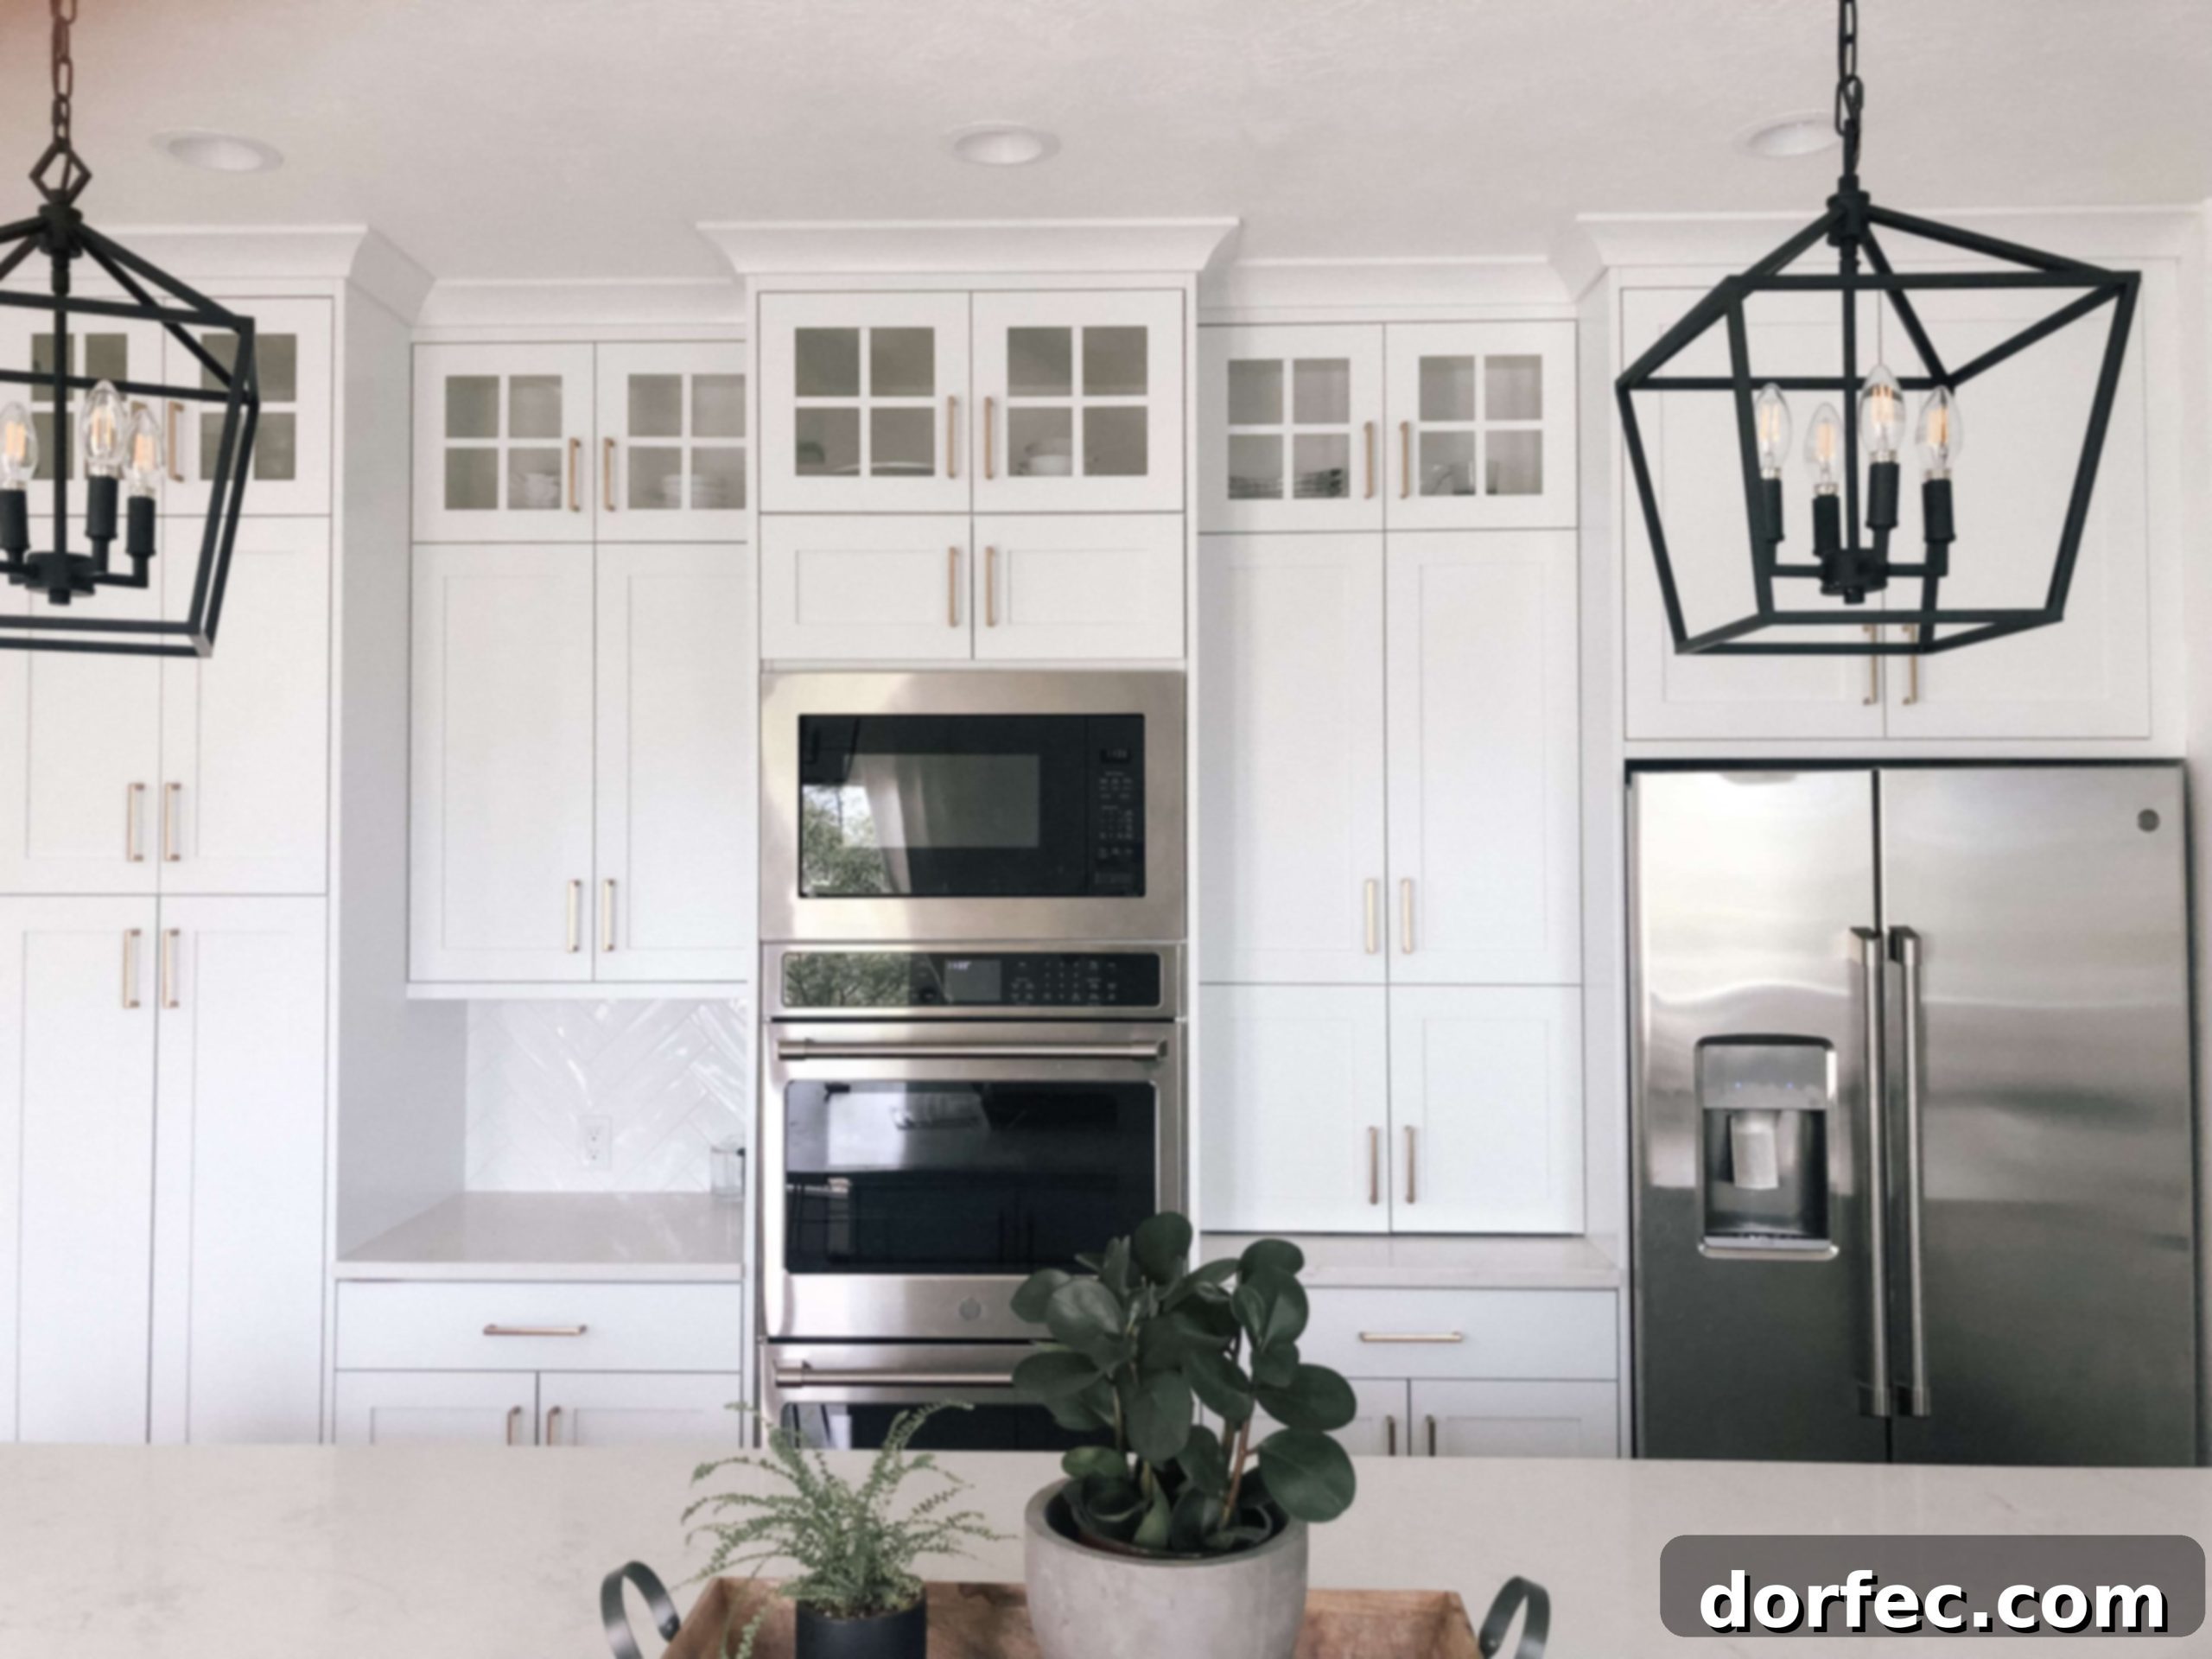
Witnessing the transformation from a dysfunctional, dated space to a bright, inviting, and highly organized all-white kitchen has been nothing short of magical. The crisp white cabinets, pristine countertops, and thoughtful design elements have not only elevated the aesthetic but have also dramatically improved the functionality of our home’s heart.
Essential Lessons Learned from Our All-White Kitchen Renovation
Every renovation is a learning experience, and ours was no exception. Here are some critical insights we gained that we hope will prove useful for your own project:
- **Rethink Counter-Depth Refrigerators:** While aesthetically pleasing, a counter-depth refrigerator severely limits storage capacity for most families. We quickly realized we couldn’t fit everything we needed, necessitating the inconvenience of keeping our old fridge in the garage. While a larger kitchen might someday accommodate a bigger built-in unit, the immediate takeaway is to rigorously assess your family’s storage needs before committing to a counter-depth model. Prioritize function over a purely flush look if space is a concern.
- **Monetize and Recycle Old Materials:** Instead of paying for demolition and hauling away old cabinets, countertops, and appliances, consider listing them on local online marketplaces. Clearly state that the buyer is responsible for removal. This approach not only saves you significant money but also allows you to recover some costs and promotes environmental sustainability by giving these items a second life.
- **Prioritize a Skilled Electrician Early On:** The importance of a competent electrician cannot be overstated in the initial phases of a remodel. They are crucial for assessing existing wiring, planning for new outlets (especially within islands, which are often overlooked but essential for small appliances), and ensuring proper electrical infrastructure for all new appliances and lighting. Getting this foundational work done correctly and promptly allows for seamless subsequent steps like drywall installation and prevents costly delays or rework later. We highly recommend our favorite electrician in Utah, listed below.
- **Commit to Frequent Cleaning for Sanity:** Remodeling, particularly with drywall work, generates an astonishing amount of fine dust that permeates every crevice of your home. While plastic sheeting can offer some barrier, nothing entirely eliminates the dust. Establish a cleaning routine from the outset. Use a shop vac and broom frequently – at least once a week, more if possible. After mudding and sanding, a thorough vacuuming followed by mopping is essential. Trust us, maintaining a relatively clean environment amidst the chaos will significantly reduce stress and contribute to your overall well-being during the project.
- **Order Materials Well in Advance:** Do not heed advice to delay ordering hardware, lighting fixtures, and other finishes. Supply chain issues and lead times can be unpredictable. By ordering these items early, you not only ensure their availability when needed but also provide ample time for design adjustments and prevent frantic, last-minute trips to stores. Having everything on hand allows for a smoother, more efficient progression of your renovation.
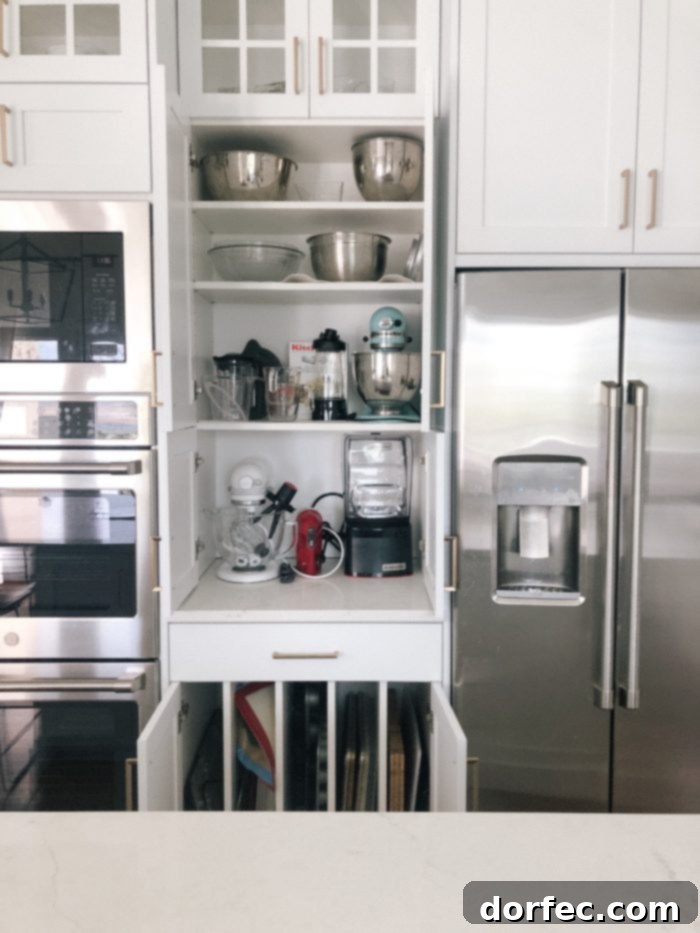
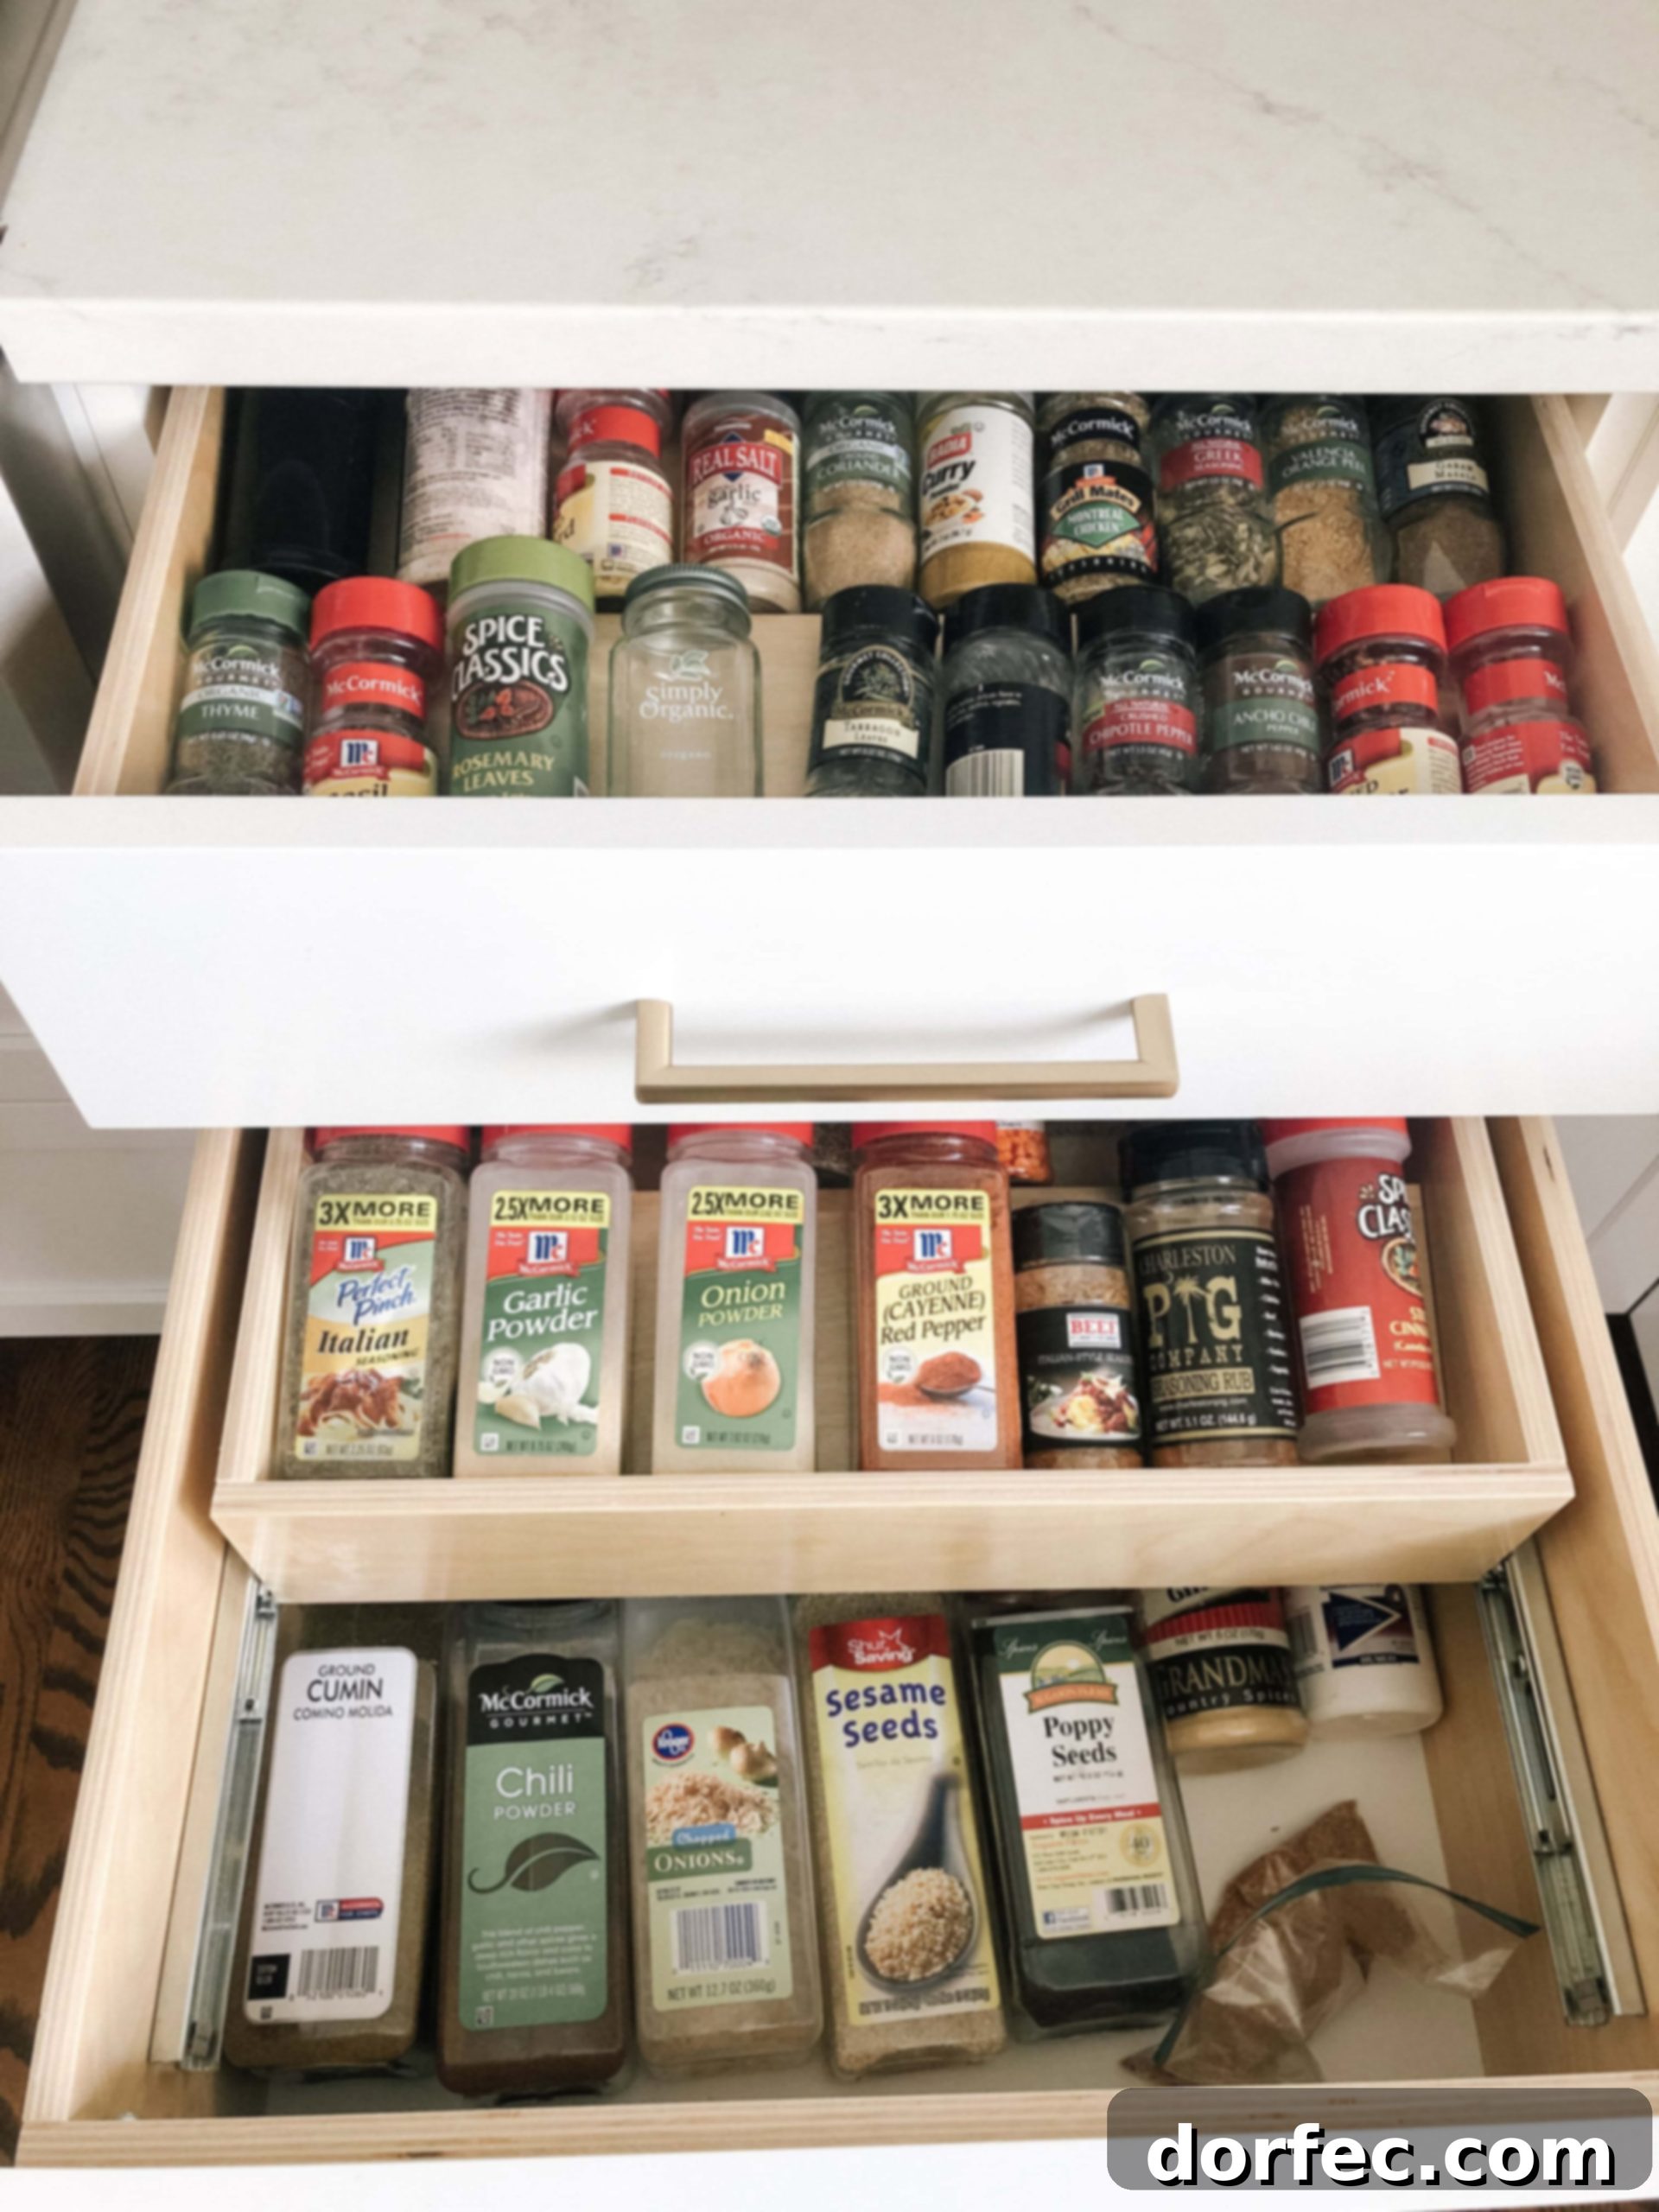
- **Maximize Every Inch for Storage and Organization:** Our favorite aspect of the new kitchen isn’t just its beauty, but its incredible functionality and organization. Every item has a designated, easily accessible place.
- **Tiered Spice Drawers:** Spices are neatly arranged in tiered drawers, with larger containers housed in a double drawer featuring a pull-out insert for hidden storage.
- **Vertical Storage for Baking Trays:** Cookie sheets and cutting boards are now stored vertically in built-in slots at the bottom of a cabinet, easily accessible. While we wish this section were counter-height, its current placement is a vast improvement.
- **Drawers Over Cupboards:** Opt for more drawers than traditional cupboards. Drawers offer superior accessibility, especially for heavy items like pots and pans, and make unloading the dishwasher a breeze, even for children. We even store our plates and bowls in a drawer directly in front of the dishwasher.
- **Consider Trim Work:** While visually appealing, elaborate trim work on cabinet faces can create ledges where dust accumulates, requiring constant cleaning, particularly in dusty environments like Utah.
Crafting Warmth and Contrast in an All-White Aesthetic
When designing an all-white kitchen, a common concern is the potential for it to feel sterile or “basic.” Our goal was to inject warmth and subtle contrast without introducing overt color. This was masterfully achieved with the help of our friend Michelle, who suggested:
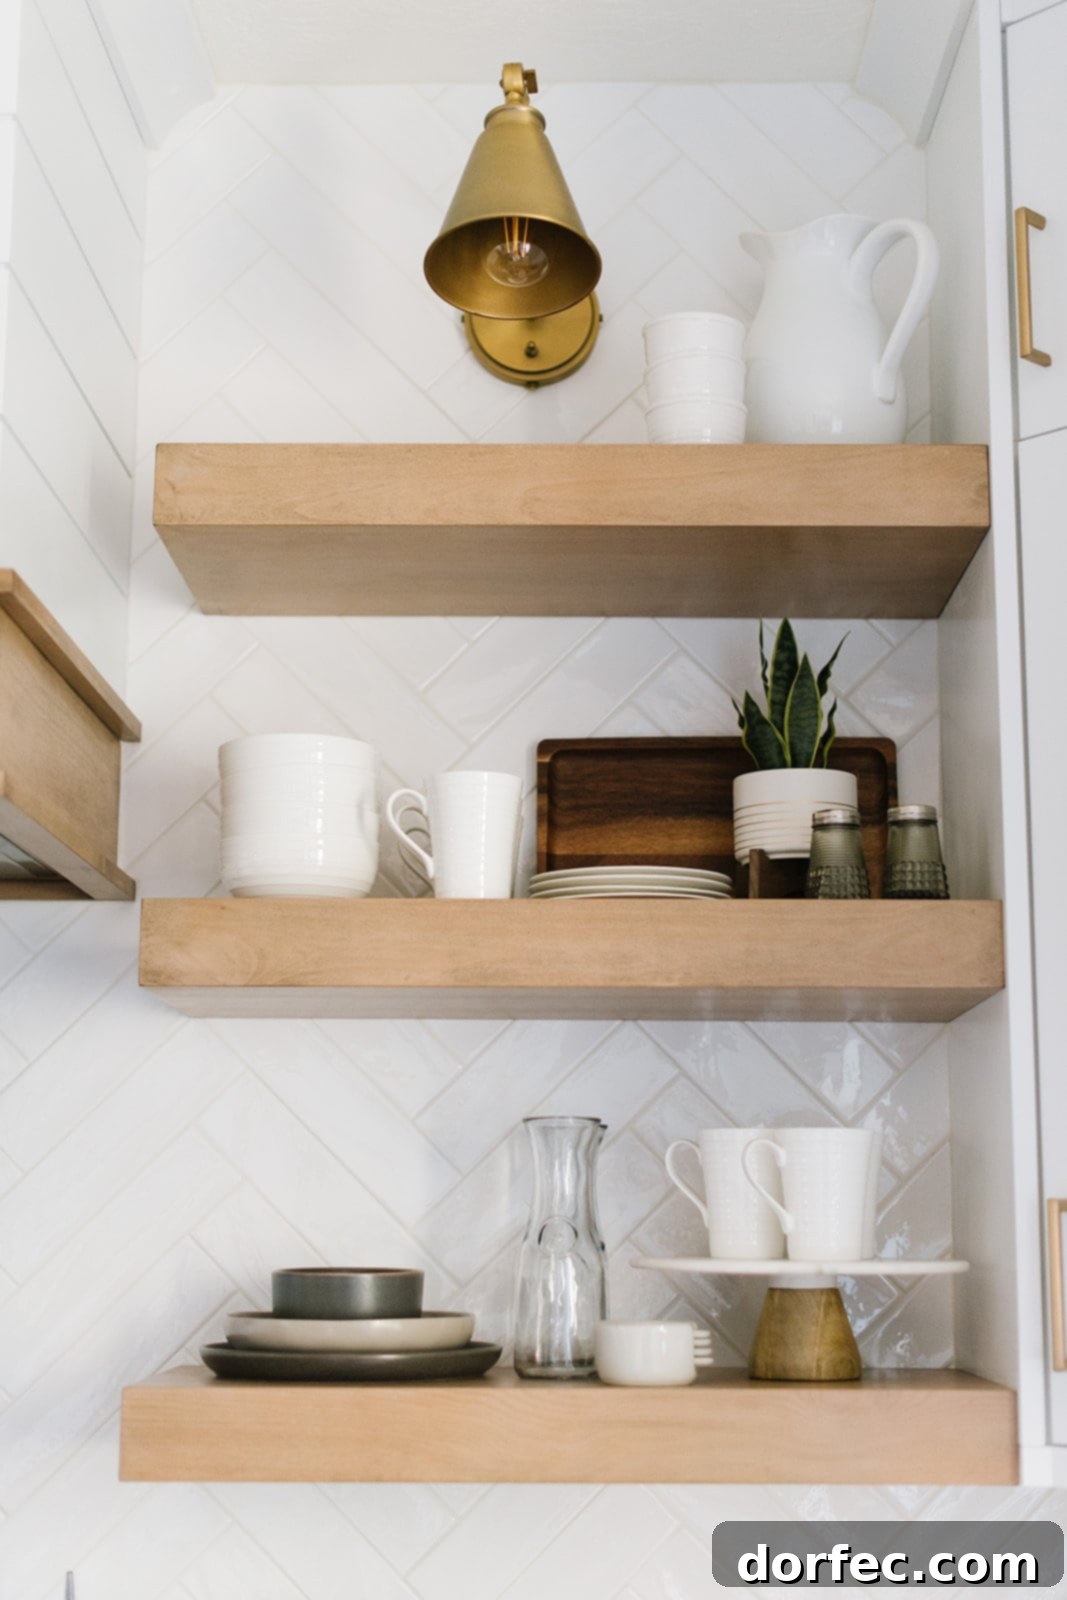
- **Warm Floating Shelves:** Natural wood floating shelves break up the expanse of white, adding an organic, inviting element that complements the clean lines.
- **Textured Backsplash:** Instead of a flat subway tile, we opted for a high-gloss tile with a subtle texture. This choice provides visual interest and a sophisticated contrast against the flat white cabinetry, playing with light and depth.
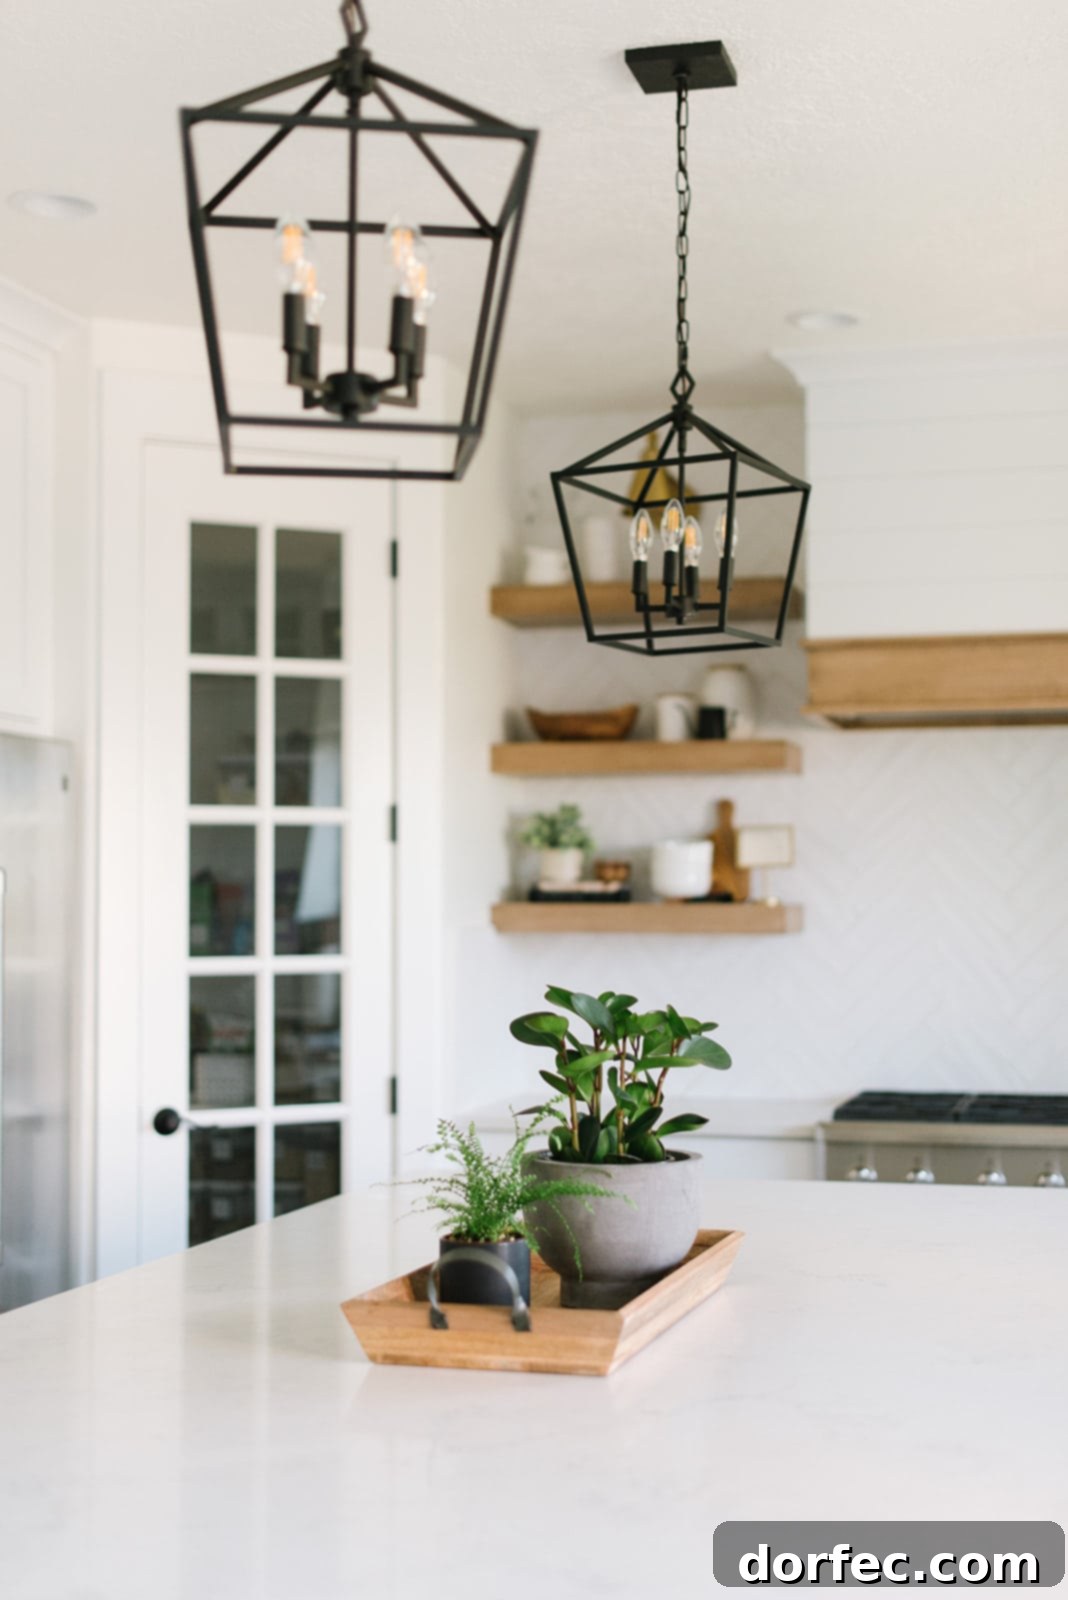
The transformation is truly remarkable. By completely removing the traditional kitchen table and integrating a spacious 12-foot island, we not only gained an incredible amount of counter space but also paradoxically made the entire area feel larger and more inviting. This island now serves as the central hub for our daily meals and casual gatherings, while our dining room remains reserved for more formal occasions like Sunday dinners. The functionality and aesthetic harmony of this space have exceeded all our expectations.
Quick Design & Product Information
For those curious about the specific elements that brought our all-white kitchen to life, here’s a quick overview:
- **Appliances:** We chose the sleek and high-performing GE Cafe line for all our major kitchen appliances, appreciating their balance of modern design and advanced features.
- **Stools:** Our comfortable and stylish island stools are from Downeast Home, perfectly complementing the contemporary aesthetic.
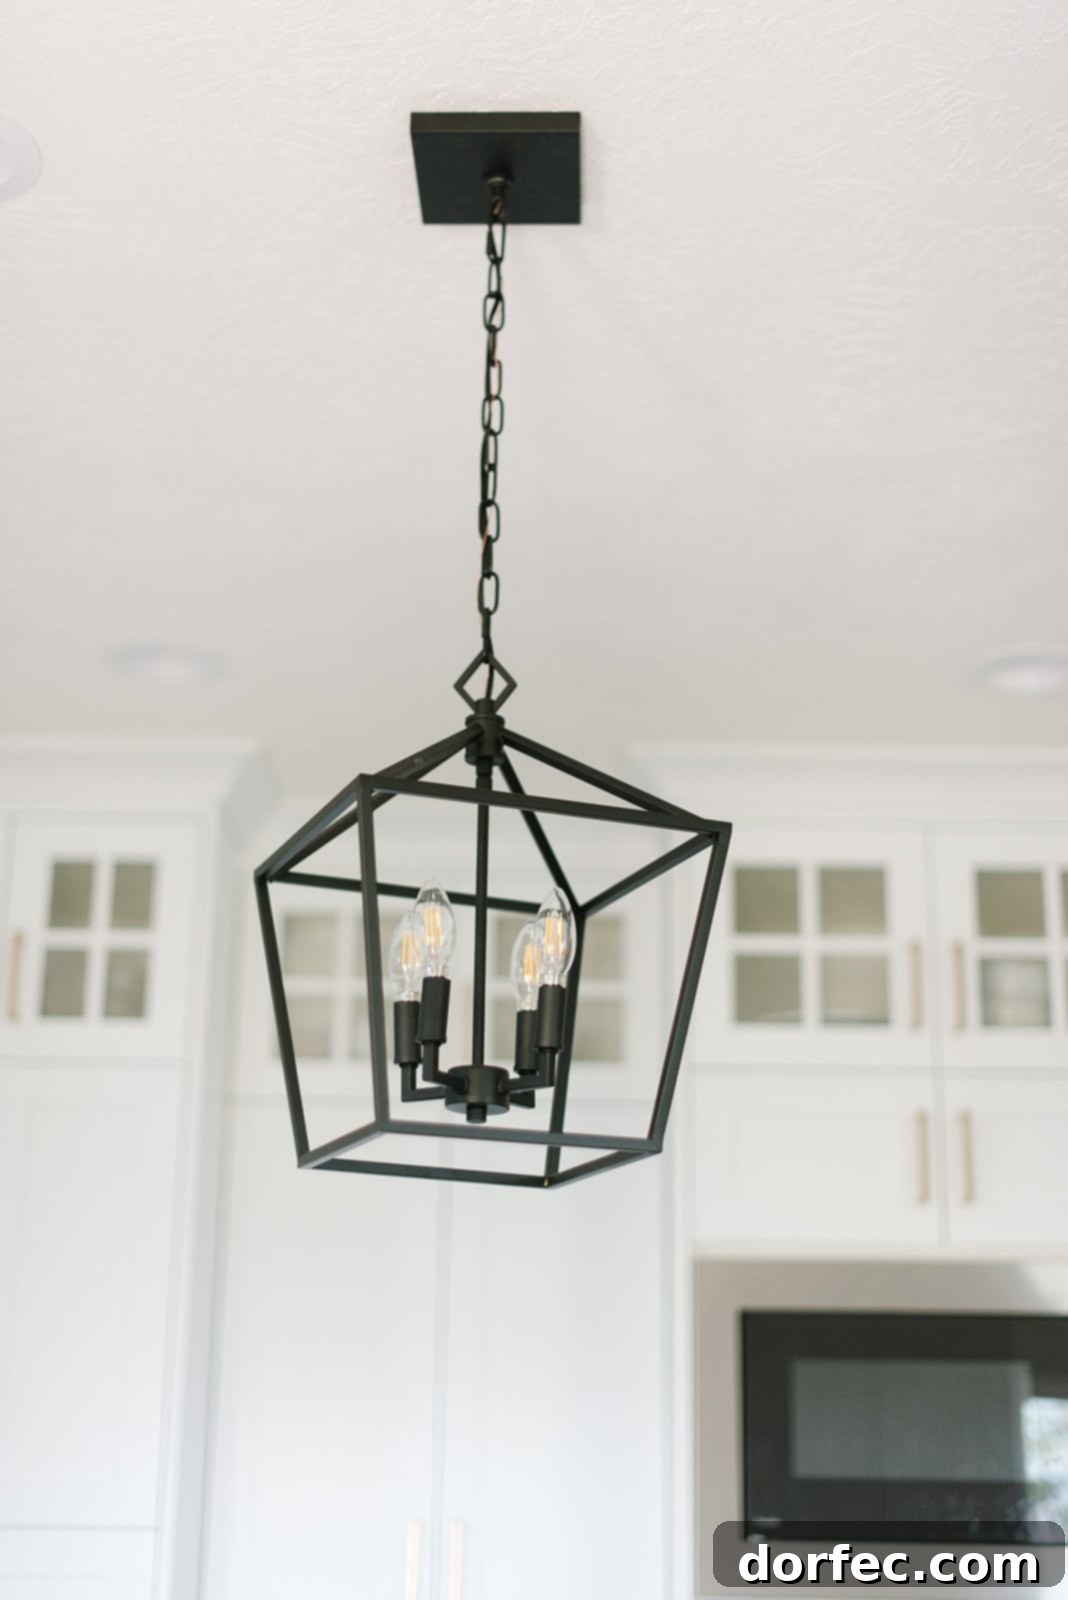
- **Custom Lighting:** Lighting by Tyson provided an unparalleled service. When we struggled to find exactly what we envisioned, they went above and beyond, disassembling existing fixtures and custom-creating pieces to match our unique design preferences. Their expertise was truly life-saving.
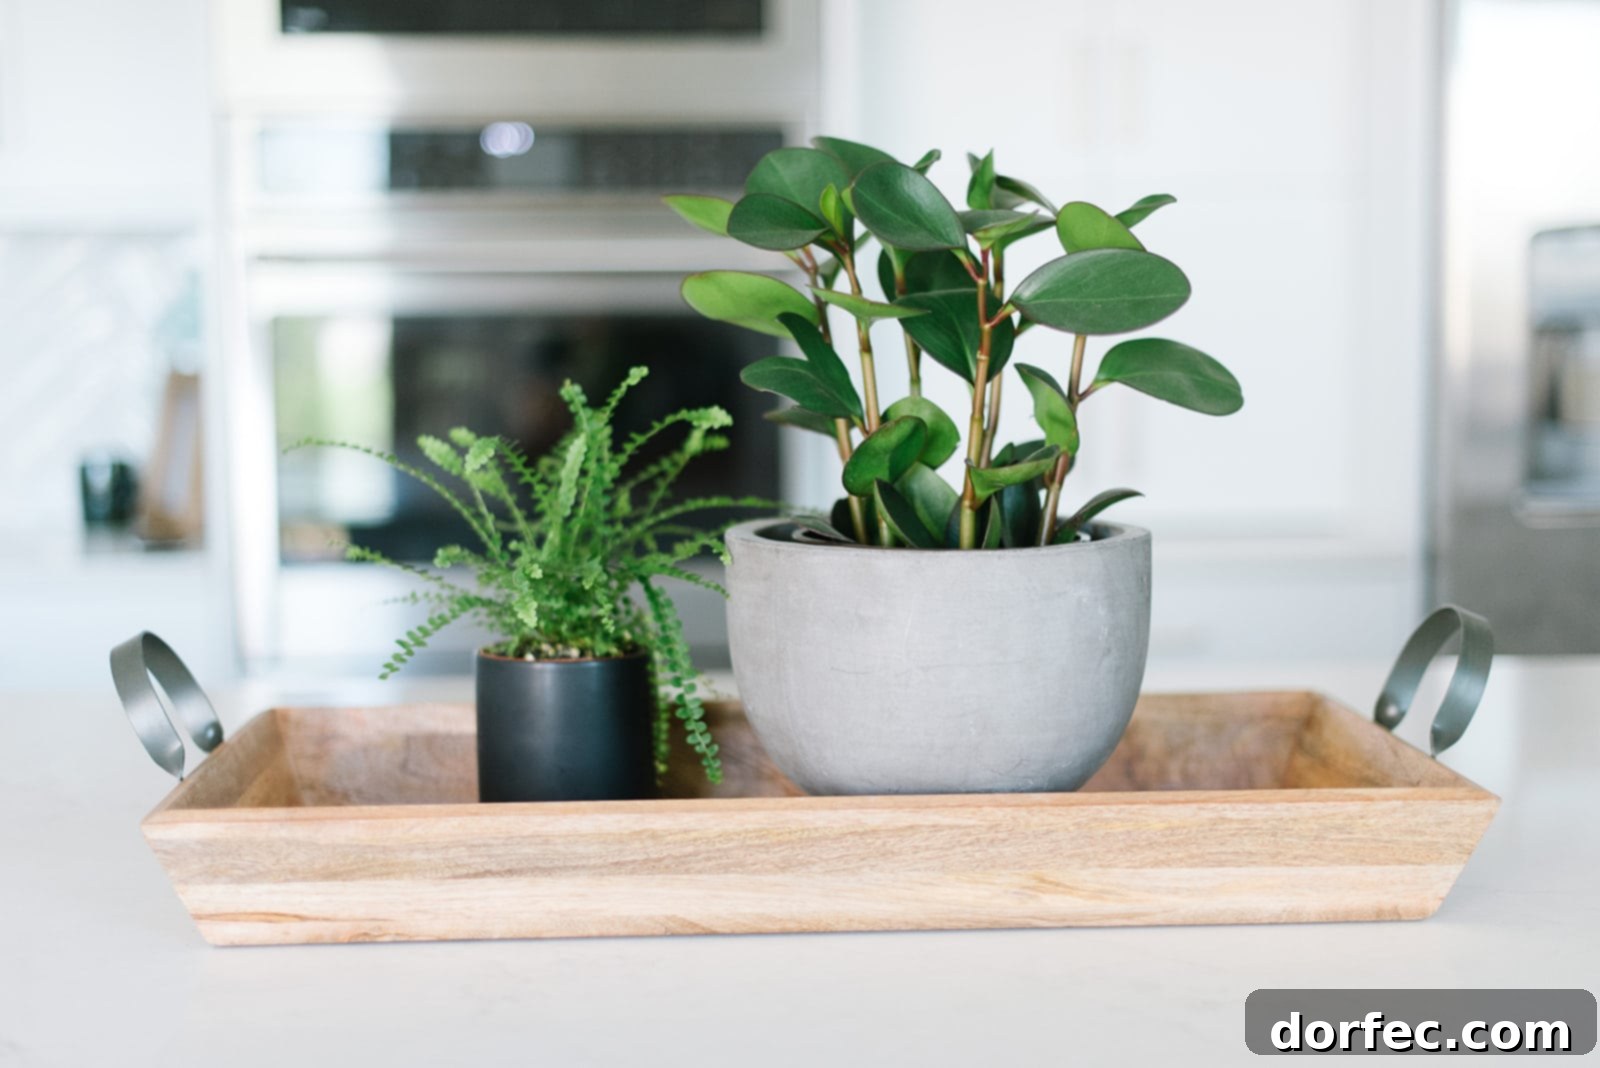
- **Accessories:** Other decorative and functional accessories were sourced from popular home retailers like Home Goods and Target, allowing us to add personal touches without breaking the bank.
- **Kitchen Faucet:** The kitchen features a reliable and aesthetically pleasing Moen single spray faucet, combining practicality with a modern look.
If you have any further questions about specific items or design choices, please leave a comment below, and we’ll be happy to provide more details!
Our Recommended List of Top Utah Contractors
Finding trustworthy and skilled contractors is paramount to a successful renovation. We were incredibly fortunate to work with an exceptional team who were punctual, professional, offered competitive pricing, and delivered outstanding quality without delays. Feel free to mention Cade and Carrian when contacting them:
- Tile Installation – Pedro and Monica (contact Monica): 801-722-8708
- Electrician – Raphael: 385-375-4548
- Plumber – Ryan (contact his wife, Sage): 801-592-7831
- Hardwood Floor Refinishing/Sealing – Gordon: 801-726-7651
- Countertops (Quartz, best price & rapid templating/delivery) – Tevita: 801-898-2294
- Painter – Josh: 801-712-0191
- Finish Work – Scott Ruitenbeak: 209-373-8634
- General Contractor – Connor: 385-887-2727
- Custom Lighting Fixtures – Tyson: 801-787-5781