
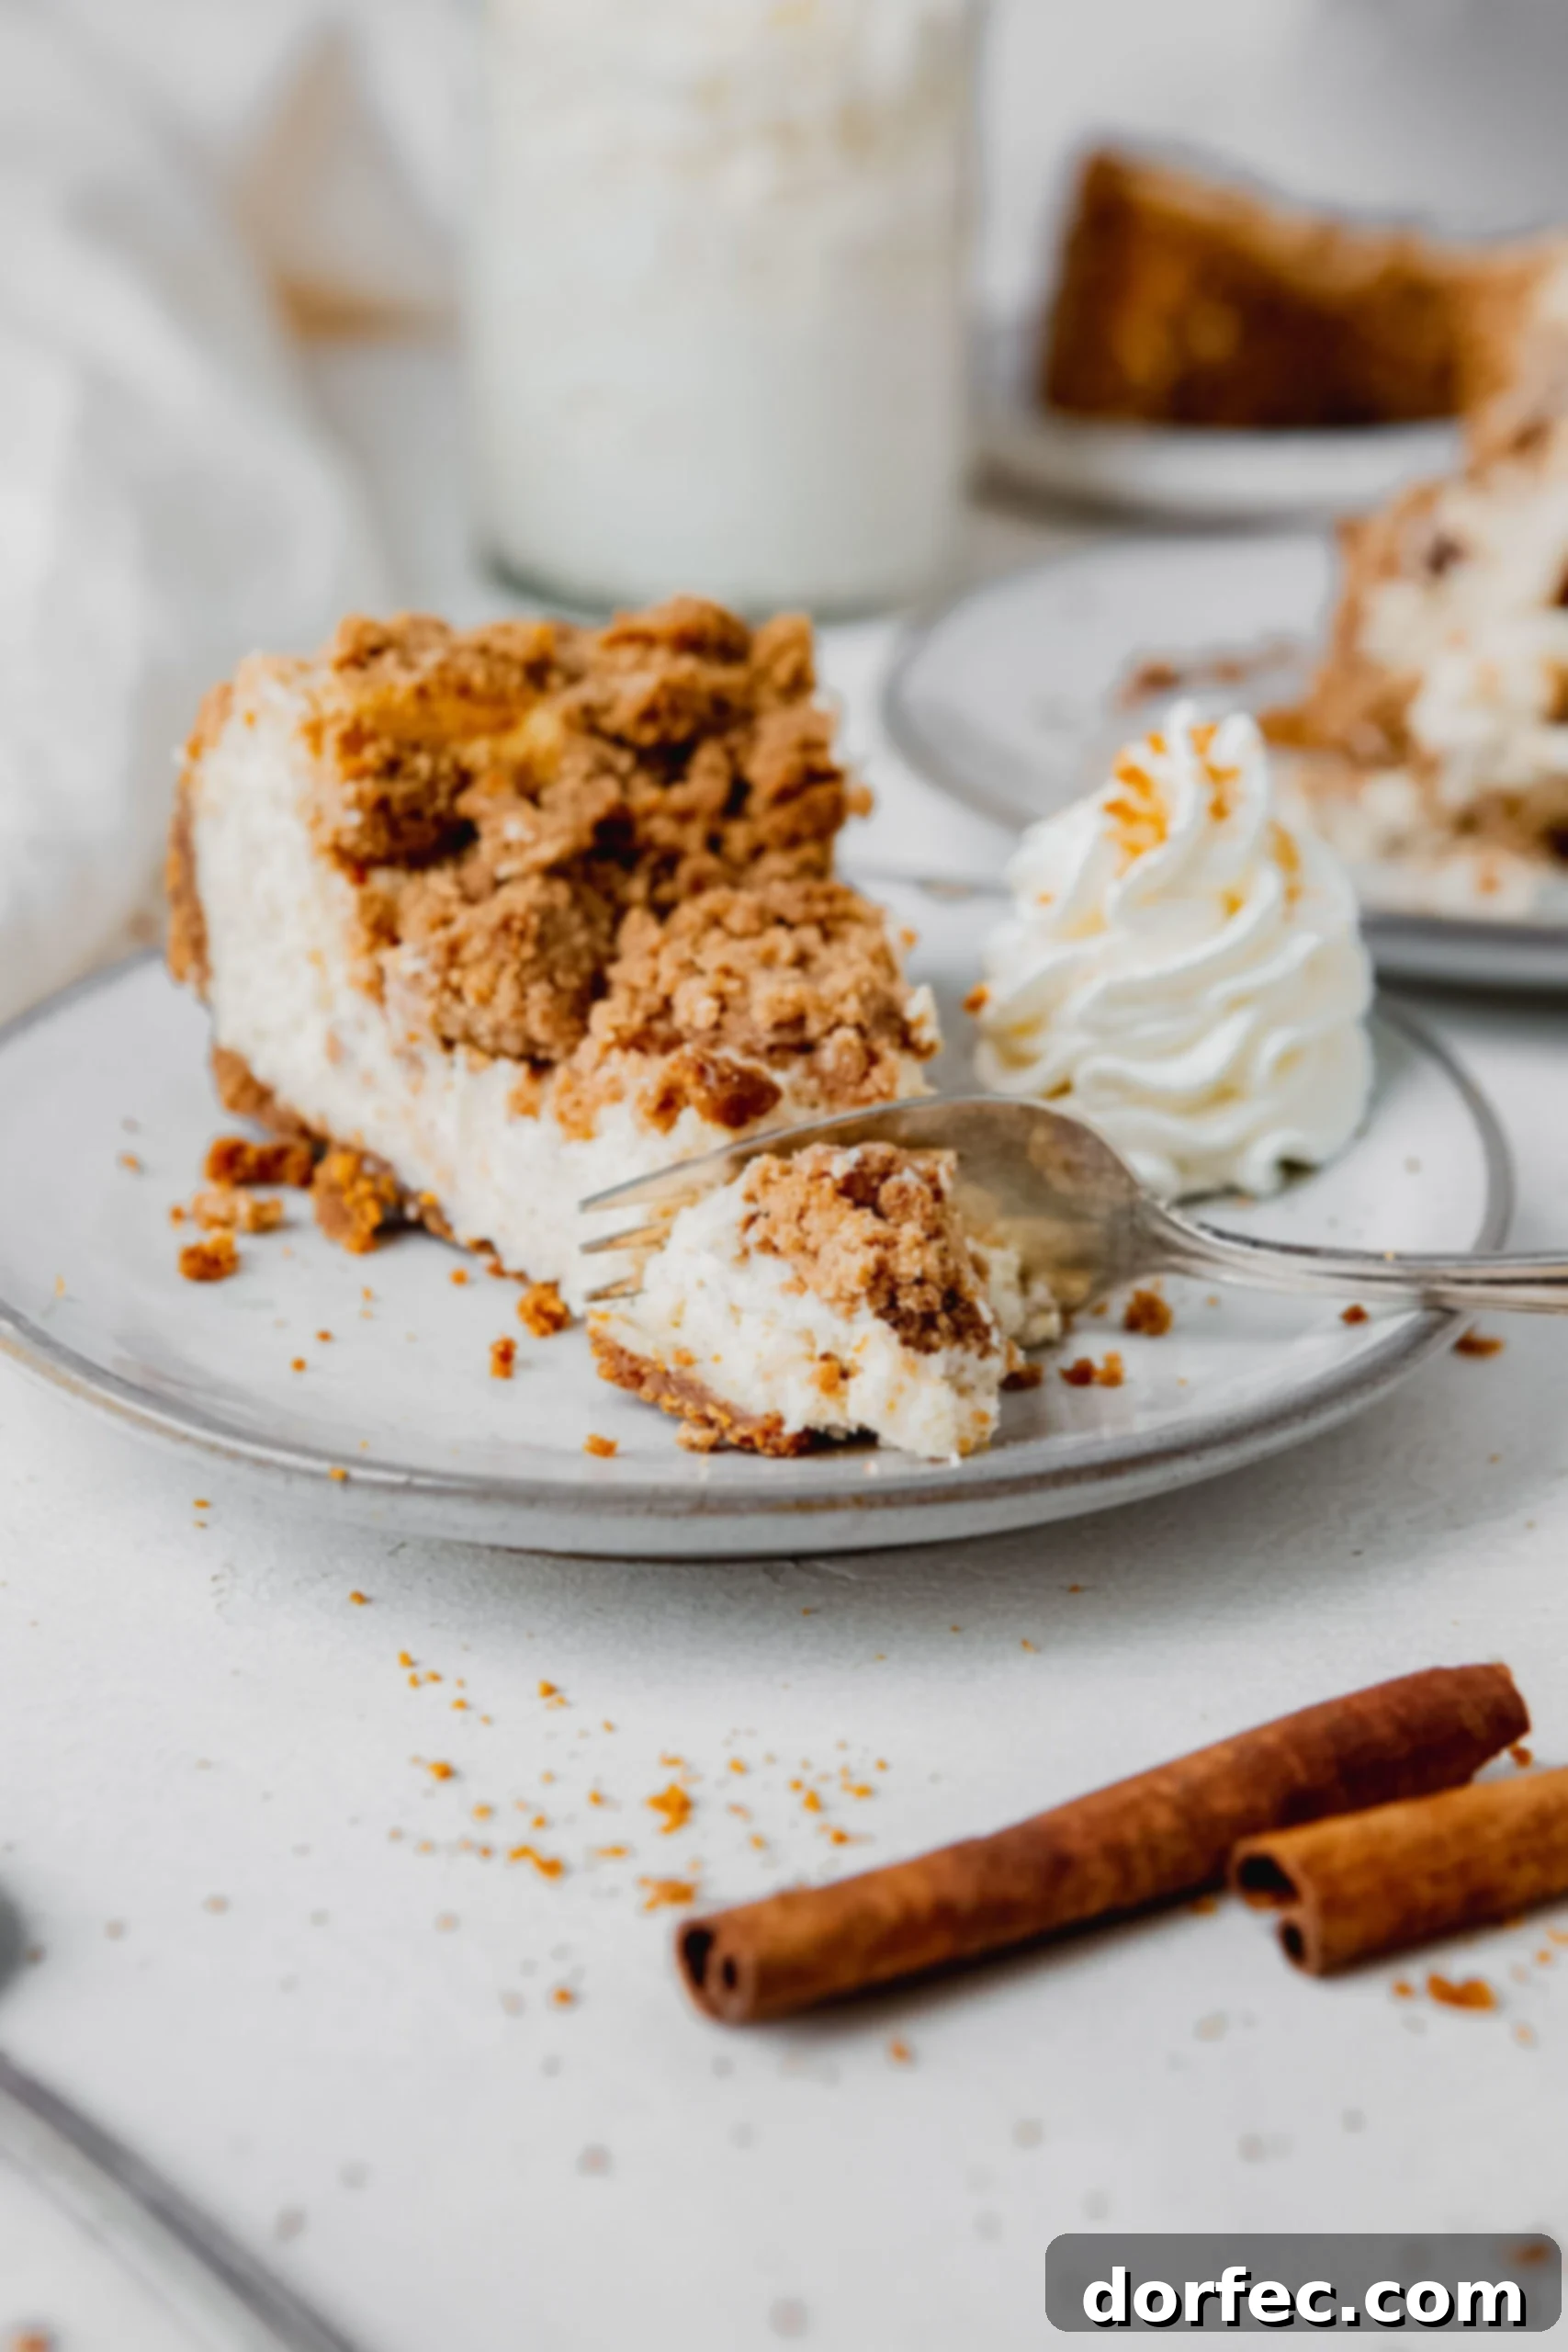
Prepare your taste buds for an unforgettable dessert experience: the Biscoff Snickerdoodle Cookie Explosion Cheesecake. This isn’t just a cheesecake; it’s a meticulously crafted masterpiece designed to deliver the rich, spiced comfort of a snickerdoodle cookie perfectly fused with the creamy indulgence of a classic cheesecake, all atop a uniquely delightful Biscoff crust. Forget those ordinary cheesecakes that merely sprinkle cinnamon sugar on top and claim “snickerdoodle” status. We embarked on a culinary quest to create something truly extraordinary, and the result is a dessert that promises an explosion of flavor with every single bite.
For too long, the quest for a genuine snickerdoodle cheesecake felt like an endless scroll through Pinterest, encountering recipe after recipe that fell short. They often tasted like a standard cheesecake with a graham cracker crust, perhaps with a hint of cinnamon sugar, but none captured the signature tang from cream of tartar or the deeply satisfying spice profile characteristic of a true snickerdoodle cookie. It begged the question: how can one truly translate that delicate balance of a plain, tangy cookie with its bold cinnamon-sugar coating into the luxurious, smooth canvas of a cheesecake? The answer, as it turns out, lies in thoughtful innovation and a commitment to flavor.
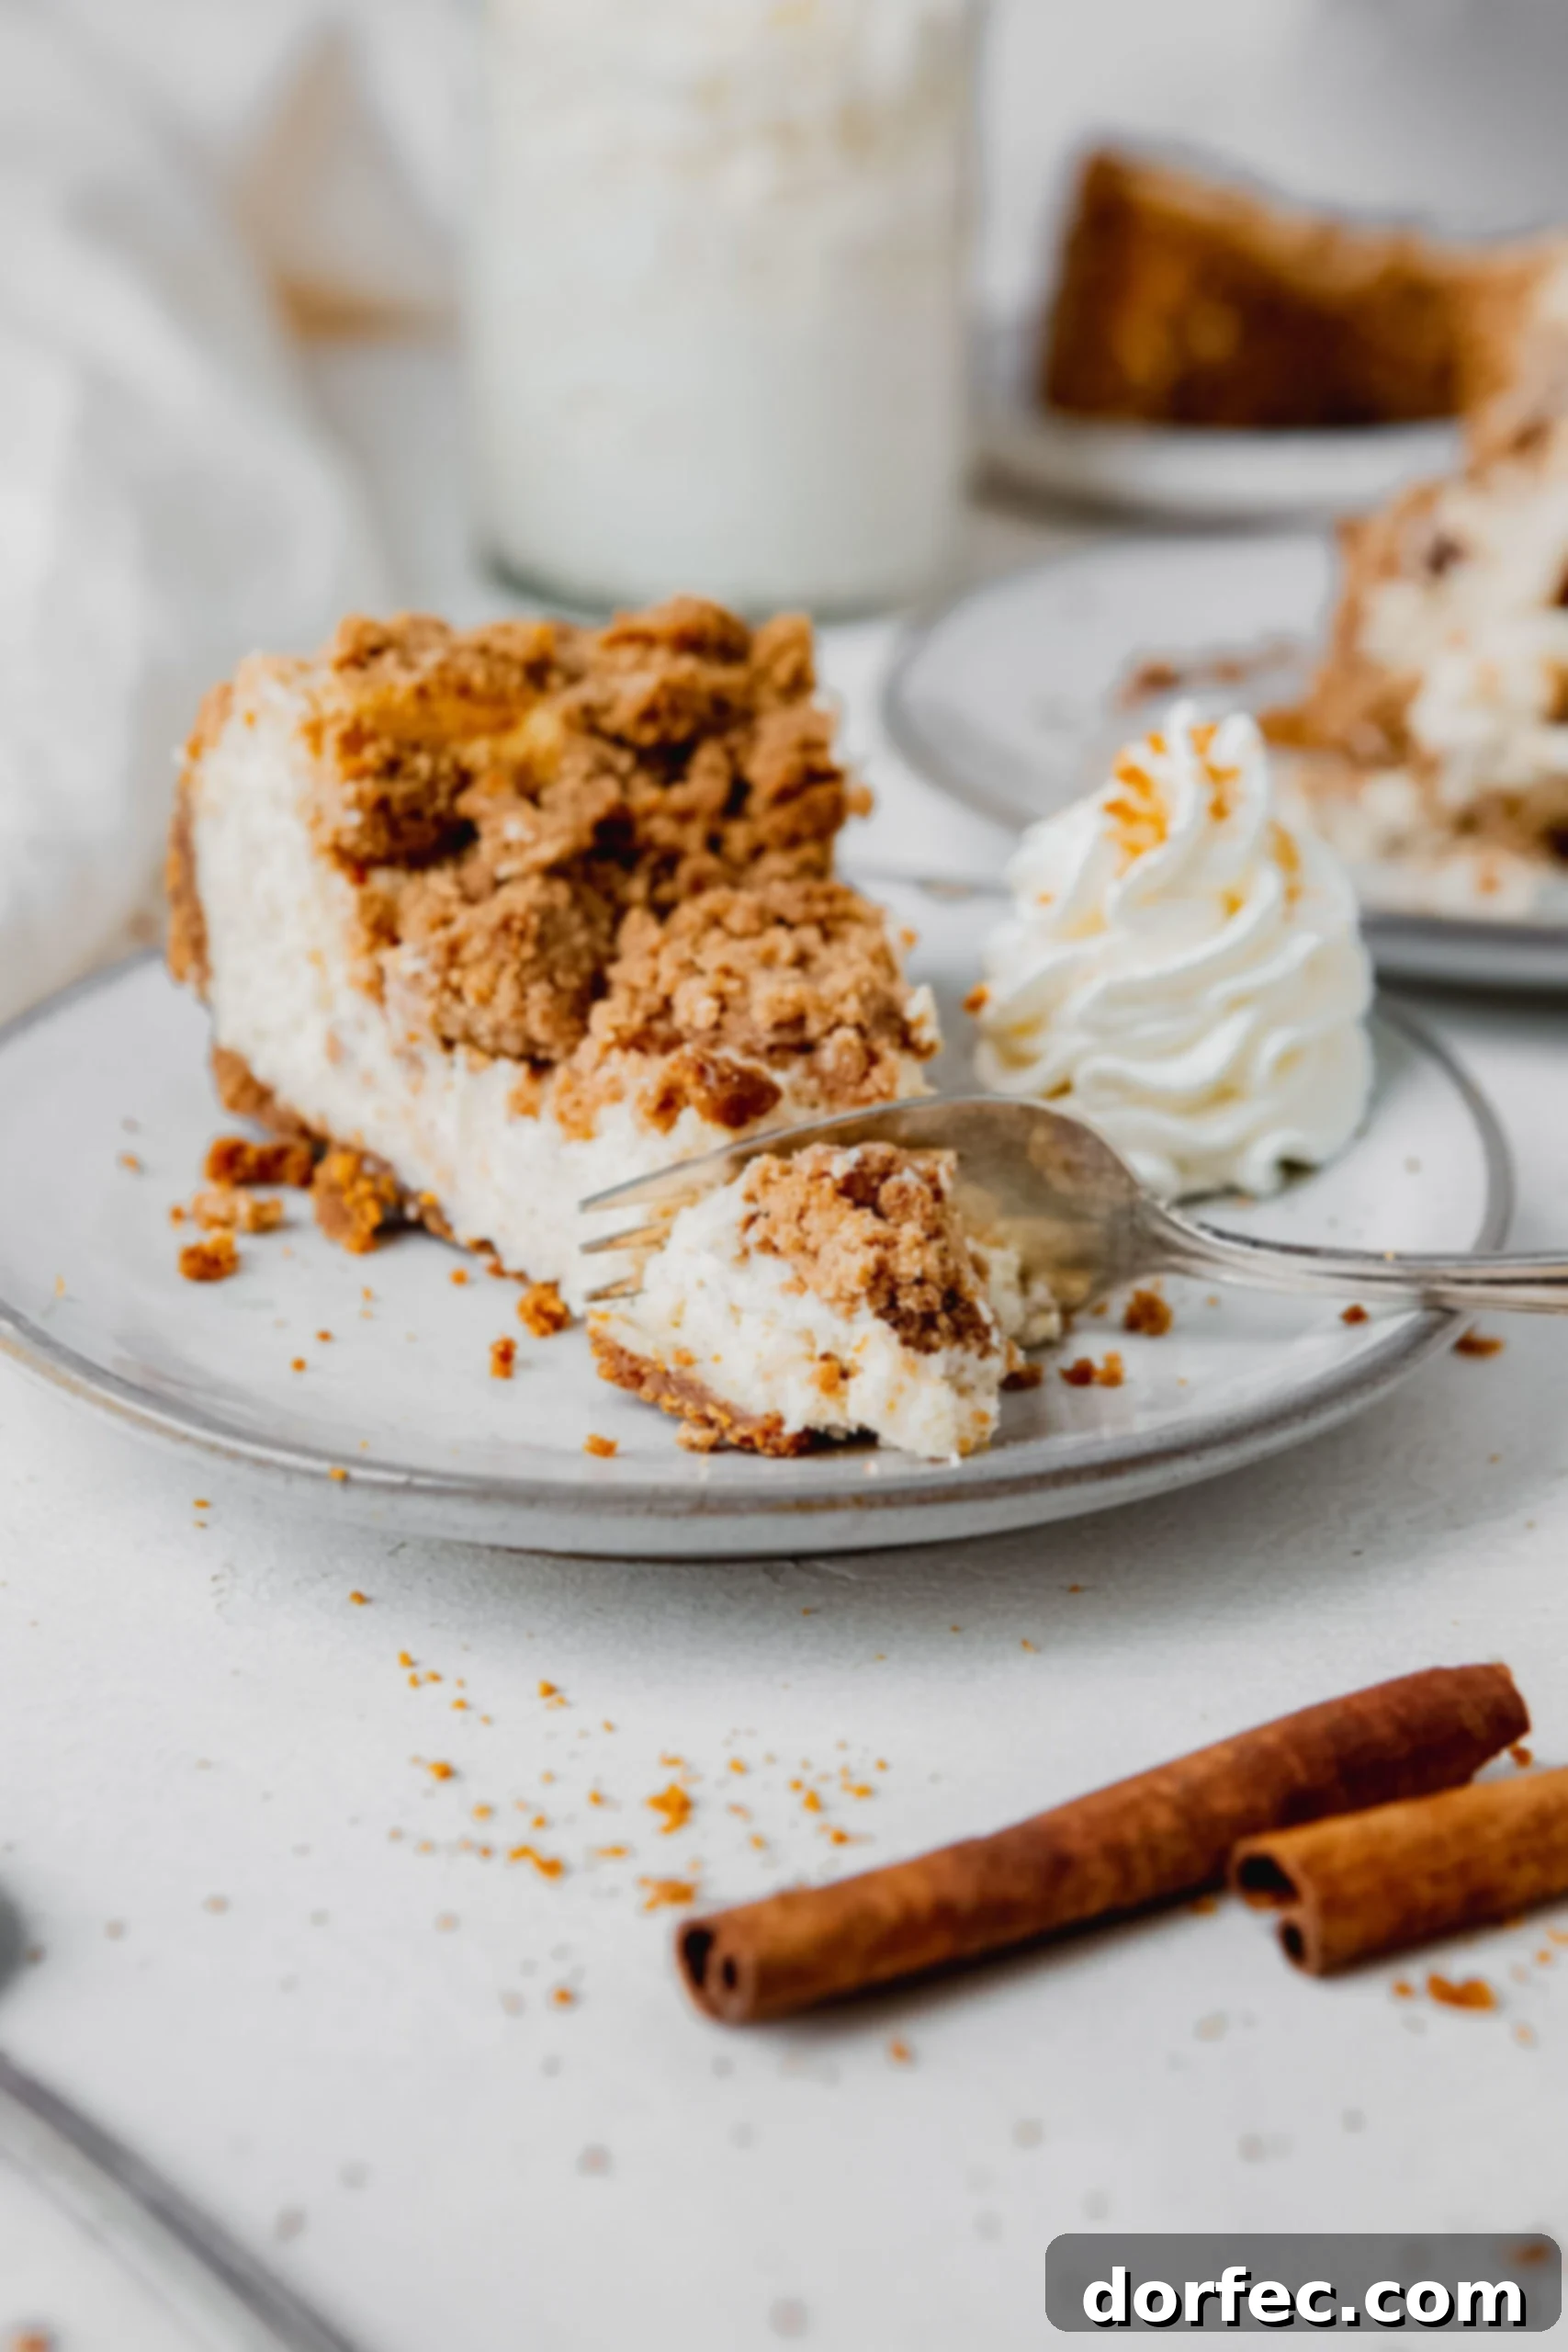
After considerable experimentation and countless batches, we perfected this magnificent creation. What began as a simple cheesecake concept evolved into this phenomenal Biscoff Snickerdoodle Cookie Explosion Cheesecake. Why settle for ordinary when you can achieve something truly extraordinary? This dessert is a symphony of textures and tastes, where the buttery, spiced notes of Biscoff cookies meet the comforting warmth of snickerdoodle, all encased within a luscious cheesecake. Each forkful is an enchanting journey, a “cookie explosion” right in your mouth.
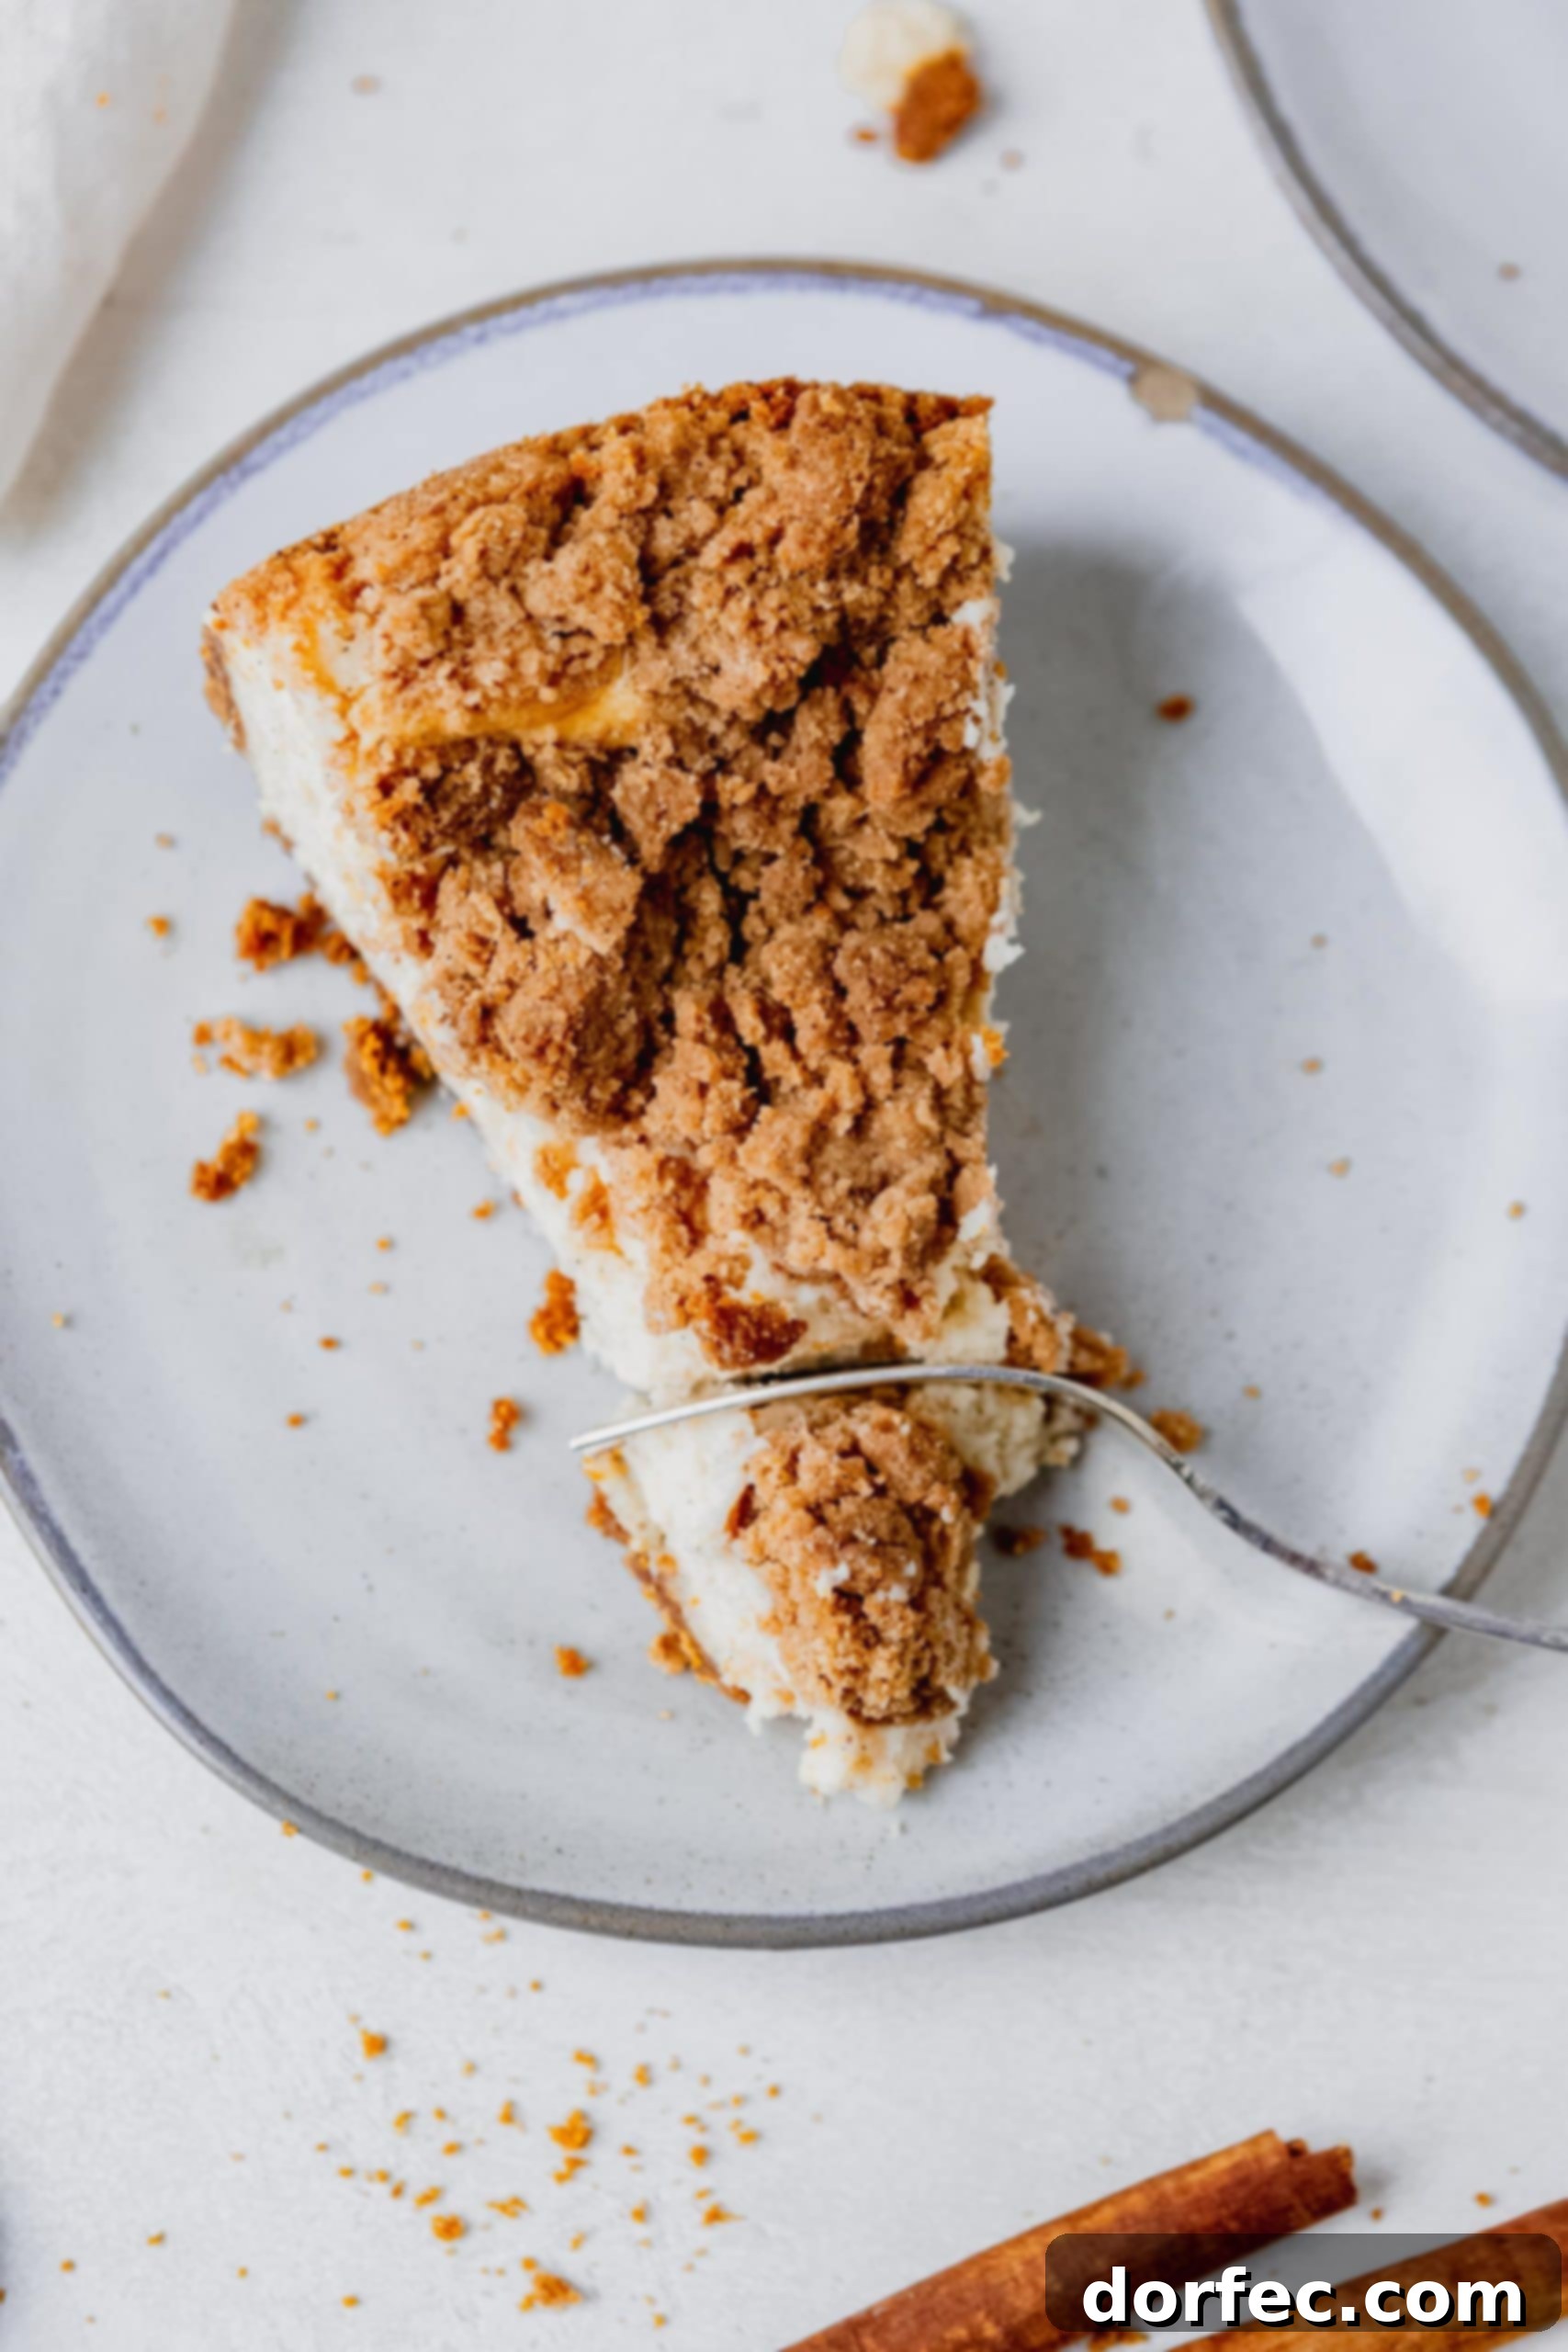
To truly imbue our cheesecake with that unmistakable cinnamon sugar cookie taste, we knew a simple dusting wouldn’t suffice. Instead, we developed a decadent streusel topping. This thoughtful addition elevates the dessert, providing a delightful crumbly texture and an intense burst of cinnamon-sugar flavor that genuinely evokes the essence of a freshly baked snickerdoodle. The streusel adds an instant “cookie oomph,” transforming a good cheesecake into an exceptional one.
Crafting the Perfect Biscoff Snickerdoodle Cheesecake: Essential Ingredients
Our Biscoff Snickerdoodle Cookie Explosion Cheesecake is a marvel of three distinct, yet harmonious, layers, each contributing to the dessert’s irresistible charm. To recreate this perfection in your own kitchen, gather the following high-quality ingredients. Paying attention to the details of each component is key to achieving that signature “explosion” of flavor and texture.
For the Biscoff Cookie Crust
- Biscoff Cookie Crumbs: The foundation of our cheesecake, providing a deep caramelized spice flavor that perfectly complements the snickerdoodle theme. Using actual Biscoff cookies ensures an authentic and rich base.
- Cinnamon: A hint of ground cinnamon in the crust enhances the warm spice notes of the Biscoff cookies, laying a fragrant groundwork for the layers above.
- Butter: Unsalted butter, melted, binds the cookie crumbs together, creating a firm yet tender crust that holds its shape beautifully and adds a rich, satisfying mouthfeel.
For the Creamy Cheesecake Filling
- Full-Fat Cream Cheese: The cornerstone of any truly decadent cheesecake. Ensure it’s full-fat and properly softened to achieve an ultra-smooth, velvety texture free of lumps.
- Full-Fat Sour Cream: Adds a crucial tanginess and moisture to the filling, balancing the sweetness and contributing to the cheesecake’s characteristic creamy consistency. Its acidity also helps prevent cracking.
- Granulated Sugar: Provides the essential sweetness for the rich cheesecake filling, ensuring a perfectly balanced flavor profile.
- Vanilla Bean Pods: For an unparalleled depth of vanilla flavor. Scraped vanilla beans infuse the filling with aromatic specks and a complex sweetness that vanilla extract simply cannot replicate.
- Cinnamon: A delicate amount of cinnamon woven into the filling further integrates the snickerdoodle essence throughout the cheesecake, creating a cohesive flavor experience.
- Large Eggs: Room temperature and lightly beaten, eggs are vital for the structure and richness of the cheesecake, providing a custard-like texture and helping it set properly.
For the Signature Streusel Topping
- All-Purpose Flour: Forms the base of our crumbly streusel, providing structure and texture.
- Cold Butter: Cut into small cubes, cold butter is essential for creating that perfect crumbly streusel texture. It prevents the butter from melting too quickly, allowing for distinct crumbs.
- Brown Sugar: Adds a moist, caramel-like sweetness to the streusel, deepening its flavor and enhancing the overall warmth of the topping.
- Salt: A pinch of salt balances the sweetness and brings out the full spectrum of flavors in the streusel.
- Cinnamon: A generous amount of cinnamon for the streusel is non-negotiable, delivering the bold, spiced punch that makes this cheesecake truly snickerdoodle-worthy.
Detailed measurements for each ingredient, along with precise instructions, are provided in the recipe card found later in this article, ensuring you have all the information needed for a successful bake.
Baking Brilliance: How to Make Biscoff Snickerdoodle Cookie Explosion Cheesecake
Embark on your journey to cheesecake perfection by starting with the crucial Biscoff cookie crust. While a traditional graham cracker crust is an option, as detailed below, the Biscoff base truly sets this recipe apart. Once your crust is prepared, we’ll move on to crafting the silky-smooth filling and the irresistible streusel topping. Each step is designed to be straightforward, guiding you to a dessert that’s as delightful to make as it is to eat.
Crafting the Irresistible Biscoff Cookie Crust
- Begin by preheating your oven to 350°F (175°C). While the cheesecake won’t be baked immediately, this ensures your oven is ready for the final assembly.
- In a small, microwave-safe bowl or a butter melting pot, gently melt the specified amount of butter.
- If your Biscoff cookies aren’t already crumbs, pulse them in a food processor until they form fine, even crumbs. Alternatively, place them in a sturdy ziploc bag and crush them thoroughly with a rolling pin.
- Transfer the cookie crumbs to a mixing bowl. Add the ground cinnamon and the melted butter, stirring well until all the crumbs are evenly moistened and resemble wet sand.
- Firmly press this mixture into the bottom of a 9-inch springform pan. Use the back of a spoon or your fingertips to create an even, compact layer. This forms the delicious foundation of your Biscoff Snickerdoodle Cheesecake. Set the prepared crust aside as you move to the next layer.
Preparing the Velvety Cheesecake Filling
- In the bowl of a stand mixer fitted with the paddle attachment, or using a large bowl with a hand mixer, add your softened full-fat cream cheese. Beat it on medium speed until it is completely smooth and free of any lumps. This step is crucial for a silken cheesecake texture.
- Next, add the full-fat sour cream, granulated sugar, cinnamon, and the scraped seeds from your vanilla bean pods to the cream cheese mixture. Continue to beat on medium speed until all the ingredients are fully incorporated and the mixture is once again smooth and creamy. Scrape down the sides of the bowl as needed to ensure everything is well mixed.
- In a separate small bowl, whisk the large eggs thoroughly until the yolks and whites are completely combined. While your mixer is still running on low speed, slowly pour the whisked eggs into the cream cheese mixture. Mix just until the eggs are fully incorporated. It’s vital not to overmix at this stage, as excessive air can lead to cracks in your cheesecake during baking.
- Gently pour the prepared cheesecake filling over your set Biscoff cookie crust in the springform pan. Smooth the top with a spatula if necessary. Set the pan aside while you prepare the irresistible streusel topping.
Crafting and Baking the Signature Streusel Topping
- In a medium-sized bowl, combine the all-purpose flour, brown sugar, a pinch of salt, and a tablespoon of cinnamon. Whisk these dry ingredients together until they are evenly distributed.
- Remove the cold butter from the refrigerator and cut it into small, uniform cubes. Add the cold butter cubes to your dry streusel mixture. Now, get your hands in there! Using your fingertips, pinch and rub the butter into the flour mixture until it forms a coarse, crumbly paste with various-sized crumbs. The cold butter is key to achieving that perfect crumbly texture.
- Generously crumble the streusel mixture evenly over the top of the cheesecake filling. Don’t be shy – aim for a good mix of large, medium, and small crumbs for varied texture. Carefully slide the springform pan into your preheated oven.
- Bake for 40-55 minutes. The cheesecake is done when the edges appear set, but the center still has a slight wobble when gently shaken. Remember, a cheesecake continues to set as it cools, so it will look deceivingly underdone in the oven. For detailed tips on preventing cracks, refer to our comprehensive guide on how to not crack a cheesecake.
- Once baked, carefully open the oven door and slide the cheesecake out onto a wire cooling rack. Allow it to cool at room temperature for 20-30 minutes before transferring it to the refrigerator. Chill for at least 4 hours, or preferably overnight, to allow it to fully set and for the flavors to meld beautifully.
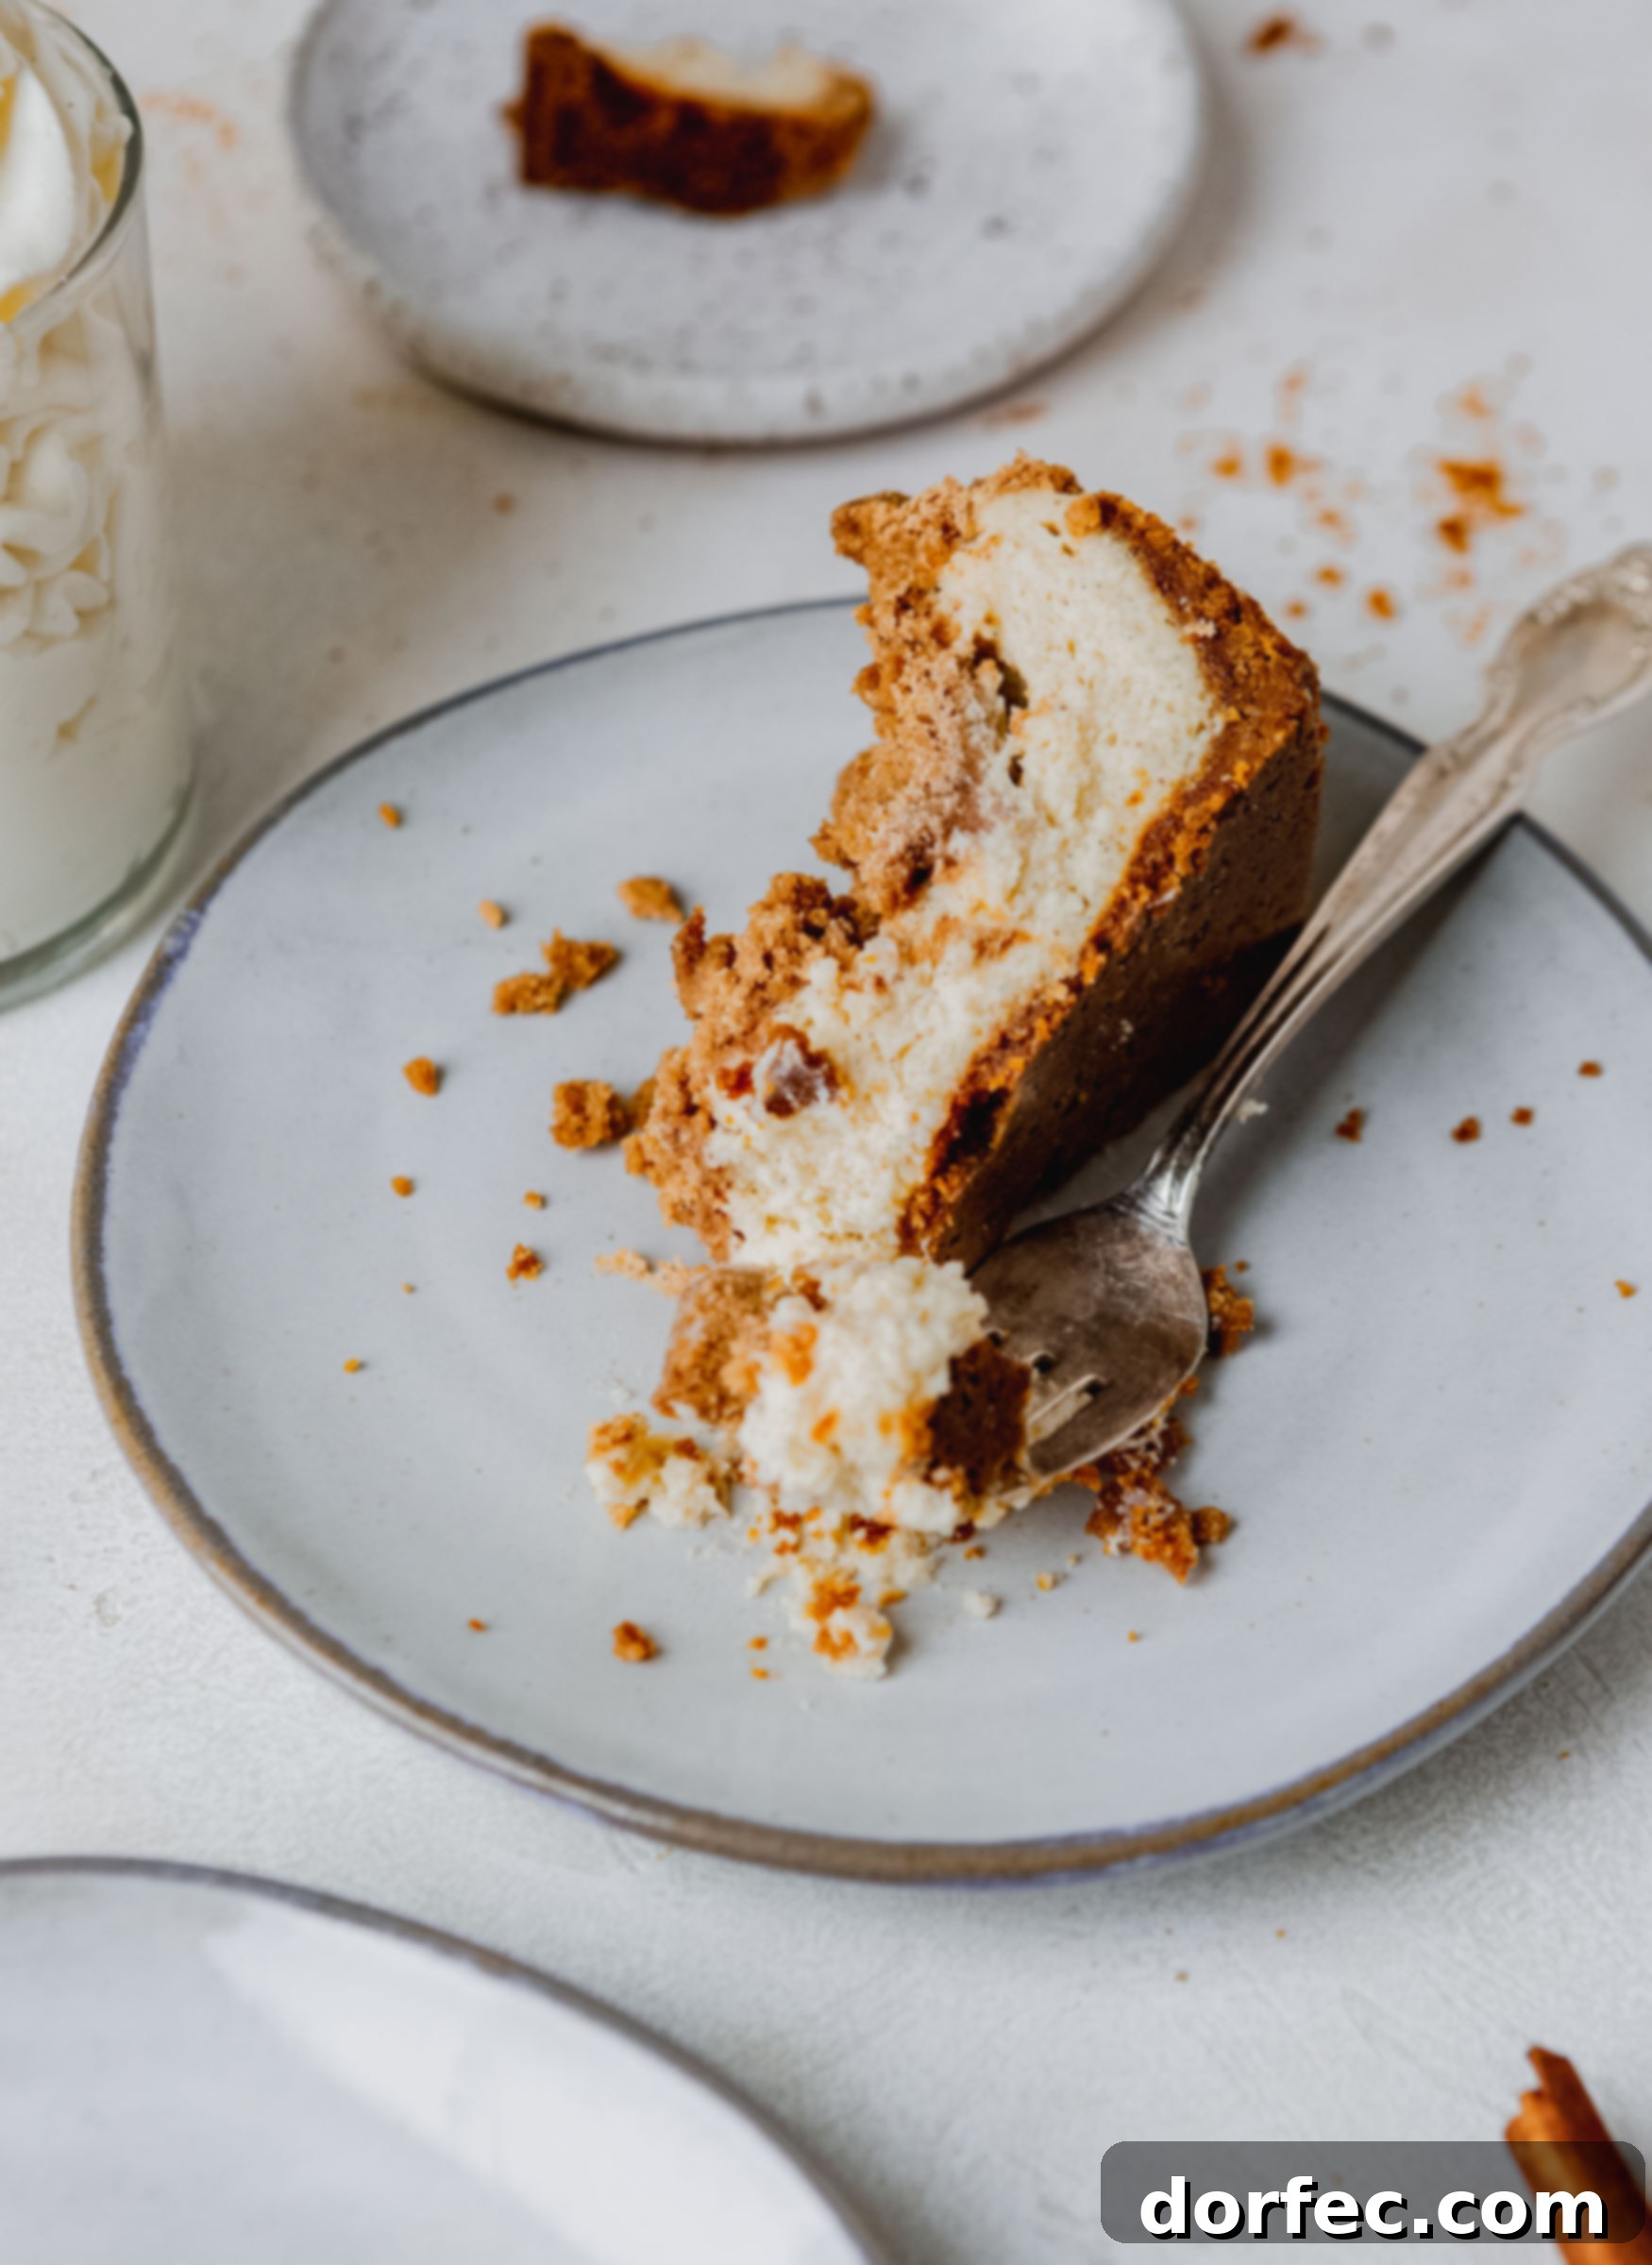
Why a Biscoff Cookie Pie Crust Makes All the Difference
The crust of a cheesecake is far more than just a base; it’s an integral component of the overall flavor profile. Initially, when developing this Biscoff Snickerdoodle Cheesecake, we experimented with a classic graham cracker crust. While we absolutely adore graham cracker crusts in many applications, we found that its distinct flavor, though delicious, actually detracted from the nuanced “cookie bottom” experience we were striving for. The goal was a crust that would enhance, rather than overshadow, the snickerdoodle essence.
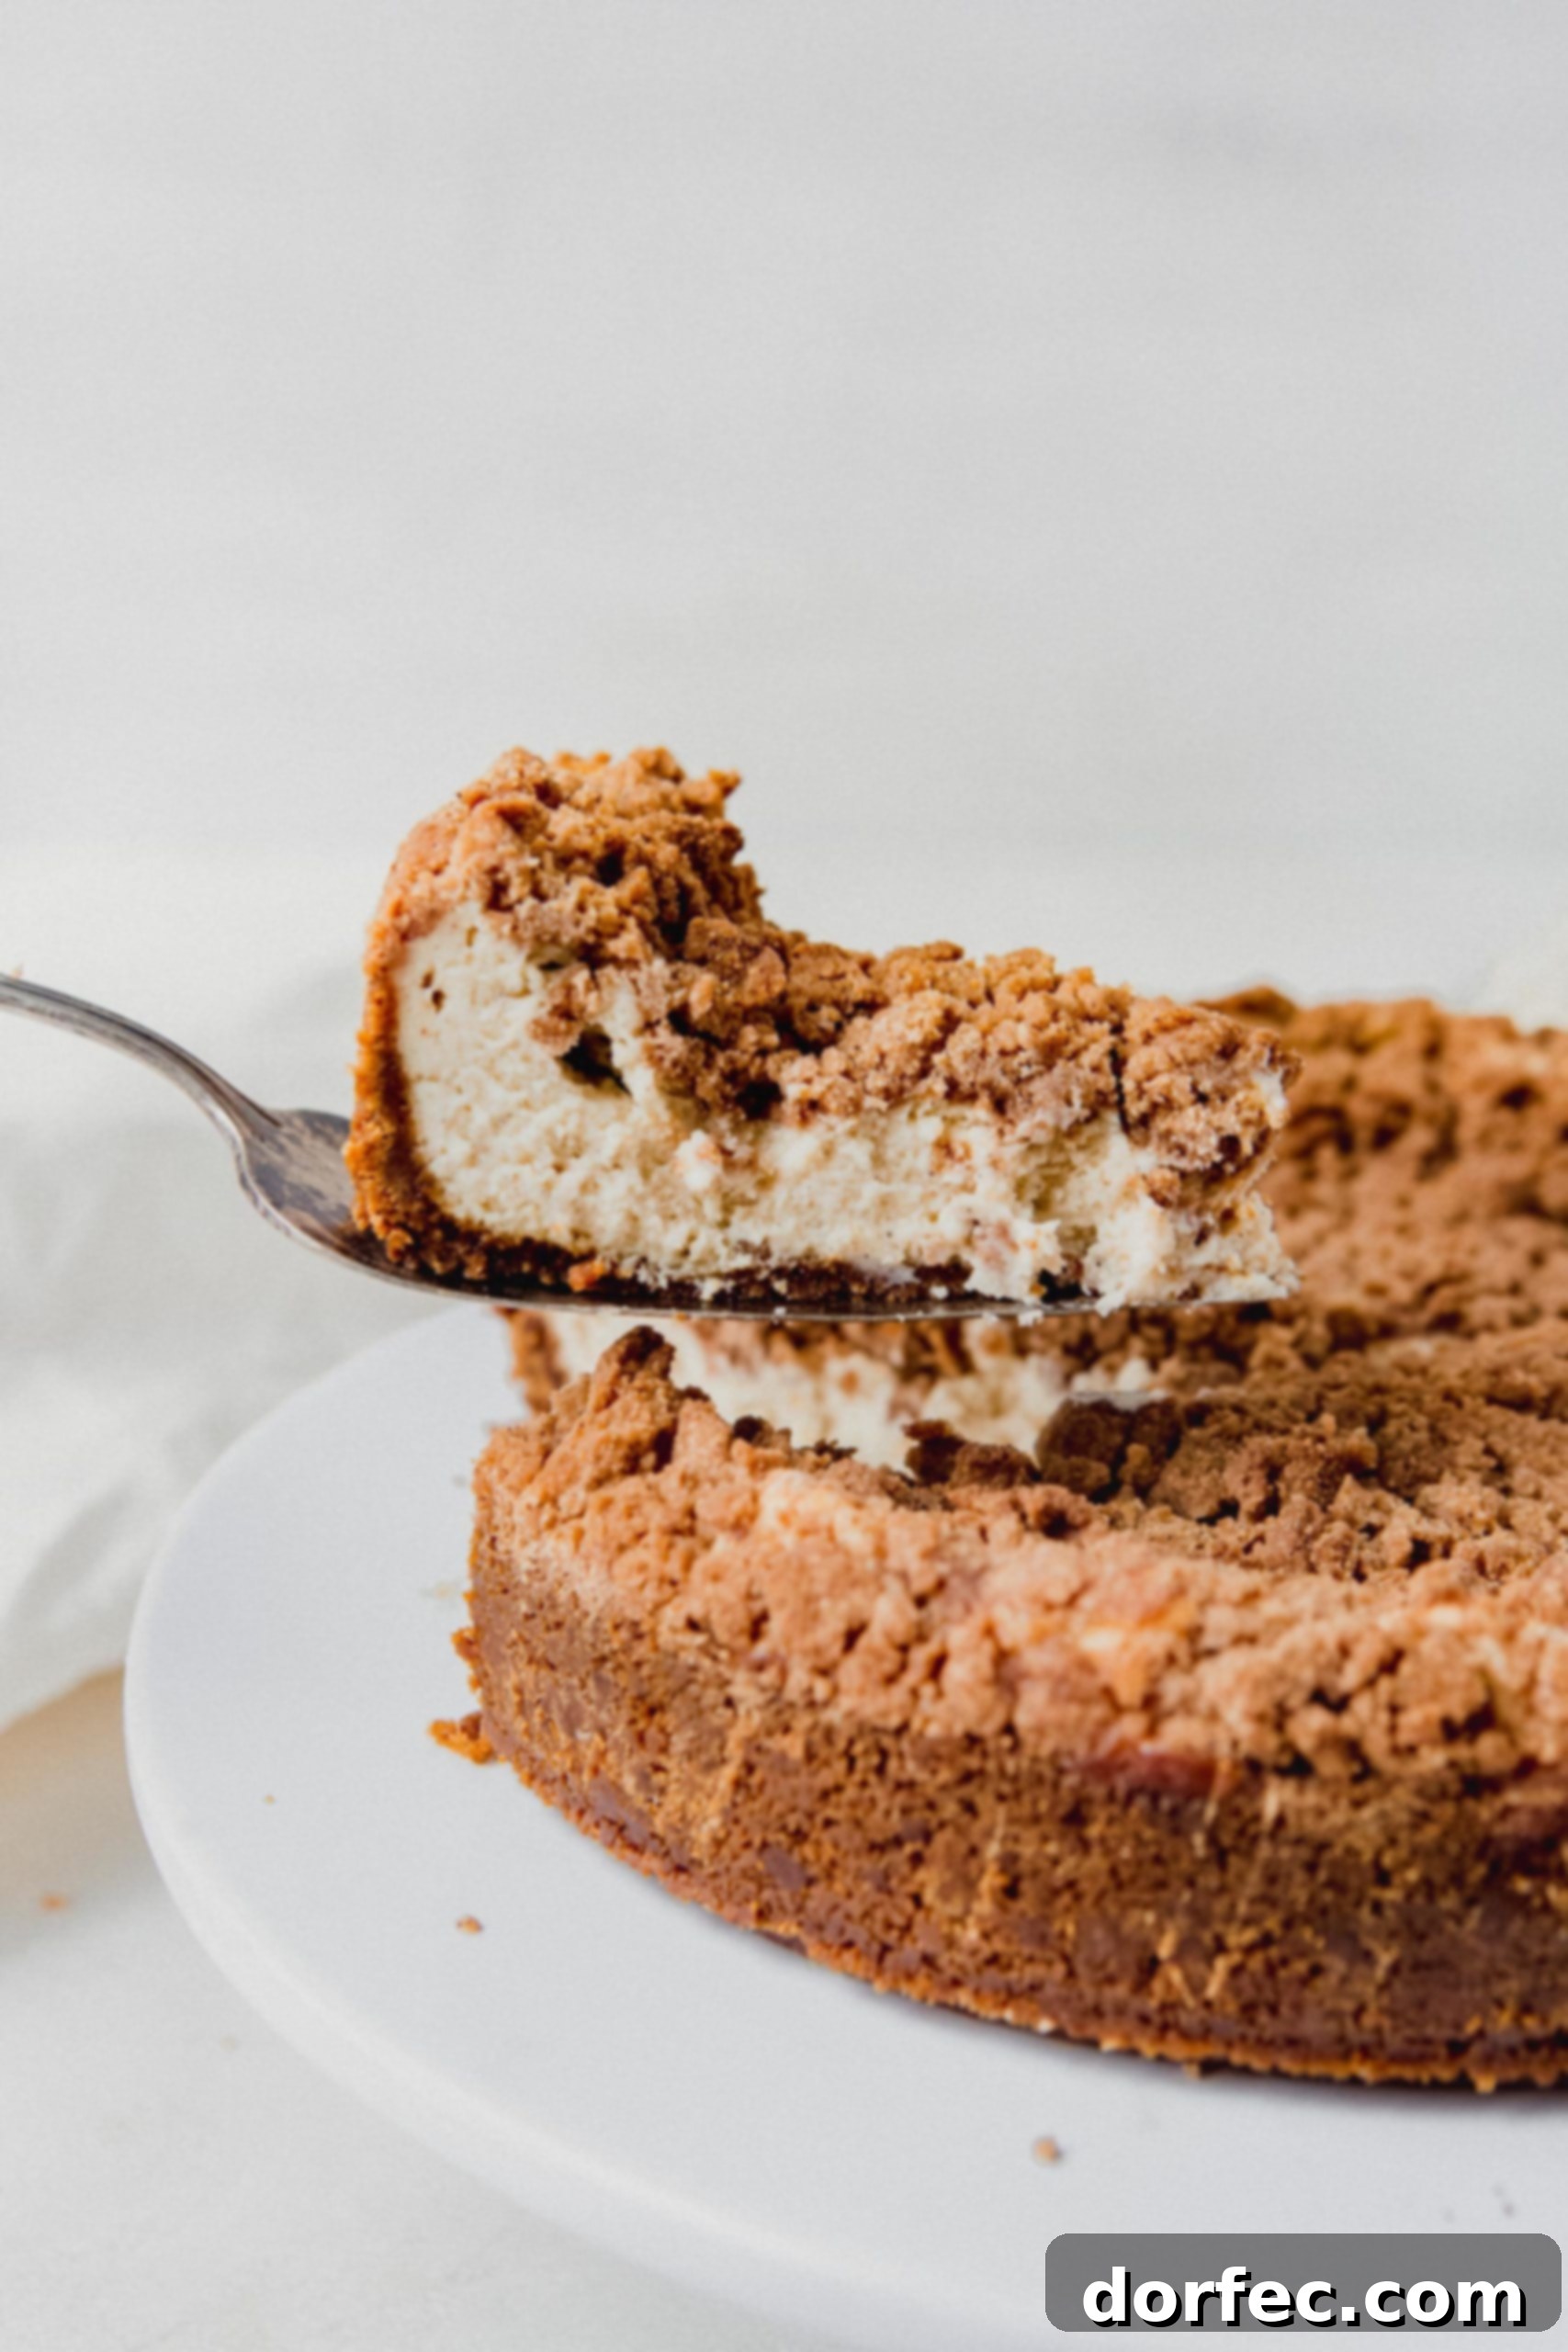
That’s when we made the pivotal decision to switch to a Biscoff cookie crust, and we couldn’t be happier with the outcome. Biscoff cookies, also known as Speculoos, bring a unique caramelized, slightly spicy flavor with prominent notes of cinnamon and ginger. This rich and complex flavor profile perfectly aligns with and amplifies the snickerdoodle theme, creating a truly harmonious “explosion” of flavors. The texture is just as delightful as a graham cracker crust – buttery, crumbly, and firm – but with an added depth of flavor that makes this Biscoff Snickerdoodle Cheesecake truly stand out.
But what if Biscoff isn’t your preference, or simply not available? Don’t worry, we have alternatives that will still yield a fantastic cheesecake.
How to Substitute a Graham Cracker Crust for Biscoff
While the Biscoff cookie crust is our top recommendation for its unique flavor synergy with the snickerdoodle profile, we understand that sometimes you might prefer or need a different option. You have two excellent alternatives if you choose not to use Biscoff cookies for your cheesecake crust:
- **A Combination Crust:** For a flavor that bridges the gap, use a blend of Biscoff cookies and classic graham cracker crumbs. This offers a hint of the Biscoff spice while maintaining some of the traditional graham cracker charm. Simply combine equal parts Biscoff crumbs and graham cracker crumbs (or adjust to your taste preference) before mixing with butter.
- **Pure Graham Cracker Crust:** If you prefer a more traditional approach, you can certainly use only graham cracker crumbs. In this case, use the same quantity of graham cracker crumbs as Biscoff crumbs specified in the recipe. To ensure it complements the sweetness of the cheesecake, you may also want to add about 1/4 cup of granulated sugar to the graham cracker crumbs before mixing with butter.
Regardless of your choice, prepare the crust using the melting butter technique outlined in the instructions. The key is to achieve a well-bound, firm base. Remember, in the world of cheesecake, a little culinary creativity always pays off!
The Art of Softening Cream Cheese for a Flawless Cheesecake
Achieving a wonderfully smooth and creamy cheesecake filling is paramount, and the secret lies in properly softened cream cheese. If your cream cheese isn’t soft enough, you’ll end up with lumps in your batter, leading to an uneven texture in your final dessert. We’ve all been there: forgetting to pull out the cream cheese hours in advance. But fear not, there’s a quick and effective trick to salvage your baking plans.
If you find yourself in a pinch, simply place the cream cheese blocks, still in their foil wrappers, into a bowl of warm (not hot!) water. Let them sit for about 10-15 minutes, or until they yield gently to the touch. The goal is for the cream cheese to be soft enough to blend easily without any lumps, but still cool to the touch. Over-softening it can make the batter too runny and affect the cheesecake’s set. This simple tip ensures your Biscoff Snickerdoodle Cheesecake will have that coveted silken texture.
Vanilla Beans vs. Vanilla Extract: Understanding the Flavor Impact
Our Biscoff Snickerdoodle Cheesecake recipe calls for vanilla bean pods to infuse the filling with an unparalleled depth of flavor. Vanilla beans offer a complex, aromatic, and distinctly rich vanilla essence that is immediately recognizable and visually appealing with its tiny dark specks. However, if vanilla beans are unavailable or you prefer a more convenient option, you can absolutely substitute vanilla extract.
For this recipe, simply replace the 3 vanilla bean pods with 2 teaspoons of high-quality vanilla extract. While extract will still provide a lovely vanilla flavor, the beans offer a more profound and nuanced aromatic profile. If you’re using vanilla beans for the first time or need a refresher, head over to our vanilla bean whipped cream post for a detailed guide on how to expertly scrape out those precious seeds from the pods.
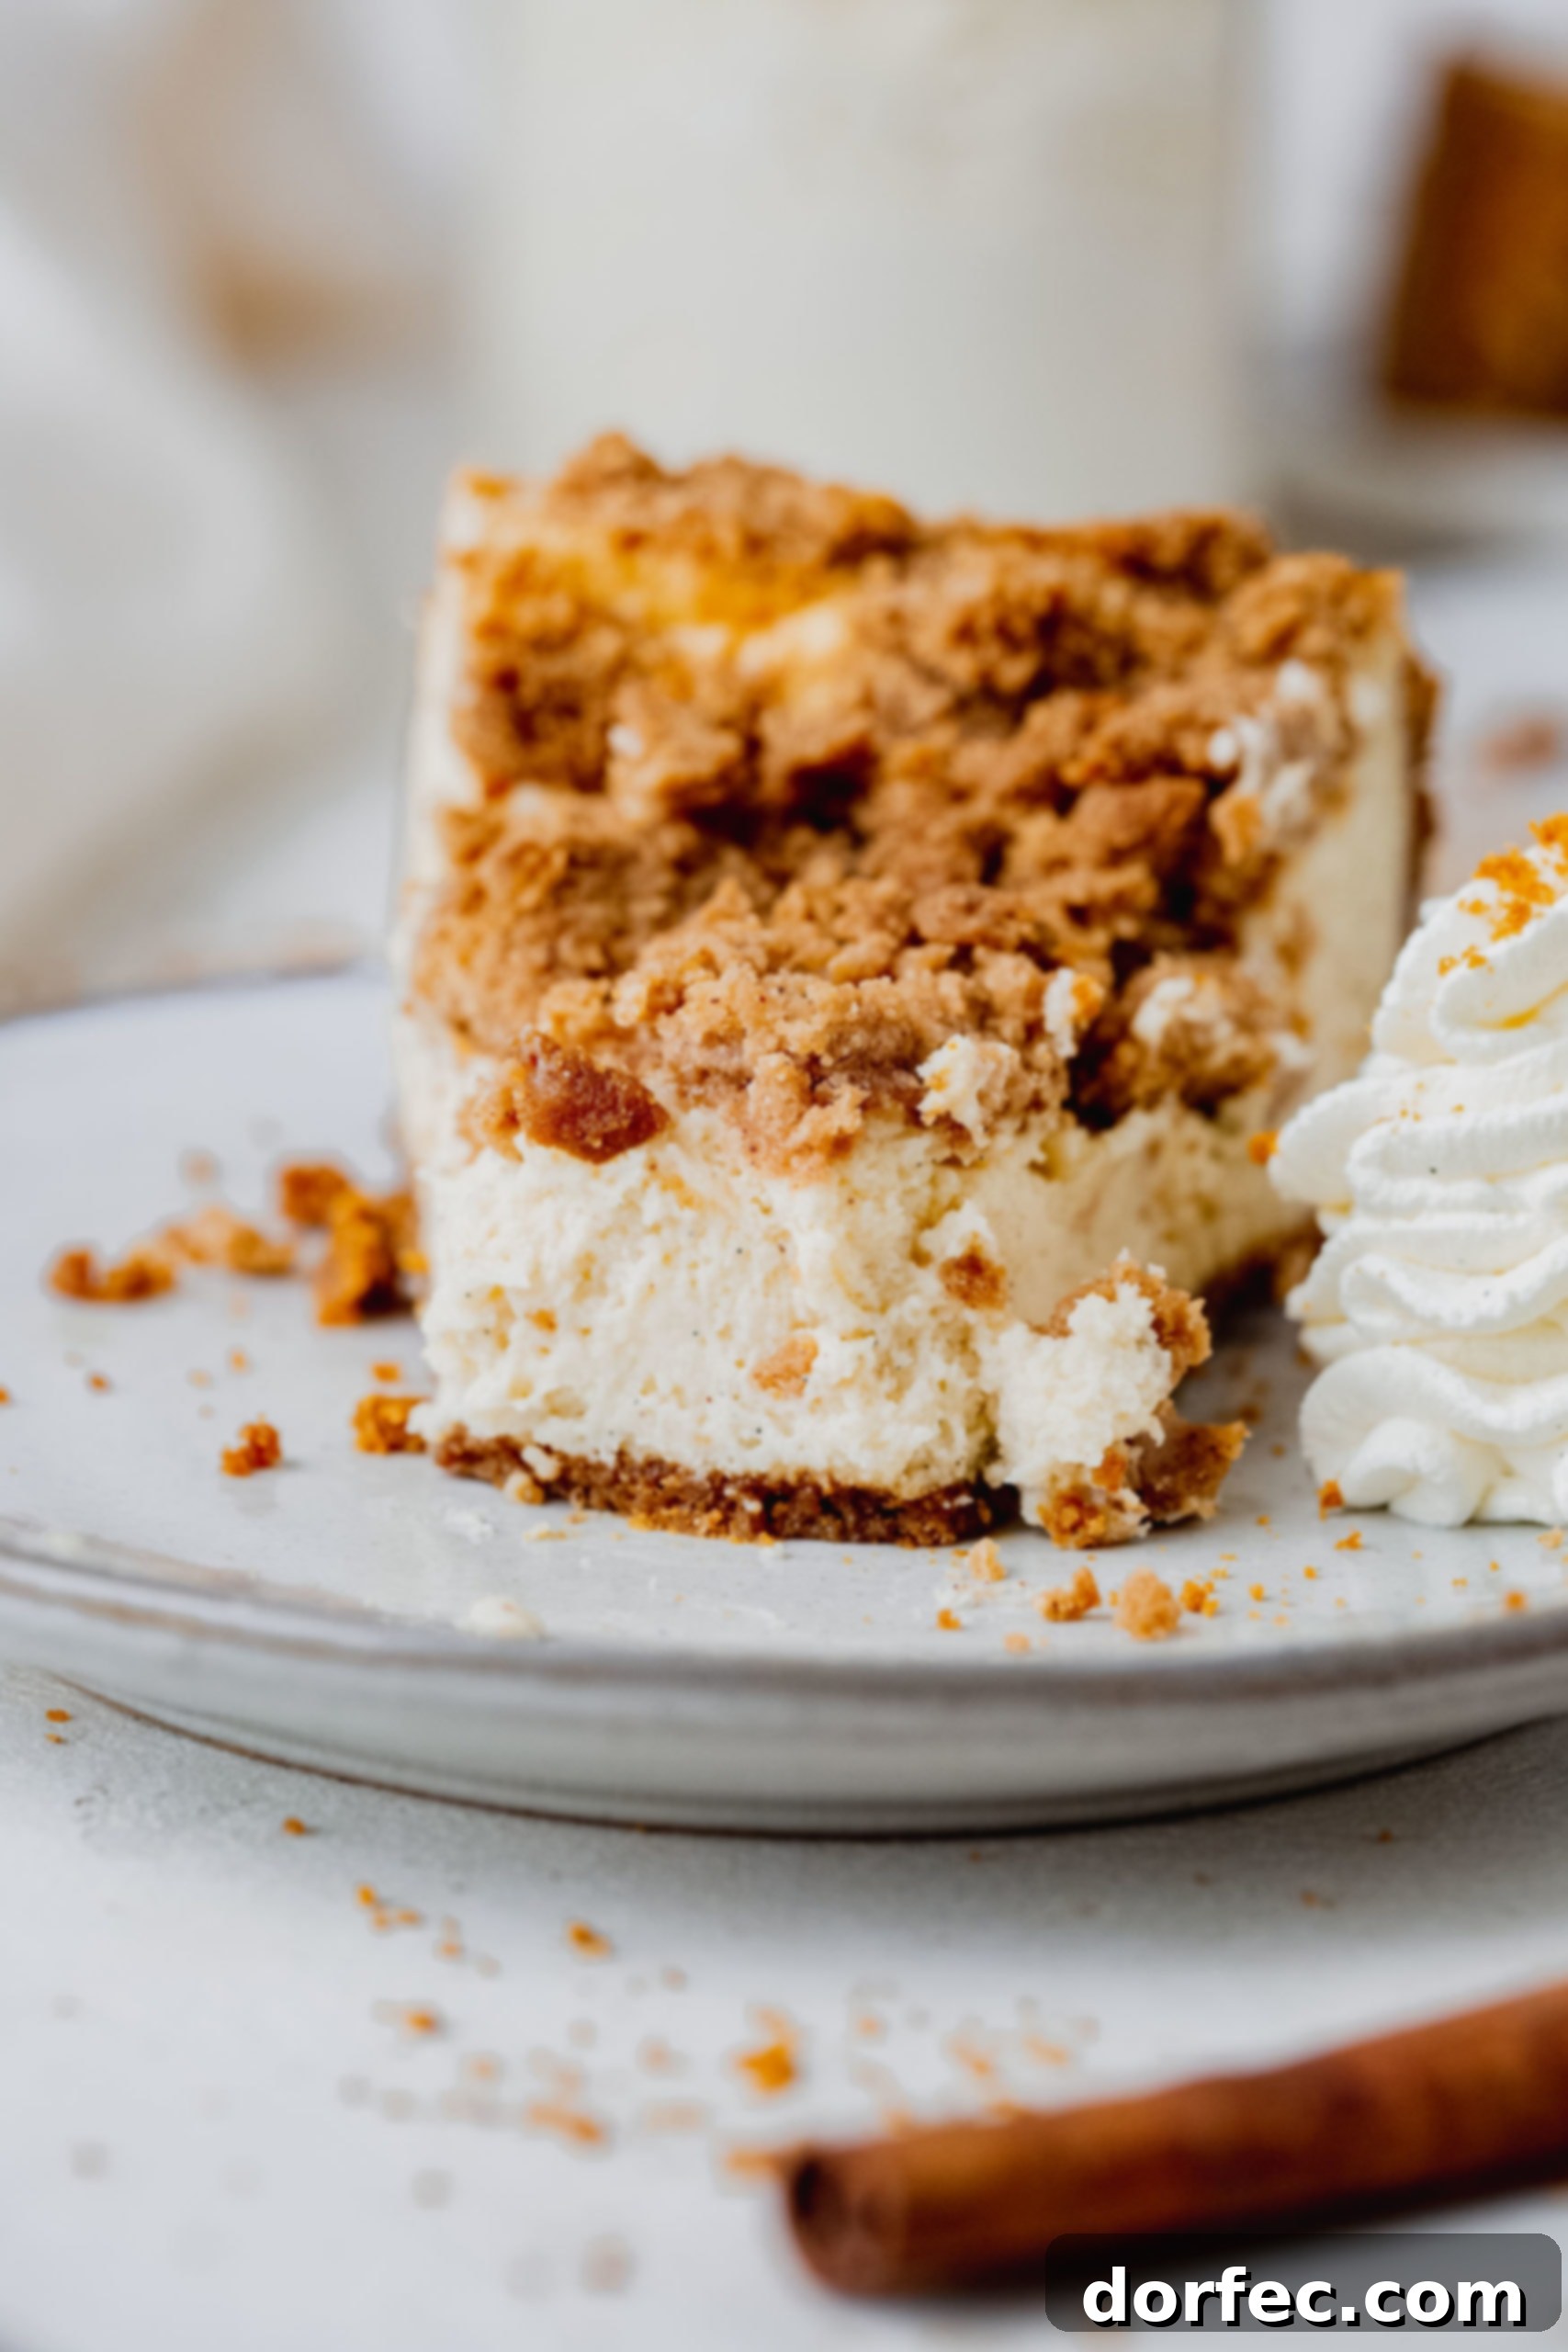
Transforming Your Cheesecake into Convenient Bars
Here’s a little secret for those who love convenience without sacrificing flavor: this incredible Biscoff Snickerdoodle Cheesecake recipe is just as fantastic when baked into bars! In fact, many prefer the ease and portion control that bars offer, making them perfect for potlucks, parties, or simply a quick grab-and-go treat. You’ll follow all the exact same directions and measurements for both the crust, the filling, and the streusel topping.
The only change you’ll need to make is the baking vessel. Instead of a springform pan, pour and bake your cheesecake mixture in an 8×8-inch baking dish. A 9×9-inch dish will also work beautifully; just be aware that your bars will be slightly thinner. The baking time might be marginally shorter, so keep an eye on that signature “jiggle” in the center. Once cooled and set, simply slice into squares or rectangles for perfectly portioned, incredibly delicious Biscoff Snickerdoodle Cheesecake bars that are sure to be a crowd-pleaser.
BISCOFF + SNICKERDOODLES + CHEESECAKE = a resounding YES! This combination is a triple threat of flavor and texture that is truly unbeatable. Prepare to dive into this sensational Biscoff Snickerdoodle Cookie Explosion Cheesecake, and don’t come blaming us when you find yourself reaching for seconds, or even thirds! It’s that good!
Discover More Irresistible Cheesecake Recipes:
If you’ve fallen in love with the creamy indulgence of this Biscoff Snickerdoodle Cheesecake, you’ll be thrilled to explore our other beloved cheesecake creations. From decadent chocolatey delights to refreshing fruity options, there’s a cheesecake recipe for every craving and occasion. Expand your dessert repertoire with these fantastic recipes:
- Instant Pot Peanut Butter Cup Cheesecake
- Delicious Apple Cheesecake Bars
- Elegant Swirled Pumpkin Cheesecake
- Easy Blender Cinnamon Roll Cheesecake Bars
- Refreshing Swirled Raspberry Lemon Cheesecake Bars
- Classic No-Bake Banana Pudding Cheesecake
- Rich Dulce de Leche Chocolate Cheesecake Bars
- Zesty Lime Cheesecake with Triple Berry Sauce
- Bright Lemon Blueberry No-Bake Cheesecake
Biscoff Snickerdoodle Cookie Explosion Cheesecake
Print Recipe
Ingredients
Cookie Crust
- 7 Tablespoons Butter
- 2 Cups Biscoff Cookie Crumbs, About 1 1/2 8-ounce packages of Biscoff cookies, there will be some leftover
- 1/4 teaspoon Cinnamon
Cheesecake Filling
- 16 Ounces Full-Fat Cream Cheese, softened (2 packages) See tip in the notes below for quick softening
- 8 Ounces Full-Fat Sour Cream
- 1 Cup White Sugar
- 1/2 teaspoon Cinnamon
- 3 Vanilla Bean pods, scrape out the insides (or 2 teaspoons vanilla extract)
- 3 Large Eggs, room temperature and beaten in a small bowl.
Streusel Topping
- 1 Cup All-Purpose Flour
- 1/2 Cup Brown Sugar
- 1 Pinch Salt
- 1 Tablespoon Cinnamon
- 1/2 Cup Cold Butter, left in the fridge until you use it.
Instructions
For the Biscoff Cookie Crust
-
Preheat your oven to 350°F (175°C). While the crust bakes first, the full cheesecake will be assembled before its main baking phase. Prepare a 9-inch springform pan by lightly greasing the bottom and sides, then line the bottom with parchment paper for easy removal.
-
In a small, microwave-safe bowl or a butter melting pot, melt 7 tablespoons of butter until fully liquid. Set aside to cool slightly.
-
If your Biscoff cookies are whole, process them in a food processor until fine crumbs are achieved (about 2 cups worth). Alternatively, place them in a sturdy plastic bag and crush them thoroughly with a rolling pin. Transfer the cookie crumbs to a mixing bowl and add 1/4 teaspoon of cinnamon. Pour the melted butter over the crumbs and stir until everything is evenly combined and the mixture resembles wet sand.
-
Press the Biscoff mixture firmly and evenly into the bottom of the prepared springform pan. You can use the bottom of a flat glass or your clean fingertips for this. Bake the crust for 8-10 minutes until lightly golden and fragrant. Remove from the oven and let it cool completely on a wire rack while you prepare the filling.
For the Silky Cheesecake Filling
-
In the bowl of a stand mixer fitted with the paddle attachment, or using a large bowl with a hand mixer, add 16 ounces of softened full-fat cream cheese. Beat on medium speed for 2-3 minutes, scraping down the sides of the bowl frequently, until the cream cheese is completely smooth and lump-free.
-
Add 8 ounces of full-fat sour cream, 1 cup of white sugar, 1/2 teaspoon of cinnamon, and the scraped seeds from 3 vanilla bean pods (or 2 teaspoons of vanilla extract). Beat again on medium speed for another 2-3 minutes until the mixture is homogenous, smooth, and creamy. Ensure no lumps remain and the sugar is fully dissolved.
-
In a separate small bowl, lightly whisk 3 large room-temperature eggs until the yolks and whites are just combined. With the mixer running on low speed, slowly pour the whisked eggs into the cream cheese mixture. Mix *just* until the eggs are incorporated. It is crucial not to overmix at this stage, as incorporating too much air can cause the cheesecake to puff up then crack as it cools.
-
Pour the smooth cheesecake filling over your cooled Biscoff cookie crust in the springform pan. Gently tap the pan on the counter a few times to release any large air bubbles. Set aside to prepare the streusel topping.
For the Cinnamon-Sugar Streusel Topping & Baking
-
In a medium bowl, combine 1 cup of all-purpose flour, 1/2 cup of brown sugar, 1 pinch of salt, and 1 tablespoon of cinnamon. Whisk these dry ingredients together until well mixed.
-
Remove 1/2 cup of cold butter from the fridge and cut it into small cubes. Add the butter cubes to the dry streusel mixture. Using your fingertips, or a pastry blender, work the butter into the flour mixture until it forms a crumbly paste with various sizes of crumbs. Avoid overworking it; some larger chunks are desirable.
-
Generously crumble the streusel mixture over the top of the cheesecake filling, ensuring an even layer of those delicious cinnamon-sugar crumbs. Carefully transfer the springform pan to the preheated oven.
-
Bake for 40-55 minutes. The cheesecake is ready when the outer edges are set and lightly golden, but the very center (about a 2-inch circle) still has a slight, gentle wobble when you lightly shake the pan. This indicates it’s cooked through but will continue to set as it cools, ensuring a creamy texture. Remember, an over-baked cheesecake can be dry and prone to cracking.
-
Once baked, open the oven door slightly and let the cheesecake cool inside the oven for 15-20 minutes with the door ajar. This gradual cooling helps prevent cracks. Then, carefully remove it from the oven and place it on a wire cooling rack at room temperature for another 20-30 minutes. Finally, transfer the cheesecake (still in its pan) to the refrigerator and chill for a minimum of 4 hours, or ideally overnight, for the best texture and flavor development.
-
Once thoroughly chilled, carefully remove the sides of the springform pan. Serve your magnificent Biscoff Snickerdoodle Cookie Explosion Cheesecake chilled, perhaps with a dollop of fresh whipped cream for an extra touch of indulgence!
Recipe Notes
**Working with Vanilla Beans:** To extract the flavorful seeds from a vanilla bean pod, hold one end firmly and use a small, sharp paring knife to slice lengthwise down the entire pod. Then, using the back (blunt side) of your knife, scrape along the inside of each half of the pod to remove the tiny, aromatic black seeds.
Nutrition
Nutrition information is automatically calculated, so should only be used as an approximation.
REMEMBER TO SUBSCRIBE TO our FREE Oh Sweet Basil NEWSLETTER AND RECEIVE EASY RECIPES DELIVERED INTO YOUR INBOX EVERY DAY!
When you try a recipe, please use the hashtag #ohsweetbasil on INSTAGRAM for a chance to be featured in our stories! FOLLOW OH, SWEET BASIL ON FACEBOOK | INSTAGRAM | PINTEREST | TWITTER FOR ALL OF OUR LATEST CONTENT, RECIPES AND STORIES.