
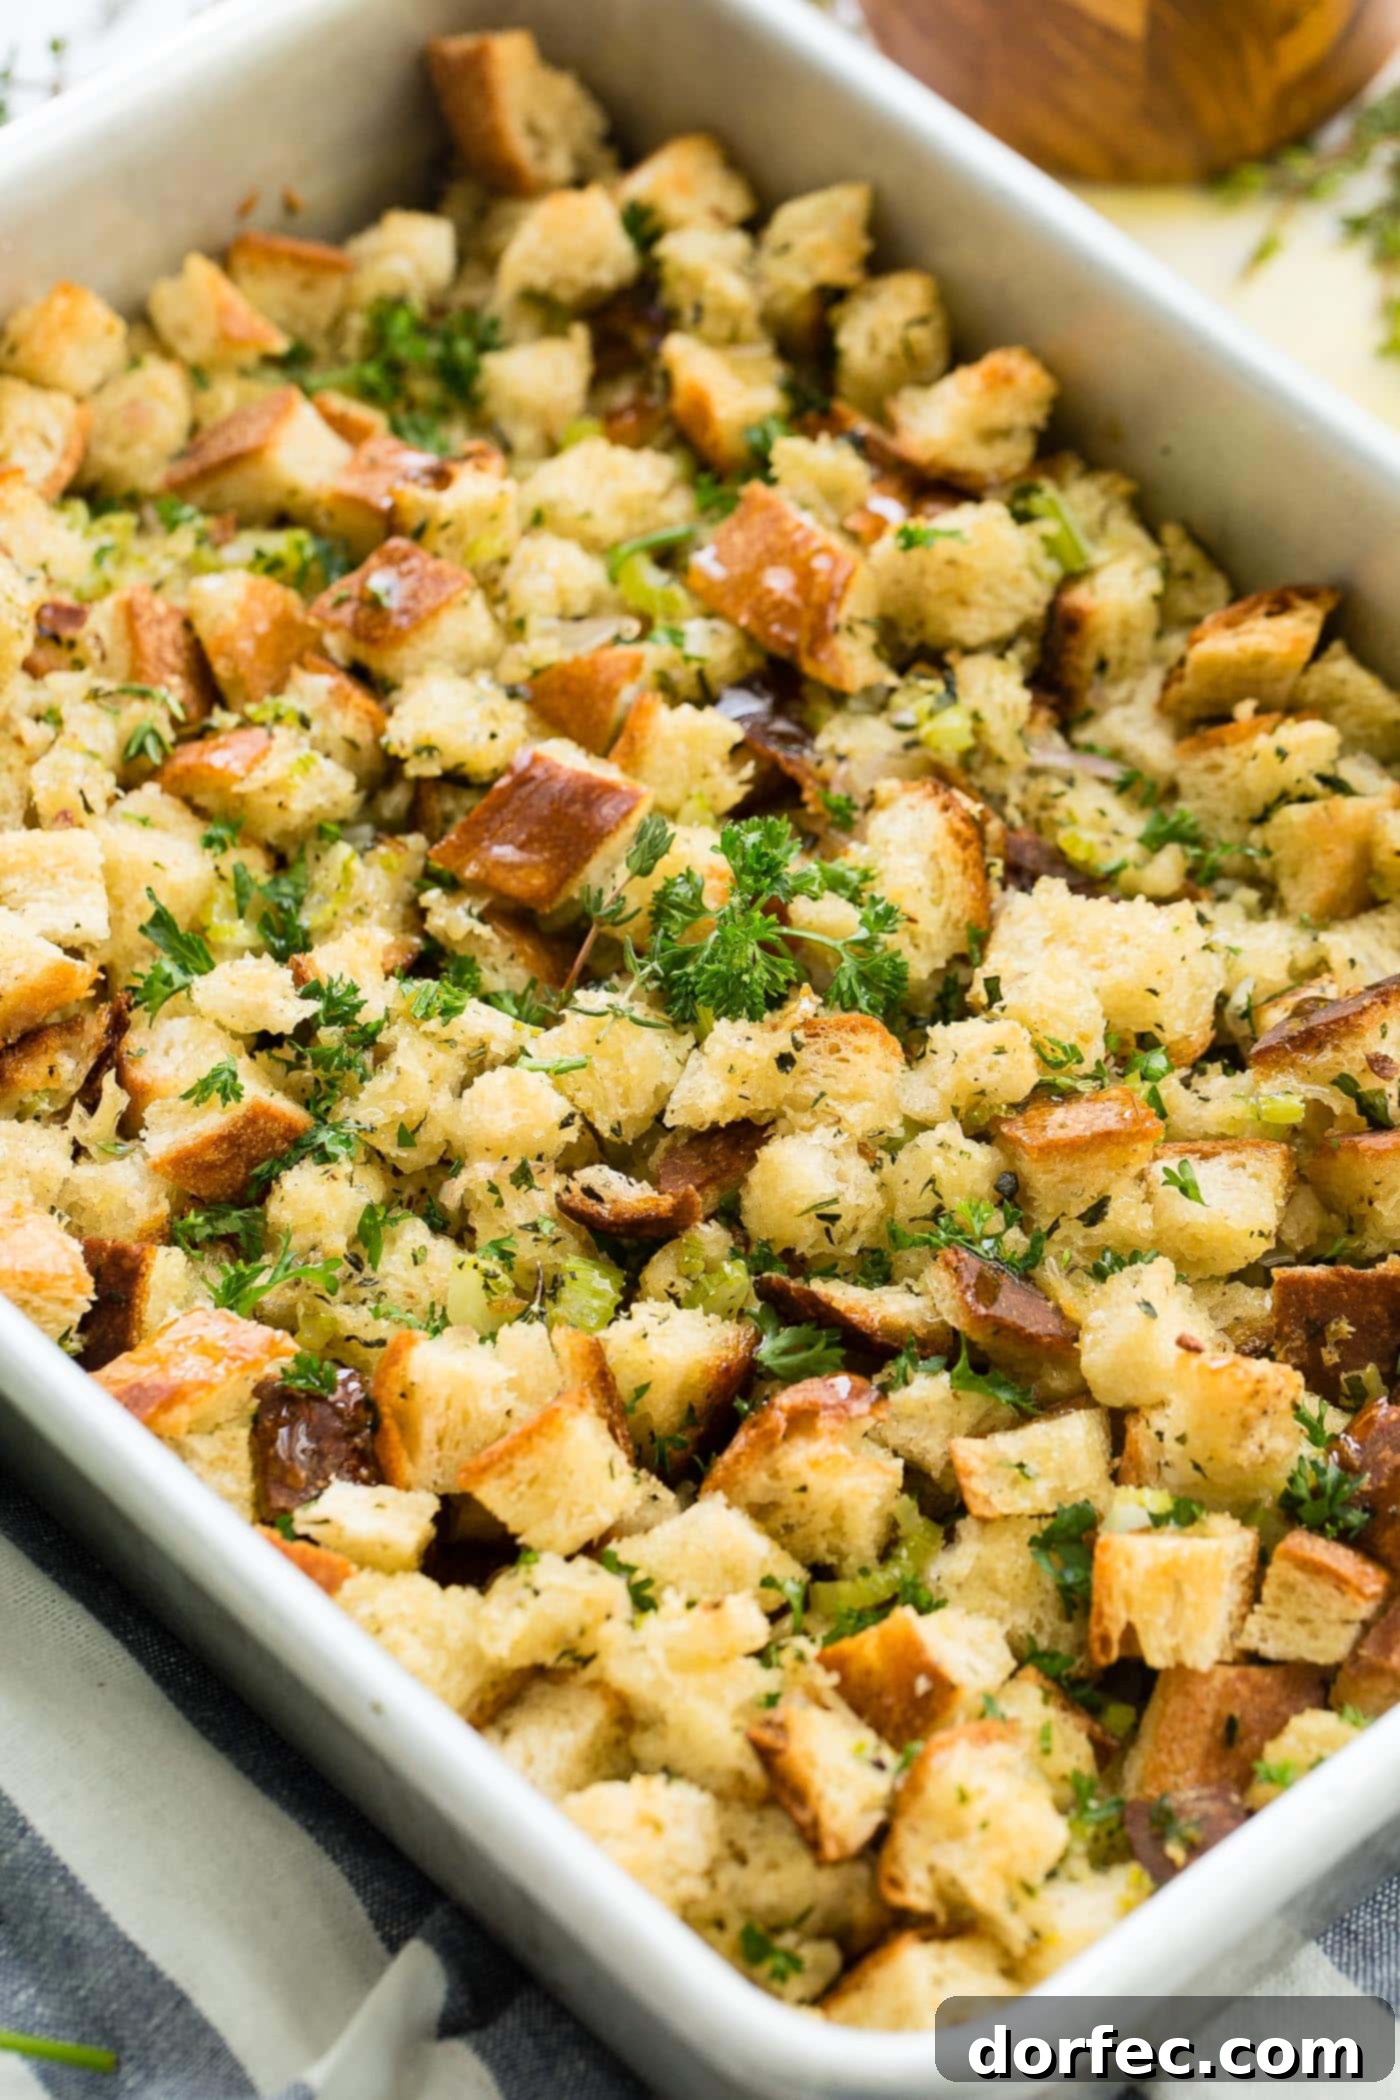
Stuffing made easy! Forget the boxed varieties and discover the unparalleled joy of a truly homemade classic stuffing. This recipe is a celebration of fresh herbs, rich butter, and all the timeless ingredients that define the perfect holiday side. It’s designed for those who appreciate the genuine flavors of a from-scratch dish, delivering a crispy exterior and a wonderfully moist interior that will instantly become a cherished family tradition.
While many families, including my own, might lean on convenient options like canned cranberry sauce and pre-packaged stuffing mixes for their holiday meals, there’s an undeniable magic in creating something from the ground up. This quest for authentic, homemade goodness led to the development of this classic stuffing recipe. It’s meticulously crafted to replace any store-bought box, promising a depth of flavor and texture that mass-produced versions simply cannot match. Prepare to impress your loved ones with a side dish that truly stands out!
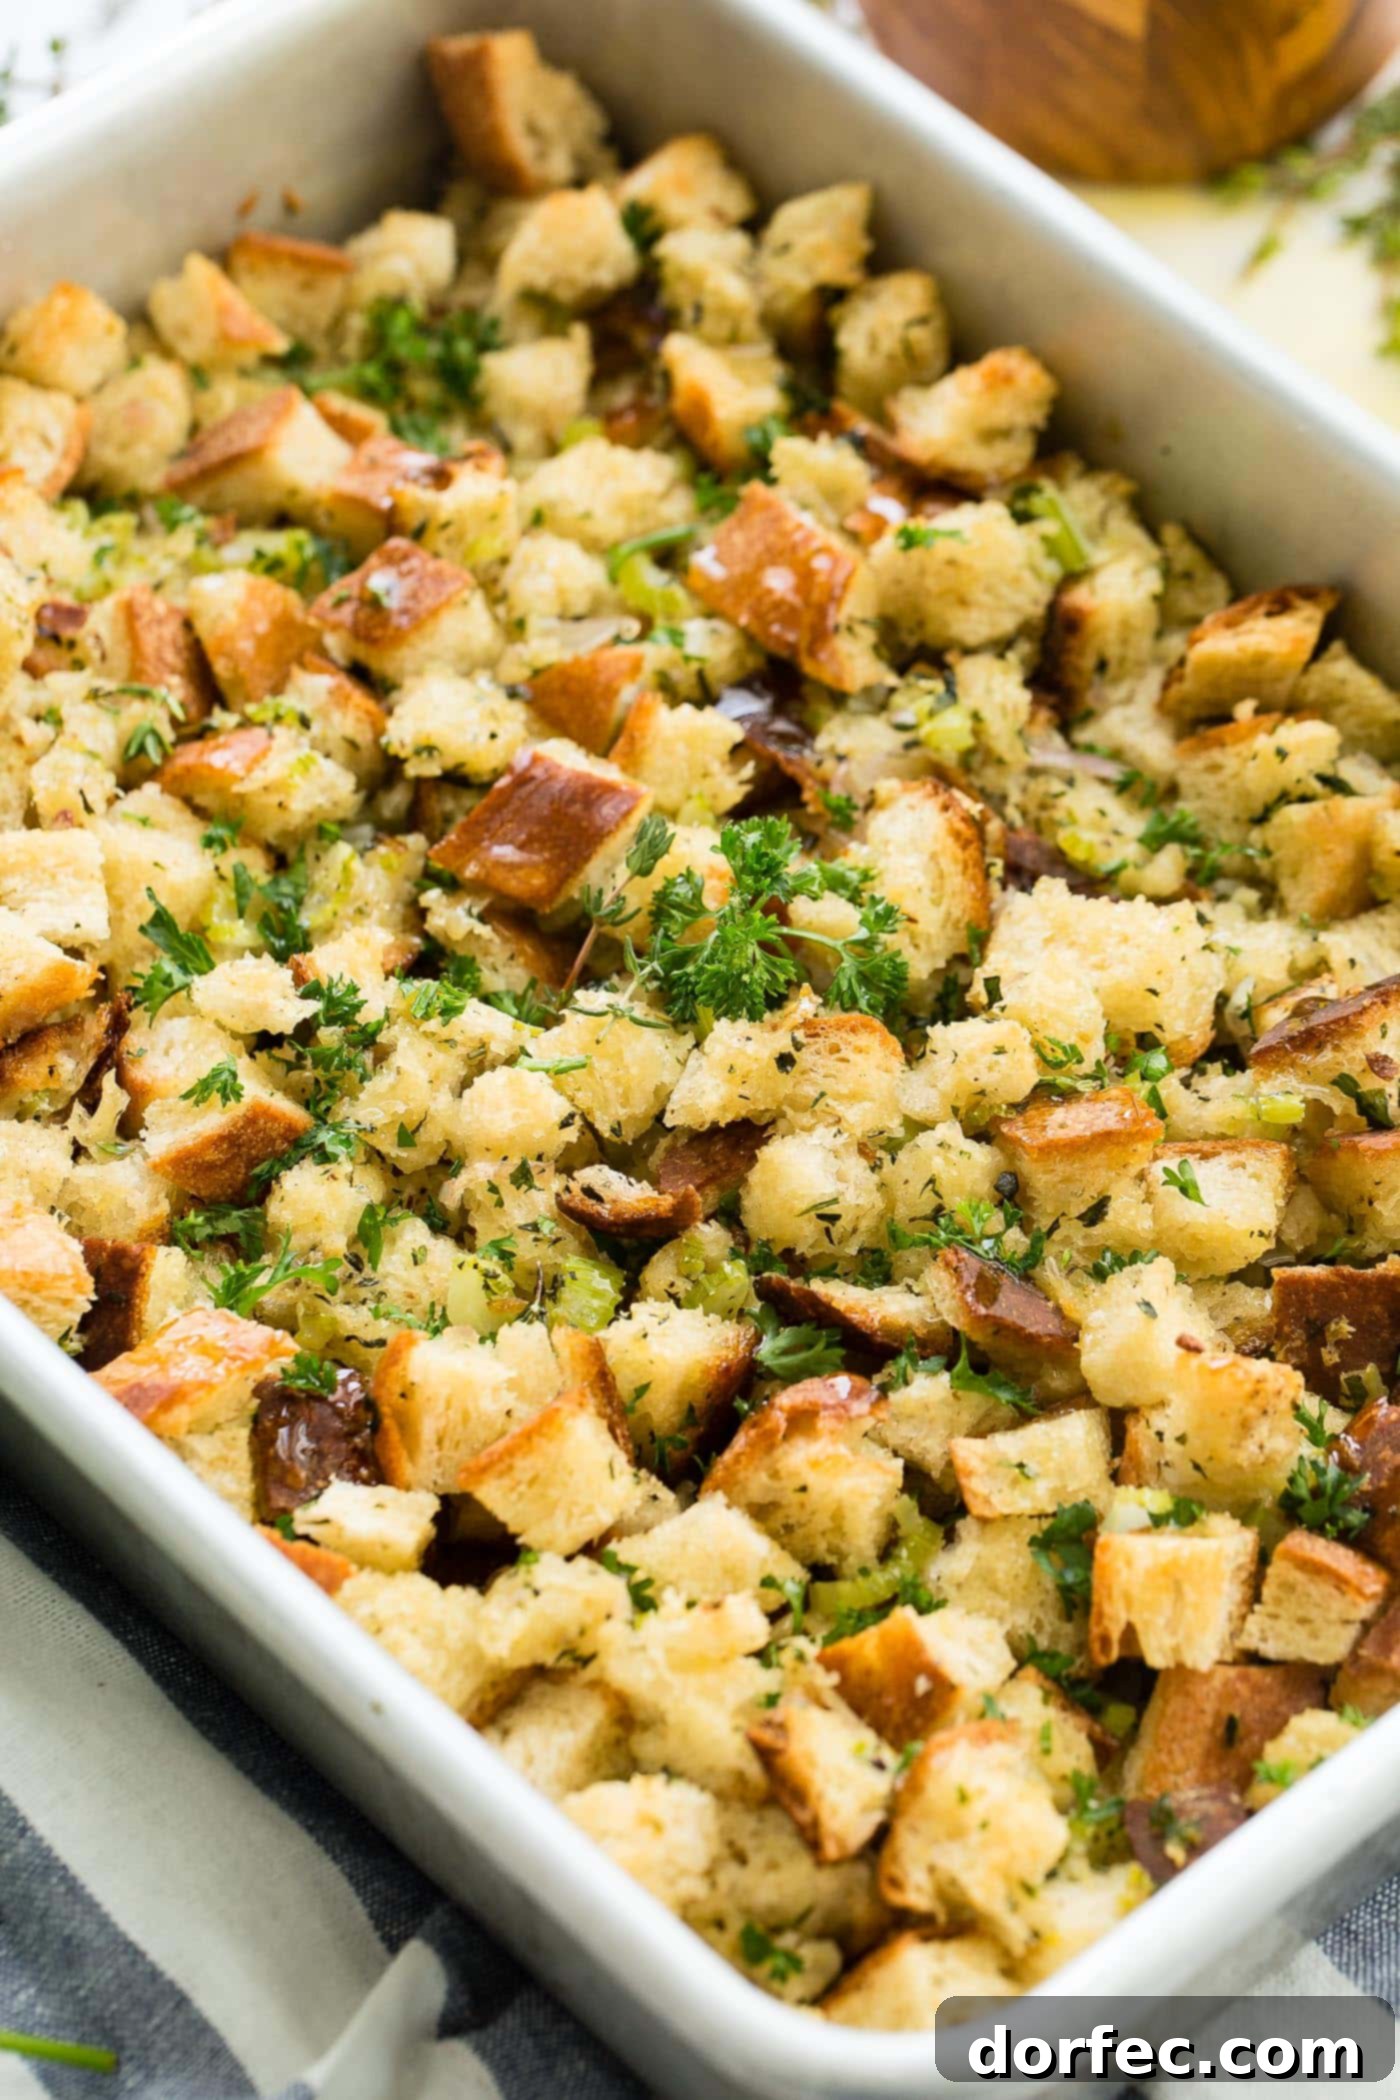
We’ve heard the universal cry of stuffing enthusiasts everywhere! For the purists who believe that the best stuffing is simple, featuring just good bread, plenty of butter, fresh vegetables, and fragrant herbs, this is the recipe you’ve been searching for. This recipe embodies that philosophy, delivering a stuffing that’s both comforting and elegant, making it the ideal accompaniment to any festive spread or weeknight dinner.
Crafting the Perfect Classic Stuffing from Scratch
Making classic stuffing from scratch might seem like a daunting task, but it’s surprisingly straightforward and incredibly rewarding. We’ll guide you through each essential step, ensuring your homemade stuffing is a resounding success. This detailed approach covers everything from selecting the right bread to achieving that desirable golden-brown crust and moist, flavorful center.
Choosing and Preparing Your Bread Base
The foundation of any great stuffing is the bread, and proper preparation is key to achieving the perfect texture. This recipe requires a bit of foresight, as the bread needs to be dried out. Begin with a high-quality loaf of country bread, which offers a sturdy crumb that holds up beautifully during baking. Cut the bread into uniform 1/4 to 1/2-inch cubes. The consistency of the cubes is important for even drying and absorption of flavors. Spread these cubes in a single layer on a large baking sheet and leave them uncovered to dry out overnight. This crucial step prevents the stuffing from becoming soggy and allows the bread to soak up all the delicious broth and butter, ensuring a delightful texture.
If you’re short on time, you can expedite the drying process by baking the bread cubes. Preheat your oven to 450 degrees Fahrenheit. Lightly drizzle the dried bread cubes with a neutral oil, such as olive oil, and spread them on a baking sheet. Bake for just a few minutes, tossing occasionally, until they turn a light golden brown and feel crisp. Be careful not to over-toast them, as they will bake further with the other ingredients. Once toasted, set the bread aside to cool and immediately reduce your oven temperature to 350 degrees Fahrenheit in preparation for the main bake. For other bread suggestions, be sure to check our FAQ section below for more options and flavor profiles that can elevate your stuffing.
Sautéing Aromatic Vegetables, Herbs, and Seasonings
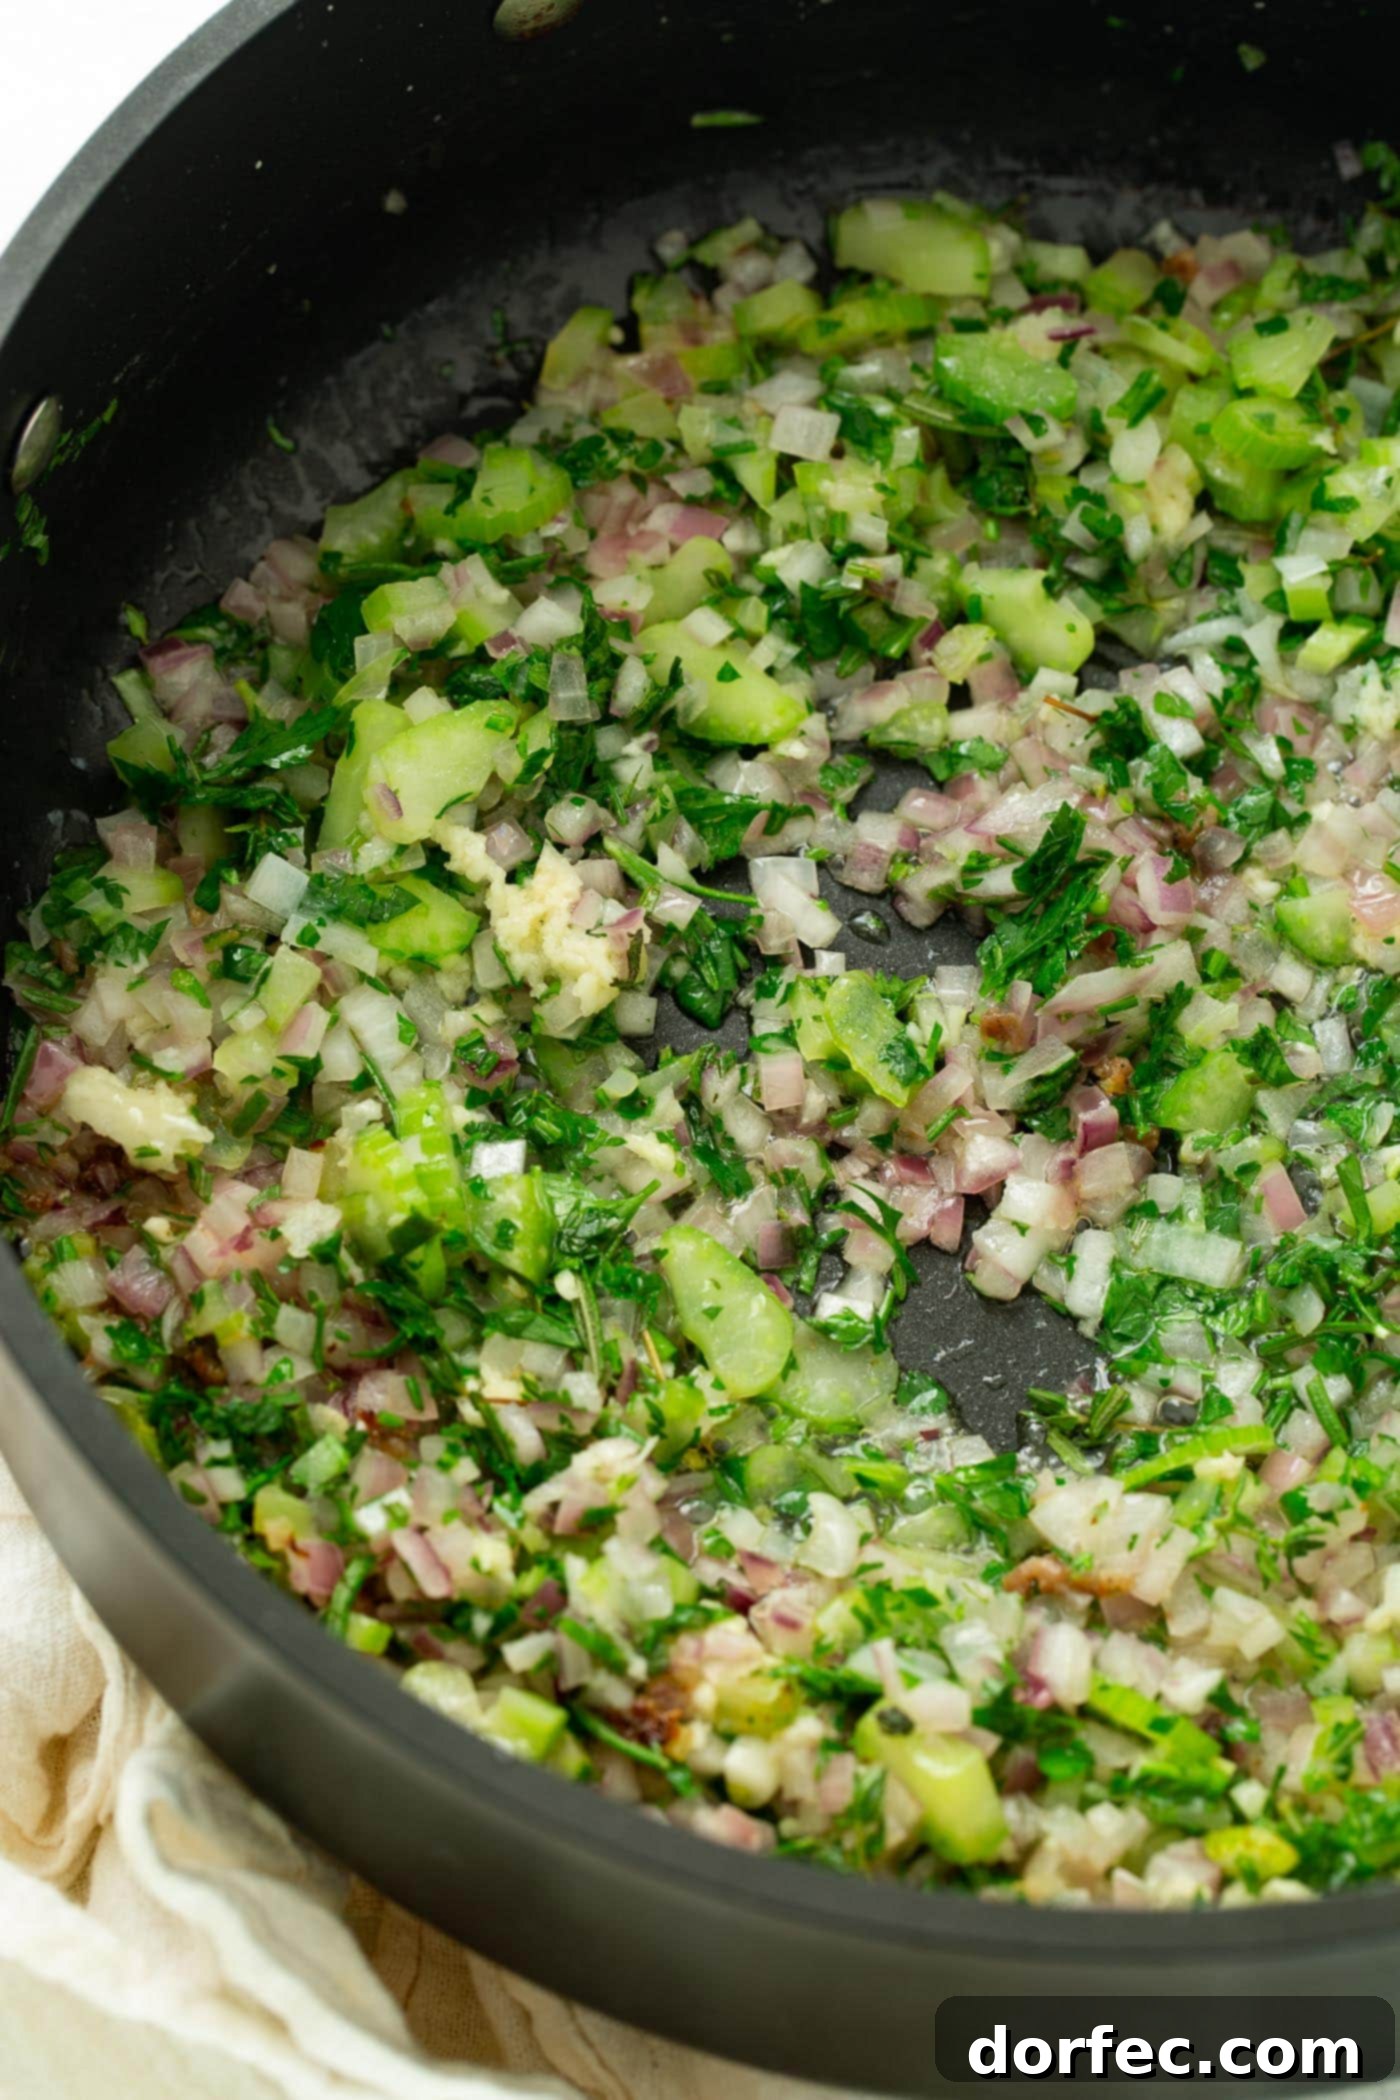
With your bread prepped, it’s time to build the flavor base for your classic stuffing. In a large skillet, melt a generous amount of butter over medium heat. Butter is indispensable for stuffing, contributing richness and a wonderful aroma. Add the minced shallots and finely diced celery to the melted butter. Sauté these aromatic vegetables for about 6 minutes, stirring occasionally, until they soften and become fragrant. Their gentle sweetness and savory notes form the backbone of the stuffing’s flavor.
Next, introduce the minced garlic and a vibrant medley of fresh herbs: parsley, sage, thyme, rosemary, and savory. The use of fresh herbs is non-negotiable for an authentic classic stuffing, providing an unparalleled aroma and bright, herbaceous flavor that dried herbs simply cannot replicate. Cook the garlic and herbs for just about a minute, until their fragrances are released. Overcooking can diminish their delicate flavors, so keep a close eye on them. Finally, season the mixture generously with salt and freshly ground black pepper to taste. The salt helps to draw out the flavors of the vegetables and herbs, while the pepper adds a subtle kick. This aromatic blend is what truly sets homemade stuffing apart.
Combining Ingredients and Baking to Golden Perfection
Once your toasted bread and aromatic vegetable-herb mixture are ready, it’s time to bring everything together. In a large mixing bowl, combine the cooled toasted bread cubes with the sautéed vegetables, herbs, and seasonings. Toss gently but thoroughly until all the bread cubes are evenly coated with the flavorful butter and aromatics. This ensures every bite of your stuffing will be delicious.
Next, gradually add the chicken or vegetable broth to the mixture. The broth is essential for moistening the bread and infusing the stuffing with savory liquid. Stir until the bread cubes have absorbed the liquid, ensuring an even distribution. Taste the mixture and adjust the seasoning, adding a healthy dose of salt and pepper if needed. Remember, the seasoning should be vibrant and well-balanced. Pour the prepared stuffing mixture into a buttered baking dish, spreading it out evenly. Cover the dish tightly with aluminum foil to trap moisture during the initial baking phase, which helps the stuffing cook through without drying out. Bake at 350 degrees Fahrenheit for 45 minutes.
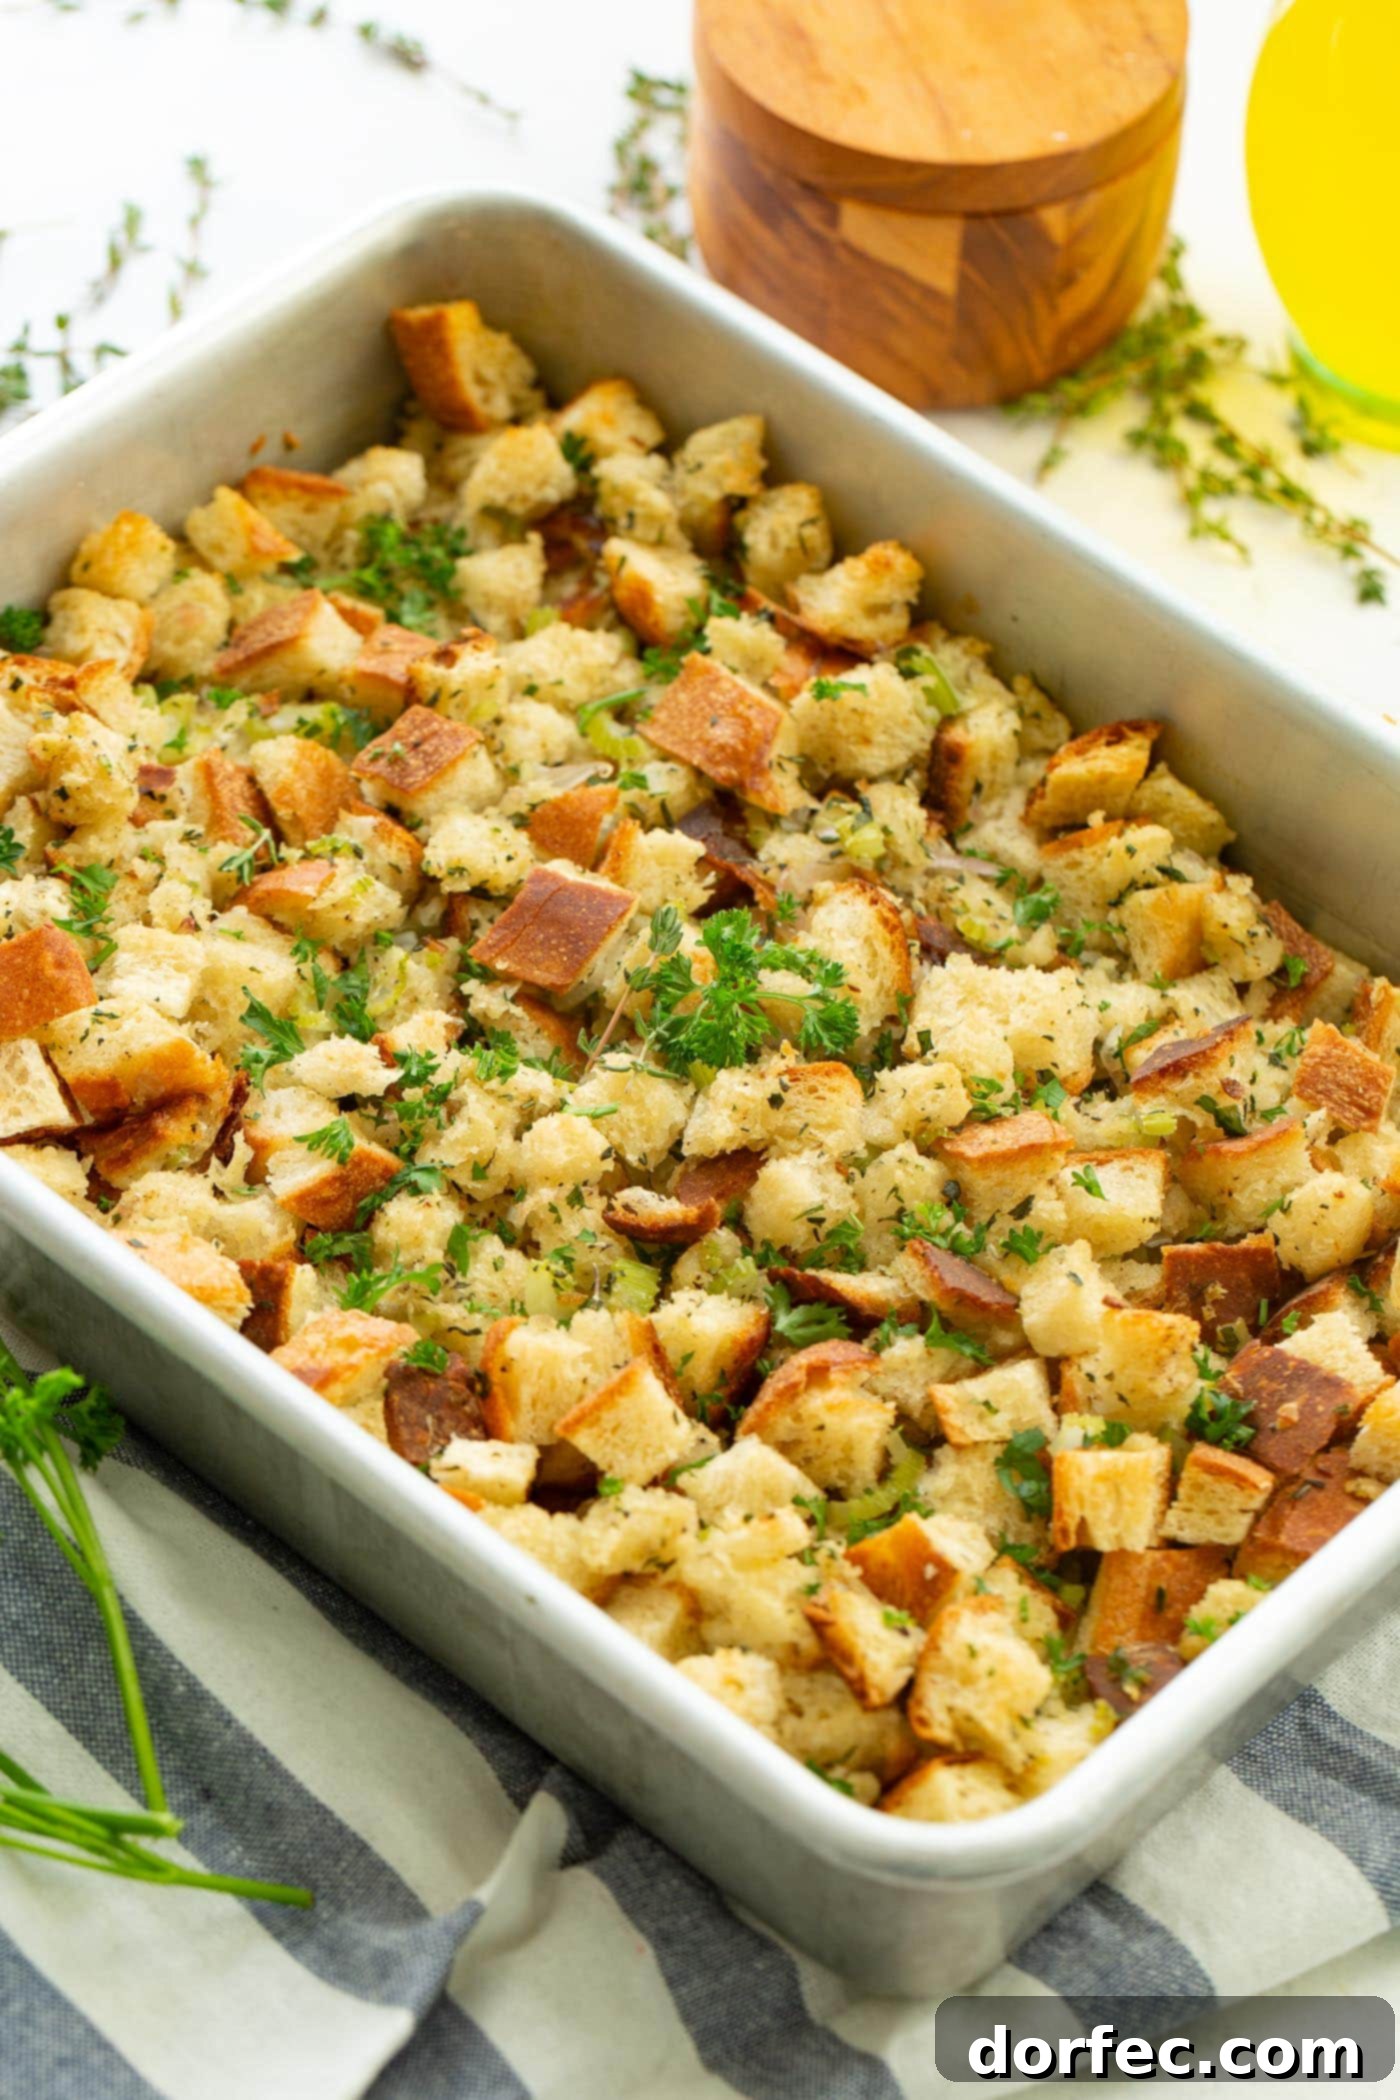
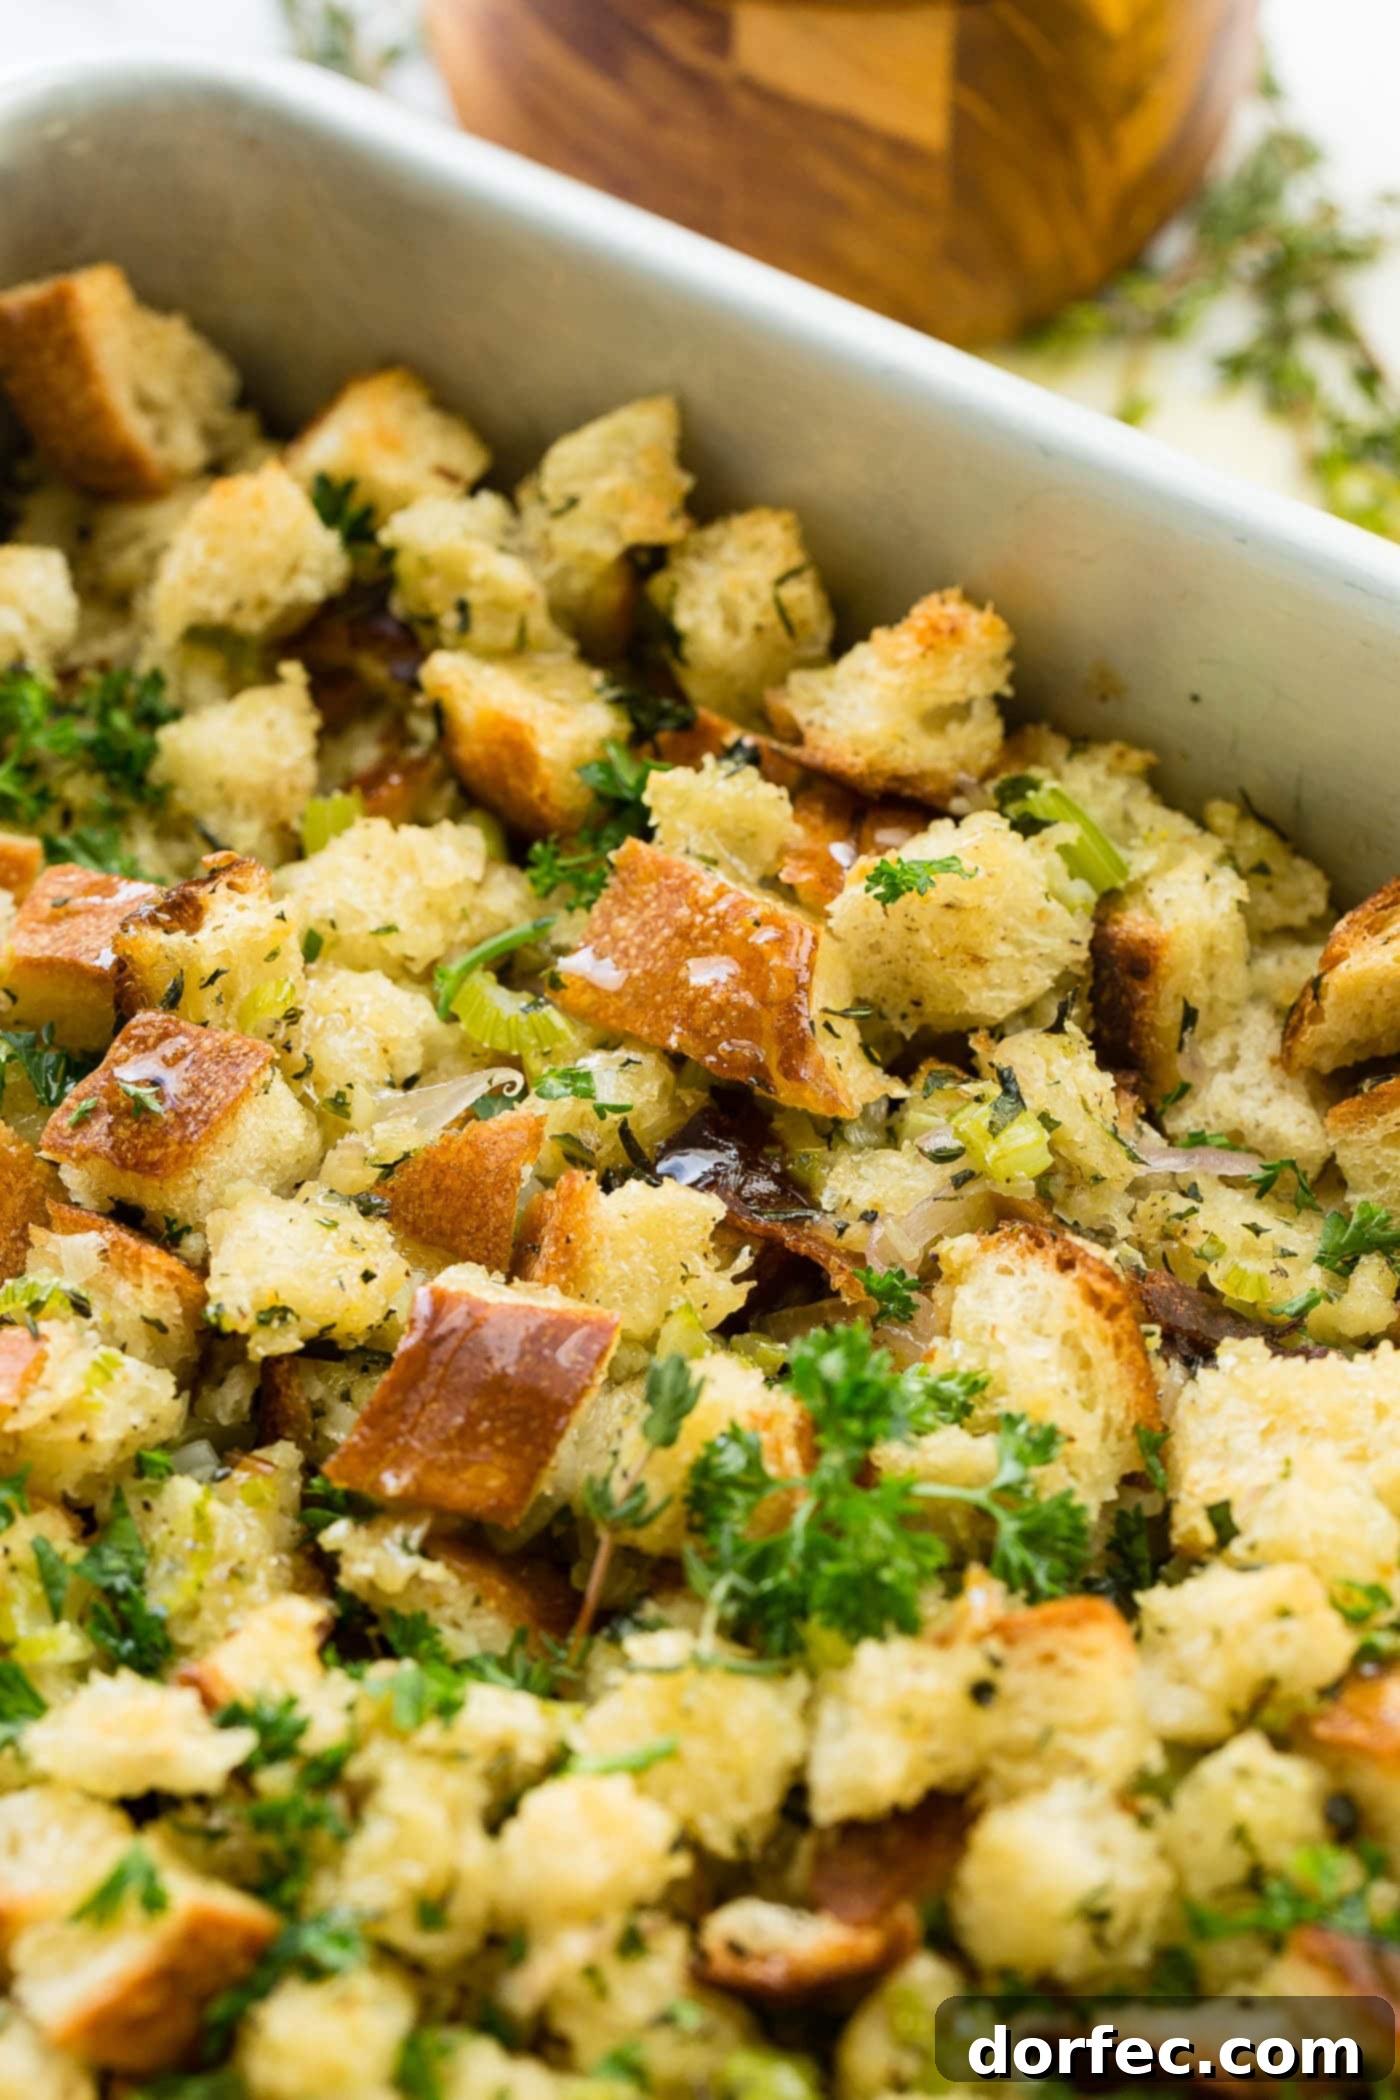
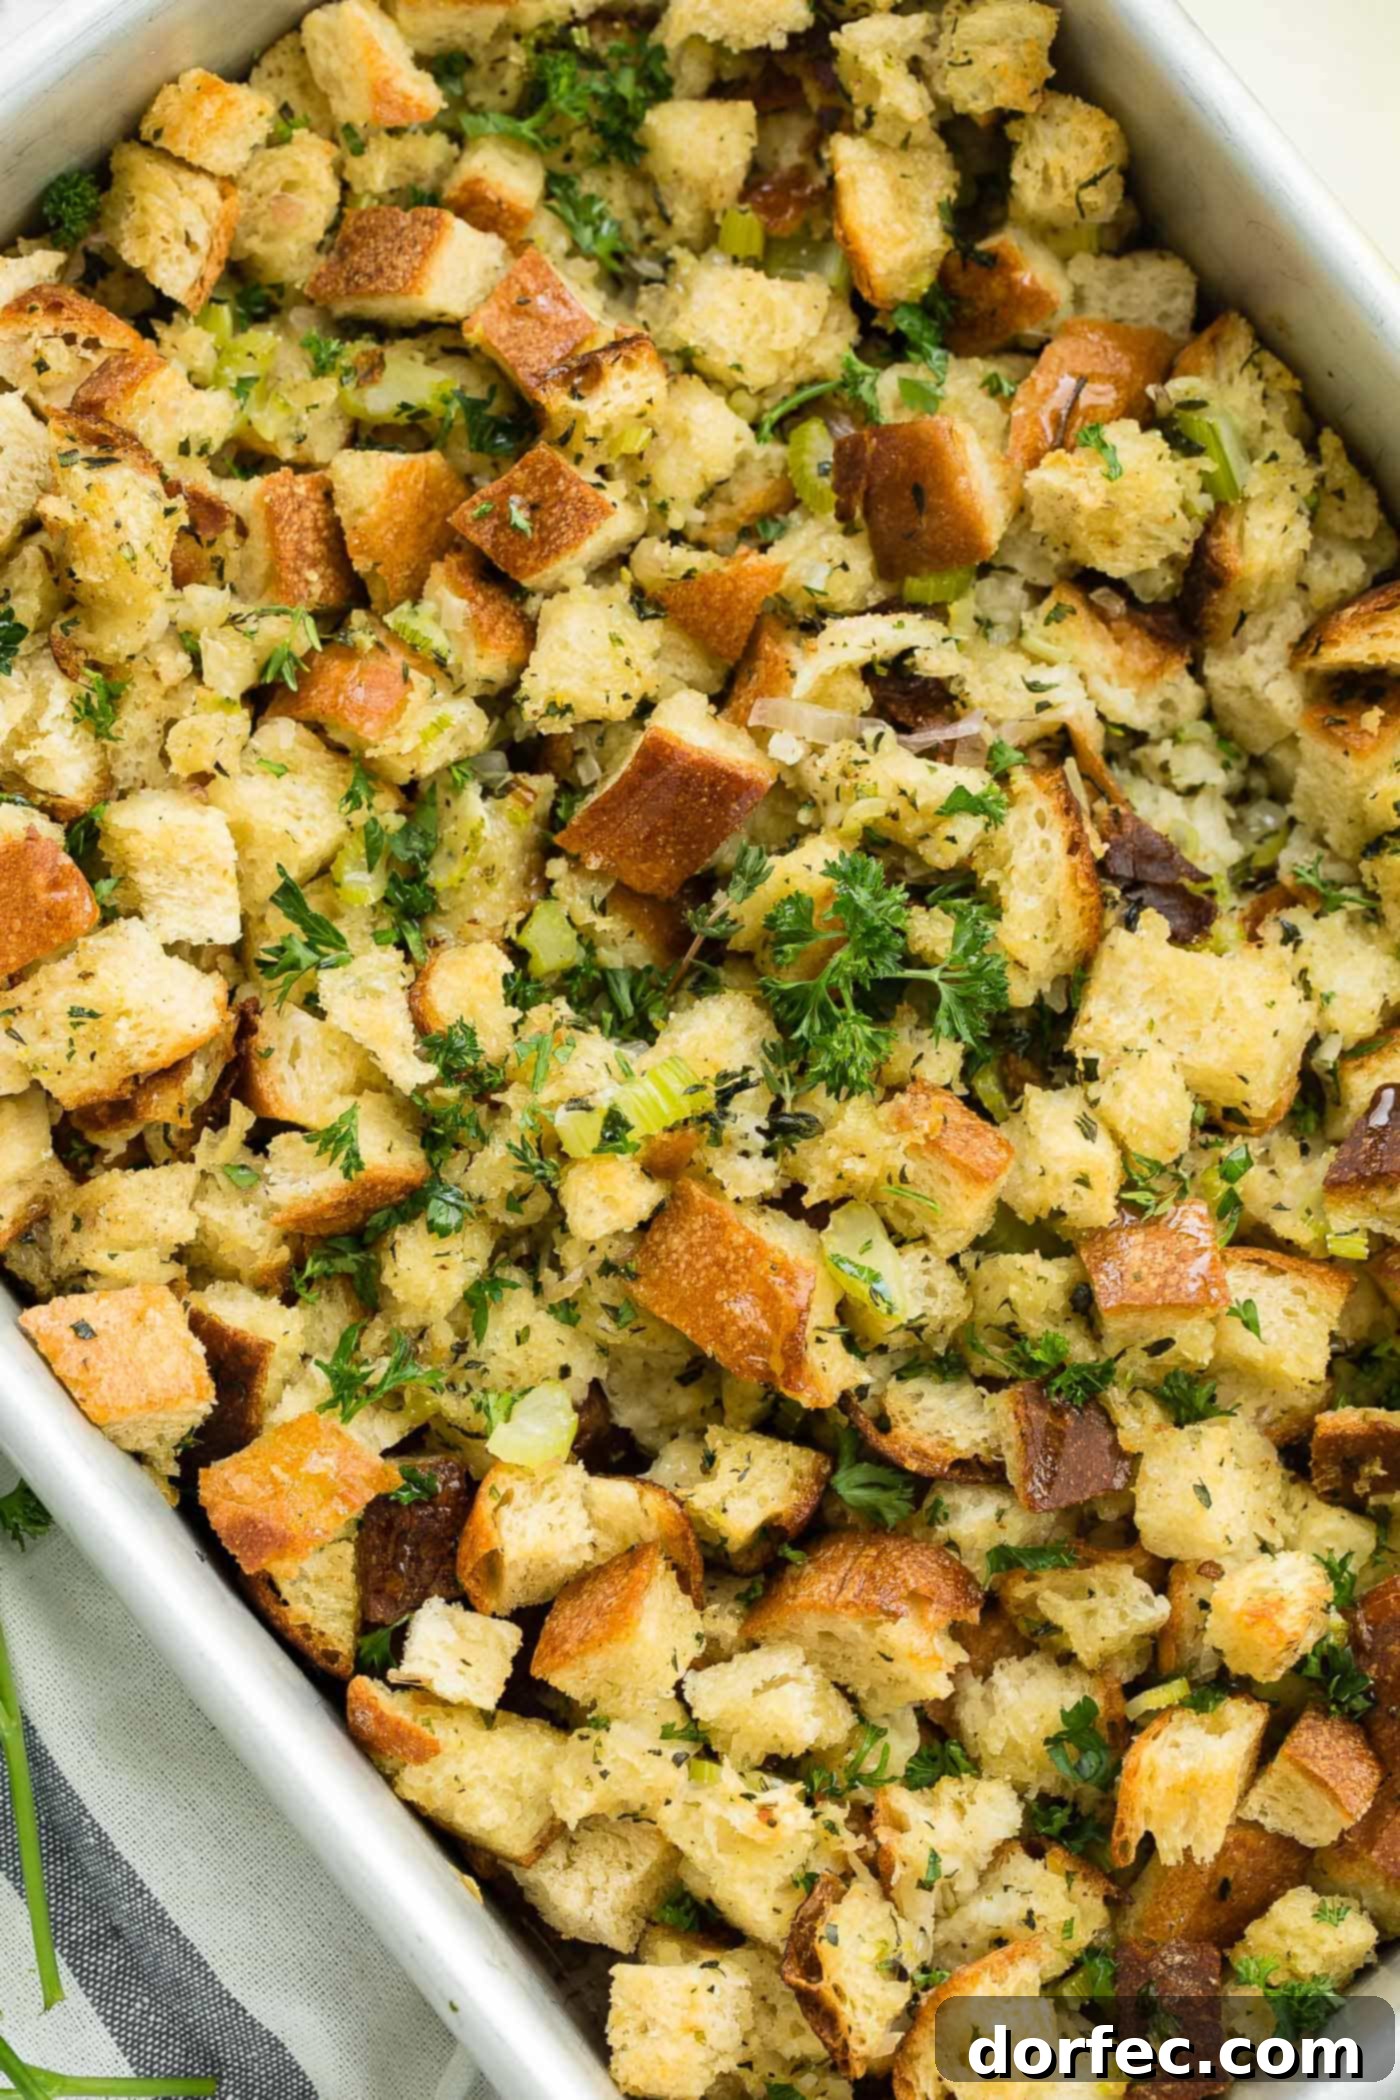
After 45 minutes, remove the foil. This allows the top layer of the stuffing to get beautifully golden brown and crispy, a hallmark of excellent homemade stuffing. Continue baking for another 15-20 minutes, or until the top is gorgeously browned and delightfully crunchy. Garnish with a sprinkle of fresh chopped parsley just before serving for an added touch of freshness and color. Your kitchen will be filled with an irresistible aroma, promising a side dish that will be devoured quickly!
Make-Ahead Stuffing: Tips for Stress-Free Entertaining
One of the best features of this classic stuffing recipe is its flexibility for make-ahead preparation, which is a lifesaver during busy holiday cooking. If you’re preparing this stuffing in advance, simply follow all the steps up to the point where you cover the baking dish tightly with foil. Instead of immediately baking, transfer the covered dish to the refrigerator and store it until you are ready to bake. When it’s time to cook, simply follow the baking instructions as written, adding a few extra minutes to the covered baking time if baking directly from the refrigerator to ensure it heats through evenly before uncovering to crisp.
Alternatively, you can fully bake the stuffing ahead of time. Once baked to perfection, let it cool completely. Then, cover the dish tightly with foil and store it in the refrigerator. To reheat, simply place the covered dish in an oven preheated to 350 degrees Fahrenheit and bake until warmed through, which typically takes about 20-30 minutes, or longer if a larger portion. If you prefer a crisper top, you can remove the foil for the last 10 minutes of reheating. Both make-ahead methods yield delicious results, offering convenience without compromising on flavor or texture. Choose the method that best fits your cooking schedule and helps you manage your holiday feast with ease.
The Hallmarks of a Truly Great Stuffing
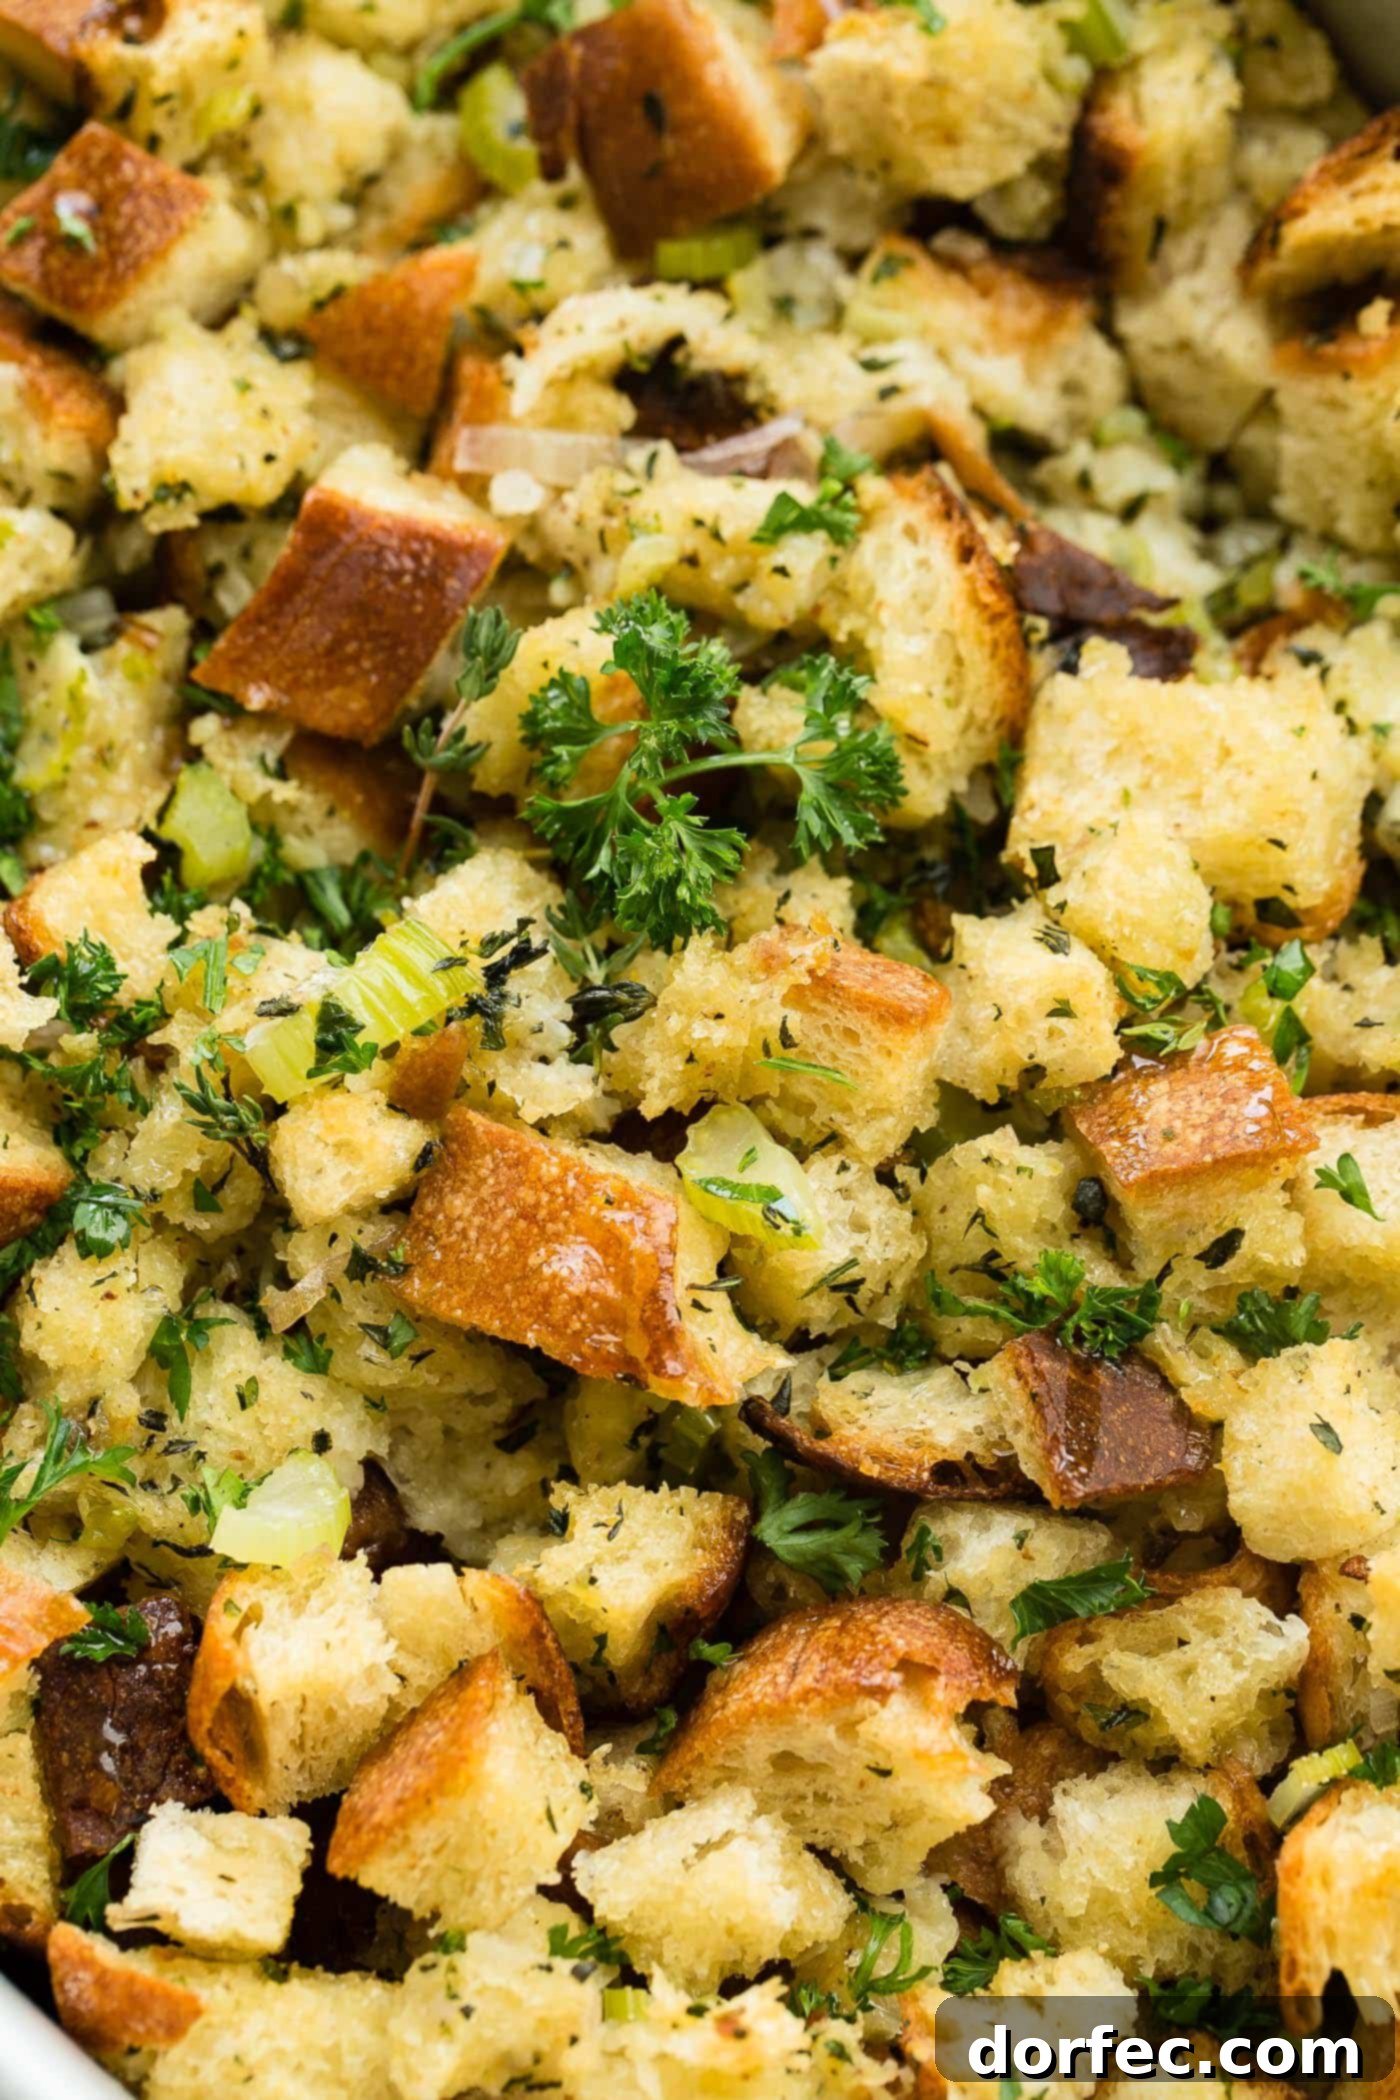
According to my personal preference, the ultimate stuffing strikes a delicate balance between textures and flavors. A truly good stuffing must possess **some crunch** on top, preventing it from being overly soft or, worse, **soggy**. This coveted crispiness is achieved by properly drying the bread and allowing it to bake uncovered for the final stage. Beyond texture, the flavor profile is paramount. It absolutely needs the brightness and aromatic depth that only fresh herbs can provide, complemented by the rich, comforting essence of real butter.
This side dish, while seemingly humble, should be a subtle star on your Thanksgiving table, capable of holding its own against other beloved classics. It needs to stand proudly alongside creamy mashed potatoes, a robust green bean casserole, and a decadent sweet potato souffle. Each of these components contributes to the grand symphony of holiday flavors, and a stellar stuffing completes the ensemble. This particular recipe not only meets but exceeds all these criteria, delivering a stuffing that is crunchy, flavorful, and unforgettable!
Frequently Asked Questions About Stuffing
Is Stuffing the Same Thing as Dressing?
The terms “stuffing” and “dressing” are often used interchangeably, leading to a common culinary debate. Traditionally, the distinction lies in how the dish is cooked. “Stuffing” refers to the bread-based mixture that is cooked inside the cavity of a turkey or chicken, absorbing the bird’s juices as it bakes. “Dressing,” on the other hand, is the same flavorful mixture baked separately in a pan. By this definition, our recipe, baked in a dish, would technically be a “dressing.” However, in modern usage, “stuffing” has become a pervasive term for both preparations, especially when served as a side dish. Therefore, to align with popular parlance and make it easily searchable, we refer to this delicious, make-ahead, no-fuss recipe as classic stuffing.
Do You Put Eggs in Stuffing?
While many stuffing recipes incorporate eggs, typically as a binder to help the mixture hold together, this particular recipe intentionally omits them. Eggs can contribute to a denser, more cohesive stuffing, which some prefer. However, our goal with this classic stuffing is to achieve a lighter, more crumbly texture with distinct pockets of crispiness, allowing the individual flavors of the bread, herbs, and vegetables to shine. We find that without eggs, the stuffing maintains a superior crisp-to-moist ratio that we absolutely love, preventing any hint of gumminess. If you prefer a more tightly bound stuffing, you could experiment with adding one or two beaten eggs to the mixture before baking, but we stand by our egg-free approach for optimal texture.
What Kind of Bread is Best for Stuffing?
The beauty of stuffing is its versatility, allowing you to use a variety of breads to achieve different textures and flavor profiles. For this **classic homemade stuffing**, we highly recommend a sturdy country bread. Its robust structure holds up well to soaking and baking, providing excellent texture without becoming mushy. Other fantastic options include a good quality sandwich bread, which offers a soft crumb, or French bread, which provides a slightly chewier result. Baguettes and sourdough bread are also excellent choices; baguettes lend a lovely crispiness, while sourdough adds a delightful tangy note that can elevate the overall flavor. The key is to use day-old or dried bread to prevent sogginess. We even have another unique stuffing recipe that utilizes cinnamon bread for a sweet and savory twist! Ultimately, the best bread depends on the specific flavor and texture you are aiming for.
When Should You Stuff the Turkey?
When it comes to holiday cooking, our recommendation is to never stuff the turkey with the stuffing mixture itself! While it was once a common practice, stuffing the bird can lead to uneven cooking and potential food safety concerns. The stuffing inside the turkey needs to reach a safe internal temperature of 165°F (74°C) to eliminate bacteria, which often means overcooking the turkey meat itself to ensure the stuffing is safe. This can result in a dry and less flavorful turkey. Instead, we prefer to “stuff” our birds with aromatic ingredients like onions, lemons, and fresh herbs to enhance the turkey’s flavor from the inside. For a comprehensive guide on achieving a perfectly moist and flavorful bird, check out our classic roasted turkey post.
Is Stuffing A Turkey Safe?
Technically, stuffing a turkey can be safe if both the turkey and the stuffing reach the proper internal temperatures (165°F / 74°C for the stuffing, measured with a food thermometer). However, as culinary expert Alton Brown famously advises, “just don’t do it!” Beyond the safety considerations of needing to cook the stuffing thoroughly, there’s a significant quality factor. One of the biggest complaints about turkey-baked stuffing is that it often turns out soggy from absorbing the bird’s juices. We believe that stuffing should be crunchy and full of wonderful texture! Baking stuffing separately in a pan guarantees that desirable crisp exterior and ensures even cooking, allowing you to control its perfect consistency. This method also allows for easy make-ahead preparation, reducing stress on the big day.
Don’t Forget Dessert!
While we’ve focused on the savory star of the show, no holiday feast is complete without a spectacular dessert spread. Below, we’ll cover more Thanksgiving sides, but let’s talk about saving room for pie! You simply must indulge in a slice or two (or six!) of these incredible pies. A truly classic Thanksgiving lineup demands a timeless pumpkin pie, a comforting apple pie, and a rich, nutty pecan pie. Beyond these beloved staples, a few of my personal favorites, which are less common but equally delightful, include a vibrant razzleberry pie, a silky smooth chocolate French silk pie, and a charming Dutch apple pie with its sweet crumb topping. It’s truly impossible to choose just one, so why not enjoy a little bit of everything?
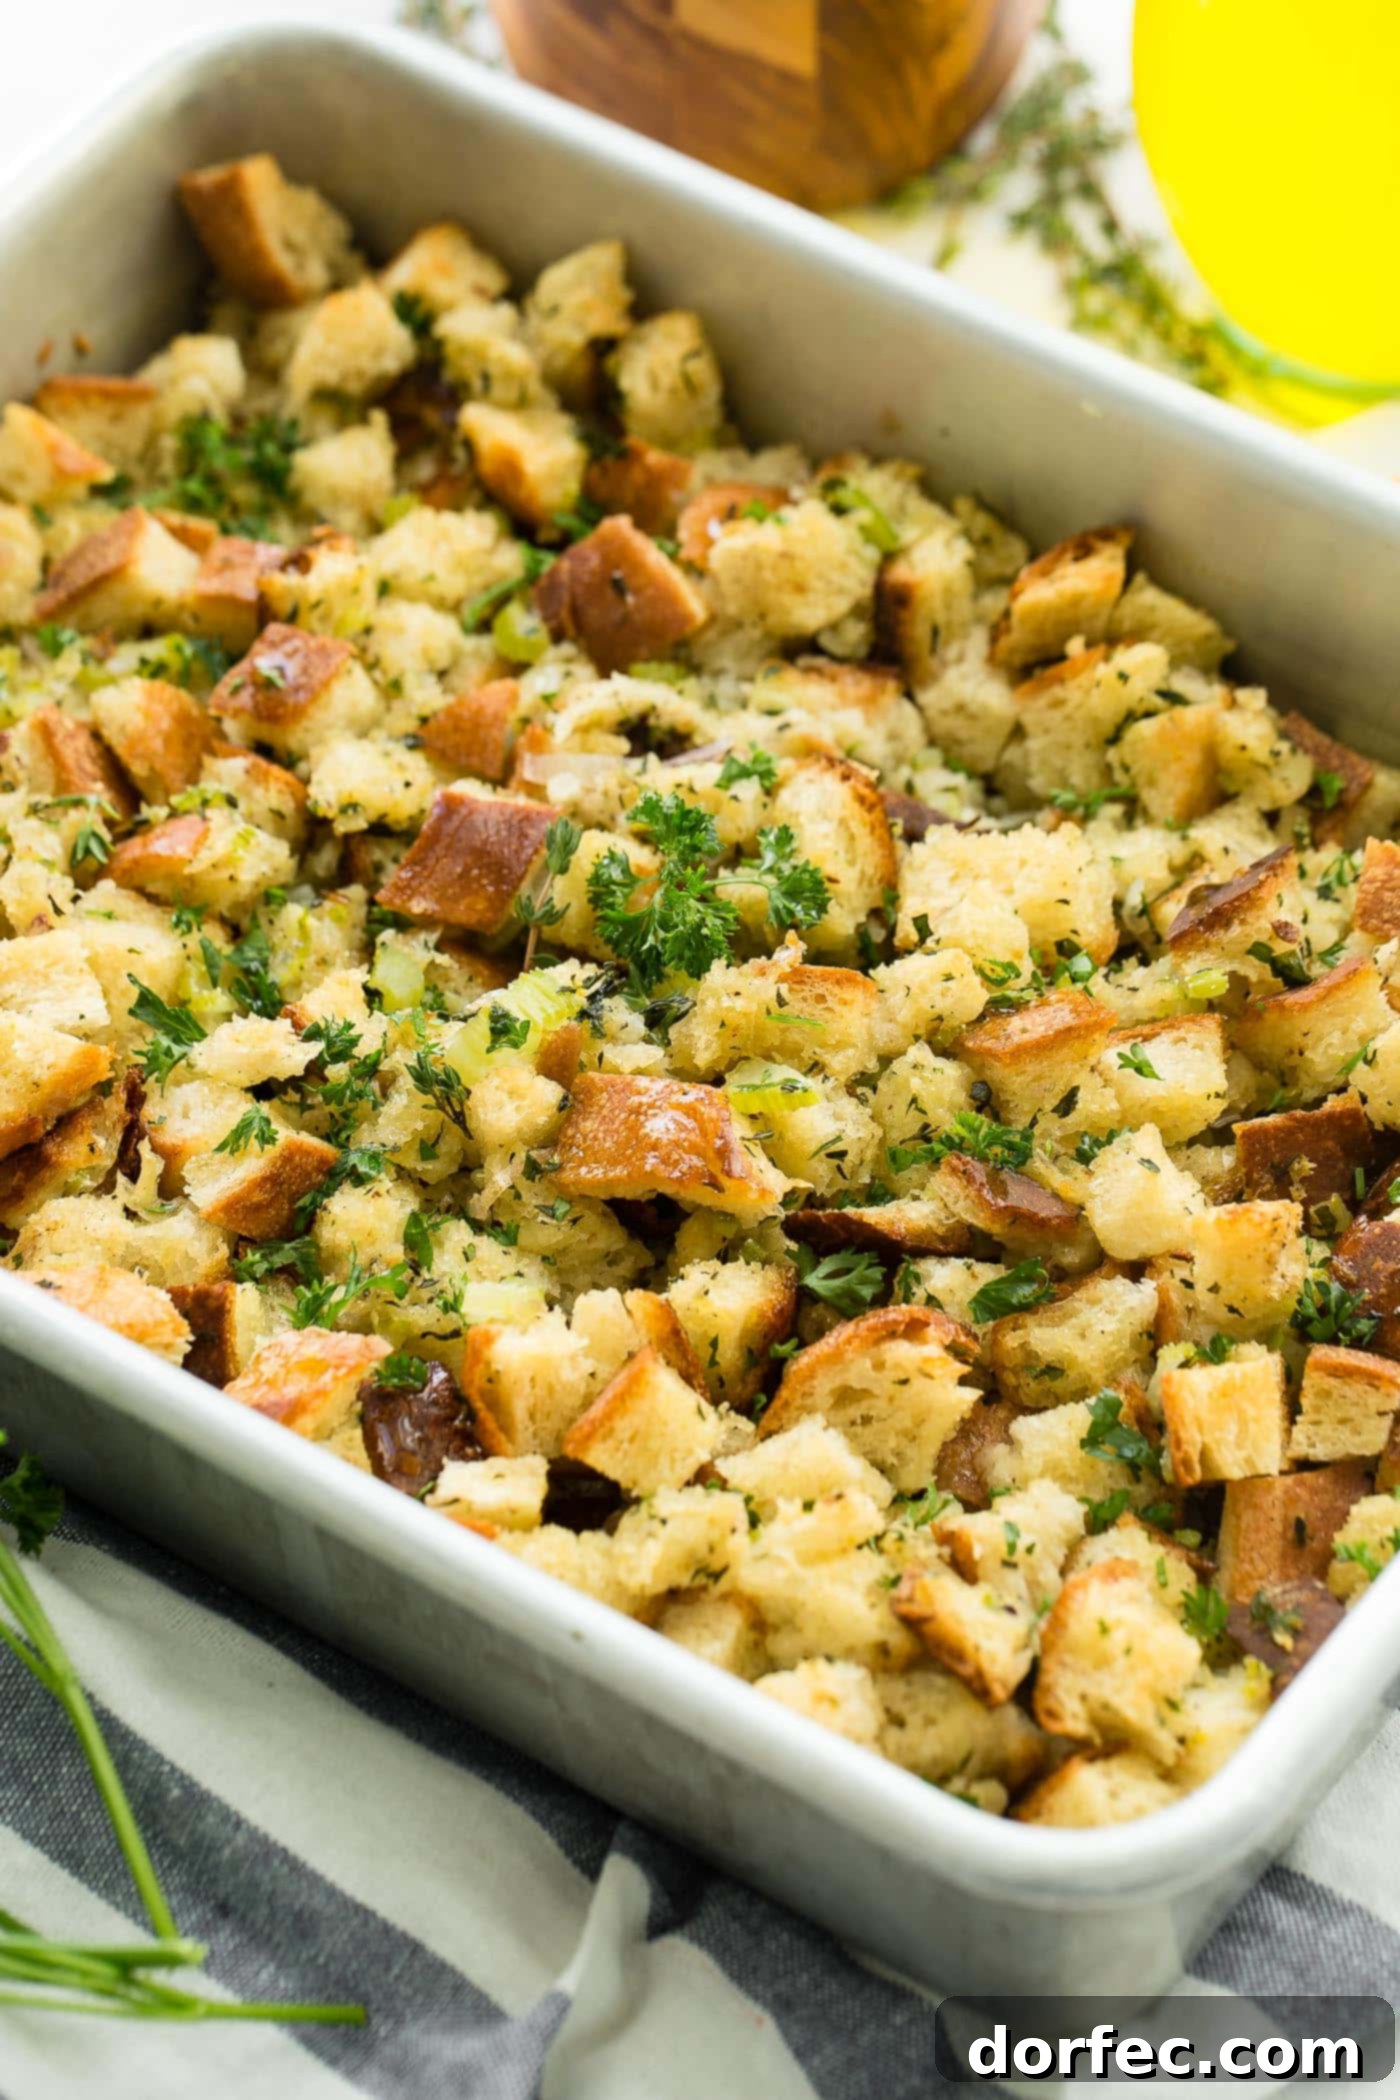
This classic, simple, and utterly delicious stuffing recipe is specifically designed for the stuffing purists and anyone eager to experience the true flavor of homemade goodness. It’s guaranteed to be devoured at your Thanksgiving feast, Christmas dinner, or any special occasion. So, ditch the bland boxed stuff once and for all, and commit to making your **stuffing from scratch**! Your taste buds, and your guests, will thank you profusely.
And remember, this versatile dish isn’t just for holidays! Enjoy it year-round as a comforting side with our simple garlic parmesan chicken or any other main course. Its rich flavor and delightful texture make it a welcome addition to any meal, proving that homemade stuffing is always a good idea.
More Thanksgiving Side Dishes You’ll Love:
- Best Mashed Potatoes
- Sausage Stuffing Recipe
- Potato Rolls
- Sweet Potato Souffle with Brown Sugar Topping
- Steakhouse Smashed Potatoes
- Instant Pot Green Beans and Potatoes
- Real Green Bean Casserole
- Cheesy Gruyere Sweet Potato Stacks
- Lemon Mandarin Orange Jello Salad
- Winter Roasted Butternut Squash Kale Salad
Classic Homemade Stuffing
By Sweet Basil
Prep Time: 1 Day
Cook Time: 1 Hour
Total Time: 1 Day 1 Hour
Servings: 6
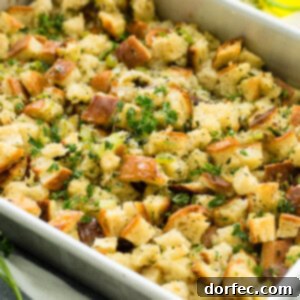
Make this incredible classic stuffing from scratch! It’s packed with fresh herbs and all the essential ingredients for a truly unforgettable holiday side dish, guaranteed to be crisp on the outside and moist within.
Ingredients
- 1 Loaf Country Bread, about 12 cups, cut into 1/4-1/2″ cubes
- 1/4 Cup Butter, plus a little more for buttering the dish
- 1 Large Shallot, minced
- 2 Stalks Celery, minced
- 3 Cloves Garlic, minced
- 1/2 Cup Fresh Parsley, chopped
- 1 Tablespoon Fresh Sage, chopped
- 1 Tablespoon Fresh Thyme Leaves, minced
- 1 Tablespoon Fresh Savory Leaves, minced
- 1 Tablespoon Fresh Rosemary Leaves, chopped
- 1 teaspoon Kosher Salt
- Freshly Ground Black Pepper, to taste
- 2 1/4 Cups Chicken or Vegetable Broth, low sodium
Instructions
- Cut the country bread into 1/4-1/2″ cubes and spread them out on a baking sheet to dry overnight. This step is crucial for preventing soggy stuffing.
- Preheat your oven to 450ºF. Drizzle the dried bread cubes with a little oil and bake for a few minutes until golden brown and slightly crisp.
- Remove the toasted bread from the oven and set it aside to cool. Immediately reduce the oven temperature to 350ºF.
- Butter a 9×13-inch baking dish. In a large skillet over medium heat, melt the 1/4 cup of butter. Add the minced shallots and celery, sautéing for about 6 minutes until soft and fragrant. Stir in the minced garlic, chopped fresh parsley, sage, thyme, savory, and rosemary. Cook for 1 minute more until fragrant. Season with salt and pepper to taste.
- Transfer the toasted bread cubes to a large bowl. Add the sautéed vegetable and herb mixture. Toss gently to combine all ingredients thoroughly. Pour in the chicken or vegetable broth and stir gently until the bread cubes are evenly coated and moistened. Season generously with additional salt and pepper as needed.
- Transfer the stuffing mixture to the prepared buttered baking dish. Cover the dish tightly with aluminum foil and bake in the preheated 350ºF oven for 45 minutes, allowing the stuffing to cook through and absorb flavors.
- Remove the foil and continue baking for another 15 to 20 minutes, or until the top of the stuffing is beautifully golden brown and crispy.
- Serve your delicious classic stuffing warm, garnished with a fresh chop of parsley for a touch of vibrant color and freshness.
Recipe Notes
Store leftover stuffing in an airtight container in the refrigerator for 4-6 days.
Make-Ahead Option 1 (Unbaked): Prepare the stuffing mixture and transfer it to the buttered baking dish. Cover tightly with foil and refrigerate for up to 2 days. When ready to bake, place in the preheated 350°F oven (you might need to add an extra 10-15 minutes to the covered baking time if baking directly from the fridge) then follow baking instructions as usual.
Make-Ahead Option 2 (Fully Baked): Bake the stuffing completely as instructed. Let it cool fully, then cover tightly with foil and refrigerate for up to 3 days. To reheat, warm in a 350°F oven until heated through. For a crisper top, remove the foil for the last 10 minutes of reheating. Both methods yield excellent results and offer great flexibility for your cooking schedule.
Nutrition
Serving: 1 Cup, Calories: 398kcal, Carbohydrates: 61g, Protein: 13g, Fat: 12g, Saturated Fat: 6g, Polyunsaturated Fat: 2g, Monounsaturated Fat: 3g, Trans Fat: 1g, Cholesterol: 20mg, Sodium: 1381mg, Potassium: 402mg, Fiber: 7g, Sugar: 8g, Vitamin A: 914IU, Vitamin C: 18mg, Calcium: 249mg, Iron: 6mg
Nutrition information is automatically calculated, so should only be used as an approximation.
Like this? Leave a comment below!
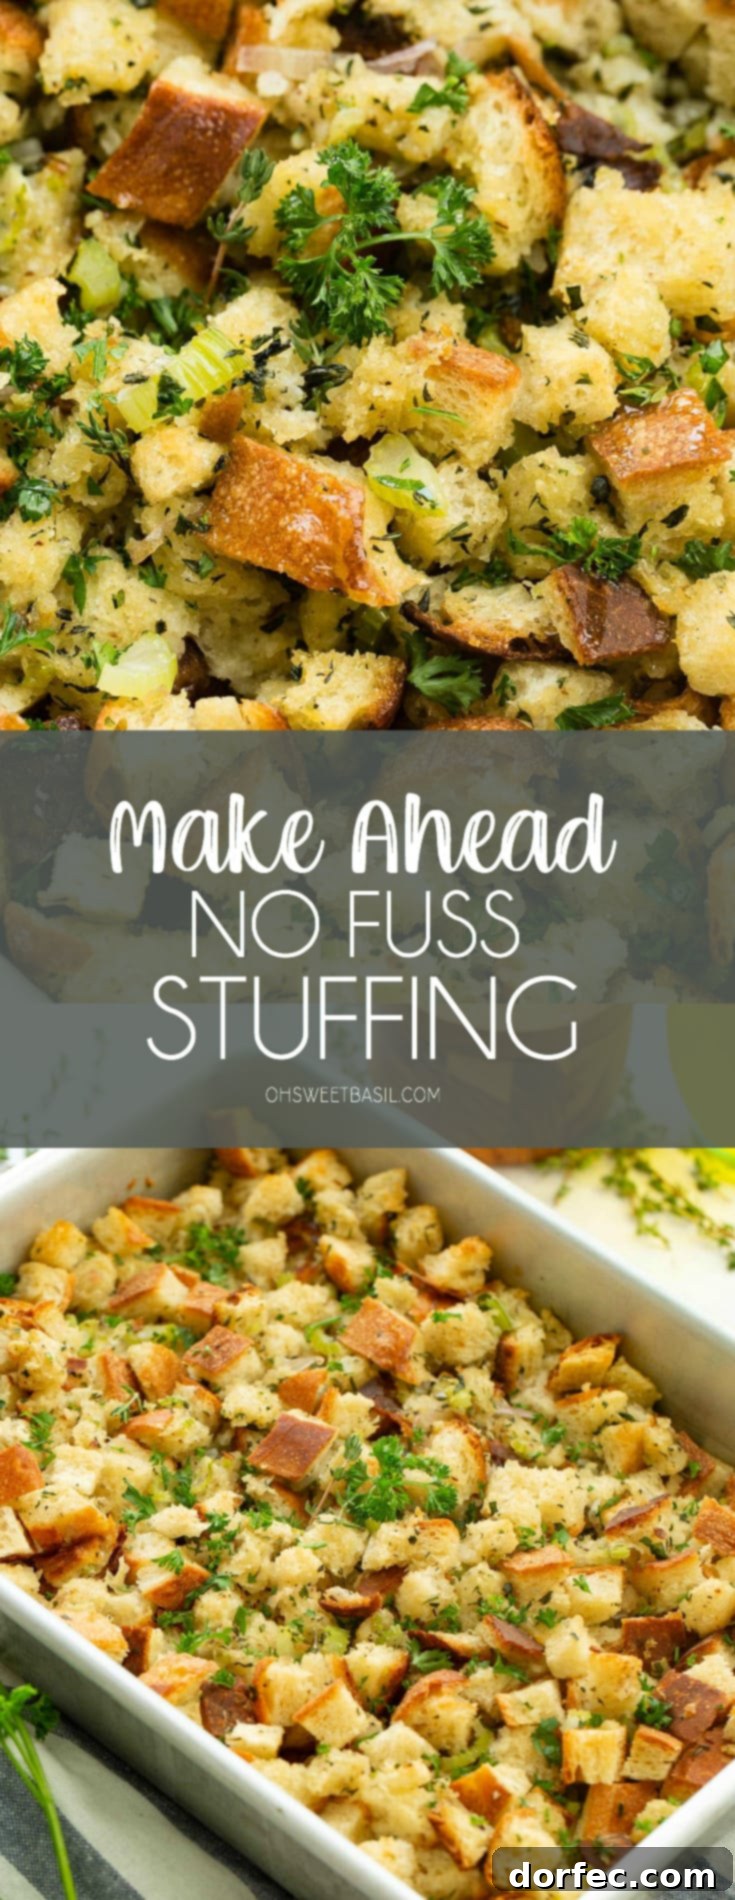
REMEMBER TO SUBSCRIBE TO our FREE Oh Sweet Basil NEWSLETTER AND RECEIVE EASY RECIPES DELIVERED INTO YOUR INBOX EVERY DAY!
When you try a recipe, please use the hashtag #ohsweetbasil on INSTAGRAM for a chance to be featured in our stories! FOLLOW OH, SWEET BASIL ON FACEBOOK | INSTAGRAM | PINTEREST | TWITTER FOR ALL OF OUR LATEST CONTENT, RECIPES AND STORIES.