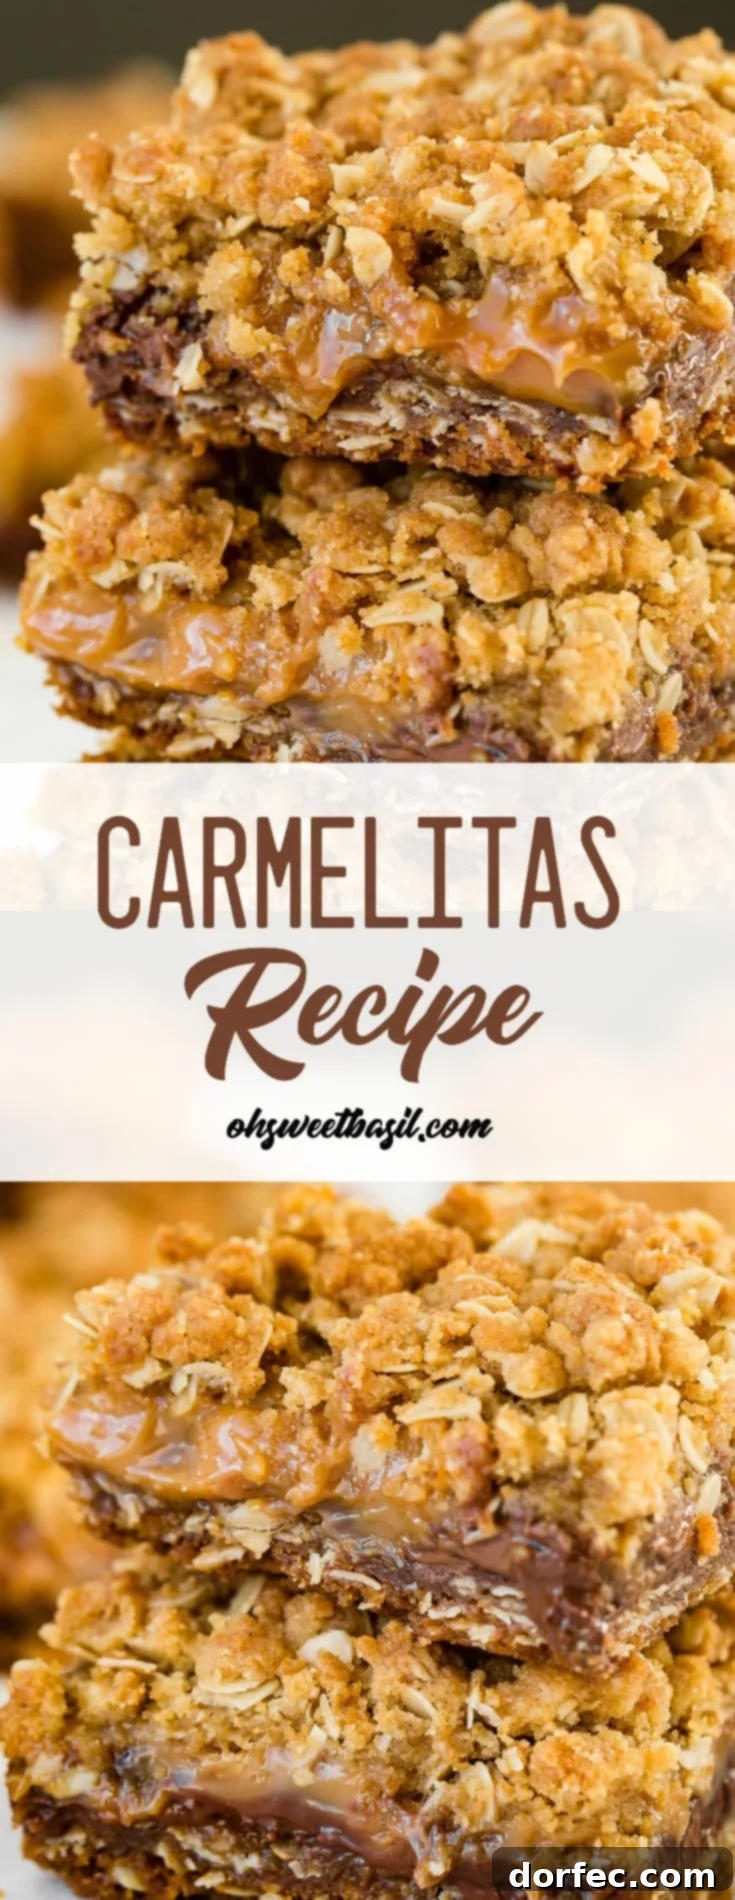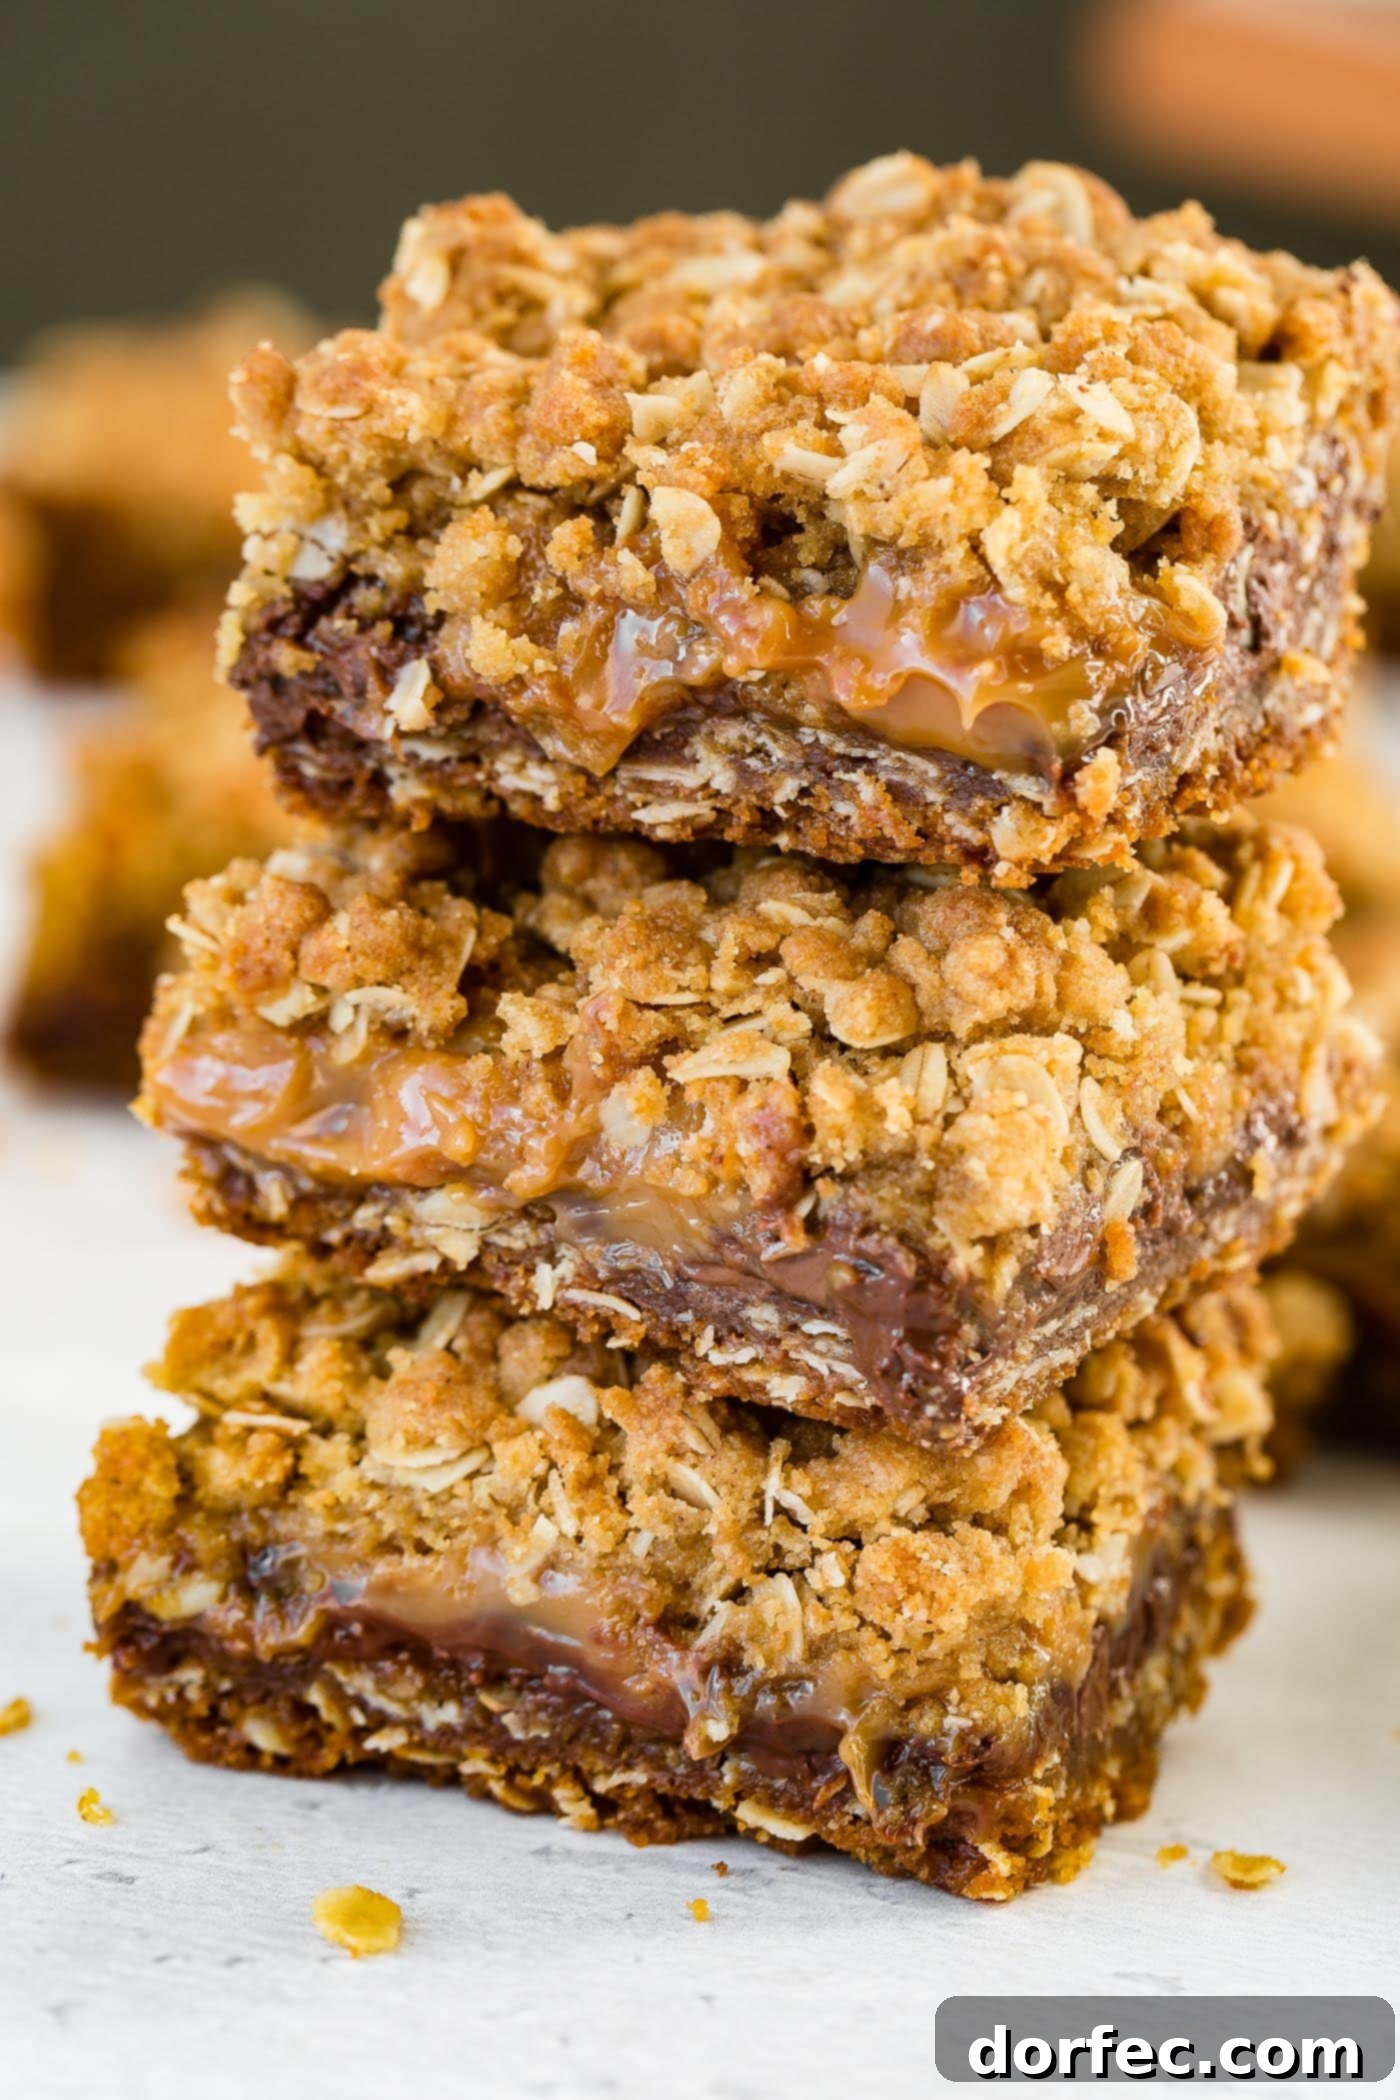
Carmelitas are truly magical dessert bars, renowned for their irresistible layers of a buttery brown sugar oat crust, a lavishly gooey chocolate and rich caramel center, all crowned with a delectable oat crumble. These delightful squares offer a symphony of textures and flavors, making them a standout treat that’s impossible to resist. Perfect for any occasion, Carmelitas are a celebration of comfort and indulgence in every single bite.
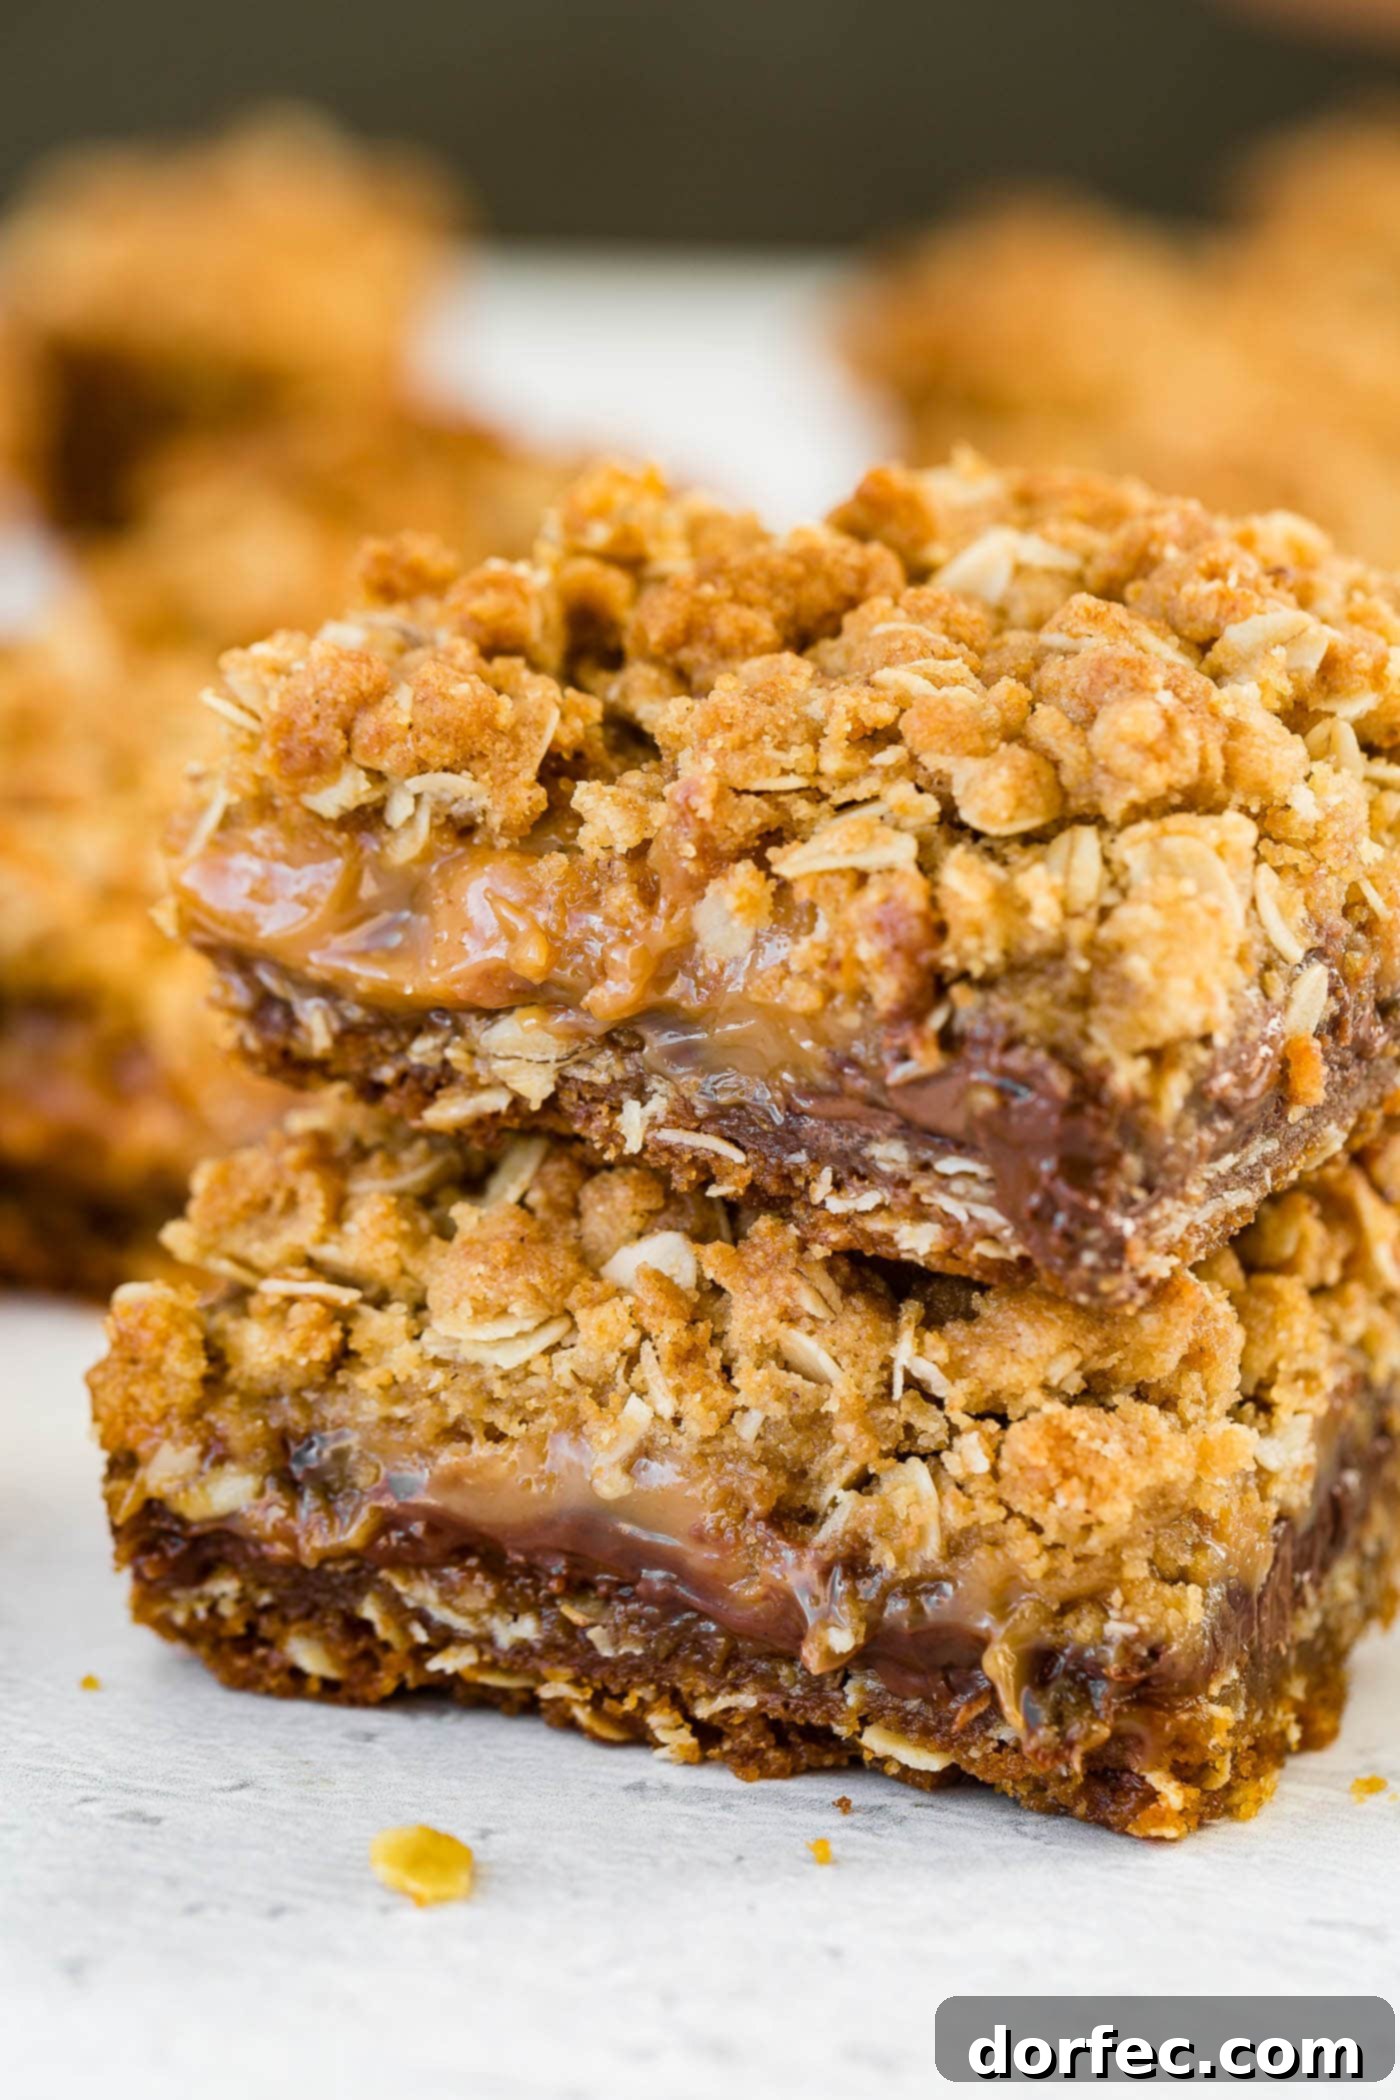
As a passionate home baker, I often find myself craving variety in my dessert repertoire. While classic chocolate chip cookies and fudgy brownies are undeniably wonderful, sometimes my sweet tooth yearns for something a bit more adventurous, a unique combination that excites the palate. That’s precisely why I was utterly captivated when friends introduced us to this incredible Carmelitas recipe during a casual game night a few weeks ago. My husband and I were instantly smitten, and these bars have since become a treasured addition to our collection of favorite treats.
What makes Carmelitas so extraordinary is their ingenious construction. Imagine a wonderfully crisp, golden oatmeal cookie at both the base and the top, providing a delightful chew and subtle crunch. Sandwiched right in the middle is where the real magic happens: a luscious, molten layer of rich, buttery caramel generously intertwined with silky, melted chocolate. This divine combination creates a dessert bar that isn’t just a treat; it’s a transcendent experience. Each bite delivers a perfect harmony of textures – the crumble of the oats, the chewiness of the crust, and the smooth, decadent ooze of chocolate and caramel. It is, quite frankly, dessert perfection, a truly sweet and delicious masterpiece that will have everyone asking for the recipe.
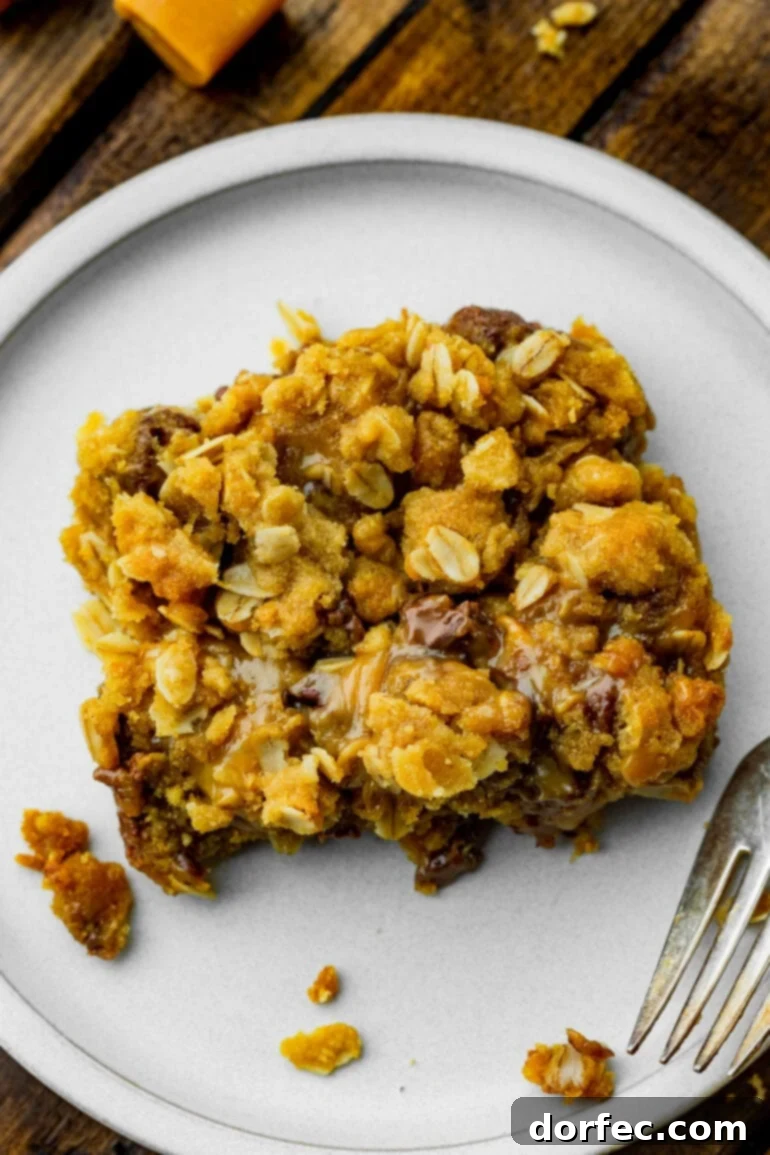
Unveiling the Simplicity: Essential Ingredients for Perfect Carmelitas
The beauty of Carmelita bars extends beyond their incredible taste to their ingredient list. You’ll be delighted to discover that most of what you need to create these heavenly bars are likely staples already residing in your pantry. This recipe champions accessibility without compromising on flavor or quality, making it an ideal choice for both seasoned bakers and beginners alike. Here’s a breakdown of the key components you will need to bring these sensational dessert bars to life:
- All-Purpose Flour: The foundation of our oat layers, regular all-purpose flour works perfectly to create a tender yet sturdy base and topping.
- Old-Fashioned Oats: These are crucial for imparting that signature chewy texture and rustic charm to the Carmelita bars. While quick oats can be used in a pinch, old-fashioned oats offer a more substantial and satisfying bite.
- Cinnamon (Optional, but Recommended): A subtle hint of cinnamon elevates the flavor profile, adding warmth and depth that beautifully complements the brown sugar and caramel. If you’re a fan of cozy spices, don’t skip this!
- Salt: A small but mighty ingredient, salt plays a vital role in balancing the sweetness of the brown sugar and caramel, enhancing all the other flavors without making the bars taste salty.
- Baking Soda: This leavening agent ensures our oat layers have a slight lift, contributing to their appealing texture and preventing them from becoming too dense.
- Brown Sugar (Firmly Packed): The star of the oat layers, brown sugar provides a rich, deep sweetness and contributes to the bars’ wonderfully moist and tender quality. Be sure to pack it firmly for accurate measurement.
- Butter (Melted) or Margarine: Serving as the essential binding agent, melted butter (or margarine for those preferring it) brings all the oat ingredients together, creating a cohesive and flavorful dough. Its richness is key to the overall decadent taste.
- Caramel Squares: For the iconic gooey center, you’ll want individually wrapped caramel squares. The recipe calls for approximately 37 pieces, ensuring a generous and perfectly distributed caramel layer.
- Evaporated Milk: This ingredient is used to thin out the melted caramel squares, transforming them into a smooth, pourable, and incredibly luscious sauce that will ooze delightfully with every bite.
- Heavy Cream: Adding an extra touch of richness and velvety smoothness to the caramel, heavy cream takes the indulgence up a notch. If you don’t have heavy cream, an equal amount of additional evaporated milk can be substituted.
- Chocolate Chips: A blend of milk chocolate chips and semi-sweet chocolate chips is my preferred choice. This combination offers a balanced sweetness and a complex chocolate flavor that perfectly marries with the caramel. Feel free to adjust to your chocolate preference – all milk chocolate for extra sweetness, or all semi-sweet for a deeper, less sugary profile.
The precise measurements for each of these pantry-friendly ingredients, along with detailed instructions, are conveniently located in the comprehensive recipe card at the conclusion of this post. You’ll find that preparing for these bars is almost as enjoyable as baking them!
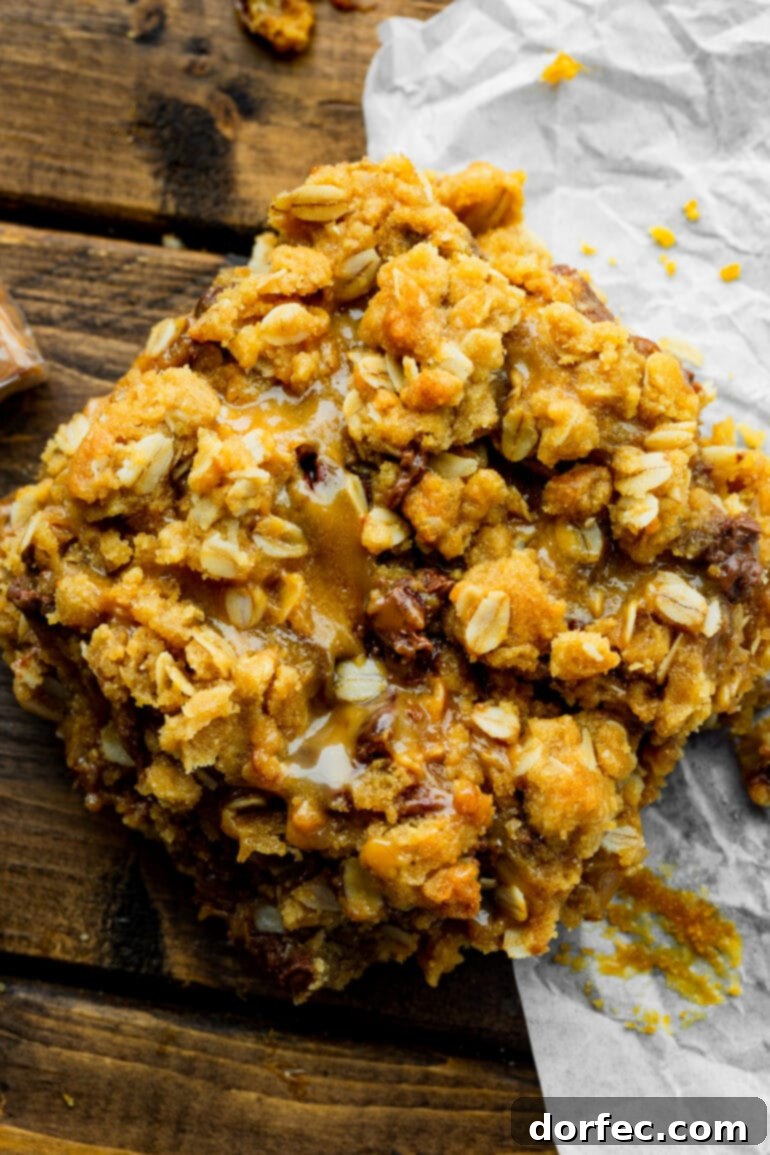
Crafting Perfection: A Step-by-Step Guide to Making Carmelitas
One of the most appealing aspects of this Carmelitas recipe is its surprising ease and speed of preparation. Despite the seemingly intricate layers, the process is straightforward and incredibly rewarding, making it an ideal choice for busy weeknights or spontaneous gatherings. You’ll be amazed at how quickly these decadent bars come together. Here’s a detailed breakdown of the basic steps to guide you:
- Prepare Your Baking Pan: Begin by preheating your oven to the specified temperature (typically 350°F or 175°C). Line a 9×13 inch baking pan with parchment paper, ensuring enough overhang on the sides to easily lift the bars out once cooled. This simple step is crucial for effortless removal and clean cuts.
- Combine Oat Layer Ingredients: In a spacious mixing bowl, thoroughly combine all the dry ingredients designated for the oat layers: flour, old-fashioned oats, baking soda, salt, and optionally, cinnamon. Add the firmly packed brown sugar and the melted butter. Mix these ingredients together until a crumbly, well-combined mixture forms. The butter should evenly coat the dry ingredients, creating a texture that holds together when pressed.
- Form the Bottom Crust: Take half of the prepared oat mixture and press it firmly and evenly into the bottom of your parchment-lined 9×13 inch pan. Use the back of a spoon or your clean hands to ensure a compact, uniform layer. This creates the delicious foundation for your Carmelitas.
- Initial Bake: Place the pan with the pressed oat crust into your preheated oven and bake for approximately 10 minutes. This initial baking step helps to set the bottom layer, preventing it from becoming soggy once the wet caramel and chocolate are added.
- Prepare the Caramel Layer: While the bottom crust is baking, gently melt the caramel squares with the evaporated milk and heavy cream (if using) in a saucepan over low heat. Stir continuously until the caramels are completely melted and the mixture is smooth and luxurious. Be careful not to let it boil.
- Assemble the Layers: Once the bottom crust is lightly golden and removed from the oven, immediately sprinkle an even layer of chocolate chips over the hot crust. The residual heat will start to melt them slightly, creating an even gooier texture. Carefully pour the warm, melted caramel mixture evenly over the chocolate chips.
- Add the Top Crumble: Crumble the remaining half of the oat mixture evenly over the caramel and chocolate layers. You can gently press it down a little, but maintain its crumbly texture to ensure that signature crisp topping.
- Final Bake: Return the pan to the oven and bake for an additional 15-20 minutes, or until the top oat layer is golden brown and the caramel is bubbly around the edges. Keep an eye on it to prevent over-browning.
- Cool Completely: This is arguably the most critical step for perfectly sliced Carmelitas. Allow the bars to cool completely at room temperature for several hours, or even better, overnight. If you attempt to cut them while warm, the caramel will be too runny, resulting in a messy (though still delicious!) disaster. For quicker cooling, you can place the pan in the refrigerator once it has cooled slightly at room temperature.
The complete instructions, including precise temperatures and timings, can be found in the detailed recipe card at the very end of this post. Follow these steps, and you’ll be rewarded with a batch of irresistible Carmelitas that will impress everyone!
Mastering Carmelitas: Expert Tips for Bakery-Quality Bars
Achieving Carmelita perfection is simpler than you might think, especially with a few insider tips. These insights will help you navigate the baking process with confidence and ensure your dessert bars are nothing short of extraordinary:
- Embrace the Egg-Free Charm: If you’re scanning the ingredient list for eggs and wondering if you’ve missed something – don’t! This recipe famously contains no eggs, which might seem unconventional for baked goods, but for Carmelitas, it’s a feature, not a bug. The absence of eggs contributes to the unique, crumbly texture of the oat layers and allows the rich butter and brown sugar flavors to truly shine. Trust the process; it simply works!
- Nutty Additions for Extra Crunch: For those who appreciate an added layer of texture and flavor, consider incorporating finely chopped pecans or almonds into your oat mixture. About a half cup to a cup of nuts can be folded in with the dry ingredients. This introduces a wonderful crunch and a nutty undertone that complements the caramel and chocolate beautifully.
- A Touch of Sweet & Salty: If you, like me, are a connoisseur of the sweet and salty flavor combination, a light sprinkle of flaky sea salt (like Maldon) over the warm caramel layer before adding the top crumble is an absolute game-changer. The subtle saltiness enhances the richness of the caramel and chocolate, creating an even more addictive taste experience.
- Customize Your Chocolate: Don’t be afraid to experiment with your chocolate choices. While I prefer a balanced mix of milk and semi-sweet chocolate chips to avoid an overly saccharine result, you can tailor it to your preference. If you crave intense sweetness, go all milk chocolate. For a darker, more sophisticated profile, use all semi-sweet or even a blend with dark chocolate chips. White chocolate chips could also offer an interesting contrast.
- The Art of Patience: Cooling is Key: I cannot stress this enough: *allow the dessert bars to cool completely.* This step is non-negotiable for clean, intact slices. If you cut into them while they are still warm, the caramel will be liquid and sticky, leading to a messy, gooey (though still delicious!) outcome. Ideally, let them sit at room temperature for several hours, or even better, overnight. For faster cooling, you can transfer the pan to the refrigerator after it has cooled down considerably at room temperature. The firmer the caramel, the cleaner your cuts will be.
- Serving Suggestion for Pure Bliss: These rich and fabulous bars are best enjoyed with a tall, frosty glass of milk. The creamy milk cuts through the sweetness and richness, creating a perfectly balanced treat. They also pair wonderfully with a scoop of vanilla bean ice cream or a hot cup of coffee for an elevated dessert experience.
By keeping these tips in mind, you’ll be well on your way to baking Carmelitas that are not only delicious but also visually stunning, ready to be devoured and adored by all who try them.
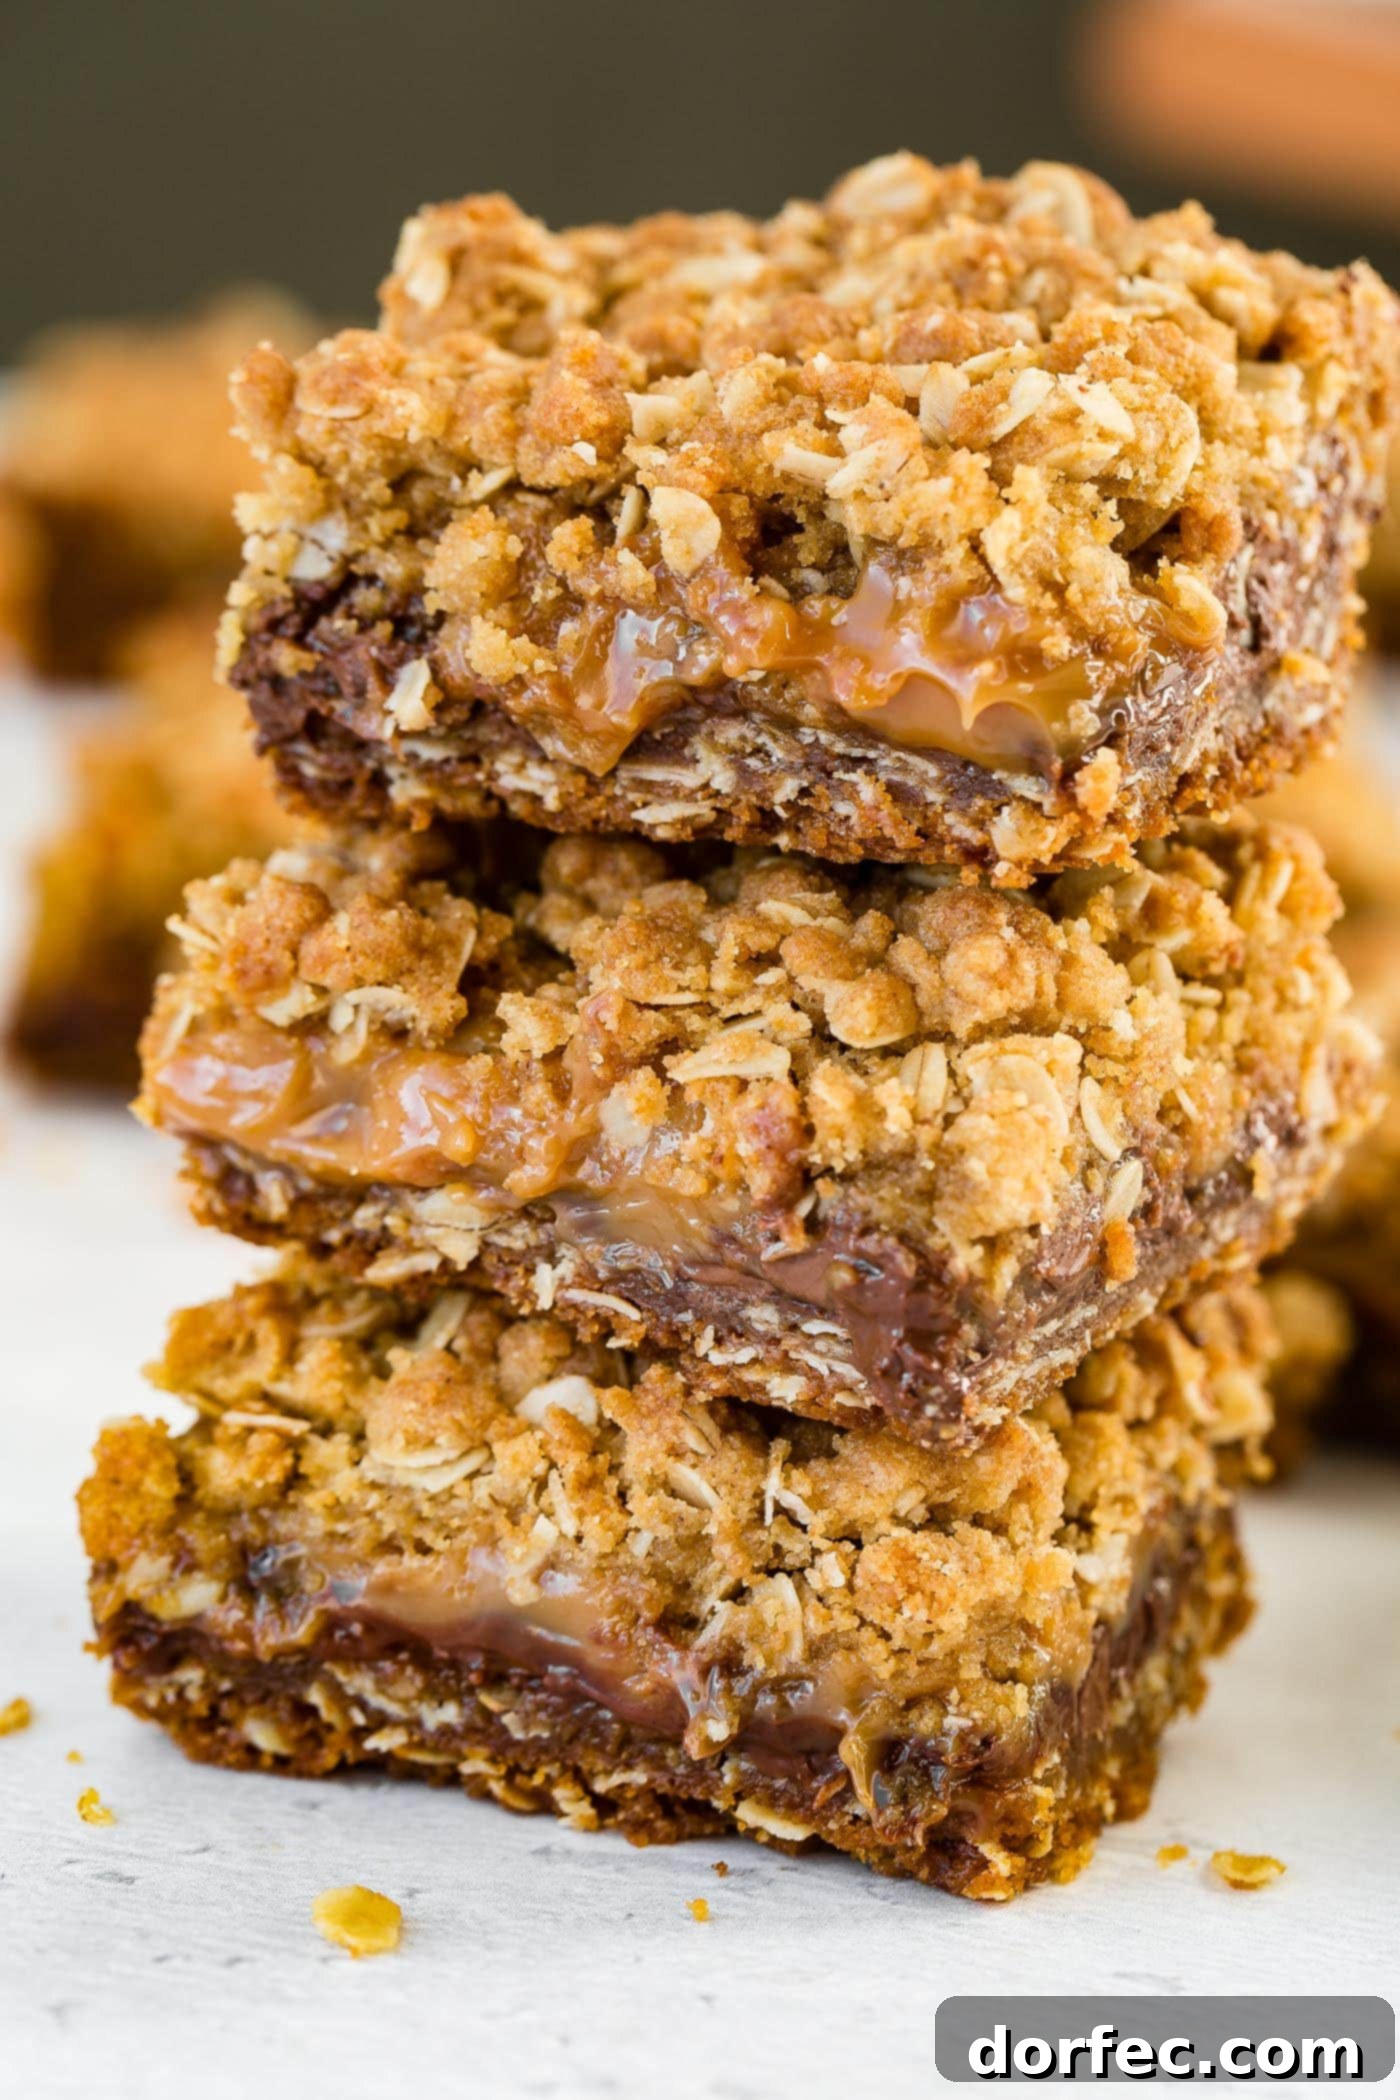
Why Carmelitas Will Be Your New Favorite Dessert Bar
Beyond their undeniable deliciousness, there are countless reasons why Carmelitas are poised to become a staple in your dessert repertoire. These bars offer a unique combination of qualities that make them incredibly appealing for any occasion, from casual family desserts to impressive potluck contributions.
- A Symphony of Textures: Each bite of a Carmelita bar is a delightful journey through contrasting textures. You get the satisfying crunch and chewiness from the golden, buttery oat layers, followed by the heavenly experience of gooey, melty chocolate and rich, soft caramel. This combination is utterly divine and keeps your taste buds engaged and eager for more.
- Effortless Elegance: Despite their impressive appearance and complex flavor profile, Carmelitas are surprisingly simple and quick to make. Even with distinct layers, the preparation process is incredibly user-friendly. This makes them the perfect sweet treat for those moments when you’re craving something special but aren’t in the mood for an elaborate, time-consuming kitchen project. They’re proof that extraordinary desserts don’t have to be complicated.
- No Special Equipment Needed: Forget about pulling out the heavy stand mixer or any fancy gadgets. For this recipe, all you truly need is a large mixing bowl and a sturdy wooden spoon or spatula. This simplicity in equipment makes the cleanup minimal and the baking process even more accessible, allowing you to whip up a batch with ease.
- Guaranteed Crowd-Pleaser: Carmelitas have an almost magical ability to disappear from dessert tables in record time. I’ve personally never had the pleasure of bringing home leftovers when I’ve taken these bars to potlucks, parties, or any kind of event. Their universal appeal, combining beloved flavors like oats, brown sugar, chocolate, and caramel, ensures they’re always a huge hit with guests of all ages. They are the ultimate dessert for feeding a crowd and ensuring smiles all around.
- Versatility for All Occasions: Whether you’re looking for a comforting treat on a chilly evening, a festive addition to a holiday spread, a delightful snack for a school bake sale, or a sophisticated dessert to share with friends, Carmelitas fit the bill. Their robust flavors and sturdy nature make them easy to transport and enjoy wherever you go.
With all these fantastic qualities, it’s easy to see why Carmelitas are more than just a dessert – they’re an experience, a delightful indulgence that will earn you rave reviews every single time.
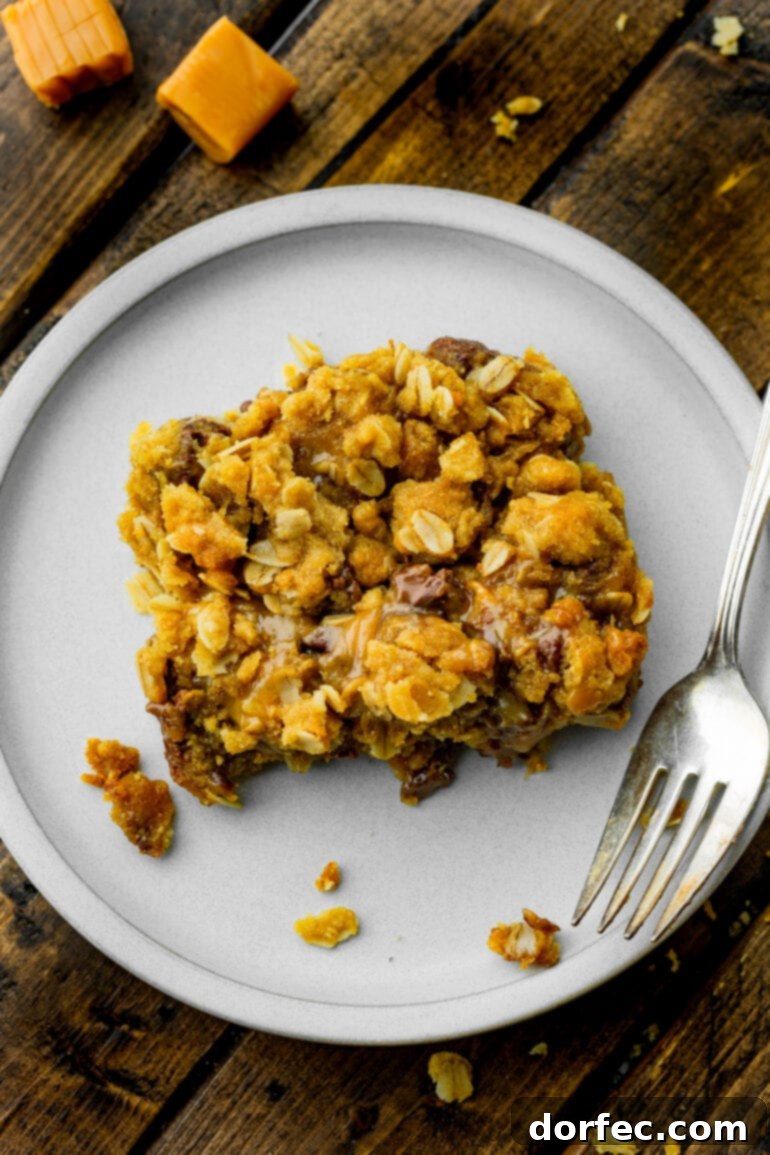
Storage Solutions: Keeping Your Carmelitas Fresh
Carmelitas are so delicious, they rarely last long. However, if you find yourself with a few leftover bars (a rare occurrence!), proper storage is key to maintaining their incredible taste and texture.
At room temperature, Carmelitas will retain their freshness and delightful chewiness for up to a week. To store them, place the completely cooled bars in an airtight container. This will protect them from drying out and keep the caramel and chocolate gooey and tender.
For longer storage, Carmelitas are excellent candidates for freezing. They can be confidently frozen for several months without losing their quality. To freeze them, first ensure the bars are completely cool. Then, individually wrap each bar (or small batches) tightly in plastic wrap, followed by a layer of aluminum foil. Alternatively, place the wrapped bars in a heavy-duty freezer bag, ensuring as much air as possible is removed before sealing. When you’re ready to enjoy them, simply thaw the frozen Carmelitas at room temperature for a few hours, or gently warm them in a low oven for a few minutes to bring back that fresh-baked warmth and melty center.
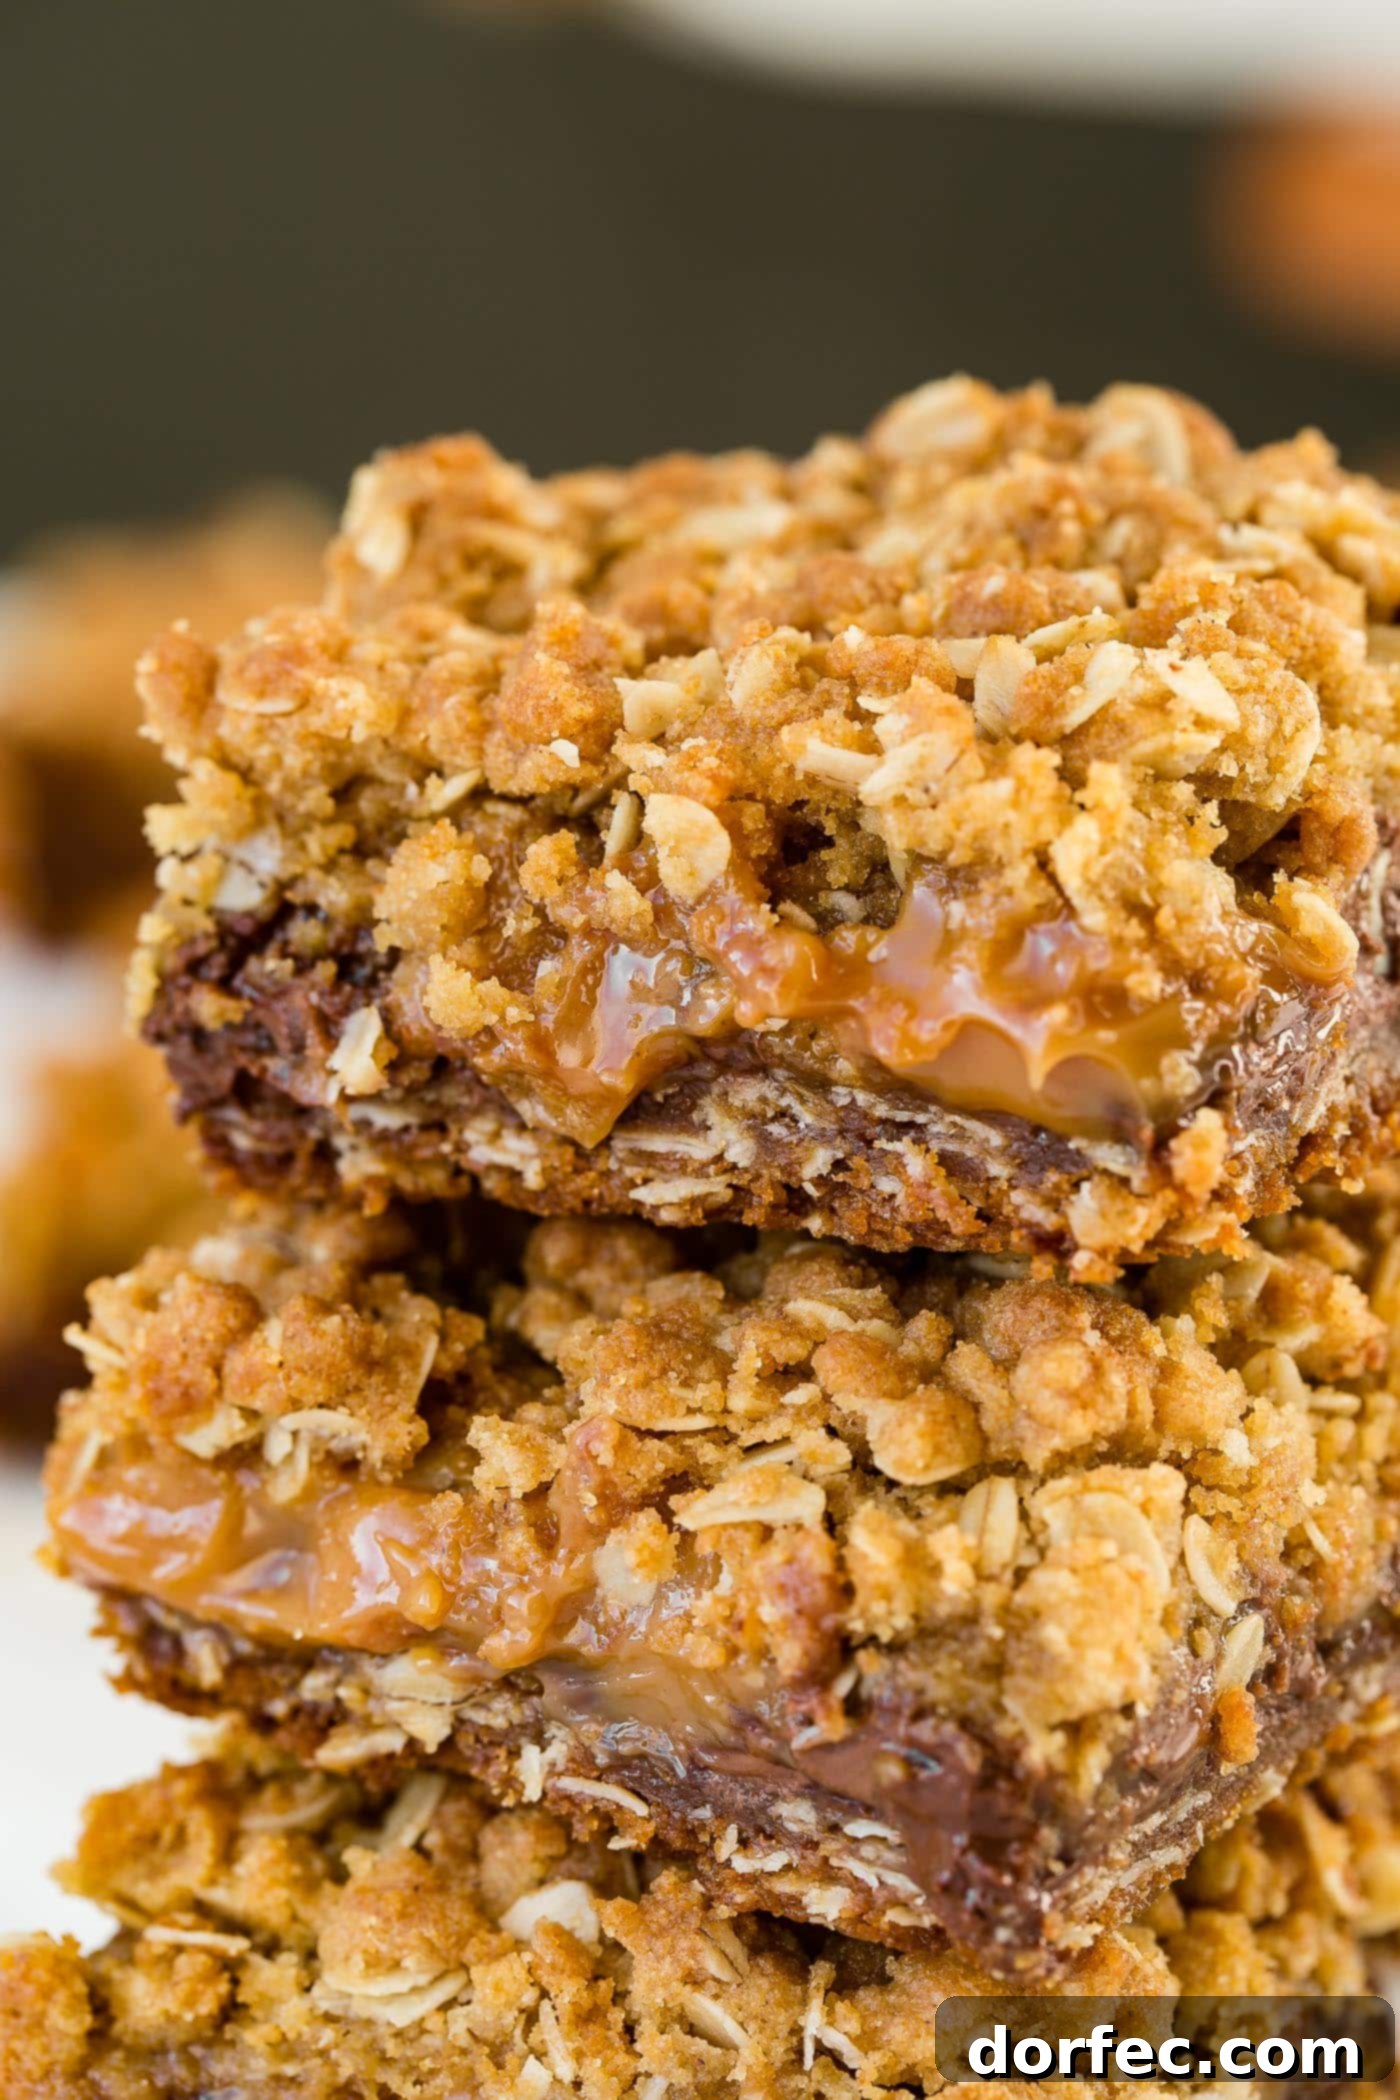
From the first crumbly bite of the brown sugar oat bottom to the irresistible gooey combination of rich chocolate and buttery caramel in the middle, and finally, that perfectly golden oat crumble topping, every morsel of these Carmelitas bars is an experience in pure culinary love. Their balance of textures and flavors creates a dessert that is both comforting and exciting. Prepare to become a huge fan of these delightful, easy-to-make dessert bars!
Craving More Sweet Treats? Explore These Delightful Dessert Bars:
- Irresistible Peanut Butter Bars
- Fudgy Brookie Bars (Brownie & Cookie Fusion)
- Classic Zesty Lemon Bars
- Easy No-Bake S’mores Bars
- Fantastic Snickerdoodle Cheesecake Bars
- Refreshing Raspberry Lemon Bars
Carmelitas
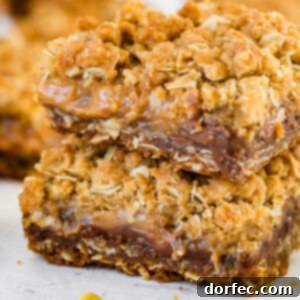
Carmelitas are dessert bars that have a brown sugar buttery oat bottom, a melty chocolate and rich caramel center topped off with another layer of oat crumble!
Ingredients
For the Oat Layers:
- 2 Cups All-Purpose Flour
- 2 Cups Old-Fashioned Oats
- 1/4 teaspoon Cinnamon (optional)
- 1/4 teaspoon Salt
- 2 teaspoons Baking Soda
- 2 Cups Brown Sugar, firmly packed
- 1 1/3 Cups Butter, melted (or margarine)
For the Caramel & Chocolate Filling:
- 1.5 Bags (approximately 37 pieces) Caramel Squares, 11 ounce bags
- 1/2 Cup Evaporated Milk
- 1/4 Cup Heavy Cream (can substitute with more evaporated milk)
- 1 Cup Milk Chocolate Chips
- 1 Cup Semi-Sweet Chocolate Chips
Instructions
-
Preheat oven to 350°F (175°C). Line a 9×13 inch pan with parchment paper, leaving an overhang on the sides for easy removal.
-
In a large bowl, combine the flour, old-fashioned oats, cinnamon (if using), salt, baking soda, and brown sugar. Pour in the melted butter and mix until all ingredients are well combined and a crumbly mixture forms.
-
Press half of the oat mixture firmly and evenly into the bottom of the prepared pan to form the crust.
-
Bake the bottom crust at 350°F (175°C) for 10 minutes. Remove from the oven.
-
While the crust is baking, melt the caramel squares, evaporated milk, and heavy cream (if using) in a saucepan over low heat, stirring frequently until smooth and fully combined.
-
Sprinkle the milk chocolate chips and semi-sweet chocolate chips evenly over the hot baked crust. Immediately pour the melted caramel mixture over the chocolate chips.
-
Crumble the remaining half of the oat mixture evenly over the caramel layer.
-
Return the pan to the oven and bake for an additional 15 minutes, or until the top oat layer is golden brown and the caramel is bubbly.
-
Allow the bars to cool completely at room temperature for several hours (ideally overnight) before cutting into squares. Cooling in the refrigerator can speed up the process once partially cooled at room temperature.
Recipe Notes
You can place the cooled Carmelitas in an airtight container and freeze them for up to 3 months. Thaw at room temperature before serving.
For an extra treat, sprinkle a pinch of flaky sea salt on top of the caramel layer before adding the final oat crumble.
Nutrition
Serving: 1 bar,
Calories: 381kcal,
Carbohydrates: 52g,
Protein: 4g,
Fat: 18g,
Saturated Fat: 11g,
Polyunsaturated Fat: 1g,
Monounsaturated Fat: 4g,
Trans Fat: 0.4g,
Cholesterol: 34mg,
Sodium: 253mg,
Potassium: 158mg,
Fiber: 2g,
Sugar: 36g,
Vitamin A: 392IU,
Vitamin C: 0.2mg,
Calcium: 74mg,
Iron: 2mg
Nutrition information is automatically calculated and should only be used as an approximation.