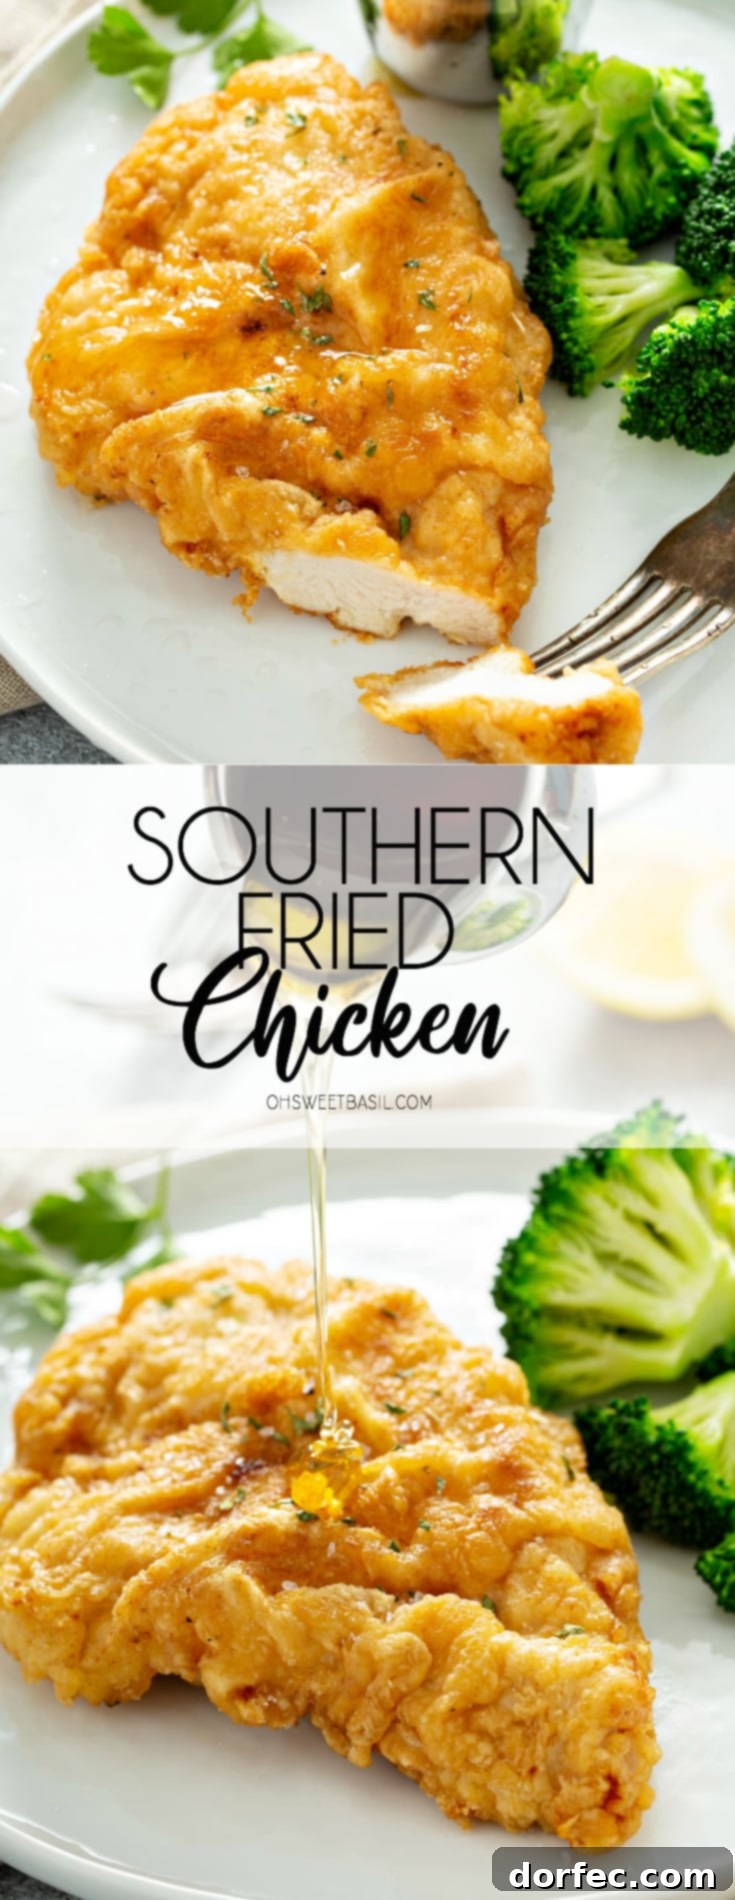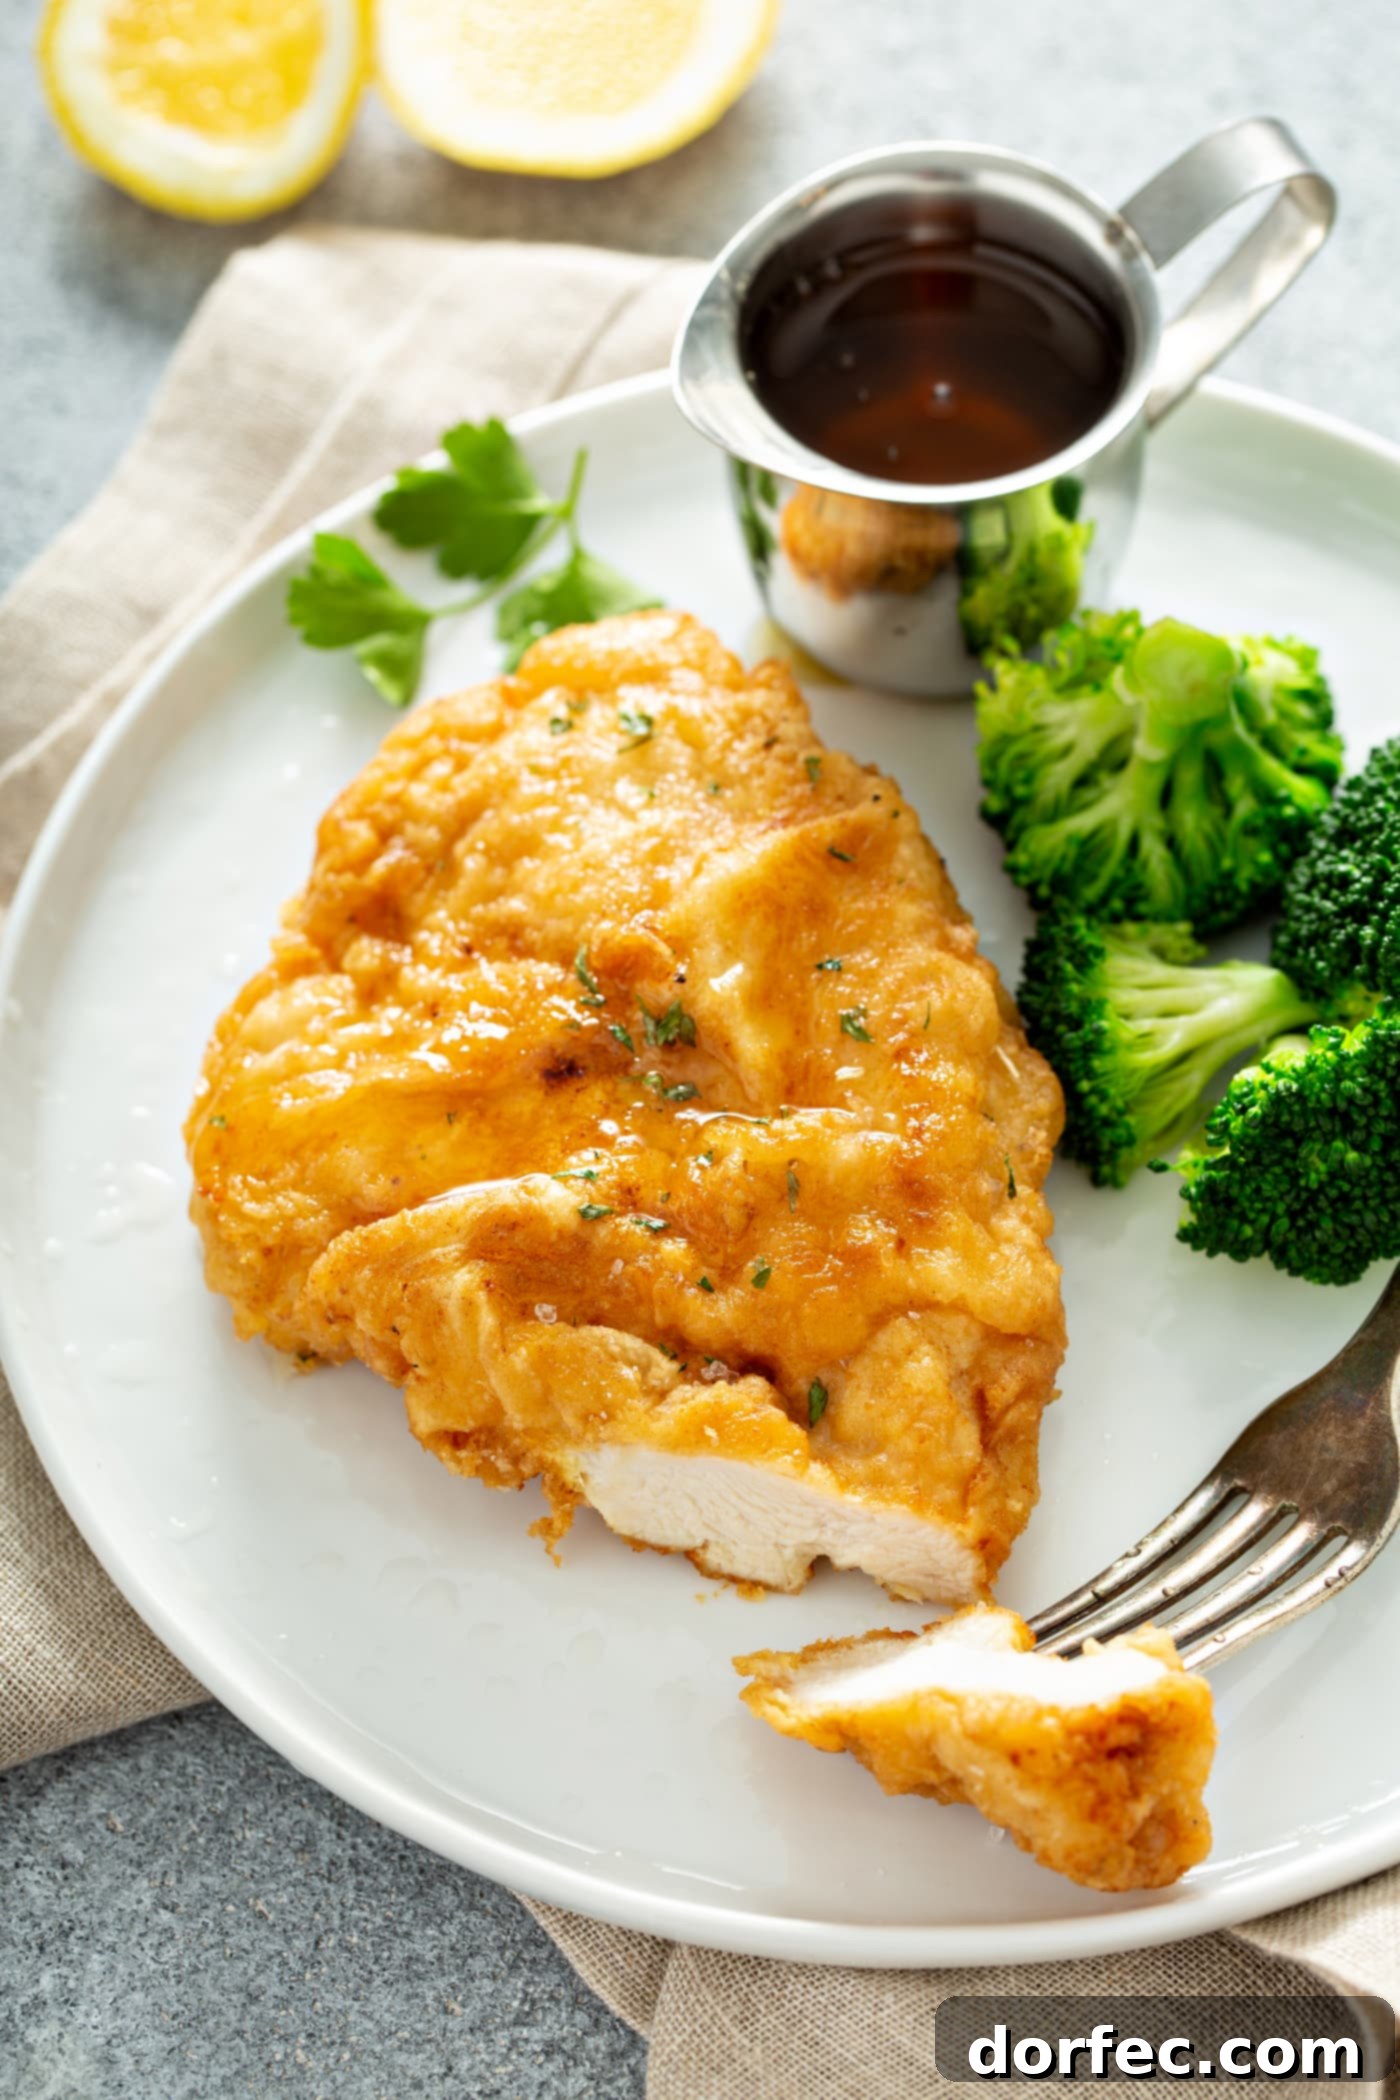
Welcome to the ultimate guide for crafting the most delectable, **double-dipped, Southern crispy fried chicken** you’ve ever tasted. This isn’t just any fried chicken; it’s a culinary masterpiece known for its exceptional crunch, incredibly juicy interior, and flavor that transports you straight to the heart of the South. Imagine serving golden-brown pieces alongside a refreshingly creamy coleslaw and warm, fluffy cornbread—a classic Southern meal that promises to be nothing short of perfection.
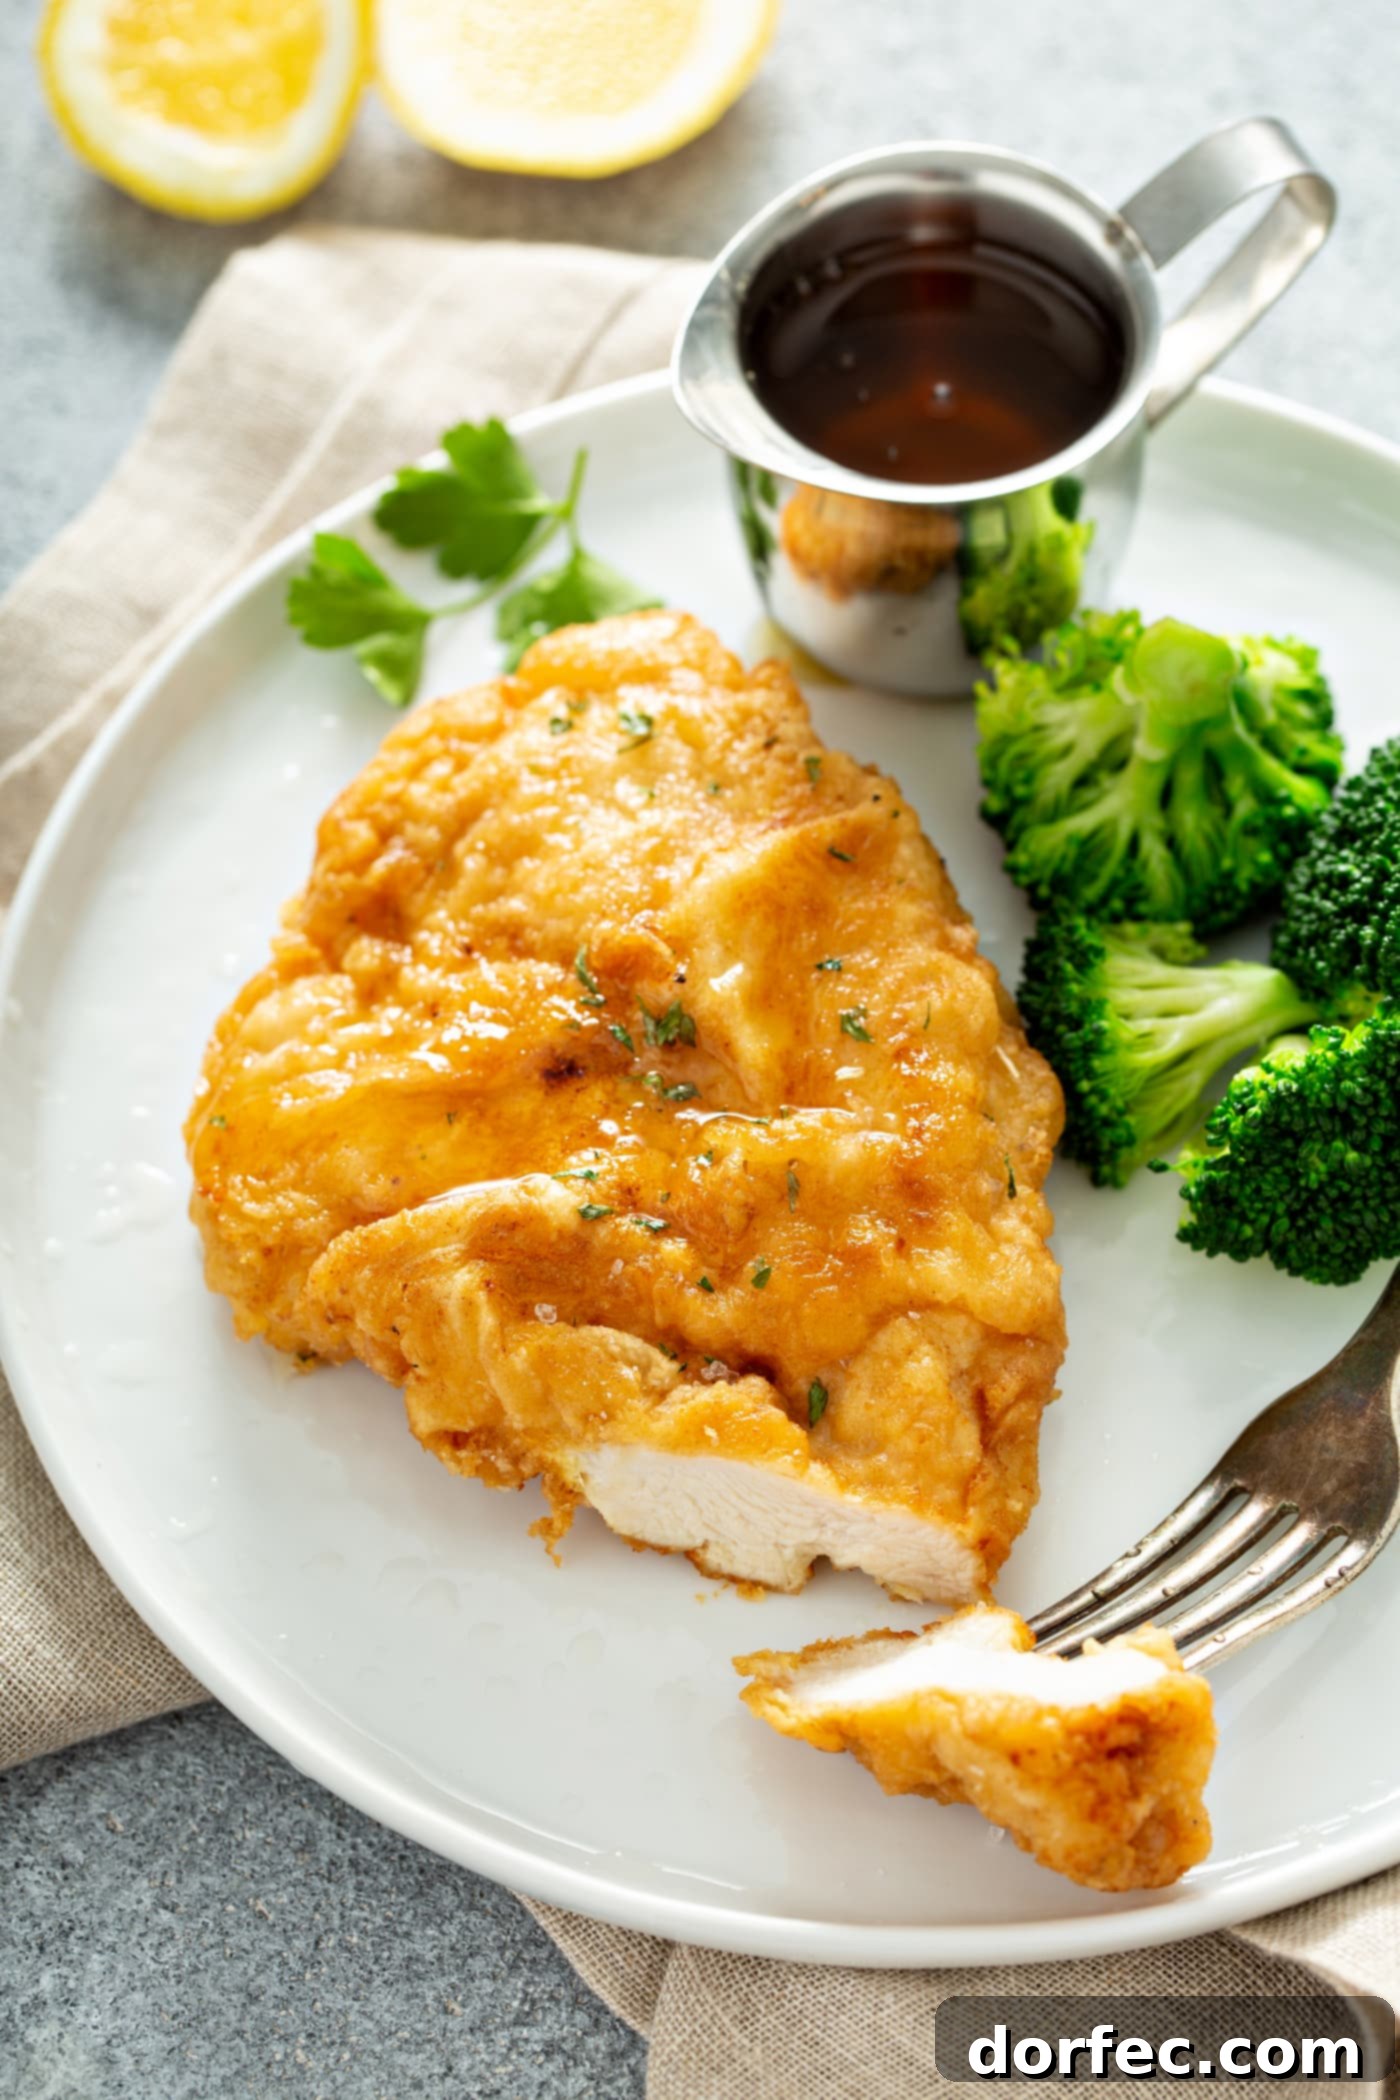
There’s an undeniable magic to Southern comfort food, and no one does it quite like the South, especially when it comes to the art of frying. Among the many iconic dishes, **Southern fried chicken** stands in a league of its own. It’s more than just a meal; it’s a tradition, a celebration, and a staple that evokes feelings of warmth and home.
Growing up, my home kitchen, influenced by a dad from Oregon and a mom from Idaho, rarely saw fried chicken being made from scratch. Yet, our family certainly enjoyed it. Looking back, it’s a bit comical to admit, but our go-to for picnics was often a bucket of fried chicken from… well, KFC. Yes, I said it! It’s funny because my mom was an incredible home cook, preparing almost all our meals, yet for a picnic, that familiar red and white bucket was our indulgence.
That experience, however, sparked a curiosity and a desire to truly understand what makes authentic Southern fried chicken so special. It was a journey of culinary exploration that led me to perfect this recipe, ensuring every bite delivers that unparalleled crunch and succulent juiciness that fast food simply can’t replicate. This recipe is the culmination of countless attempts, fine-tuning, and a deep appreciation for genuine Southern flavors.
Mastering Authentic Southern Fried Chicken
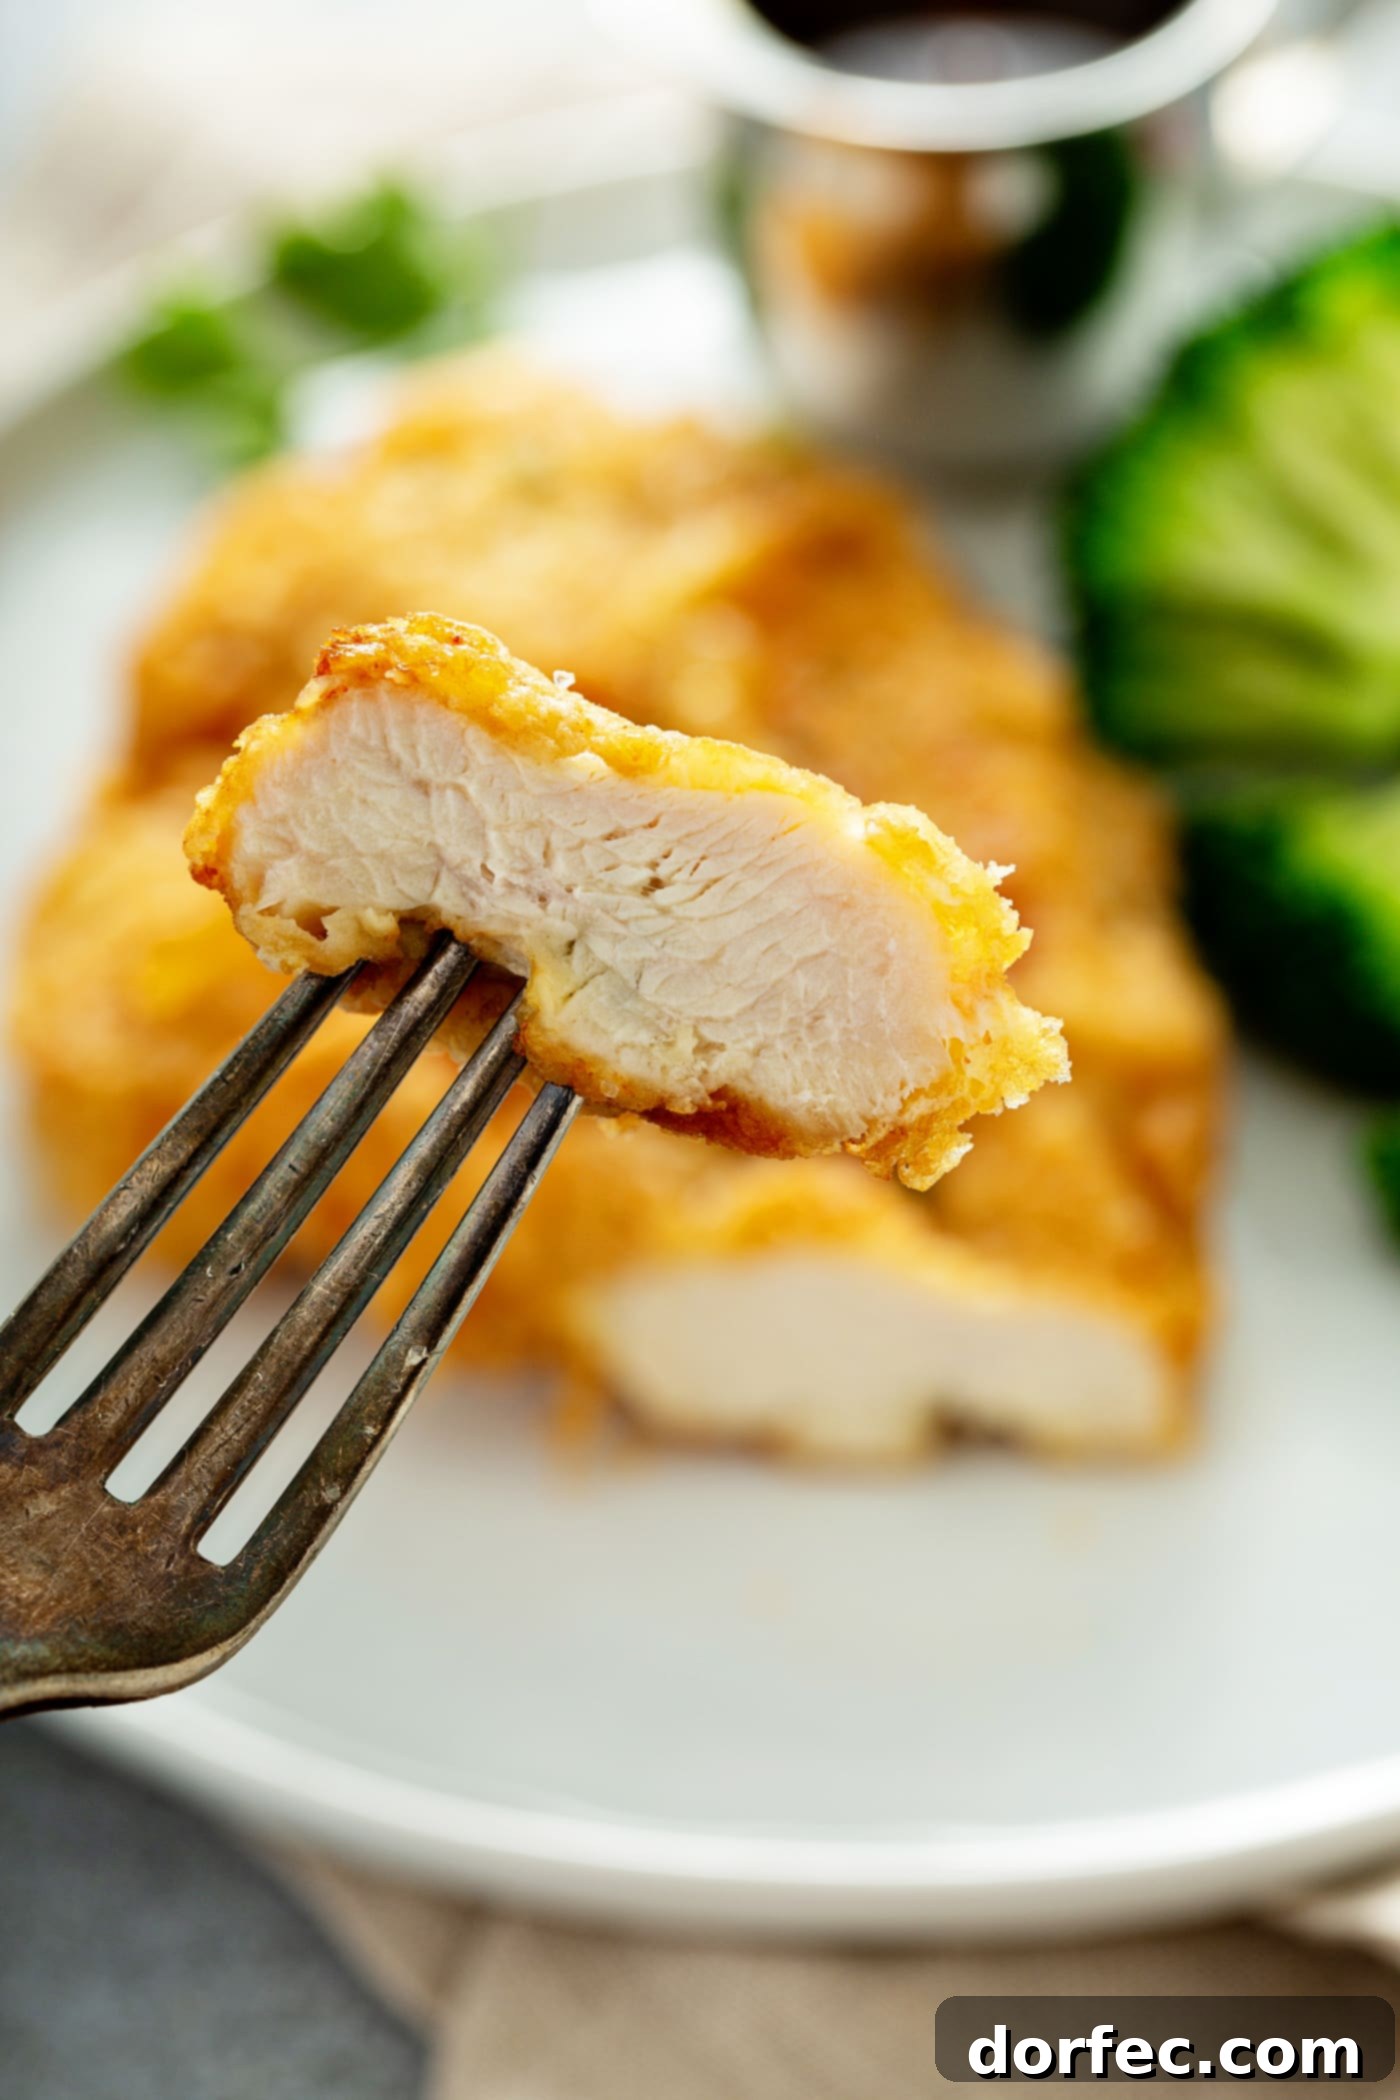
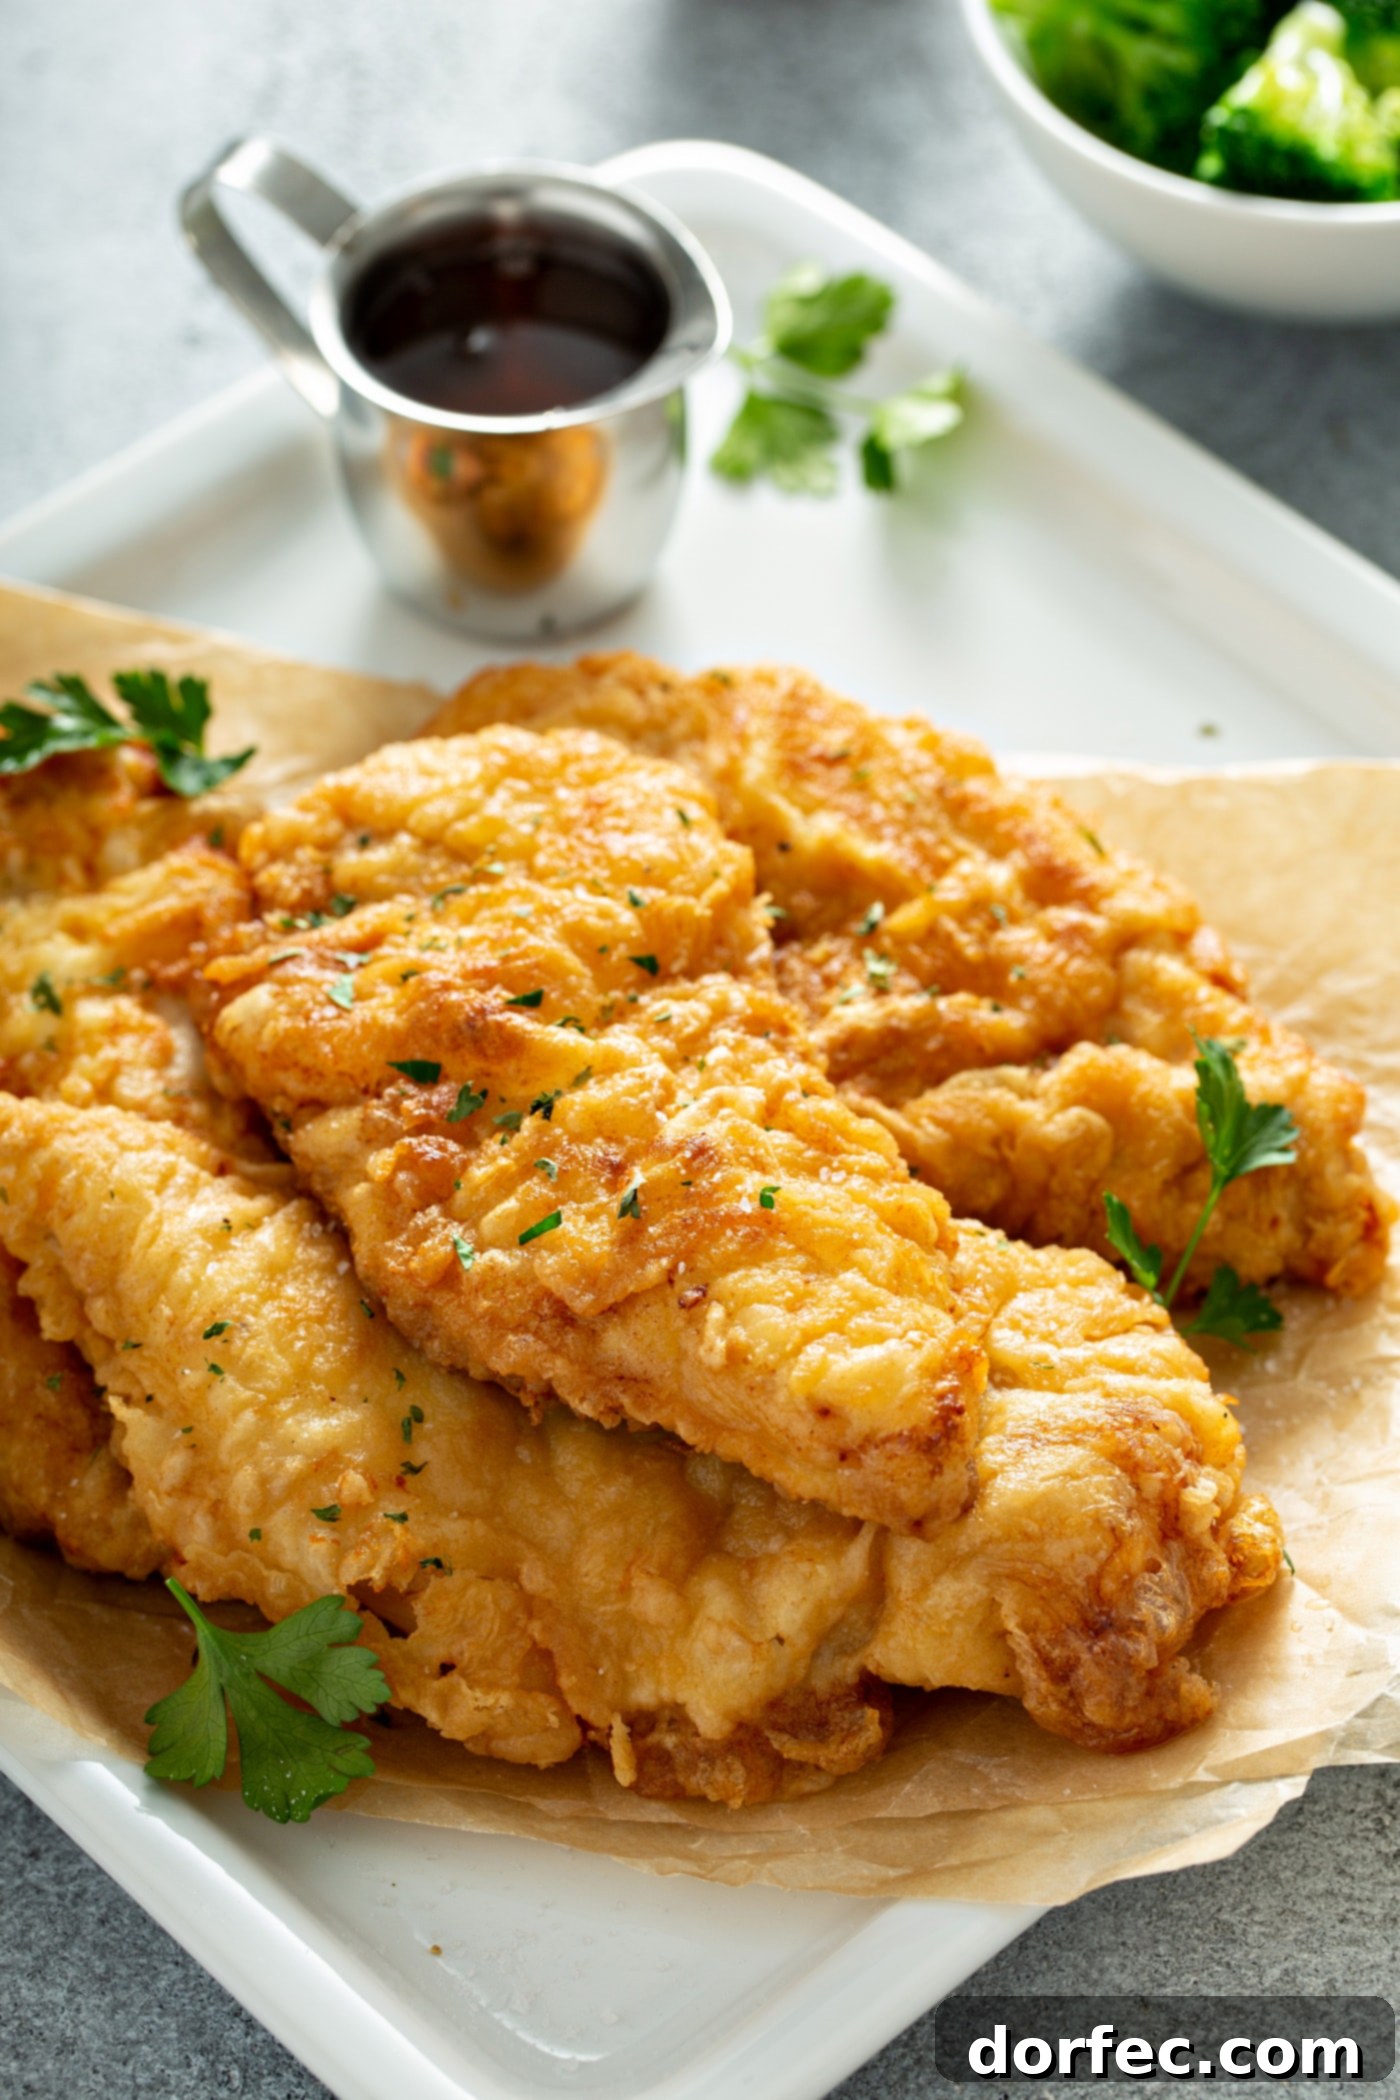
This recipe delivers fried chicken that is exquisitely crunchy on the outside, yielding to unbelievably tender and juicy chicken underneath. It’s truly the **best fried chicken** you’ll ever make at home—utterly irresistible and a guaranteed family favorite. While we primarily use boneless, skinless chicken breasts for ease and consistent cooking, this method is versatile enough for chicken thighs, drumsticks, or even wings, allowing you to customize your fried chicken experience to perfection.
Our passion for Southern cuisine extends beyond just chicken. We cherish classic dishes like our smoky, rich smoked beans, the savory delight of Southern cheese crackers, and a truly unforgettable Southern cornbread—which, in our humble opinion, is the best cornbread EVER. Each of these recipes embodies the soul of Southern cooking, emphasizing flavor, comfort, and tradition.
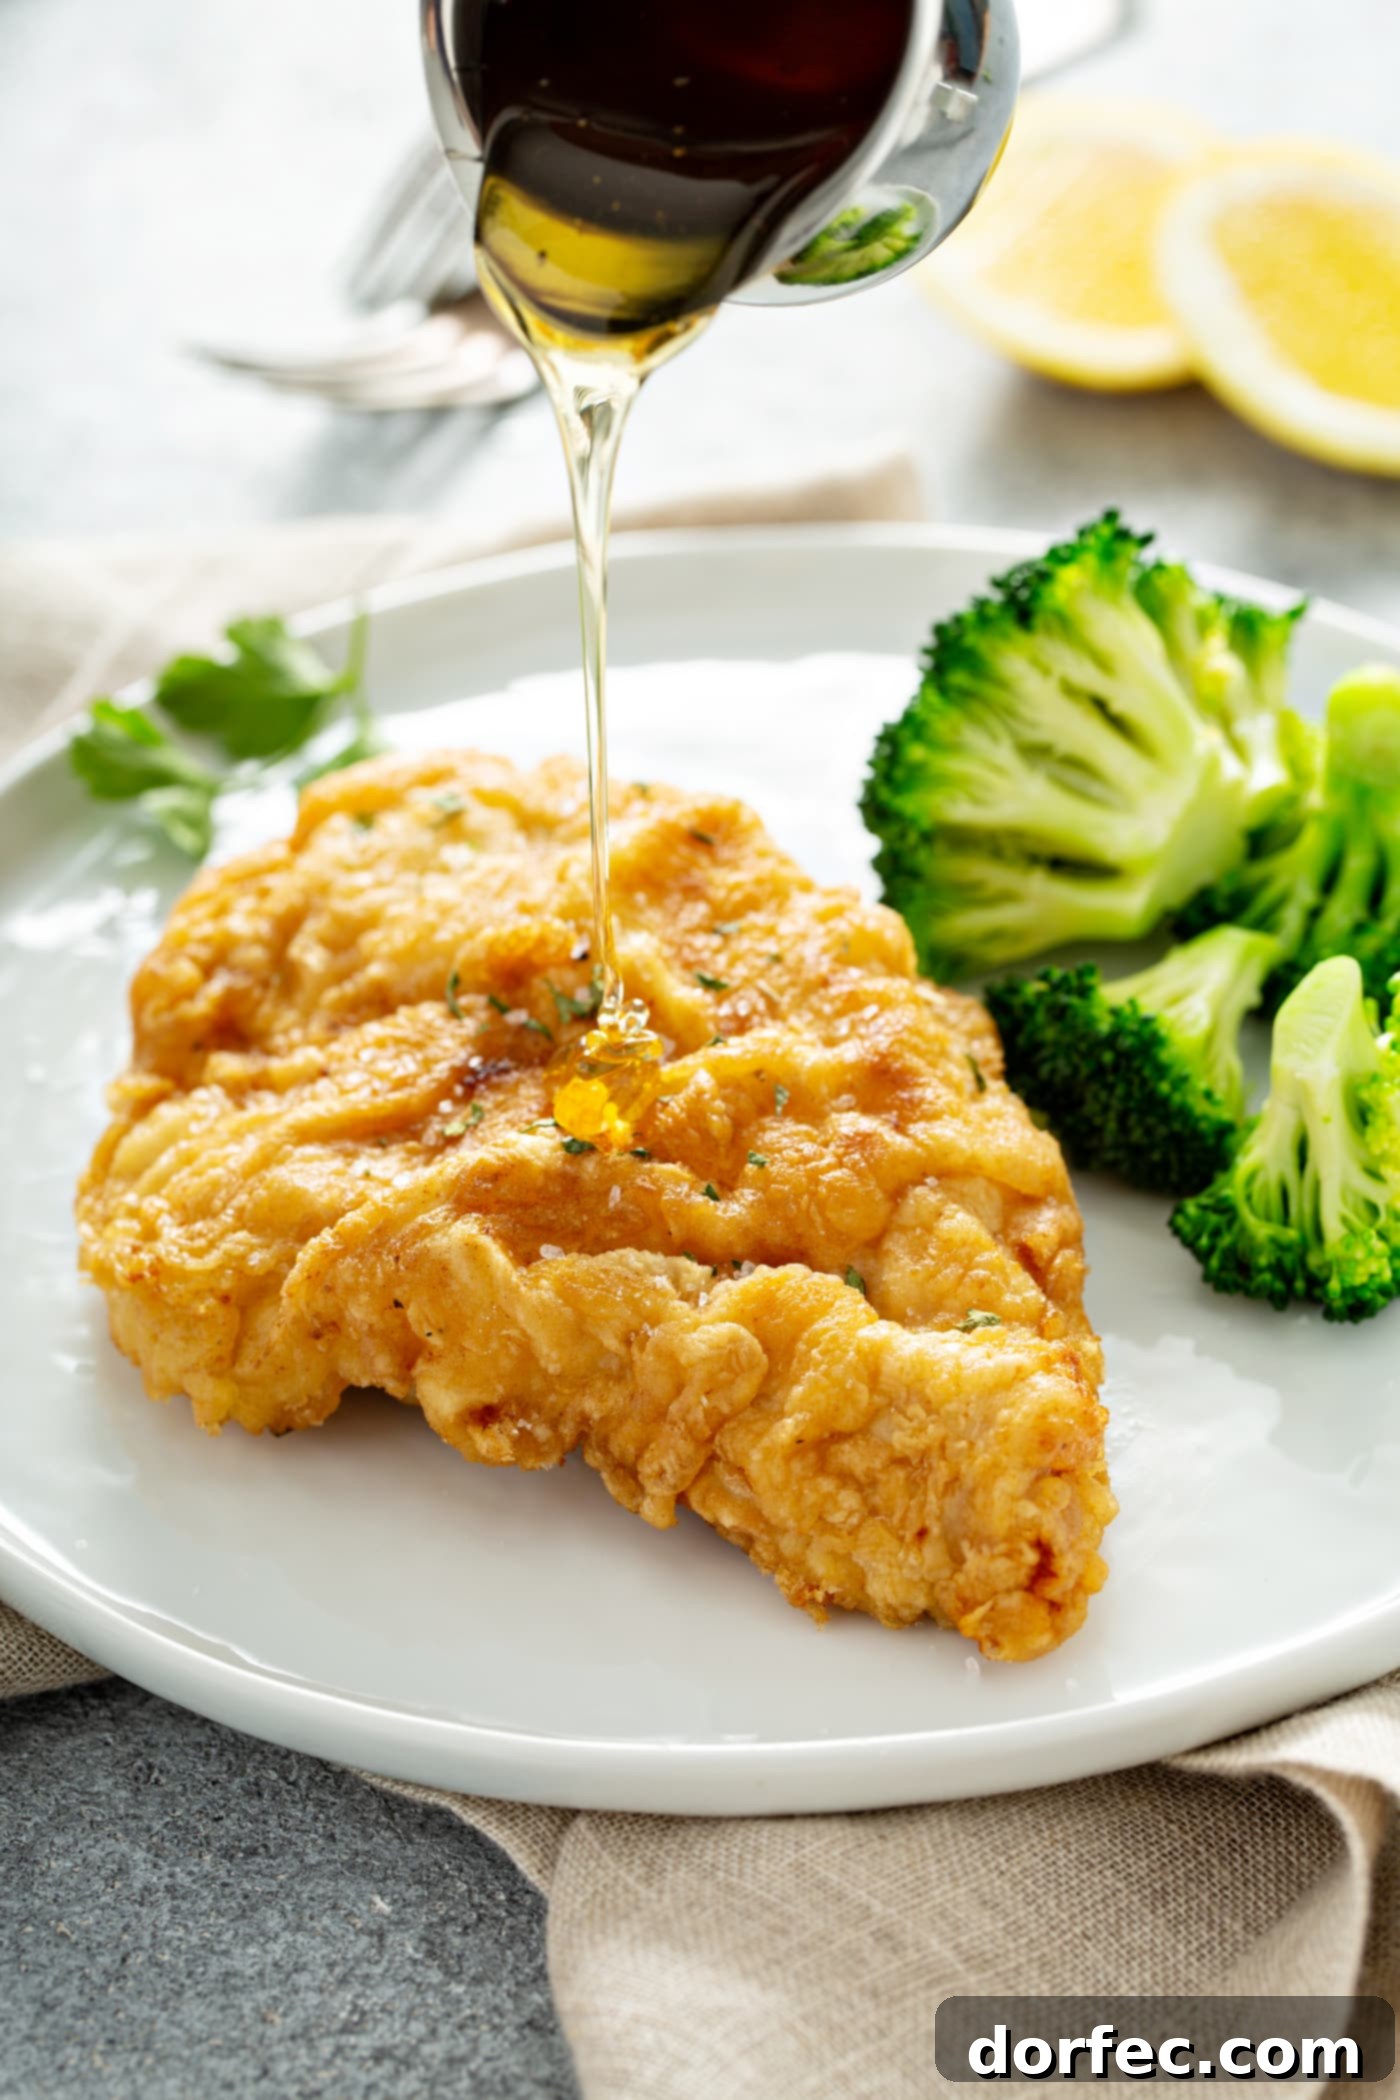
Key Ingredients for Unforgettable Double-Dipped Crispy Fried Chicken
The journey to creating the ultimate Southern Fried Chicken begins with selecting the right ingredients. Each component plays a crucial role in achieving that perfect balance of flavor, texture, and juiciness. Here’s a breakdown of what you’ll need and why each element is essential for this classic comfort food:
- Water: The foundation for our simple yet effective brining solution, ensuring the chicken remains incredibly moist.
- Kosher Salt: Indispensable for the brining process. Kosher salt not only seasons the chicken deeply but also helps tenderize the meat by breaking down muscle fibers, locking in moisture.
- Boneless, Skinless Chicken Breasts: The primary star of our dish. Using breasts ensures a leaner profile and faster cooking, though other cuts like thighs or drumsticks are equally delicious.
- Peanut Oil: Our top recommendation for frying. Its high smoke point (around 450°F) allows for deep frying without burning, imparting a light, crisp texture and neutral flavor that lets the chicken’s seasonings shine through.
- Extra Large Eggs: The critical binding agent. Whisked eggs create a tacky surface for the flour mixture to adhere to, forming the base for our signature crispy coating.
- All-Purpose Flour: The primary component of the breading. It provides structure and a golden-brown finish to the chicken as it fries.
- Cornstarch: The secret weapon for achieving extra crispiness. When combined with flour, cornstarch lightens the coating mixture, resulting in an airier, more delicate, and incredibly crunchy bite that sets this recipe apart.
- Black Pepper, Salt, and Seasoned Salt: A carefully chosen blend of spices. These seasonings are applied directly to the chicken and mixed into the flour, ensuring that every layer—from the meat to the crispy crust—is bursting with savory, well-balanced flavor.
Precise measurements and detailed instructions for each ingredient are provided in the comprehensive recipe card at the conclusion of this post.
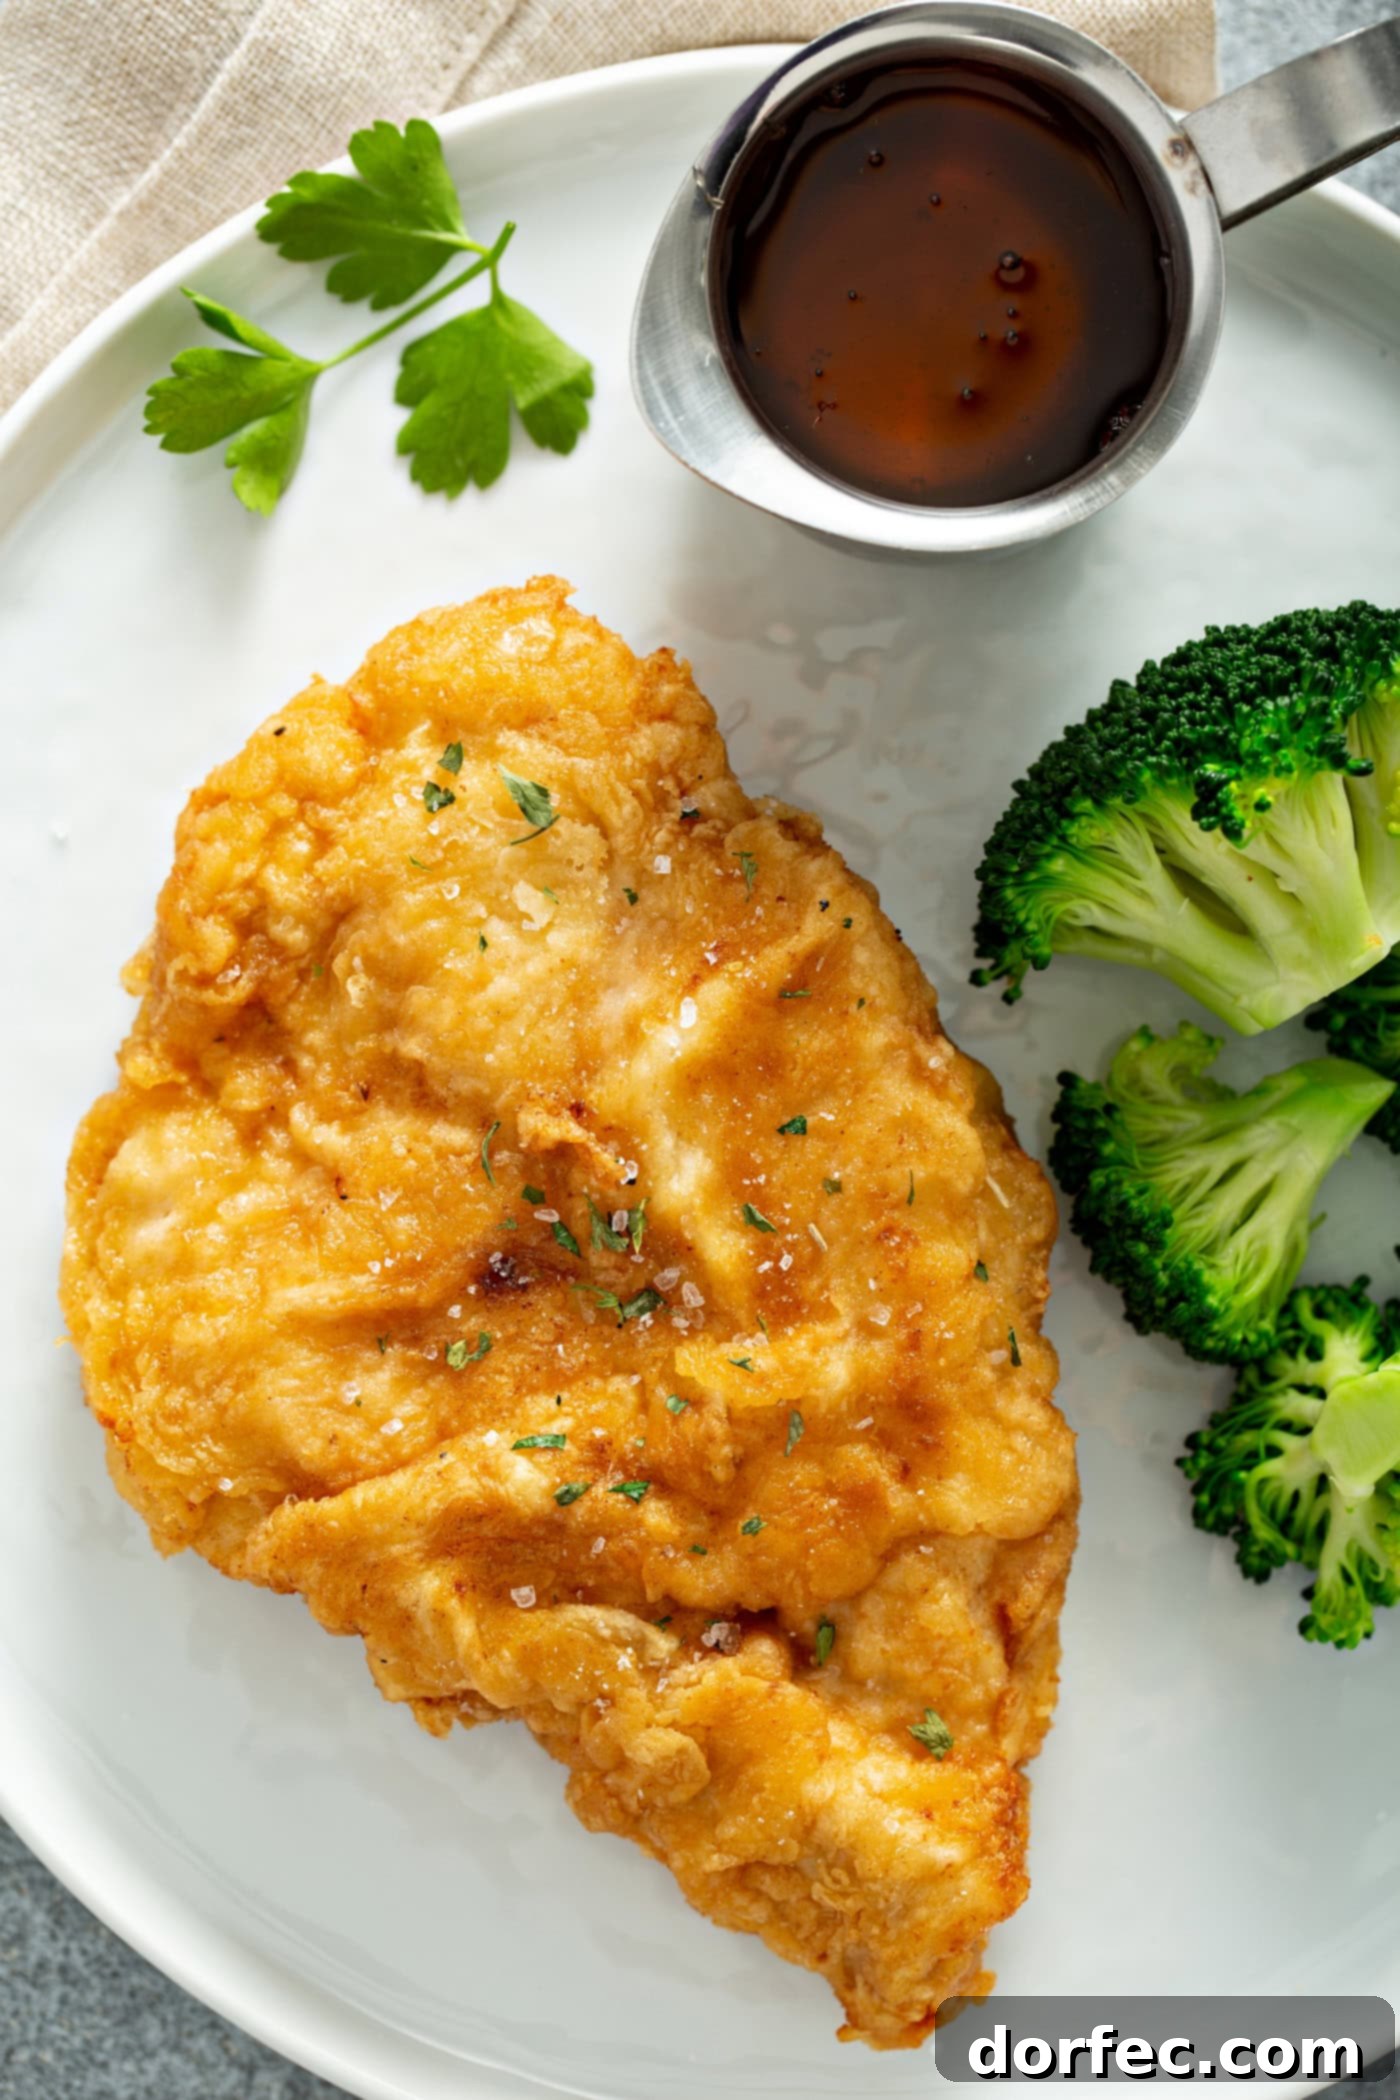
6 Essential Steps for Perfectly Crispy, Juicy Fried Chicken Every Time
Achieving that coveted crispy exterior and tender, juicy interior in fried chicken is an art form, but with these six essential steps, it’s an art you can master. Whether you’re new to frying or a seasoned home cook, these techniques are your blueprint for the best homemade fried chicken:
- Start with Fresh Chicken Breasts: The quality of your chicken is paramount. Fresh chicken has a superior texture and flavor compared to frozen. Since this recipe allows the chicken’s natural taste to shine (without being masked by heavy sauces or smoky grills), using fresh, high-quality chicken breasts ensures a truly flavorful foundation.
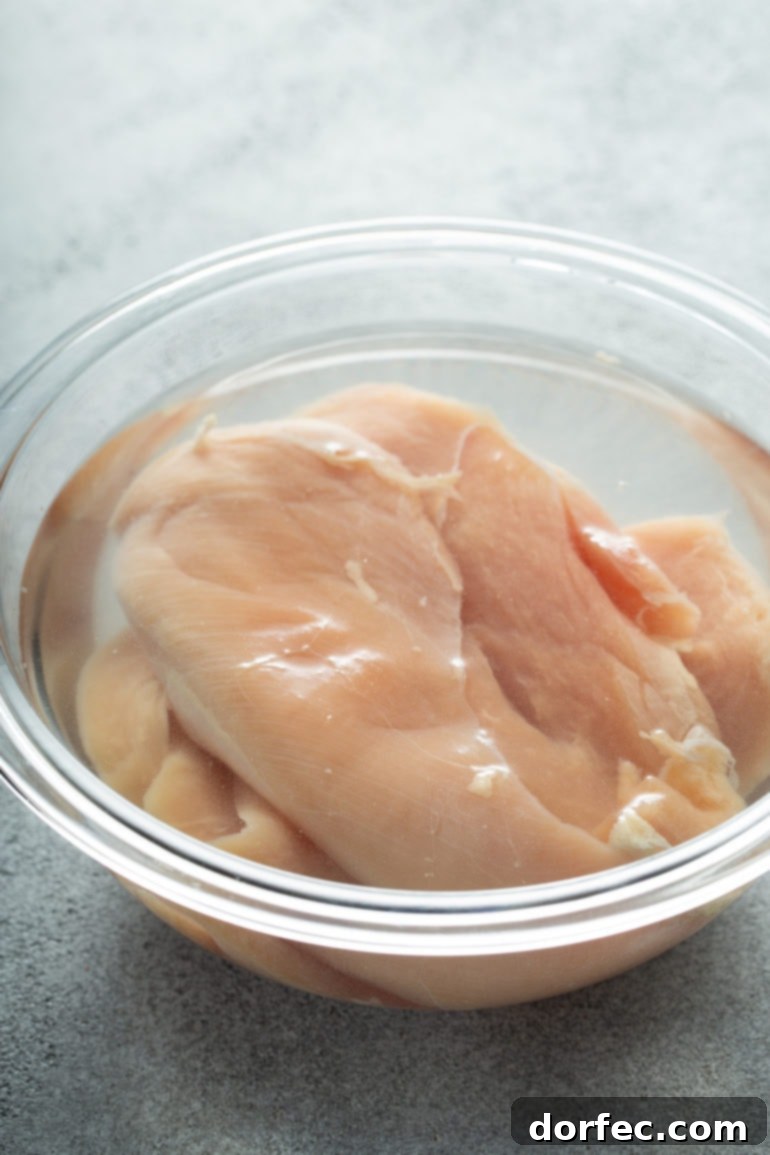
- Utilize a Simple Brine: This is a game-changer for juiciness and flavor. Brining involves soaking the chicken in a salt-water solution (we use Kosher salt). The salt helps denature proteins in the chicken, allowing the meat to absorb more moisture and retain it during frying. It also infuses the chicken with flavor from within, ensuring the meat itself is seasoned, not just the coating. A mere 30 minutes can make a significant difference.
- Season the Meat Directly: Don’t rely solely on the coating for flavor! Before dredging, lightly season your chicken pieces with salt, pepper, and a touch of seasoned salt (or your preferred blend, perhaps with garlic powder, onion powder, and a hint of paprika or cayenne). This ensures that every bite, even if the crust comes off, is packed with deliciousness.
- Craft the Perfect Coating with Cornstarch, Flour, and Egg: Our signature double-dipped method is key to extreme crispiness. The egg acts as a powerful binder, ensuring the coating adheres beautifully. The combination of all-purpose flour and cornstarch is crucial: the flour provides the classic breading, while the cornstarch works wonders to lighten the mixture, creating an extra-crisp, airy, and golden crust that’s incredibly satisfying.
- Fry in a Dutch Oven or Deep Cast Iron Skillet: The vessel you use for frying matters. A heavy-bottomed pot like a Le Creuset Dutch oven (a personal favorite for its even heat distribution) or a sturdy Lodge cast iron skillet is ideal. These materials retain heat exceptionally well, minimizing temperature fluctuations when chicken is added, which prevents soggy crusts and uneven cooking. This also helps reduce the likelihood of oil burning.
- Always Use a Meat Thermometer: This is a non-negotiable step for both food safety and perfect doneness. Investing in a reliable digital thermometer is worthwhile; you’ll use it constantly. For white meat, ensure the internal temperature reaches 165°F. For dark meat, aim for 175°F-180°F for optimal tenderness. Using a thermometer eliminates guesswork and guarantees perfectly cooked chicken every single time.
Refer to the complete recipe card at the end of this post for precise measurements and detailed step-by-step instructions.
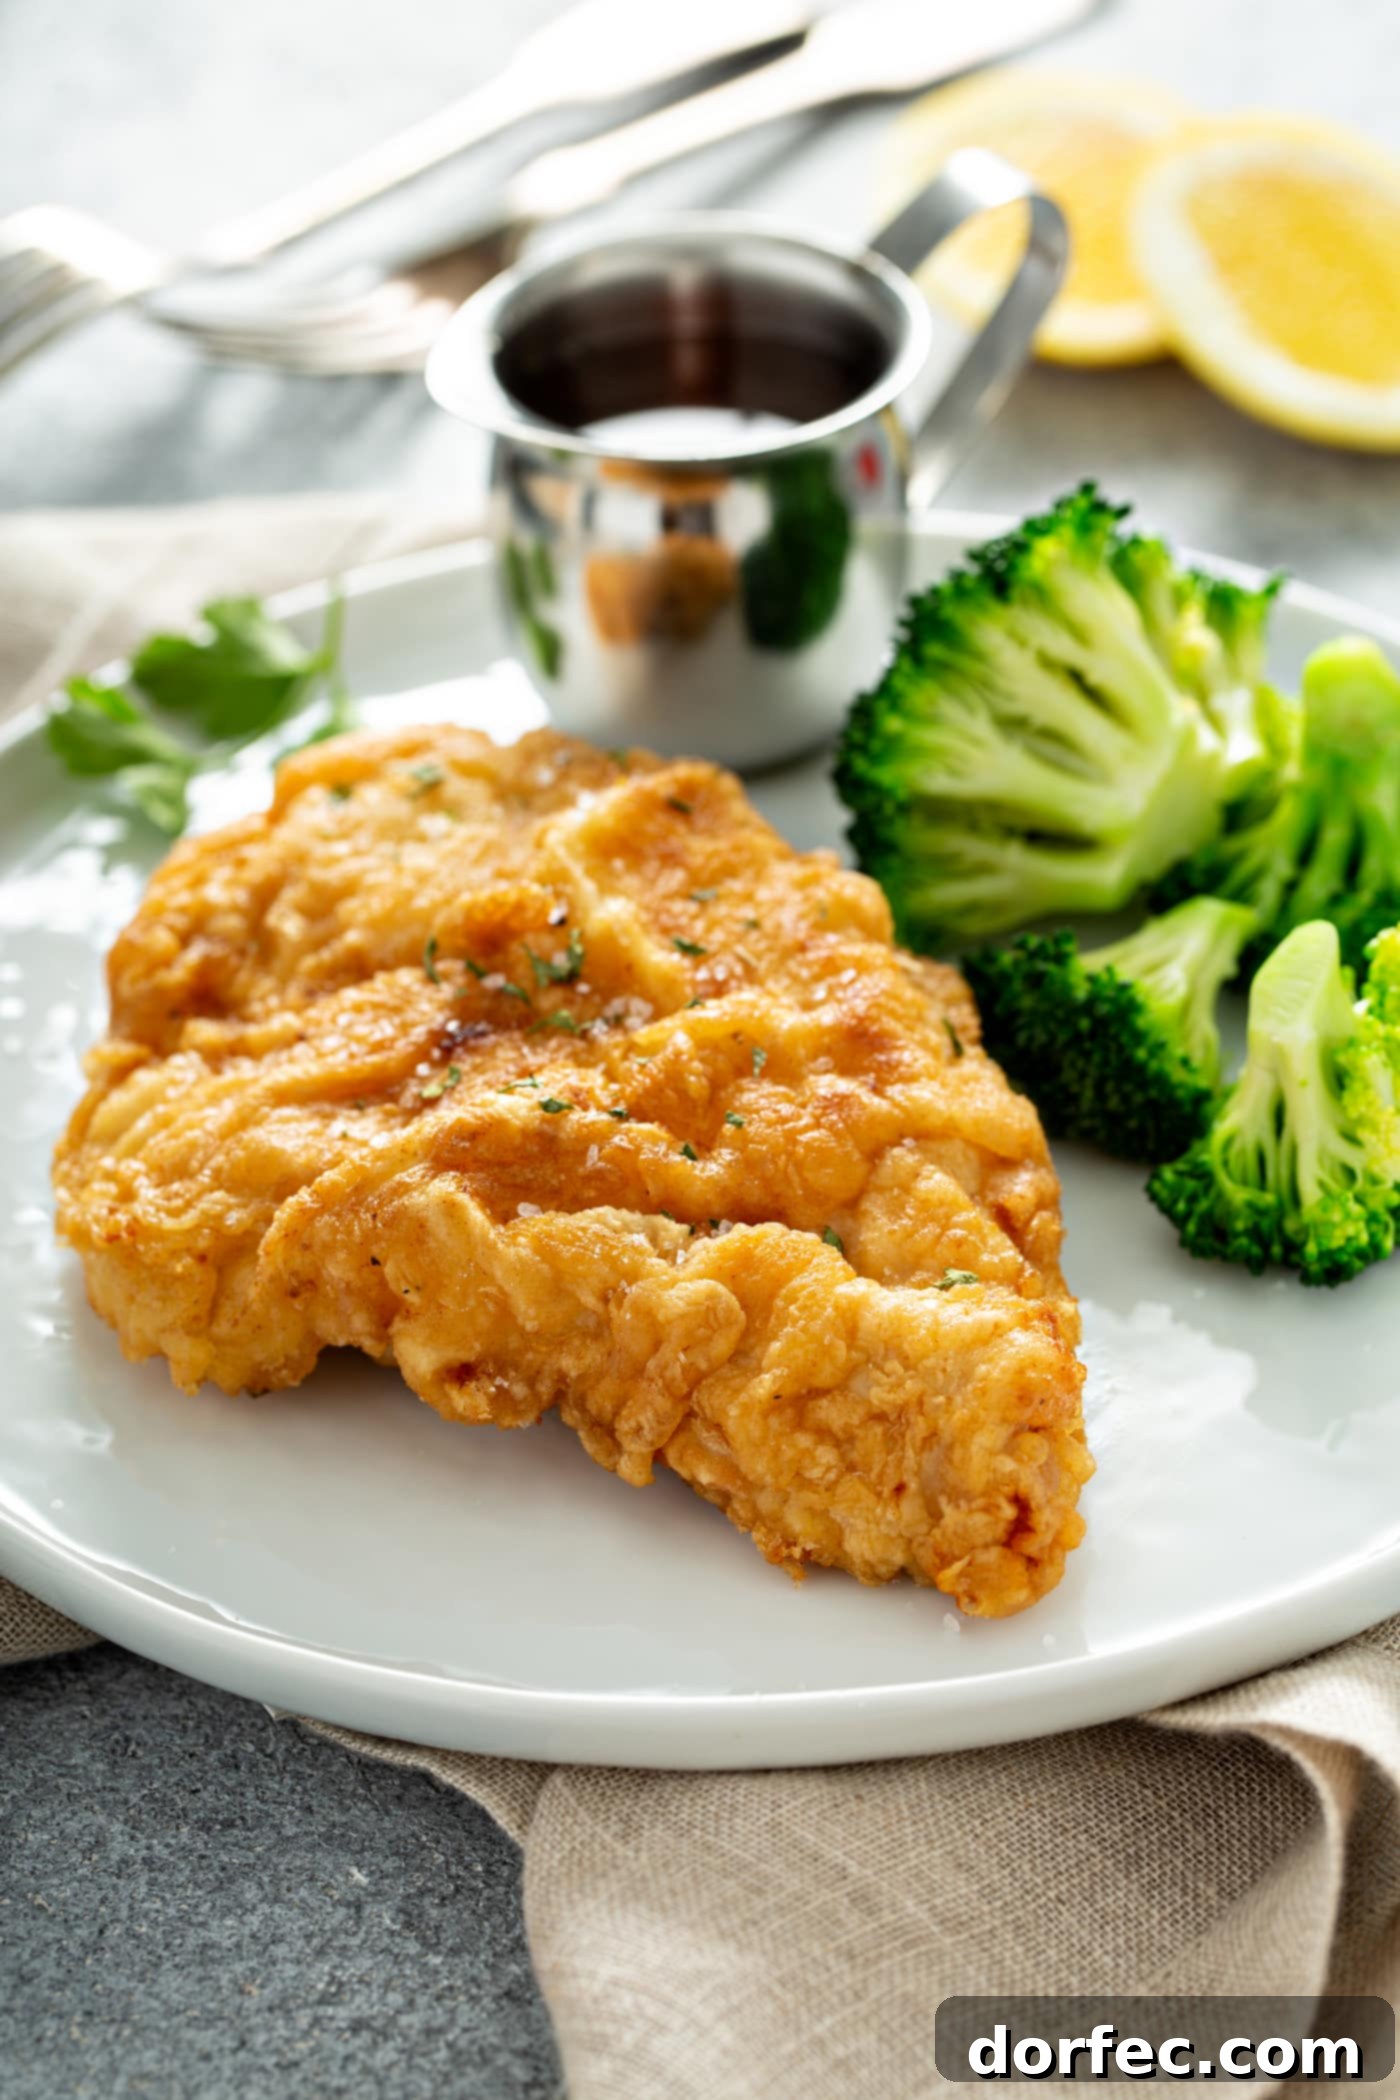
The Joy of Picnics with Homemade Fried Chicken
There’s something truly special about making picnics a regular part of your life. Yes, they require a little more effort than simply setting the table, and eating on a blanket might not offer the same convenience as dining indoors. But trust me, the joy and memories created for your children—and for you—are priceless. It’s an essential part of growing up, fostering a sense of adventure and connection to nature.
Imagine relaxing in the warm sunshine, surrounded by laughter, and savoring genuinely delicious food. This time, you won’t need to make a detour to the fast-food joint. Our foolproof, easy Southern fried chicken recipe will have everyone begging for more, and the seasoning is so incredibly delicious, you’ll be licking your fingers clean!
To create the perfect picnic spread, pair your crispy homemade fried chicken with classic Southern sides. Think a creamy, tangy potato salad, flaky, tender buttermilk biscuits, and a vibrant elote corn salad. These combinations not only complement the rich flavors of the chicken but also elevate your outdoor dining experience, making every picnic an unforgettable event.
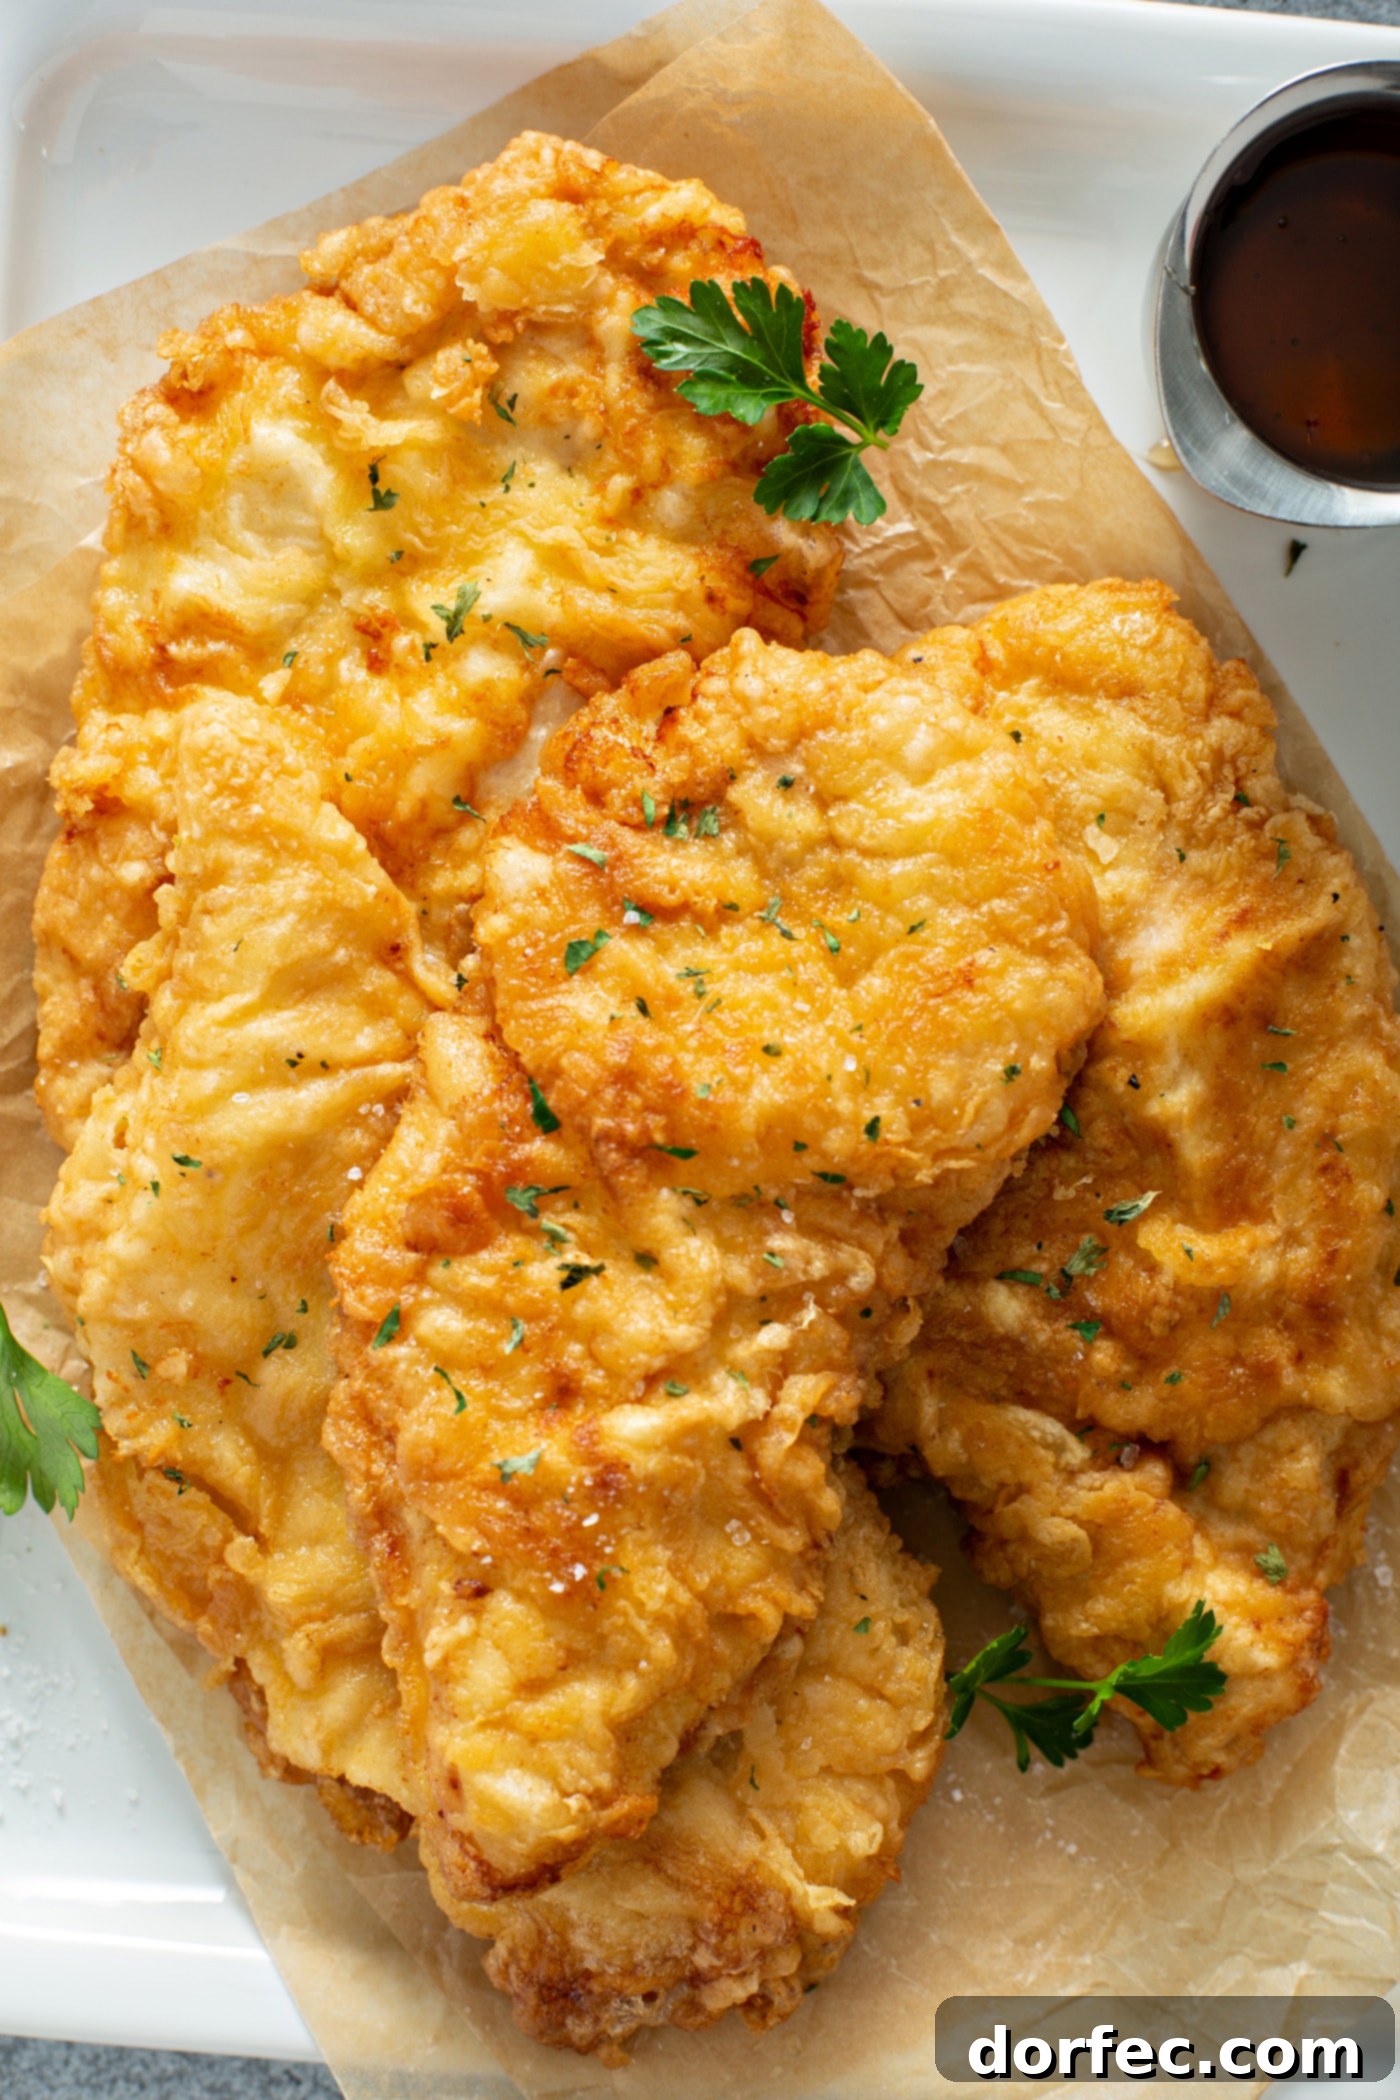
Oh, Sweet Basil’s Expert Tips for Flawless Fried Chicken
The Power of a Salt Water Brine
Our secret to exceptionally juicy fried chicken lies in a simple yet powerful technique: a salt water brine. Just like how brining works wonders for a Thanksgiving turkey, ensuring a moist and flavorful bird, soaking chicken in a solution of salt and water for at least thirty minutes profoundly impacts its tenderness and juiciness. The salt helps the chicken absorb and retain moisture, preventing it from drying out during the high-heat frying process and infusing it with flavor from the inside out.
Mastering the Double-Dip Dredge for Ultimate Crispiness
The hallmark of our fried chicken is its extraordinary crunch, achieved through a meticulously crafted double-dip dredging process. We believe one dip simply isn’t enough to create that thick, craggy, and intensely crispy crust that everyone craves. Here’s how to master it:
- Pat the Chicken Dry: Once the chicken has finished brining, remove it from the salt water and pat each piece thoroughly dry with paper towels. This crucial step ensures that the egg and flour mixture adheres properly, forming a robust crust rather than a soggy one.
- Initial Seasoning: Lightly sprinkle the dried chicken pieces with seasoned salt. We highly recommend Real Season Salt for its rich flavor profile. This step ensures the chicken itself is seasoned before the coating even goes on, guaranteeing flavor in every layer.
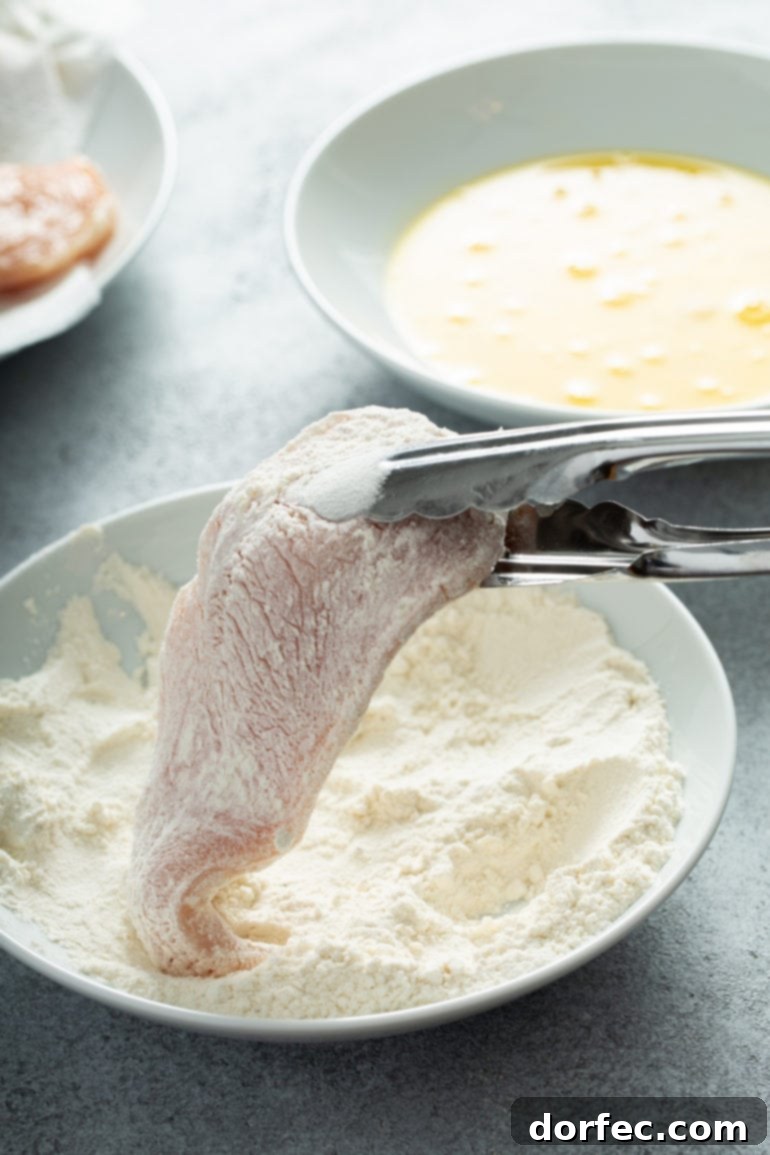
- The Double-Dip Process: Prepare two separate dishes—one with whisked eggs and another with your flour and cornstarch mixture. First, dip both sides of each chicken piece into the egg mixture, ensuring it’s fully coated. Let any excess egg drip off. Then, immediately transfer the chicken to the flour mixture, pressing firmly to ensure a complete and even coating. Now, here’s the “double-dip” magic: repeat this entire process. Dip the floured chicken back into the egg, let it drip, and then dredge it again in the flour mixture. This double layering is the absolute best way to create that wonderfully thick, craggy, and extra-crispy crust that shatters with every bite.
Selecting the Perfect Oil for Frying Chicken
The type of oil you choose for frying is a critical factor in achieving the crispiest, most flavorful fried chicken with a beautiful golden-brown crust. The ideal frying oil should have a high smoke point to withstand high temperatures without breaking down or burning, and a neutral flavor that won’t overpower the delicious seasonings of your chicken. Here are our top recommendations:
- Peanut Oil: This is often considered the gold standard for deep frying. Peanut oil boasts a high smoke point (approximately 450°F), which makes it exceptionally stable under the high heat required for frying. It also imparts a light, clean, and crispy texture to the chicken without introducing any strong flavors of its own, allowing the natural chicken and spice flavors to truly shine.
- Vegetable Oil: A widely available and budget-friendly choice, vegetable oil is a solid alternative. It typically has a good high smoke point and a very mild, neutral taste, making it suitable for frying a variety of foods, including our Southern fried chicken.
- Canola Oil: Similar in properties to vegetable oil, canola oil is another excellent option. It offers a high smoke point and a light, neutral flavor that won’t interfere with the carefully developed taste of your chicken coating.
Pro Tip: It is important to avoid oils with lower smoke points or strong flavors for frying. Olive oil, for instance, has a lower smoke point and can burn easily, leading to unpleasant flavors and a less crispy crust. Butter is also unsuitable for deep frying as its milk solids will quickly burn, resulting in a dark, bitter coating. Stick to oils designed for high-heat cooking to ensure that perfect, consistent crunch!
Optimal Frying Times for Crispy Perfection
Achieving perfectly cooked fried chicken—crispy on the outside, juicy on the inside—hinges significantly on maintaining the correct oil temperature and adhering to appropriate frying times. Heat your peanut oil to an ideal temperature range of 325°F-350°F. This range is crucial for developing a crispy, golden crust without burning the exterior before the interior is fully cooked.
General Frying Times by Chicken Cut:
- Boneless Breasts: Fry for approximately 5-8 minutes per side. Their uniform thickness allows for relatively quick cooking.
- Bone-in Thighs & Drumsticks: These cuts require a longer cooking time due to the bone. Fry for a total of 12-15 minutes, flipping occasionally to ensure even browning.
- Wings: Being smaller, wings cook the fastest, typically requiring 8-10 minutes total, with occasional turning.
Regardless of the cut, always use a reliable meat thermometer to verify doneness. For white meat (breasts and wings), the internal temperature should reach **165°F**. For darker meat (thighs and drumsticks), aim for **175°F-180°F**; this slightly higher temperature helps break down connective tissues, resulting in a more tender and flavorful dark meat. Once cooked, transfer the chicken to a wire rack set over a baking sheet. This allows air to circulate around the pieces, preventing the bottom from becoming soggy and helping to maintain that desired crisp coating.
Storing and Reheating Your Delicious Fried Chicken Leftovers
Proper storage and reheating are key to enjoying your homemade fried chicken even after the first meal. To maintain its quality, follow these simple guidelines:
Storing Leftovers:
Once your fried chicken has cooled completely to room temperature, transfer it to an airtight container. Store it in the refrigerator for up to 4 days. For extended storage, fried chicken freezes beautifully. Place the cooled pieces in a freezer-safe bag or container, ensuring as much air as possible is removed, and freeze for up to 3 months. Thaw frozen chicken in the refrigerator overnight before reheating.
Reheating for Optimal Crispness:
To preserve that wonderful crispy texture, it’s best to avoid reheating fried chicken in the microwave. Microwaving can unfortunately make the coating soggy and less appealing. Instead, opt for one of these methods:
- Oven Method: Preheat your oven to 375°F (190°C). Arrange the chicken pieces in a single layer on a wire rack set over a baking sheet. This allows heat to circulate and keeps the bottom from getting soggy. Reheat for about 15-20 minutes, or until thoroughly heated through and the crust is crisp once more.
- Air Fryer Method: An air fryer is an excellent tool for reheating fried chicken, as it mimics the crisping effect of frying with less oil. Place the chicken in the air fryer basket in a single layer (you may need to do this in batches). Set the temperature to 375°F (190°C) and reheat for 5-8 minutes, flipping halfway through, until hot and crispy.
Can You Safely Enjoy Cold Fried Chicken?
Absolutely! Cold fried chicken is a beloved classic for many, especially popular for picnics or as a quick snack. It is perfectly safe to eat cold fried chicken, provided it has been thoroughly cooked initially and then rapidly cooled and stored correctly.
However, it’s crucial to adhere to food safety guidelines: any fried chicken that has been left out at room temperature for more than 2 hours should not be consumed, as harmful bacteria can multiply quickly within this “danger zone” temperature range.
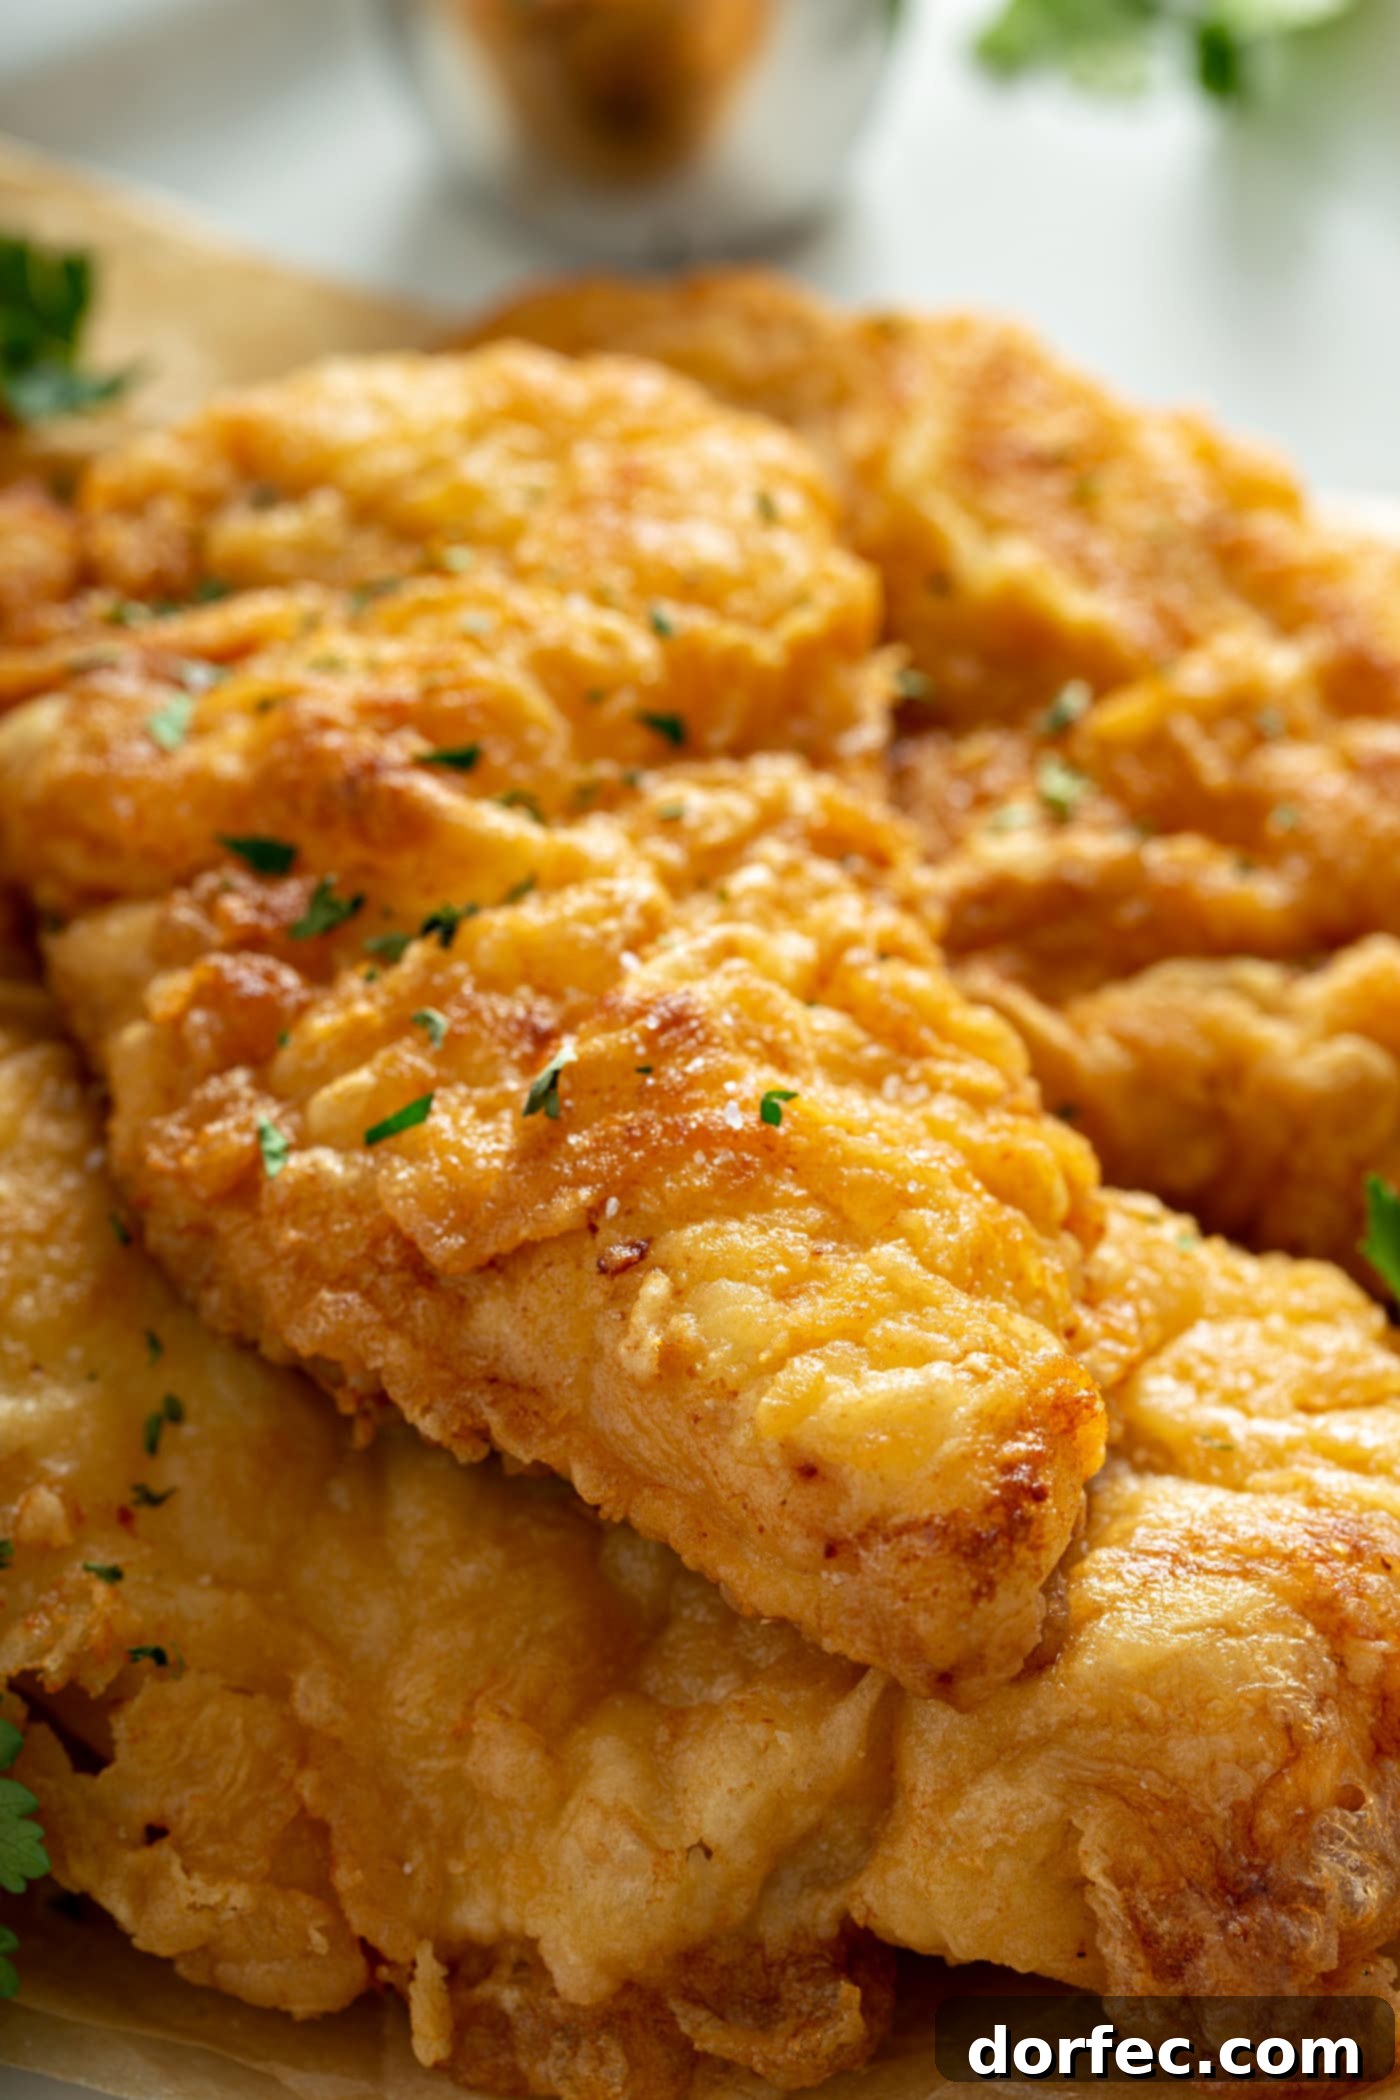
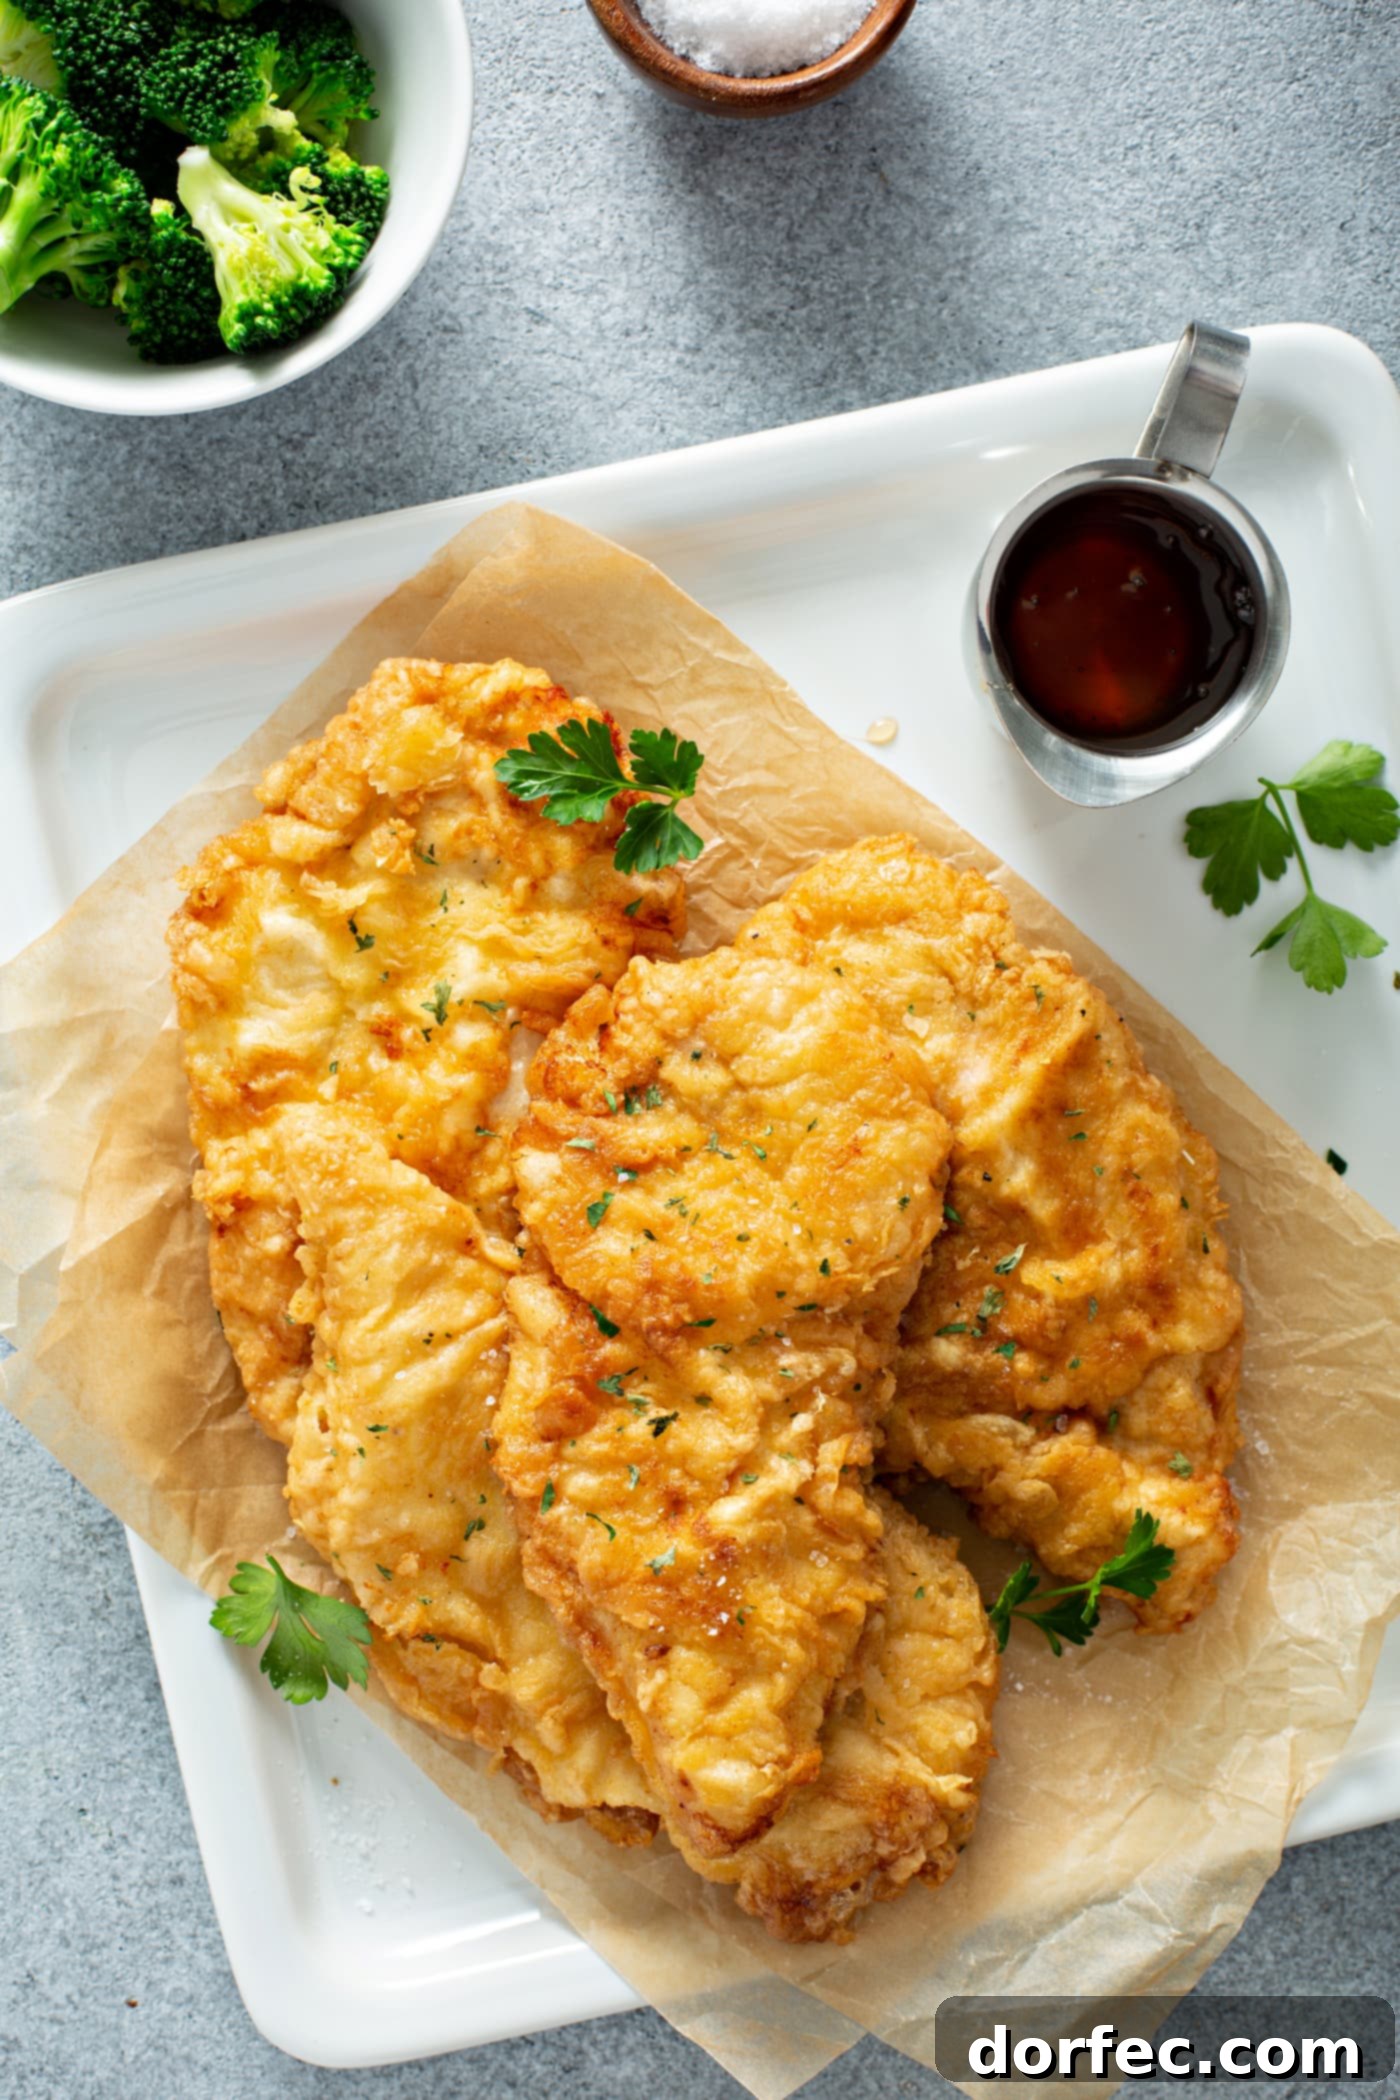
This **Double-Dipped, Crispy Southern Fried Chicken** recipe truly stands out. The simple yet effective **brine** technique elevates the chicken’s natural flavor and juiciness, making each bite incredibly satisfying. Pair it with a creamy coleslaw and your favorite homemade cornbread, and you’ll have a meal that will not only impress but also have everyone eagerly asking for second helpings!
More Southern-Inspired Recipes You’ll Love:
- Creamy Southern Macaroni and Cheese
- Refreshing Southern English Pea Salad
- Classic Old-Fashioned Southern Peach Cobbler
- Savory Southern Tomato Basil Pie
- Rich and Cheesy Southern Grits
- Sweet and Crunchy Southern Glazed Ham
Southern Fried Chicken
By: Carrian Cheney
Prep Time: 1 hr
Cook Time: 15 mins
Total Time: 1 hr 15 mins
Servings: 4
Double-dipped, crispy fried chicken is a crowd favorite with its extra crunch, juicy texture, and incredible flavor.
Ingredients
- 2 Cups Water
- 1 Tablespoon Kosher Salt
- 4 Boneless Skinless Chicken Breasts
- Peanut Oil, for frying
- 2 Extra Large Eggs
- 2 Cups All-Purpose Flour
- 2 Tablespoons Cornstarch
- 1 Pinch Black Pepper and Salt
- Seasoned Salt
Instructions
- In a large bowl, combine the water and salt, stirring until the salt begins to dissolve. Add the chicken breasts to the brine.
- Refrigerate the chicken in the brine for 1 hour.
- Remove the chicken from the fridge and pat each piece thoroughly dry with paper towels.
- In a large pot or Dutch oven, fill about 1/3 full with peanut oil and heat to approximately 325-350°F (160-175°C).
- In one shallow dish, lightly whisk the extra large eggs.
- In another shallow dish, combine the all-purpose flour and cornstarch, then add a pinch or two of black pepper and salt. Stir to combine thoroughly.
- Prepare a plate lined with 2 paper towels and set aside for draining the fried chicken.
- Meanwhile, take one chicken breast and dip it into the egg mixture on both sides, ensuring it’s fully coated. Let any excess egg drip off. Then, dredge the chicken in the flour/cornstarch mixture on both sides, pressing to coat well.
- Repeat the dipping process: dip the floured chicken back into the egg mixture, let it drip, then dredge it a second time in the flour/cornstarch mixture, pressing firmly for a thick, even coating.
- Once the oil is hot and at the correct temperature, carefully add 1 or 2 chicken pieces to the pot, ensuring not to overcrowd it.
- Cook until lightly golden brown on one side, typically about 5 to 8 minutes. Flip the chicken over and cook for another 5 to 8 minutes, or until deeply golden and cooked through.
- Remove the cooked chicken to the paper towel-lined plate to drain excess oil. Immediately sprinkle both sides generously with seasoned salt.
- Loosely tent the chicken with a piece of aluminum foil and let it rest for 3-5 minutes. This allows the juices to redistribute, ensuring maximum tenderness.
- Enjoy your perfectly crispy, juicy Southern Fried Chicken!
Recipe Notes
The salt brine is a classic technique used in many Thanksgiving turkey recipes to ensure a juicy bird. This same principle works wonders for fried chicken, keeping the insides moist and tender even after frying in hot oil. If you don’t have a full hour for brining, aim for at least 30 minutes for beneficial results.
Fried chicken can be stored in the refrigerator in an airtight container for 3-5 days. For best results when reheating, use an oven or air fryer to restore crispness, avoiding the microwave.
Nutrition
Serving: 1 breast, Calories: 403kcal, Carbohydrates: 52g, Protein: 33g, Fat: 6g, Saturated Fat: 1g, Polyunsaturated Fat: 1g, Monounsaturated Fat: 2g, Trans Fat: 0.02g, Cholesterol: 154mg, Sodium: 1924mg, Potassium: 516mg, Fiber: 2g, Sugar: 0.3g, Vitamin A: 153IU, Vitamin C: 1mg, Calcium: 32mg, Iron: 4mg
Nutrition information is automatically calculated, so should only be used as an approximation.