
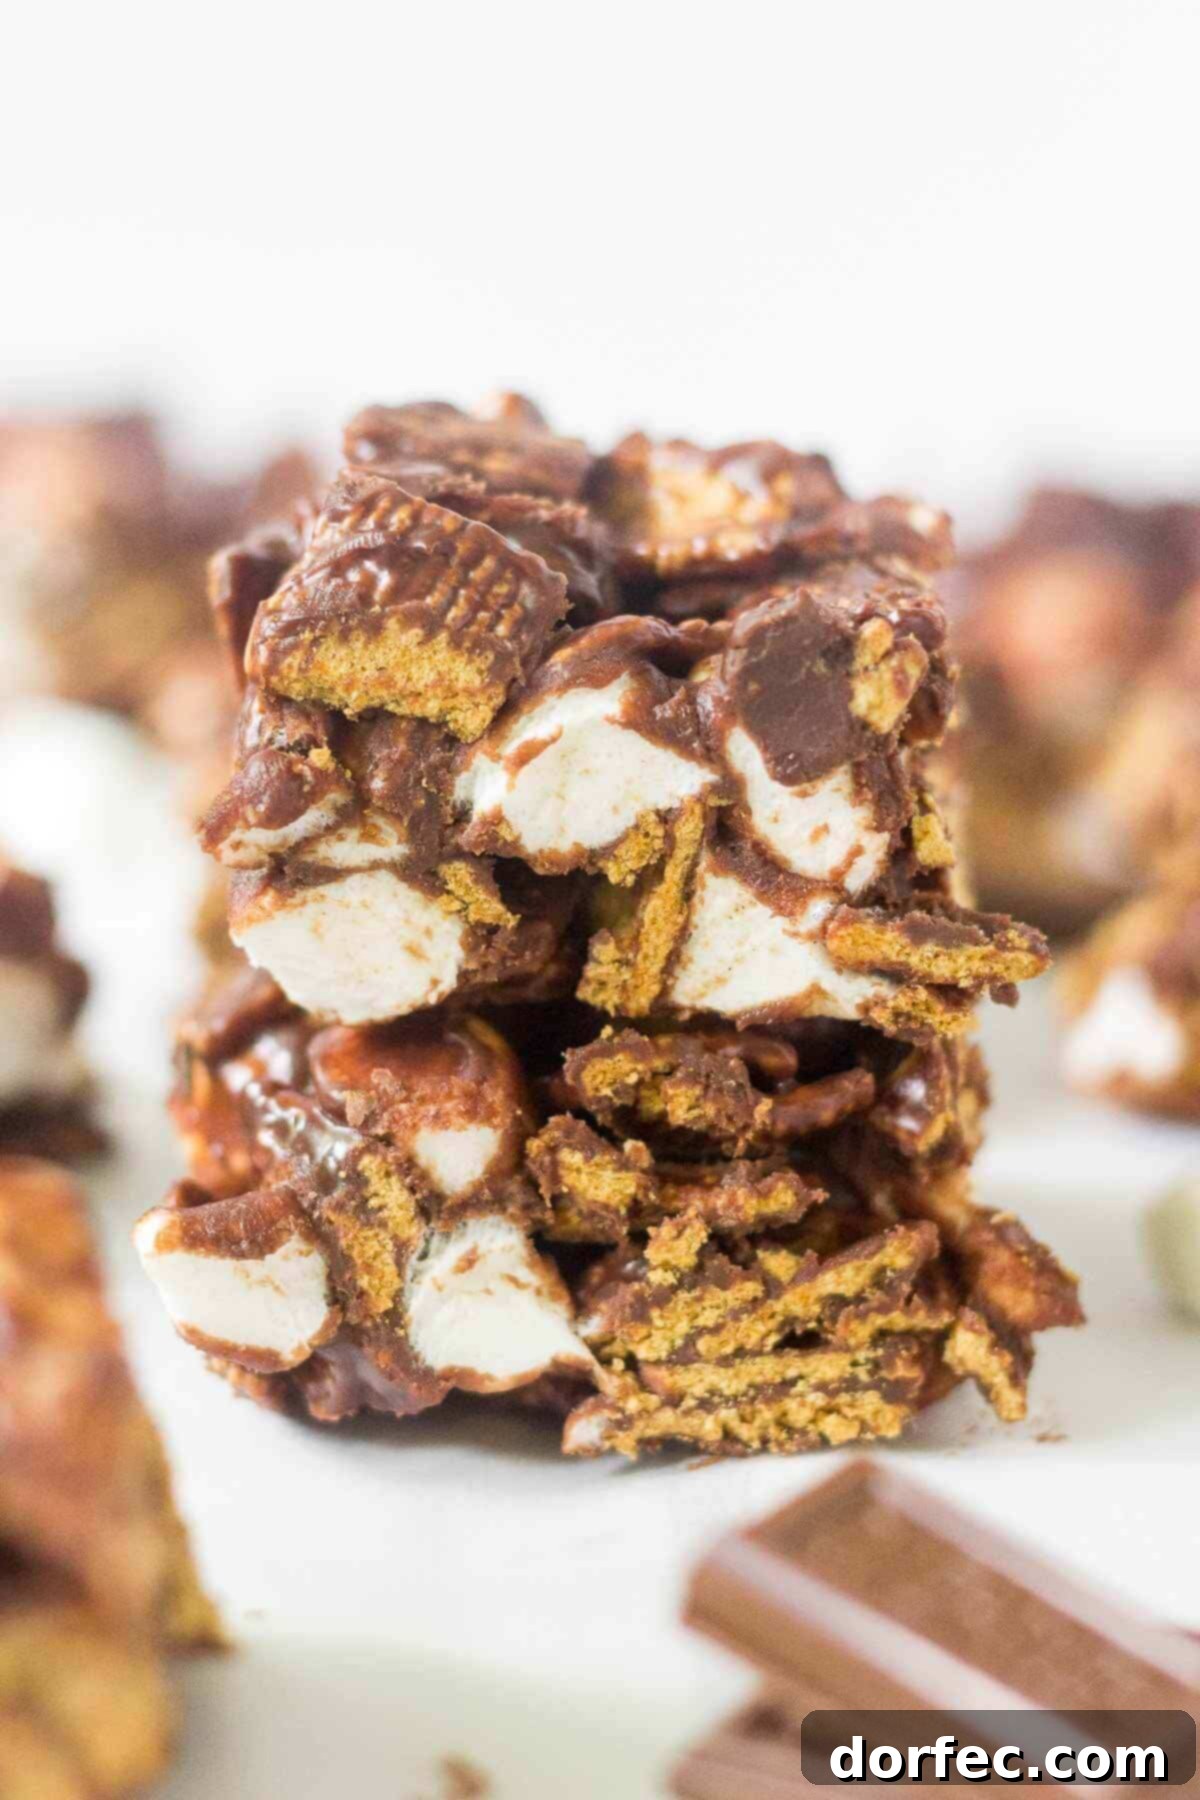
The Ultimate 4-Ingredient No-Bake S’mores Bars: Your Easiest Summer Dessert
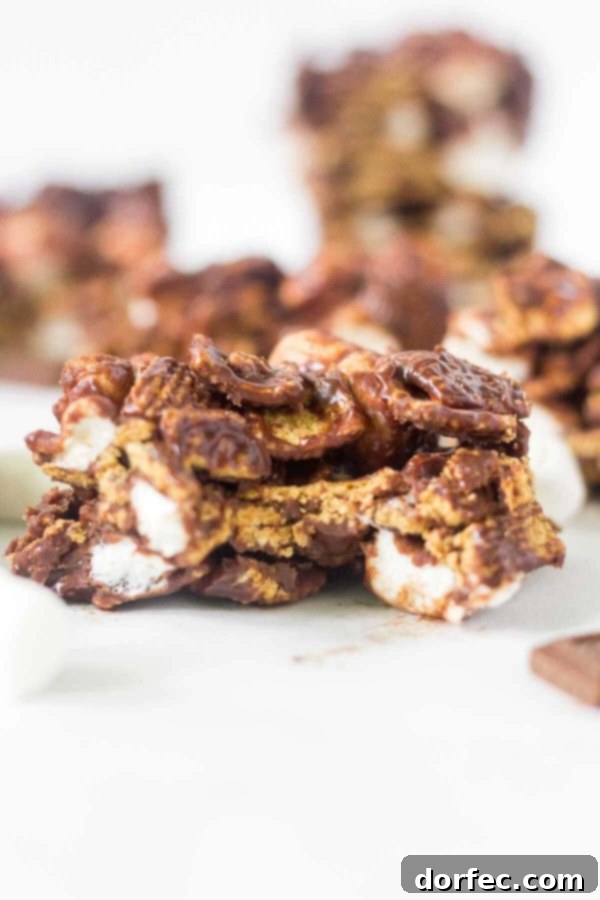
Craving the classic taste of s’mores but without the hassle of a campfire? Look no further! This incredible recipe for no-bake s’mores bars brings all the gooey, chocolatey, graham cracker goodness right to your kitchen. Requiring just 4 simple ingredients and less than 15 minutes of active preparation time, this dessert is an absolute game-changer for summer entertaining or any time you need a quick, satisfying treat. Get ready to indulge in a delightful confection that’s so easy and delicious, it’ll become your go-to dessert recipe for every occasion.
Why Choose No-Bake S’mores Bars?
The beauty of no-bake desserts lies in their simplicity and convenience. Forget about preheating ovens, battling with sticky marshmallow goo over an open flame, or worrying about unpredictable weather ruining your outdoor plans. These s’mores bars deliver that iconic flavor profile without any of the traditional fuss. They’re perfect for those scorching summer days when turning on the oven is the last thing you want to do, or for busy schedules when you need a fantastic dessert whipped up in a flash. Ideal for picnics, barbecues, potlucks, or simply a spontaneous craving, this recipe is a testament to how effortless deliciousness can be.
A Sweet History: The Story of S’mores
The exact origin of the s’more remains a delightful mystery, but its roots are deeply intertwined with American outdoor culture. The earliest known recipe for this beloved treat, then called “some mores,” appeared in the 1927 publication Tramping and Trailing with the Girl Scouts. While the identity of the original inventor is unknown, Loretta Scott Crew is often credited with sharing the recipe, as she reportedly made them for Girl Scouts gathered around campfires. This simple combination of toasted marshmallow, melted chocolate, and crisp graham crackers quickly captured hearts, becoming an enduring symbol of friendship, adventure, and sweet memories created under a starry sky. From humble campfire beginnings, s’mores have evolved into a cultural phenomenon, inspiring countless variations – including our convenient no-bake bars!
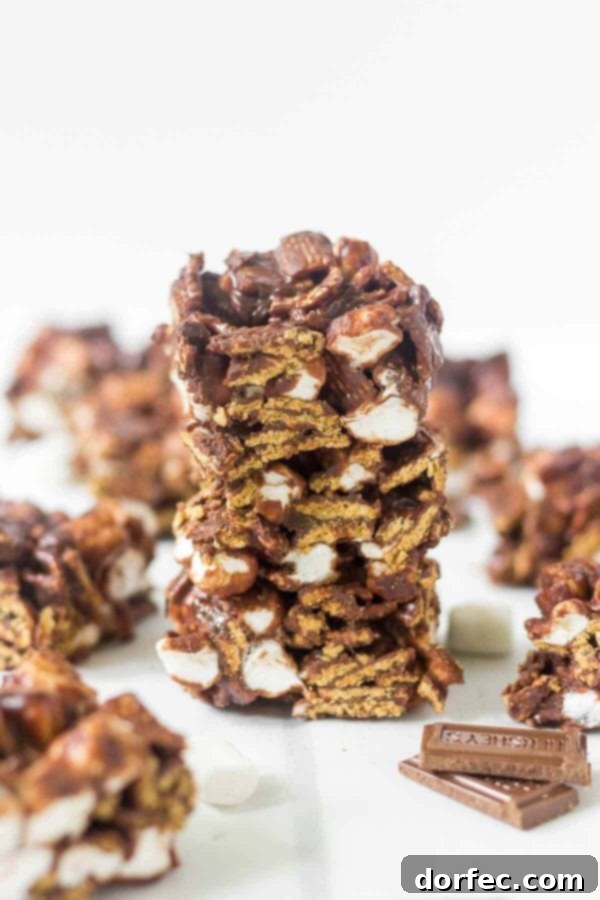
The Irresistible Charm of S’mores: More Than Just a Treat
There’s something truly magical about the flavor combination of s’mores that transcends a simple dessert. For many, it evokes a powerful sense of nostalgia, transporting us back to cherished summer nights. I instantly recall gathering around a crackling fire, sharing stories and laughter with friends, as marshmallows slowly toasted to golden perfection. The gentle glow of lightning bugs dancing in the twilight and the sparkle of stars overhead complete this idyllic scene. It’s a taste that embodies the carefree spirit of summer, reminding us of simpler times and the joy of shared experiences.
More Than Just a Treat: S’mores and Memories
This dessert isn’t just food; it’s a vehicle for memories. It sparks joy in my heart and takes me back to childhood adventures and some of the happiest moments spent with family and friends. I still remember a time when I was around thirteen, and I devoured five s’mores in one sitting – that’s how much I adore them! It’s astonishing how three simple ingredients can leave such a profound impact, creating flavors and feelings that last a lifetime. This deep connection to food is precisely why I love baking and creating recipes that resonate with people on a personal level. Just like how a coffee cake reminds me of my grandma, s’mores hold a special place in my culinary heart. Do you have any recipes that instantly whisk you back to your childhood or a specific, treasured memory?
Sometimes, getting outside to build a campfire isn’t an option. Whether it’s due to persistent rain, lack of a suitable outdoor space, or simply a desire for a quick fix, there are times when you need that s’mores flavor without the traditional setup. That’s precisely why these no-bake s’mores bars are a lifesaver! They capture that quintessential summertime taste without needing an oven or a roaring fire. In fact, with only four ingredients and under fifteen minutes of hands-on time, you can have this delightful dessert ready to chill. Simple, quick, and incredibly tasty – that’s my kind of recipe!
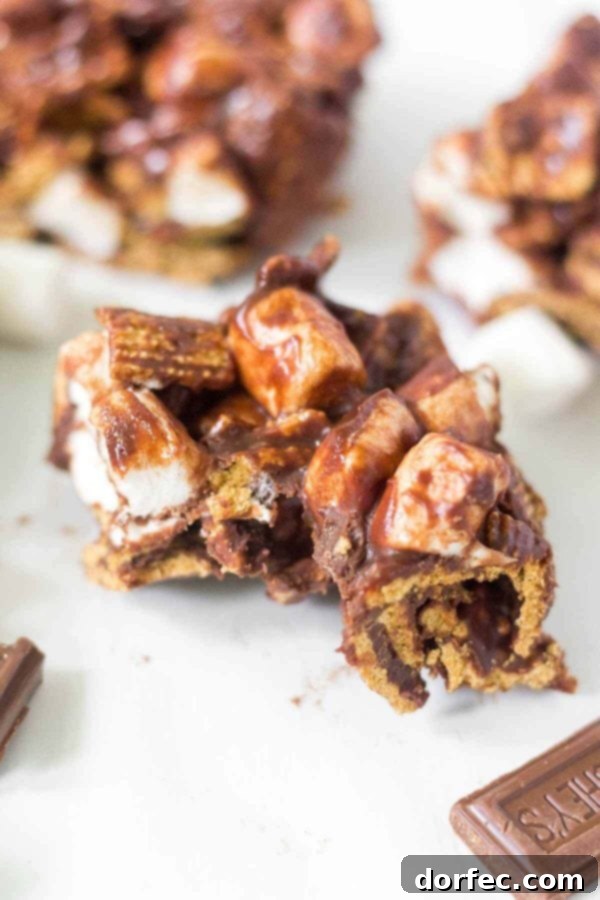
Simple Ingredients, Epic Flavor: What You’ll Need to Make No-Bake S’mores Bars
The magic of these no-bake s’mores bars lies in their incredible simplicity. With just four readily available ingredients, you can recreate the beloved s’mores experience in a whole new format. Each component plays a crucial role in delivering that perfect balance of sweet, crunchy, and chocolatey goodness. Here’s a detailed look at the essential elements:
Golden Grahams: The Crunchy Foundation
Golden Grahams cereal forms the delightful base of this recipe, acting as the perfect stand-in for traditional graham crackers. Their sweet, honey-kissed flavor and satisfying crunch provide all the necessary structure and an irresistible texture to these no-bake bars. When coated with the rich chocolate ganache, they become wonderfully chewy yet retain just enough crispness to make every bite a textural adventure. No need to crush crackers; simply pour and mix!
Melty Marshmallows: Essential Sweetness
A s’more isn’t a s’more without marshmallows! In this recipe, miniature marshmallows are ideal, as they integrate seamlessly into the mixture. They lend that signature chewy sweetness and the beloved pillowy texture we all associate with s’mores. While they won’t be toasted over a fire, their soft nature ensures that when combined with the warm chocolate, they contribute to the gooey, irresistible consistency of the bars.
Rich Milk Chocolate: The Classic Indulgence
Milk chocolate is, of course, a quintessential s’mores staple. For this recipe, I recommend using classic Hershey’s chocolate bars, as their familiar flavor is synonymous with traditional s’mores. The chocolate is gently melted down to create a luxurious coating that envelops the Golden Grahams and marshmallows, providing that rich, comforting chocolate layer that everyone loves. Feel free to use your favorite brand of milk chocolate for a personalized touch.
Heavy Cream: For the Perfect Ganache
The secret to the perfectly smooth and pourable chocolate coating is heavy cream. When warmed and combined with the milk chocolate, it creates a luscious ganache. This ganache is essential for thickening the chocolate mixture, allowing it to thoroughly coat all the other ingredients evenly. It also adds a wonderful richness and silkiness to the chocolate, making these bars truly decadent. Without the heavy cream, the chocolate would be too stiff and difficult to work with, compromising the overall texture of the bars.
These four delicious ingredients not only shine as the stars of the show but also come together in a matter of minutes, transforming into an epic dessert that everyone will adore. The simplicity of this combination is truly a marvel!
Crafting Your No-Bake S’mores Bars: Step-by-Step Instructions
Making these no-bake s’mores bars is incredibly straightforward, perfect for beginner bakers or anyone looking for a quick and impressive dessert. Follow these simple steps to create a batch of irresistible treats:
Prep Work: Setting the Stage
First, prepare your baking pan. Line an 8×8 inch square baking pan with heavy-duty foil, ensuring there’s enough overhang on the sides to easily lift the bars out later. This crucial step prevents sticking and makes for a clean removal. Set the prepared pan aside while you make the chocolate mixture.
The Chocolate Ganache Magic
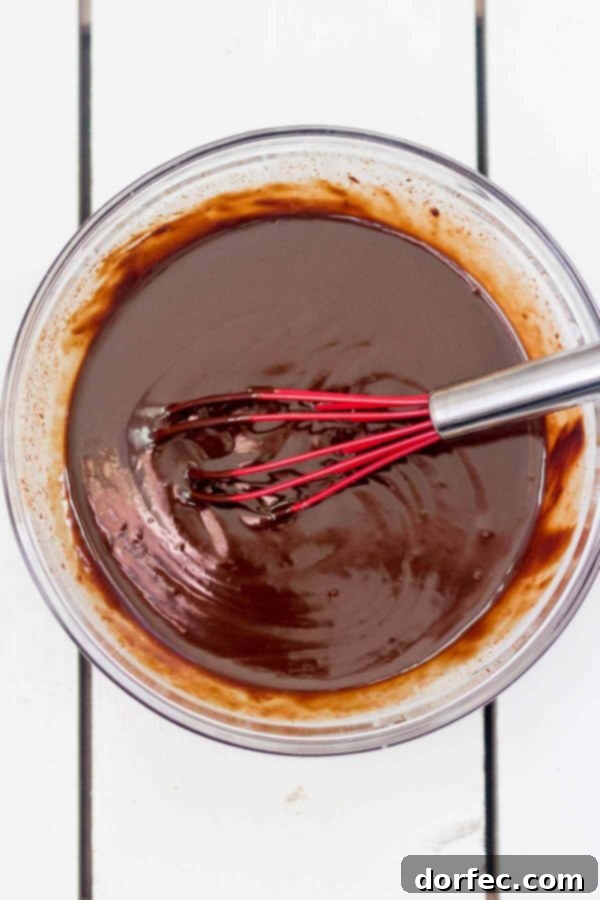
In a large, microwave-safe bowl, pour in the heavy cream. Heat the cream on high in the microwave for 1 to 2 minutes, or until the top begins to bubble. The cream needs to be hot enough to properly melt the chocolate and create a smooth ganache. Immediately add your milk chocolate pieces to the hot cream. Whisk the mixture thoroughly until the chocolate is completely melted and smooth, forming a thick, glossy ganache. This should take approximately 1-2 minutes of whisking. Once smooth, allow the ganache to cool for 5-8 minutes, stirring occasionally. This helps it thicken slightly and prevents the marshmallows from melting too quickly when added.
Combining the S’mores Elements
Once your chocolate ganache has cooled slightly, add the mini marshmallows and Golden Grahams cereal to the bowl. Using a rubber spatula, gently fold and stir the mixture until all the cereal and marshmallows are completely coated in the rich chocolate ganache. Be patient and ensure everything is evenly distributed for consistent flavor and texture in every bar.
Setting and Serving
Pour the coated s’mores mixture into your prepared 8×8 inch baking pan. Using the rubber spatula, lightly press the mixture down into an even layer. Avoid pressing too firmly, as this can compress the marshmallows too much. Transfer the pan to the refrigerator and allow it to set for at least 2 hours, or until the bars are firm. Once firm, use the foil overhangs to lift the entire slab out of the pan. Place it on a cutting board, slice it into individual bars, and get ready to enjoy!
Pro Tips for the Best No-Bake S’mores Bars
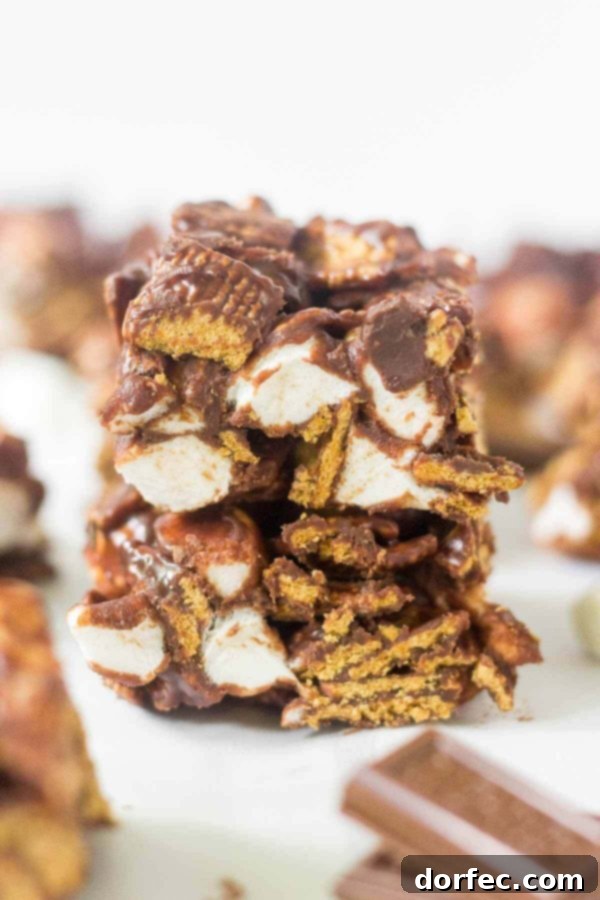
These no-bake s’mores bars are already incredibly easy, but a few extra tips can elevate your experience and ensure perfect results every time. From making them ahead to creative variations, here’s how to get the most out of this delightful recipe.
Make-Ahead Marvel: Convenience at its Best
One of the best features of these no-bake s’mores bars is that they are a truly perfect “make-ahead” treat! Since they require chilling to set, you can easily prepare them a day or two in advance. This makes them ideal for parties, picnics, barbecues, or any event where you want to minimize last-minute stress. Simply prepare the bars, chill them until firm, then cover and store them in the refrigerator until you’re ready to serve. This convenience means you can enjoy your gathering without being tied to the kitchen!
Storage Solutions for Lasting Freshness
To keep your no-bake s’mores bars fresh and delicious, store them in an airtight container in the refrigerator. They will maintain their best texture and flavor for about 4 to 5 days. While they can be enjoyed at room temperature for a short period, keeping them chilled helps preserve their shape and prevents them from becoming too soft, especially in warmer climates. If you find them getting a bit too hard from being in the fridge, simply let them sit out for 10-15 minutes before serving to soften slightly.
Creative Variations to Try
While the classic combination is fantastic, don’t hesitate to get creative with your no-bake s’mores bars! Here are a few ideas to inspire you:
- Peanut Butter Swirl: Swirl in a couple of tablespoons of melted peanut butter with the chocolate ganache for a nutty twist.
- Different Chocolates: Experiment with dark chocolate for a richer flavor, or white chocolate for a sweeter, creamier bar. You can also mix in chocolate chips!
- Add Sprinkles: For a fun, festive look, sprinkle some colorful sprinkles on top before chilling.
- Chopped Nuts: Introduce a different kind of crunch by mixing in a handful of chopped pecans or walnuts with the Golden Grahams.
- Candy Mix-ins: Consider adding crushed candy bars, toffee bits, or even a few chocolate-covered pretzels for extra flavor and texture.
- Different Cereal: If you’re out of Golden Grahams, a similar honey-flavored or plain corn cereal could work in a pinch, though the flavor profile will shift slightly.
Perfect for Any Occasion
Summer Gatherings and Beyond
When you pull these thick, chewy, and crunchy no-bake s’mores bars out of the fridge, you’ll have the perfect dessert ready for all your summer activities! Imagine bringing them to a lively soccer game, a refreshing pool party, a casual backyard barbecue, or a festive Fourth of July celebration. Their ease of transport and universal appeal make them a crowd-pleasing hit every time. These bars are not just for summer; they are fantastic all year round!
Quick Snack or Dessert
Beyond summer fun, these easy no-bake s’mores bars are incredibly versatile. They’re excellent for school bake sales, providing a homemade touch that’s sure to sell out quickly. You can even pack them into your kiddo’s lunchbox as a special treat when they head back to school – yes, we’re already talking about back to school, time flies! Whether it’s an after-dinner indulgence, a movie night snack, or a delightful treat to share with neighbors, these bars fit the bill perfectly. When easy meets delicious, there’s truly nothing better!
Frequently Asked Questions (FAQ) About No-Bake S’mores Bars
Can I use different types of chocolate?
Absolutely! While milk chocolate is classic for s’mores, you can certainly experiment. Dark chocolate will give you a richer, less sweet bar, while semi-sweet chocolate is a great middle ground. White chocolate can also be used for a different flavor profile. Just ensure the chocolate is of good quality for the best results.
What if I don’t have Golden Grahams?
Golden Grahams cereal is ideal for its flavor and crunch, but if you don’t have it, you can substitute it with other similar cereals like Cinnamon Toast Crunch (for a cinnamon twist) or even crushed graham crackers. If using crushed graham crackers, aim for about 3-4 cups of crushed crumbs to maintain the texture.
How long do these bars last, and how should I store them?
These no-bake s’mores bars can be stored in an airtight container in the refrigerator for 4-5 days. While they are best enjoyed fresh, they hold up well, making them a great make-ahead option for gatherings.
The Complete No-Bake S’mores Bars Recipe
Ingredients
- 1/2 Cup Heavy Cream
- 2 Cups Hershey’s Milk Chocolate Bars (approximately 5 standard bars), chopped
- 3 1/2 Cups Mini Marshmallows
- 4 Cups Golden Grahams Cereal
Instructions
- Line an 8-inch-square baking pan with heavy-duty foil, leaving an overhang on the sides, and set aside.
- In a large microwave-safe bowl, add the heavy cream. Heat on high in the microwave for 1-2 minutes, or until it begins to bubble around the edges.
- Add the chopped milk chocolate to the hot cream. Whisk thoroughly until the chocolate is completely melted and smooth, creating a thick ganache. This typically takes 1-2 minutes.
- Allow the chocolate ganache to cool for 5-8 minutes, stirring occasionally. This helps it thicken slightly and prevents the marshmallows from melting too much.
- Add the mini marshmallows and Golden Grahams cereal to the bowl with the chocolate mixture. Stir to coat all ingredients completely and evenly.
- Spread the mixture into the prepared baking pan, pressing down lightly with a rubber spatula to form an even layer. Do not compact too much.
- Refrigerate for at least 2 hours, or until the bars are firm and set.
- Once firm, use the foil overhangs to lift the entire slab of bars out of the pan. Cut into desired bar sizes and enjoy!
Recipe Notes
Store leftover no-bake s’mores bars in an airtight container in the refrigerator for 4-5 days. For best texture, let them sit at room temperature for a few minutes before serving if they are too firm from chilling.
Nutrition Information (Approximate)
Serving: 1g, Calories: 301kcal, Carbohydrates: 36g, Protein: 3g, Fat: 17g, Saturated Fat: 10g, Polyunsaturated Fat: 1g, Monounsaturated Fat: 5g, Trans Fat: 1g, Cholesterol: 14mg, Sodium: 89mg, Potassium: 249mg, Fiber: 4g, Sugar: 20g, Vitamin A: 379IU, Vitamin C: 3mg, Calcium: 73mg, Iron: 6mg.
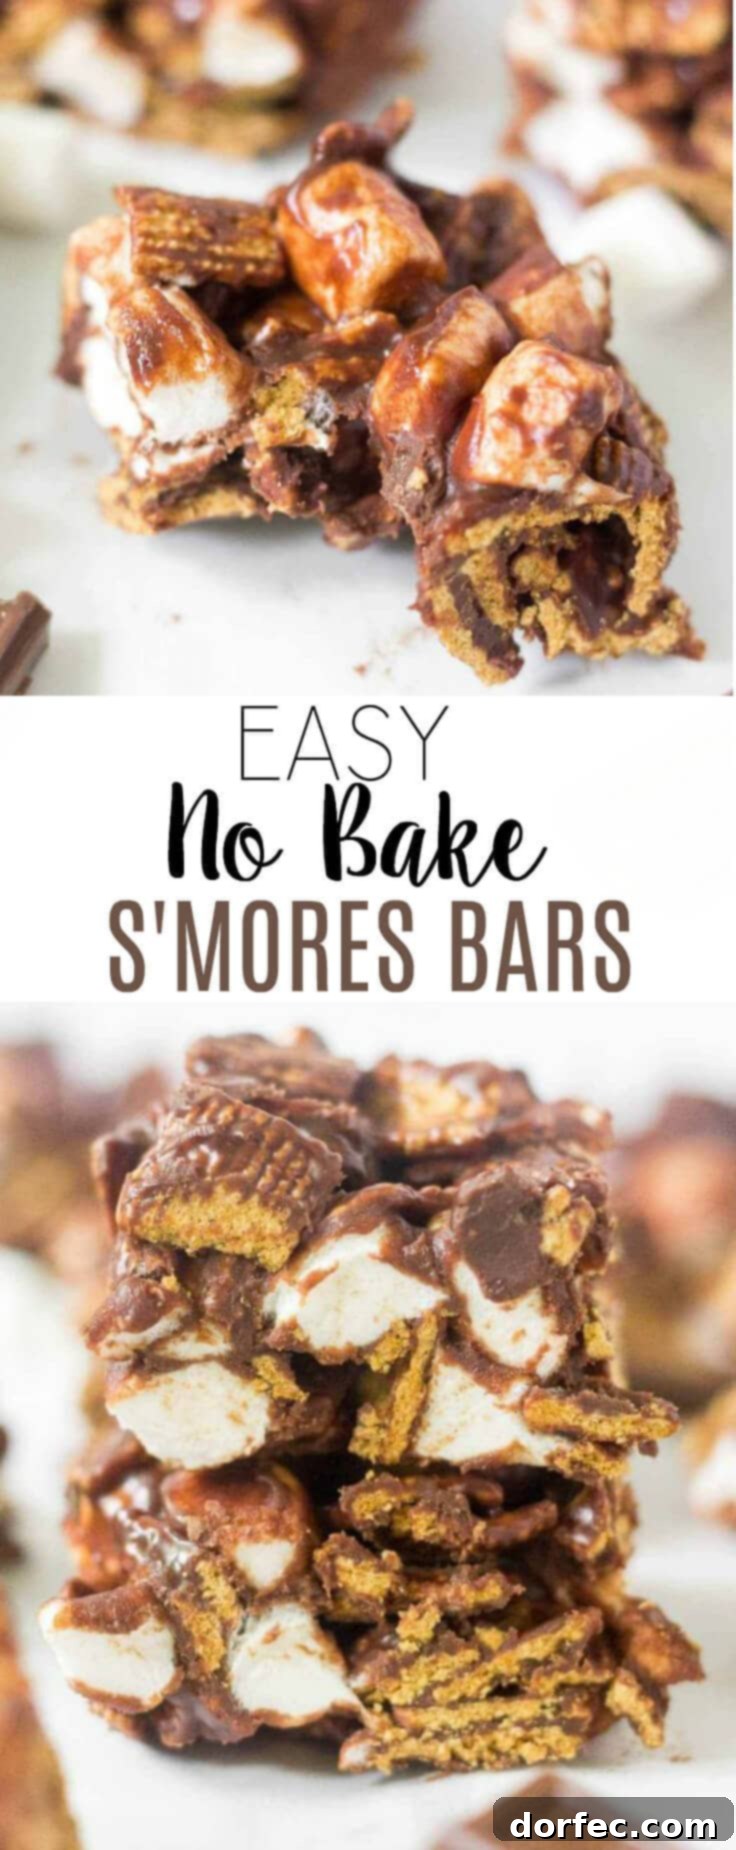
We hope you loved this incredibly easy and delicious no-bake s’mores bars recipe! If you tried it, please leave a comment below and share your thoughts. We love hearing from you!
Blog | Facebook | Pinterest | Instagram | Twitter
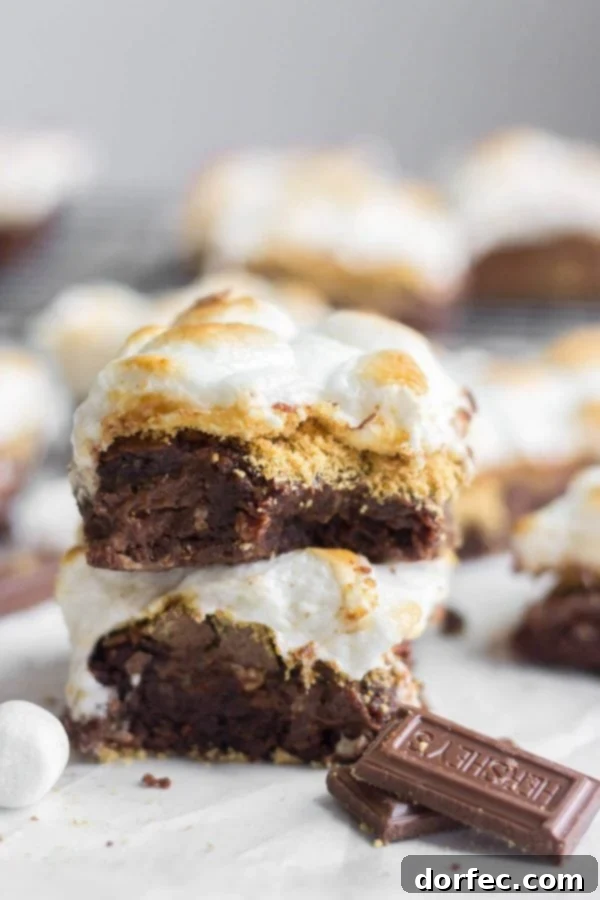
Want more s’mores inspiration? Try Our Best S’mores Brownies!
Still looking for another delicious no-bake dessert? Don’t miss these classic no-bake chocolate peanut butter oatmeal cookies!