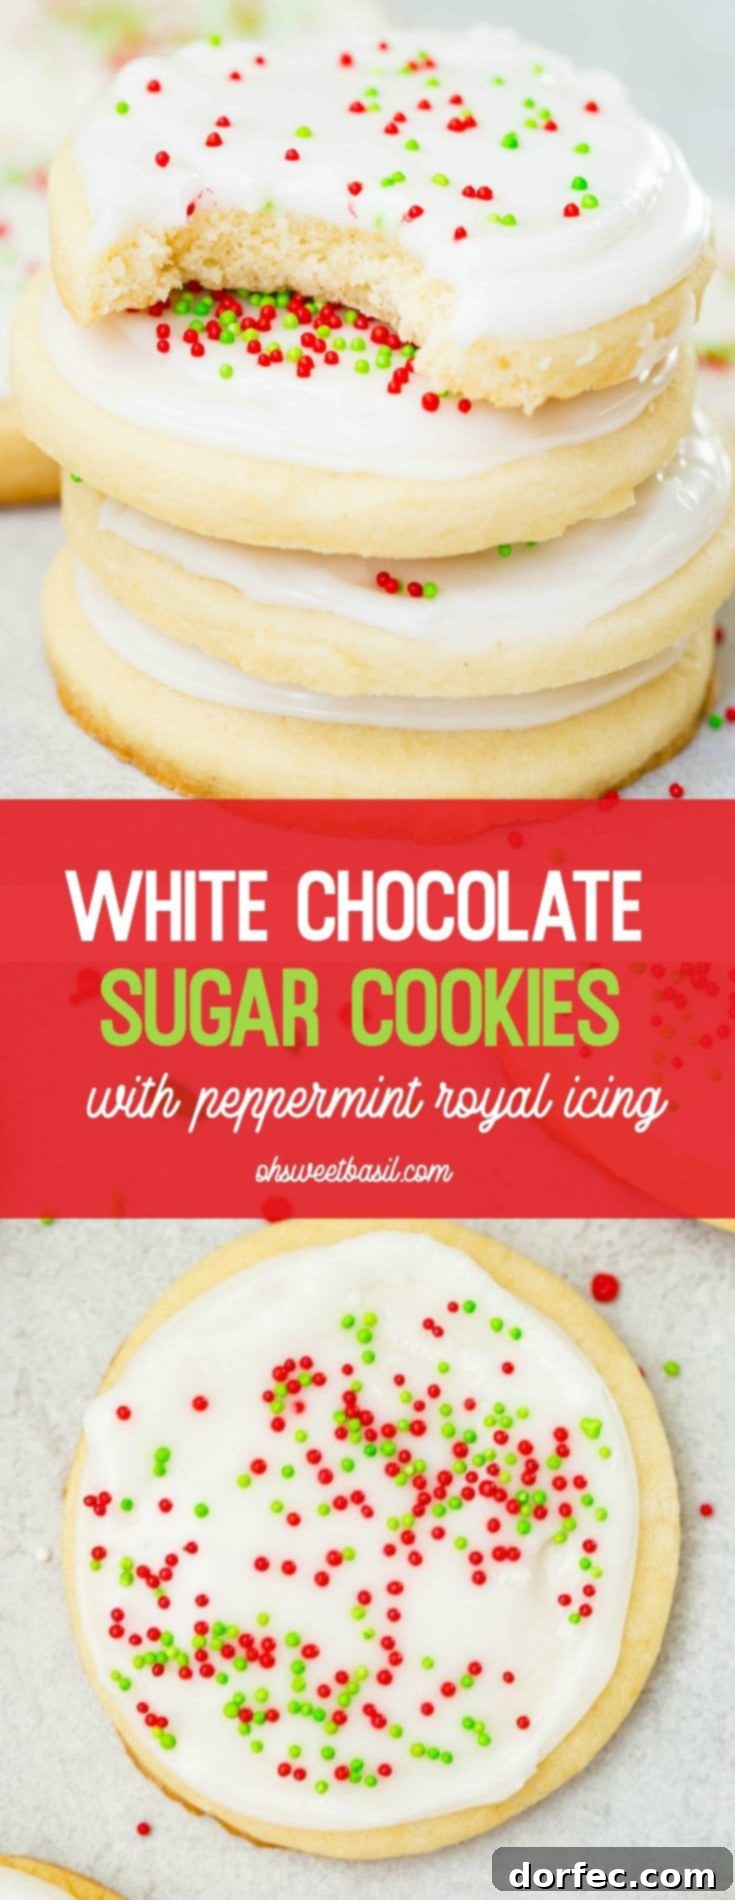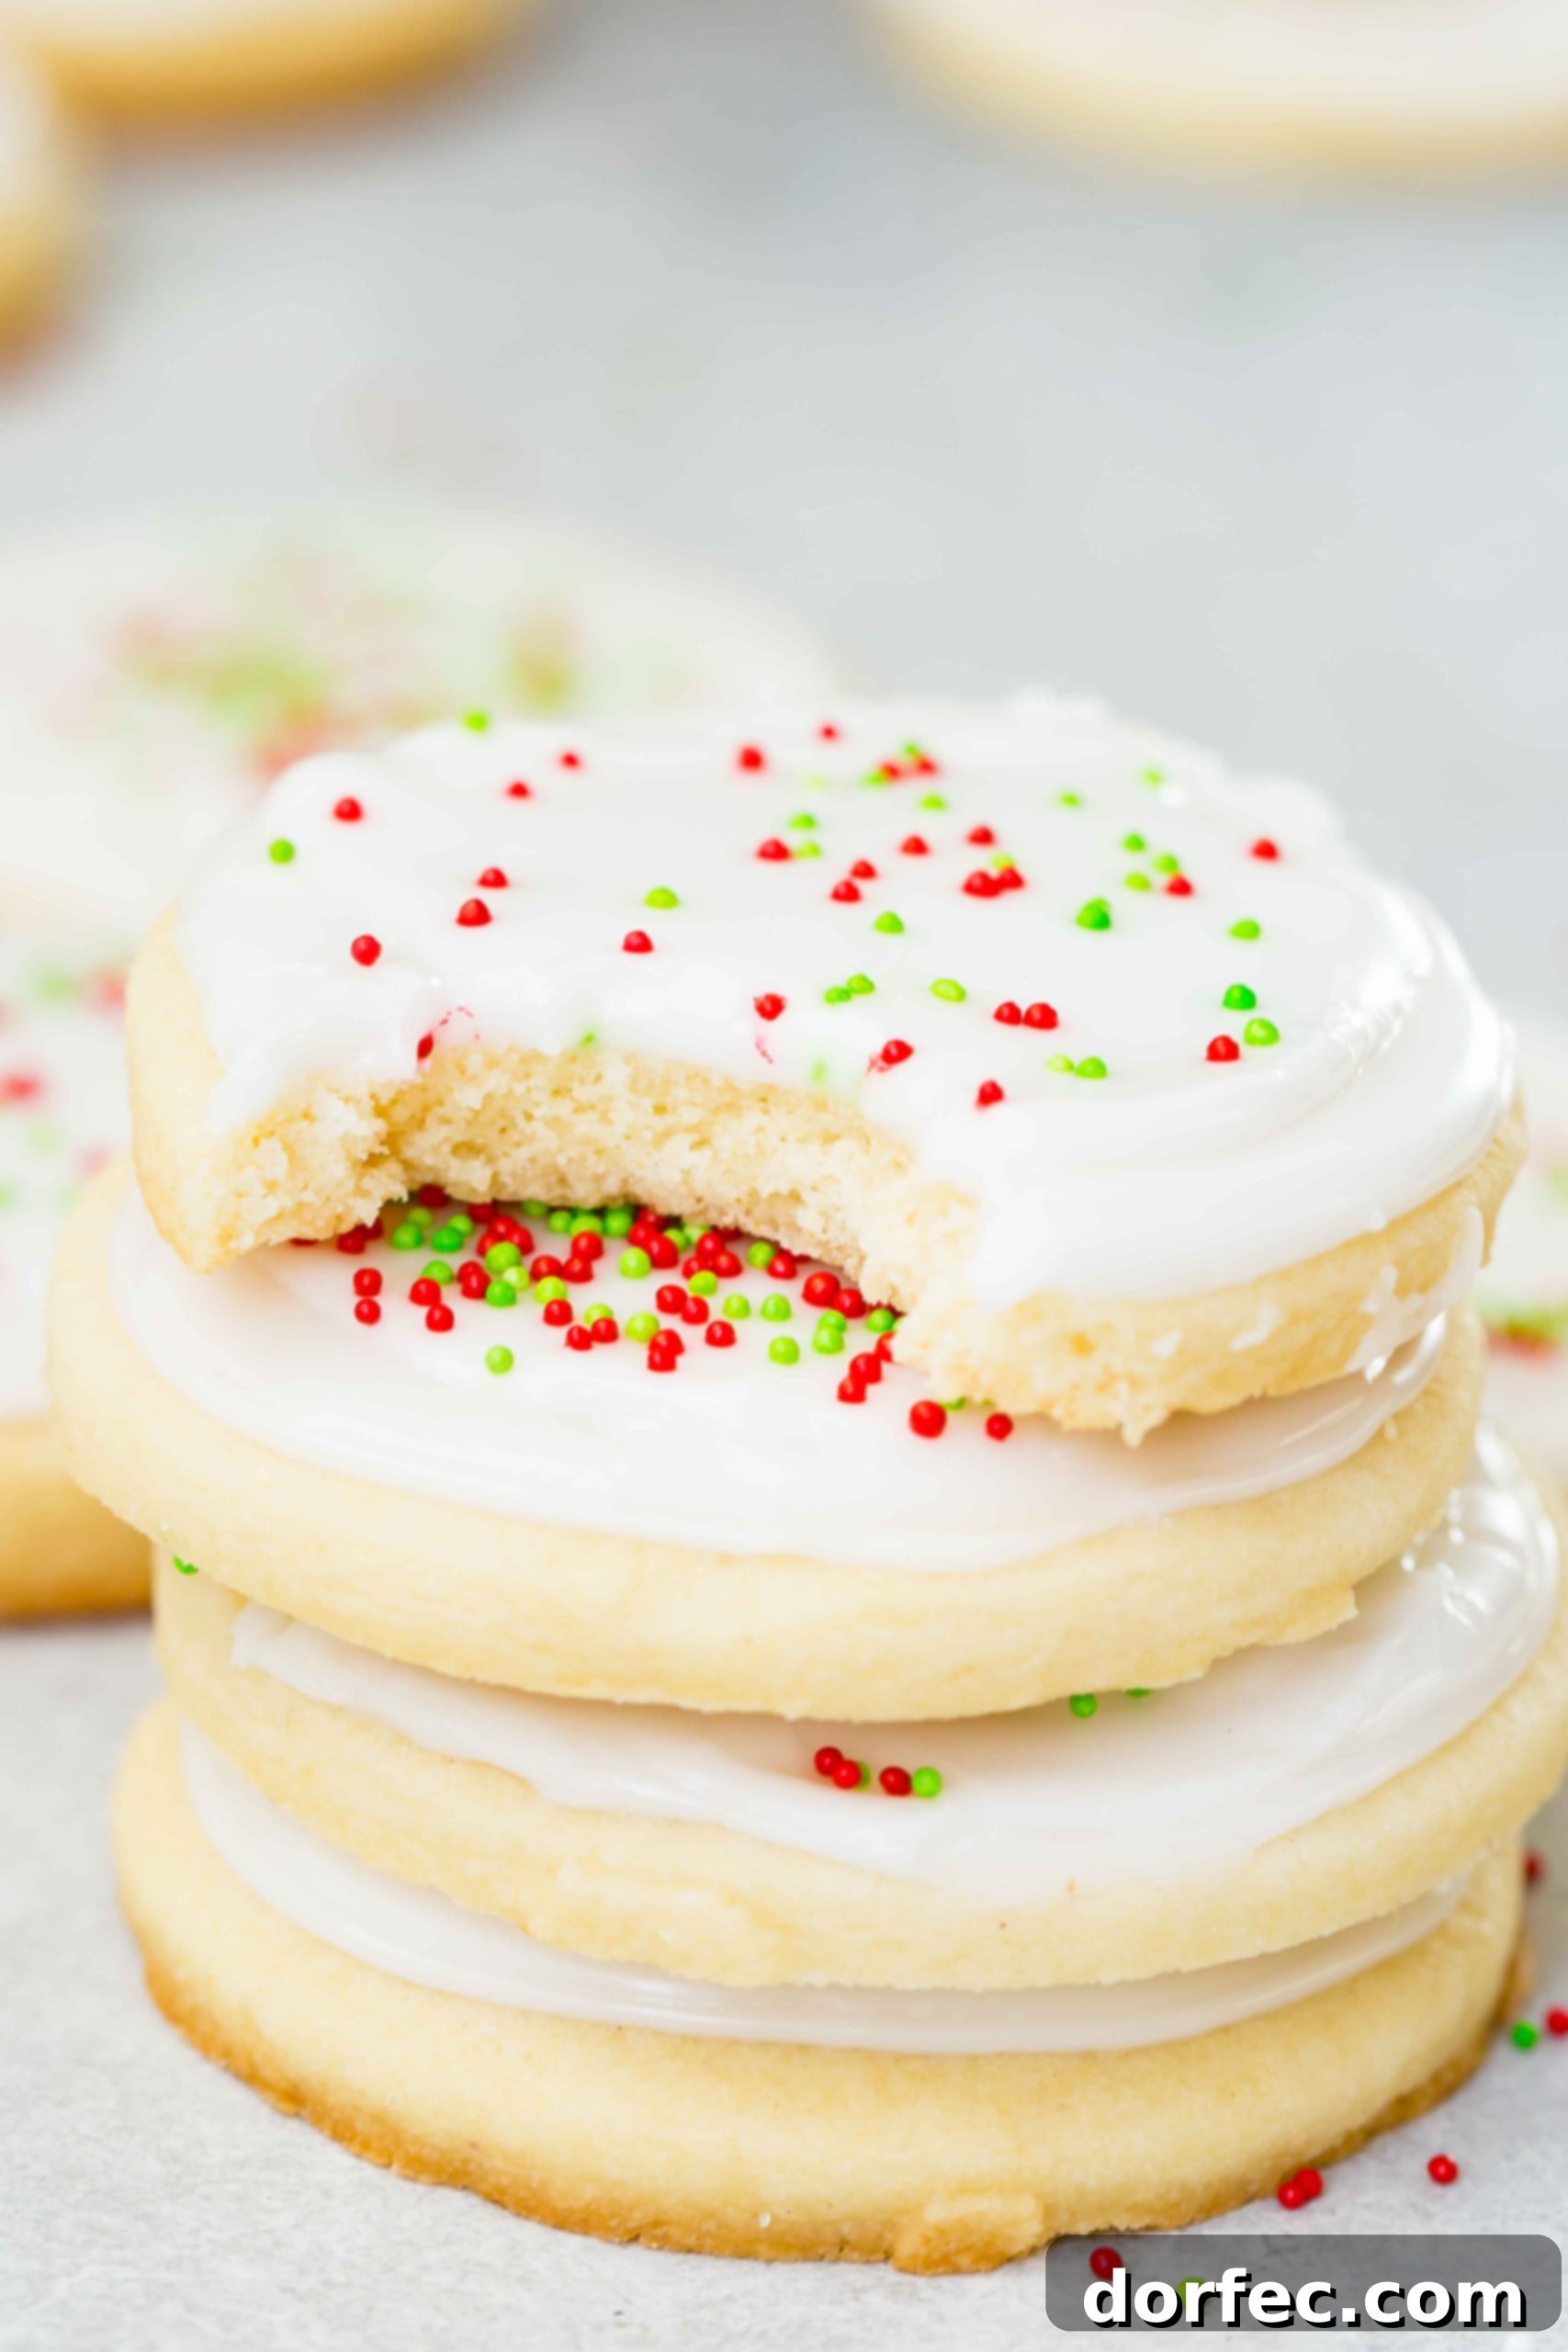
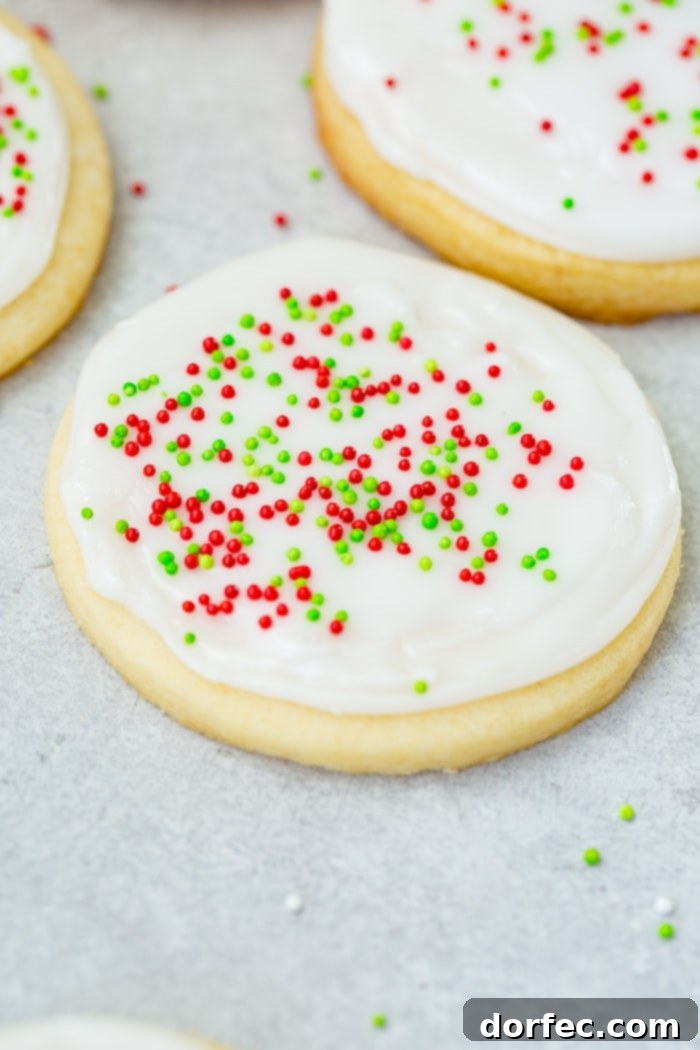
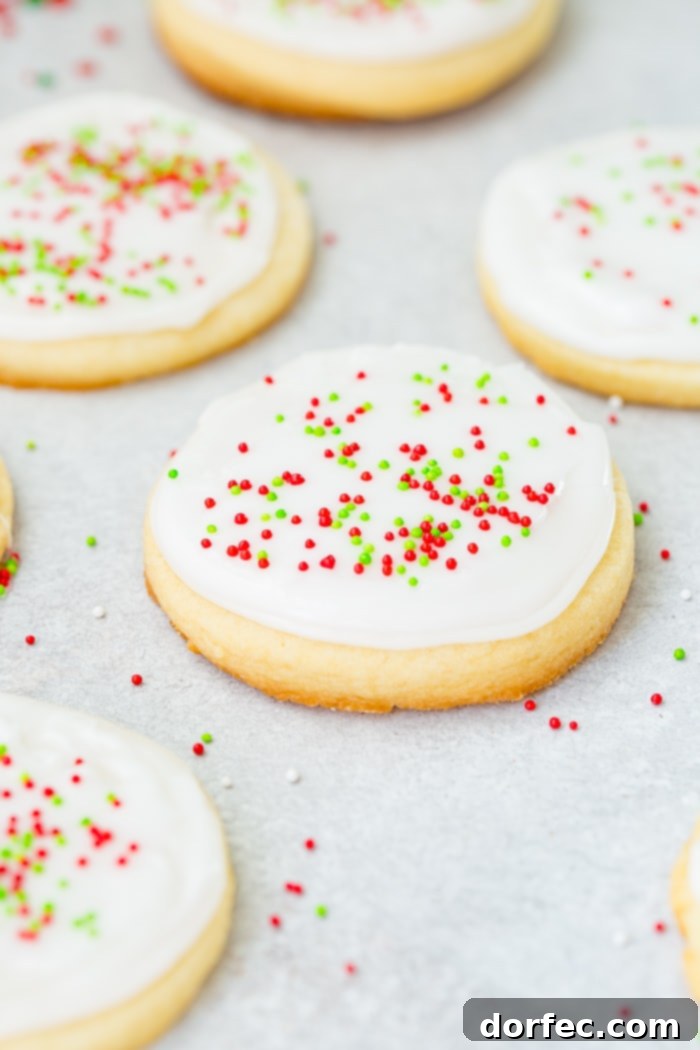
The holiday season brings with it a delightful array of cherished traditions, and for many, baking festive cookies stands at the very heart of these celebrations. While we hold a deep affection for classic Christmas cookies, there’s an undeniable joy in discovering innovative twists on old favorites. This year, we’re taking the beloved sugar cookie to an extraordinary new level, transforming it into a truly magical treat: our decadent White Chocolate Sugar Cookies with Peppermint Royal Icing!
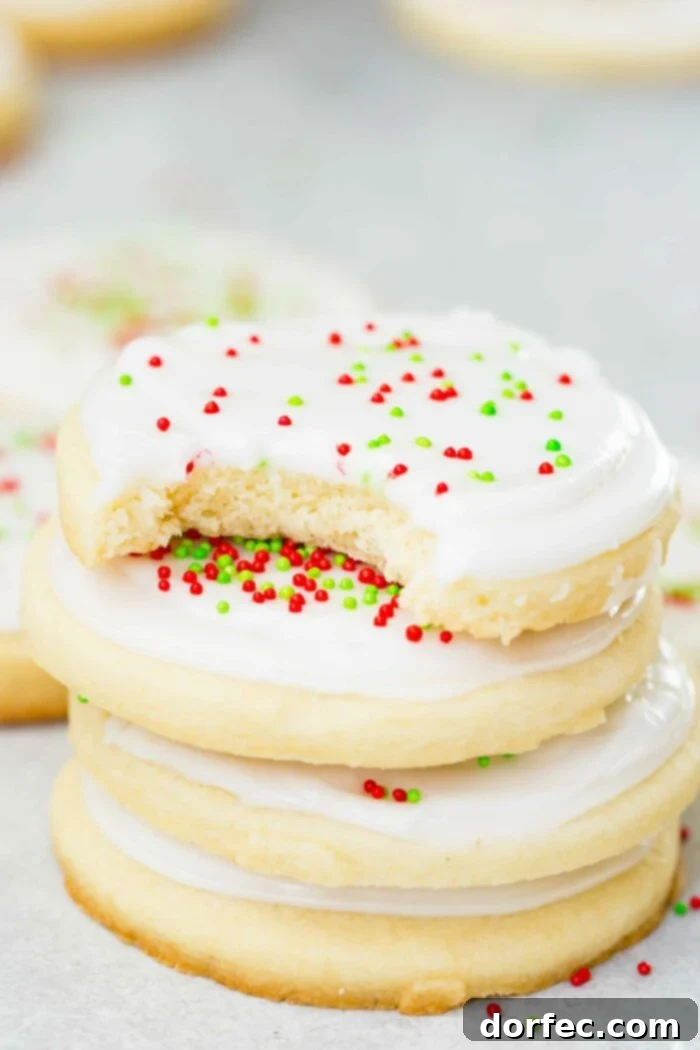
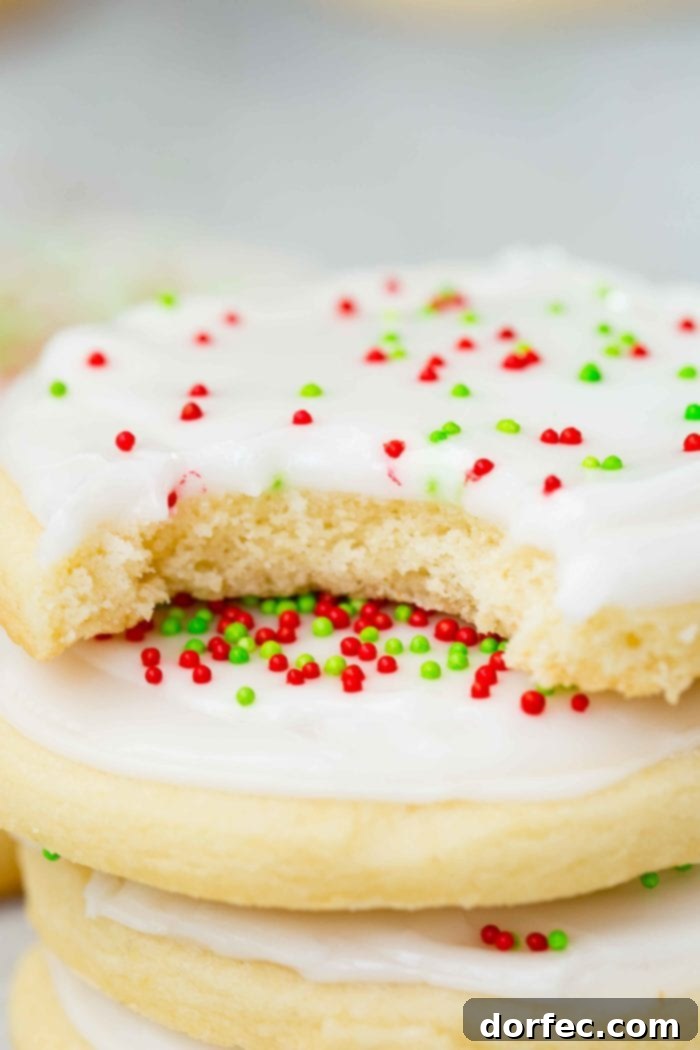
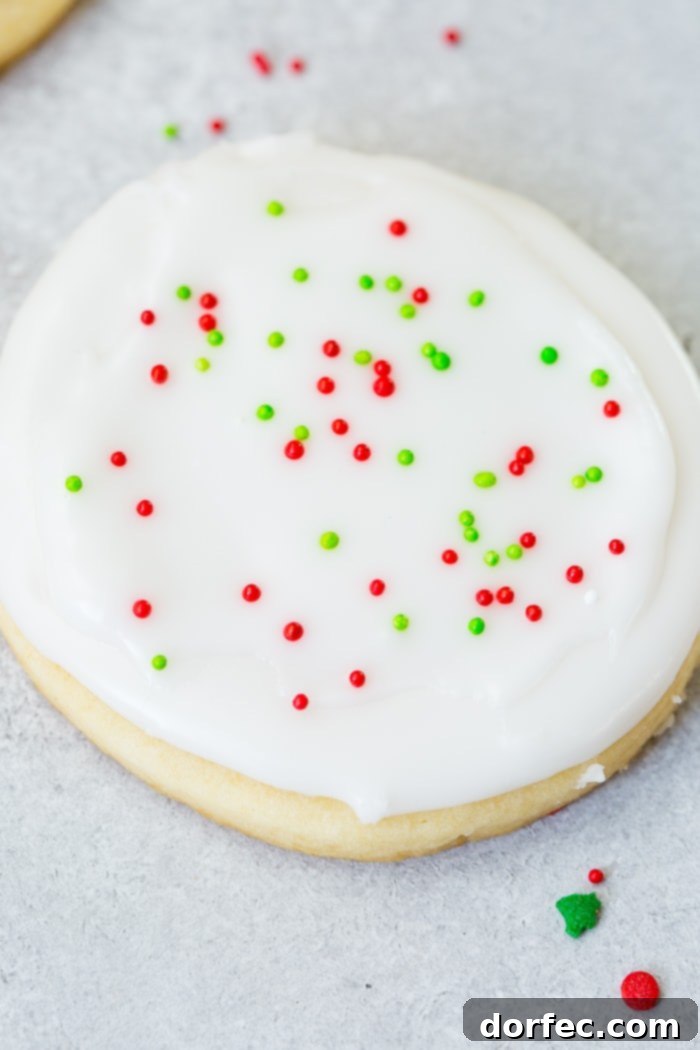
These aren’t just any sugar cookies. The infusion of rich white chocolate elevates the cookie dough itself, making each bite wonderfully soft, chewy, and utterly luxurious. Then, a vibrant peppermint royal icing adds that quintessential Christmas flavor, bright and refreshing. The icing sets with a gorgeous, glossy finish, providing the perfect canvas for festive sprinkles. We guarantee that these soft, pillow-like cookies, bursting with holiday cheer, are destined to become a new and unforgettable Christmas tradition in your home.
For many of us, the aroma of freshly baked sugar cookies instantly transports us back to cherished childhood memories. I vividly recall my mother meticulously preparing batches of sugar cookie dough, while my siblings and I joyfully created a whirlwind of tiny paper snowflakes. We’d scatter these delicate cutouts across every windowpane, convinced that our artistic endeavors were the surefire way to summon a white Christmas, or at least a blanket of snow that year.
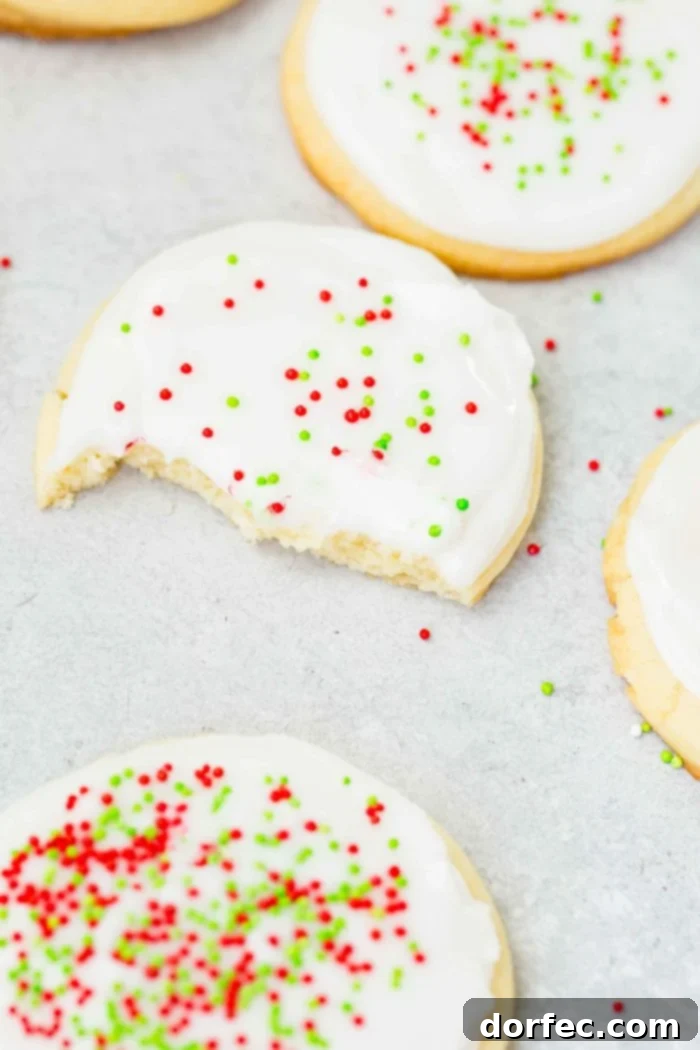
Looking back, I often marvel at my younger self’s fervent desire for snow. As an adult, my feelings have, shall we say, matured. I’m certainly not the biggest fan of cold, wet, messy snow anymore. Perhaps that makes me boring, or old, or maybe, just maybe, it makes me smart! I’m definitely going with smart. While freshly fallen snow blanketing trees and rooftops is undeniably beautiful—a picturesque winter wonderland to admire from the warmth and comfort of home—the reality of navigating icy roads and contending with its cold, wet inconvenience often outweighs its aesthetic appeal. So, yes, let it snow, but only if I don’t have to leave the house!
Effortless Elegance: Simple Cookie Decorating for Everyone
Enough about the weather; let’s get back to these incredibly easy and delicious white chocolate sugar cookies! Have you ever found yourself mesmerized by those online videos showcasing intricate, artistic cookie decorating? I could watch those for hours, totally captivated! They make it look so simple, so effortless, as if anyone could replicate those stunning masterpieces. Then, of course, you try it yourself, and reality sets in. Let’s just say my attempts at elaborate designs might land me a spot on an episode of “Nailed It!” So, I’ve learned to embrace the beauty of simple shapes and straightforward decorating techniques, and honestly, they’re just as charming and significantly less stressful.
The beauty of keeping decorations simple is that it makes cookie baking a genuinely fun and inclusive activity for the whole family, especially for children. Kids absolutely adore every step of the sugar cookie-making process, and why wouldn’t they? From mixing and kneading the soft dough to rolling it out with enthusiasm, selecting their favorite cookie cutters, watching them bake to golden perfection, and finally, the most anticipated part – decorating! It’s truly like throwing one big, festive party right in your kitchen, creating cherished memories alongside delicious treats.
Flavor Wonderland: Customizing Your Sugar Cookies with Extracts
While our White Chocolate Sugar Cookies with Peppermint Royal Icing undeniably shout “Christmas” with every bite, one of their most fantastic qualities is their incredible versatility. You can easily swap out the peppermint extract for virtually any flavor, transforming these cookies to suit any holiday, season, or special occasion. This simple adjustment allows for endless creativity and ensures these cookies can be enjoyed year-round. Here are some extract ideas to inspire your next batch of customizable sugar cookies:
- Lemon: Bright, zesty, and perfect for spring or summer gatherings, Mother’s Day brunch, baby showers, or bridal celebrations. Its refreshing tang pairs beautifully with the sweet cookie base.
- Coconut: Evoke tropical vibes for summer parties or add a delicate, exotic touch for Easter. Imagine these cookies with a light coconut glaze and toasted coconut flakes!
- Maple: Embrace the cozy flavors of autumn or enhance your Thanksgiving dessert spread with a warm, rich maple essence. Perfect with a maple glaze and a sprinkle of cinnamon.
- Orange: Incredibly versatile, orange extract adds a bright, citrusy note that’s welcome in any season. It pairs particularly well with chocolate, making it a fantastic complement to the white chocolate in the cookies.
- Cake Batter: Yes, you read that right! I recently spotted cake batter extract at the store, and it promises a fun, nostalgic flavor profile. Imagine sugar cookies that taste like a birthday cake – utterly delicious and perfect for any celebration!
- Raspberry: Sweet and slightly tart, raspberry extract is ideal for Valentine’s Day treats or a delightful “girls’ night in” dessert. Consider a pink royal icing for an extra touch of romance.
- Root Beer: For the adventurous baker, root beer extract offers a unique and surprisingly delicious twist. It tastes uncannily like a root beer float, making it a fun and unexpected flavor for any casual gathering.
- Almond: A timeless classic, almond extract is exquisitely versatile and utterly delicious for all occasions. Its subtle, nutty aroma enhances the rich white chocolate beautifully, making it a sophisticated choice for elegant events or simply a delightful everyday treat.
Can Sugar Cookies Be Frozen for Future Enjoyment?
Absolutely! Sugar cookies are incredibly freezer-friendly, allowing you to prepare them in advance and enjoy delicious, homemade treats whenever the craving strikes. We’ve successfully frozen both the raw cookie dough and the fully baked (but unfrosted) cookies, making them perfect for meal prep or unexpected guests.
For freezing the cookie dough, simply wrap the dough tightly in several layers of plastic wrap, ensuring no air can get in, and then place it in an airtight freezer-safe bag or container. This prevents freezer burn and maintains freshness. When you’re ready to bake, remember to plan ahead, as the dough will need to thaw overnight in the refrigerator. Once thawed, it’s ready to be rolled out, cut into your desired shapes, and baked according to the recipe instructions, just as if it were freshly made.
If you prefer to freeze baked cookies, follow these simple steps:
- After your cookies have completely cooled to room temperature, arrange them in a single layer on a baking sheet. Place the baking sheet in the freezer until the cookies are solid, typically for 30-60 minutes. This flash-freezing prevents them from sticking together.
- Once frozen solid, transfer the cookies to an airtight freezer-safe container, separating each layer with parchment paper to prevent them from sticking or becoming damaged. Alternatively, you can place them into heavy-duty Ziplock bags, carefully removing as much air as possible before sealing.
- Properly stored, baked sugar cookies can be frozen for up to 3 months without compromising their delicious taste or soft texture.
- When you’re ready to enjoy them, remove the frozen cookies from their container and let them thaw overnight in the refrigerator or simply on the kitchen counter at room temperature for a few hours.
- Once thawed, prepare your peppermint royal icing and decorate the cookies as desired, bringing them to life with festive flair!
Troubleshooting Common Sugar Cookie Dough Issues: Dry, Sticky, or Cracking Dough
Working with sugar cookie dough can sometimes present a few challenges, and there’s little more frustrating than dough that’s either too sticky to roll or so crumbly it falls apart. But don’t worry, these common issues are easily resolved! Understanding why they occur and how to fix them will ensure your cookie-baking experience is always a joy.
- Dough Too Sticky to Roll: This usually indicates that the dough hasn’t been chilled sufficiently or contains slightly too much liquid in relation to the flour.
- Solution: Cover the dough tightly with plastic wrap and return it to the refrigerator for an additional 30 minutes to an hour, or even longer if needed. The colder the dough, the firmer the fat will be, making it easier to handle. In a worst-case scenario, if chilling doesn’t fully resolve it, gradually add a tablespoon or two of flour at a time, incorporating it gently until the dough reaches a manageable, non-sticky consistency.
- Dough Too Dry or Crumbly: Conversely, dough that is too dry or crumbly typically means it has absorbed too much flour, or perhaps not enough liquid was added.
- Solution: To reintroduce moisture and bring the dough back together, drizzle in a very small amount of vegetable oil (or even a tiny bit of milk or water) – start with half a teaspoon – and knead it gently. Continue adding small amounts until the dough is pliable and no longer crumbling. Be careful not to add too much, as this can make it sticky again.
- Dough Cracks When You Roll It: If your perfectly chilled dough cracks and breaks as you try to roll it out, it’s likely too cold and stiff directly from the refrigerator.
- Solution: Simply cover the dough and allow it to sit at room temperature for about 10-15 minutes. This brief warm-up will soften the butter slightly, making the dough more pliable and easier to roll without cracking. Test it by gently pressing; it should yield slightly but still be firm.
Remember, these white chocolate sugar cookies are designed to be wonderfully soft and tender. If you’re craving a denser, firmer, or crispier cookie, you might enjoy our White Chocolate Peppermint Shortbread cookies instead!
Achieving Perfect Texture: How Thick Should You Roll Sugar Cookie Dough?
The thickness of your rolled-out sugar cookie dough is a critical factor in determining the final texture of your baked cookies. For these soft and pillow-y white chocolate sugar cookies, we recommend rolling the dough to a consistent 1/2-inch thickness. This measurement is key to achieving that ideal balance of a tender interior and perfectly baked exterior.
If the dough is rolled out any thicker than 1/2-inch, the cookies may not bake through completely in the center, resulting in a raw or undercooked doughy core. Conversely, if you roll the dough too thin, the cookies will bake much faster, becoming hard, brittle, and crispy instead of maintaining their desired soft and tender quality. At a precise 1/2-inch thickness, these cookies will bake perfectly, emerging from the oven with that delightful, melt-in-your-mouth softness that makes them so irresistible.
The Science Behind Chilling: Why Sugar Cookie Dough Needs to Be Cold
Chilling sugar cookie dough isn’t just an optional step; it’s a fundamental technique that significantly impacts the texture, shape, and overall success of your cookies. When you chill the dough, you’re allowing the fat within the recipe – typically butter – to solidify. This is a crucial step for several scientific and practical reasons:
- Prevents Spreading: The primary reason for chilling sugar cookie dough is to prevent excessive spreading during baking. When the butter is cold and firm, it takes longer to melt in the hot oven. This extended melting time allows the cookie’s structure to set before the butter fully liquifies, resulting in cookies that hold their shape beautifully. Without chilling, the butter would melt too quickly, causing the cookies to spread out thin and lose their intricate cut-out designs.
- Develops Flavor: Chilling also gives the flour a chance to fully hydrate, which leads to a more tender cookie. Furthermore, the flavors in the dough have time to meld and deepen, enhancing the overall taste of your final product.
- Easier to Handle: Cold dough is much less sticky and significantly easier to roll out, cut into shapes, and transfer to a baking sheet. This makes the entire process smoother and more enjoyable, especially when working with detailed cookie cutters.
So, while it requires a bit of patience, the chilling step is indispensable for achieving perfectly shaped, wonderfully textured, and flavorful sugar cookies.
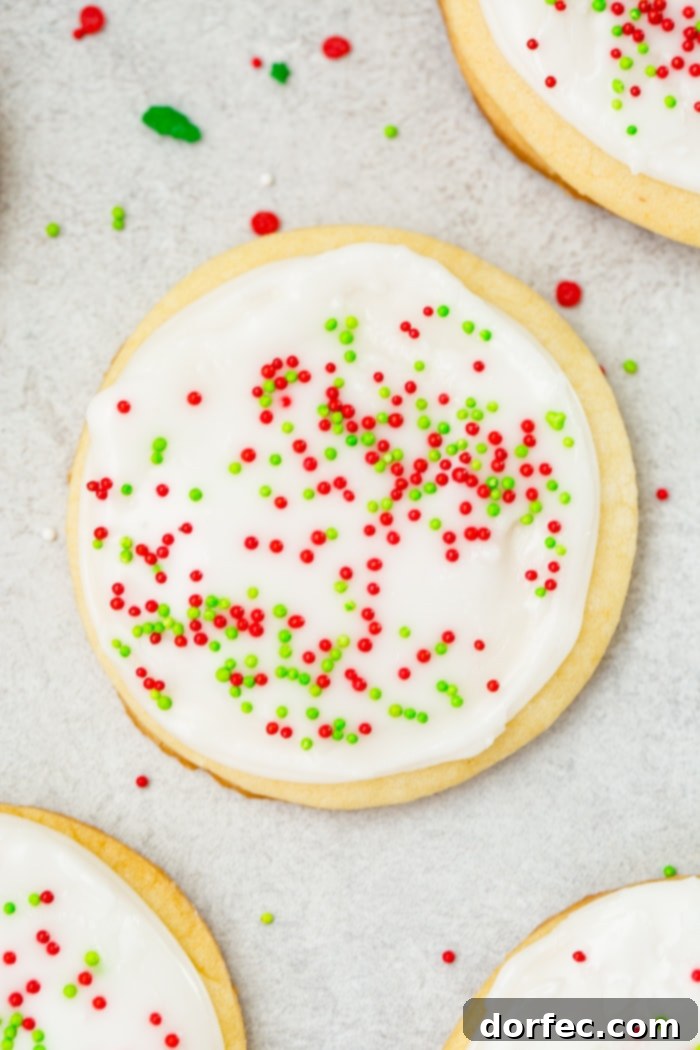
Royal Icing 101: A Simpler, Egg-Free Approach
When you typically search for “royal icing” recipes, you’ll almost always find instructions calling for powdered sugar, egg whites, and an extract. This is indeed the recipe for traditional royal icing, known for its crisp, hard-setting finish. However, for those who prefer to avoid raw egg whites or simply want a more accessible method, we’ve developed a fantastic alternative that delivers the same beautiful results without the eggs.
Our peppermint royal icing recipe ingeniously replaces raw egg whites with a combination of light corn syrup and room temperature water. This simple substitution achieves that coveted glossy finish that hardens slightly as it dries, giving your cookies a professional, polished look. What’s more, this egg-free version is not only safer but also boasts a wonderfully delicious flavor and a smoother texture that’s a delight to work with. While you can also make royal icing with meringue powder (another great egg-free option), our corn syrup method uses ingredients more commonly found in most pantries.
Mastering Royal Icing Consistencies: A Guide for Perfect Decorating
Understanding and achieving the correct royal icing consistency is paramount for successful cookie decorating. Different decorating techniques require different levels of thickness, and mastering these consistencies will elevate your cookie artistry. Here are the three primary types of royal icing consistency:
1. Flood Consistency: This is the thinnest consistency of royal icing and is primarily used for “flooding” or filling large areas within an outlined cookie. It spreads smoothly and evenly, creating a flat, opaque base layer for further decoration. To achieve flood consistency, gradually add water to your icing until it flows easily. A common test is the “counting method”: scoop up some icing with a spoon and drizzle it back onto the surface of the icing in the bowl. If the ribbon of icing disappears and merges back into the main body of icing in approximately 10 seconds, you’ve hit the perfect flood consistency.
2. Piping (Outline or Medium) Consistency: Slightly thicker than flood icing, this consistency is used to create outlines, borders, or intricate details that require some structure. It acts as a “dam” for your flood icing, preventing it from spilling over the edges of your cookie. Piping consistency should be firm enough to hold a distinct line but still flow smoothly through a piping bag. For the counting method, a ribbon of this icing should disappear back into itself in about 15-20 seconds. Think of the texture as similar to soft toothpaste – it holds its shape but can be squeezed easily.
3. Stiff Consistency: This is the thickest consistency of royal icing, designed for piping detailed elements that need to hold their shape firmly, such as delicate text, intricate lace patterns, leaves, flowers, or ruffles. Stiff consistency icing will stand up proud and sharp once piped and will not melt back into itself. If you lift your spoon from the icing, a peak will form and remain. It’s too thick for flooding and used purely for structural or very fine decorative work.
For our simple, yet elegant, White Chocolate Sugar Cookies with Peppermint Royal Icing, you’ll primarily be using the piping consistency to create clean borders and the flood consistency to fill them in, making the decorating process enjoyable and straightforward for all skill levels. No need for super stiff consistency unless you want to add intricate details like small snowflakes or holly leaves.
So, gather your ingredients, clear your schedule, and make your way to the kitchen to whip up a batch of these extraordinary white chocolate sugar cookies. We absolutely can’t wait to see photos of all your beautiful, festive creations! Share your baking triumphs with us!
Seasonal Cookie RECIPES to Explore
- Peppermint Double Chocolate Cookies
- BEST Soft Gingerbread Cookies
- Red White and Blue Red Velvet Cookies
- S’mores Chocolate Chip Cookies
- Lemon Drop Cookies
- Easy Easter Nest Cookies
- White Chocolate Peppermint Shortbread
- Best Pumpkin Chocolate Chip Cookies
White Chocolate Sugar Cookies with Peppermint Royal Icing
By Sweet Basil

Indulge in a magical twist on classic sugar cookies! These White Chocolate Sugar Cookies with refreshing Peppermint Royal Icing are soft, pillow-y, and perfect for your Christmas celebrations.
Ingredients
For the White Chocolate Sugar Cookies:
- 4 Ounce White Chocolate, chopped
- 2 3/4 Cups All-Purpose Flour (recommended brand)
- 1/2 teaspoon Baking Powder (recommended brand)
- 1/2 teaspoon Salt
- 1 Cup Unsalted Butter, room temperature
- 1/2 Cup Granulated Sugar (recommended brand)
- 1 Large Egg
- 1/2 teaspoon Vanilla Extract (recommended brand)
- Sprinkles for decorating (optional)
For the Peppermint Royal Icing:
- 1 1/2 Cups Powdered Sugar (recommended brand)
- 1 teaspoon Light Corn Syrup
- 2-3 Tablespoons Water, room temperature (adjust for desired consistency)
- 1/2 teaspoon Peppermint Extract
Units: US Customary – Metric
Instructions
For the White Chocolate Sugar Cookies:
- Chop the white chocolate bar into small chunks.
- Place the chopped white chocolate in a small microwave-safe bowl. Microwave in 30-second intervals, stirring after each, for about 1.5-2 minutes, or until completely melted and smooth. Let cool slightly.
- In a medium bowl, whisk together the flour, baking powder, and salt. Set aside.
- In the bowl of a stand mixer fitted with the paddle attachment, cream together the softened butter and granulated sugar on medium speed for 3-4 minutes until light and fluffy.
- Scrape down the sides of the bowl. Add the large egg and vanilla extract, then mix again until just combined.
- Pour the slightly cooled melted white chocolate into the mixer bowl and mix on low speed until fully incorporated.
- Gradually add the dry flour mixture (flour, baking powder, salt) to the wet ingredients, mixing on low speed until the dough just comes together and no dry streaks of flour remain. Do not overmix.
- Divide the cookie dough in half. Place each half on a separate piece of plastic wrap on your counter. Cover the entire ball of dough and gently pat each into a flattened disk.
- Refrigerate the dough disks for at least 1 hour, or preferably overnight, to allow the butter to firm up and the flavors to meld. (See notes on why chilling is important).
- When ready to bake, preheat your oven to 350°F (175°C). Line a baking sheet with parchment paper.
- Unwrap one disk of chilled dough. Lightly dust your clean counter surface with a little powdered sugar (or flour) to prevent sticking.
- Using a rolling pin also lightly dusted with powdered sugar, roll the dough out to an even 1/2-inch thickness.
- Using your favorite cookie cutters, cut out shapes from the dough and carefully transfer them to the prepared baking sheet. Re-roll any scraps until all dough is used.
- Bake for 10-12 minutes, or until the edges are lightly golden and the centers are set. Baking time may vary depending on cookie size and oven.
- Remove cookies from the oven and let them cool on the baking sheet for 5 minutes before transferring them to a wire rack to cool completely. Repeat with the remaining dough.
- While the cookies are cooling, prepare the royal icing.
For the Peppermint Royal Icing:
- In a bowl, combine the powdered sugar, corn syrup, peppermint extract, and 2 tablespoons of room temperature water. Mix together with a whisk or electric mixer on low speed until smooth and shiny. Gradually add the remaining tablespoon of water, little by little, until you reach your desired consistency (see “Royal Icing Consistencies” section above for guidance). When you lift the spoon, a ribbon of icing should fall back onto itself and smoothly disappear within 10-15 seconds.
- Transfer the royal icing to a piping bag fitted with a small round tip. Frost the cooled cookies as desired. For a smooth finish, first outline the cookie, then flood the center. Add sprinkles immediately after flooding, if desired, before the icing sets.
- Allow the royal icing to set completely at room temperature (this can take several hours depending on humidity) before stacking or storing the cookies.
Recipe Notes
Freezing Baked Cookies: Baked and unfrosted sugar cookies can be frozen for up to 3 months. Ensure they are completely cooled before flash-freezing and storing in an airtight container with parchment paper between layers. Thaw at room temperature before frosting.
Freezing Dough: Unbaked cookie dough can be wrapped tightly and frozen for up to 3 months. Thaw overnight in the refrigerator before rolling and baking.
Flavor Variations: Experiment with different extracts as suggested in the “Extract Mania” section to customize your cookies for any occasion!
Nutrition Information (Approximate per serving)
Nutrition information is automatically calculated, so should only be used as an approximation.
Serving: 1 cookie
Calories: 111 kcal
Carbohydrates: 15 g
Protein: 1 g
Fat: 5 g
Saturated Fat: 3 g
Cholesterol: 14 mg
Sodium: 78 mg
Potassium: 17 mg
Fiber: 1 g
Sugar: 8 g
Vitamin A: 158 IU
Calcium: 5 mg
Iron: 1 mg
REMEMBER TO SUBSCRIBE TO our FREE Oh Sweet Basil NEWSLETTER and receive easy recipes delivered into your inbox every day!
When you try a recipe, please use the hashtag #ohsweetbasil on INSTAGRAM for a chance to be featured in our stories! FOLLOW OH, SWEET BASIL ON FACEBOOK | INSTAGRAM | PINTEREST | TWITTER FOR ALL OF OUR LATEST CONTENT, RECIPES AND STORIES.