
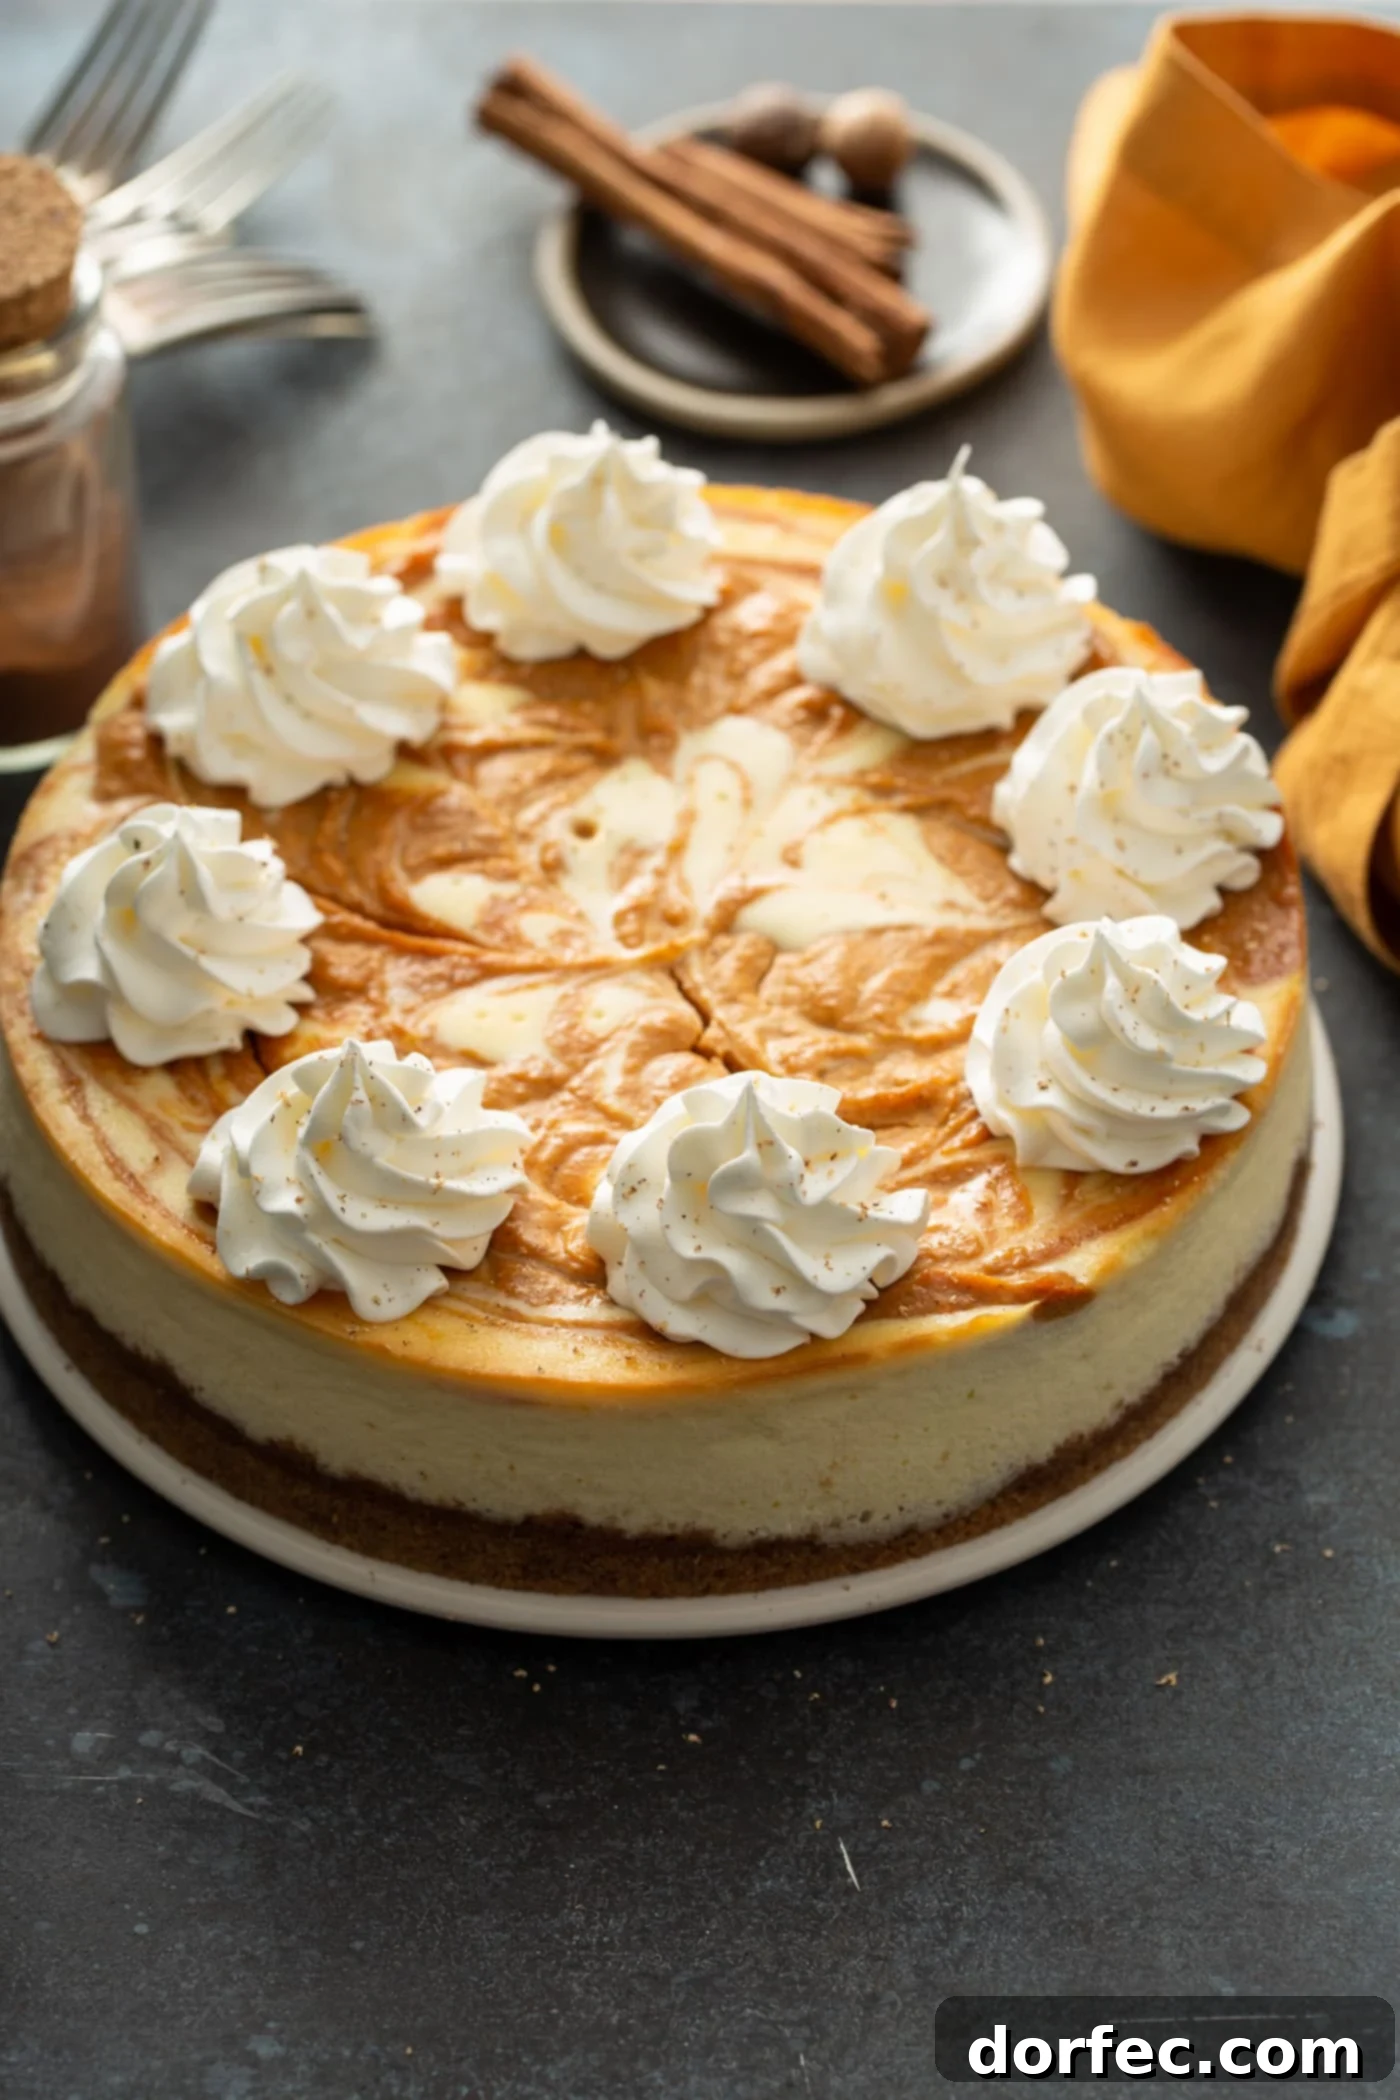
There’s nothing quite like a perfectly baked cheesecake: smooth, creamy, and utterly decadent. Yet, for many home bakers, the thought of tackling this classic dessert can be daunting, often ending in the dreaded cracked surface. Believe me, I’ve been there! I’ve made my share of mistakes – like rushing the cooling process, which resulted in a beautiful cheesecake with an unfortunate fissure right down the middle. But don’t let a few mishaps deter you from creating what could be the most show-stopping dessert of your year. This comprehensive guide is designed to empower you with all the knowledge, tips, and tricks you need to bake a flawless, crack-free cheesecake every single time. Forget the same old pies this holiday season; it’s time to elevate your dessert game with a truly magnificent cheesecake!
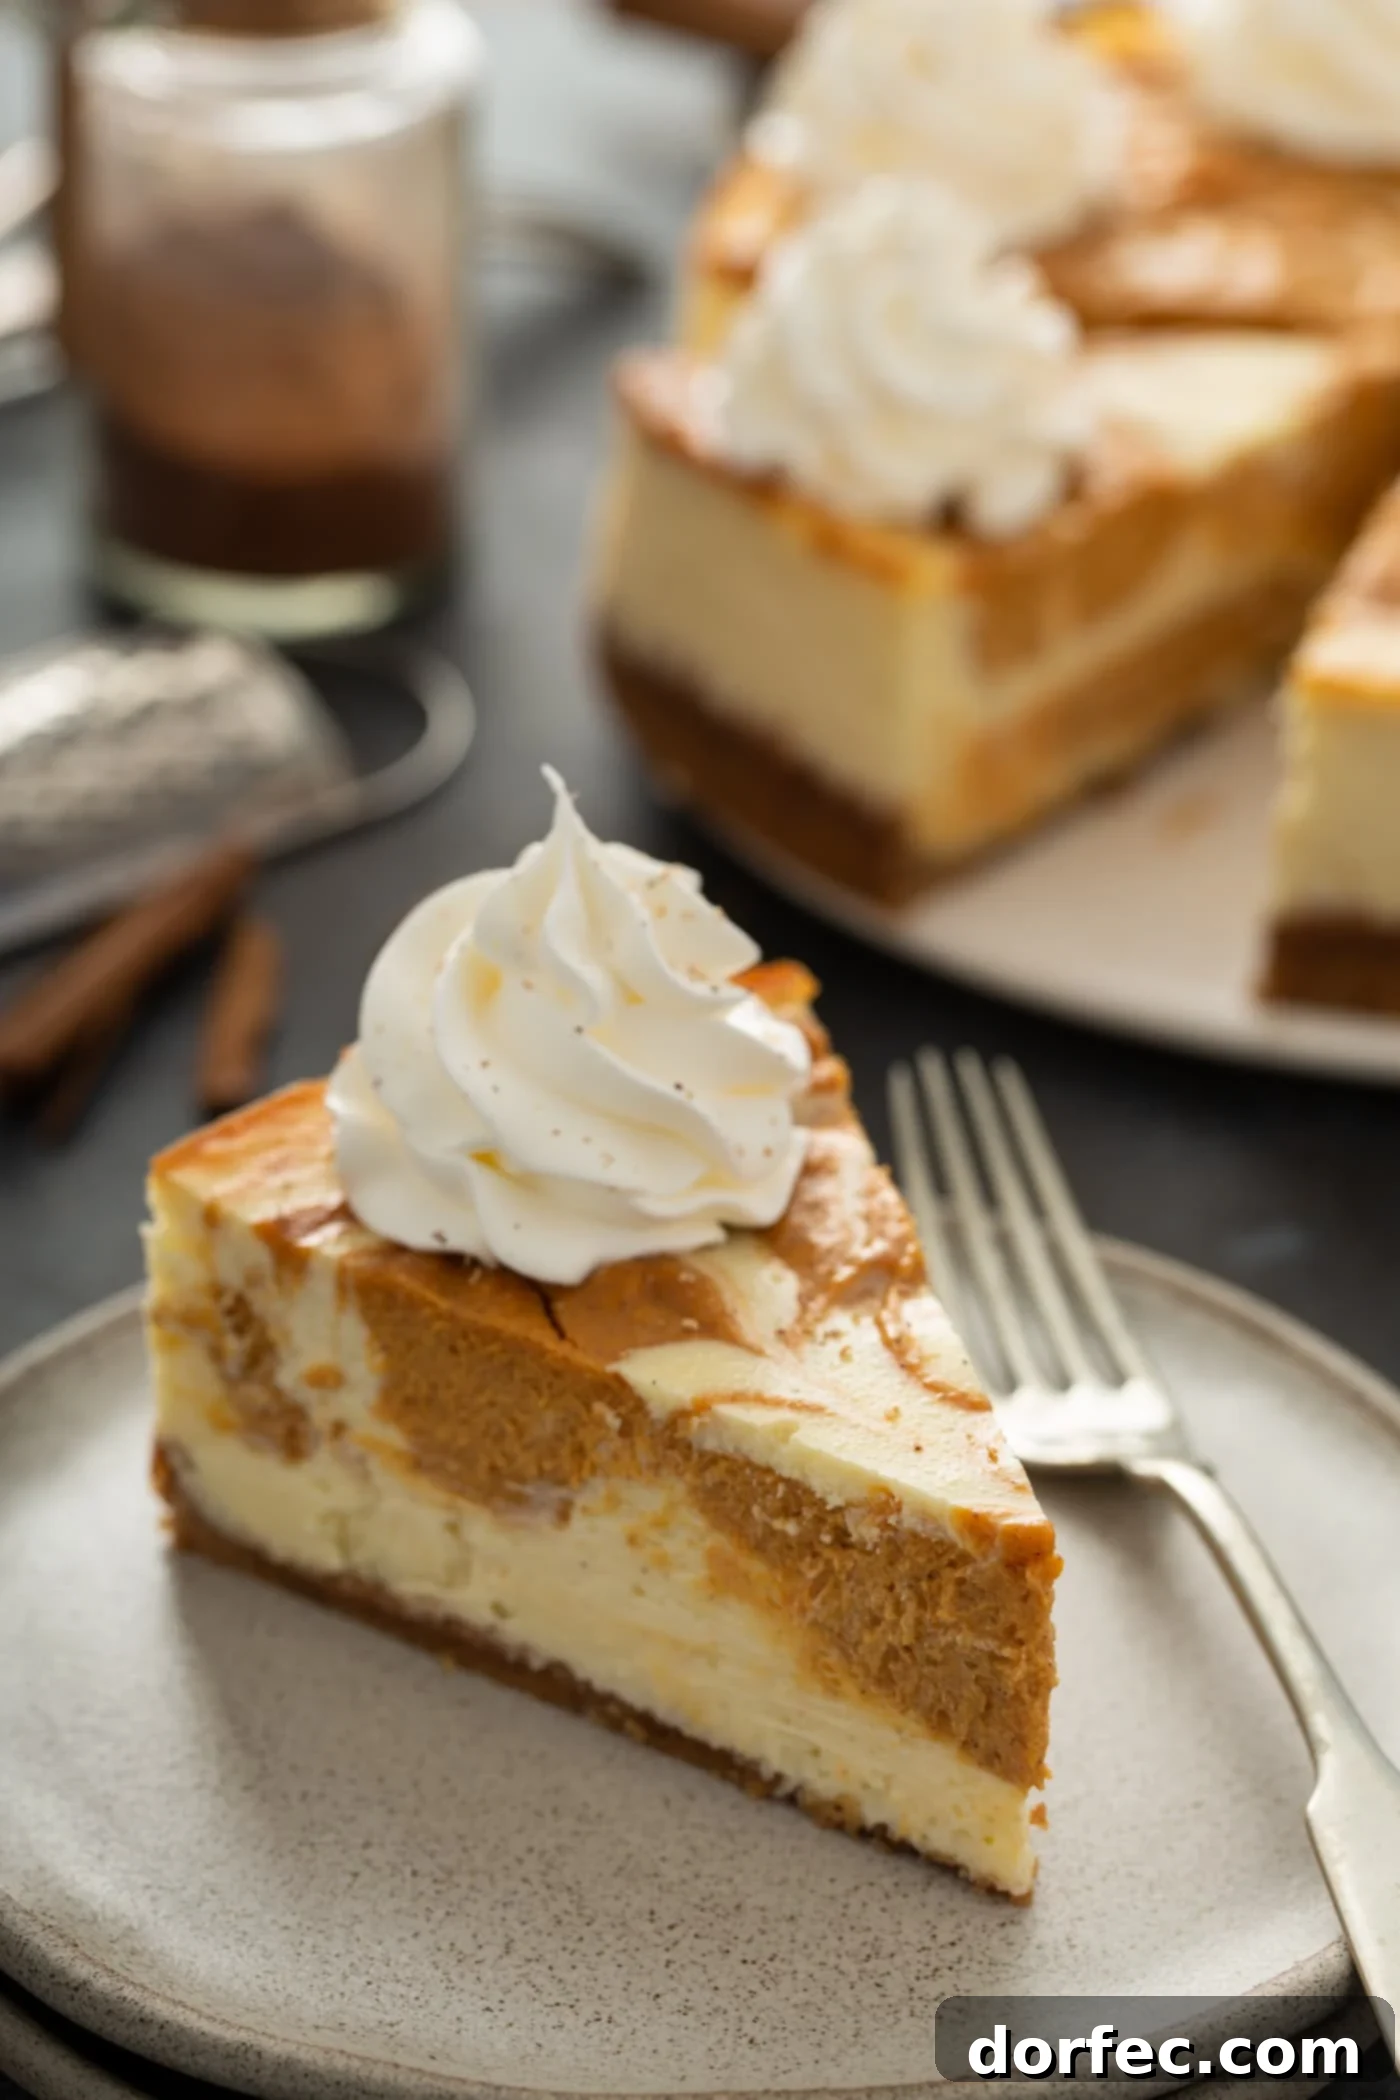
Imagine serving a slice of this incredible Swirled Pumpkin Cheesecake, its vibrant layers a testament to your baking prowess. This isn’t just a dessert; it’s an experience, a creamy dream that melts in your mouth and leaves everyone asking for more. While cheesecakes might have a reputation for being a little high-maintenance, I promise you, the reward for your effort is beyond worth it. One bite of that luscious, velvety texture, and you’ll completely forget any initial apprehension you had about baking it.
Achieving Cheesecake Perfection: Essential Tips and Tricks
Baking a truly flawless cheesecake, one that boasts a perfectly smooth top without any cracks, is an art form that relies on understanding a few fundamental principles. These tried-and-true techniques will guide you through the process, transforming your baking experience and ensuring delicious results.
- Room Temperature Ingredients Are Non-Negotiable: This is arguably the most crucial step for a silky-smooth cheesecake batter.
- Cream Cheese: Cold cream cheese is stiff and difficult to blend smoothly. When mixed, it tends to form lumps that are nearly impossible to eliminate, even with extended beating. This leads to an uneven texture in your final cheesecake. By allowing your cream cheese to soften at room temperature for at least an hour (or even two), it becomes pliable and blends effortlessly with other ingredients, creating that coveted smooth and creamy consistency you’re aiming for.
- Eggs: Similarly, room temperature eggs emulsify much more effectively with the cream cheese and sugar mixture. When cold eggs are added to a warm (or even room temperature) batter, they can cause the fats to seize up, leading to a curdled appearance and an inconsistent batter. Room temperature eggs distribute evenly throughout the mixture, contributing to a more stable structure and significantly reducing the risk of cracks during baking and cooling. Their fats are more easily incorporated, creating a cohesive and luscious batter.
- Resist the Urge to Over-Mix: While it might be tempting to vigorously beat your cheesecake batter until it’s super fluffy, this is a common pitfall.
- The Danger of Air: Over-mixing introduces too much air into the batter. While some air is natural, excessive air creates a delicate, airy structure that is prone to collapsing and cracking as the cheesecake bakes and then cools. The air bubbles expand rapidly in the oven’s heat, then contract drastically during cooling, leading to fissures.
- Gentle is Key: Mix the ingredients just until they are combined and smooth. Once the cream cheese and sugar are creamy, add the eggs one at a time, mixing on low speed only until each egg is fully incorporated. Stop as soon as the batter appears uniform. A light hand here is the secret to a dense, rich, and crack-free cheesecake.
- Embrace the Water Bath (Bain-Marie): This technique is a game-changer for cheesecake baking.
- Why a Water Bath? A water bath creates a moist, gentle, and even cooking environment for your cheesecake. It insulates the delicate batter from the harsh, direct heat of the oven, preventing the edges from baking too quickly and drying out while the center is still setting. This slow, even heat promotes uniform coagulation of the egg proteins, which is essential for preventing cracks. The steam from the water bath also adds moisture to the oven, further reducing the risk of the cheesecake’s surface drying out and cracking.
- Using a Springform Pan: Always use a springform pan for cheesecakes as it allows for easy removal. When using a water bath, it’s crucial to wrap the outside of your springform pan tightly with several layers of heavy-duty aluminum foil to prevent water from seeping in and making your crust soggy. Place the wrapped springform pan into a larger baking pan, then add hot water to the larger pan. We’ll dive deeper into water bath specifics below.
- The Golden Rule of Temperature Management: DO NOT Open the Oven Door Prematurely: Sudden temperature changes are a cheesecake’s worst enemy.
- Thermal Shock: Opening the oven door during baking allows a rush of cold air to hit the delicate cheesecake, causing it to deflate rapidly and almost guarantee cracks. The structure is still too fragile to withstand such a drastic shift.
- The Gradual Cooling Method: Once the cheesecake is baked (more on doneness below), turn off the oven but leave the cheesecake inside. Prop the oven door open just a crack (using a wooden spoon or a folded towel) and let the cheesecake slowly cool down within the oven for at least an hour. This gradual acclimation to room temperature prevents thermal shock, allowing the cheesecake to set beautifully and preventing cracks. Only after this slow cooling period in the oven should you remove it to a wire rack to cool completely to room temperature.
- Identify the Main Culprit: Over-Baking: This is perhaps the most common reason for cracked cheesecakes.
- The “Jiggle Test”: A perfectly baked cheesecake should still have a slight wobble in the very center (about an inch or two across) when gently nudged. The outer edges should appear set. This wobble will disappear as the cheesecake cools and firms up. Baking until the entire cheesecake is completely firm and solid means you’ve overcooked it, causing the proteins to tighten too much and leading to cracks as it cools and contracts. Think of it like a perfectly cooked steak – you want it just right, not completely dried out.
- Patience is a Virtue: The Chilling Phase:
Once your cheesecake has cooled completely to room temperature (this can take several hours), wrap it tightly in plastic wrap and refrigerate it.
- Extended Chilling for Perfection: While some recipes suggest 2-4 hours, I highly recommend chilling your cheesecake for a minimum of 6-8 hours, or ideally, overnight (up to 12 hours). This extended chilling time is crucial for several reasons: it allows the cheesecake to fully set, develop its rich flavor, and achieve that wonderfully dense, creamy texture that makes it so irresistible. A well-chilled cheesecake is also much easier to slice cleanly.
You see, while cheesecakes might demand a little extra attention and patience, the reward is an unparalleled dessert experience. That first creamy, luscious bite will make you forget all about the specificities of preparation, leaving you with only pure, unadulterated enjoyment.
Understanding the Water Bath: Your Secret Weapon for Smooth Cheesecakes
A water bath, also known as a bain-marie, is an indispensable technique for baking delicate desserts like cheesecakes. Its primary purpose is to provide a gentle, moist, and consistent cooking environment, preventing common baking mishaps like cracks, sunken centers, and dry edges.
When you bake a cheesecake directly in a hot oven, the outer edges can cook much faster than the center. This rapid cooking causes the outer parts to set and dry out prematurely, while the center is still jiggly. As the cheesecake cools, the rapidly set exterior contracts more than the softer interior, leading to the formation of unsightly cracks across the surface. A water bath acts as a buffer, slowing down the baking process and distributing heat more evenly. The steam from the hot water also adds crucial moisture to the oven, which prevents the surface of the cheesecake from drying out too quickly.
Mastering the Water Bath: Step-by-Step
Setting up a water bath doesn’t have to be complicated, but a few simple precautions will ensure success and safety:
- Prepare Your Springform Pan: Before pouring in your cheesecake batter, wrap the exterior of your springform pan with several layers of heavy-duty aluminum foil. Ensure the foil extends well up the sides of the pan and is tightly sealed to prevent any water from seeping in. This is crucial to avoid a soggy crust.
- Select Your Water Bath Pan: Choose a larger roasting pan or baking dish that is big enough to comfortably fit your foil-wrapped springform pan, leaving a little space around the edges for the water. A 9×13 inch baking dish is often perfect for a standard 9-inch springform.
- Position in the Oven: It’s generally easier and safer to place the empty larger baking dish (that will hold the water) into the oven first. Then, carefully place your foil-wrapped springform pan (filled with cheesecake batter) inside the larger dish.
- Add the Boiling Water: Using a kettle or measuring cup, carefully pour 3-4 cups of boiling water (the exact amount depends on the size of your pan and how high the water comes up the side of your springform – you want it to come about halfway up the sides of the springform pan) into the larger baking dish. Do this slowly and carefully, being mindful of the hot steam and water. This method prevents you from having to carry a sloshing pan of boiling water across your kitchen.
- Bake as Directed: Close the oven door gently and bake your cheesecake according to your recipe’s instructions. Remember, the water bath will slow down the baking process slightly, so be prepared for a slightly longer bake time than if you were baking without one.
Following these steps will ensure your cheesecake bakes beautifully, resulting in a smooth, creamy texture and a pristine, crack-free surface.
Knowing When Your Cheesecake is Perfectly Done
Determining the exact moment your cheesecake is finished baking is vital to preventing over-baking and subsequent cracking. Here’s how to tell:
The key indicator is the “jiggle test.” Gently nudge the springform pan. The outer two to three inches of the cheesecake should appear set and firm, while the very center (an area about 1-2 inches in diameter) should still have a slight, delicate wobble. It should resemble a very firm Jell-O – not liquidy, but not completely solid either. If the entire cheesecake is firm and no longer jiggles, it’s likely over-baked. Most full-sized cheesecakes will bake for 50-60 minutes, but remember that every oven is different. Always start checking at the lower end of the suggested baking time. From there, check every few minutes until you achieve that perfect slight jiggle.
Once your cheesecake passes the jiggle test, turn off the oven immediately. Prop the oven door open slightly (about 3-4 inches) and allow the cheesecake to cool gradually inside the oven for at least 1 hour. This slow, controlled cooling environment is critical for preventing thermal shock, which is a leading cause of cracks. After this hour, remove the cheesecake from the oven and place it on a wire rack to cool completely to room temperature. Only then should you wrap and refrigerate it for its final setting.
My Own Cheesecake Confession and the Power of Whipped Cream
Even with all these tips, mistakes can happen to the best of us! I recently had my own cheesecake mishap. I had to rush out the door and, against all my own advice, I skipped the crucial step of letting the cheesecake cool gradually in the cracked-open oven (rule #4). Predictably, it developed a crack. Was it the end of the world? Absolutely not! While it wasn’t picture-perfect, it still tasted incredibly delicious. A generous dollop of stabilized whipped cream and some fresh berries covered the imperfection beautifully. The lesson here is that even a “flawed” cheesecake is still a magnificent dessert. Don’t let a minor setback discourage you from enjoying your creation!
Beyond the Basics: Serving and Storing Your Cheesecake
Once your cheesecake is perfectly baked and chilled, the final steps are all about presentation and preservation:
- Slicing Like a Pro: For clean slices, use a sharp, thin knife. Dip the knife in hot water and wipe it clean between each slice. This warms the blade just enough to glide through the creamy texture without sticking or tearing.
- Enhance the Experience: A simple cheesecake is a masterpiece on its own, but it also serves as a wonderful canvas for toppings. Consider fresh fruit, berry sauces, chocolate ganache, caramel drizzles, or of course, a cloud of homemade whipped cream.
- Storage: Store leftover cheesecake in an airtight container in the refrigerator for up to 4-5 days. For longer storage, cheesecake freezes beautifully for up to 1-2 months. Slice it before freezing, wrap individual slices tightly in plastic wrap, then foil, and store in a freezer-safe bag or container. Thaw in the refrigerator overnight before serving.
Embracing these techniques and understanding the science behind them will transform your cheesecake baking. You’ll move from apprehension to absolute confidence, delighting yourself and your loved ones with perfectly smooth, incredibly rich, and utterly delicious cheesecakes every time. Get ready to impress!
Discover Your Next Favorite Cheesecake Recipe:
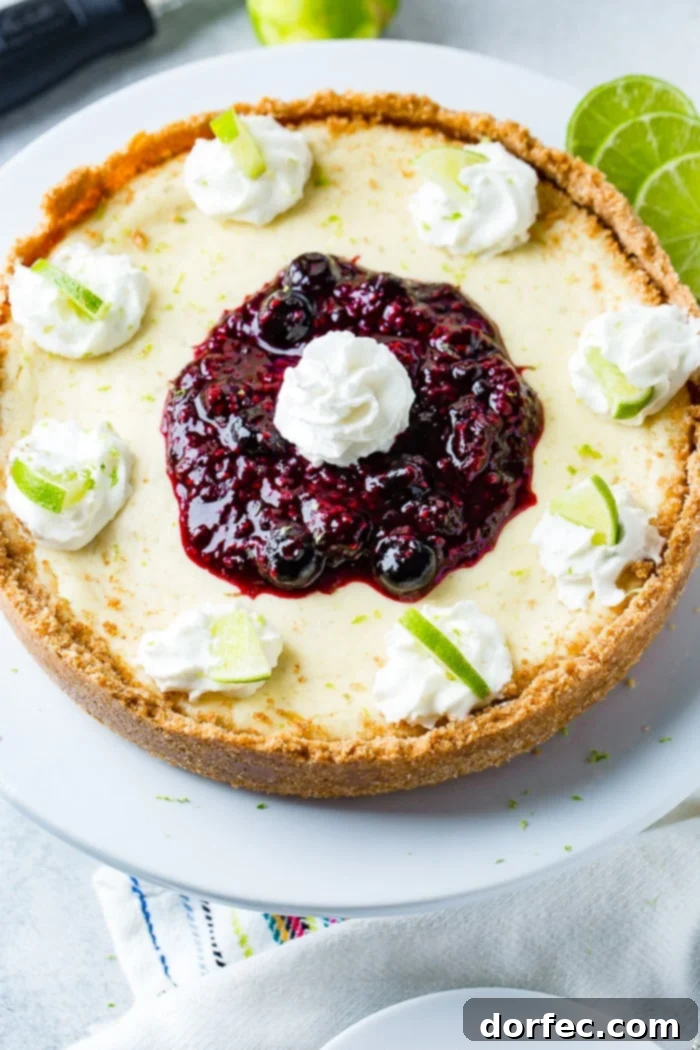
- Lime Cheesecake with Triple Berry Sauce
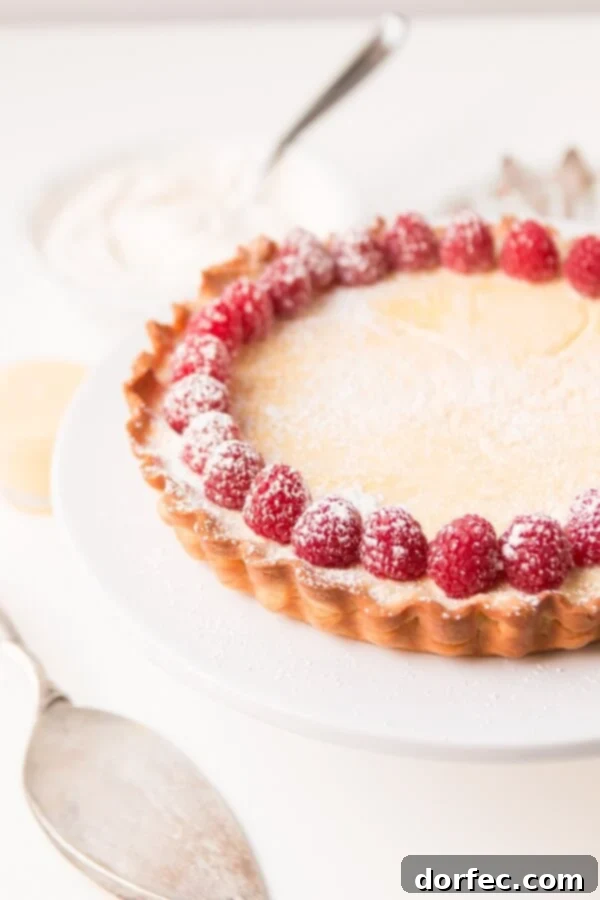
- Lemon Curd Cheesecake Tart
- New York Cheesecake
- Mini Strawberry Cheesecakes
- No Bake Mini Cheesecakes with Raspberry Sauce
- Easy Baked Cheesecake with Fresh Cherry Sauce
- Mini Twix Caramel Cheesecakes
- Mini Dutch Apple Cheesecakes
- No Bake Caramel Cheesecake Bars
- Swirled Raspberry Lemon Cheesecake Bars