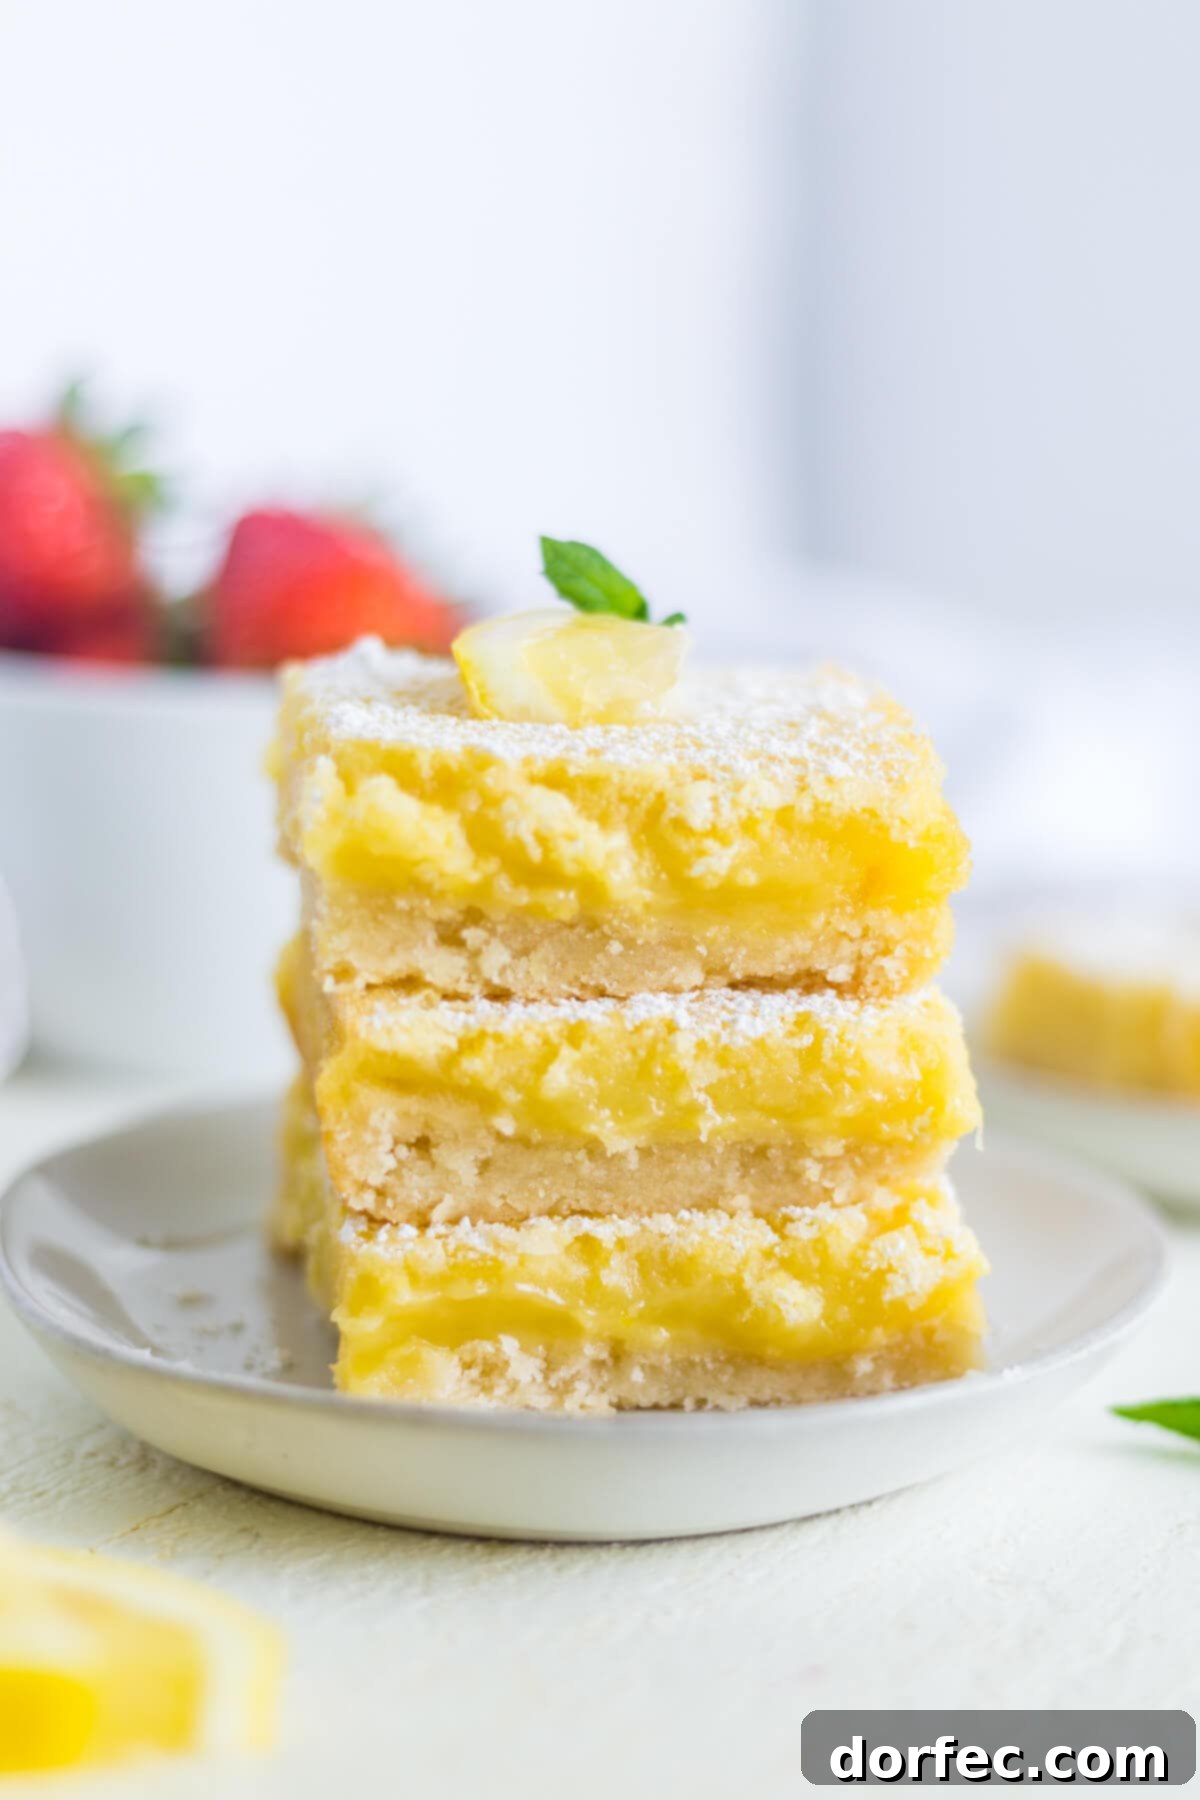
Welcome to the ultimate guide for creating the best lemon bars you’ll ever taste! This isn’t just a recipe; it’s an invitation to experience a burst of sunshine in every bite. Crafted with a perfectly tender, buttery shortbread crust and a luscious, intensely flavorful lemon filling, these classic lemon bars are an essential **spring recipe** and a delightful treat for any time of year. Dusted with a delicate layer of powdered sugar, they offer an elegant yet simple finish that promises an easy and delicious spring dessert.
As the days grow longer and warmer, signaling the arrival of April and May, our cravings naturally shift towards bright, zesty flavors. And what better way to celebrate the season than with an array of vibrant lemon desserts? From the refreshing tang of iced lemon cake to the comforting layers of lemon meringue pie, and the delightful chewiness of lemon cheesecake cookies, lemon treats hold a special place in our hearts. Among these beloved confections, homemade lemon bars stand out as a timeless favorite. Their irresistible combination of sweet and tart makes them the perfect grand finale for any gathering, party, or casual dinner as we transition into the glorious summer months.
Lemon bars are truly one of those iconic recipes that immediately come to mind when you think of refreshing, citrus-infused treats. And for excellent reason! They are universally adored for their simple elegance and incredibly satisfying flavor profile. The secret to achieving truly extraordinary lemon bars lies in a few crucial elements, which we’ll explore to ensure your homemade version surpasses all expectations.
The undisputed trick to a good lemon bar? An abundance of vibrant, fresh lemon juice and lemon zest. These key ingredients are not interchangeable with bottled alternatives; they are the soul of your lemon bars, infusing them with an unparalleled bright, tangy essence that defines this dessert. The zest, in particular, carries the concentrated citrus oils, delivering a fragrant aroma and deeper lemon flavor that elevates the entire experience.
Beyond the filling, you’ll also want to perfect a soft, wonderfully buttery crust for your easy lemon bar recipe. This foundational layer is more than just a base; it provides the essential textural contrast and rich flavor that complements the gooey lemon filling so beautifully. A well-executed shortbread crust, rich with butter and subtly sweet, creates the perfect foundation for the bright, tangy curd it holds.
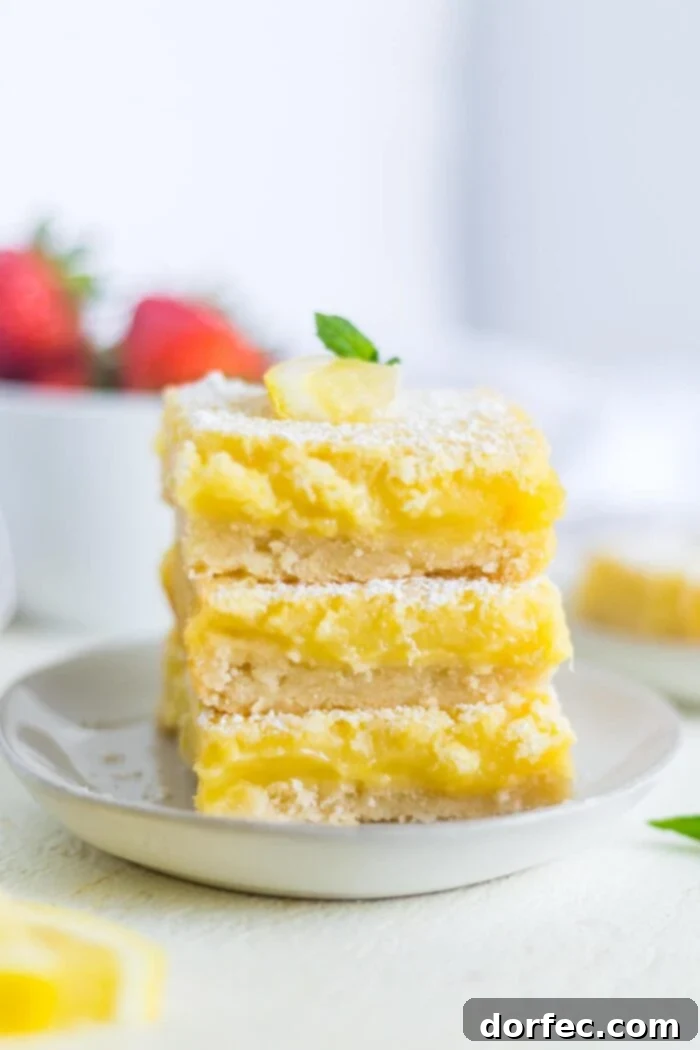
Essential Ingredients for the Best Lemon Bars
Crafting these delectable homemade lemon bars requires a selection of fundamental baking staples, coupled with the star of the show: an ample supply of fresh lemons. Here’s a breakdown of the key components you’ll need to create this truly delicious and satisfying recipe:
For the Buttery Shortbread Crust:
- Granulated Sugar: Provides sweetness and contributes to the crisp-tender texture of the shortbread.
- Unsalted Butter: Crucial for a rich, buttery flavor and a melt-in-your-mouth texture. Ensure it’s softened to room temperature for proper creaming.
- All-Purpose Flour: The structural backbone of the crust, giving it body and stability.
- Salt: A pinch of salt is vital. It doesn’t just cut through the sweetness and tartness; it actively enhances all the individual flavors, bringing them into perfect harmony.
- Lemon Juice (from 1 lemon): A small amount in the crust helps to tenderize it slightly and adds a subtle background lemon note.
For the Zesty Lemon Filling:
- Large Eggs: These are fundamental for creating the rich, creamy, and custard-like texture of the filling. They bind the ingredients and set beautifully during baking.
- Granulated Sugar: Balances the intense tartness of the lemons, contributing to the perfect sweet-tart profile that makes these bars so addictive.
- All-Purpose Flour: Acts as a thickening agent, giving the gooey lemon filling its essential structure and preventing it from being too runny.
- Salt: Just like in the crust, a touch of salt here amplifies the natural flavors, ensuring the lemon truly shines.
- Fresh Lemon Juice (3-4 large lemons): The primary flavor component! Always opt for freshly squeezed lemon juice for the brightest, most authentic lemon taste. You’ll need about a cup for that signature tang.
- Lemon Zest (from 1 lemon): This is where much of the intense lemon aroma and essential oils reside. Zest provides a vibrant, concentrated citrus punch without adding extra liquid.
- Powdered Sugar: Used generously for garnish after baking. It not only adds an appealing aesthetic but also provides a delicate sweetness that beautifully complements the tart filling.
Precise measurements for each ingredient can be conveniently found in the comprehensive recipe card located towards the end of this post. BONUS TIP: If you’re seeking a gluten-free option, be sure to explore our dedicated gluten-free lemon bar recipe, which offers the same fantastic flavor and texture!
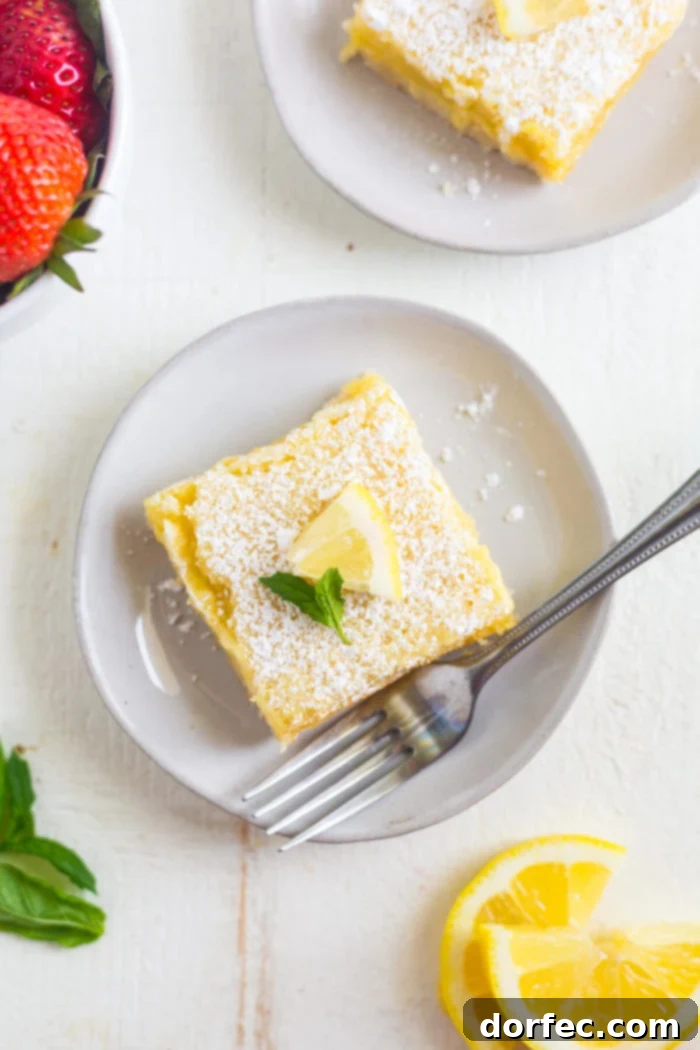
How to Make the Best Lemon Bars: A Step-by-Step Guide
Creating these easy lemon bars is a surprisingly straightforward process, divided into two distinct yet equally simple stages: preparing the buttery crust and crafting the vibrant lemon filling. Follow these clear, concise steps to achieve perfection:
Crafting the Perfect Buttery Crust:
- Preheat Oven & Prepare Pan: Begin by preheating your oven to 350°F (175°C). Line a 9×13 inch baking pan with parchment paper, allowing an overhang on the sides. This creates “handles” that will make lifting the cooled bars out of the pan incredibly easy. Set the prepared pan aside.
- Cream Butter & Sugar: In a large mixing bowl, using either a hand mixer or a stand mixer fitted with the paddle attachment, cream together 1 cup of softened unsalted butter and 1/2 cup of granulated sugar. Beat for 1-2 minutes until the mixture is light and fluffy. This essential step incorporates air, contributing to a wonderfully tender shortbread base.
- Combine Dry Ingredients: With the mixer on low speed, gradually add 2 cups of all-purpose flour, 1/2 teaspoon of salt, and 2 tablespoons of lemon juice. Continue to mix until the ingredients are just combined and a soft dough forms. The dough may appear slightly crumbly at first, but it will come together.
- Press into Pan: Transfer the dough into your prepared baking pan. Using your fingers or the bottom of a flat glass, press the dough evenly across the bottom of the pan and about 1/2 inch up the sides. Ensure an even thickness for consistent baking.
- Blind Bake the Crust: Bake the crust on its own for 20-25 minutes, or until the edges begin to turn a delicate golden brown. This pre-baking step ensures the crust is firm and fully cooked before the wet filling is added, preventing sogginess. Remove the pan from the oven, but leave the oven on for the next step. Let the crust cool slightly on a wire rack while you prepare the filling.
Preparing the Zesty Lemon Filling:
- Whisk Filling Ingredients: In a separate large bowl, whisk together the 6 large eggs (at room temperature), 2 1/2 cups of granulated sugar, 1 cup of all-purpose flour, 1/2 teaspoon of salt, 1 cup of fresh lemon juice, and 2 tablespoons of fresh lemon zest. Whisk until all ingredients are well combined and smooth. Don’t be alarmed by how runny the mixture appears; it will thicken beautifully as it bakes.
- Pour & Bake: Carefully pour the liquid lemon filling mixture evenly over the warm, pre-baked crust in the pan. Gently place the pan back into the preheated oven and bake for an additional 30 to 35 minutes.
- Check for Doneness: The lemon bars are fully baked when the filling is set. To check, give the dish a gentle jiggle; the center of the lemon filling should no longer move or wobble significantly. It should appear firm.
- Cool Completely & Serve: Once baked, remove the lemon bars from the oven and allow them to cool completely at room temperature on a wire rack. This is a critical step for proper setting – resist the urge to cut them warm! Once fully cooled, dust generously with powdered sugar for a beautiful presentation and a touch of extra sweetness. Then, using the parchment paper overhang, carefully lift the entire slab of bars out of the pan and transfer to a cutting board. Cut them into desired squares to serve.
These detailed instructions, along with precise ingredient quantities, are also conveniently laid out in the comprehensive recipe card below, which you can easily save or print for future reference.
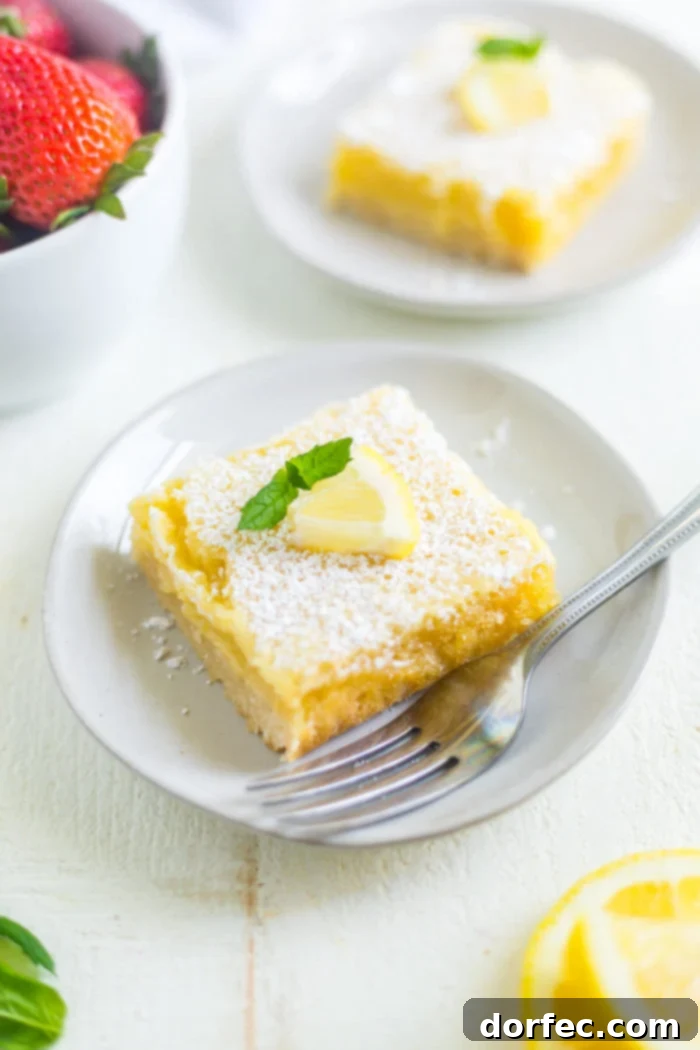
Are Lemon Bars Supposed to Be Gooey? Understanding the Perfect Texture
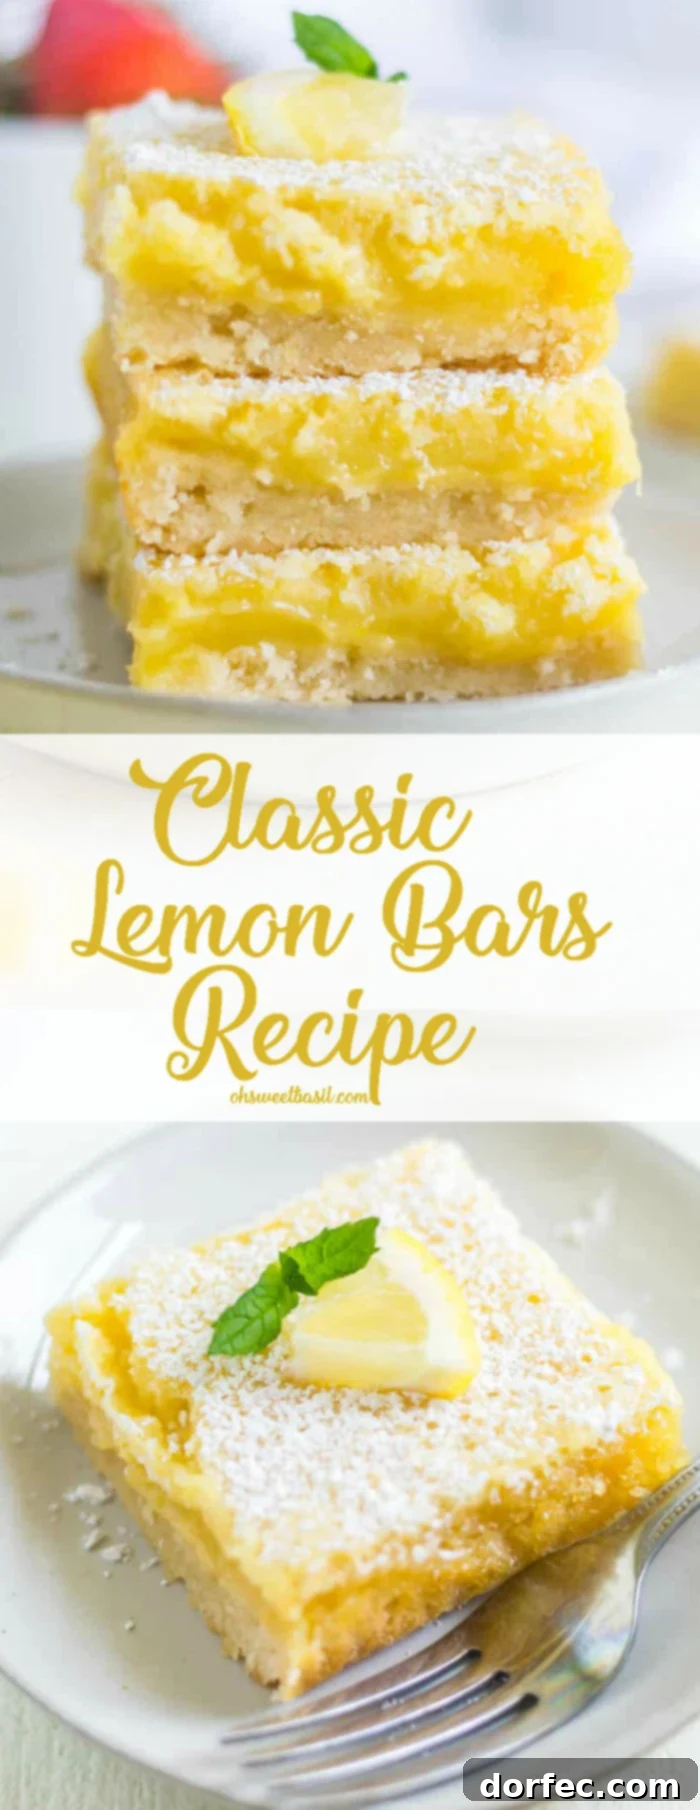
It’s a common question, and the answer is a resounding yes! The delightful lemon layer of classic lemon bars is essentially a baked lemon custard, often referred to as a lemon curd, set atop a rich, buttery shortbread crust. This means they are inherently designed to be soft, incredibly creamy, and possess a slight, pleasing “gooeyness” or jiggly quality, much like a perfectly set crème brûlée or cheesecake. This tender texture is what contributes to their luxurious mouthfeel.
However, there’s a fine line between pleasantly gooey and outright runny. To ensure your homemade lemon bars achieve that ideal consistency, it is absolutely crucial to allow them to set completely once they’re removed from the oven. You’ll know your lemon bars are perfectly done when, upon giving the pan a gentle shake, the filling no longer sloshes or jiggles excessively; it should have a subtle, unified tremble.
For the cleanest cuts and the best set texture, patience is truly a virtue. You should only attempt to cut the lemon bars once they have cooled entirely to room temperature. For an even firmer and more satisfying slice, consider allowing them to chill in the refrigerator for at least a couple of hours – or even overnight – before cutting and serving. This refrigeration period allows the lemon curd to fully firm up, resulting in distinct, beautiful squares.
Can I Make Individual Lemon Bars in a Muffin Pan?
Absolutely! If you’re looking for perfectly portioned, single-serving treats, converting this easy lemon bar recipe into muffin pan versions is a fantastic idea. Individual lemon bars are great for parties, picnics, or when you simply want to control portion sizes. The key difference lies in adjusting the baking times due to their smaller size and increased surface area.
To make individual lemon bars in a muffin tin:
- Line a standard muffin pan with paper liners or grease each cup thoroughly.
- Prepare the crust dough as directed. Press a small amount of dough (about 1-2 tablespoons) into the bottom of each muffin cup, forming a compact layer.
- Bake the crusts alone for approximately 8-10 minutes, or until lightly golden.
- Prepare the lemon filling as directed and pour it over the pre-baked crusts in each muffin cup, filling them about two-thirds of the way.
- Return to the oven and bake for an additional 12-15 minutes, or until the filling is set and no longer jiggles.
Keep a close eye on them, as smaller portions can overcook quickly. Let them cool completely in the muffin pan before removing and dusting with powdered sugar.
Optimal Storage for Fresh Lemon Bars
Once you’ve indulged in these delightful sweet and tart lemon bars, and (if you’re lucky!) find yourself with any leftovers, proper storage is key to maintaining their exquisite freshness and texture. You have excellent options for both short-term and long-term preservation:
Refrigerator Storage (Short-Term):
To store your lemon bars in the refrigerator, place them in an airtight container. If you have multiple layers of bars, use parchment paper or wax paper to separate them to prevent sticking. Stored this way, your homemade lemon bars will remain wonderfully fresh, moist, and flavorful for up to 3 days in the fridge. Always bring them back to room temperature briefly before serving for the best flavor experience, or enjoy them chilled on a hot day.
Freezer Storage (Long-Term):
For longer preservation, the freezer is your best friend. Lemon bars freeze beautifully and can be a fantastic make-ahead option for future cravings or unexpected guests!
- Flash Freeze Individually: Arrange individual lemon bar squares on a baking sheet, ensuring they are not touching each other. Place the baking sheet in the freezer for 2-3 hours, or until the bars are completely frozen solid.
- Wrap & Store: Once thoroughly frozen, individually wrap each bar tightly in plastic wrap. Then, transfer the wrapped bars into a large sealable freezer bag or another airtight freezer-safe container. This double-layer protection helps prevent freezer burn.
- Enjoy Later: Stored correctly, your frozen lemon bars will maintain their quality for up to 3 months. To enjoy, simply thaw them overnight in the refrigerator. A light dusting of fresh powdered sugar after thawing will restore their pristine appearance and add a final touch of sweetness.
Remember to always dust your lemon bars with powdered sugar just before serving, whether fresh or thawed, for that iconic finishing touch!
Can I Make Lemon Bars Ahead of Time?
Absolutely! A classic lemon bars recipe is an excellent choice for a make-ahead dessert, making them perfect for entertaining or when you need to prepare something delicious in advance. Their flavors actually tend to meld and deepen slightly after a day, making them potentially even more delicious.
Simply bake your lemon bars according to the instructions, allow them to cool completely, and then place them in an airtight container in the refrigerator until you’re ready to serve. This allows them to set up perfectly, resulting in clean, firm slices. Because these are a fresh-tasting, custard-like dessert, unlike a baked cookie or brownie, it’s generally best to make them no more than a day or two ahead of time to ensure optimal freshness and zestiness. They are wonderful chilled, making them an ideal refreshing treat on a warm day.
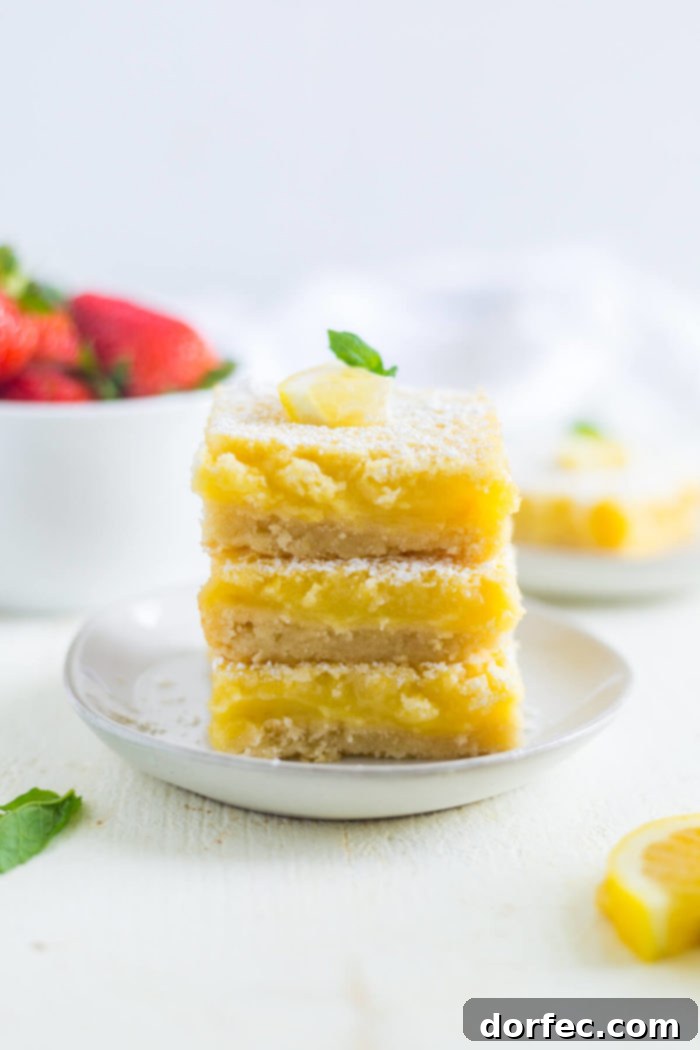
If you have an undeniable love for vibrant lemon desserts, then these classic lemon bars are destined to become a firm favorite in your recipe collection! It’s truly remarkable how the best lemon bars can be so incredibly simple to prepare, yet yield such a mouthwateringly delicious result. They strike that perfect balance of sweet and tart, enveloped in a buttery, rich crust, with a creamy, delightfully chewy filling. Pure bliss in every single bite!
If You Adore These Lemon Bars, You Must Also Try These Other Delectable Bar Desserts:
- Scotcheroos Peanut Butter Rice Krispies Treats
- Mom’s Famous Caramel Brownies
- Fruity Pebbles Rice Krispie Treats
- Lemon Raspberry Bars
- Brookie Bars
- Snickerdoodle Cheesecake Bars
- Snickers Caramel Brownies
- Peach Oatmeal Bars
- Peanut Butter Cheesecake Oreo Brownies
- Peanut Butter Caramel Brownies
- Twix Caramelita
- Raspberry Lemon Bars
Lemon Bars
Ingredients
Crust:
- 1 Cup Unsalted Butter, room temperature
- 1/2 Cup Sugar
- 2 Cups All Purpose Flour
- 1/2 teaspoon Salt
- 2 Tablespoons Lemon Juice, about 1 lemon
Filling:
- 6 Large Eggs, room temperature
- 2 1/2 Cups Granulated Sugar
- 1 Cup All Purpose Flour
- 1/2 teaspoon Salt
- 1 Cup Fresh Lemon Juice, about 3 large lemons
- 2 Tablespoon Lemon Zest, about 1 large lemon
- Powdered Sugar, for garnish
Instructions
-
Preheat the oven to 350°F (175°C).
-
Line a 9×13 inch baking pan with parchment paper and set aside.
To make the crust:
-
Cream the butter and sugar together in a large bowl with a hand mixer or stand mixer fitted with the paddle attachment for 1-2 minutes.
-
With the mixer on low, add the flour, salt and lemon juice and beat until just mixed.
-
Dump the dough into the prepared baking pan and press the dough to the edges of the pan to build up 1/2 inch on the bottom of the pan.
-
Bake for 20-25 minutes or until edges start to turn golden brown.
-
Remove from oven, leave the oven on and cool on a wire rack.
To make the filling:
-
Whisk together the eggs, sugar, flour, salt, lemon juice and lemon zest in a large bowl. Mixture will be very runny.
-
Pour over the baked crust and bake for another 30 to 35 minutes, until the filling is set and doesn’t move when shaken.
-
Allow to cool completely at room temperature.
-
Dust with powdered sugar and cut into squares before serving.
Recipe Notes
Nutrition
Nutrition information is automatically calculated, so should only be used as an approximation.
Lemon Cake with Lemon Cream Cheese Frosting
This lemon cake with lemon cream cheese frosting features a beautifully soft cake crumb and an intensely delicious lemon flavor. The accompanying cream cheese frosting is perfectly smooth and creamy, creating an exquisite pairing for an unforgettable dessert experience.