
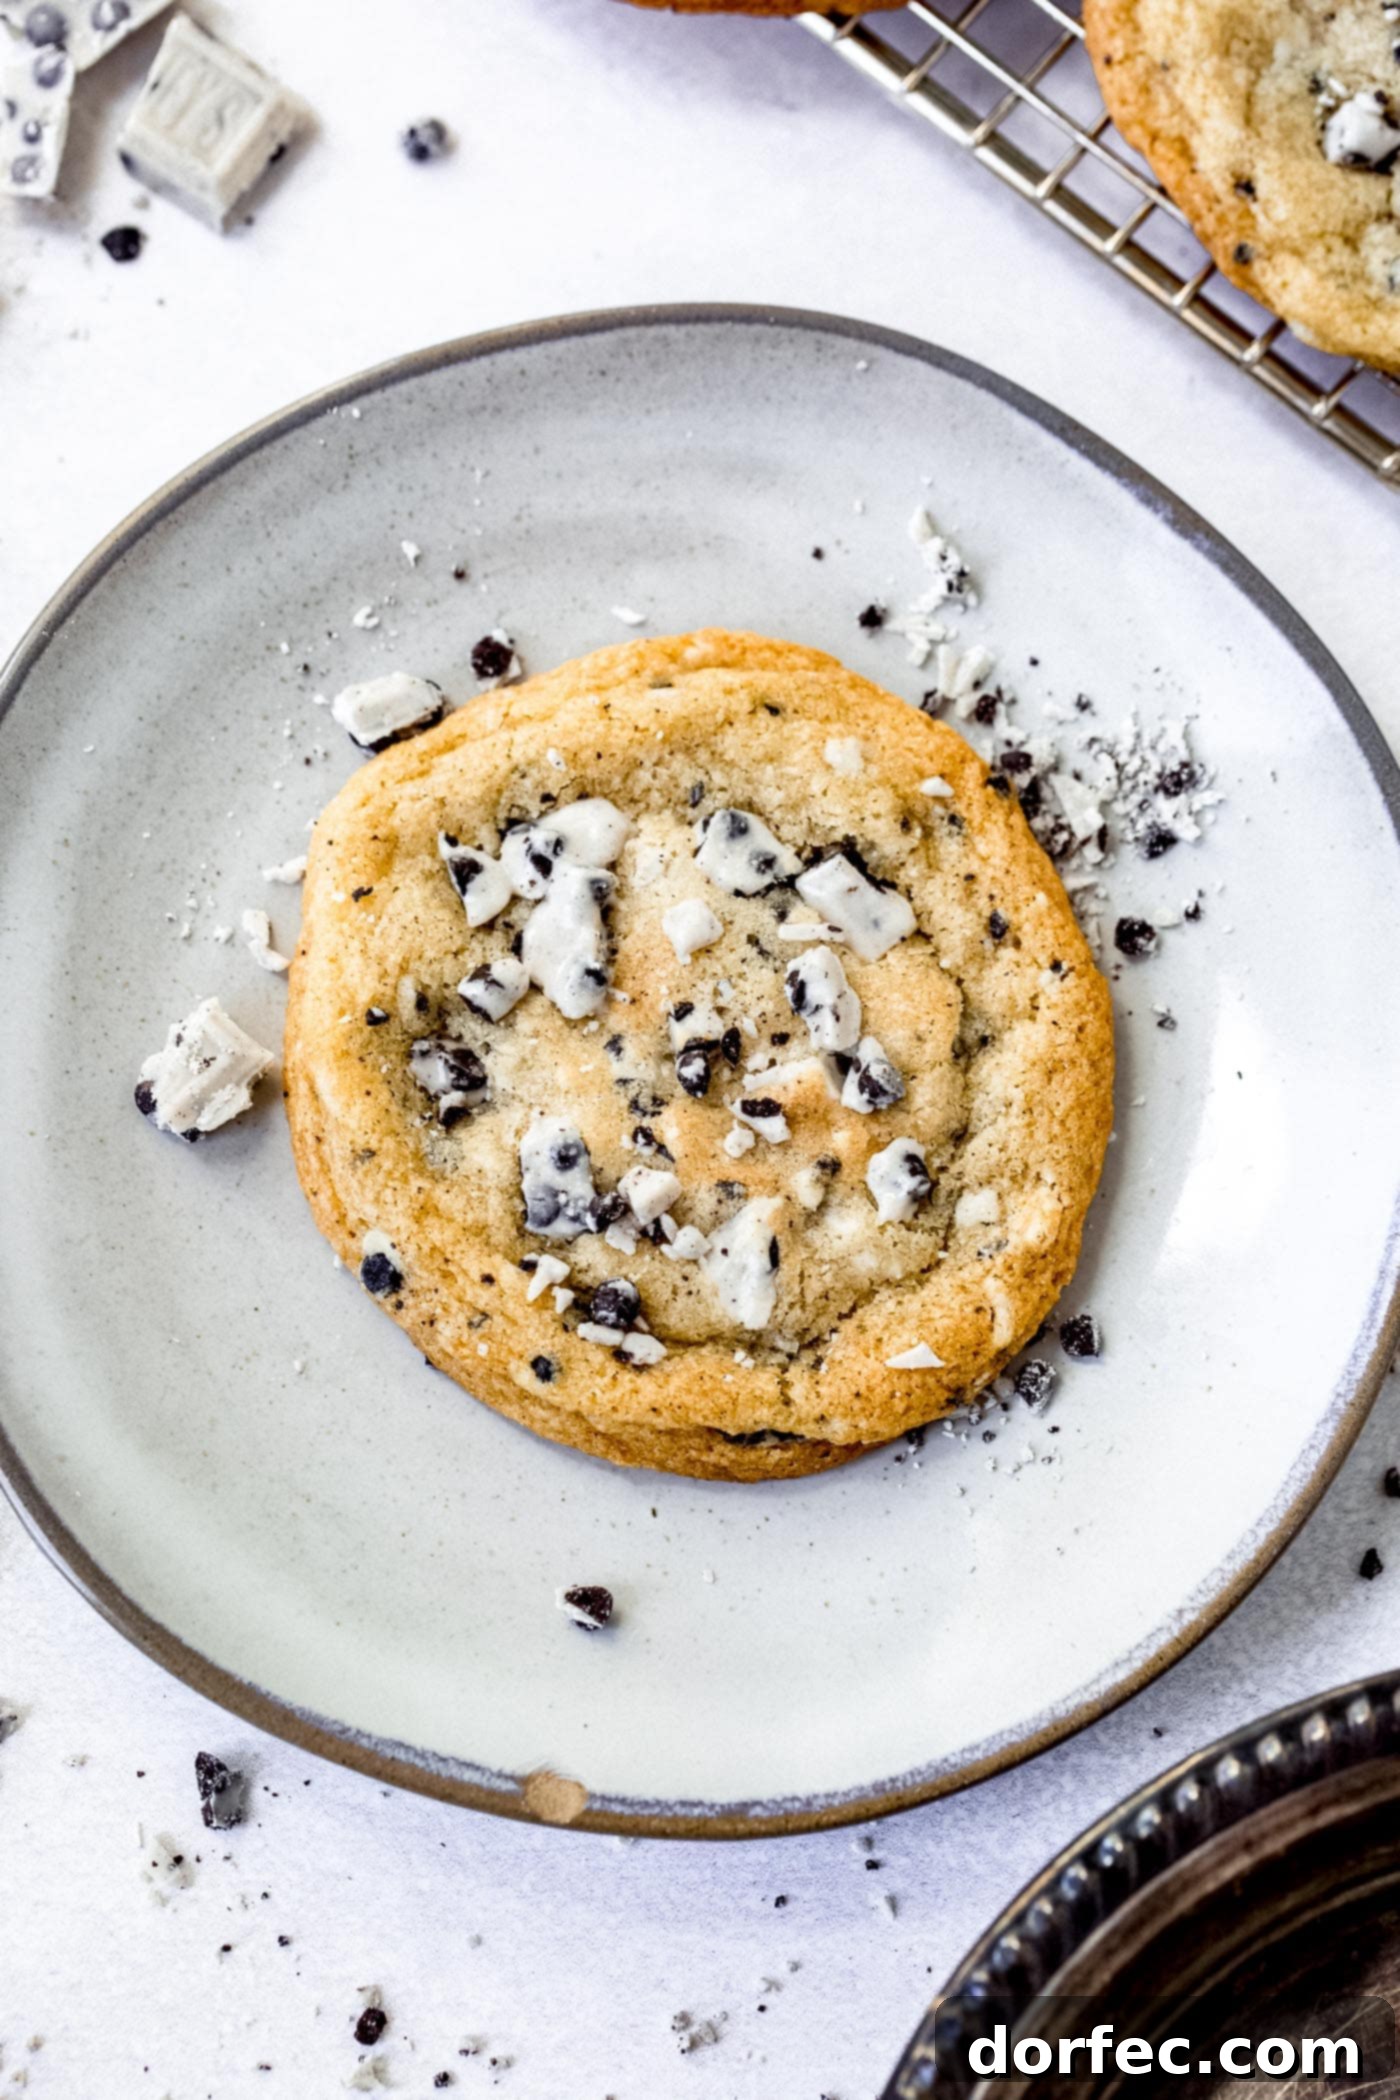
Indulge in the Ultimate Homemade Cookies and Cream Cookies Recipe
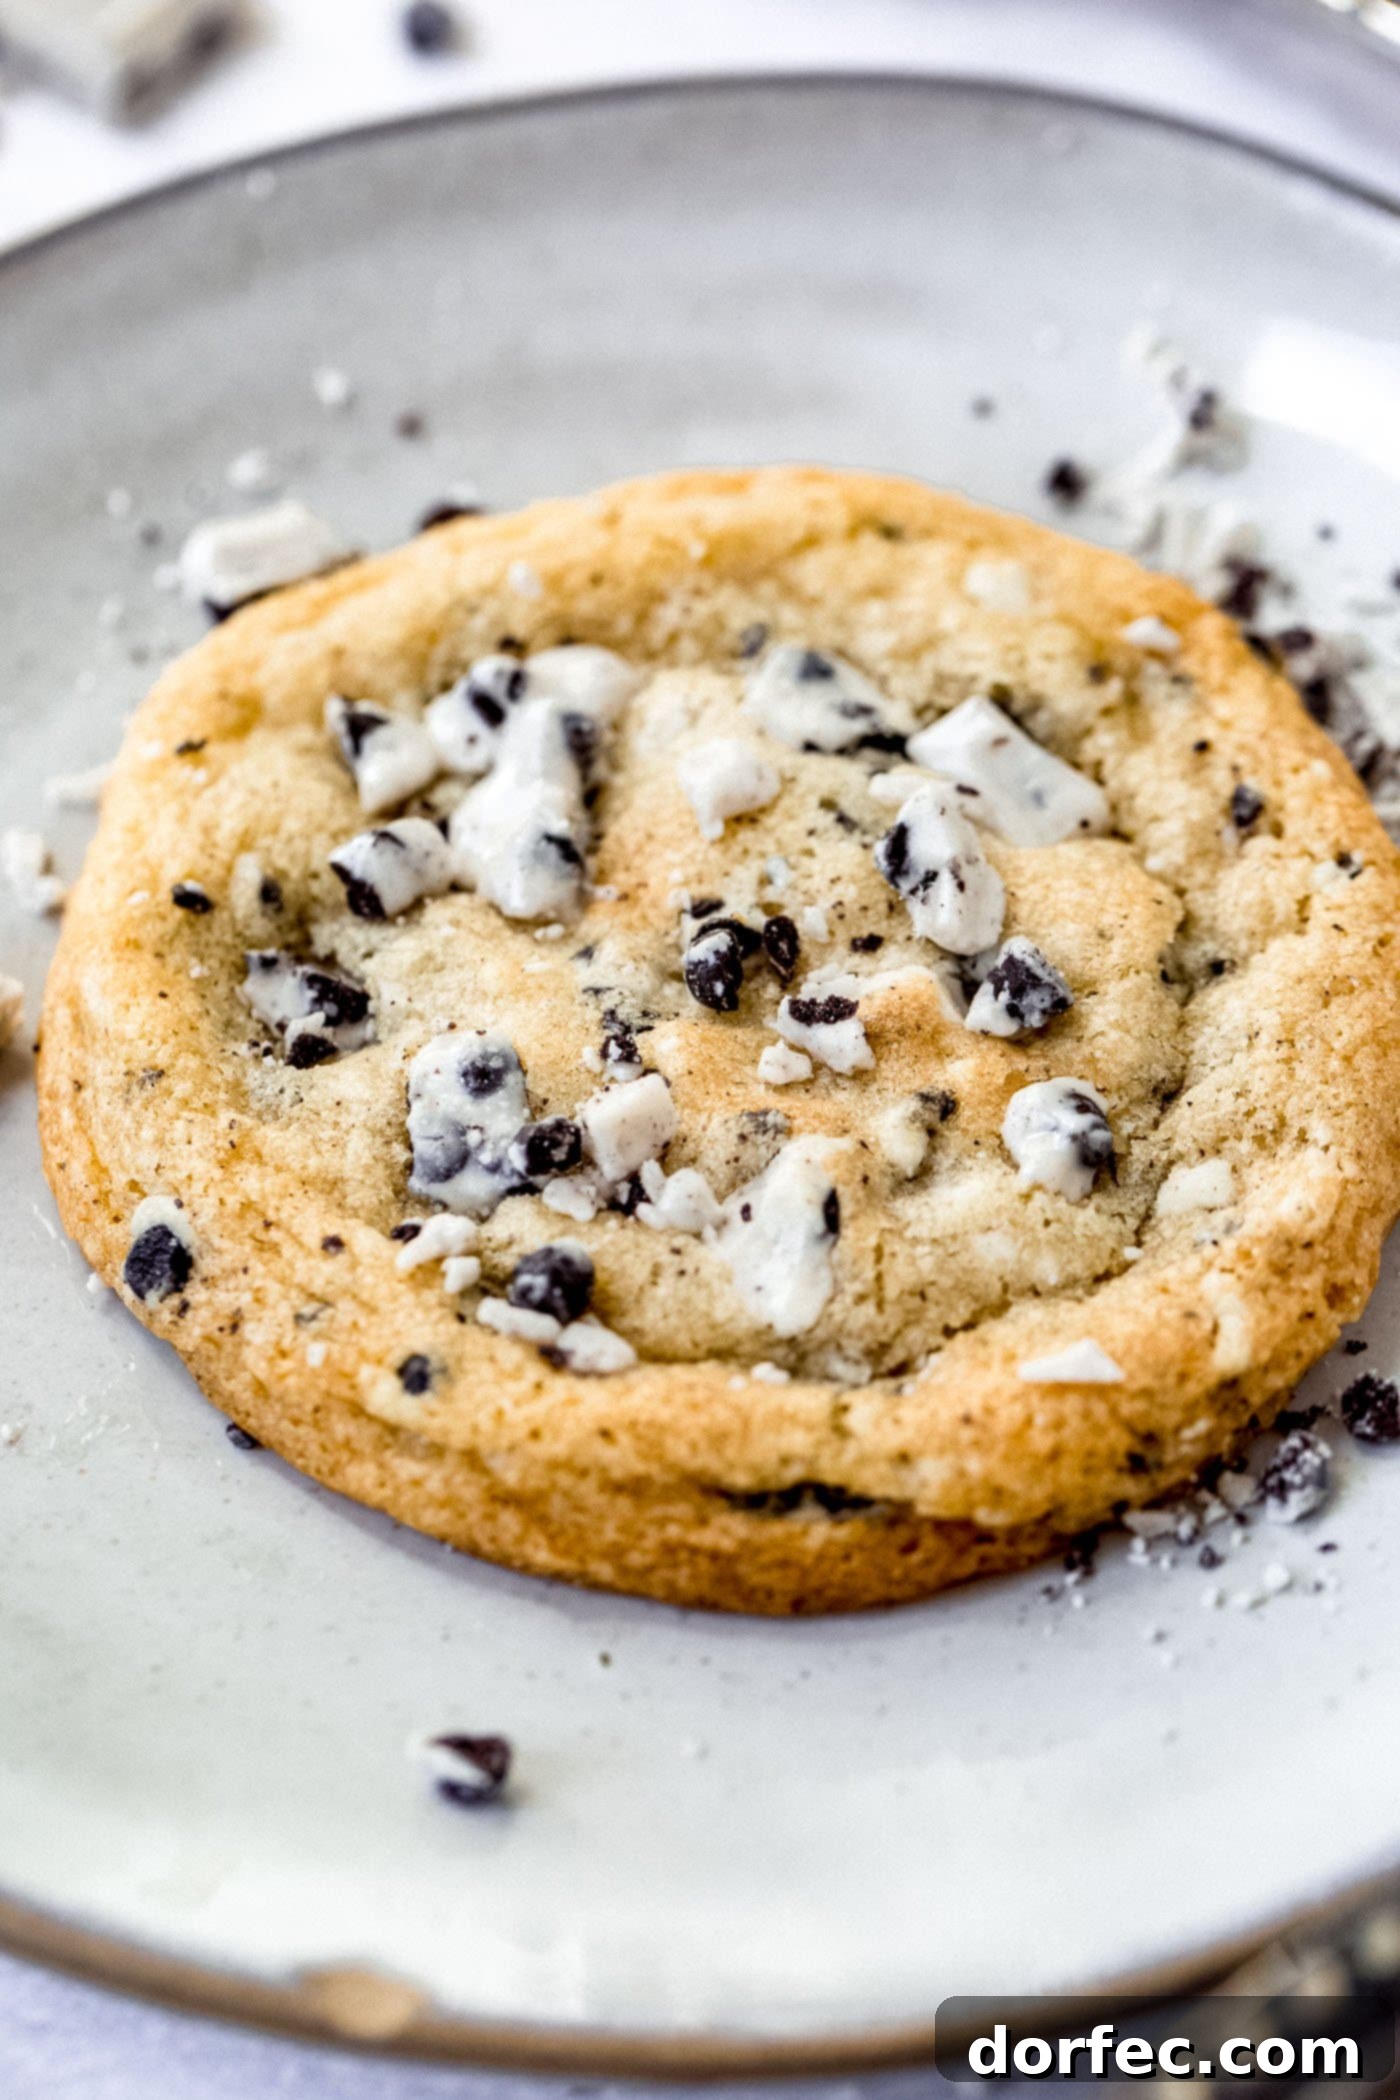
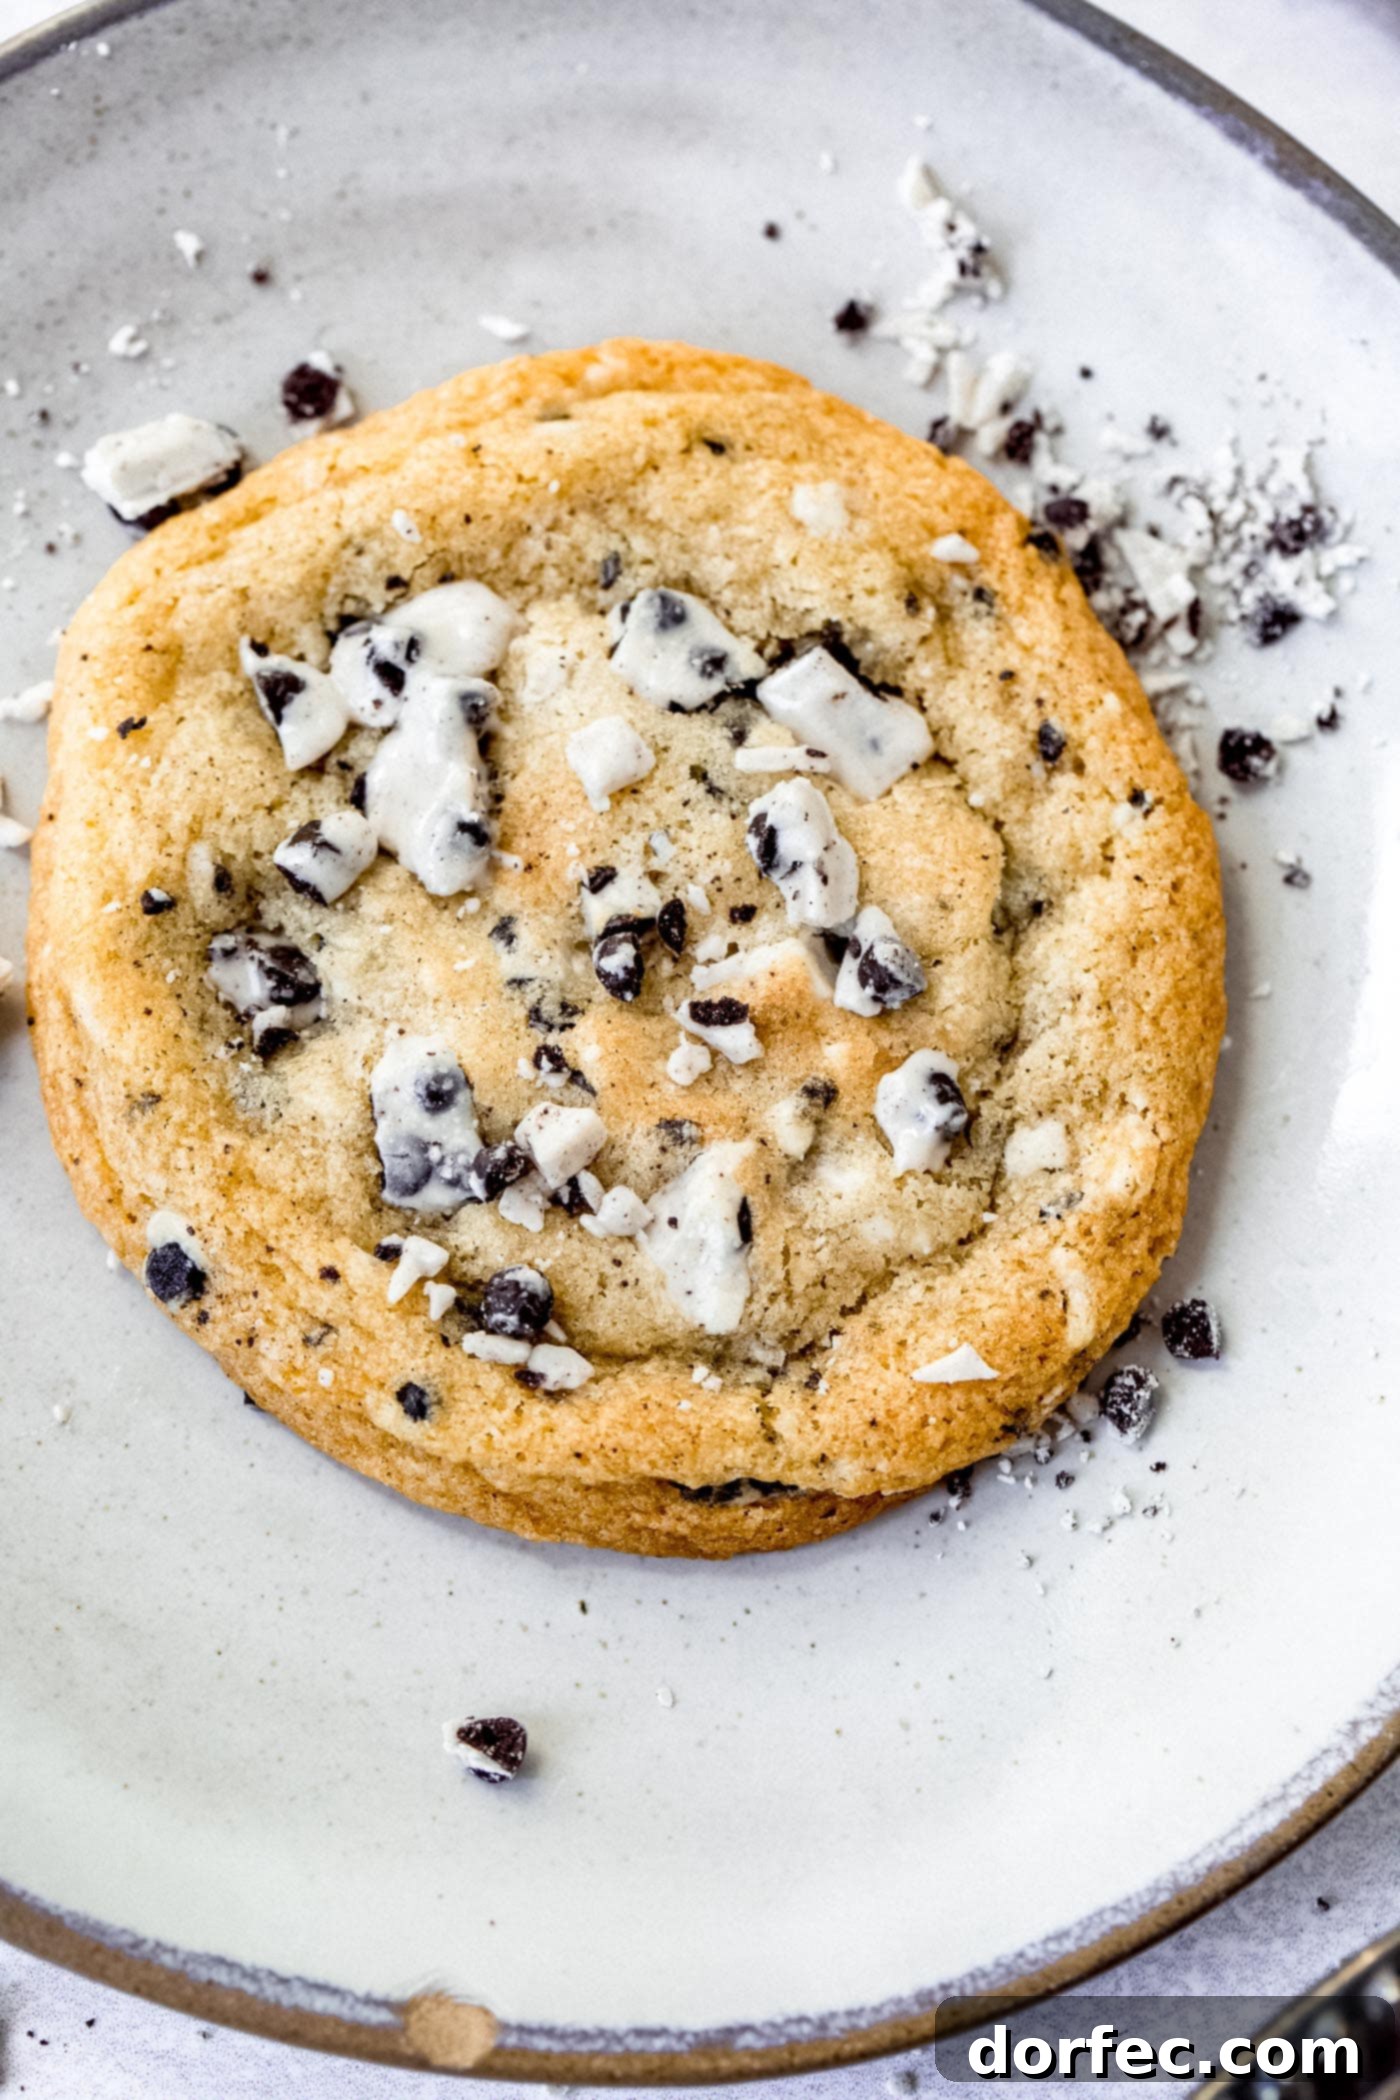
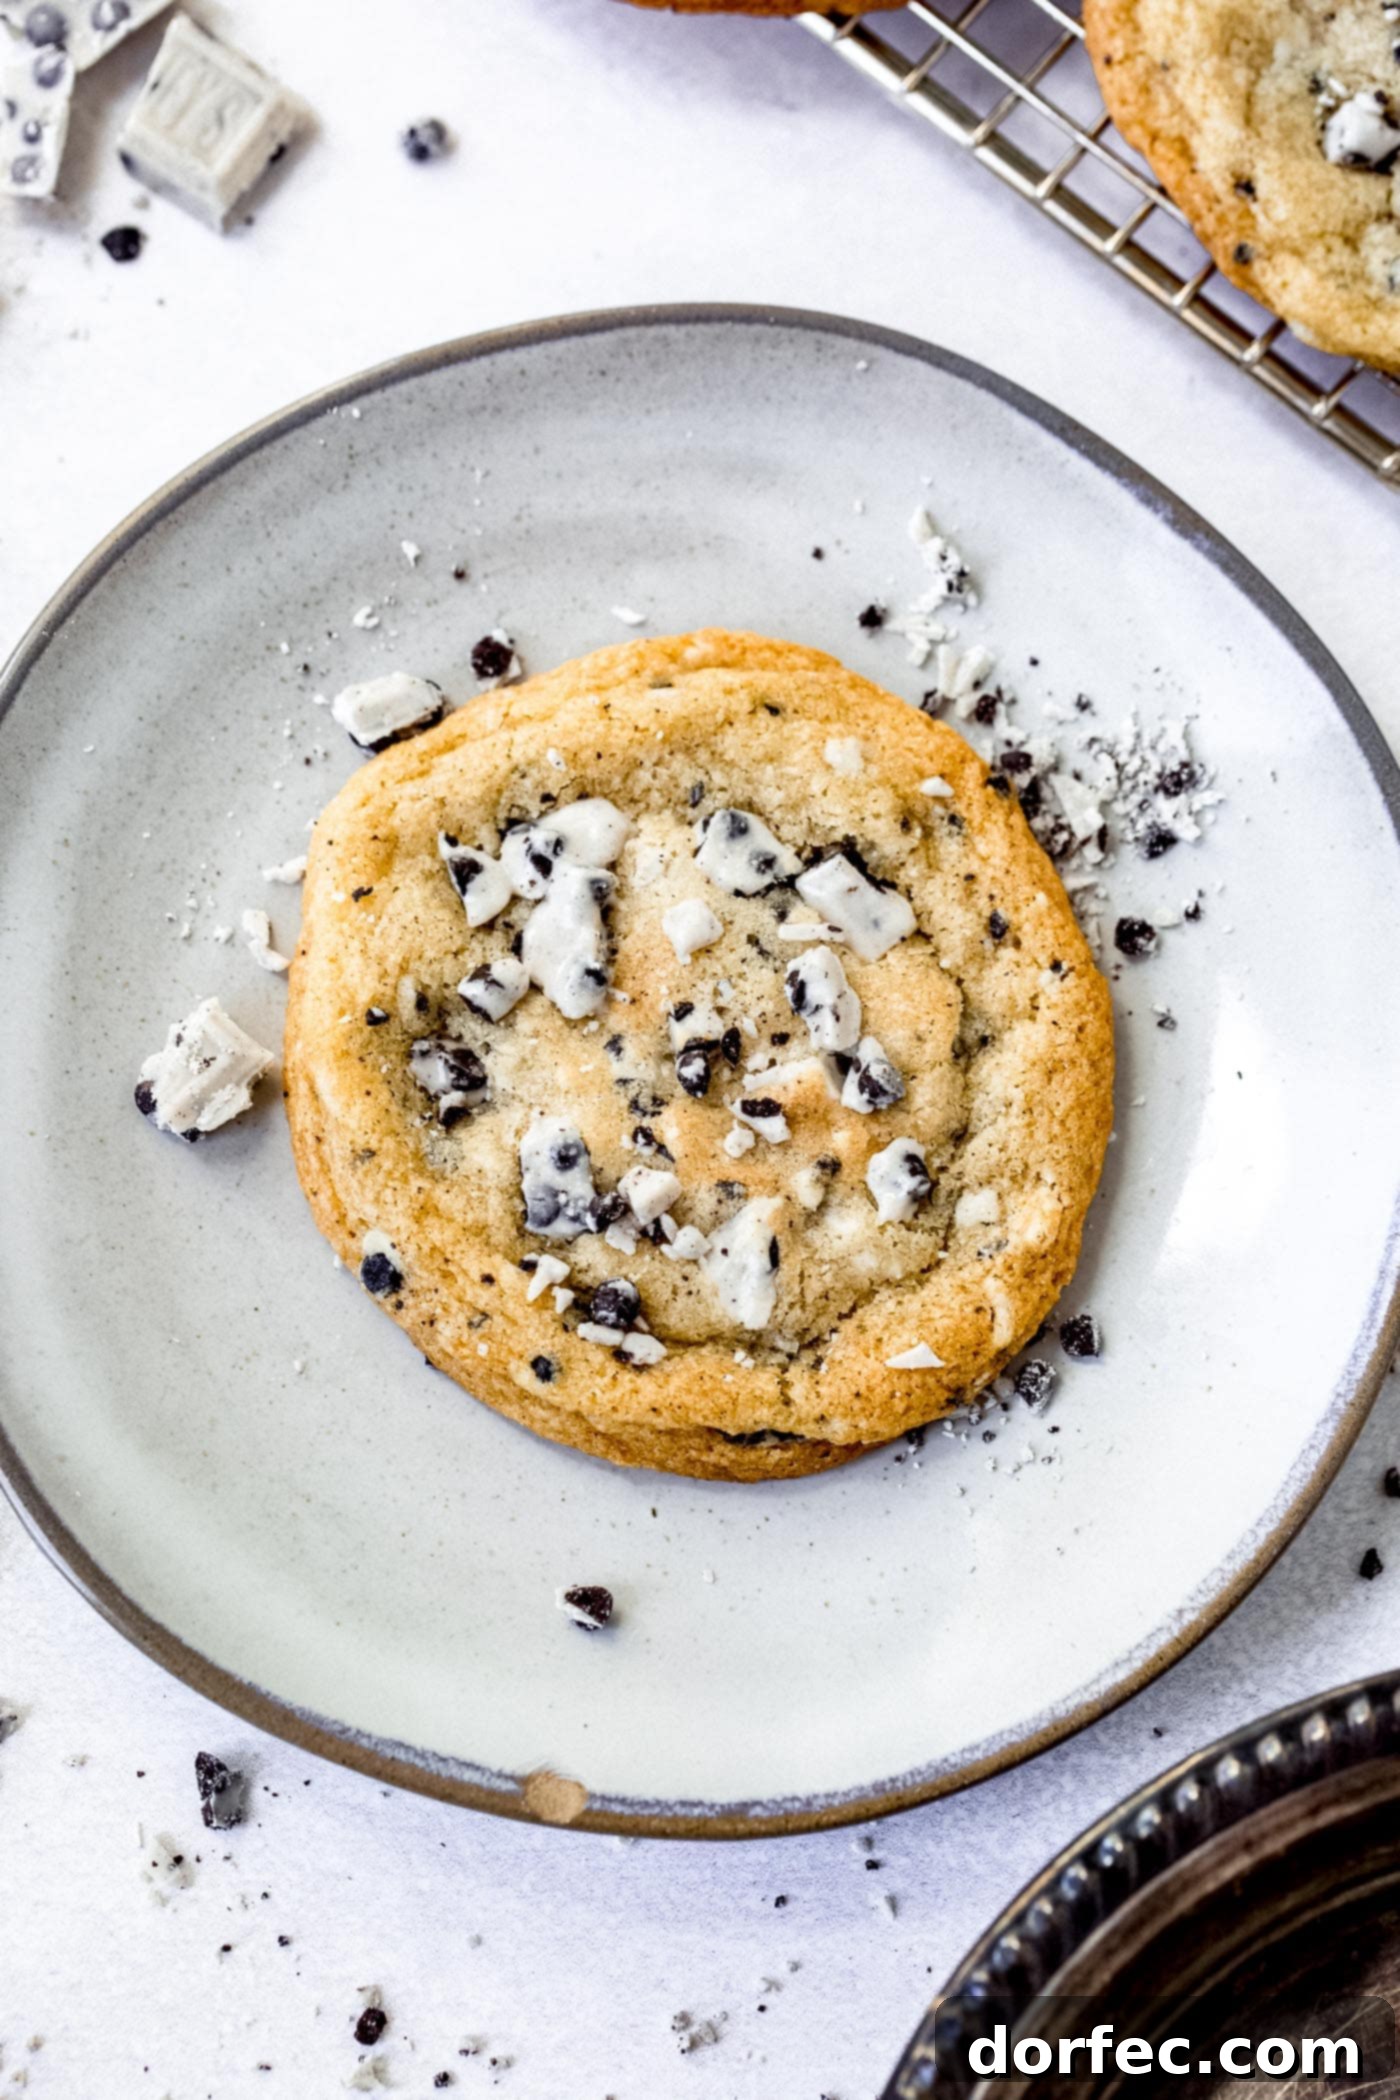
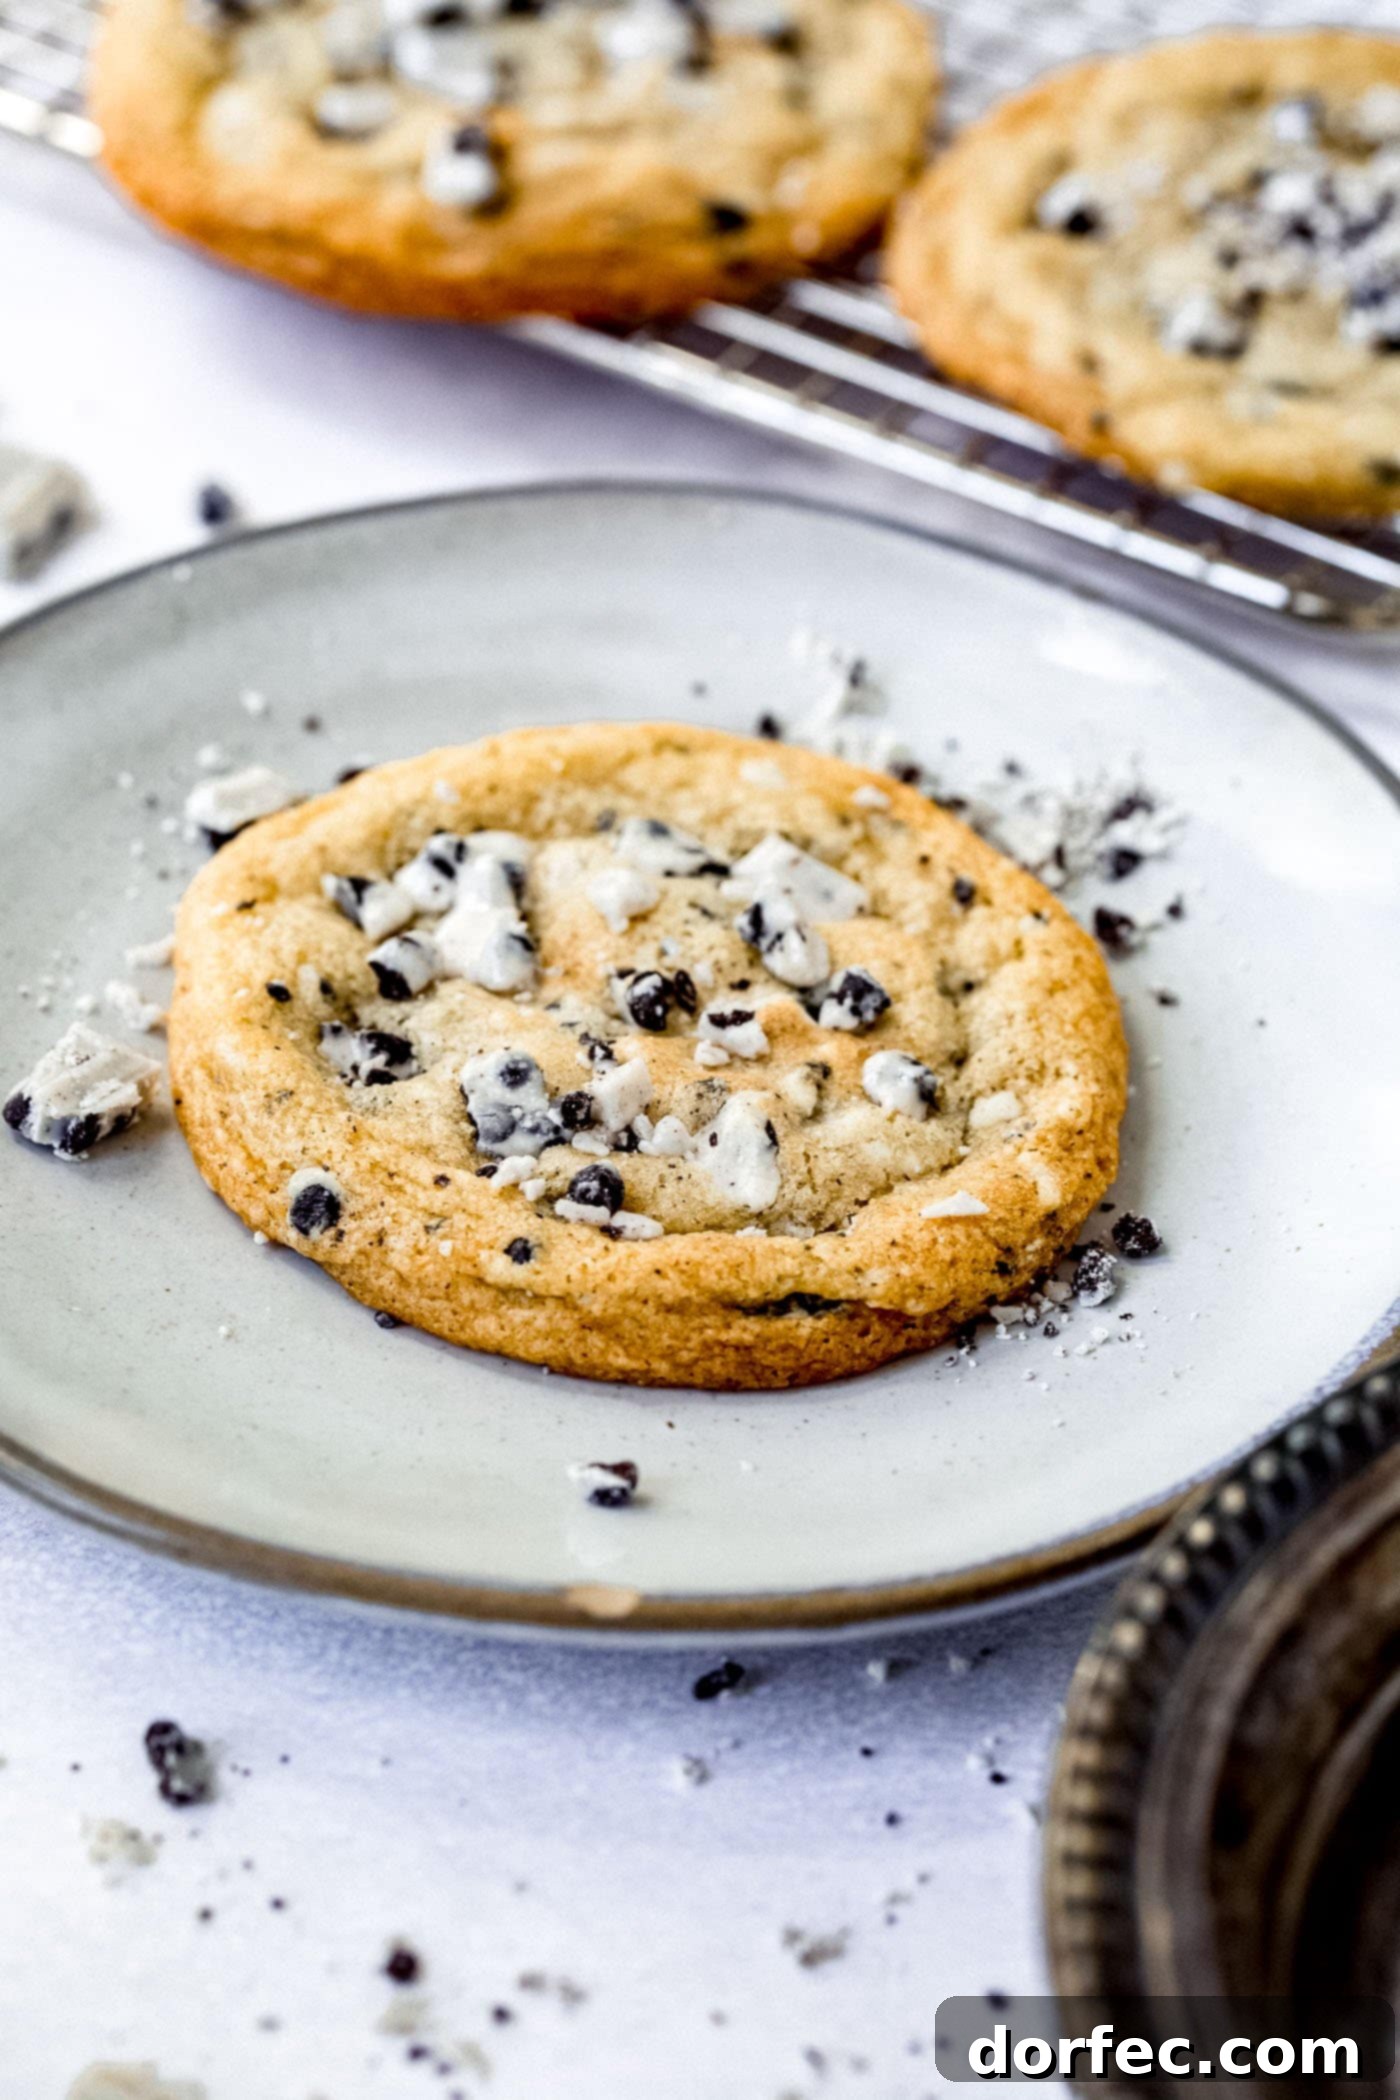
Prepare to fall in love with these extraordinary homemade Cookies and Cream Cookies. Each bite offers a delightful symphony of textures and flavors, combining crunchy chocolate cookie pieces with luscious white chocolate cream. This recipe isn’t just about baking a cookie; it’s about creating an experience that will have everyone reaching for “just one more.” If you adore the classic cookies and cream combination, get ready for your new favorite dessert!
This irresistible recipe is a cherished gem from our new cookbook! If you’re eager to explore more family favorites and create lasting kitchen memories, make sure to grab your copy. You can find it readily available on Amazon or through Deseret Book. We promise it’s filled with recipes you and your loved ones will adore!
Our Inspiring Family Bake-Off Tradition
In our home, a few times a year, or sometimes even monthly when we’re feeling particularly adventurous, we gather for a fun Sunday night tradition we call the “Family Bake-Off.” It’s more than just baking; it’s an opportunity for creativity, laughter, and a little friendly competition, all centered around delicious food. We kick off the evening with a pre-prepared base, such as a versatile pizza dough or, in this case, a classic cookie dough, ready for personalization.

How the Family Bake-Off Sparks Culinary Creativity
The rules are simple and designed to encourage imaginative cooking. Mom starts by listing five random ingredients, each written on a slip of paper and placed into a hat. Then, she draws a family member’s name, and that person gets to pick their mystery ingredient from the hat. We continue this process until everyone has chosen an ingredient. The real fun begins when we all separate into our own kitchen zones, tasked with creating a unique dish or dessert using our chosen ingredient, plus anything else we can find in the fridge, freezer, or pantry.
At the end of the challenge, we come together to taste, evaluate, and ultimately decide on a winner based on our innovative new recipes. It’s truly a special way to bond as a family and nurture a love for cooking and experimentation. We firmly believe that a key part of learning to cook is daring to experiment. There are no “gross” or “wrong” ideas; instead, we focus on complimenting each other’s original concepts and discovering what combinations work best in terms of taste, texture, and appearance. This spirit of playful exploration has led to some truly amazing recipes emerging from our kitchen!
The Birth of Our Signature Cookies and Cream Cookies
It was during one of these memorable family bake-offs that our now-famous cookies and cream cookies were born! I had prepared a foundational, basic cookie dough recipe, and a variety of intriguing ingredients were laid out for mixing. Our daughter, Claire, with her keen eye for deliciousness, ended up selecting a bag of cookies and cream candy bars. What happened next was pure magic! These homemade cookies turned out so incredibly delicious – soft, chewy, and bursting with flavor – that I knew instantly I had to share this incredible recipe with all of you.
Essential Ingredients for Your Perfect Cookies and Cream Cookies
Crafting these delectable cookies requires a few pantry staples and, of course, the star ingredient. Here’s what you’ll need to gather:
- Unsalted Butter: Crucial for controlling the salt content and achieving the perfect texture. Make sure it’s softened slightly – check our note below for the ideal consistency.
- Brown Sugar: Adds moisture and a wonderful chewiness to the cookies, along with a rich, caramel-like depth of flavor.
- White Sugar: Contributes to the crispness of the cookie edges and balances the sweetness.
- Large Eggs: Act as a binder and add richness to the dough, ensuring a well-structured cookie.
- Vanilla Extract: A splash of pure vanilla is essential for enhancing all the other flavors and adding a warm aroma.
- All-Purpose Flour: The primary structural component of our cookies.
- Salt: A pinch of salt balances the sweetness and brings out the flavor of the chocolate.
- Baking Soda: Our leavening agent, helping the cookies rise and spread slightly, contributing to their soft interior.
- Cornstarch (or EZ Gel): This secret ingredient is key for creating incredibly soft, tender, and slightly chewy cookies that stay fresh longer.
- Cookies and Cream Candy Bars (or Twix Cookies and Cream): Finely chopped. These are the star of the show, providing incredible texture and the iconic cookies and cream flavor throughout the cookie.
Step-by-Step Guide: How to Bake Homemade Cookies and Cream Cookies
Follow these simple instructions to create your batch of irresistible cookies and cream treats. Precision and a little patience will ensure perfect results every time!
- Preheat Oven & Prepare Baking Sheets: Begin by preheating your oven to 375 degrees Fahrenheit (190°C). While the oven heats, line your baking sheets with either Silpat baking mats or parchment paper. This crucial step ensures your cookies don’t stick and bake evenly.
- Cream Butter and Sugars: In the bowl of a stand mixer fitted with the paddle attachment, combine the slightly softened unsalted butter, brown sugar, and white sugar. Beat these ingredients together on medium-high speed for a full 2 minutes until the mixture is light, fluffy, and well-creamed. This aeration is vital for a tender cookie.
- Add Wet Ingredients: Reduce the mixer speed to low. Add the eggs one at a time, mixing just until each is incorporated. Then, add the vanilla extract and mix briefly until just combined. Be careful not to overmix at this stage. Turn off the mixer.
- Whisk Dry Ingredients: In a separate medium-sized bowl, whisk together the flour, salt, baking soda, and cornstarch (or EZ Gel). Ensure these dry ingredients are thoroughly combined to distribute the leavening agents evenly.
- Combine Wet and Dry: Gradually add the dry flour mixture to the butter and sugar mixture in the stand mixer. Mix on low speed until the ingredients are almost fully incorporated. Stop mixing when you still see a few streaks of flour.
- Fold in Candy Bars: Add the finely chopped cookies and cream candy bars to the dough. Give one final, brief mix on low speed, or gently fold them in by hand, just until they are evenly distributed throughout the dough. Overmixing at this point can lead to tough cookies.
- Scoop Cookies: Using a cookie scoop (a 2-tablespoon size works perfectly), scoop mounds of dough onto your prepared baking sheets. Important: Do not scrape the scoop against the side of the bowl. Instead, scoop, lift, and gently round the bottom of the dough ball with your other hand before placing it on the sheet. Ensure sufficient space between cookies (about 2 inches apart) to prevent them from spreading into each other during baking.
- Bake to Perfection: Bake for 8-10 minutes. Baking times can vary slightly depending on your oven, so keep a close eye on them. The cookies are ready when the edges are lightly golden and set, but the centers still look soft and slightly underdone. The tops should not be deeply browned, just golden in some places.
- Cool & Enjoy: Remove the baking sheets from the oven and allow the cookies to cool on the sheet for about 2 minutes. This brief cooling period helps them set up and prevents them from breaking. Then, carefully transfer them to a wire rack to cool completely, or, if you can’t resist, dive right into a warm, gooey cookie! 😋
NOTE on Butter Consistency: For this specific recipe, your butter doesn’t need to be fully room temperature and mushy. The ideal consistency is when you can press your thumb into it and leave a nice impression without your thumb sinking all the way through. If you’re in a hurry and need to speed up the softening process, simply cut the cold butter into smaller chunks; this increases the surface area and helps it reach the perfect texture faster.
Understanding Butter: Melted vs. Softened in Cookie Baking
The state of your butter significantly impacts the final texture of your cookies. Most cookie recipes instruct you to beat butter and sugars together before adding other ingredients. When you use softened butter, the sharp sugar granules cut into the butter, creating tiny air pockets. As the cookies bake, this trapped air expands, contributing to leavening and resulting in a fluffier, taller cookie with a more cake-like texture. This is often desired for a chewy-soft cookie.
Conversely, melted butter cannot effectively trap air in the same way. When mixed with sugar, it creates a denser, less aerated batter. This leads to cookies that are generally flatter, chewier, and sometimes crispier around the edges, as the dough spreads more easily. While excellent for a dense, chewy cookie, it won’t yield the extra fluffy result that softened butter achieves.
Storage Solutions: Keeping Your Cookies Fresh
How Long Will Cookies and Cream Cookies Keep?
To maintain their delicious freshness, store your cookies and cream cookies in an airtight container at room temperature. When stored properly, they will remain wonderfully flavorful and soft for up to 3 weeks. For optimal quality, you might want to layer them with parchment paper to prevent sticking and keep them at their best.
Can You Freeze Cookie Dough?
Absolutely! Freezing cookie dough is a fantastic way to enjoy freshly baked cookies anytime. Unbaked cookie dough can be frozen for up to 3 months. Here’s how:
- For Cookie Balls: Scoop the dough into individual balls using your cookie scoop, then place them on a baking sheet lined with parchment paper. Freeze until completely solid (this prevents them from sticking together). Once frozen, transfer the solid cookie dough balls into a heavy-duty freezer bag or an airtight container. When you’re ready to bake, you can bake them directly from frozen, adding a couple of extra minutes to the baking time.
- For Dough Logs: Alternatively, roll the dough into a log shape, wrap it tightly with plastic wrap, and then with aluminum foil. Freeze. When ready to bake, simply slice off rounds of dough and bake as directed.
For already baked cookies, you can also freeze them! Place cooled cookies in a zip-top freezer bag or an airtight container, separating layers with parchment paper if stacking. They will keep well for up to 2 months. To enjoy, simply bring them to room temperature for 10-15 minutes before indulging.
Baking FAQs: Common Questions Answered
Can You Use Salted Butter Instead Of Unsalted?
Technically, you can substitute salted butter for unsalted butter in cookies, but with a small caveat. Most baking recipes, including this one, call for unsalted butter to give the baker complete control over the salt content. If you use salted butter, you may need to reduce the amount of added salt in the recipe by a tiny bit – generally, about a quarter teaspoon less for every stick (1/2 cup) of salted butter used. This adjustment prevents your cookies from becoming too salty.
What Is Silpat and Why Do I Need It?
Silpats are remarkable non-stick, silicone baking mats that you lay directly onto your baking sheets. They are a game-changer for cookie baking! Not only do they provide a perfectly non-stick surface, ensuring your cookies slide off effortlessly, but they also promote incredibly even baking and prevent the bottoms of your cookies from becoming overly browned or burnt. Once you start baking with Silpats, you’ll wonder how you ever managed without them – they truly elevate your baking game to a new level of consistency and quality.
Explore More Delicious Cookie Recipes!
If you’re a cookie enthusiast like us, you’ll love these other fantastic recipes:
- Classic Chocolate Chip Cookies
- Nutella and Dulce De Leche Stuffed Cookies
- Bright Lemon Drop Cookies
- Irresistible Cinnamon Roll Cookies
- Perfect Sugar Cookies
No ratings yet. Be the first to rate this recipe!
Cookies and Cream Cookies
Sweet Basil
15 mins
10 mins
25 mins
24
Pin
Who doesn’t love cookies and cream?! These homemade cookies are filled with crunchy chocolate cookie pieces and white chocolate cream that will have you coming back for more cookies every time.
Ingredients
- 1 1/4 Cup Unsalted Butter, softened slightly (see notes)
- 1 Cup Brown Sugar
- 1/2 Cup White Sugar
- 2 Large Eggs
- 2 teaspoons Vanilla Extract
- 2 3/4 Cups Flour, plus 2 Tablespoons
- 3/4 teaspoon Salt
- 1 teaspoon Baking Soda
- 1 teaspoon EZ Gel, or 1/2 teaspoon corn starch
- 2 Cookies and Cream Candy Bars, finely chopped (or Cookies and Cream Twix)
Instructions
- Heat oven to 375 degrees Fahrenheit (190°C).
- Line baking sheets with Silpat mats or parchment paper.
- In a mixer, combine the butter, brown sugar, and white sugar on medium-high speed for 2 minutes. (Ingredients: Butter, Brown Sugar, White Sugar)
- Add the eggs and vanilla and mix to combine. (Ingredients: Eggs, Vanilla)
- In a bowl, whisk together the dry ingredients (flour, salt, baking soda, EZ Gel/cornstarch). (Ingredients: Flour, Salt, Baking Soda, EZ Gel)
- Turn off the mixer and add the flour mixture.
- Mix until almost incorporated then add the chopped cookies and cream candy bars. (Ingredients: Candy Bars)
- Scoop cookies using a cookie scoop, but do not scrape against the side of the bowl. Simply scoop, lift, and round the bottom with your other hand, then place on a Silpat-lined cookie sheet, spreading them apart so they don’t touch.
- Bake for 8 to 10 minutes, depending on your oven.
- Remove when the bottoms look set but the tops are not yet brown, just golden in some places.
- Allow to cool for 2 minutes before moving to a cooling rack or into your mouth.
Recipe Notes
This recipe does not need totally softened butter. When you can press one with a thumb and leave a nice thumbprint without sinking through the butter, you’re ready. If you need to hurry, just cut into chunks to speed up the softening.
You can freeze this cookie dough and later bake as many at a time as you need. Scoop into balls and freeze on a cookie sheet. When frozen, store in a heavy-duty freezer bag until ready to bake.
Nutrition
Serving: 1 Cookie, Calories: 208kcal, Carbohydrates: 25g, Protein: 2g, Fat: 11g, Saturated Fat: 7g, Polyunsaturated Fat: 1g, Monounsaturated Fat: 3g, Trans Fat: 1g, Cholesterol: 39mg, Sodium: 211mg, Potassium: 53mg, Fiber: 1g, Sugar: 14g, Vitamin A: 316IU, Calcium: 16mg, Iron: 1mg
Nutrition information is automatically calculated, so should only be used as an approximation.
Like this? Leave a comment below!
REMEMBER TO SUBSCRIBE TO our FREE Oh Sweet Basil NEWSLETTER AND RECEIVE EASY RECIPES DELIVERED INTO YOUR INBOX EVERY DAY!
When you try a recipe, please use the hashtag #ohsweetbasil on INSTAGRAM for a chance to be featured in our stories! FOLLOW OH, SWEET BASIL ON FACEBOOK | INSTAGRAM | PINTEREST | TWITTER FOR ALL OF OUR LATEST CONTENT, RECIPES AND STORIES.