
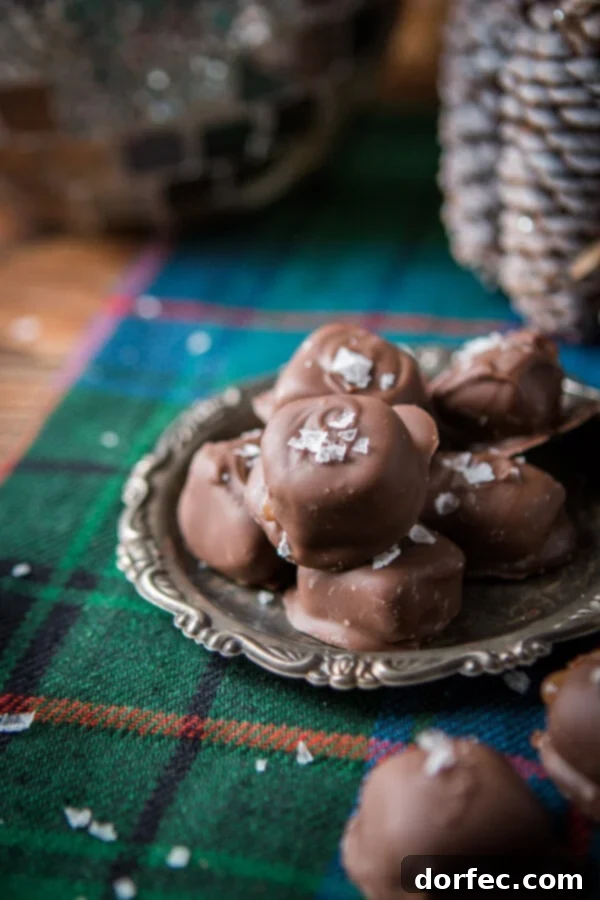
Get ready to delight your taste buds! Those incredibly decadent salted milk chocolate homemade caramels that captivate everyone at Costco are no longer a distant dream. This year, we’re unveiling a copycat recipe that promises to deliver the same luxurious, melt-in-your-mouth experience right in your own kitchen.

There’s a unique joy that comes from creating something truly special in your kitchen, a feeling that echoes the profound satisfaction of reaching a long-held dream. For us, that feeling recently came with the completion of our cookbook. It was a moment brimming with emotion, a testament to years of shared stories, growth, and love woven around the simple act of cooking and baking together. Meeting Chrislyn from Time Out For Women and signing our very first copy was an unforgettable experience, a sweet validation of the journey we’ve embarked on. This book isn’t just about recipes; it’s about life lessons learned side-by-side in the kitchen, strengthening our marriage and connection with our children. It’s about finding joy in every step of the process, a philosophy we bring to every dish, especially these delightful homemade caramels.
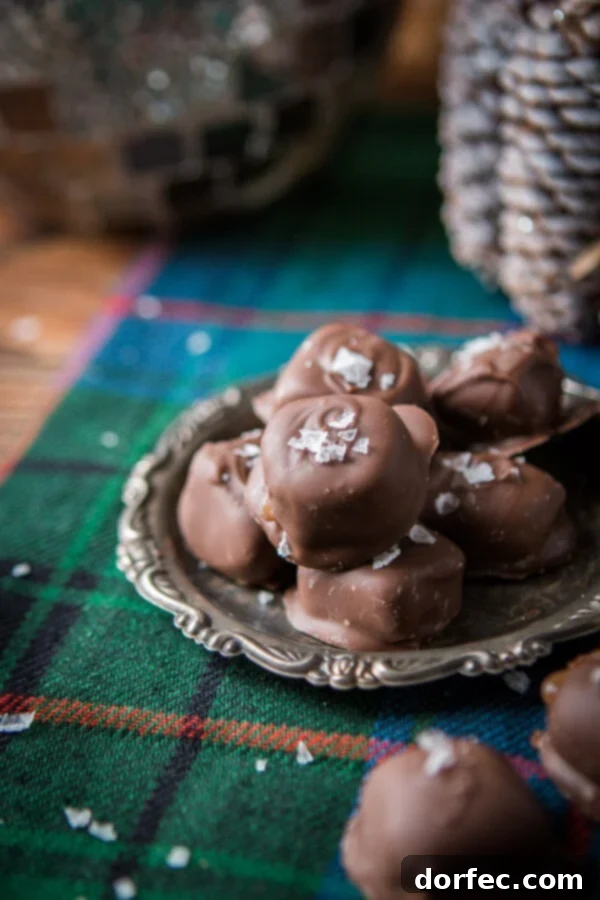
That same passion for sharing our culinary journey and the sheer delight of homemade treats fuels our excitement for this particular recipe. For years, the idea of making homemade caramels felt daunting. Visions of burnt sugar, sticky messes, and the elusive “soft-ball stage” were enough to keep me at bay. But the allure of those rich, buttery, salted milk chocolate caramels from Costco was undeniable. It became a mission to demystify the process and create a perfect, easy-to-follow recipe that anyone could master. And I’m thrilled to tell you, it’s far simpler than I ever imagined!
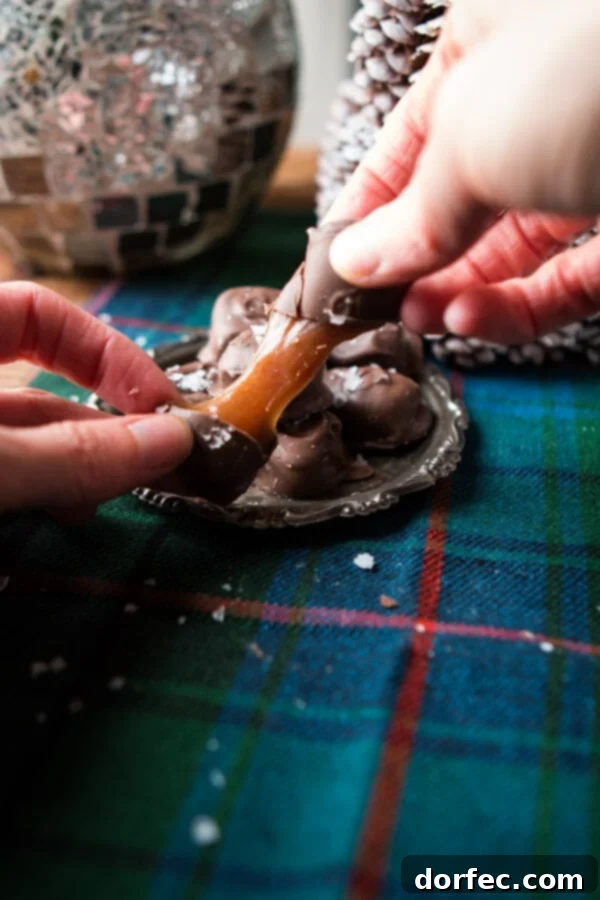
Why Make Your Own Salted Milk Chocolate Caramels?
Beyond the undeniable satisfaction of creating something delicious from scratch, making your own salted milk chocolate caramels offers several advantages:
- Unmatched Freshness: Experience caramels at their peak, with incredible chewiness and vibrant flavors that store-bought options simply can’t match.
- Customization Potential: While we’re replicating the Costco classic, this recipe is a fantastic base for experimentation. Adjust the saltiness, try different chocolate types, or even add a hint of spice.
- Perfect for Gifting: Homemade caramels make heartfelt gifts for friends, family, or teachers. Package them beautifully, and you have a gourmet present.
- A Rewarding Culinary Skill: Candy making, especially caramels, can seem intimidating, but mastering it is a rewarding achievement that expands your baking repertoire.
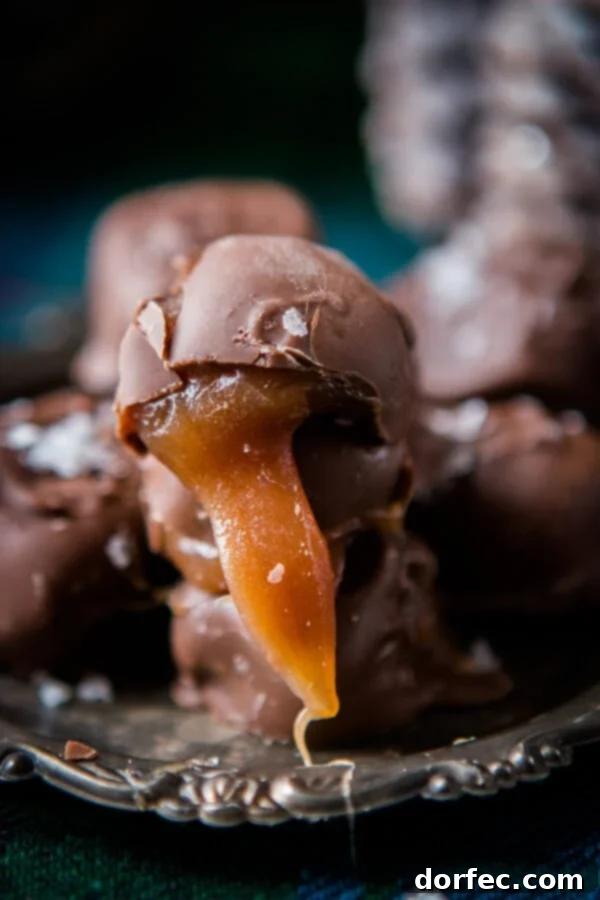
Are Caramels Gluten-Free?
A common question for many bakers and snack enthusiasts is whether caramels are gluten-free. The good news is, typically, caramel is inherently gluten-free! Traditional caramel is crafted from a simple combination of sugar, water, butter, vanilla, milk, and salt. None of these core ingredients contain gluten.
However, it’s always wise to exercise caution, especially if you have severe gluten sensitivities or celiac disease. Always check the labels of any pre-made ingredients you use, such as corn syrup or vanilla extract, to ensure they haven’t been cross-contaminated or processed with gluten-containing additives. When making these delicious salted milk chocolate homemade caramels from scratch, you have complete control over the ingredients, making it a safe and delightful treat for those avoiding gluten.

Can Caramels Be Melted in the Microwave?
Yes, caramels can certainly be melted in the microwave, making certain steps of candy-making or incorporating caramel into other desserts a breeze. For best results, place your caramels in a microwave-safe bowl and heat them in short intervals.
- Start with 1 to 1.5 minutes on medium power.
- Stir the caramels thoroughly after the first interval.
- Continue heating in 30-second bursts, stirring well after each, until the caramels are smooth and fully melted. The total time typically ranges from 1.5 to 3 minutes, depending on your microwave’s power and the amount of caramel.
- Be careful not to overheat, as this can cause the caramel to seize or burn.
Essential Candy Making Tips for Perfect Caramels
Making caramel might seem like a delicate dance, but with a few crucial tips, you’ll achieve perfect, soft, chewy caramels every time. These are the golden rules that transform a daunting task into an enjoyable culinary adventure:
-
Stay Attentive – Do Not Walk Away from the Stove!
This is perhaps the most critical rule in candy making. Caramelizing sugar is a process that requires your full attention. The sugar mixture will take some time to reach the desired golden amber color, seemingly moving slowly. However, once it starts to change, the process accelerates rapidly, and it can go from perfect to burnt in a matter of seconds. Burnt sugar has an intensely bitter taste that will ruin your entire batch. So, resist the urge to multi-task, answer the phone, or leave the kitchen. Your delicious homemade caramels depend on your unwavering focus.
-
Stick to the Recipe – Do Not Make Larger or Smaller Batches!
Candy making is a precise science, and altering the proportions of a recipe can significantly impact the outcome. Unlike many other dishes where you can freely adjust quantities, caramel recipes are carefully balanced for chemical reactions and heat distribution. Doubling a recipe might lead to uneven cooking, while halving it could result in a mixture that cooks too quickly or improperly. For consistent results, especially when you’re first learning, follow the recipe’s exact measurements.
-
Use Exact Ingredients – Do Not Substitute Anything!
Every ingredient in a caramel recipe plays a specific role in achieving the desired texture, flavor, and consistency. If the recipe calls for unsalted butter, use unsalted butter. If it specifies heavy cream, use heavy cream and not half-and-half or milk. These are not interchangeable in candy making. For instance, using salted butter when unsalted is specified can throw off the salt balance, and using a lower-fat cream can prevent the caramel from setting correctly or achieving its rich creaminess. Think of it like baking a cake – you wouldn’t substitute flour for cornstarch and expect the same result. The basics are fundamental here.
-
Invest in a Reliable Tool – Use a Candy Thermometer!
While some experienced candy makers might attempt to judge the soft-ball stage by dropping a bit of caramel into cold water, relying on a quality candy thermometer is the most accurate and foolproof method, especially for beginners. The “soft-ball stage” corresponds to a specific temperature (around 235-240°F or 118-120°C). Undercooking the caramel will result in a runny, sticky mess, while overcooking it will make it hard and brittle. A good thermometer eliminates guesswork, saving you time, ingredients, and frustration. We highly recommend a sturdy, easy-to-read candy thermometer for consistent success.
The Perfect Texture: Soft, Chewy Caramels
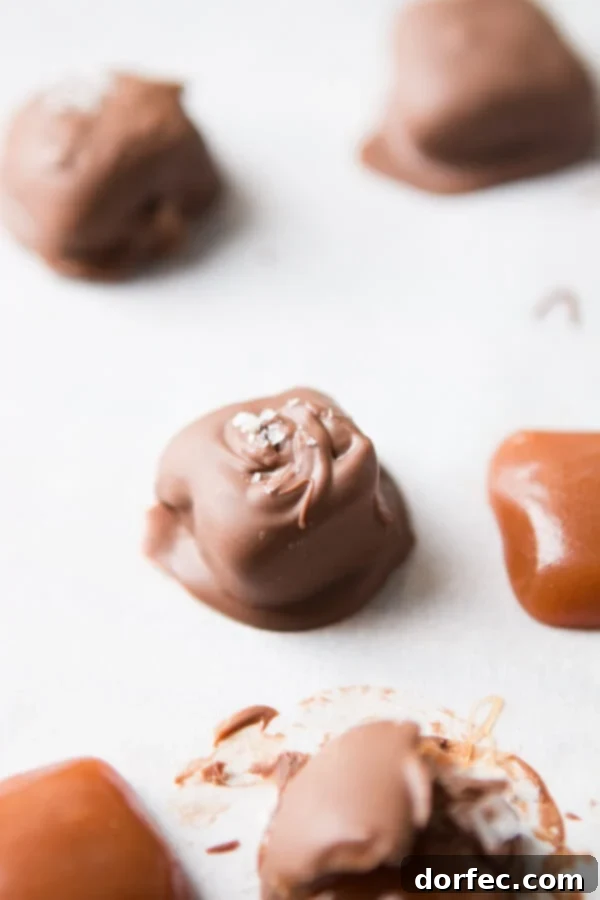
These salted milk chocolate homemade caramels are designed to be wonderfully soft and chewy, not hard and brittle. The key to their delightful texture lies in both the cooking process and proper storage. Once your caramels are made and dipped, storing them in the refrigerator helps them maintain a firmer, more satisfying bite. While they’ll hold their shape at room temperature, chilling them provides that ideal chewiness that makes them so irresistible, especially when paired with the delicate crunch of flaked sea salt.
The Magic of Flaked Sea Salt
Do not underestimate the power of high-quality flaked sea salt in this recipe! It’s not just for decoration; it’s a critical flavor component that elevates these homemade caramels from simply delicious to truly extraordinary. The delicate, briny crunch of flaked sea salt beautifully contrasts with the sweet, rich milk chocolate and the buttery caramel underneath. It enhances every bite, creating a balanced and addictive treat. We highly recommend using a premium flaked sea salt like this one, as its unique texture and mild flavor make all the difference to the final presentation and taste of your Salted Milk Chocolate Homemade Caramels.
Tools for Dipping Caramels
Dipping caramels in chocolate can be a messy but fun part of the process! While professional dipping tools exist, you don’t necessarily need fancy equipment to get the job done. Many home bakers find success with simple kitchen tools.
- Chocolate Dipping Tools: If you’re looking for a specialized tool, we’ve had great success with this set. It typically includes various shapes and sizes, making it easier to handle different confections. It’s often an affordable investment that makes the process cleaner and more efficient.
- Two Forks: A classic and effective method! Use two dinner forks to gently lower the caramel into the melted chocolate, flip it, and then lift it out, allowing excess chocolate to drip off between the tines.
- Toothpicks or Skewers: For smaller caramels, a toothpick can work to dip and then transfer the caramel to parchment paper. You might need to gently remove the toothpick and cover the small hole with a dab of chocolate.
No matter which tool you choose, the key is to work quickly and efficiently, ensuring an even coating without too much excess chocolate.
More Delicious Candy Recipes You’ll Love:
- Chocolate Covered Coconut Balls
- Chocolate Fudge
- Oreo Peanut Butter Truffles
- White Chocolate Peppermint Cream Cheese Mints
- Salted Caramel Pretzel Snaps
- Red Velvet Truffles
- Rocky Road Fudge
- 6 Minute Microwave Caramels
- Twix Ritz
- Chocolate Peanut Butter Truffles
- All ourCANDY RECIPES here!
Salted Milk Chocolate Homemade Caramels Recipe
Salted Milk Chocolate Homemade Caramels Recipe
By Sweet Basil
2 hrs
20 mins
2 hrs 20 mins
32 squares

These amazing caramels, a favorite from Costco, are now easy to make at home with our irresistible copycat salted milk chocolate homemade caramels recipe. Get ready for a treat that’s truly to die for!
Ingredients
For Dipping:
- 1 Bag Milk Chocolate Chips, 16oz, good quality
- Flaked Sea Salt, for sprinkling
For the Caramels:
- 1 3/4 Cup Sugar
- 1/4 Cup Light Corn Syrup
- 5 Tablespoons Unsalted Butter
- 1 Cup Heavy Cream
- 1 teaspoon Flaked Sea Salt
- 1/2 teaspoon Vanilla Extract
Instructions
- In a large, heavy-bottomed saucepan, combine the sugar and corn syrup over medium-high heat. Stir gently until the sugar dissolves.
- Bring the mixture to a boil. Cook, swirling the pan occasionally (do not stir with a spoon at this stage), until the sugar turns a beautiful golden amber color. This requires close attention, as it can burn quickly once it starts to change color.
- While the sugar is cooking, in a separate small saucepan over medium heat, melt together the unsalted butter, heavy cream, and 1 teaspoon of flaked sea salt. Stir until the butter is completely melted and the mixture is warm. Keep it warm.
- Once the sugar mixture reaches the golden amber stage, remove it immediately from the heat. Turn the burner down to medium-low.
- Carefully and very slowly pour the warm cream mixture into the hot sugar mixture, stirring continually with a sturdy wooden spoon. Be extremely cautious as the candy will seize and steam heavily. Continue stirring until everything is smoothly combined.
- Stir in the vanilla extract.
- Return the saucepan to the medium-low burner. Insert your candy thermometer. Cook, stirring occasionally to prevent sticking, until the caramel reaches 248°F (120°C). This typically takes about 10-15 minutes after adding the cream.
- While the caramel is cooking, line an 8×8-inch baking pan with parchment paper, leaving an overhang on the sides for easy lifting. Lightly brush the parchment paper with oil or non-stick spray.
- Once the caramel reaches 248°F, immediately remove it from the heat and pour it evenly into the prepared baking pan. Allow it to cool completely. For best results and a firmer set, place it in the refrigerator for at least 2 hours.
- Once thoroughly cooled and firm, lift the caramel out of the pan using the parchment paper overhang. Place it on a clean cutting board.
- Using a sharp, oiled knife, cut the caramel into desired small chunks, approximately 1-inch squares.
- In a microwave-safe bowl, melt the milk chocolate chips. Heat in 20-30 second intervals, stirring well after each, until smooth and fully melted. Alternatively, use a double boiler for melting chocolate.
- Dip each caramel piece into the melted milk chocolate. Use a fork or dipping tool to fully coat it, then gently tap off any excess chocolate.
- Place the chocolate-dipped caramels onto a parchment-lined baking sheet. Immediately sprinkle with additional flaked sea salt.
- Allow the chocolate to set completely. This can be done at room temperature or by chilling them in the refrigerator for 15-30 minutes. Once set, wrap each caramel individually in wax paper and store them in an airtight container in the refrigerator to maintain their soft texture and freshness.
Recipe Notes
Always use a wooden spoon for stirring to avoid burns and ensure even heat distribution. A reliable candy thermometer is your best friend to prevent under or overcooking.
For the best texture and longevity, store your finished Salted Milk Chocolate Homemade Caramels in the refrigerator.
Nutrition
Serving: 1 caramel | Calories: 145kcal | Carbohydrates: 20g | Protein: 1g | Fat: 7g | Saturated Fat: 4g | Polyunsaturated Fat: 1g | Monounsaturated Fat: 1g | Trans Fat: 1g | Cholesterol: 16mg | Sodium: 85mg | Potassium: 6mg | Fiber: 1g | Sugar: 20g | Vitamin A: 188IU | Vitamin C: 1mg | Calcium: 18mg | Iron: 1mg
Nutrition information is automatically calculated and should only be used as an approximation.
Enjoyed this recipe? Leave a comment below and share your thoughts!
More Indulgent Sweet Treats You’ll Adore
If you’ve fallen in love with the rich flavors and satisfying chewiness of these salted milk chocolate caramels, you’re in for a treat! We have a whole collection of easy, delightful candy recipes perfect for any occasion. Here are a few more favorites to expand your repertoire of homemade sweets:

Salted Caramel Pretzel Snaps
Love those amazing salted caramel pretzel snaps? We do too! Now you can easily make these addictive sweet and salty treats right in your own kitchen with our simple recipe. They are perfect for parties, gifts, or a satisfying snack.
M&M Salted Caramel Pretzel Bark
While fancy dark chocolate barks are popular, sometimes you need a fun, vibrant treat that appeals to everyone, especially the kids (and often the adults too!). This M&M salted caramel pretzel bark is incredibly easy to make, taking only about 3 minutes of active prep time, and delivers a delightful crunch and burst of color. It’s an ideal choice for holiday platters or everyday indulgence.
White Chocolate Cranberry Pecan Fudge
If you cherish the festive flavors of the holidays and adore a good, creamy fudge, then this white chocolate cranberry pecan fudge recipe is an absolute must-try! It’s rich, luscious, and studded with tart cranberries and crunchy pecans, creating a perfect balance of flavors and textures. Prepare this fudge ASAP to bring a touch of holiday magic to your dessert table or as a thoughtful homemade gift.
This post contains affiliate links.