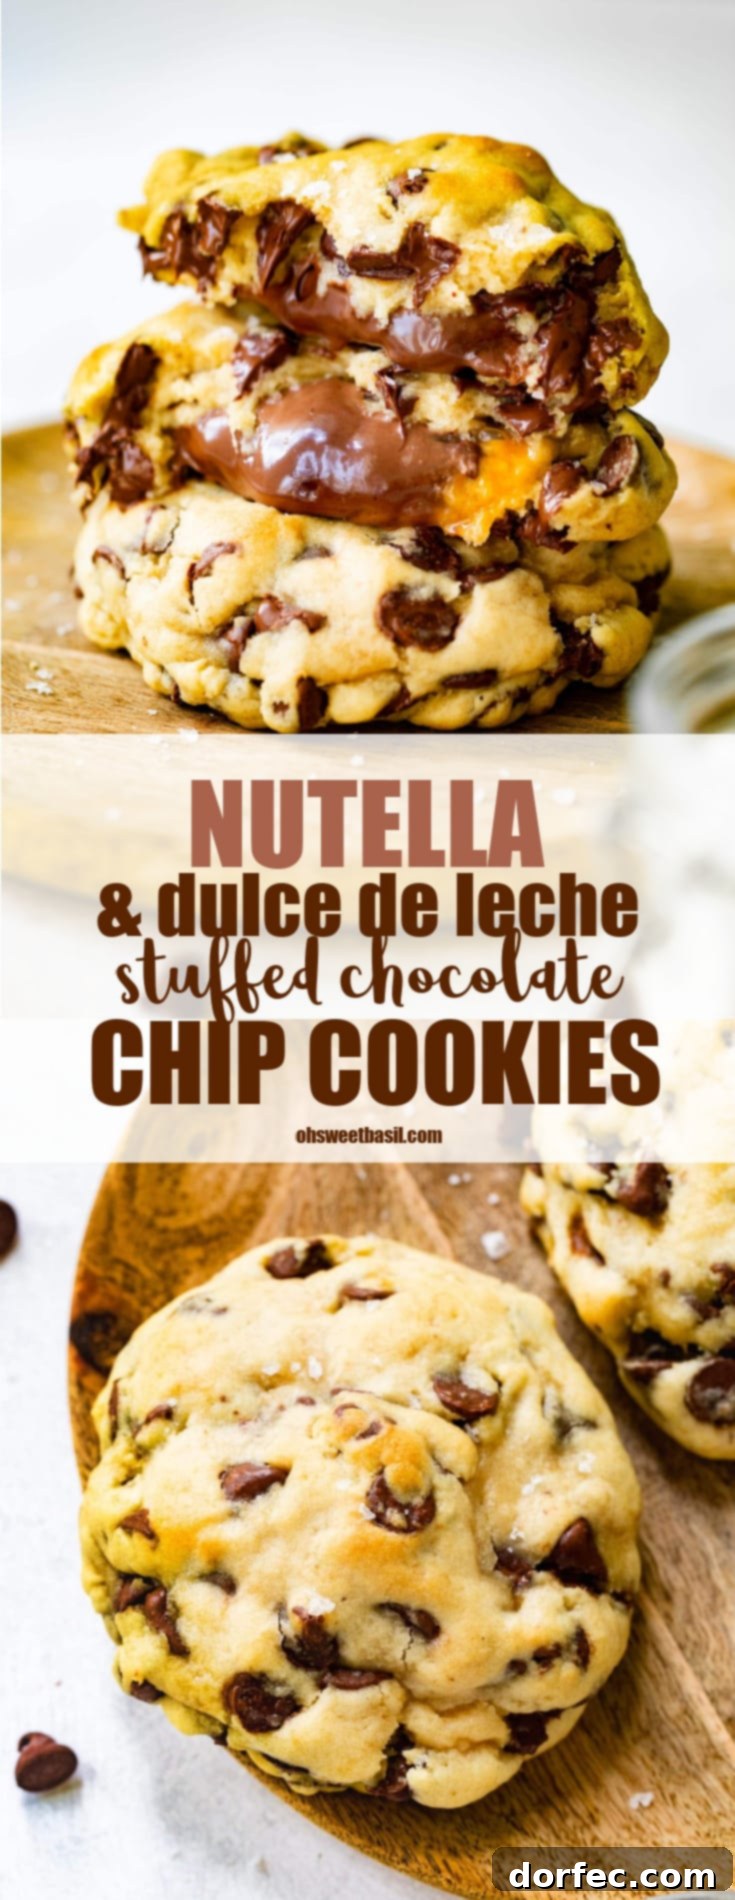
Irresistible Brown Butter Nutella & Dulce de Leche Stuffed Chocolate Chip Cookies
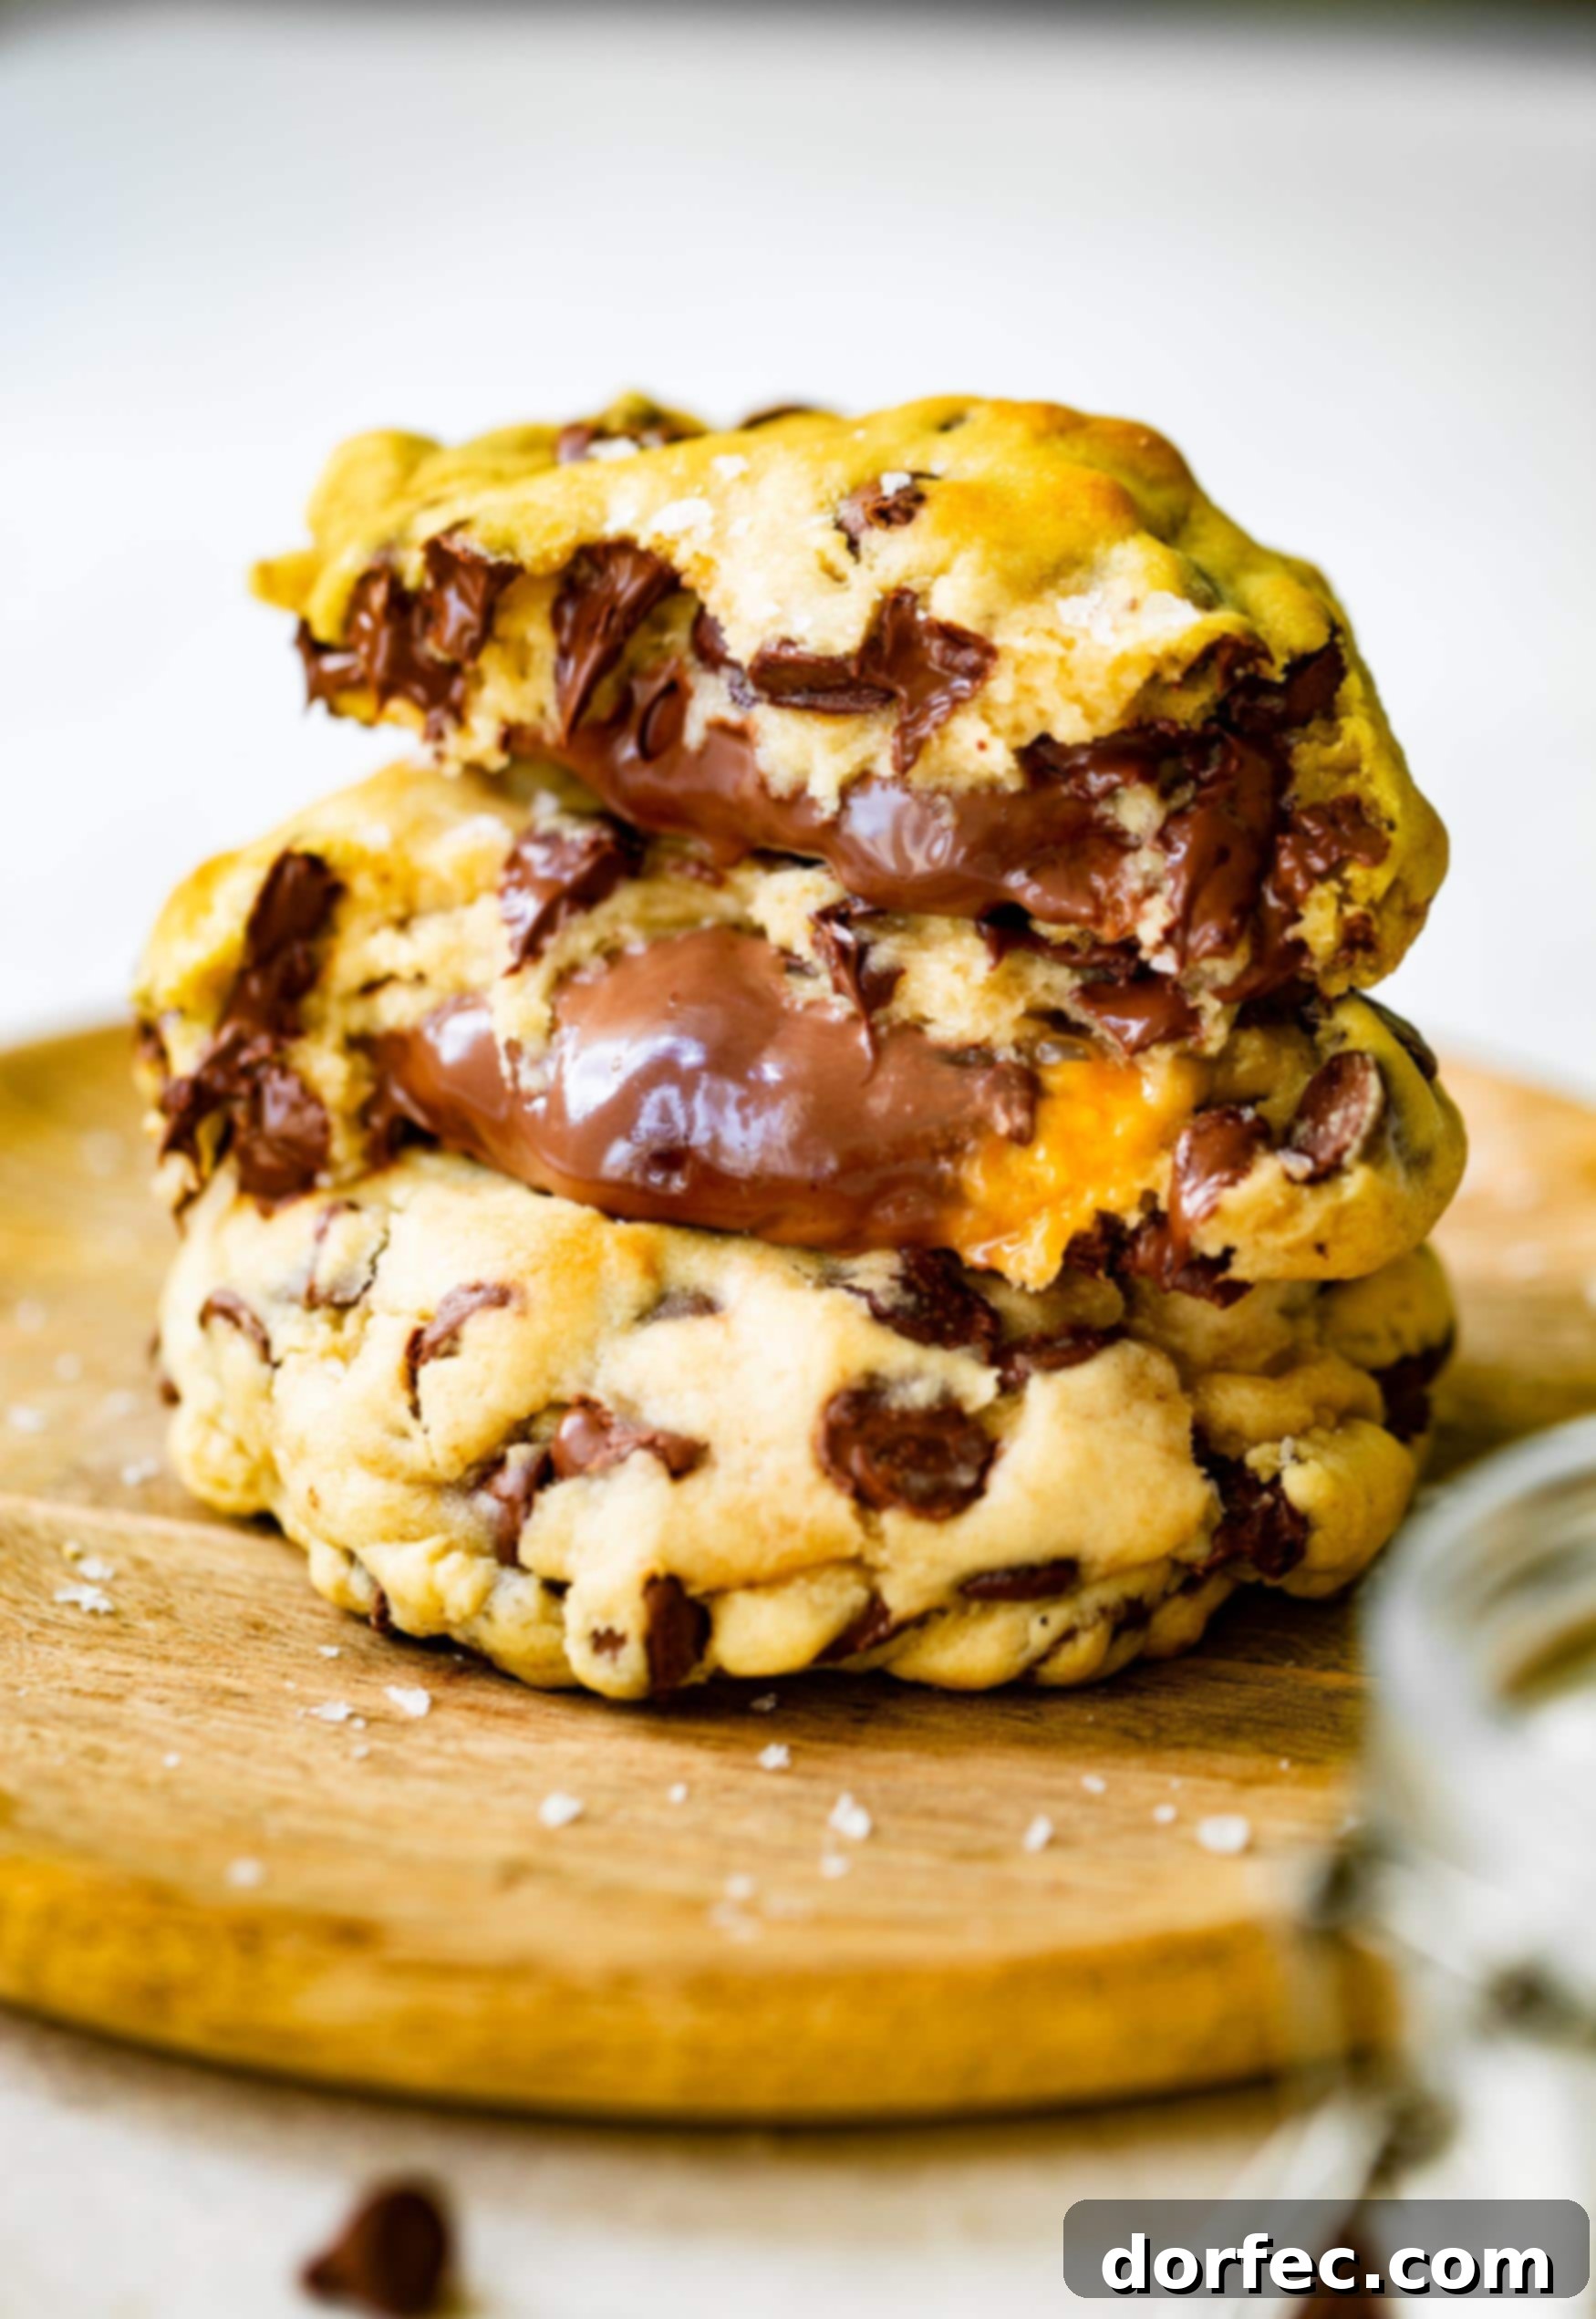
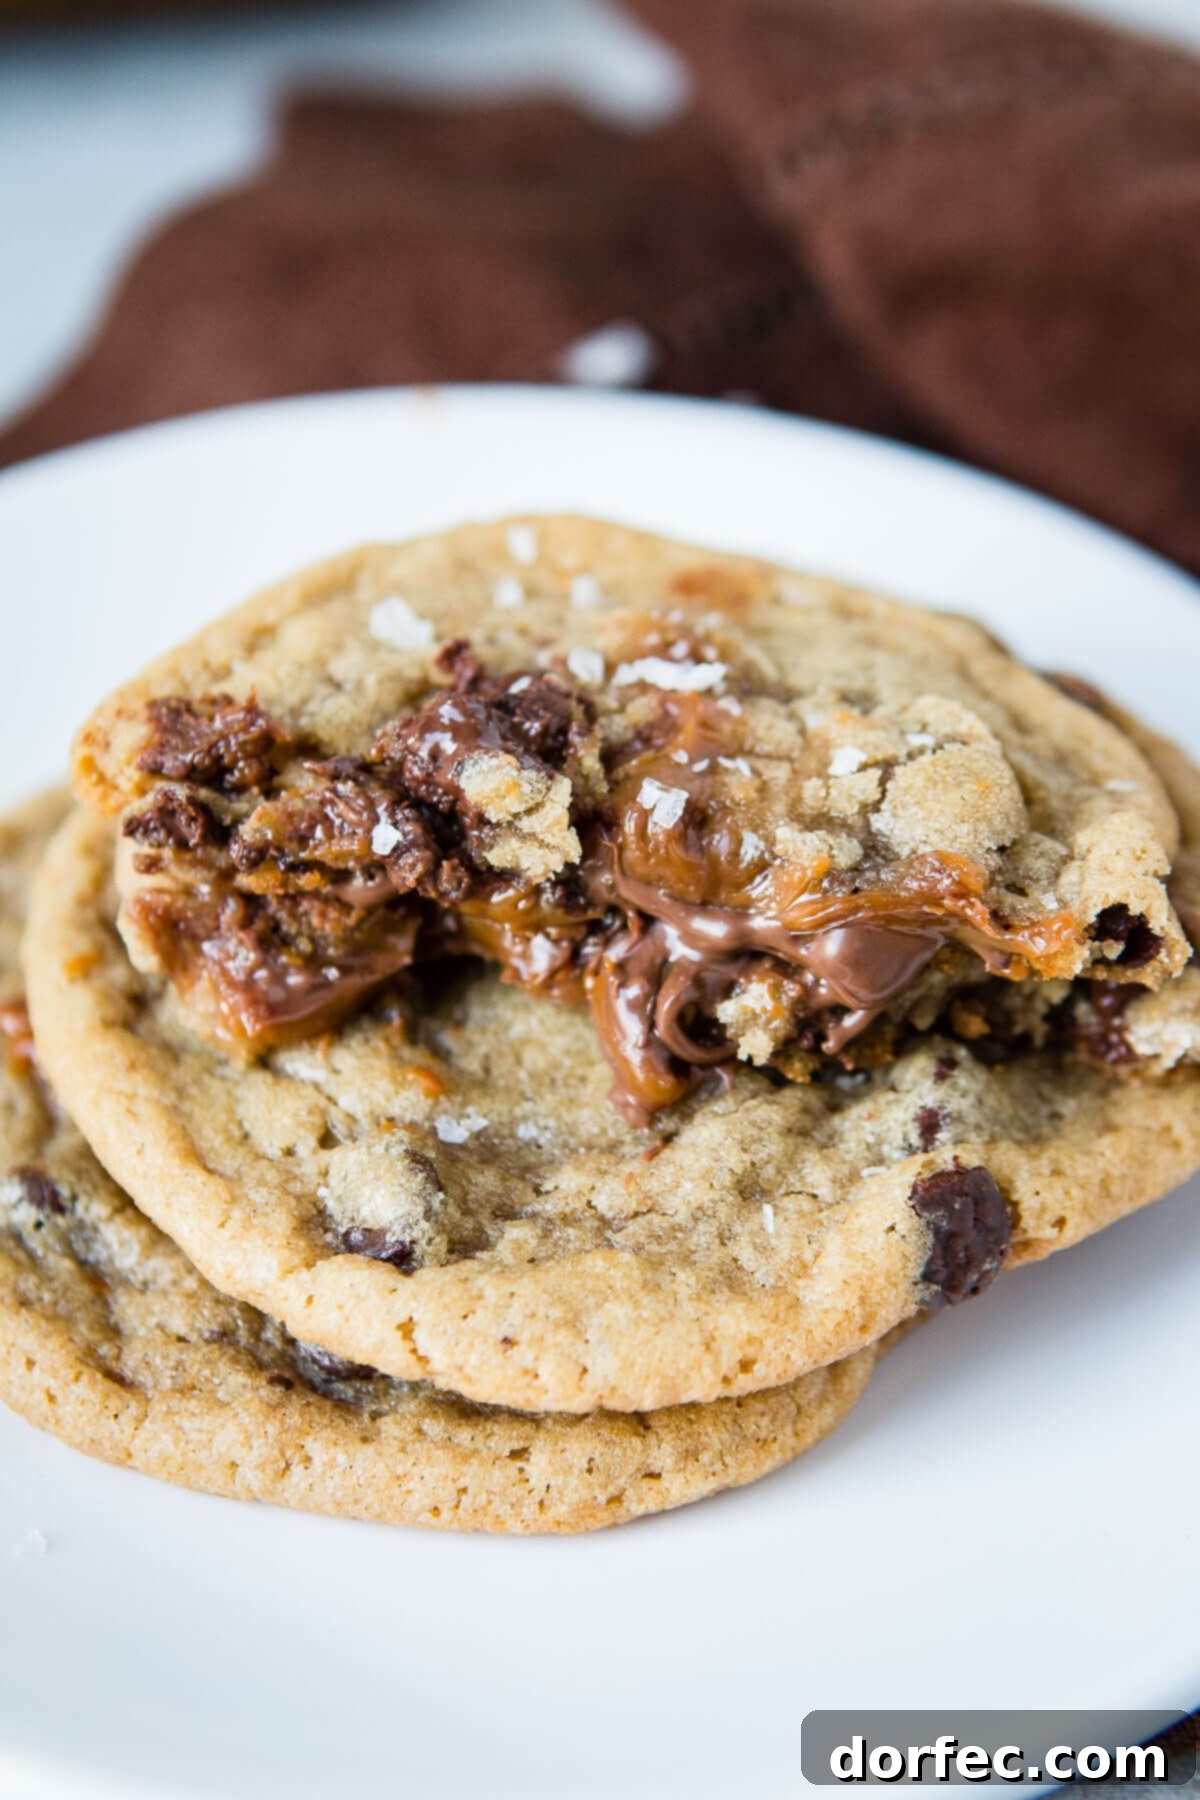
Imagine a classic chocolate chip cookie, elevated to an extraordinary level of indulgence. Now, picture that perfectly chewy, rich, browned butter cookie, generously stuffed with creamy Nutella and luscious dulce de leche, then finished with a sprinkle of delicate sea salt. This isn’t just a cookie; it’s a gourmet dessert experience that will captivate your taste buds and leave you craving more. These Nutella and dulce de leche stuffed chocolate chip cookies are not merely good; they are absolute heaven. Prepare to embark on a baking journey that promises pure bliss with every single bite!
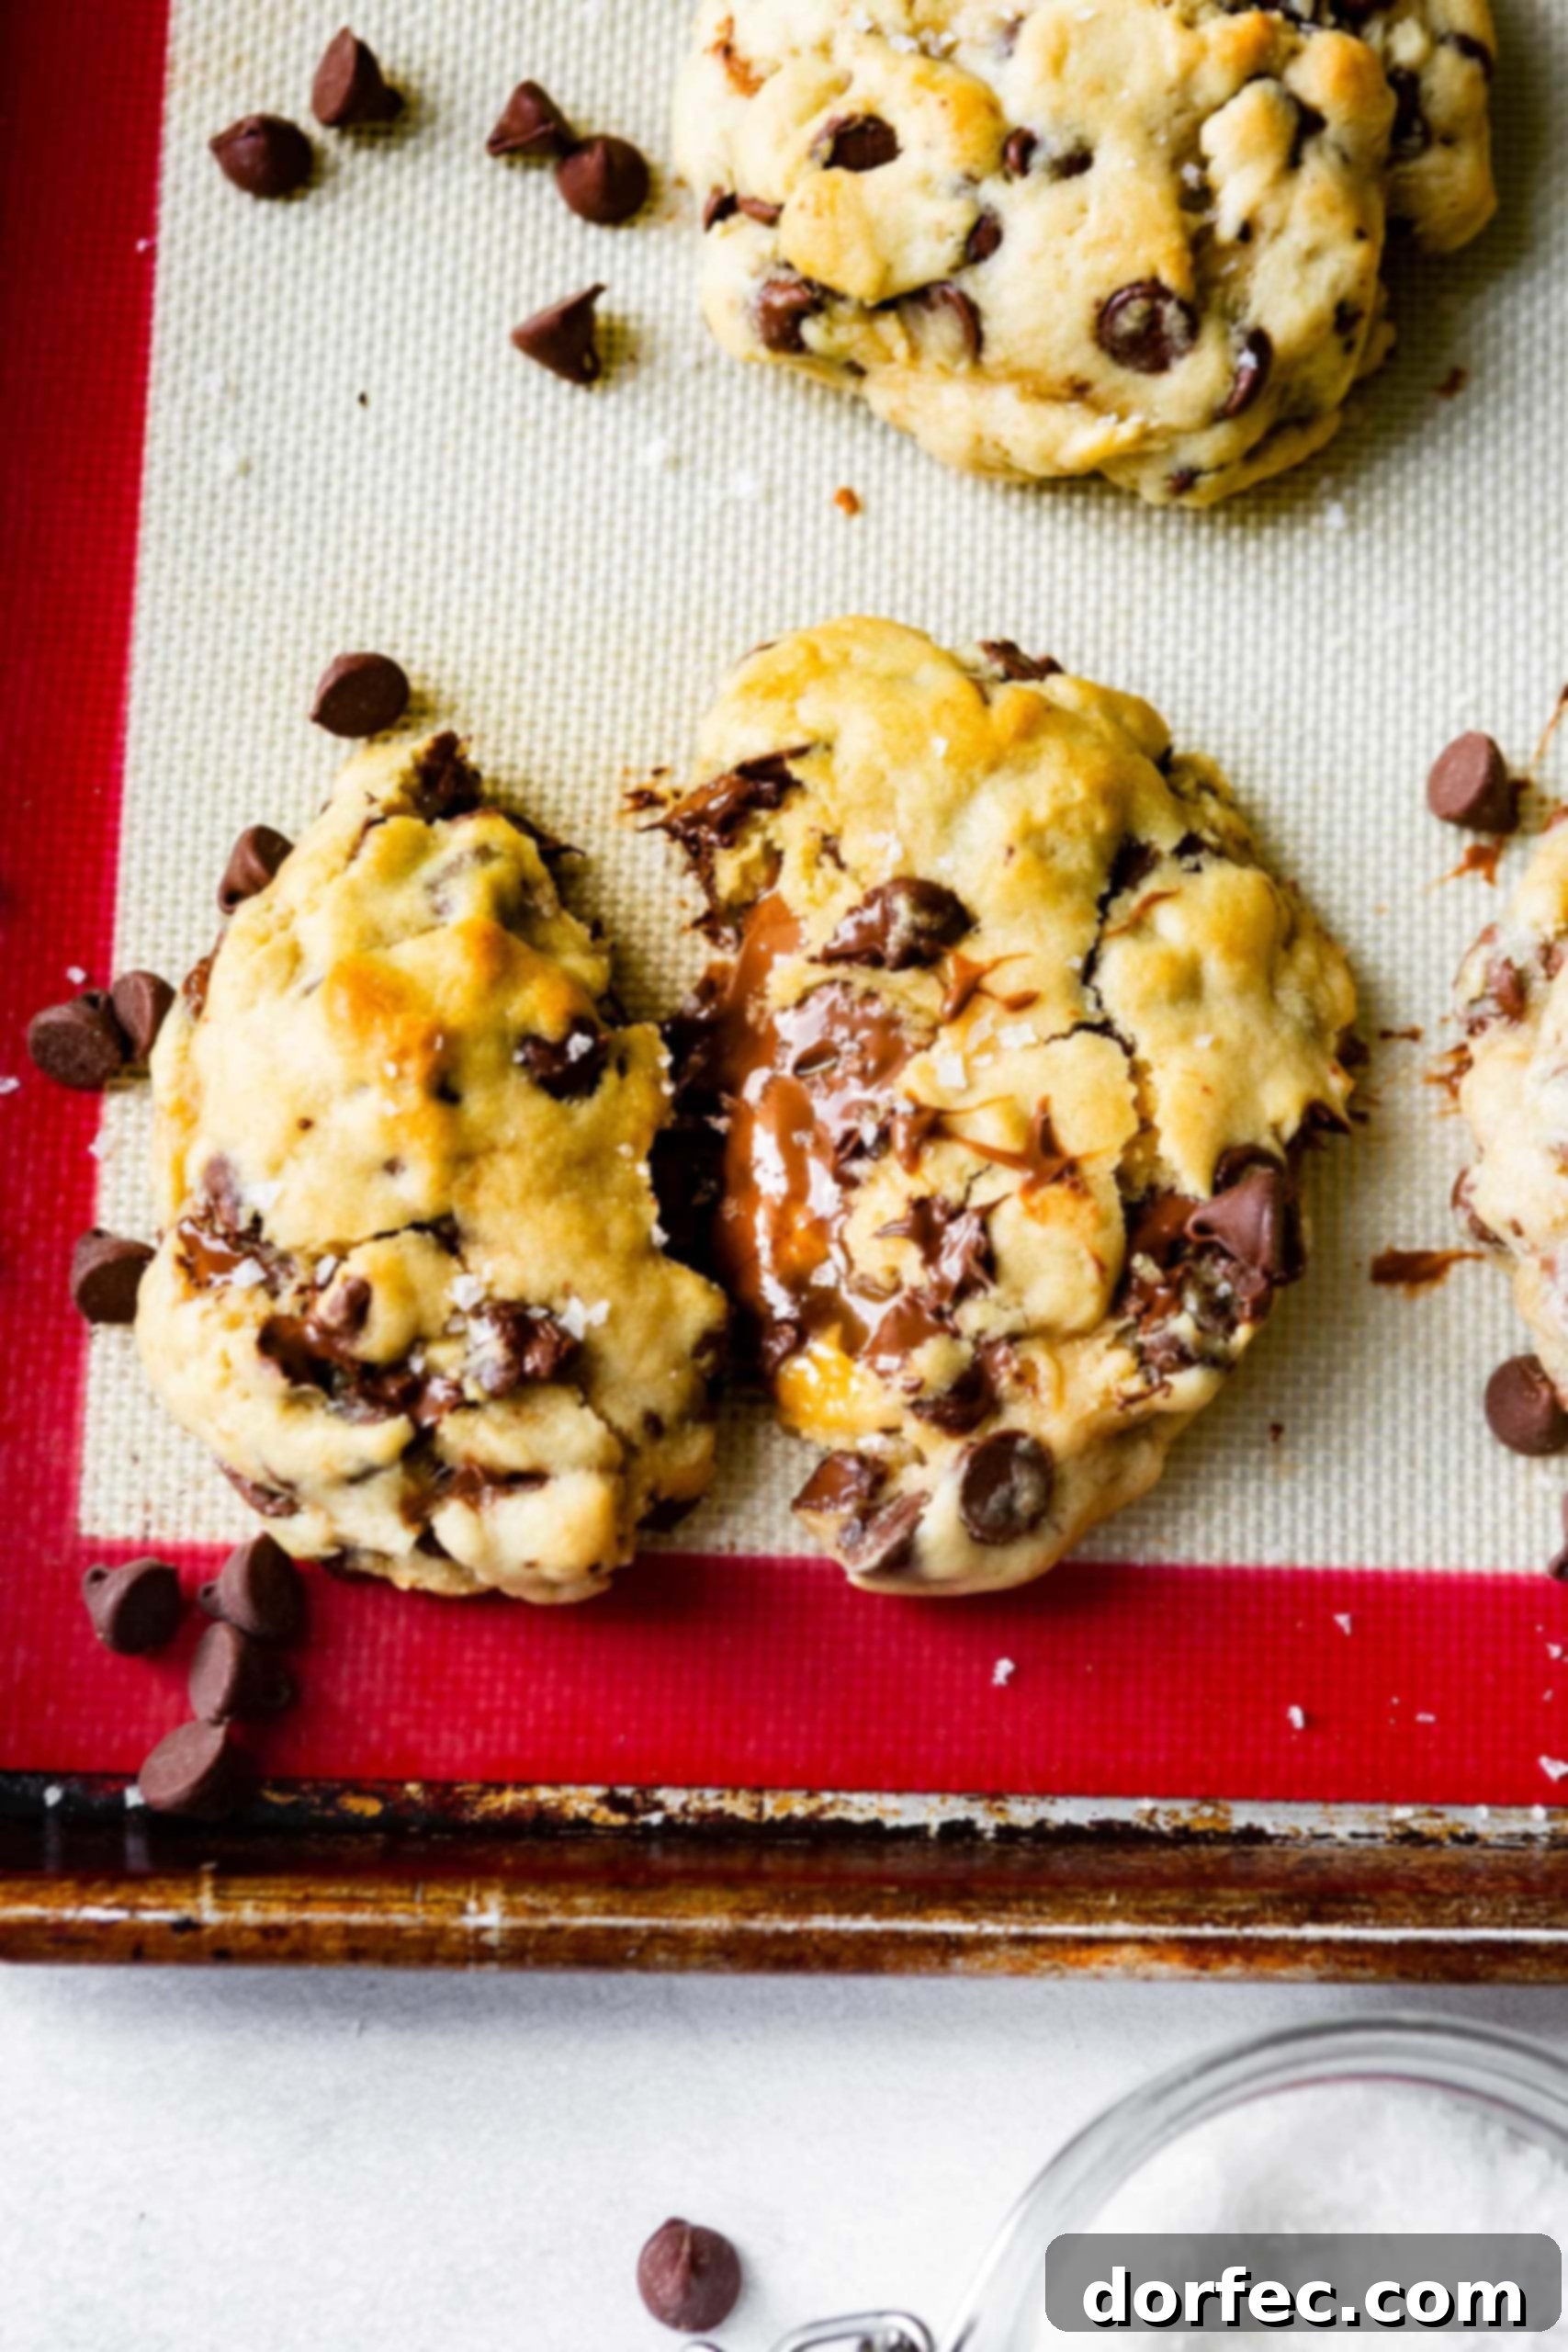
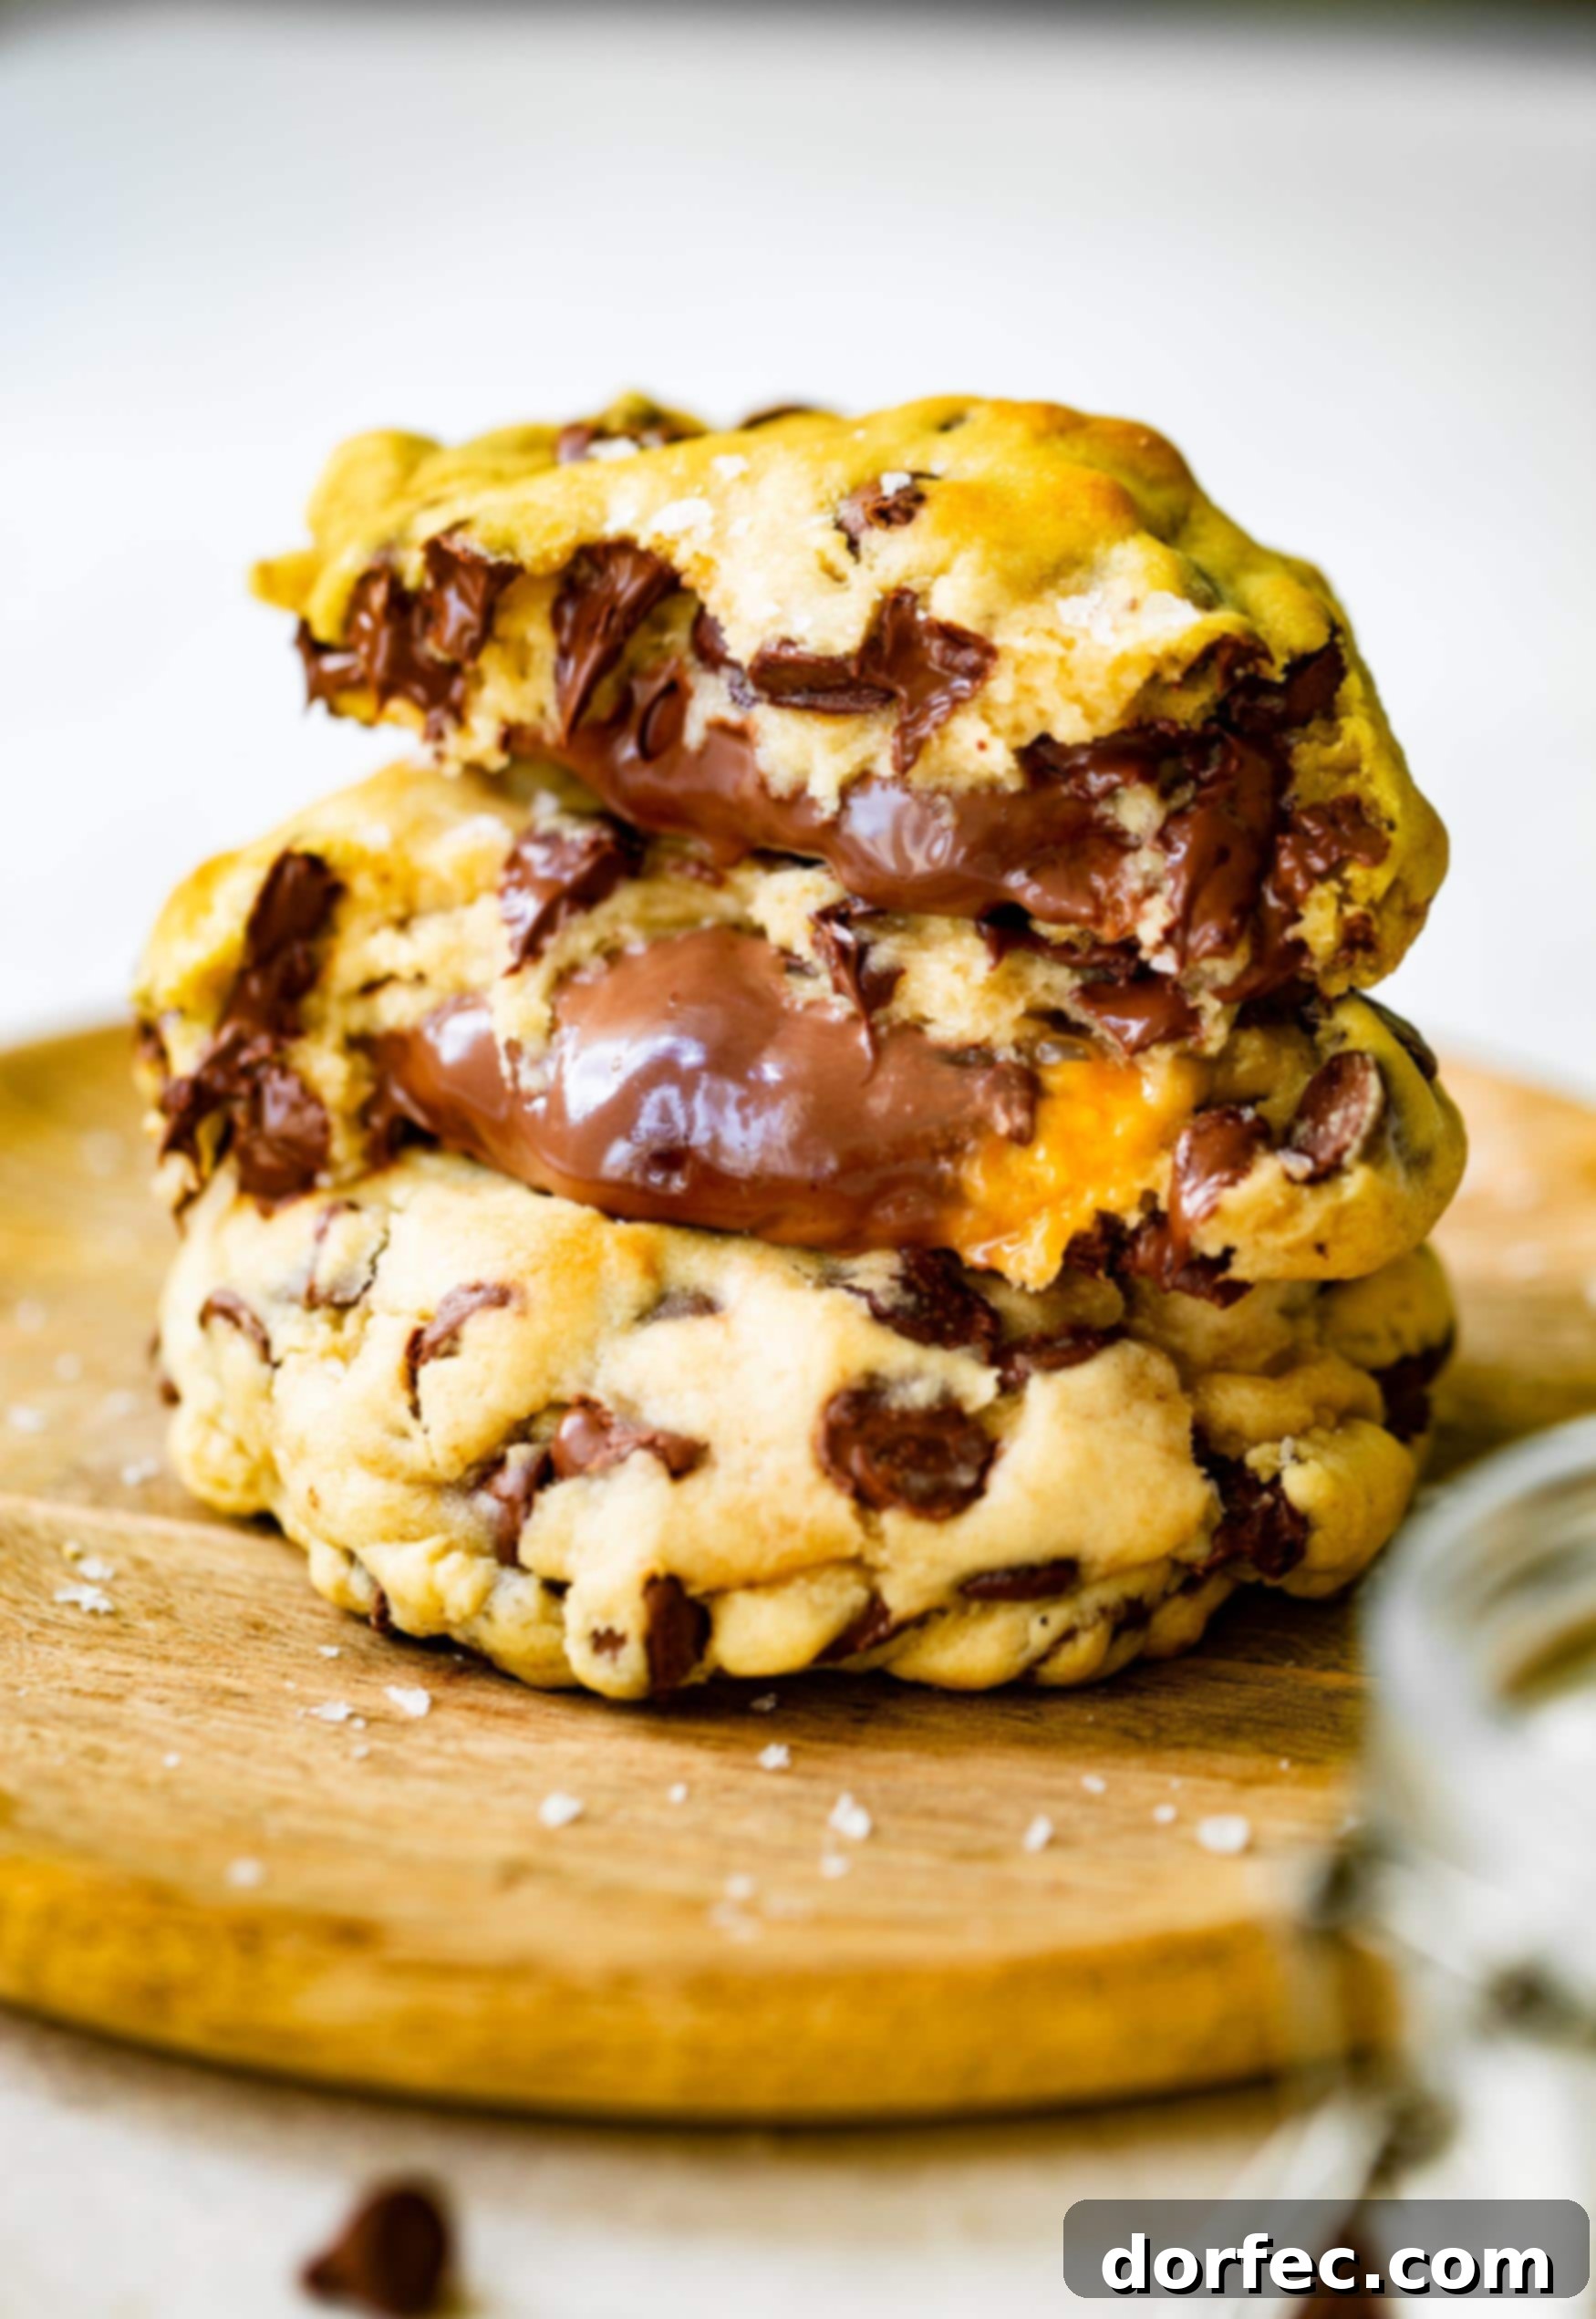
While a simple browned butter chocolate chip cookie topped with sea salt is undeniably delicious, our culinary exploration led us to an even more sensational creation: the Nutella and dulce de leche stuffed chocolate chip cookie. The moment we tried this decadent variation, it was clear we had found a new favorite. The combination of the nutty brown butter, the melted chocolate, and the dual creamy fillings creates an unparalleled symphony of flavors and textures that truly sets these cookies apart from any other.
Crafting Your Culinary Masterpiece: Nutella & Dulce de Leche Stuffed Chocolate Chip Cookies
Creating these heavenly stuffed cookies is a rewarding process that begins with a stellar cookie dough. Follow these detailed steps to achieve perfection:
- Prepare Your Brown Butter Cookie Dough: The foundation of these exceptional cookies is a rich, flavorful dough made with browned butter. This crucial step adds a depth of nutty, caramelized flavor that elevates the entire cookie. After preparing the dough, ensure to chill it in the refrigerator for a period. Chilling the dough is essential; it not only deepens the flavors but also makes the dough much easier to handle and prevents the cookies from spreading too much during baking, ensuring a thick, chewy result.
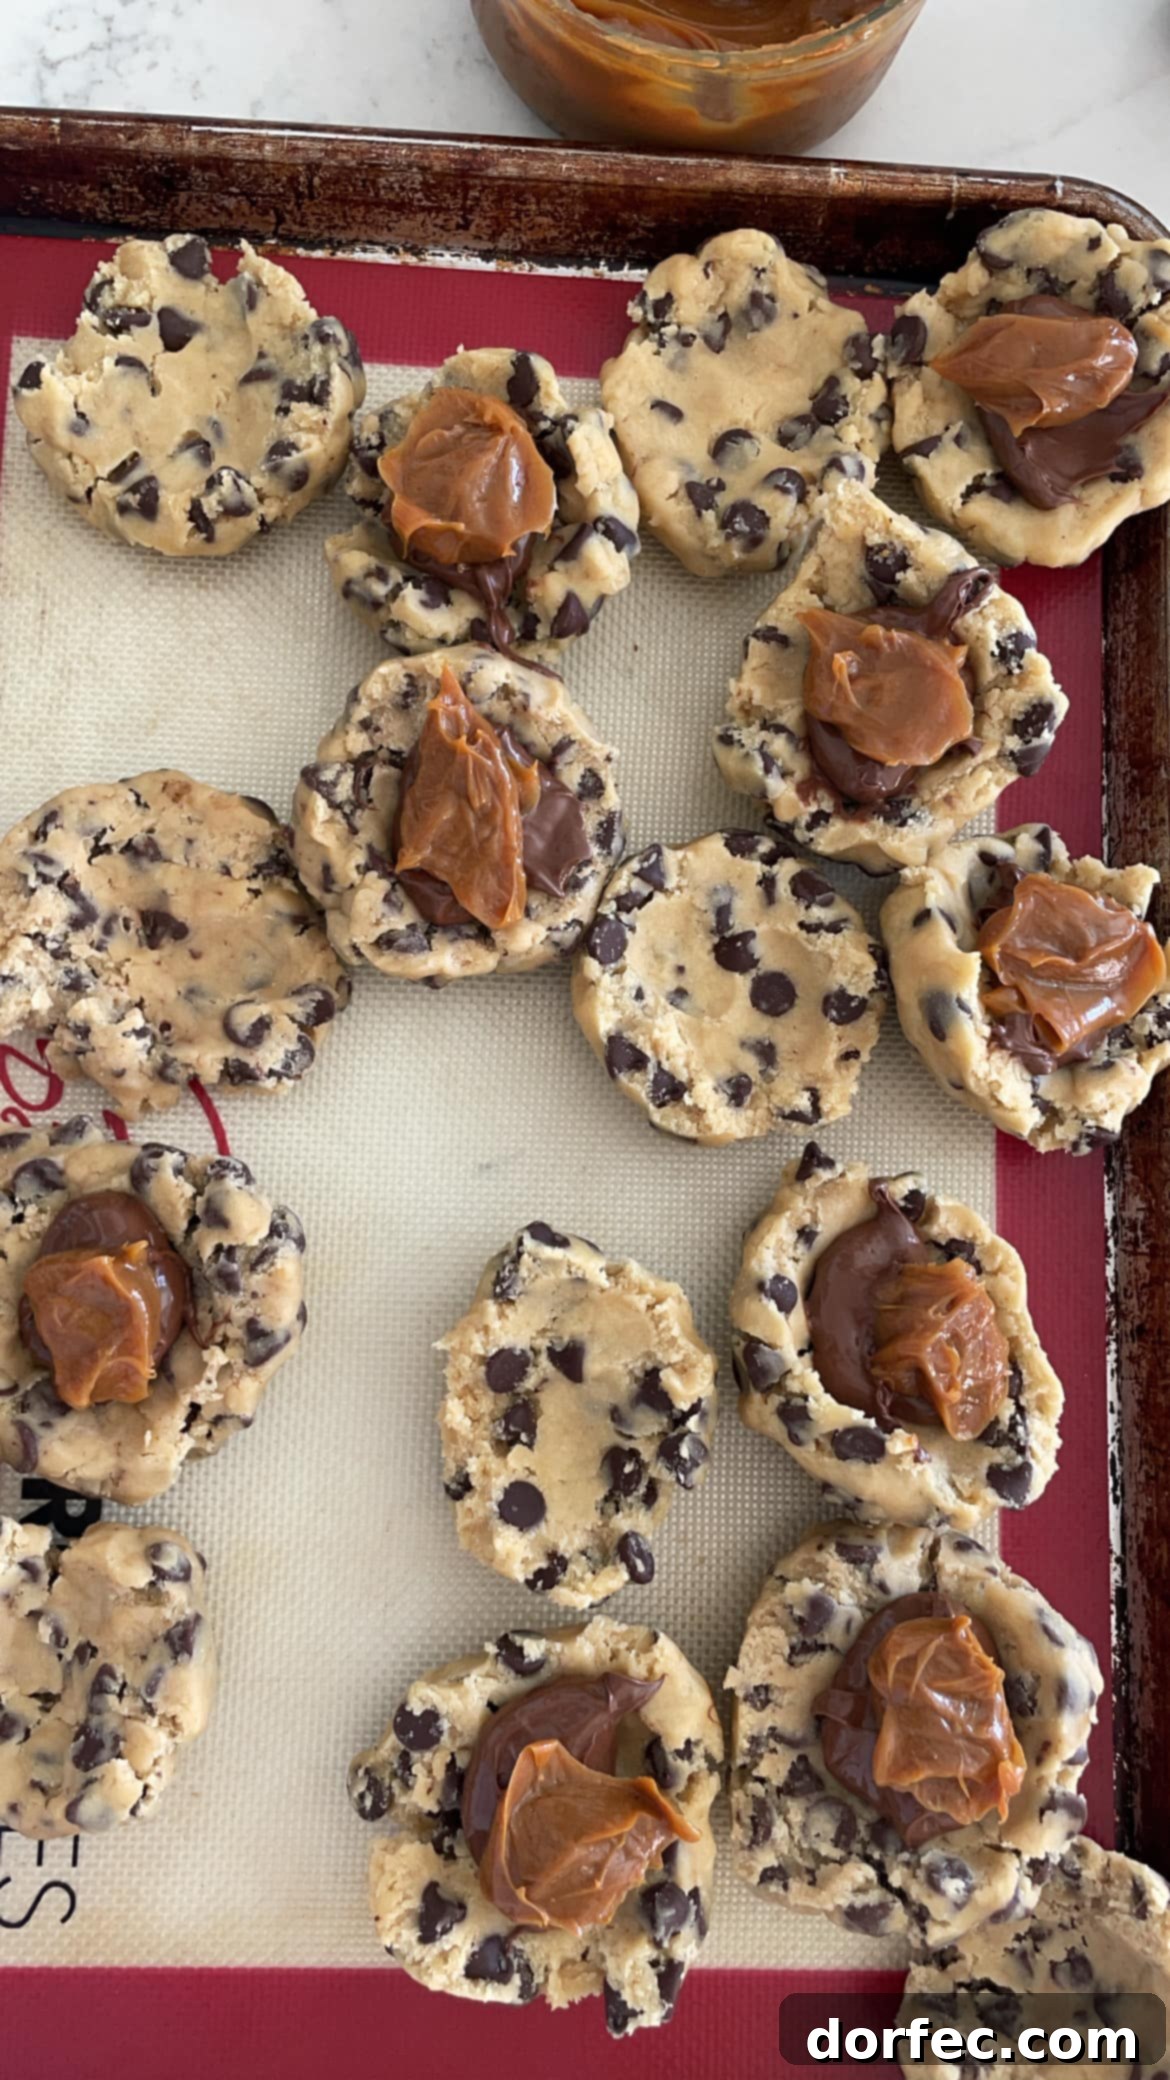
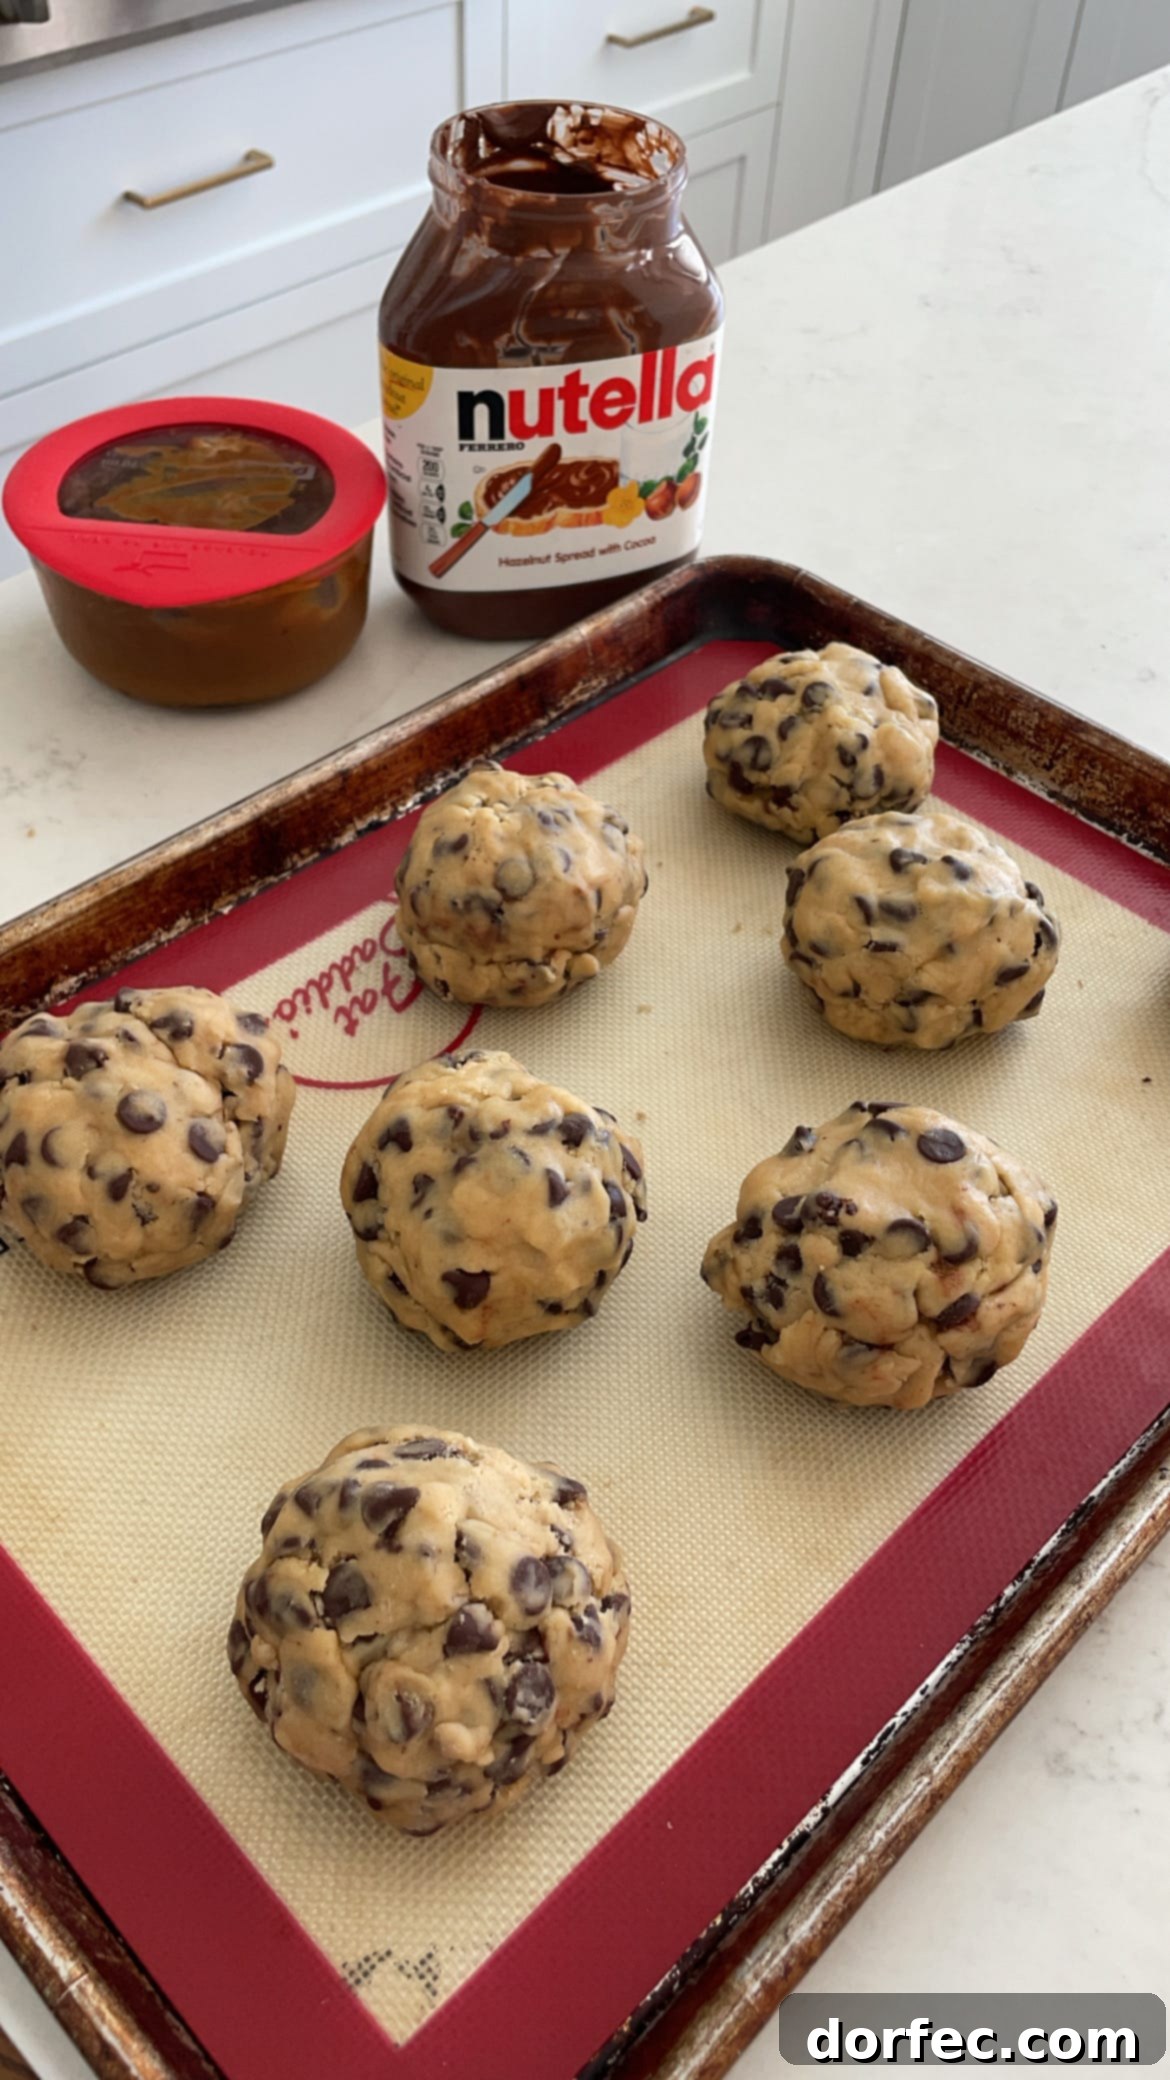
- Shape and Fill with Nutella: Once your dough is perfectly chilled and ready, take a portion and gently flatten it into a small, cup-like shape in the palm of your hand. This indentation will cradle your luscious fillings. Depending on your desired cookie size, scoop a generous, heaping tablespoon of rich, creamy Nutella into the center of the flattened dough. Ensure the Nutella is nestled securely.
- Add Dulce de Leche: Next, in the same manner, add an equally generous dollop of dulce de leche on top of the Nutella. The combination of these two sweet, creamy fillings creates an incredible surprise in the heart of each cookie.
- Encase the Filling: Take another equally sized portion of cookie dough and flatten it into a small bowl shape. Carefully place this second dough piece on top of the filled dough, effectively creating a “lid.” Gently pinch and seal the edges all around, ensuring the Nutella and dulce de leche are completely enclosed within the cookie dough ball. It’s crucial to seal the edges well to prevent any leakage during baking, keeping all that gooey goodness inside. Observe these beauties as they transform from simple dough into future delightful treats!
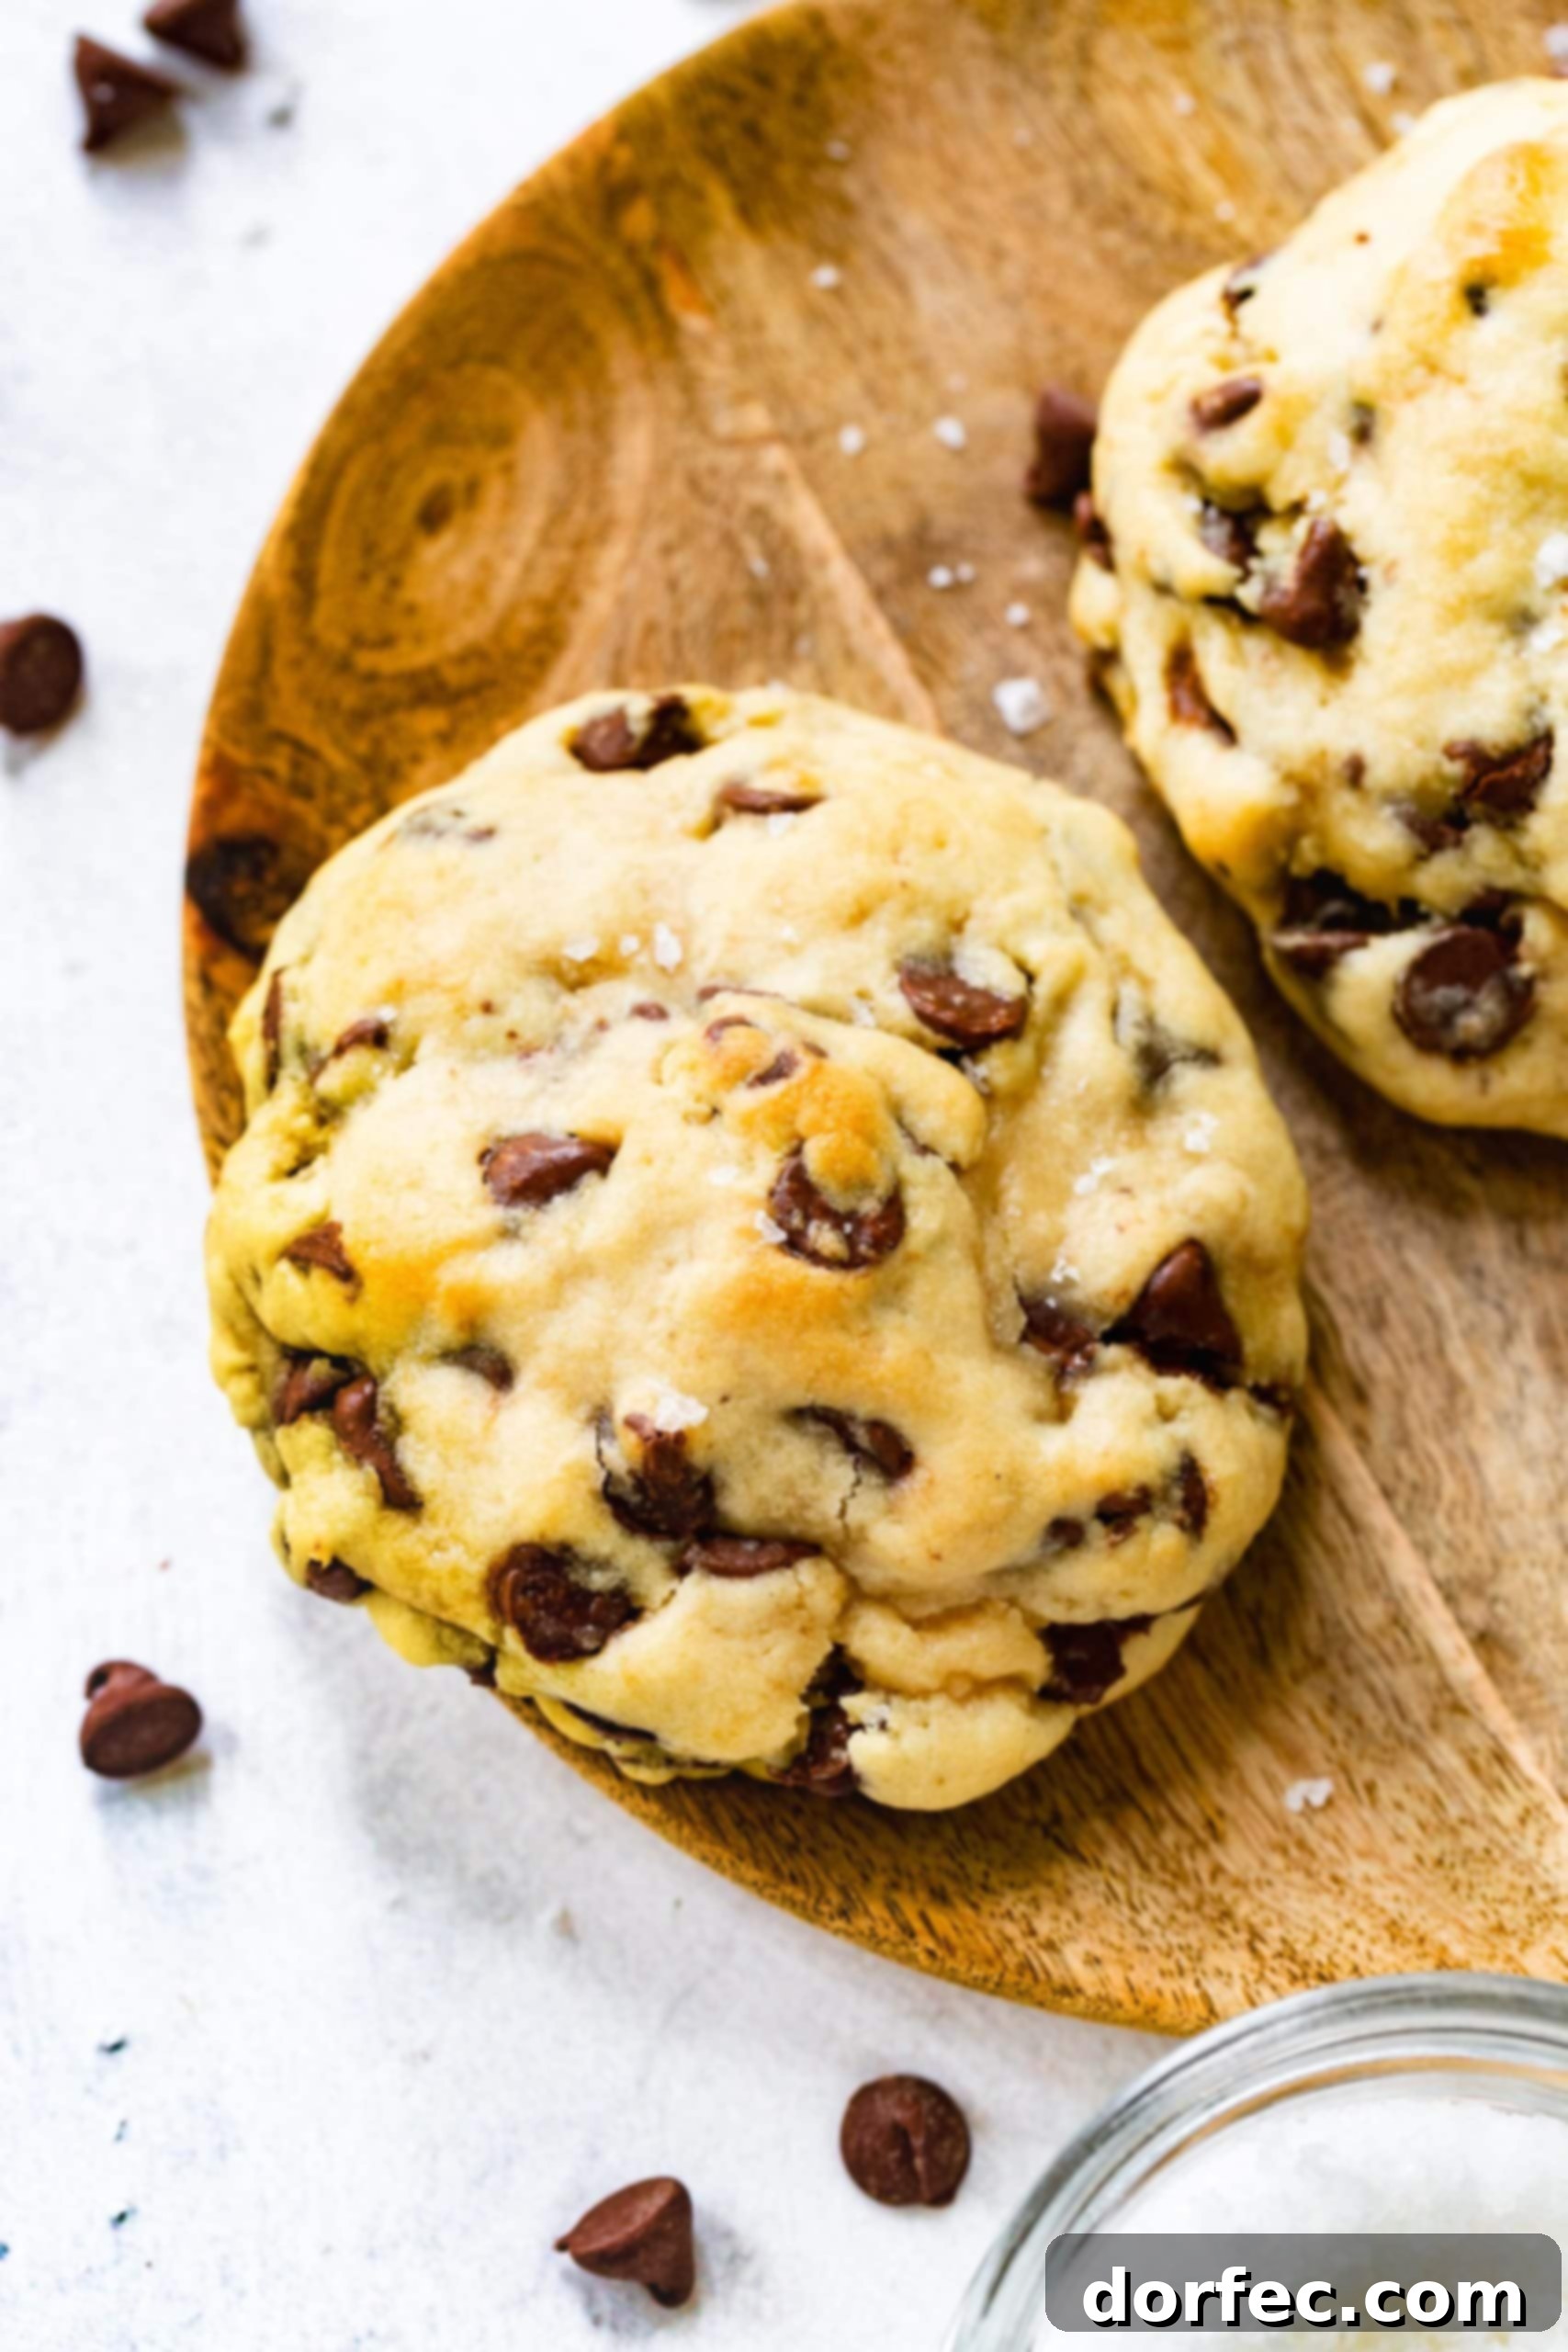
- Bake to Perfection and Garnish: Place your perfectly sealed cookie dough balls on a prepared baking sheet. Bake them until golden brown, then, immediately upon removing them from the oven, sprinkle generously with a touch of flaky sea salt. The sea salt provides a wonderful contrast, enhancing the sweetness and richness of the cookies.
- Choose the Right Pan: Start by placing your butter in a stainless steel or light-colored pan. Avoid using a black nonstick pan, as it makes it much harder to observe the subtle color changes, and it doesn’t brown the butter as effectively or evenly.
- Set the Heat to Medium: Turn your stove to medium heat. This moderate temperature ensures that the butter cooks evenly, preventing it from burning too quickly while allowing the milk solids to toast perfectly.
- Stir Continuously: As the butter begins to melt, start stirring slowly with a whisk. You’ll notice the melted butter beginning to foam and sizzle around the edges. Keep stirring consistently to ensure even browning.
- Watch for Color and Aroma: In approximately 5-8 minutes from the start of cooking (this can vary depending on the amount of butter), the butter will start to smell distinctly buttery and nutty. It will also take on a beautiful golden-brown color. The foam will slightly subside, and you’ll see tiny specks of toasted brown milk solids forming at the bottom of the pan. This is your cue!
- Cool Down Immediately: As soon as it reaches the desired golden-brown hue and nutty aroma, remove the pan from the heat. Immediately use a rubber spatula to scrape all the browned butter, including those flavorful brown specks, into a heat-proof bowl to cool down. This stops the cooking process and prevents the butter from burning.
- Freezing Unbaked Dough: To freeze the dough, simply scoop the prepared cookie dough balls onto a parchment-lined baking sheet and freeze them until solid. Once frozen, transfer the solid dough balls to a freezer-safe bag, pressing out as much air as possible to prevent freezer burn. They can be stored this way for up to 3 weeks. When you’re ready to bake, simply place the frozen dough balls on a baking sheet and bake as directed, adding a minute or two to the baking time.
- Freezing Baked Cookies: Cooked cookies can also be frozen using a similar method. Allow the cookies to cool completely, then place them in a single layer on a baking sheet and freeze until solid. Transfer them to a freezer-safe bag or airtight container. They will stay fresh for 1-2 weeks.
- For Extended Freshness: For optimal, long-term freshness, we highly recommend using a vacuum sealer. A vacuum-sealed Food Saver can keep these cookies delicious for up to 6 months, locking in their flavor and texture. We are truly obsessed with ours for preserving baked goods!
- Chocolate Chip Pudding Cookies
- Chocolate Reese’s Pieces Cookies
- NY Times BEST Chocolate Chip Cookie Recipe
- Chocolate Chocolate Chip Cookies
- Thick Snickerdoodle Cookies
- Cinnamon Roll Cookies
- Soft Gingerbread Cookies
- Glazed Lemon Cookies
- Pumpkin Chocolate Chip Cookies
- Million Dollar Cookies
- White Chocolate Molasses Cookies
- Peanut Butter Chocolate Chip Cookies
- Lemon Drop Cookies
- Best Cut Out Sugar Cookies
- Copycat Swig Sugar Cookies
- Cowboy Cookies
- Oatmeal Raisin Chocolate Chip Cookies
- All our COOKIE RECIPES here!
- 1 Cup Butter, unsalted (2 sticks)
- 2 1/3 Cups Flour
- 1/4 teaspoon Salt
- 1 1/4 teaspoon Baking Soda
- 1/2 Cup White Sugar
- 1 Cup Light Brown Sugar
- 1/2 teaspoon Vanilla Extract
- 2 Large Eggs
- 3/4 Cup Milk Chocolate Chips (we prefer Ghirardelli)
- 3/4 Cup Semi Sweet Chocolate Chips
- Nutella
- Dulce de Leche
- Sea Salt
- In a large skillet over medium heat, add the butter and cook, stirring slowly with a whisk until it turns golden, develops a nutty scent, and becomes foamy, typically within 3-5 minutes. Set aside to cool.
- Meanwhile, in a separate bowl, thoroughly mix the flour, salt, and baking soda.
- Add the white sugar and brown sugar to a standing mixer. Pour in the cooled browned butter. Mix for 2 minutes to ensure the sugar mixture is properly combined. Add the vanilla extract and mix again. Finally, add the egg and egg yolk and mix for a few seconds until fully incorporated. Gradually add the contents of the flour bowl and mix for 30-60 seconds before folding in both the milk chocolate chips and semi-sweet chocolate chips.
- Place a large sheet of plastic wrap on your counter and carefully transfer the cookie dough onto it. Form the dough into a long log shape and cover it tightly with the plastic wrap. Refrigerate the dough for at least 30 minutes to firm up.
- Once chilled, slice the dough log into uniform circles to make it easier to flatten and stuff.
- Meanwhile, preheat your oven to 350°F (175°C). Line a few baking sheets with parchment paper or silicone baking mats.
- Press a single ball of dough into the palm of your hand, flattening it into a small disc. Place 1/2 teaspoon of Nutella and 1/2 teaspoon of dulce de leche onto the center of the dough. Carefully wrap the dough around the filling, pinching the edges closed to form a sealed ball. Place the stuffed cookie dough balls onto the prepared baking sheets and bake for 9-10 minutes, or until the edges are golden.
- Remove the cookies from the oven and immediately sprinkle them with a little sea salt. Allow them to cool on the baking sheet for a minute or two before carefully transferring them to a wire rack to cool completely.
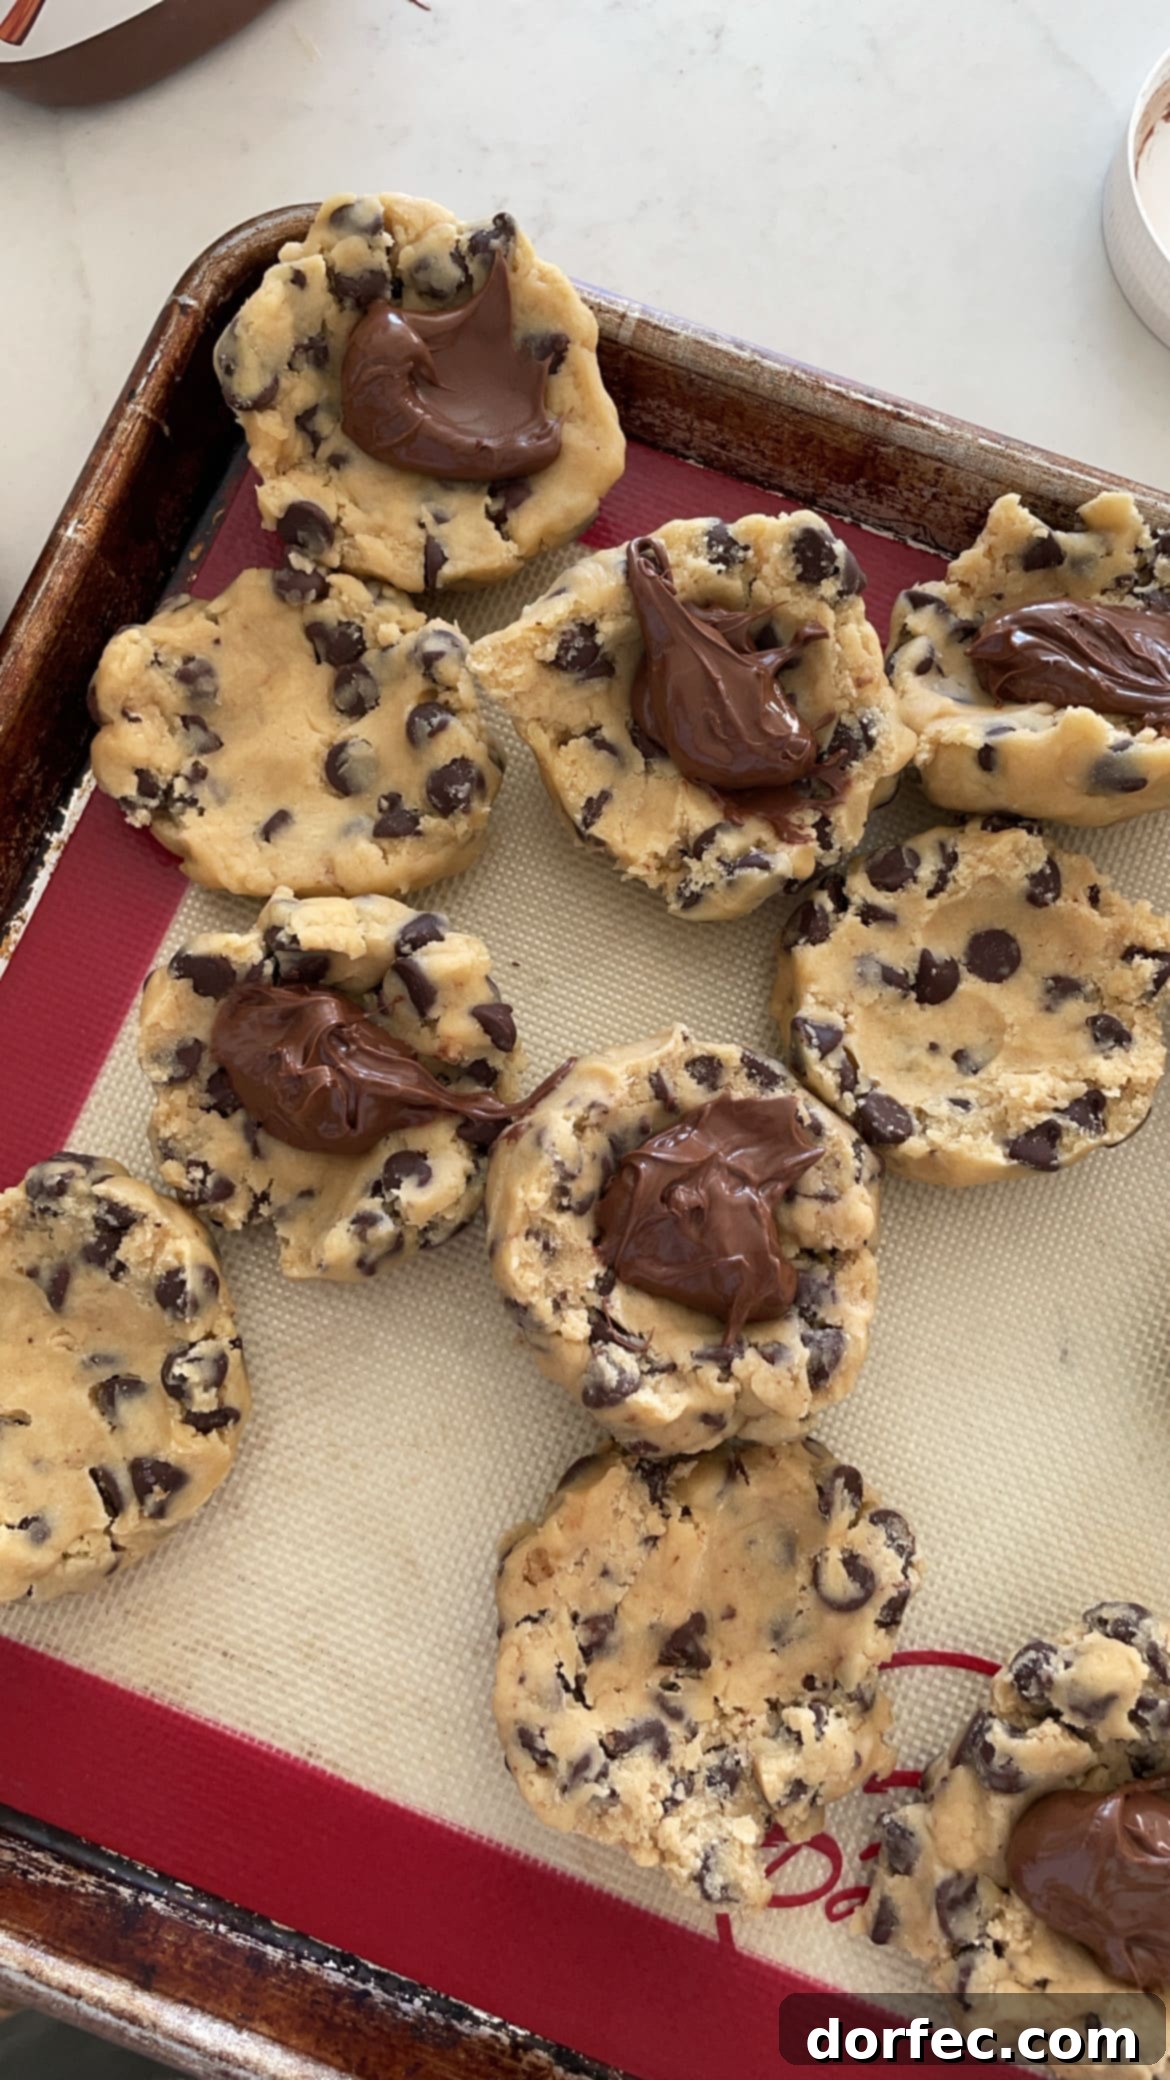
Note: The shaping method described here focuses on maximizing filling. If you prefer a slightly different approach or a smaller cookie, you might opt for pressing the dough out more thinly and using less filling, as sometimes seen in demonstrative videos where thick cookies aren’t the primary goal. Both methods yield delicious results!
The Magic of Brown Butter: Is It Essential?
Do you absolutely have to use brown butter for these cookies? The simple answer is no, but we highly recommend it! If the process of browning butter feels a bit intimidating or if you’re short on time, you can certainly use the same amount of softened butter instead. Your cookies will still be incredibly delicious, likely turning out a bit bigger and fluffier, which is by no means a bad thing. In fact, for some of our non-split cookie photos, we used softened butter, showcasing that either method works beautifully to create a fantastic cookie.
Why Brown Butter Makes All the Difference
Browning butter is a simple technique that transforms ordinary butter into a golden, nutty, and highly aromatic ingredient. This process deepens the flavor profile of your cookies, adding a rich, buttery taste that is absolutely incredible! It imparts a warm, toffee-like nuttiness that is truly to die for, elevating the overall complexity and sophistication of your baked goods. Once you try brown butter in your cookies, you might never go back to plain melted butter again!
Mastering the Art of Browning Butter
Browning butter is a skill that takes just a few minutes but yields phenomenal results. Here’s how to do it perfectly:
The Flavorful Brown Specks in Brown Butter
Those wonderful little brown specks you see in browned butter are actually toasted milk solids. These are not something to discard; in fact, they are where a significant portion of that incredible nutty, rich flavor comes from! Always use a spatula to scrape them into your bowl along with the butter when you transfer it to cool. They are key to the unique taste profile of brown butter.
Freezing Nutella & Dulce de Leche Stuffed Chocolate Chip Cookies
These incredibly ooey-gooey Nutella and dulce de leche stuffed chocolate chip cookies are perfect for making ahead and freezing, whether before or after baking. This makes them an ideal treat to have on hand for unexpected cravings or impromptu gatherings.
There’s a reason these have become Cade’s new favorite cookie, and honestly, mine too! They are quite possibly the most amazing cookies ever created, combining all the best elements of a classic treat with an exciting, decadent twist.
Choosing the Perfect Cookie Base Recipe
While we provide a fantastic cookie recipe, we understand that everyone has their own preference for the ideal cookie texture. For these stuffed wonders, we’ve found that our classic brown butter chocolate chip cookie recipe works exceptionally well. We prefer it over our thicker cookie recipe for this specific application. Although it might require a slightly smaller amount of Nutella and dulce de leche filling due to the cookies not being as massively huge, the resulting flavor combination is truly crazy delicious and has become Cade’s preferred cookie base for stuffing. The thinner base allows the rich fillings to shine even more!
Unveiling the Sweet Secret: What is Dulce de Leche?
Dulce de leche, which translates to “candy of milk,” is a traditional Argentinian dessert that has captivated taste buds worldwide. It’s a luscious, caramel-like sauce created by slowly heating sweetened milk until it caramelizes and thickens into a rich, golden-brown confection. Its flavor is a perfect balance of sweet, creamy, and deeply caramelized notes. You can often find dulce de leche in the international or Latin American section of most grocery stores. However, if you can’t locate it, don’t despair! Making homemade dulce de leche from sweetened condensed milk is surprisingly easy and incredibly rewarding. The depth of flavor it brings to these cookies is simply incredible – words truly fail to capture its deliciousness.
In a pinch, if you’re eager to try this recipe but don’t have our specific cookie dough or dulce de leche on hand, you could technically use any good quality chocolate chip cookie dough and store-bought caramel or even just Nutella. However, for the ultimate experience, we highly recommend sticking to the browned butter dough and the divine duo of Nutella and dulce de leche!
More Irresistible Cookie Recipes You’ll Adore:
Nutella and Dulce de Leche Stuffed Chocolate Chip Cookies
Sweet Basil
45 mins
10 mins
55 mins
24
Ingredients
Instructions
Recipe Notes
Dulce de leche can often be found in the international or sometimes the baking aisle of your local grocery store. Alternatively, you can easily find recipes online for how to make it at home using sweetened condensed milk.
For the best chocolate flavor, Ghirardelli Chocolate Chips are highly recommended.
This recipe is adapted from Ambitious Kitchen.
These cookies will keep fresh for up to a week when stored at room temperature in an airtight container.
Nutrition
Serving: 1g, Calories: 229kcal, Carbohydrates: 29g, Protein: 2g, Fat: 12g, Saturated Fat: 7g, Polyunsaturated Fat: 1g, Monounsaturated Fat: 3g, Trans Fat: 1g, Cholesterol: 35mg, Sodium: 161mg, Potassium: 65mg, Fiber: 1g, Sugar: 19g, Vitamin A: 272IU, Vitamin C: 1mg, Calcium: 24mg, Iron: 1mg
Nutrition information is automatically calculated, so should only be used as an approximation.
Enjoyed this recipe? Leave a comment below and share your experience!