
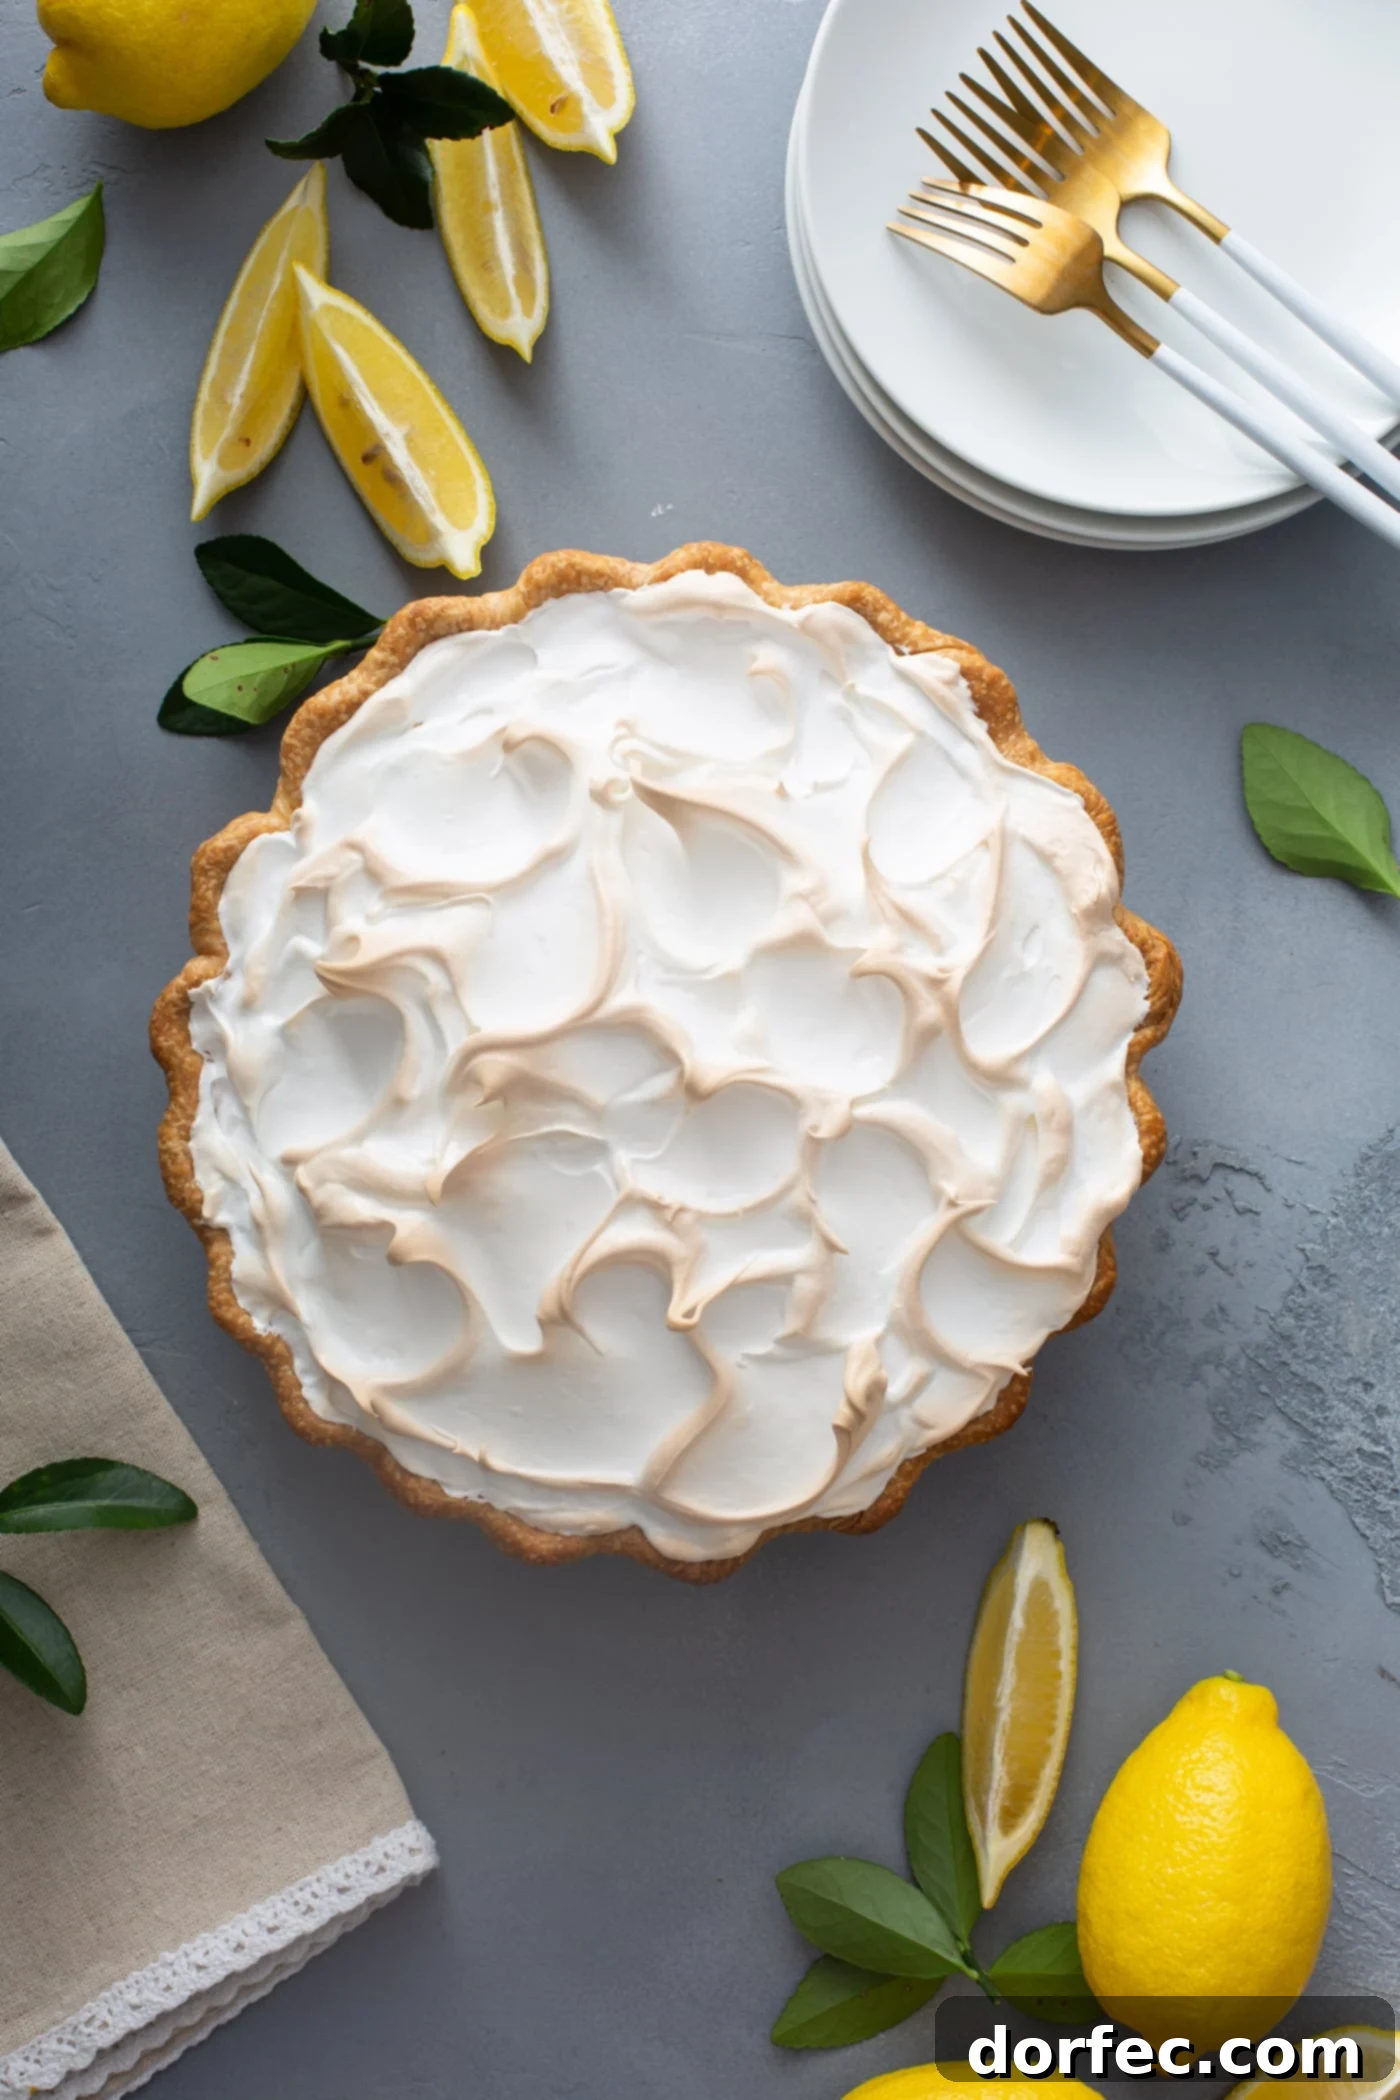
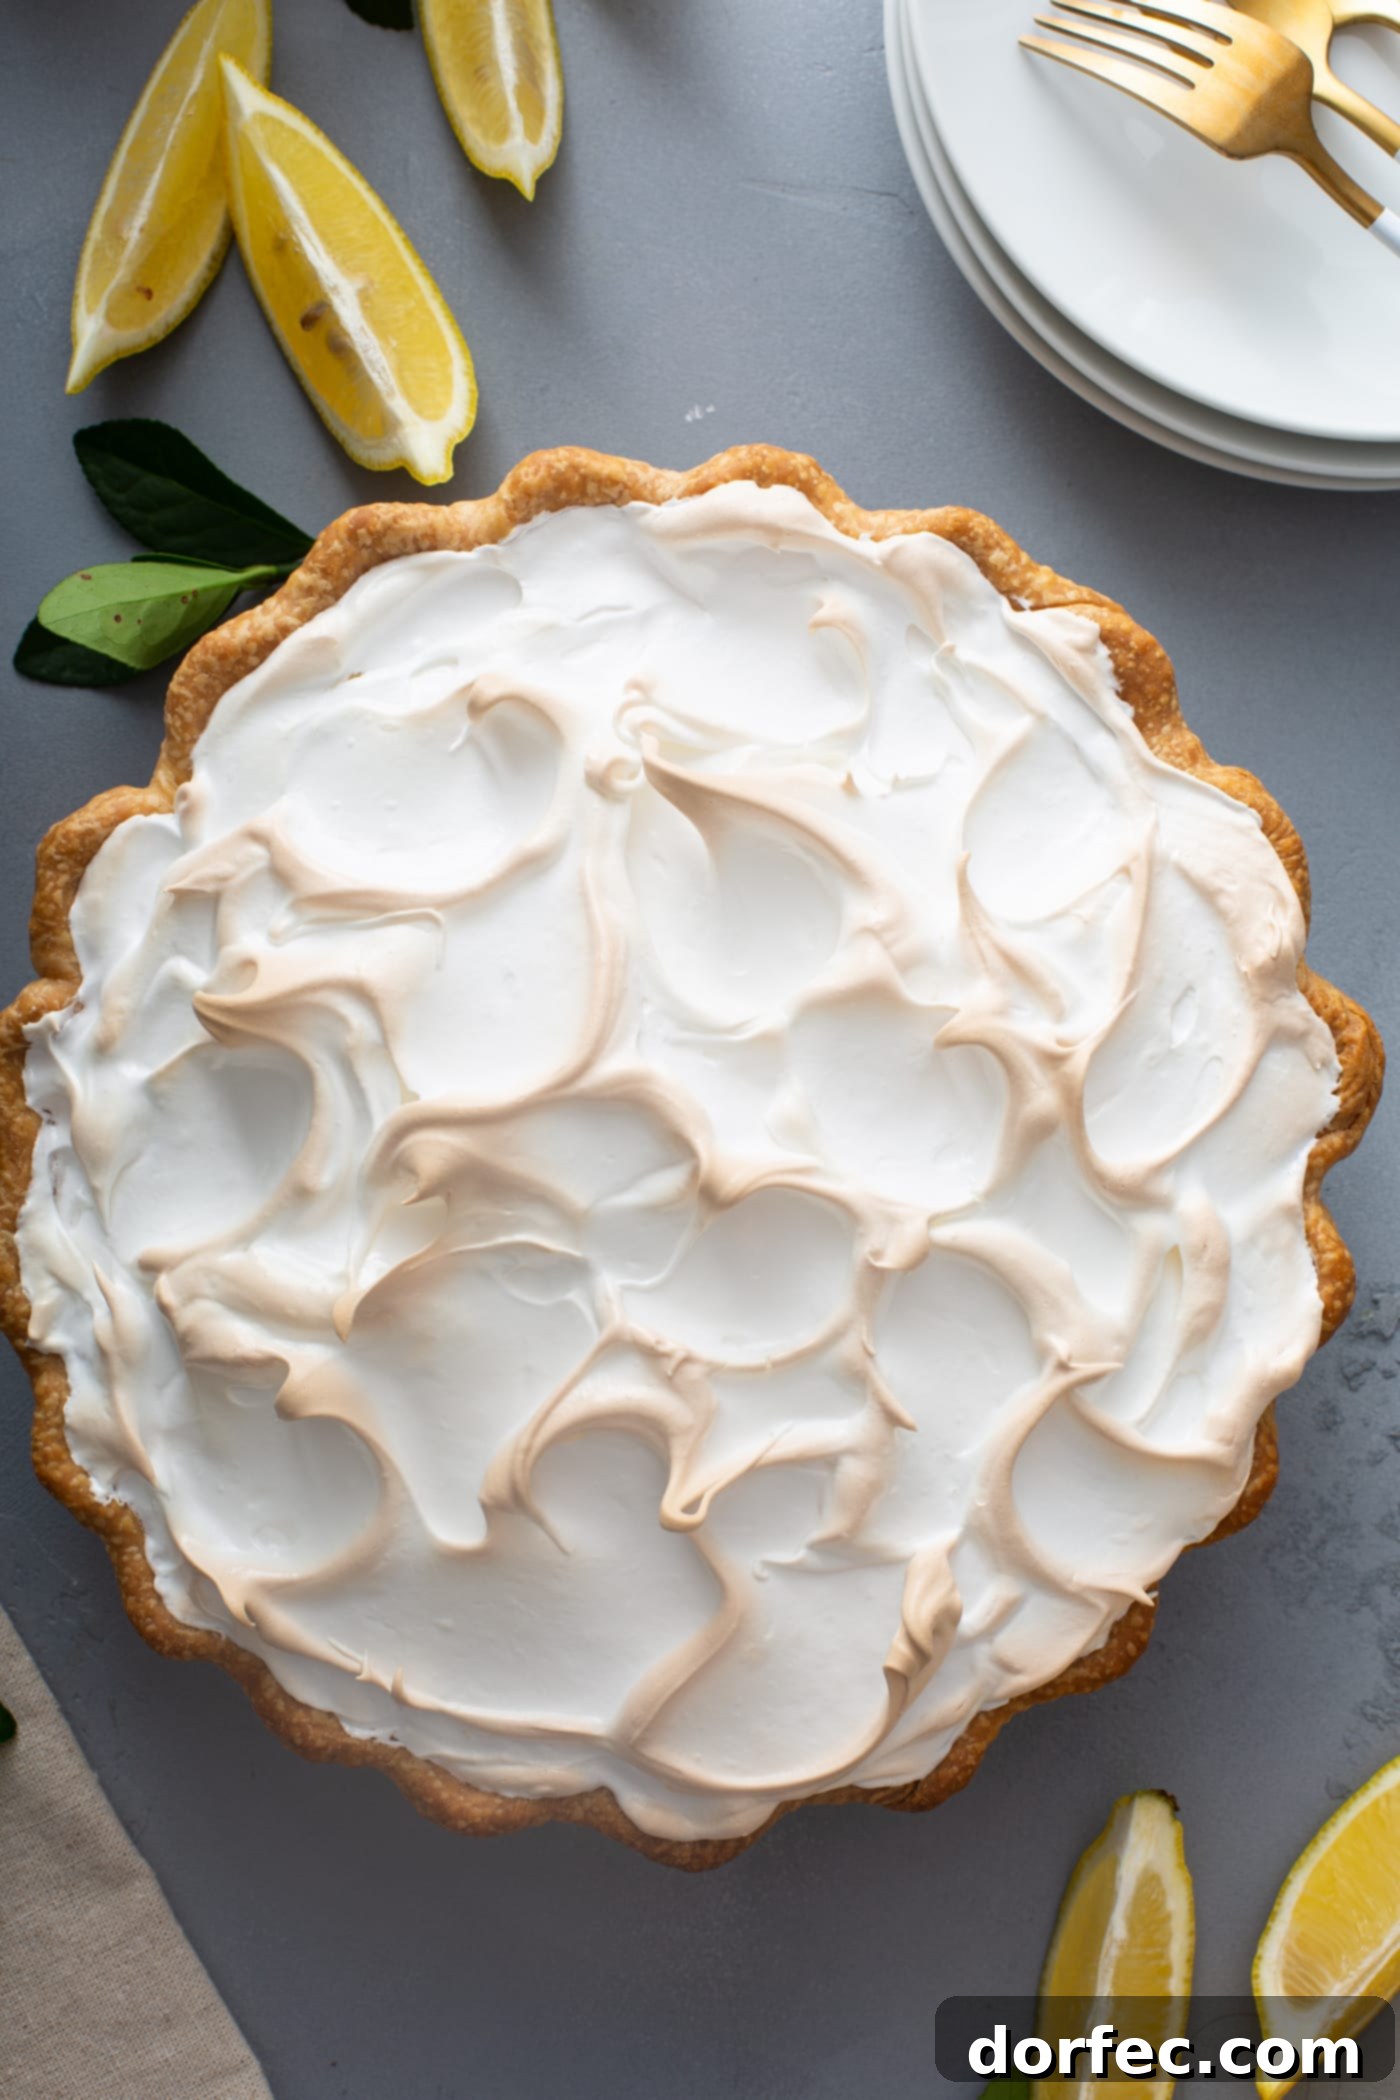
Unlock the secrets to crafting a truly unforgettable classic lemon meringue pie, just like the cherished family recipe passed down through generations. This iconic dessert, renowned for its delicate, flaky crust, vibrant and tart lemon filling, and a sky-high cloud of perfectly toasted meringue, is more than just a sweet treat – it’s a taste of nostalgia. Prepare to delight your taste buds and impress your loved ones with a dessert that balances zesty freshness with creamy indulgence, sure to become a new family favorite. Our comprehensive guide will walk you through each step, ensuring you achieve perfect, mouth-watering results every single time.
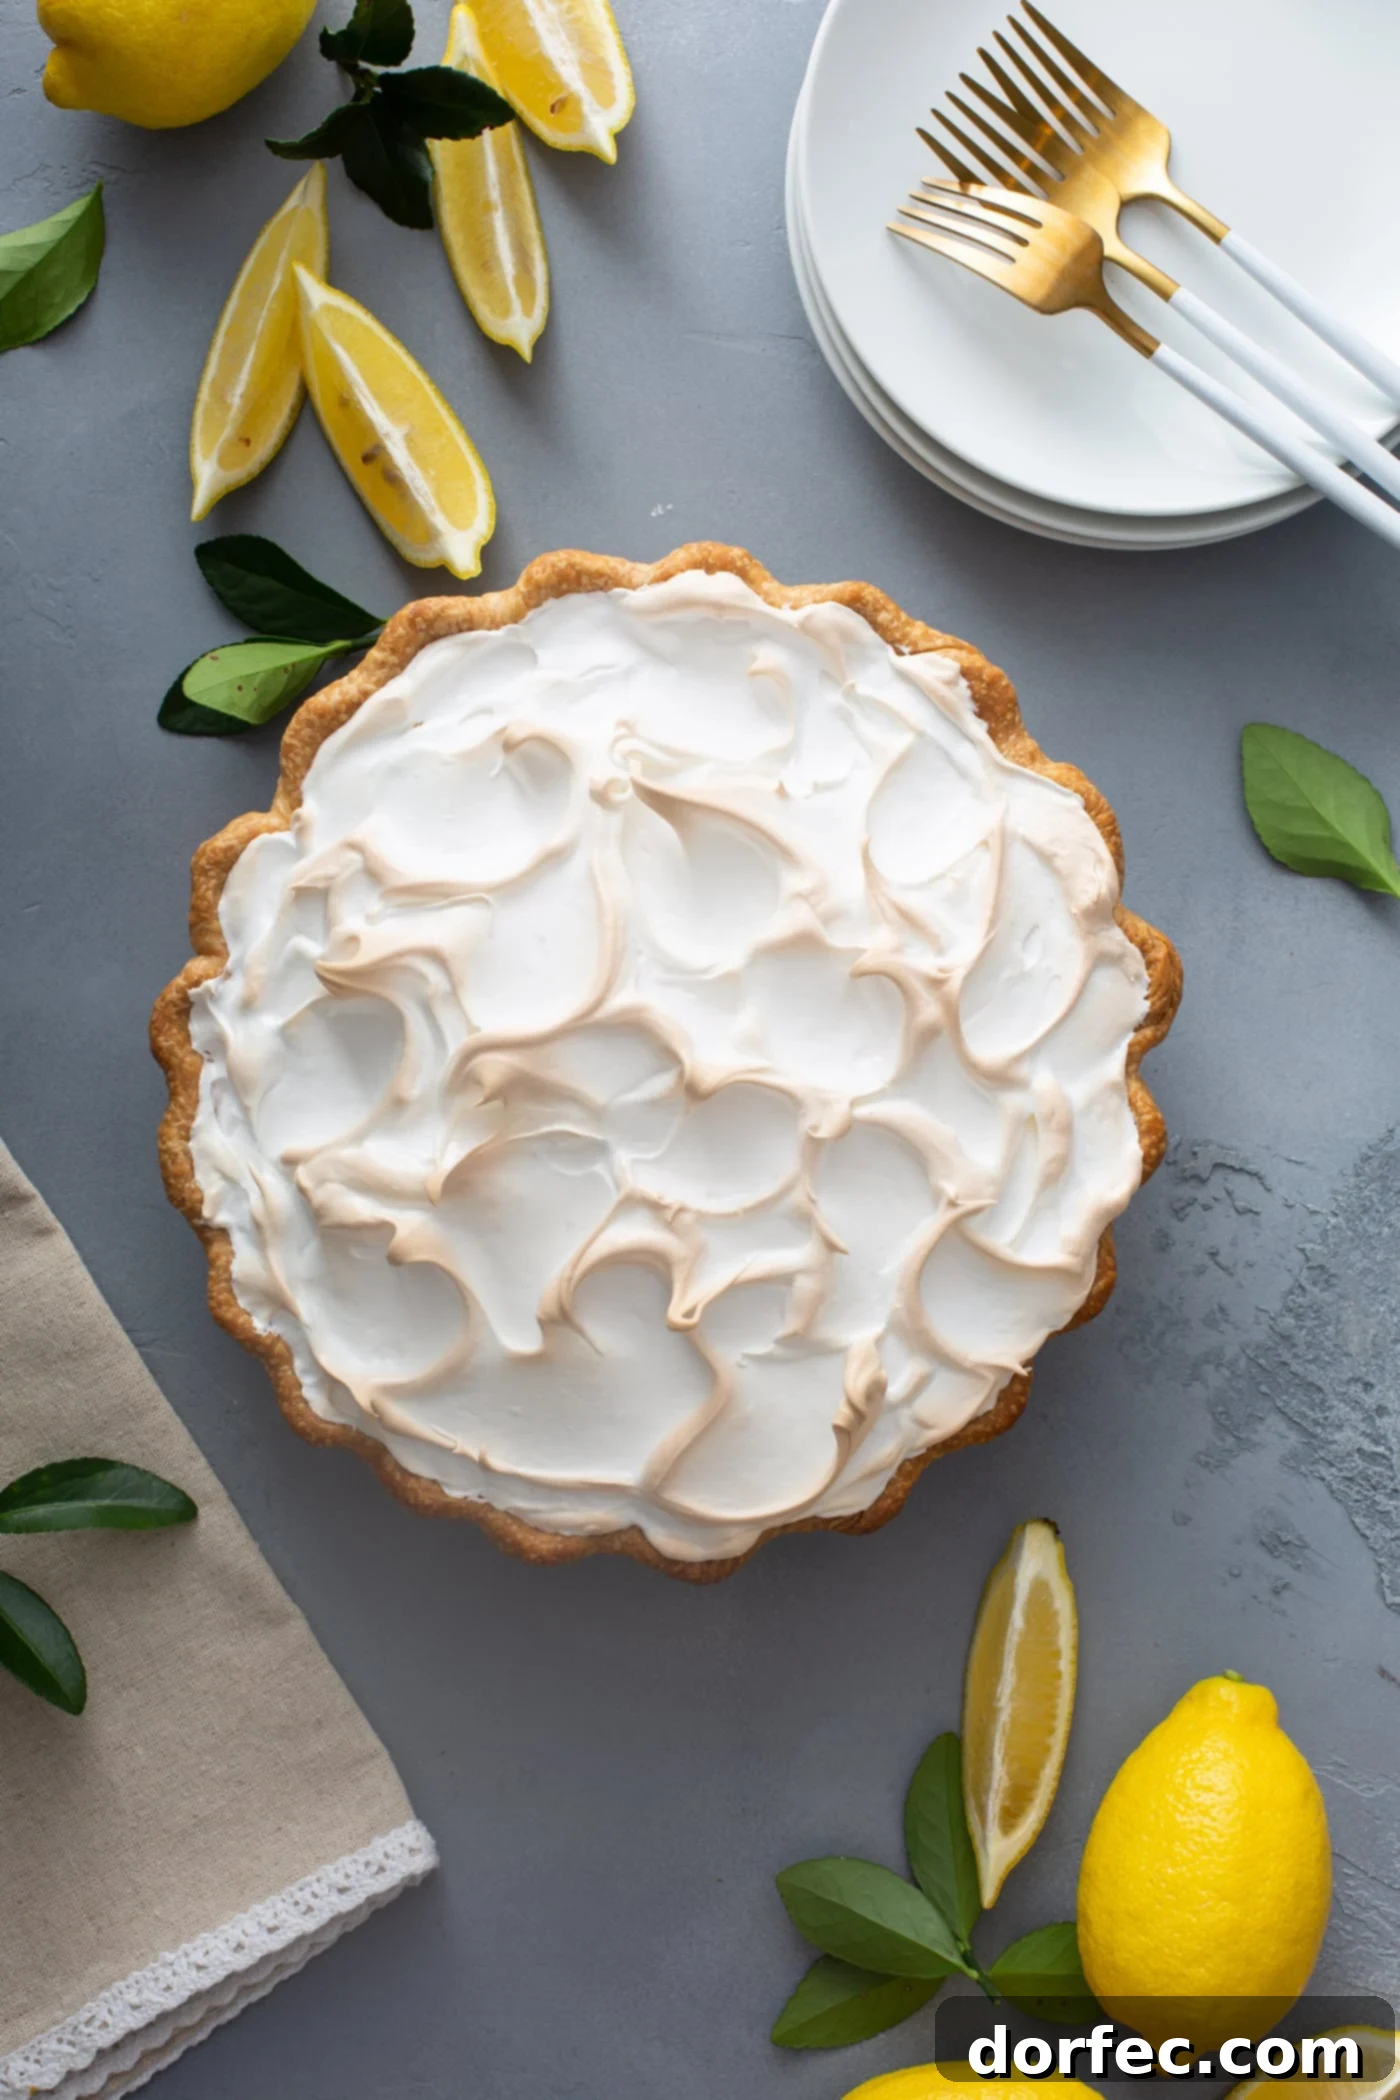
Growing up, my mom’s Lemon Meringue Pie was legendary. It wasn’t just a dessert; it was a beacon of comfort and celebration. Whether it was a staple at festive gatherings or a special request for someone feeling under the weather (yes, seriously, people asked for this pie over chicken noodle soup!), its presence always brought a smile. There’s something truly magical about that first bite – the crispness of the crust giving way to the smooth, tangy lemon, crowned by the airy, sweet meringue. Each time I make it, I’m reminded of its incredible allure, and honestly, I find it impossible to stop at just one slice!
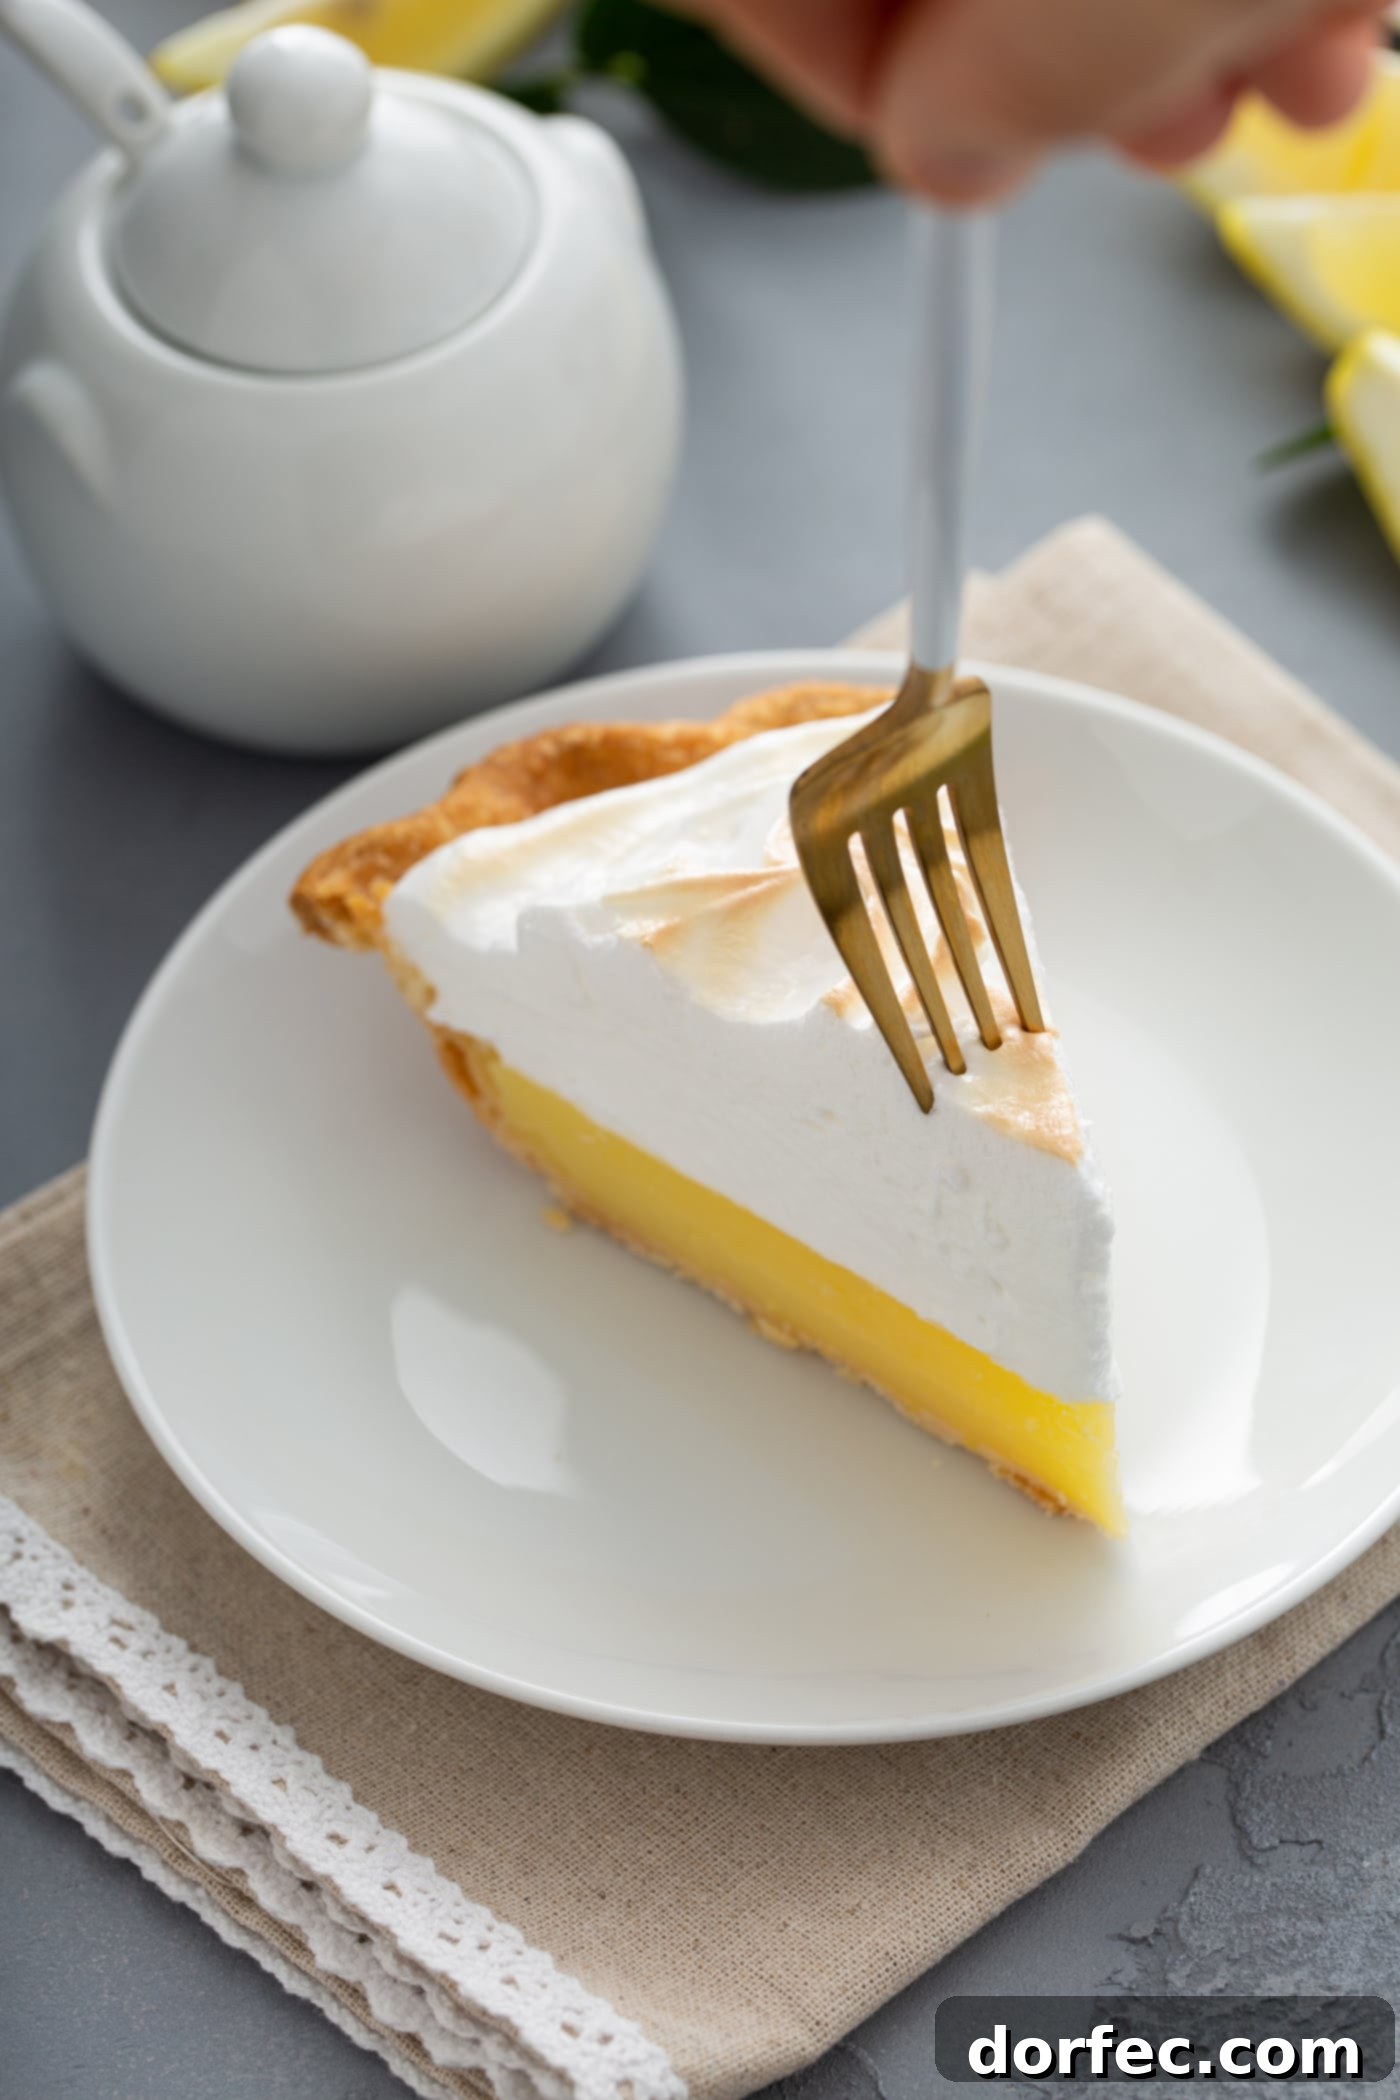
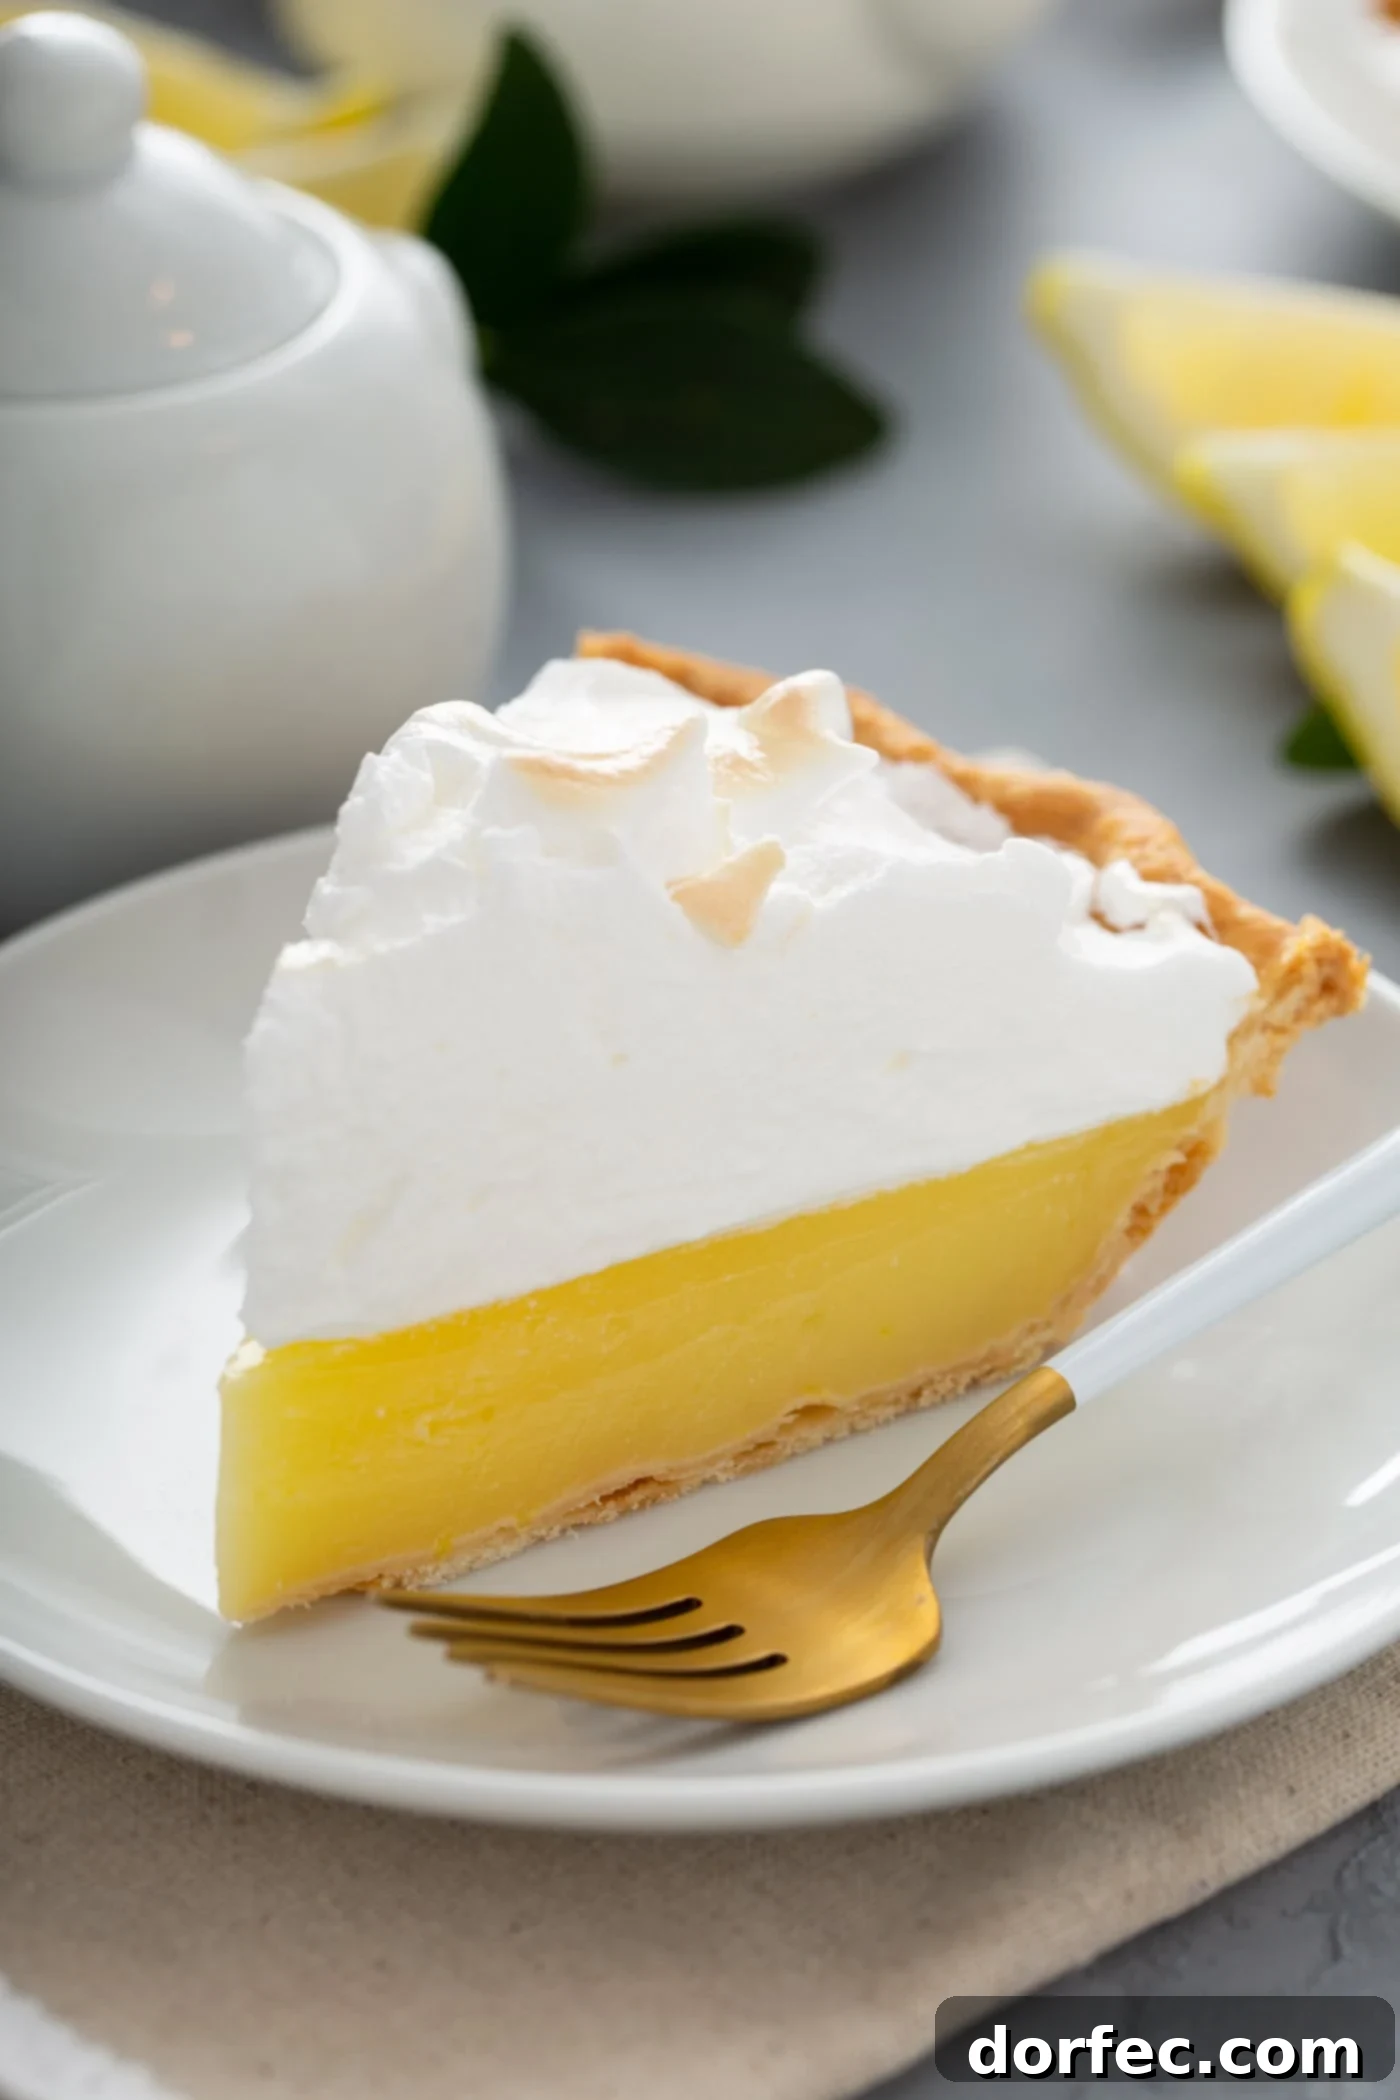
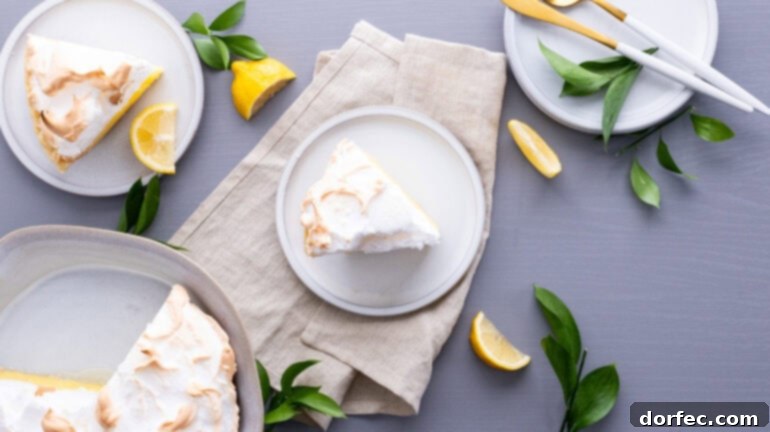
This exquisite pie begins with a perfectly prepared, homemade pie crust, a foundation of buttery flakiness that sets the stage for what’s to come. It’s then generously filled with a velvety, luscious lemon custard that strikes the ideal balance between tart and sweet. The grand finale is a magnificent, toasted meringue topping, soft and fluffy on the inside with a delicate golden-brown exterior. The combination is simply irresistible, a symphony of textures and flavors that captivates with every forkful.
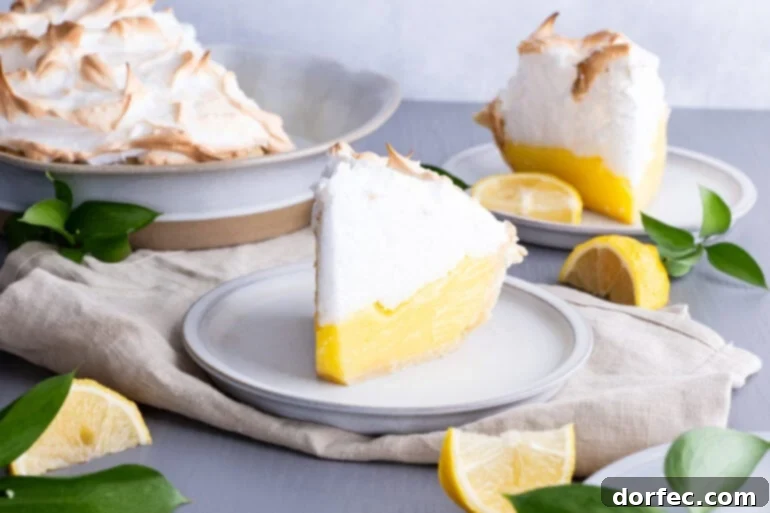
Our children, in particular, adore the meringue, convinced it’s a giant marshmallow. Despite watching the entire process from start to finish, they remain steadfast in their belief. “Dad, Mom made Grandma’s pie with the marshmallows!” they’ll exclaim. We’ve learned to embrace their charming conviction, letting them revel in their “marshmallow pie” fantasy, knowing that the joy it brings is what truly matters.
My own journey with lemon flavors has been quite interesting. As a child, I struggled with anything tart, with the sole exception of lemon head candies (do those even still exist?!). It’s fascinating how our palates evolve over time. Many foods I once disliked are now among my absolute favorites, and lemon has certainly claimed a top spot. This transformation has opened up a world of culinary possibilities, making me a true enthusiast for all things lemon.
Beyond this classic pie, my kitchen has been graced with countless lemon-infused creations. From savory delights like Panko Crusted Chicken with Lemon Cream Sauce and Lemon Roasted Broccoli, to sweet treats such as Lemon Raspberry Bars, luscious Lemon Curd, and delectable Lemon Raspberry Donuts, lemon is a versatile ingredient that shines in every course. And that’s not even counting the numerous lemon salads, cupcakes, and other desserts I’ve enjoyed experimenting with!
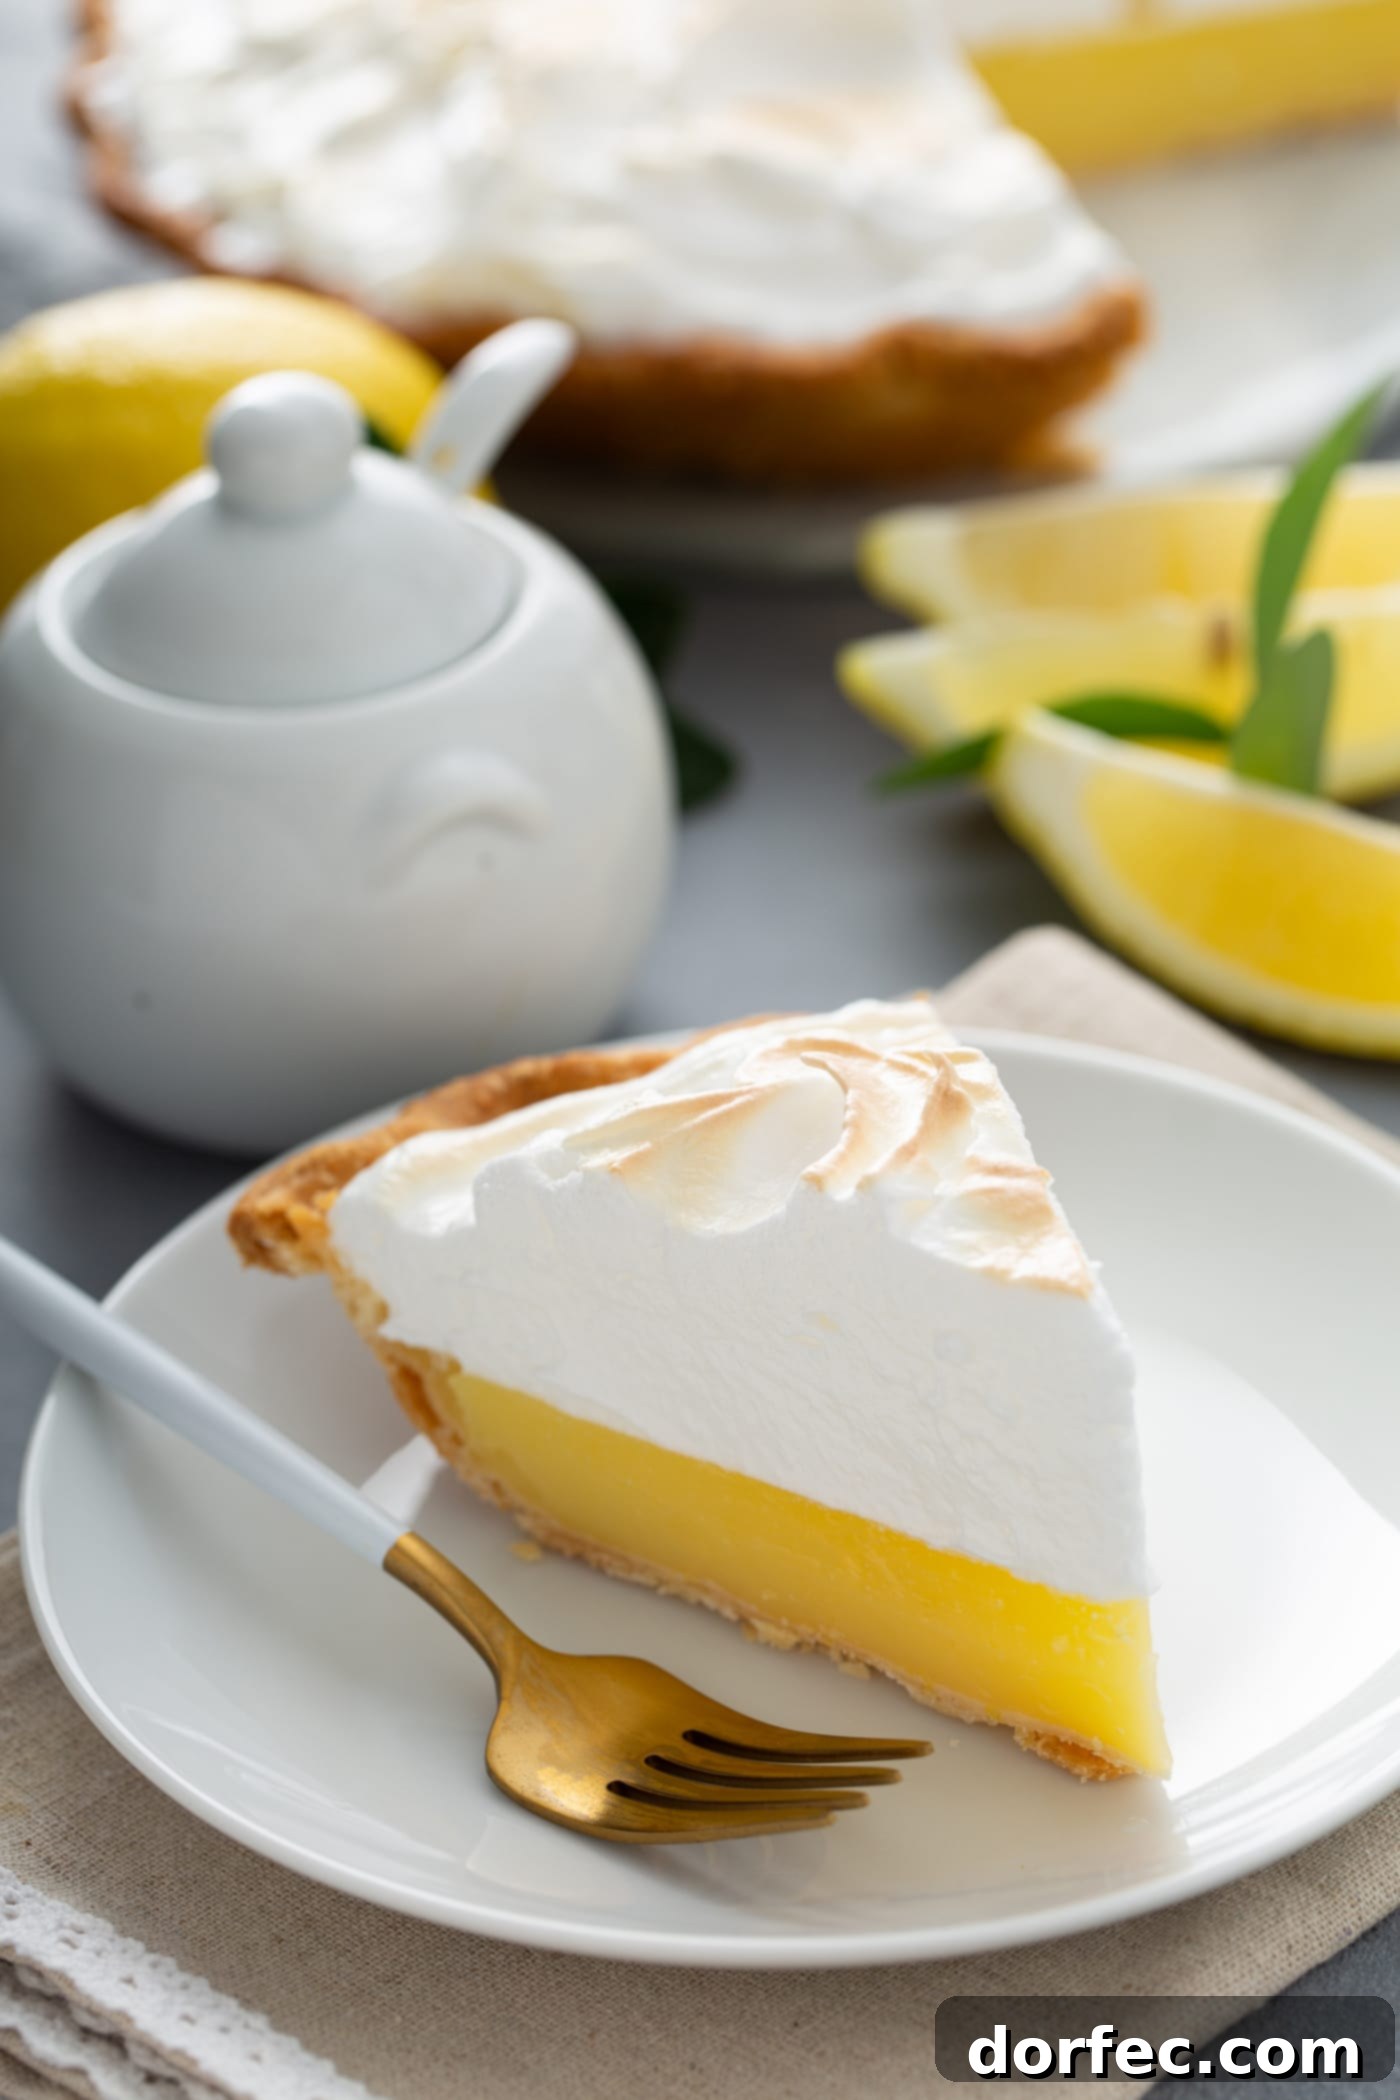
Essential Ingredients for the Perfect Lemon Meringue Pie
Crafting this classic dessert relies on a handful of simple yet crucial ingredients. When combined with care and precision, these basic components transform into a symphony of flavors and textures – a truly heavenly pie experience with its perfectly tart filling beautifully complemented by the subtly sweet meringue.
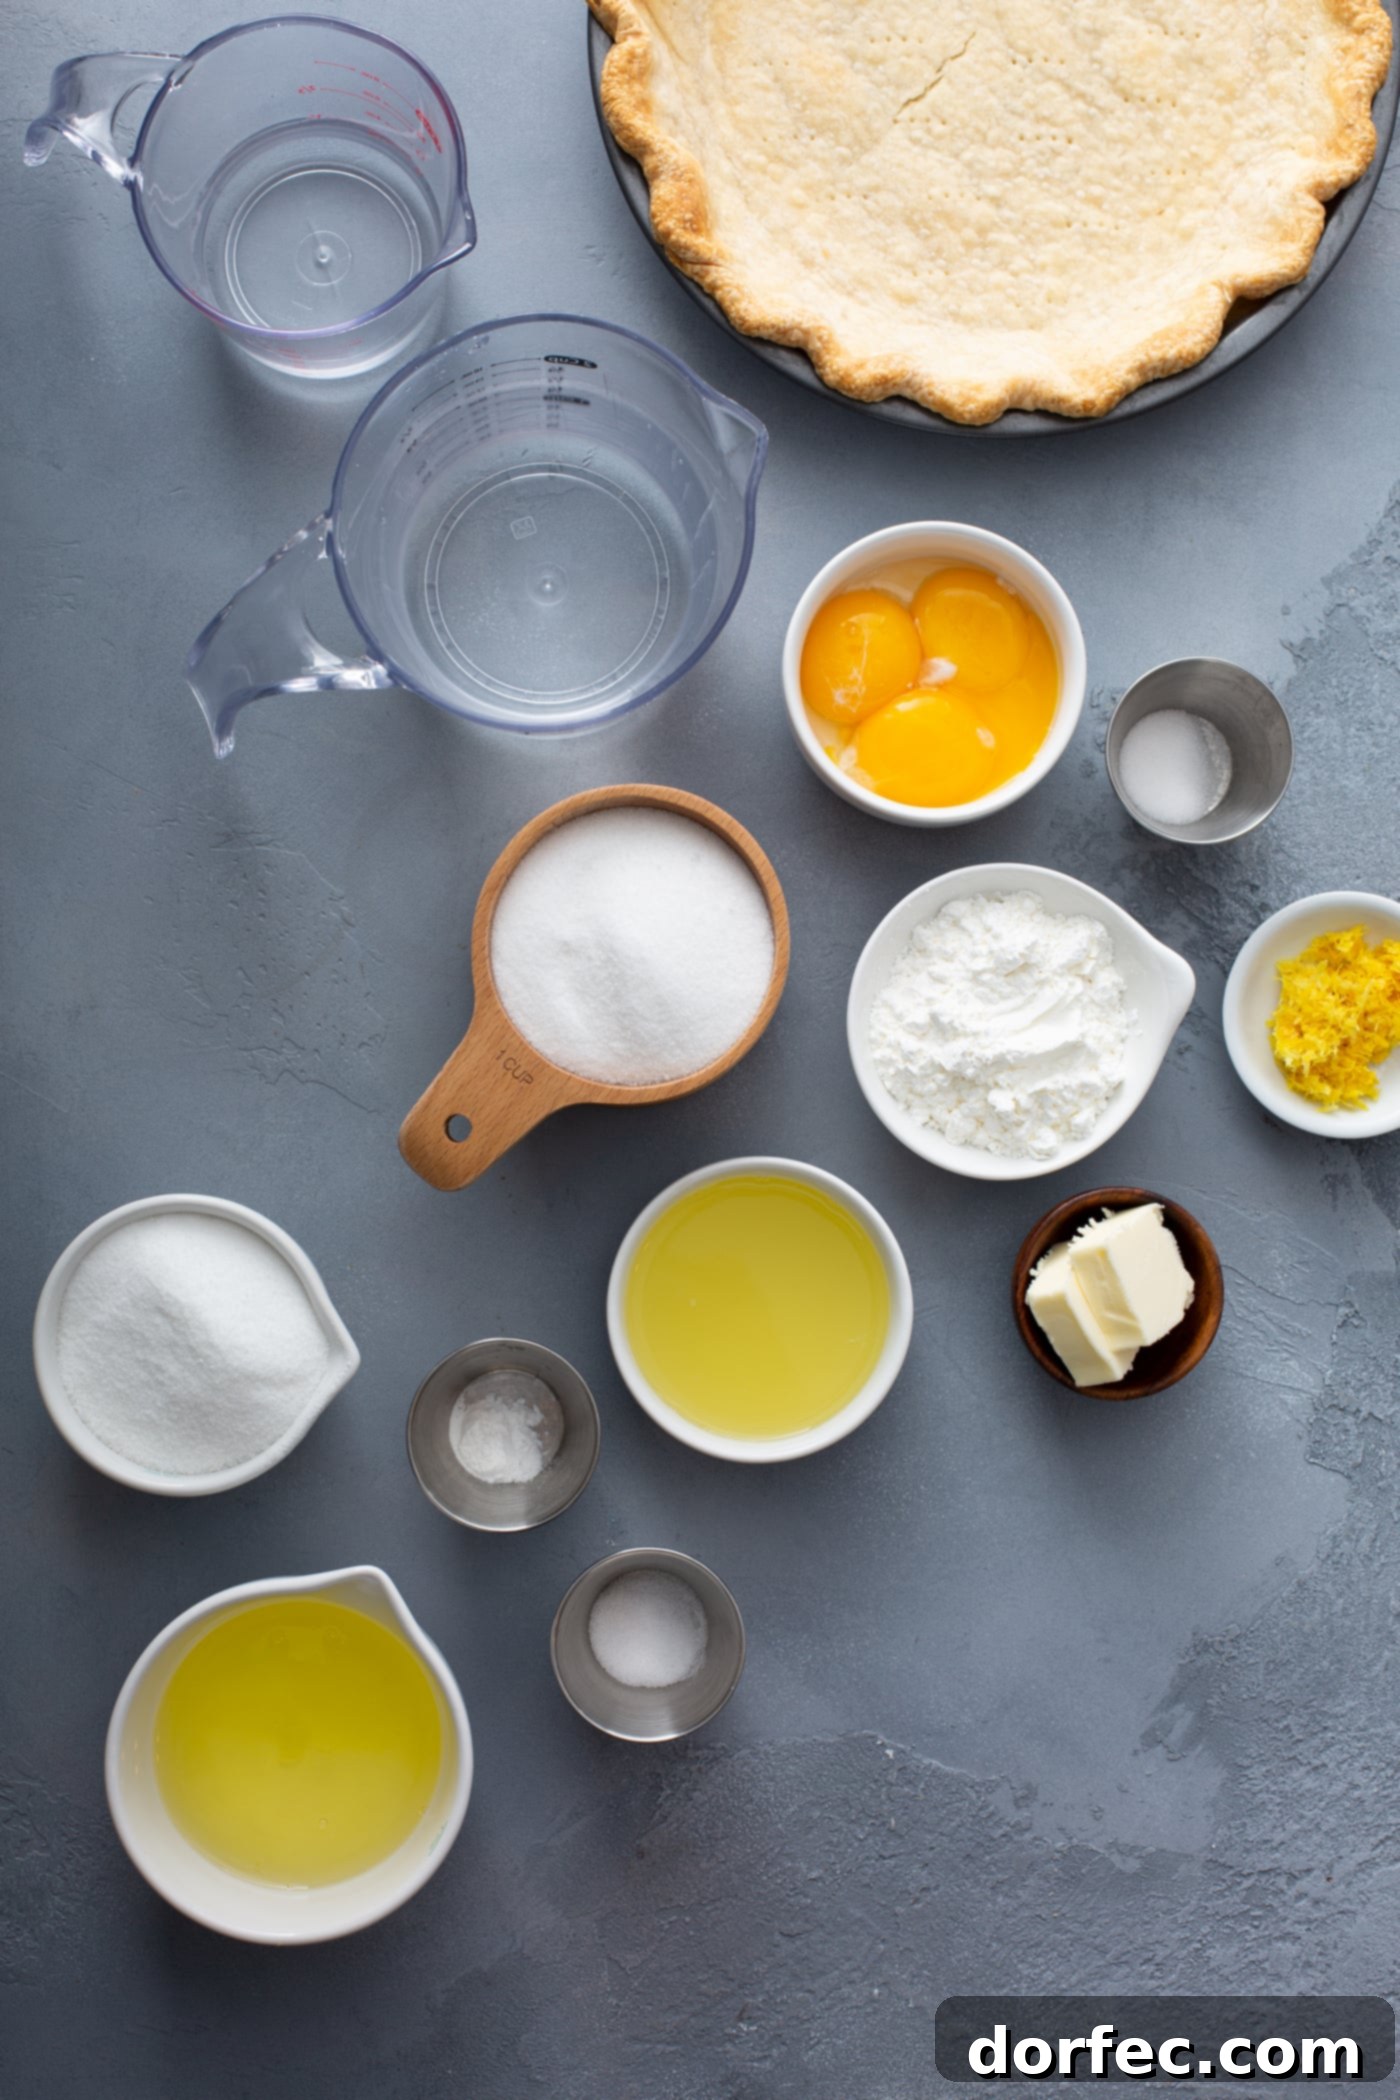
For the Zesty Lemon Filling
The heart of our pie is its bright, tangy filling. Each ingredient plays a vital role in achieving that smooth, creamy consistency and vibrant lemon flavor:
- Granulated Sugar: Provides sweetness to balance the lemon’s tartness and contributes to the filling’s smooth texture.
- Cornstarch (or EZ Gel): This is the key thickening agent, giving the filling its luscious, spoonable consistency. It’s essential for preventing a watery pie.
- Salt: A pinch of salt enhances all the other flavors, bringing depth and balance to the sweet and sour notes.
- Water: Forms the base of the custard mixture, dissolving the sugar and cornstarch.
- Fresh Lemon Zest: The aromatic oil from the zest provides intense lemon flavor without adding extra liquid, making it indispensable for a truly bright taste.
- Fresh Lemon Juice: The tart backbone of the filling. Always opt for freshly squeezed for the best, most vibrant flavor.
- Egg Yolks: These enrich the filling, providing a luxurious creaminess and a beautiful golden hue, contributing significantly to its velvety texture.
- Unsalted Butter: Added at the end, butter gives the filling a silky smooth finish and an extra touch of richness.
For the Fluffy Meringue Topping
The ethereal meringue topping is the crowning glory of this pie, offering a sweet, cloud-like contrast to the tart filling:
- Large Egg Whites: The foundation of meringue. Using room temperature egg whites is critical for achieving maximum volume and stability.
- Salt: A tiny pinch helps stabilize the egg whites and balances the sweetness.
- Cream of Tartar: This acidic ingredient acts as a stabilizer, helping the egg whites whip up faster and maintain their stiff peaks without collapsing. It’s a game-changer for meringue success.
- Granulated Sugar: Provides the sweetness and structure for the meringue, gradually incorporated to create a smooth, glossy, and stable foam.
Exact measurements for each ingredient, along with detailed instructions, are provided in the recipe card below.
The Science Behind Room Temperature Egg Whites for Meringue
Achieving a perfectly fluffy, stable meringue is often a point of concern for home bakers, but understanding a few key principles can make all the difference. One of the most important factors is the temperature of your egg whites.
PRO TIP: While you’ll want your egg whites at room temperature for whipping, it’s actually much easier to separate the yolks from the whites when the eggs are cold, directly out of the refrigerator. The yolk is firmer when cold, reducing the risk of it breaking and contaminating your whites. Once separated, let the egg whites sit on the counter for 30 minutes to an hour to reach room temperature.
So, why is room temperature so important? Warmer egg whites have less surface tension than cold ones. This allows them to whip up much faster and incorporate more air, resulting in a significantly greater volume and a more stable foam. Cold egg whites, on the other hand, resist aeration and will not whip as effectively, leading to a denser, less impressive meringue. Think of it as giving your egg whites the best possible conditions to achieve their full, airy potential!
Step-by-Step Guide to Crafting Mom’s Lemon Meringue Pie
Before you begin, ensure you have a perfectly pre-baked pie crust (whether it’s Mom’s Magic Pie Crust or My Favorite Pie Crust) patiently waiting. A well-prepared crust is the foundation for an exceptional pie. Now, let’s dive into the detailed steps for creating the luscious lemon filling and the cloud-like meringue that define the best lemon meringue pie recipe you’ll ever make!
Crafting the Silky Lemon Filling
The lemon filling is the tangy heart of the pie. Follow these steps meticulously to achieve a smooth, perfectly set custard:
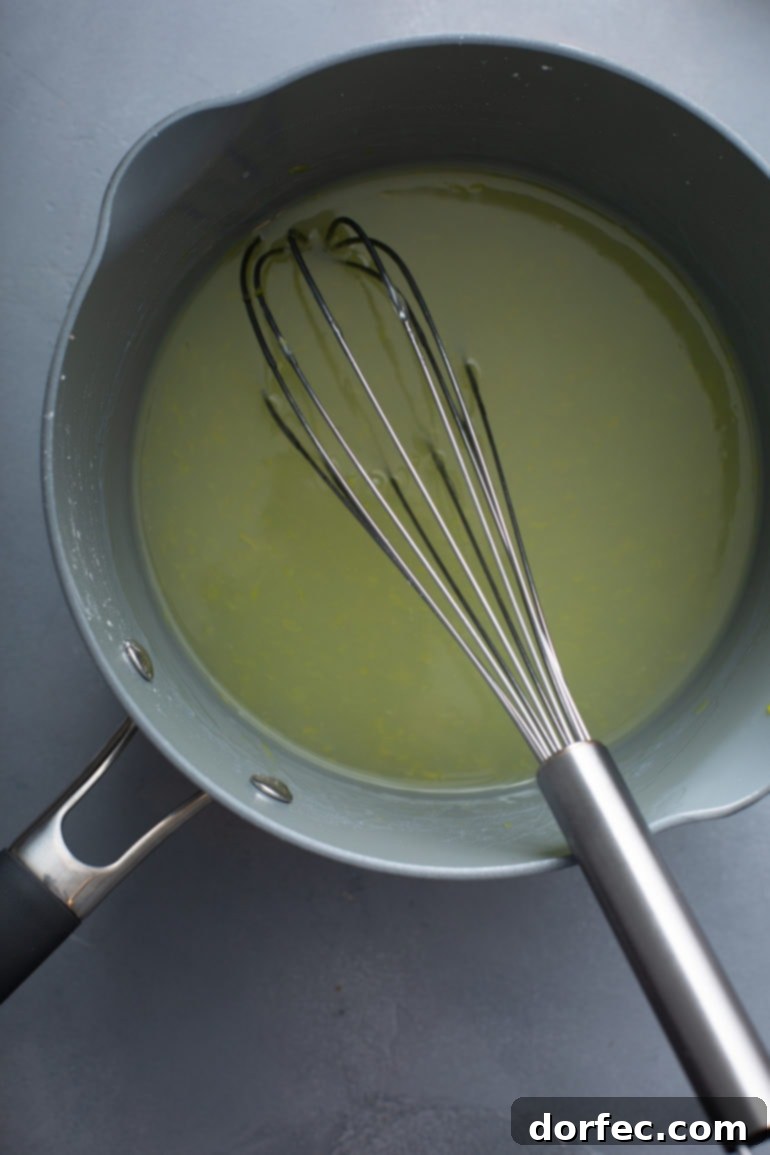
- In a large saucepan, thoroughly combine the granulated sugar, cornstarch (or EZ Gel), and salt. Whisk these dry ingredients together to ensure there are no lumps, which helps in achieving a smooth filling.
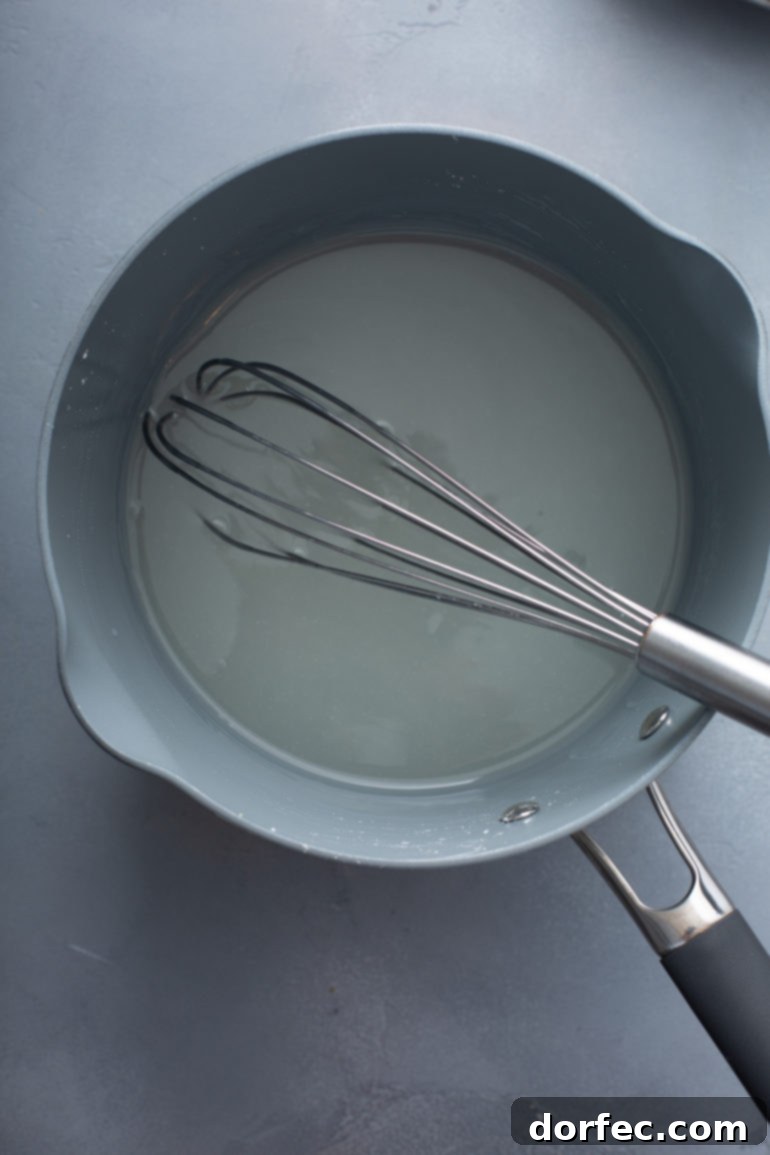
- Gradually add the hot water to the dry mixture, stirring constantly until the mixture is completely smooth and no dry pockets remain.
- Place the saucepan over medium heat. Cook the mixture, stirring continuously with a whisk, until it thickens significantly and becomes clear. This typically takes about 5-8 minutes. Constant stirring prevents scorching and ensures even thickening.
- Remove the saucepan from the heat. Stir in the freshly squeezed lemon juice and the fragrant lemon zest. The heat from the mixture will help release the beautiful aromas and flavors from the zest.
- Return the saucepan to the heat and cook for an additional 2 minutes, allowing the lemon flavors to meld and the mixture to fully cook through.
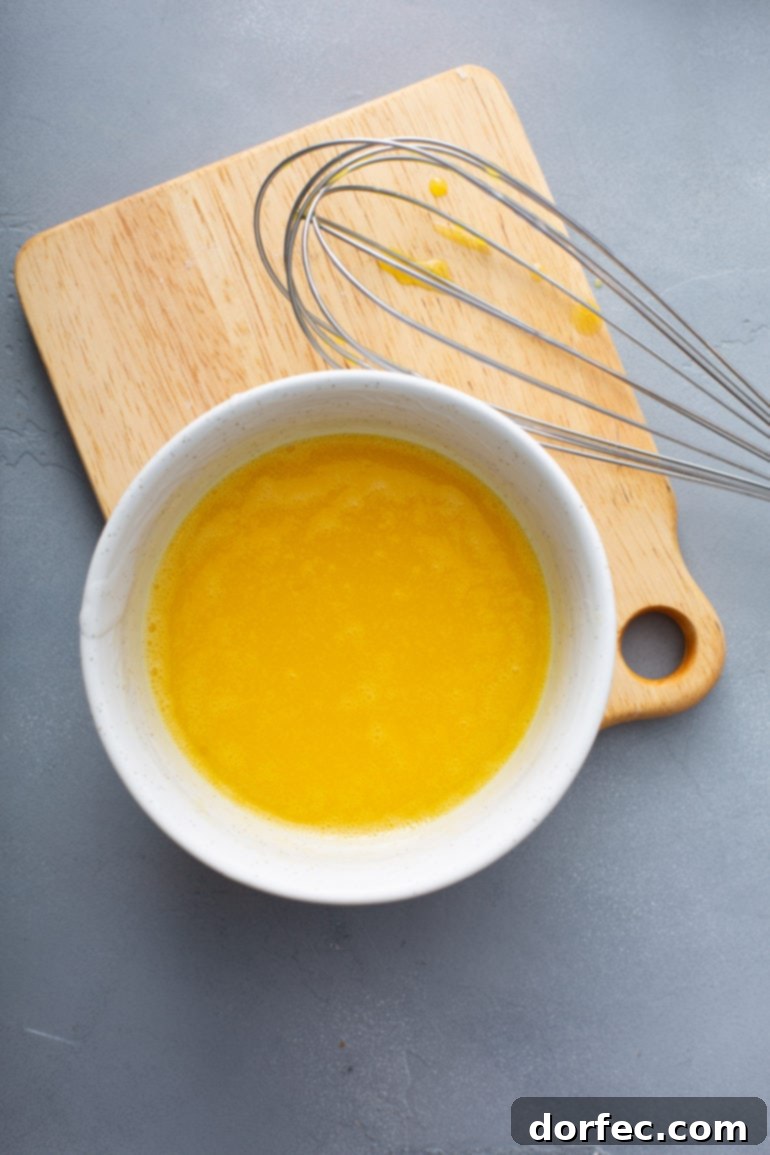
- In a separate small bowl, lightly whisk the egg yolks. To temper the eggs and prevent them from scrambling, slowly drizzle a small amount (about ½ cup) of the hot lemon mixture into the egg yolks while whisking vigorously. This gradually raises the temperature of the yolks.
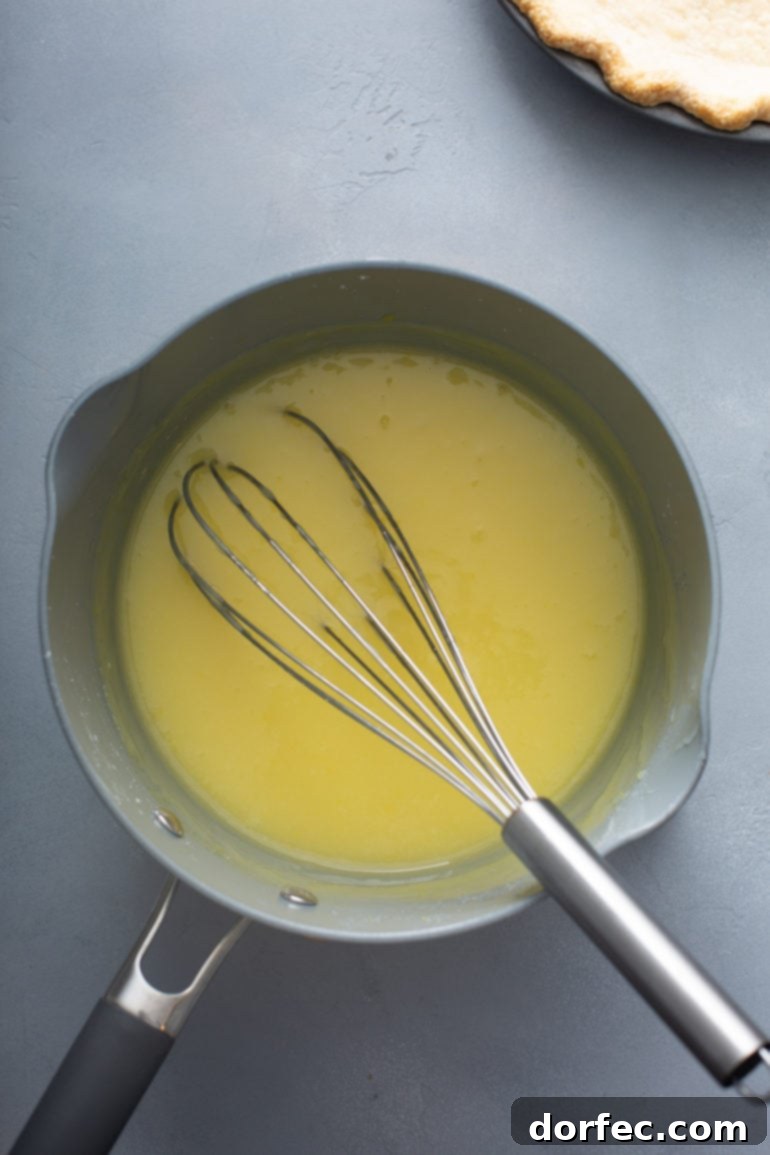
- Pour the tempered egg yolk mixture back into the saucepan with the remaining lemon filling. Cook for another 2 minutes over medium heat, stirring constantly, until the filling is very thick and creamy. Do not boil vigorously, as this can curdle the eggs.
- Remove the pan from the heat. Stir in the unsalted butter until it is completely melted and incorporated, giving the filling a rich, glossy sheen.
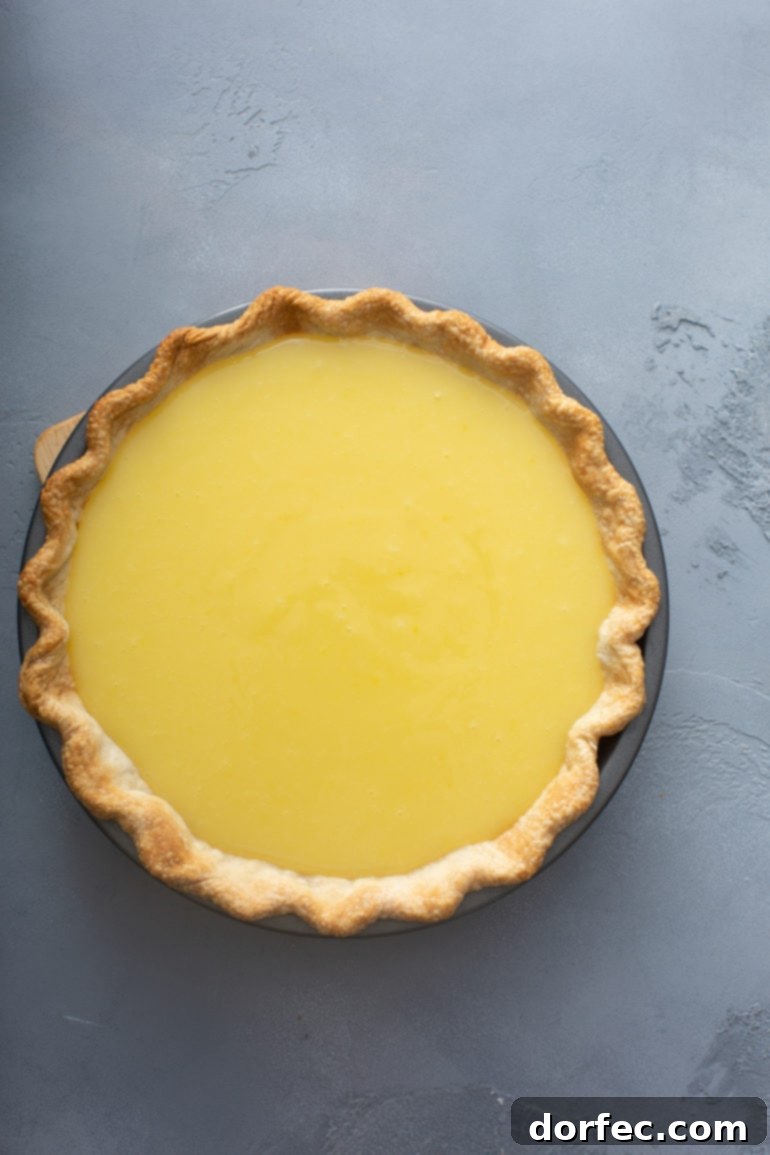
- Immediately pour the piping hot lemon filling into your pre-baked pie shell. The filling should be hot when the meringue is applied to prevent a watery layer between the two. While the filling is still hot, begin preparing your meringue.
Creating the Fluffy Meringue and Assembling the Pie
The meringue needs to be light, airy, and well-sealed to the pie for best results:
- Ensure your egg whites are at room temperature. In the clean bowl of a stand mixer fitted with the whisk attachment, combine the room temperature egg whites with the salt and cream of tartar. Whisk on high speed until soft peaks form. The meringue should be billowy and hold its shape slightly.
- Continue beating the meringue, gradually adding the granulated sugar, one tablespoon at a time. Beat until stiff, glossy peaks form. The meringue should be shiny and hold its shape firmly when the whisk is lifted.
- Carefully pour the hot lemon filling into your pre-baked pie shell.
- Immediately spoon the prepared meringue over the hot lemon filling. It is crucial for the filling to be hot, as the steam helps to cook the bottom of the meringue and prevents weeping. Start by spreading the meringue all the way to the crust, pressing it gently against the edges and slightly up the sides. This technique helps to create a seal, preventing the meringue from shrinking away from the crust. A good trick is to form a “donut” shape with the meringue around the outer edges first, then pile the remaining meringue into the center.
- Using the back of a spoon or a small spatula, create beautiful peaks and swirls on the meringue topping. These peaks will brown beautifully in the oven, adding visual appeal.
- Bake the pie in a preheated oven at 350 degrees F (175 degrees C) for 10-12 minutes, or until the meringue peaks are a lovely golden brown in the valleys and on the tips. Keep a close eye on it to prevent over-browning.
- Allow the pie to cool completely at room temperature for several hours before serving, or chill it for an even firmer set. Proper cooling is essential for the filling to set and the meringue to stabilize.
Visual Aid: How to Make Lemon Meringue Pie
For those who prefer a visual demonstration, a step-by-step video tutorial on making this exquisite lemon meringue pie is often available to guide you through each stage of the recipe. Visualizing the techniques, from tempering eggs to creating perfect meringue peaks, can be incredibly helpful for ensuring foolproof results. Seek out our video guide to watch the process unfold, making your pie-making experience even more enjoyable and successful!
Mastering the Crust: How to Avoid a Soggy Pie Crust
A soggy pie crust can be the bane of any baker’s existence, especially with a moist filling like lemon meringue. The secret to a perfectly crisp base lies in proper blind baking. Here’s how to ensure your crust is golden and flaky, ready to hold its delicious filling:
- Choose the Right Pie Plate: Opt for a glass pie plate. Glass conducts heat more efficiently and evenly than metal, helping the bottom crust to bake thoroughly. Ceramic dishes are also an excellent choice for similar reasons.
- Chill Your Dough: After forming your pie crust in the plate, chill it in the refrigerator for at least 30 minutes before baking. This helps solidify the butter, preventing the crust from shrinking and keeping it tender.
- Dock the Crust: Before blind baking, gently prick the bottom and sides of the raw pie dough about 8-10 times with a fork. This “docking” allows steam to escape during baking, preventing the crust from puffing up unevenly.
- Use Pie Weights: Line the chilled crust with aluminum foil or parchment paper, then fill it with pie weights, dried beans, or rice. These weights prevent the crust from bubbling and shrinking, ensuring it holds its shape. Fill them up to the lip of the pie plate, or at least halfway up the sides.
- Preheat with a Baking Sheet: For an extra layer of protection against sogginess, place a baking sheet in the oven while it preheats. Once hot, place your pie plate directly onto the preheated sheet. This direct bottom heat ensures the crust bakes quickly and crisply from the start.
- Bake in Stages with Temperature Adjustment: Start by baking the weighted crust at 425 degrees F (220 degrees C) for 17-20 minutes. Then, carefully remove the weights and parchment paper. Reduce the oven temperature to 375 degrees F (190 degrees C) if the crust is browning too quickly, and continue baking for another 5-10 minutes, or until the crust is lightly golden.
- The Egg Wash Seal: After the initial blind bake (and after removing the weights), lightly brush the entire inside surface of the crust with an egg wash. You can use one egg white whisked with a teaspoon of water for a delicate seal, or one egg yolk whisked with 2-3 teaspoons of heavy cream for a richer, more golden finish. Return the crust to the oven for just 1-2 minutes to set the egg wash. This creates a protective barrier that prevents the filling’s moisture from seeping into the crust, ensuring a perfectly crisp base.
Troubleshooting: Why is My Lemon Meringue Pie Watery?
A watery lemon meringue pie can be disappointing after all your hard work. This common issue, often referred to as “weeping,” usually stems from a couple of critical factors related to the filling’s preparation and assembly. Understanding these can help you achieve a perfectly set, creamy lemon pie every time:
- Overworking the Lemon Filling: The cornstarch in your filling is essential for binding the mixture and creating that desired thickness. However, overcooking or over-stirring the filling can actually weaken the cornstarch’s ability to bind, leading to separation and weeping. To prevent this, our recipe emphasizes a two-stage cooking process: first, cook the cornstarch with sugar and lemon juice until it slightly thickens, then incorporate the tempered egg yolks and cook the entire filling again until it reaches a very thick consistency. This method ensures optimal binding without overworking the starch molecules.
- Cool Filling Before Meringue Application: One of the most common culprits for a watery layer between the filling and meringue is allowing the lemon filling to cool before adding the meringue. The filling absolutely needs to be piping hot, fresh from the saucepan, when you pour it into the pie shell and immediately top it with the meringue. The heat from the filling generates steam that travels up through the egg whites, cooking the meringue from the bottom upwards even before it enters the oven. If the filling has cooled, this crucial steam effect is lost. Instead, when the pie is later baked, the filling heats up and traps steam between the already cooled filling and the meringue, creating that undesirable watery layer that can cause both the topping and the filling to separate. Speed and timing are key here!

Troubleshooting: What Makes Meringue Shrink?
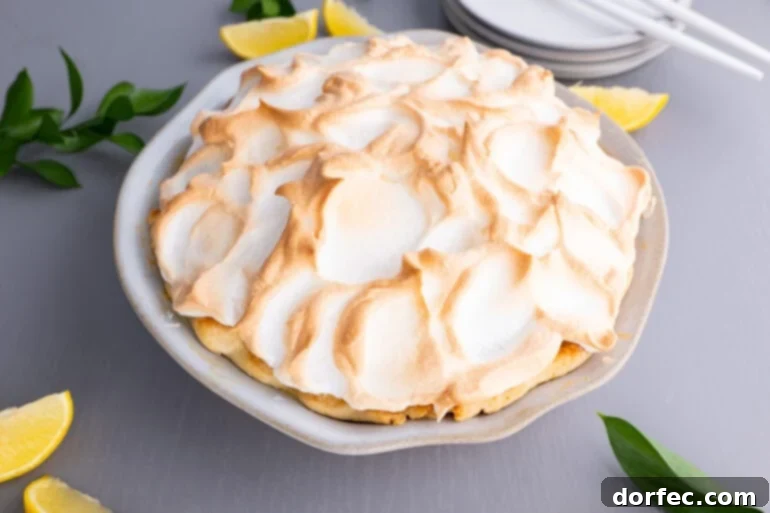
A perfectly puffed meringue that beautifully crowns your lemon pie is a delight, but sometimes meringue can shrink or “weep,” spoiling the aesthetic and texture. Understanding why this happens can help you prevent it:
- High Humidity and Overbaking: Meringue is notoriously sensitive to environmental conditions, particularly humidity. On very humid days, the sugar in the egg-white mixture absorbs moisture from the air, making it difficult for the egg whites to achieve thick, stiff peaks. This moisture can also lead to weeping and shrinking. Additionally, overbaking the meringue can dry it out excessively, causing it to deflate and shrink significantly as it cools. Always bake meringue just until the peaks are golden and then remove it promptly from the oven.
- Improper Sealing to the Pie Crust: One of the most critical steps to prevent meringue shrinkage is to ensure it is sealed tightly against the pie crust. When you apply the meringue, don’t just dollop it on top. Instead, start by spreading a generous amount of meringue around the outer edges of the pie, pushing it firmly against the crust on all sides. This creates a protective barrier that “locks” the meringue in place. Then, add the rest of the meringue to fill the center, shaping it into a beautiful dome with peaks. This tight seal minimizes air exposure and helps the meringue hold its structure.
- Presence of Egg Yolk: Even the tiniest speck of egg yolk in your egg whites can be a meringue killer. Egg yolks contain fat, and fat prevents egg whites from whipping up properly. Ensure your eggs are perfectly separated, taking extra care to keep the whites completely free of any yolk contamination.
- Contaminated Bowl or Utensils: Similar to egg yolks, any grease, oil, or even residual water or condensation on your mixing bowl or whisk attachment can hinder the egg whites from whipping to their full potential. Always start with a meticulously clean, dry bowl and whisk. Wiping your bowl with a lemon wedge or vinegar before use can help ensure it’s completely fat-free.
Can Lemon Meringue Pie Be Made Ahead of Time?
The question of making lemon meringue pie ahead of time is a common one, and the answer is both yes and no, with a significant caveat. While it can technically be prepared up to 2 days in advance and stored in the refrigerator, it will almost certainly begin “weeping” during this time. Weeping is when the meringue releases moisture, forming droplets on its surface or between the meringue and the filling.
For this reason, we strongly recommend that a lemon meringue pie always be made on the day it will be consumed. The freshest pie, with its pristine, un-wept meringue and perfectly set filling, truly offers the best experience.
Strategies for Preparing Lemon Meringue Pie in Advance
If your schedule absolutely necessitates some advance preparation, here are a few ways to get a head start, while minimizing the risks of a less-than-perfect pie:
- Prepare and Bake Your Pie Crust Ahead of Time: This is the ideal component to make in advance. Blind bake your pie crust as directed and let it cool completely. Once cooled, you can wrap it tightly in plastic wrap or aluminum foil and store it at room temperature on the counter for up to 1-2 days. This saves significant time on baking day.
- If You MUST Make the Filling Ahead (with caution): While not recommended for optimal results, if time constraints are severe, you can prepare the lemon filling up to 1 day in advance. Store it in an airtight container in the refrigerator. On the day of assembly, you will need to reheat it very gently over low heat, stirring constantly, until it is once again piping hot. It is crucial for the filling to be hot when poured into the pie crust and immediately topped with meringue to help prevent weeping. We strongly encourage making the filling fresh on the day you bake the pie, but we understand that sometimes you have to adapt!

Proper Storage of Lemon Meringue Pie
Due to its delicate components, particularly the egg-based filling and meringue, lemon meringue pie requires proper storage to maintain its quality and ensure food safety. It should always be stored in the refrigerator, covered loosely to prevent the meringue from becoming too moist. When stored correctly, leftover lemon meringue pie will keep in the fridge for up to 3 days. Beyond this timeframe, the meringue is likely to weep significantly, and the quality of the pie will diminish.
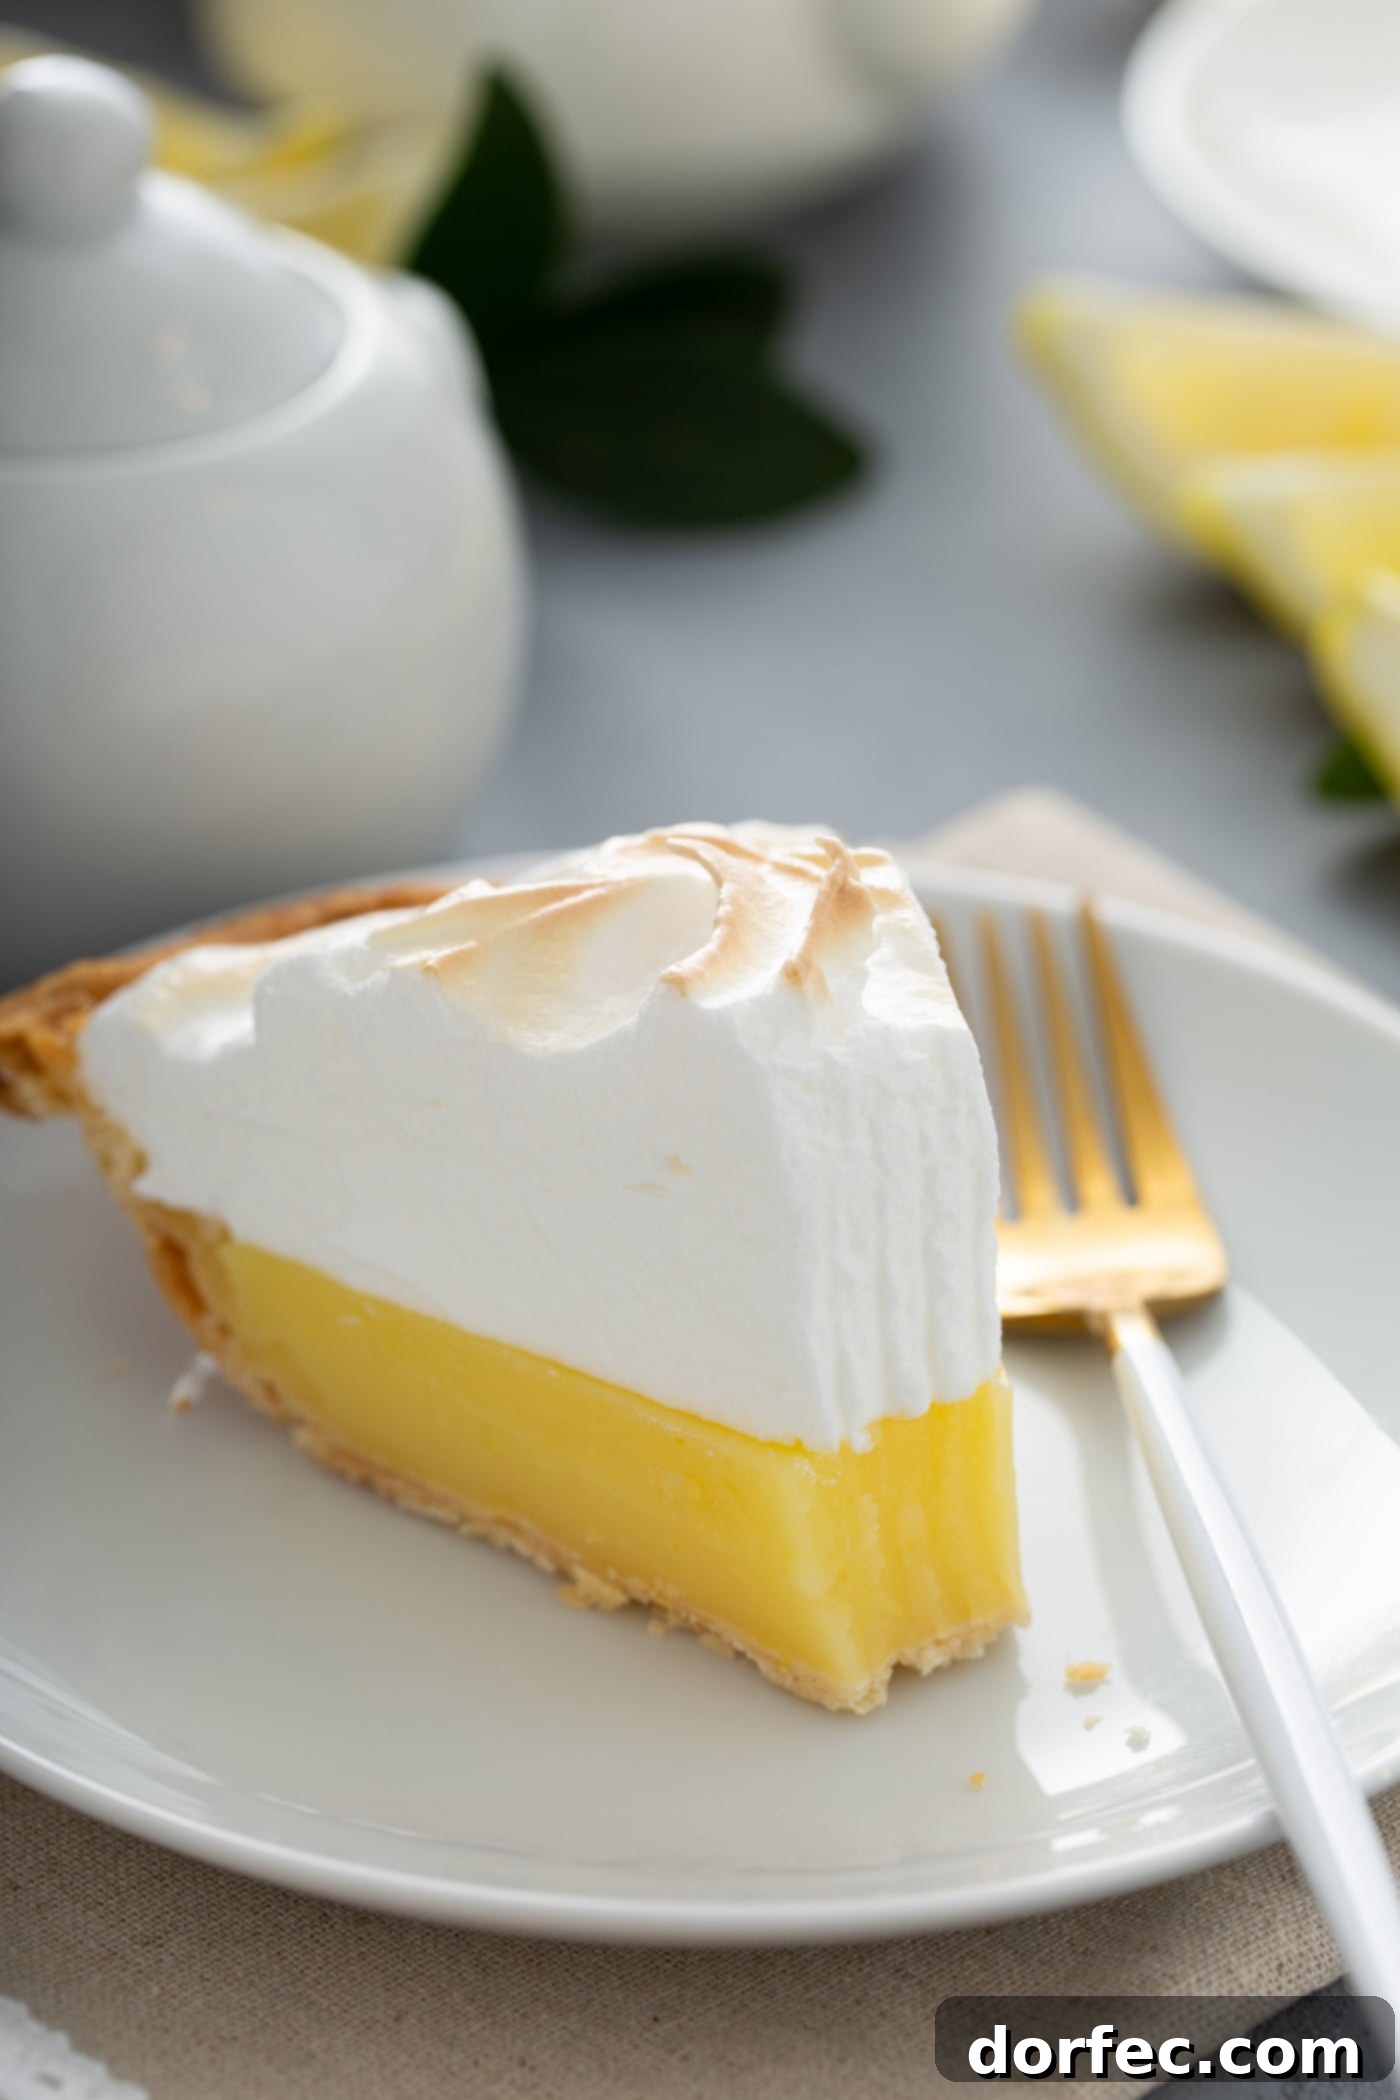
With this recipe, you are now equipped to become the go-to person for all lemon meringue pie cravings! As a self-proclaimed pie expert, I can confidently say that this recipe delivers everything you could possibly desire in a lemon meringue pie. It’s a harmonious blend of sweet, tart, and tangy notes, enveloped in a rich, decadent creaminess that is simply unparalleled. Each bite is a testament to the magic of homemade desserts, promising an experience that is utterly irresistible and deeply satisfying. Get ready to bake a masterpiece that will be cherished by everyone lucky enough to try it!
Explore More Irresistible Pie Recipes:
- The Perfect Razzleberry Pie
- No Bake Banana Pudding Pie
- Easy No-Bake Chocolate Pie
- Dulce de Leche Banana Cream Pie
- Marionberry Pie
- No Bake Coconut Cream Pie
- Dutch Apple Pie
- Homemade French Silk Pie
- Simple Blueberry Pie
- ALL OF OUR PIE RECIPES!
Mom’s Lemon Meringue Pie
Sweet Basil
20
25
45
8

Ingredients
Pie Crust
- 1 All Butter Pie Crust
- 1 Egg White
- 1 teaspoon Water
For the Filling
- 2/3 Cup EZ Gel, or 1/3 Cornstarch
- 1/2 teaspoon Salt
- 1 Cup Sugar
- 1 ⅓ Cups Water, hot
- 2 ½ teaspoons Lemon Zest, about one and a half lemons zested
- 1/3 Cup Lemon Juice, about 2 lemons- see note
- 4 Egg Yolks, reserve egg whites for meringue
- 2 Tablespoons Butter
For the Meringue
- 6 Egg Whites, room temperature
- 1/8 teaspoon Salt
- 1/4 teaspoon Cream of Tartar
- 1/2 Cup Sugar
Instructions
Pie Crust Preparation
-
Prepare your chosen pie crust recipe and then chill the dough in a 9″ glass or ceramic pie plate for approximately 30 minutes.1 All Butter Pie Crust
-
Preheat your oven to 425 degrees F (220 degrees C). If you’re particularly concerned about a soggy crust, preheat a cookie sheet inside the oven as well.
-
Gently poke about 8-10 holes on the bottom and sides of the chilled crust with a fork. Line the crust with parchment paper or aluminum foil, and fill it halfway to two-thirds full with pie weights or dried beans.
-
Bake for 17-20 minutes, then carefully remove the pie plate from the oven and lift out the weights and parchment paper.
-
Return the crust to the oven and bake for an additional 5-10 minutes, or until it is lightly golden.
-
For a sealed crust, lightly brush the interior with an egg wash (prepared by whisking 1 egg white with a little water, or 1 egg yolk with 2-3 teaspoons of heavy cream). Bake for just 1-2 minutes more to set the wash, then cool completely.1 Egg White, 1 teaspoon Water
For the Zesty Lemon Filling
-
In a large saucepan or stockpot, combine the EZ Gel (or cornstarch), salt, and sugar.1 Cup Sugar, 2/3 Cup EZ Gel, 1/2 teaspoon Salt
-
Whisk in the hot water until the mixture is completely smooth and free of lumps.1 ⅓ Cups Water
-
Cook the mixture over medium heat, stirring constantly, until it becomes thick and clear, which usually takes 5-8 minutes.
-
Remove the saucepan from the heat.
-
Stir in the fresh lemon juice and lemon zest.2 ½ teaspoons Lemon Zest, 1/3 Cup Lemon Juice
-
Return to heat and cook for an additional 2 minutes, stirring.
-
In a small bowl, whisk the egg yolks. Temper them by slowly blending a small amount of the hot lemon liquid with the egg yolks, whisking quickly, to prevent scrambling.4 Egg Yolks
-
Pour the tempered egg mixture back into the saucepan and cook for another 2 minutes, stirring constantly until very thick.
-
Remove the pan from the heat and stir in the butter until fully melted.2 Tablespoons Butter
-
Immediately pour the hot lemon filling into your cooled, pre-baked pie shell.
-
Take a large spatula full of meringue and spread it around the outer edge of the pie, pressing it firmly against the crust to completely seal the crust and meringue. Pile all of the remaining meringue into the center like a large dome and switch to a small spoon. Using the back of the spoon, swirl and lift to create mountain peaks and valleys.
-
Bake the pie at 375 degrees F (190 degrees C) for 10-12 minutes, or until the meringue is beautifully golden brown in the valleys and on the peaks.
-
Serve the pie either at room temperature or chilled. Store any leftovers in the refrigerator.
For the Fluffy Meringue
-
In a very clean stand mixer bowl, beat the room temperature egg whites with the salt and cream of tartar on high speed until soft peaks form.6 Egg Whites, 1/8 teaspoon Salt, 1/4 teaspoon Cream of Tartar
-
Gradually add the sugar, one tablespoon at a time, while continuing to beat on high speed.1/2 Cup Sugar
-
Continue beating until stiff, glossy peaks form. The meringue should hold its shape firmly.
-
Spread the meringue on top of the hot lemon filling immediately after it’s poured into the crust.
-
Use the back of a spoon or a spatula to create decorative peaks.
-
Bake the assembled pie as directed in step 11 of the filling instructions.
Recipe Notes
Refer to the detailed notes within the main article for expert tips on how to prevent common issues such as a weeping pie, separated or shrunk meringue, and a soggy crust. These insights are crucial for achieving bakery-quality results.
Always store this pie in the refrigerator to maintain its freshness and quality.
Nutrition Facts (Approximate)
Serving:
1
slice
,
Calories:
215
kcal
,
Carbohydrates:
42
g
,
Protein:
2
g
,
Fat:
5
g
,
Saturated Fat:
2
g
,
Cholesterol:
81
mg
,
Sodium:
232
mg
,
Potassium:
36
mg
,
Fiber:
1
g
,
Sugar:
38
g
,
Vitamin A:
185
IU
,
Vitamin C:
4
mg
,
Calcium:
9
mg
,
Iron:
1
mg
Nutrition information is automatically calculated and should only be used as an approximation. Individual results may vary based on specific ingredients and preparation methods.
Enjoyed this recipe? Share your thoughts below!
Remember to subscribe to our FREE Oh Sweet Basil Newsletter and receive easy recipes delivered directly to your inbox every day!
When you try a recipe, please use the hashtag #ohsweetbasil on INSTAGRAM for a chance to be featured in our stories! Follow Oh, Sweet Basil on FACEBOOK | INSTAGRAM | PINTEREST | TWITTER for all of our latest content, recipes, and stories.