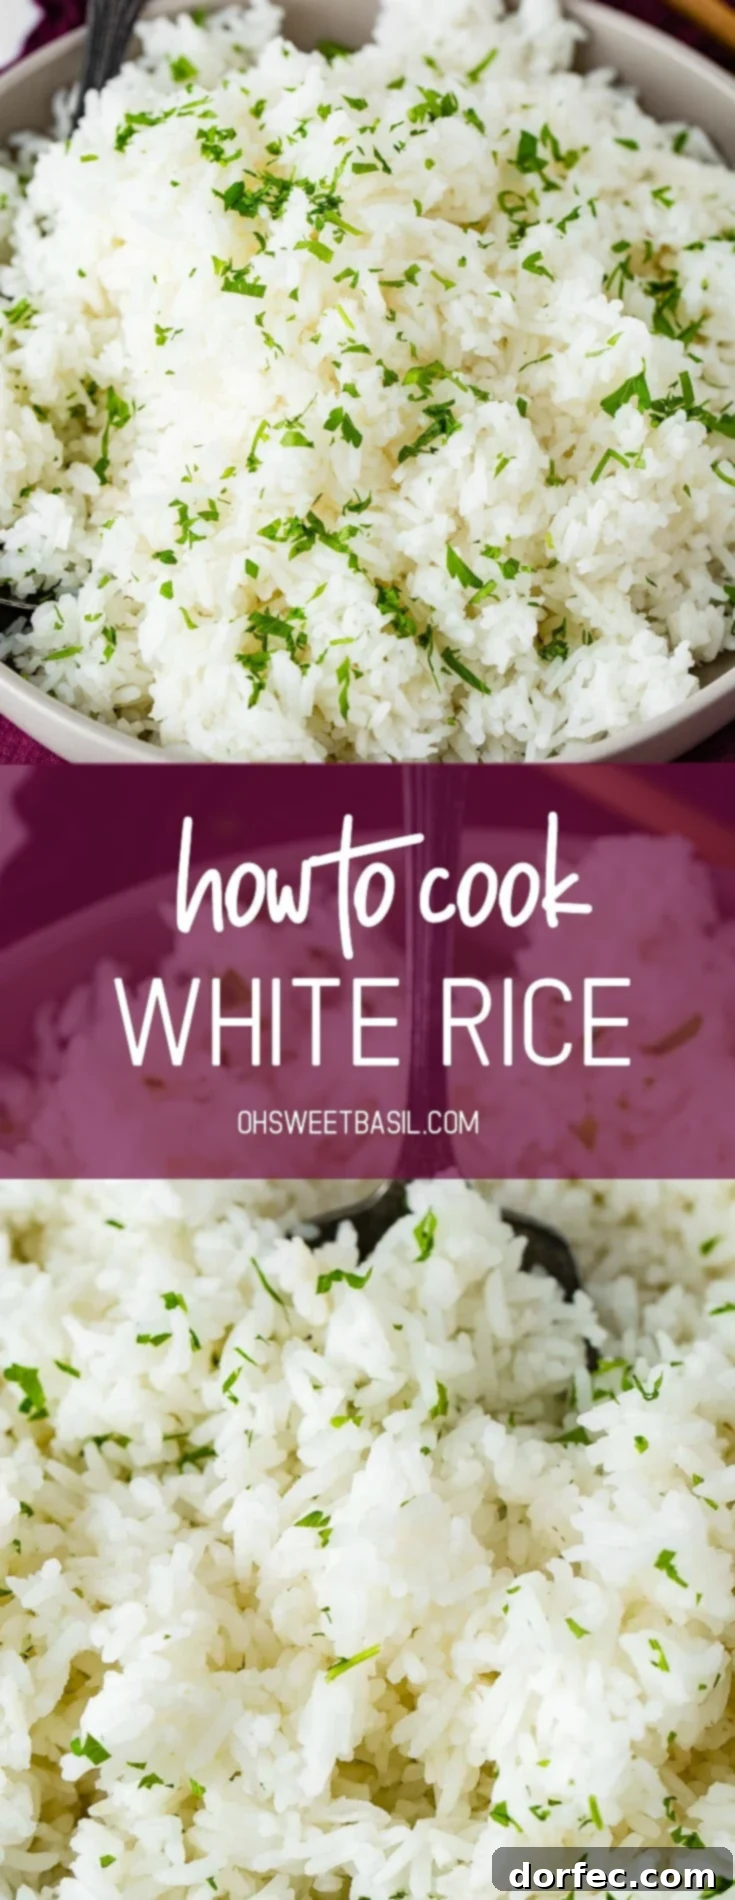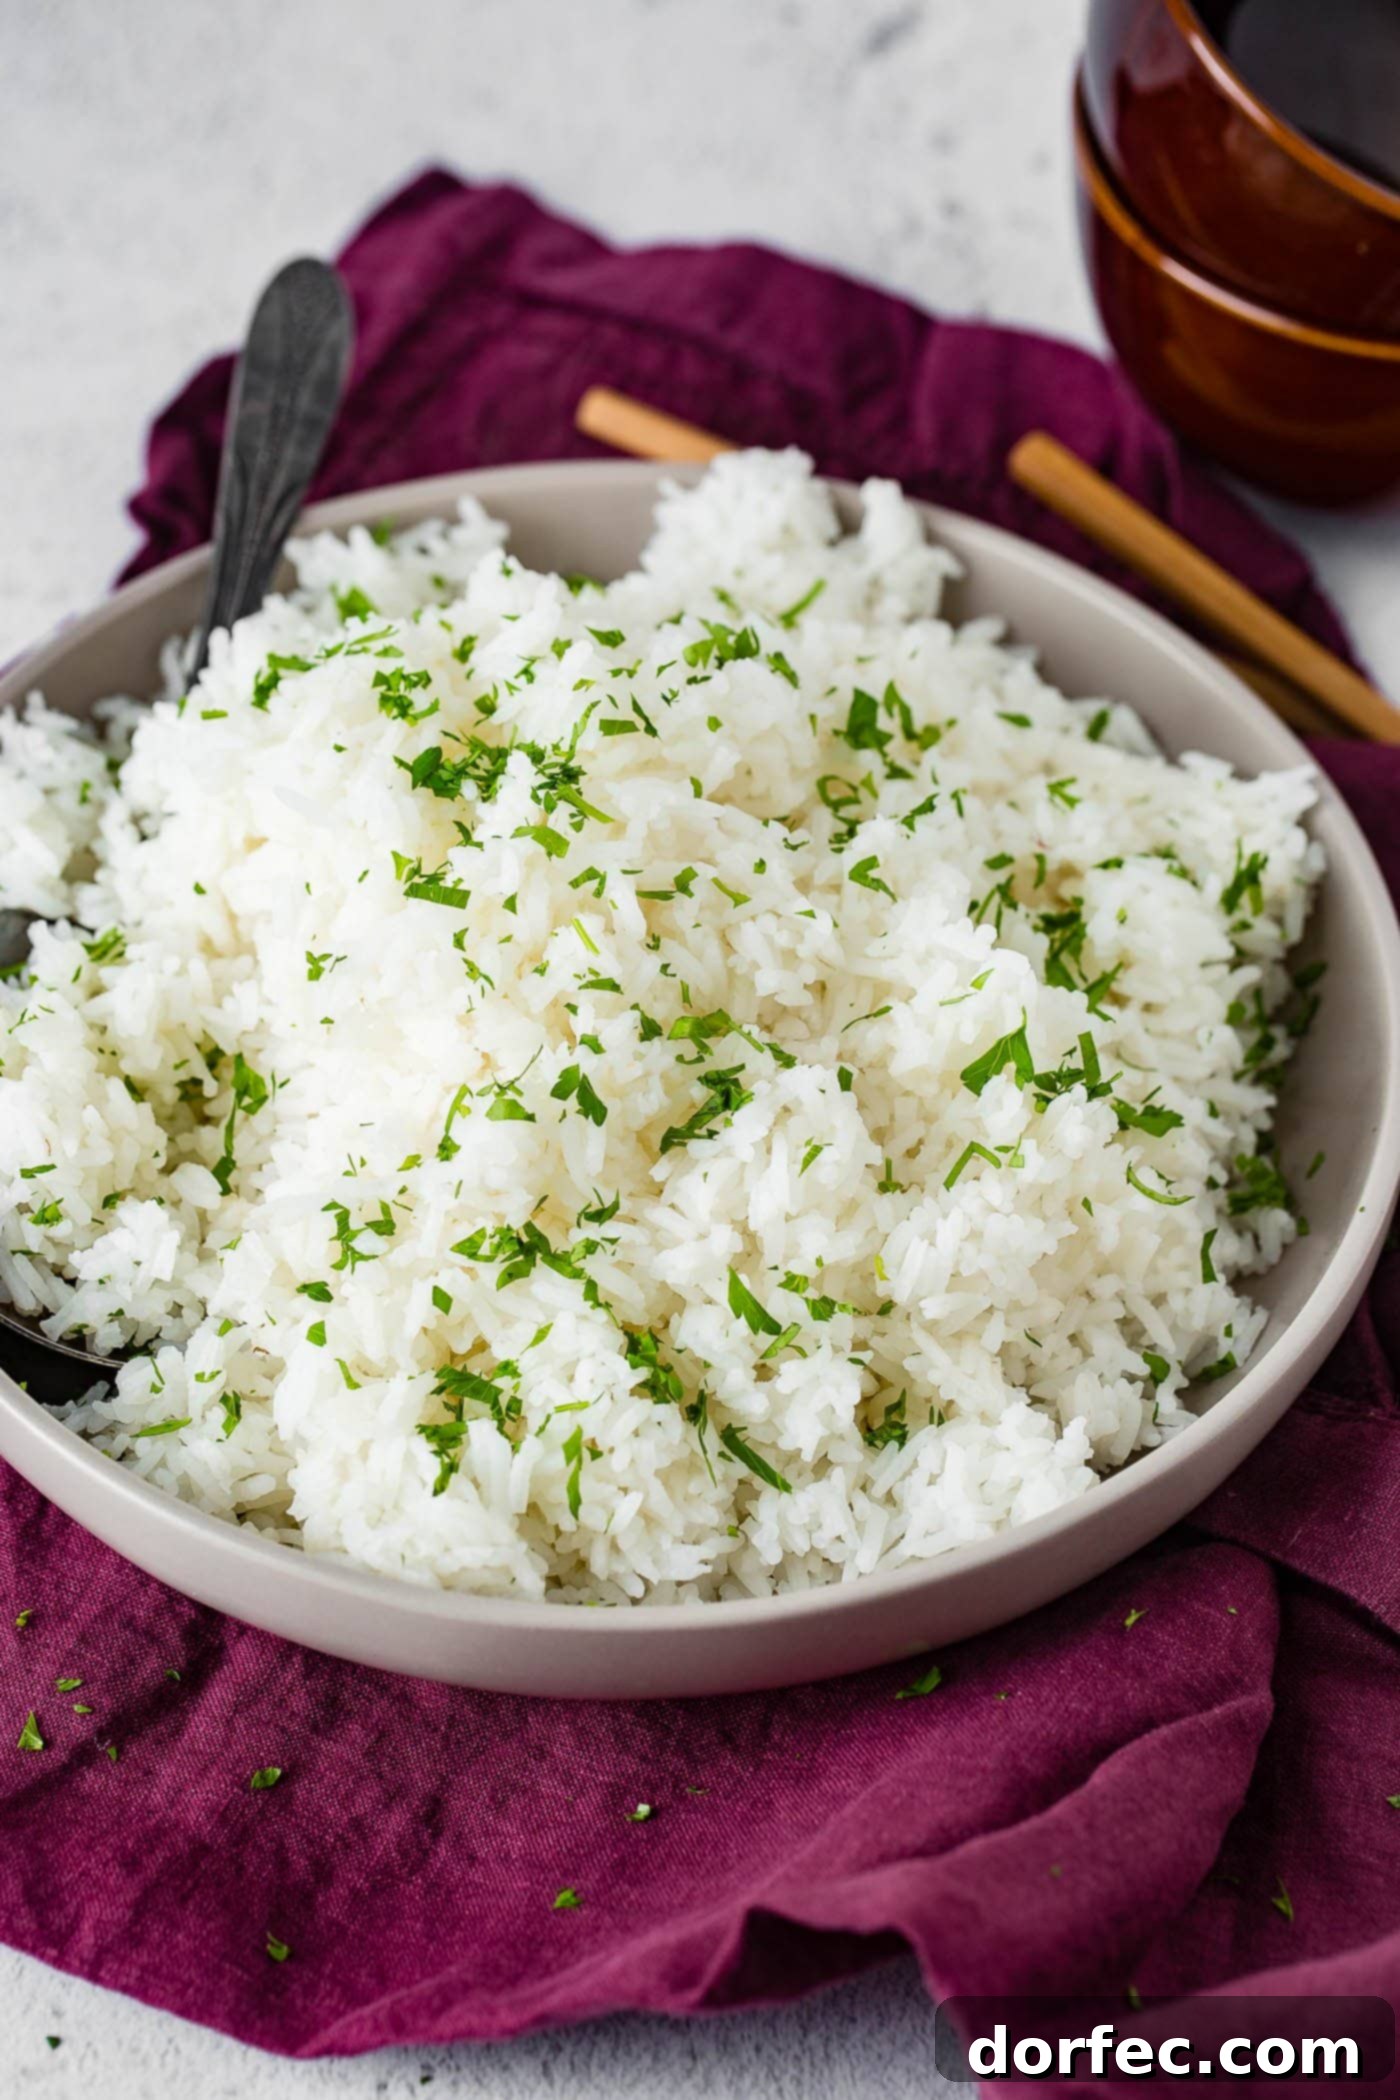
Warm, fluffy, and perfectly cooked white rice is more than just a side dish; it’s a versatile foundation for countless meals, from savory sticky Asian chicken to hearty crockpot chicken. Achieving that ideal texture, where each grain is distinct yet tender, can seem elusive to many home cooks. If you’ve ever ended up with a gummy, burnt, or undercooked batch, you’re not alone. This comprehensive guide will demystify the process, providing you with all the tips and techniques needed to cook white rice perfectly every single time.
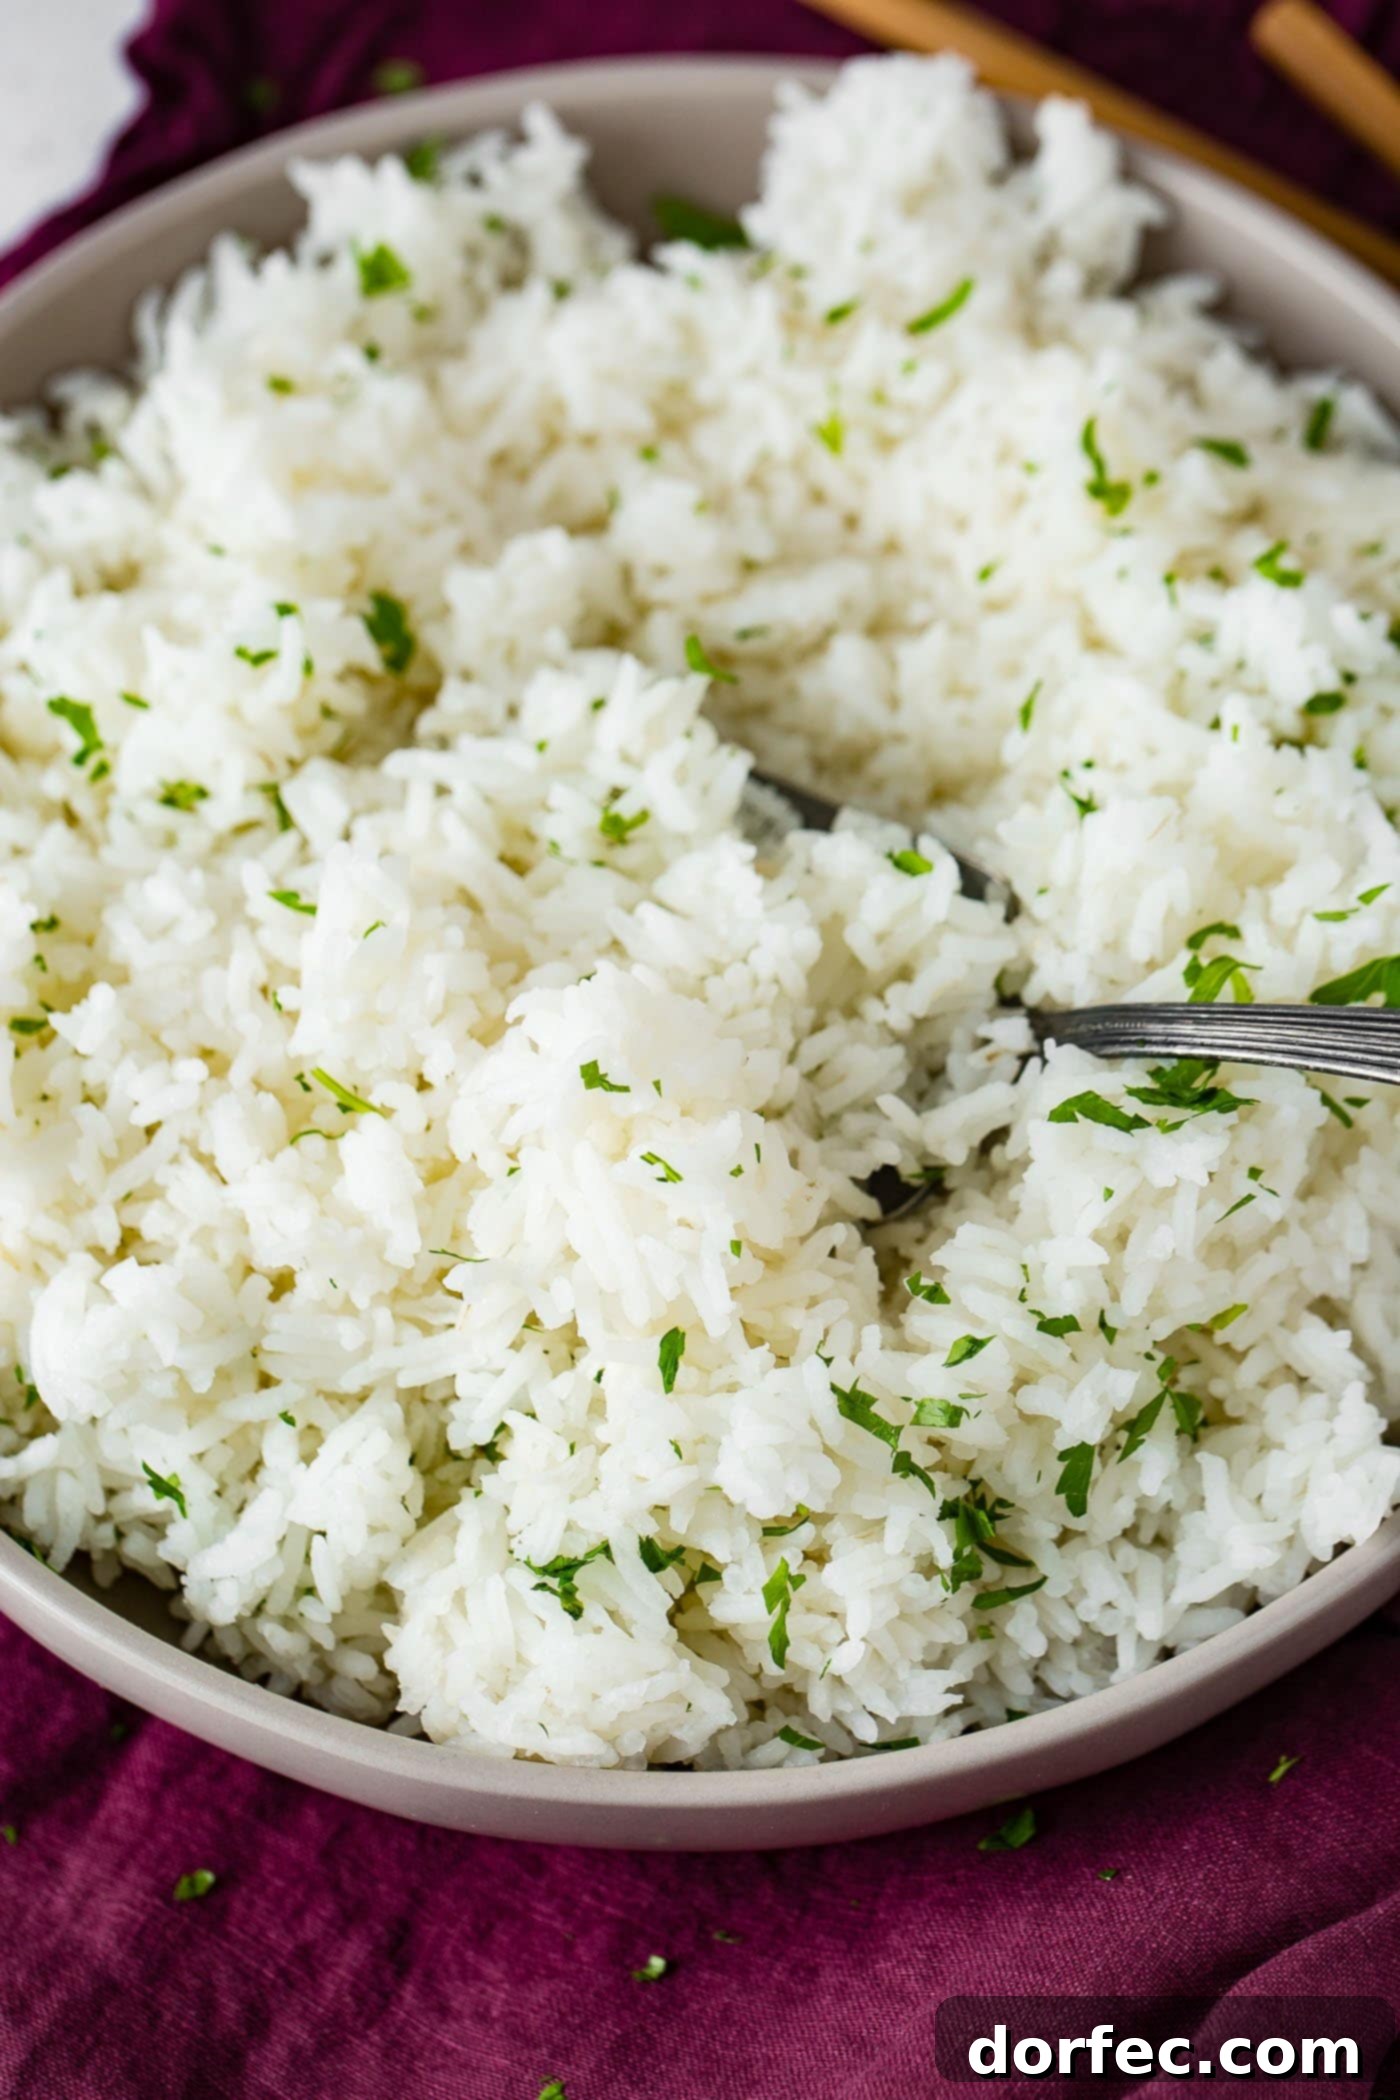
My first attempt at cooking rice independently resulted in a rather unappetizing, gummy mess. It was far from ideal! This common culinary mishap often leads many to search for reliable methods for preparing this staple grain. But fear not, mastering the art of rice cooking is entirely achievable, and with a few simple techniques, you’ll be serving up flawless rice with confidence.
Rice holds a significant place in cuisines worldwide, serving as a staple grain that can transform into an array of dishes – from comforting casseroles and vibrant salads to nourishing soups. Despite its ubiquity, cooking rice to perfection can be surprisingly tricky. Many home cooks encounter similar frustrations:
- A burnt or crusty bottom layer
- Gummy, pasty, or sticky clumps
- Undercooked, hard, or crispy grains
- Overcooked, bloated, or burst rice
- An undesirable skin forming on top or underneath
- Bland, flavorless rice that lacks character
If any of these sound familiar, you’re in the right place. I’ve personally experienced all these challenges. Let me share the exact method to achieve perfectly cooked white rice, ensuring a delightful texture and taste with every spoonful.
The Ultimate Secret to Perfect White Rice: The Lid
The single most crucial factor in achieving perfectly cooked, fluffy white rice lies in the proper management of the pot’s lid. It’s all about precision: knowing exactly when to put it on, when to keep it sealed, and most importantly, when to resist the urge to peek or lift it. This seemingly simple piece of kitchen equipment is the key to creating the ideal steaming environment that transforms hard grains into tender, separate, and delectable rice.
Trust this fundamental principle, and your rice cooking will be revolutionized. Before diving into the step-by-step cooking process, let’s cover some essential basics and address frequently asked questions about white rice, ensuring you have a comprehensive understanding from start to finish.
Understanding Rice Varieties: Brown Rice vs. White Rice
Not all rice is created equal. Different varieties possess unique characteristics that influence their cooking time, water absorption, texture, and nutritional value. Understanding these distinctions is key to selecting the right rice for your culinary needs.
- Brown Rice
- White Rice
Brown rice is a whole grain, meaning it retains its bran, germ, and endosperm. This gives it a heartier, chewier texture and a slightly nutty flavor compared to white rice. Nutritionally, brown rice is generally considered a healthier option because the bran and germ layers are rich in fiber, vitamins (especially B vitamins), and minerals like magnesium and selenium. Its higher fiber content also contributes to a lower glycemic index, helping to stabilize blood sugar levels. Due to its intact layers, brown rice requires more water and a longer cooking time than white rice.
White rice is brown rice that has undergone a milling process to remove the bran and germ, leaving only the starchy endosperm. While this process results in a softer texture and a quicker cooking time, it also strips away many of the essential nutrients found in the outer layers. Consequently, plain white rice contains very few inherent vitamins and minerals, although it is often enriched with thiamine, niacin, and iron to compensate for these losses. For those with digestive sensitivities, white rice can be easier to digest due to its lower fiber content.
Exploring Rice Grain Length: Long, Medium, and Short
Beyond the brown versus white distinction, rice is further categorized by its grain length, which significantly impacts its texture and best uses in various recipes. The length of the grain influences how much starch is released during cooking and, consequently, how sticky or fluffy the final product will be.
- Long Grain Rice
- Jasmine Rice: A fragrant, aromatic rice primarily from Thailand, known for its soft texture and slightly sweet, floral aroma. It’s excellent for absorbing flavors, making it perfect for Asian stir-fries, stews, slow-cooked dishes, and serving with grilled meats or curries.
- Basmati Rice: An aromatic long-grain rice from India and Pakistan, prized for its delicate, nutty flavor and distinct, separate grains after cooking. It’s a fantastic accompaniment to Indian curries, pilafs, and other South Asian dishes.
- American Long Grain White Rice: A common, versatile variety that serves as a staple side dish, suitable for casseroles, pilafs, and as a bed for sauces.
- Brown Long Grain Rice: The whole grain version, offering a chewy texture and nutty flavor, ideal for healthy side dishes and adding substance to meals.
- Medium Grain Rice
- Arborio Rice: A plump, oval-shaped rice from Italy, renowned for its high starch content. It’s the go-to rice for creamy, velvety risottos, as it slowly releases its starch to create a rich consistency while maintaining an al dente bite. It’s also suitable for paella.
- Short Grain Rice
- Sushi Rice: A prime example of short grain rice, specifically cultivated for its sticky texture, essential for holding together sushi rolls and other Japanese dishes.
- Sweet Rice (Glutinous Rice): Also a short grain variety, used extensively in Asian desserts and savory dishes where a very sticky, cohesive texture is desired.
- Long Grain White Rice: You generally need a 1.5:1 ratio of water to rice (e.g., 1.5 cups water for 1 cup rice). This ratio ensures fluffy, separate grains.
- Medium Grain Rice: A 1.5:1 ratio of water to rice is also commonly used for medium grain varieties, yielding a tender yet slightly chewy texture.
- Short Grain Rice: Due to its stickier nature and desire for cohesion, short grain rice typically requires a 1:1 water-to-rice ratio.
- Brown Rice: Because brown rice retains its bran layer, it needs more water and a longer cooking time, often requiring a 2:1 or even 2.5:1 water-to-rice ratio.
- Rinse the Rice (Optional but Recommended): For extra fluffy, less sticky rice, place your measured rice in a fine-mesh sieve and rinse it under cold running water until the water runs clear. This removes excess starch.
- Bring Water to a Boil: In a saucepan or stockpot with a tight-fitting lid, bring the proper amount of water (1.5 cups water for every 1 cup of rice) to a rolling boil over medium-high heat.
- Season (Optional): Once boiling, add a pinch of salt for flavor. If desired, a tablespoon of butter can also be added for richness and to help prevent sticking.
- Add Rice and Stir: Carefully add the rinsed (or un-rinsed) rice to the boiling water. Give it one gentle stir to combine the rice with the water and seasoning. Avoid over-stirring, as this can release excess starch and lead to gummy rice.
- Cover and Reduce Heat: Immediately place the lid on the pot, ensuring it’s sealed tightly. Reduce the heat to the lowest possible setting (a gentle simmer). Do not lift the lid during this cooking phase.
- Simmer Undisturbed: Allow the rice to cook for precisely 18 minutes. The low heat and sealed lid create a steaming environment that cooks the rice evenly without burning.
- Rest Off Heat: After 18 minutes, remove the pot from the heat source, but *do not lift the lid*. Let the pot sit undisturbed for an additional 5 minutes. This crucial resting period allows the steam to redistribute and the rice to fully absorb any remaining moisture, ensuring a perfect, fluffy texture.
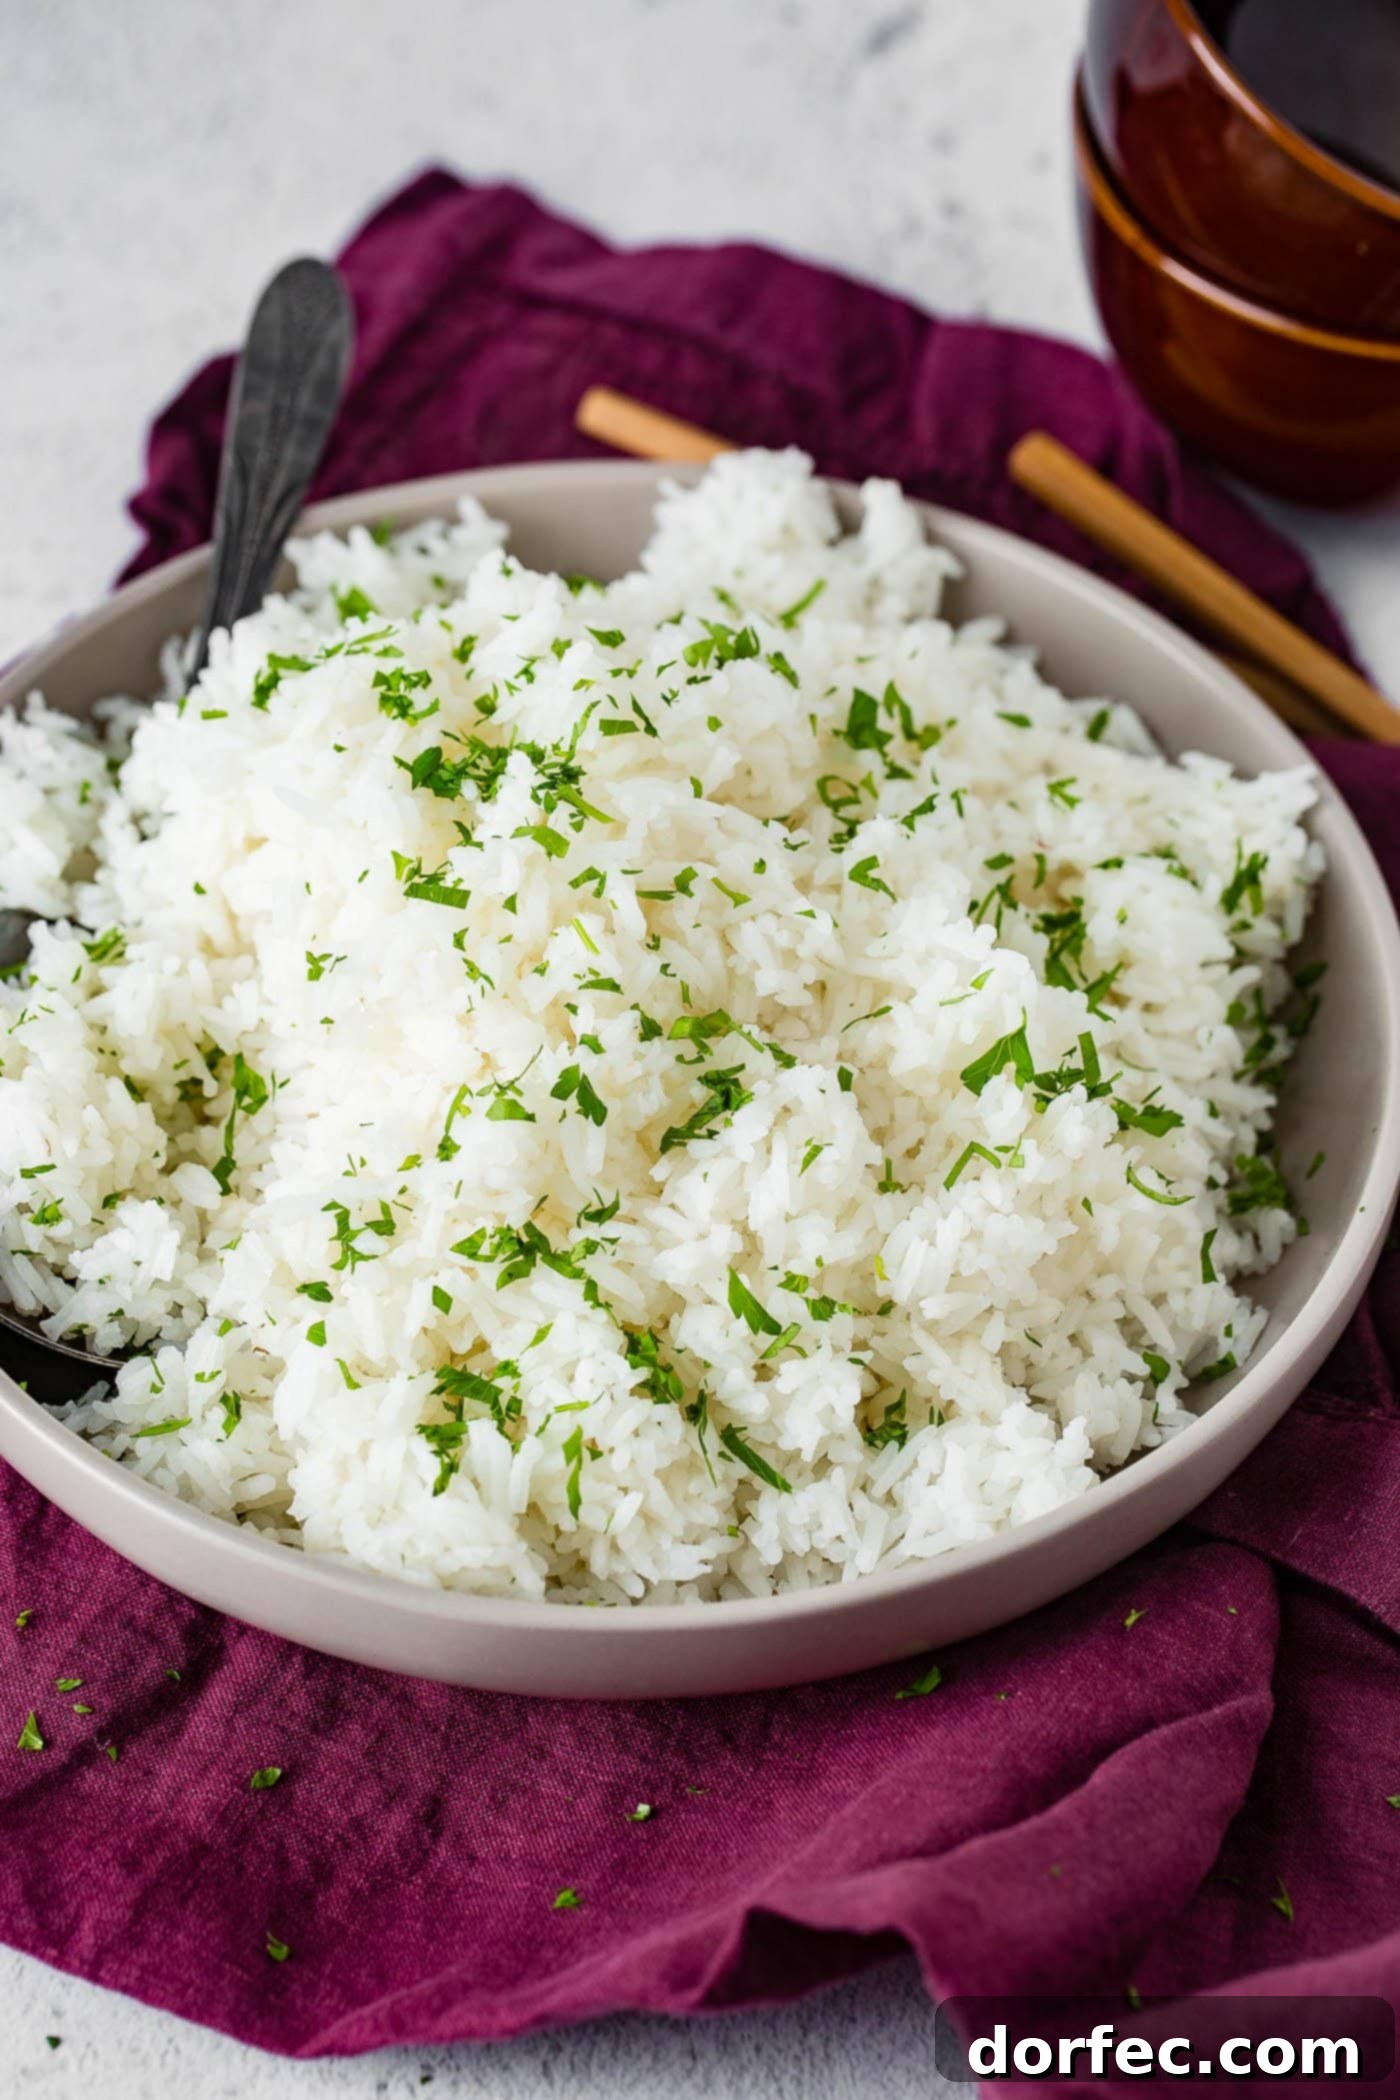
- Fluff and Serve: Finally, remove the lid and gently fluff the rice with a fork. This separates the grains and releases any trapped steam. Your perfectly cooked white rice is now ready to be served!
- Long Grain White Rice: 18 minutes of simmer time, followed by 5-10 minutes of resting off heat (lid on).
- Medium Grain White Rice: Approximately 20 minutes of simmer time, followed by 5-10 minutes of resting.
- Short Grain White Rice: Bring water to a boil, add rice, stir once. Reduce to low heat and cook for 10-12 minutes. Then, increase heat to high for a quick 30 seconds to absorb any remaining moisture at the bottom, before removing from heat and letting it steam, covered, for 10 more minutes.
- Brown Rice (Long Grain): Typically 35-45 minutes of simmer time, followed by 10 minutes of resting. (Ratio: 2 cups water for 1 cup rice).
- Visual Cues: When you finally lift the lid after the resting period, you should observe an even layer of rice with small “vent holes” or craters on the surface, where steam has escaped. This is a sign that the water has been fully absorbed.
- Texture Test: Gently take a few grains from the top and taste them. Perfectly cooked rice should be soft, tender, and slightly chewy, but not hard, crunchy, or mushy. Each grain should be distinct.
- Troubleshooting Undercooked Rice: If the rice is still a bit chewy or firm, it means it needs more liquid and/or cooking time. Add a tablespoon or two of hot water, replace the lid, and cook for another 3-4 minutes on low heat, then rest again. Avoid adding too much water at once.
- Pour the desired amount of rice into a microwave-safe container or pot.
- Add water so it covers the rice by about an inch. A general ratio of 2:1 water to rice can work, but observe and adjust for your microwave.
- Cover the container with a microwave-safe lid or microwave-safe plastic wrap, leaving a small vent for steam.
- Microwave on high power for 9-10 minutes.
- Let the rice rest, still covered, for 3-5 minutes (no peeking!) before fluffing with a fork and serving.
- Measure out your dry rice and set it aside. Rinsing is optional.
- Measure out an equal amount of water (a 1:1 ratio for most white rice) and add it to the Instant Pot’s inner pot. For brown rice, a 1:1 ratio is also often recommended, or slightly more, check your Instant Pot manual.
- Add the rice to the water. Do not fill your inner pot past the halfway mark when cooking rice to allow for expansion.
- Place the inner pot into the cooker base, close the lid, and set the steam release valve to the “Sealing” position.
- Select your pressure cooking time:
- The “Rice” button on many Instant Pot models automatically sets the time for white rice.
- For other types of rice, use the “Manual” or “Pressure Cook” Smart Program on High Pressure:
- White Rice: 3-5 minutes (followed by natural release).
- Brown Rice: 22-25 minutes (followed by natural release).
- Allow for natural pressure release for at least 10 minutes (or full natural release) before opening the valve and fluffing the rice.
- Blood Sugar Stabilization: Brown rice, with its higher fiber content, can help stabilize blood sugar levels more effectively than white rice, contributing to better energy regulation.
- Easier Digestion: White rice is often easier to digest due to the removal of bran and germ. This can be beneficial for individuals with sensitive digestive systems, certain health conditions, or those recovering from illness who might struggle with the higher fiber content of brown rice.
- Gluten-Free: Both brown and white rice are naturally gluten-free, making them excellent staples for individuals with celiac disease or gluten intolerances, providing a versatile and safe carbohydrate source.
- Energy Source: Rice, especially white rice, is a good source of quick energy from carbohydrates, making it an excellent food for athletes or anyone needing a readily available fuel source.
- Nutrient Fortification: In many regions, white rice is fortified with essential vitamins and minerals, such as B vitamins (thiamine, niacin, folic acid) and iron, to compensate for nutrients lost during processing.
- Uncooked Rice:
- White Rice: When stored in an airtight container in a cool, dry, dark place, uncooked white rice can last for an extended period, typically 4-5 years, or even longer if vacuum-sealed.
- Brown Rice: Due to its natural oils in the germ layer, brown rice has a shorter shelf life than white rice. Uncooked brown rice usually lasts about 3-6 months at room temperature. To extend its freshness, store it in the refrigerator (6-12 months) or the freezer (12-18 months) in an airtight container. You’ll notice it drying out or going rancid before white rice.
- Cooked Rice:
- Refrigerator: Cooked white or brown rice should be stored in an airtight container in the refrigerator within one hour of cooking. It will last safely for 5-7 days.
- Freezer: For longer storage, cooked rice can be frozen in airtight, freezer-safe containers or bags for up to 6 months. Thaw in the refrigerator overnight before reheating.
Characterized by its slender, elongated grains, long grain rice typically cooks up light, fluffy, and less sticky, with individual grains remaining separate. This makes it an ideal choice for dishes where you want distinct grains. Popular varieties include:
Its chewier texture and ability to remain separate make long grain rice exceptionally well-suited for casseroles, classic side dishes, and flavorful pilafs.
Medium grain rice is shorter and wider than long grain varieties, with a grain length typically two to three times its width. When cooked, it becomes moist, tender, and slightly chewy, with a tendency to cling together more than long grain rice but less than short grain. The most famous example is:
Last but not least, we have the shortest and widest of the rice grains, short grain rice. These plump, almost round grains are known for their high starch content, which results in a very soft, sticky, and chewy texture when cooked.
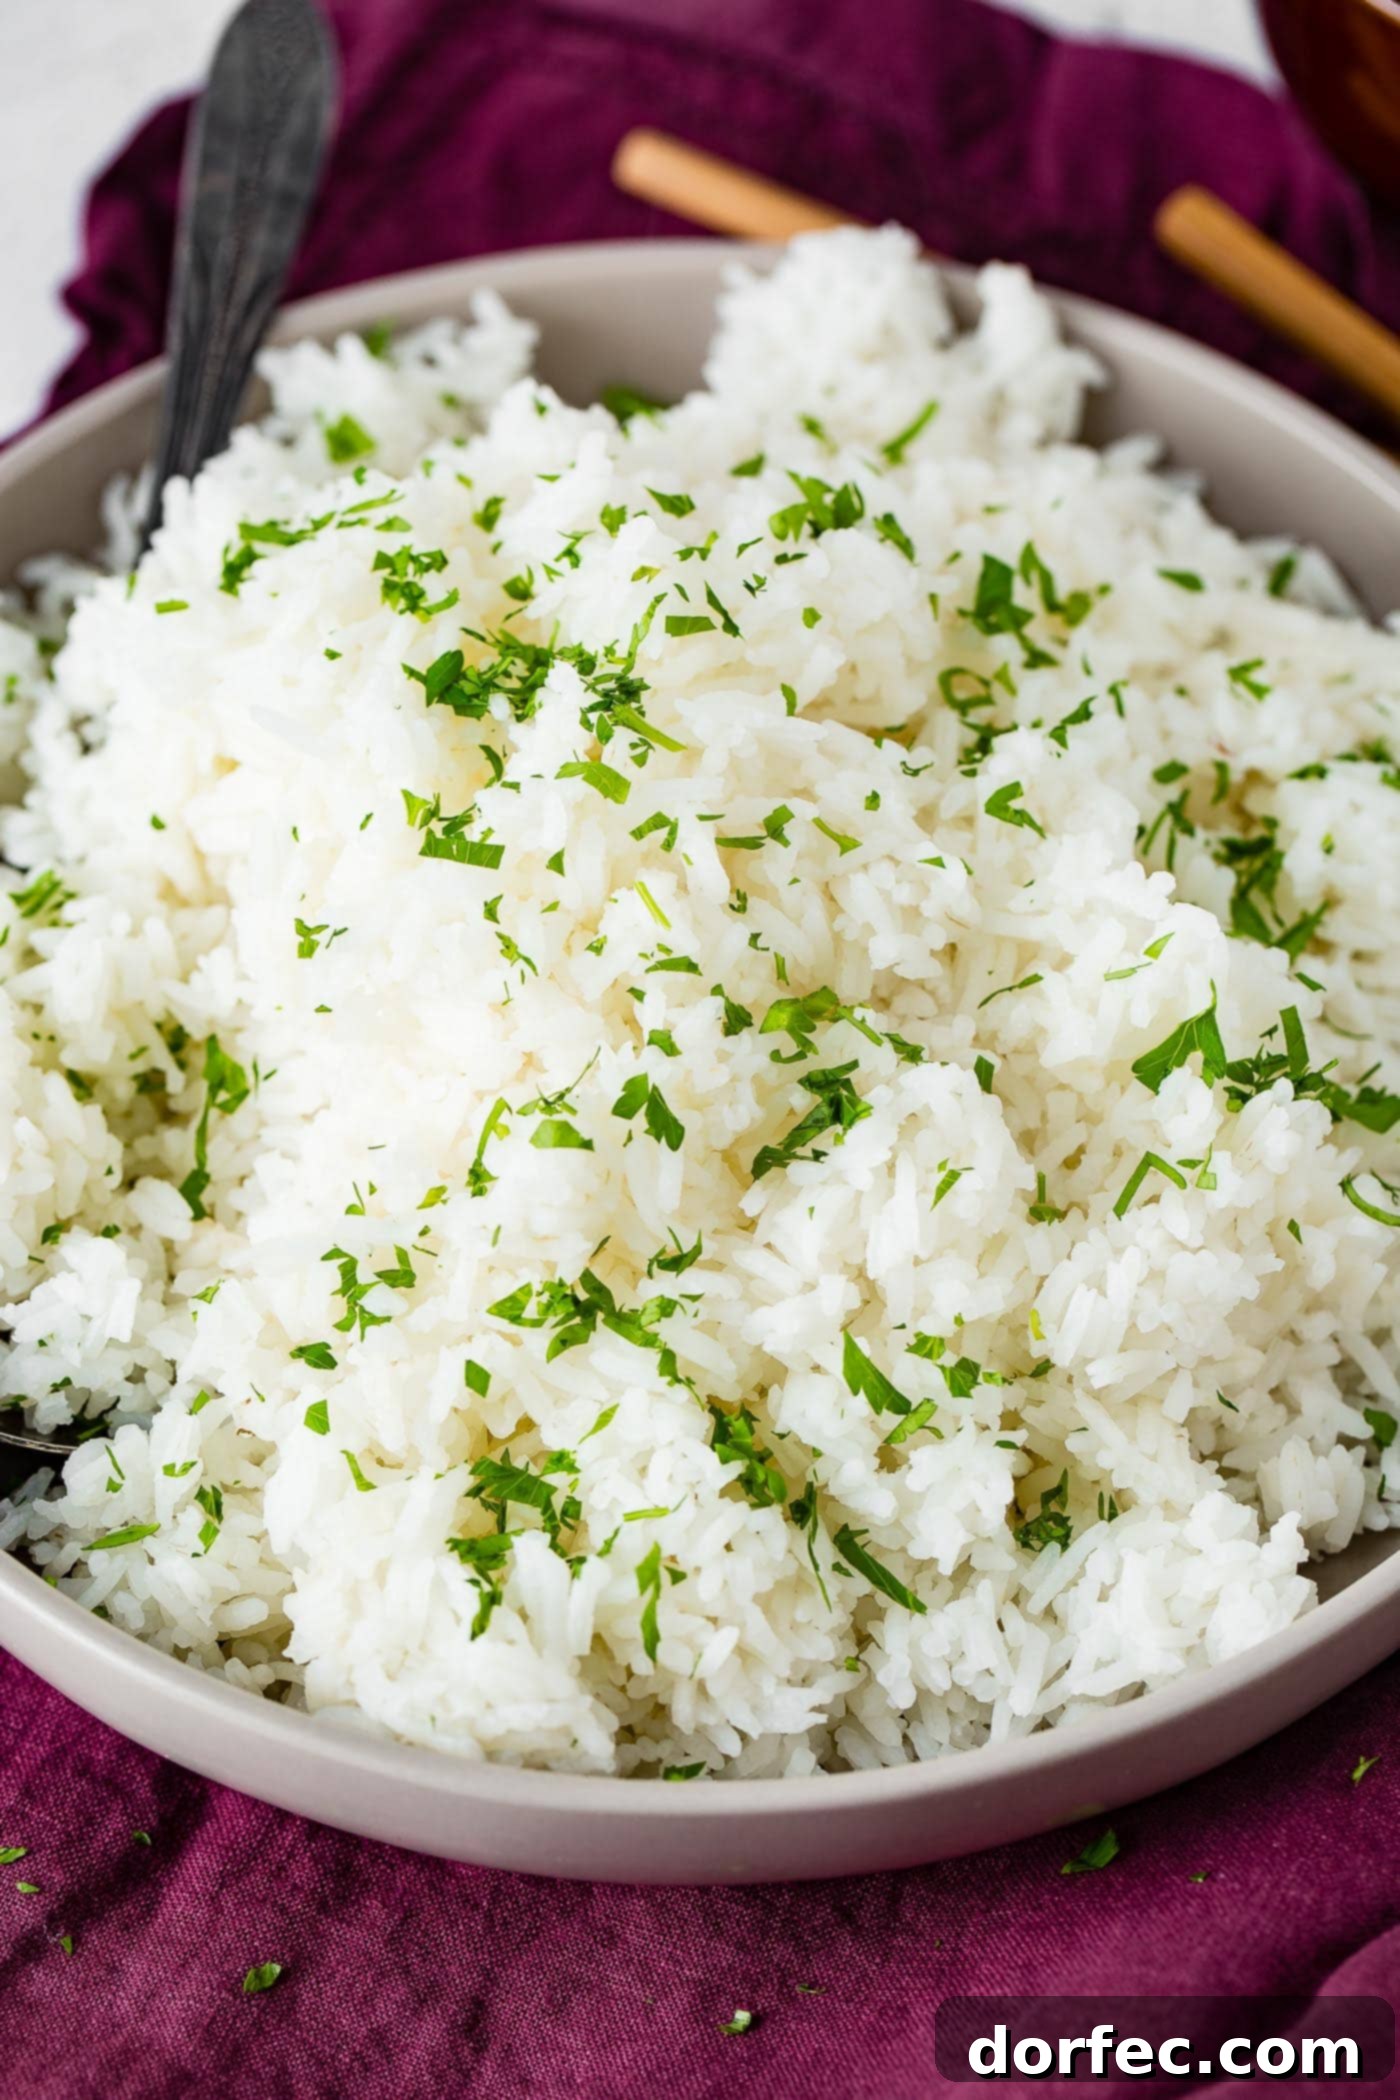
Ahhh, now you know what I’m talking about, right? This is the kind of rice that easily clumps together.
Short grain rice is perfect for making sushi, rich rice puddings, and certain types of salads where a cohesive texture is an advantage.
The Crucial Water-to-Rice Ratio: Achieving Perfection
Determining the correct amount of water for cooking rice is perhaps the most critical step, and it’s where many cooks go wrong. You might assume it’s a simple answer, but the ideal ratio can vary based on several factors, including the type of rice, the fit of your pot’s lid, and even the altitude you’re cooking at. For instance, you can’t simply double the water when you double the rice; the surface area for evaporation changes, requiring slight adjustments.
While some experimentation with your specific cookware may be necessary to find your perfect ratio, here are the typical guidelines for stovetop cooking:
Remember, a tight-fitting lid is paramount. If your lid doesn’t seal well, you might need a tiny bit more water to compensate for the escaping steam. Start with these ratios, observe the results, and adjust slightly for consistent perfection in your kitchen.
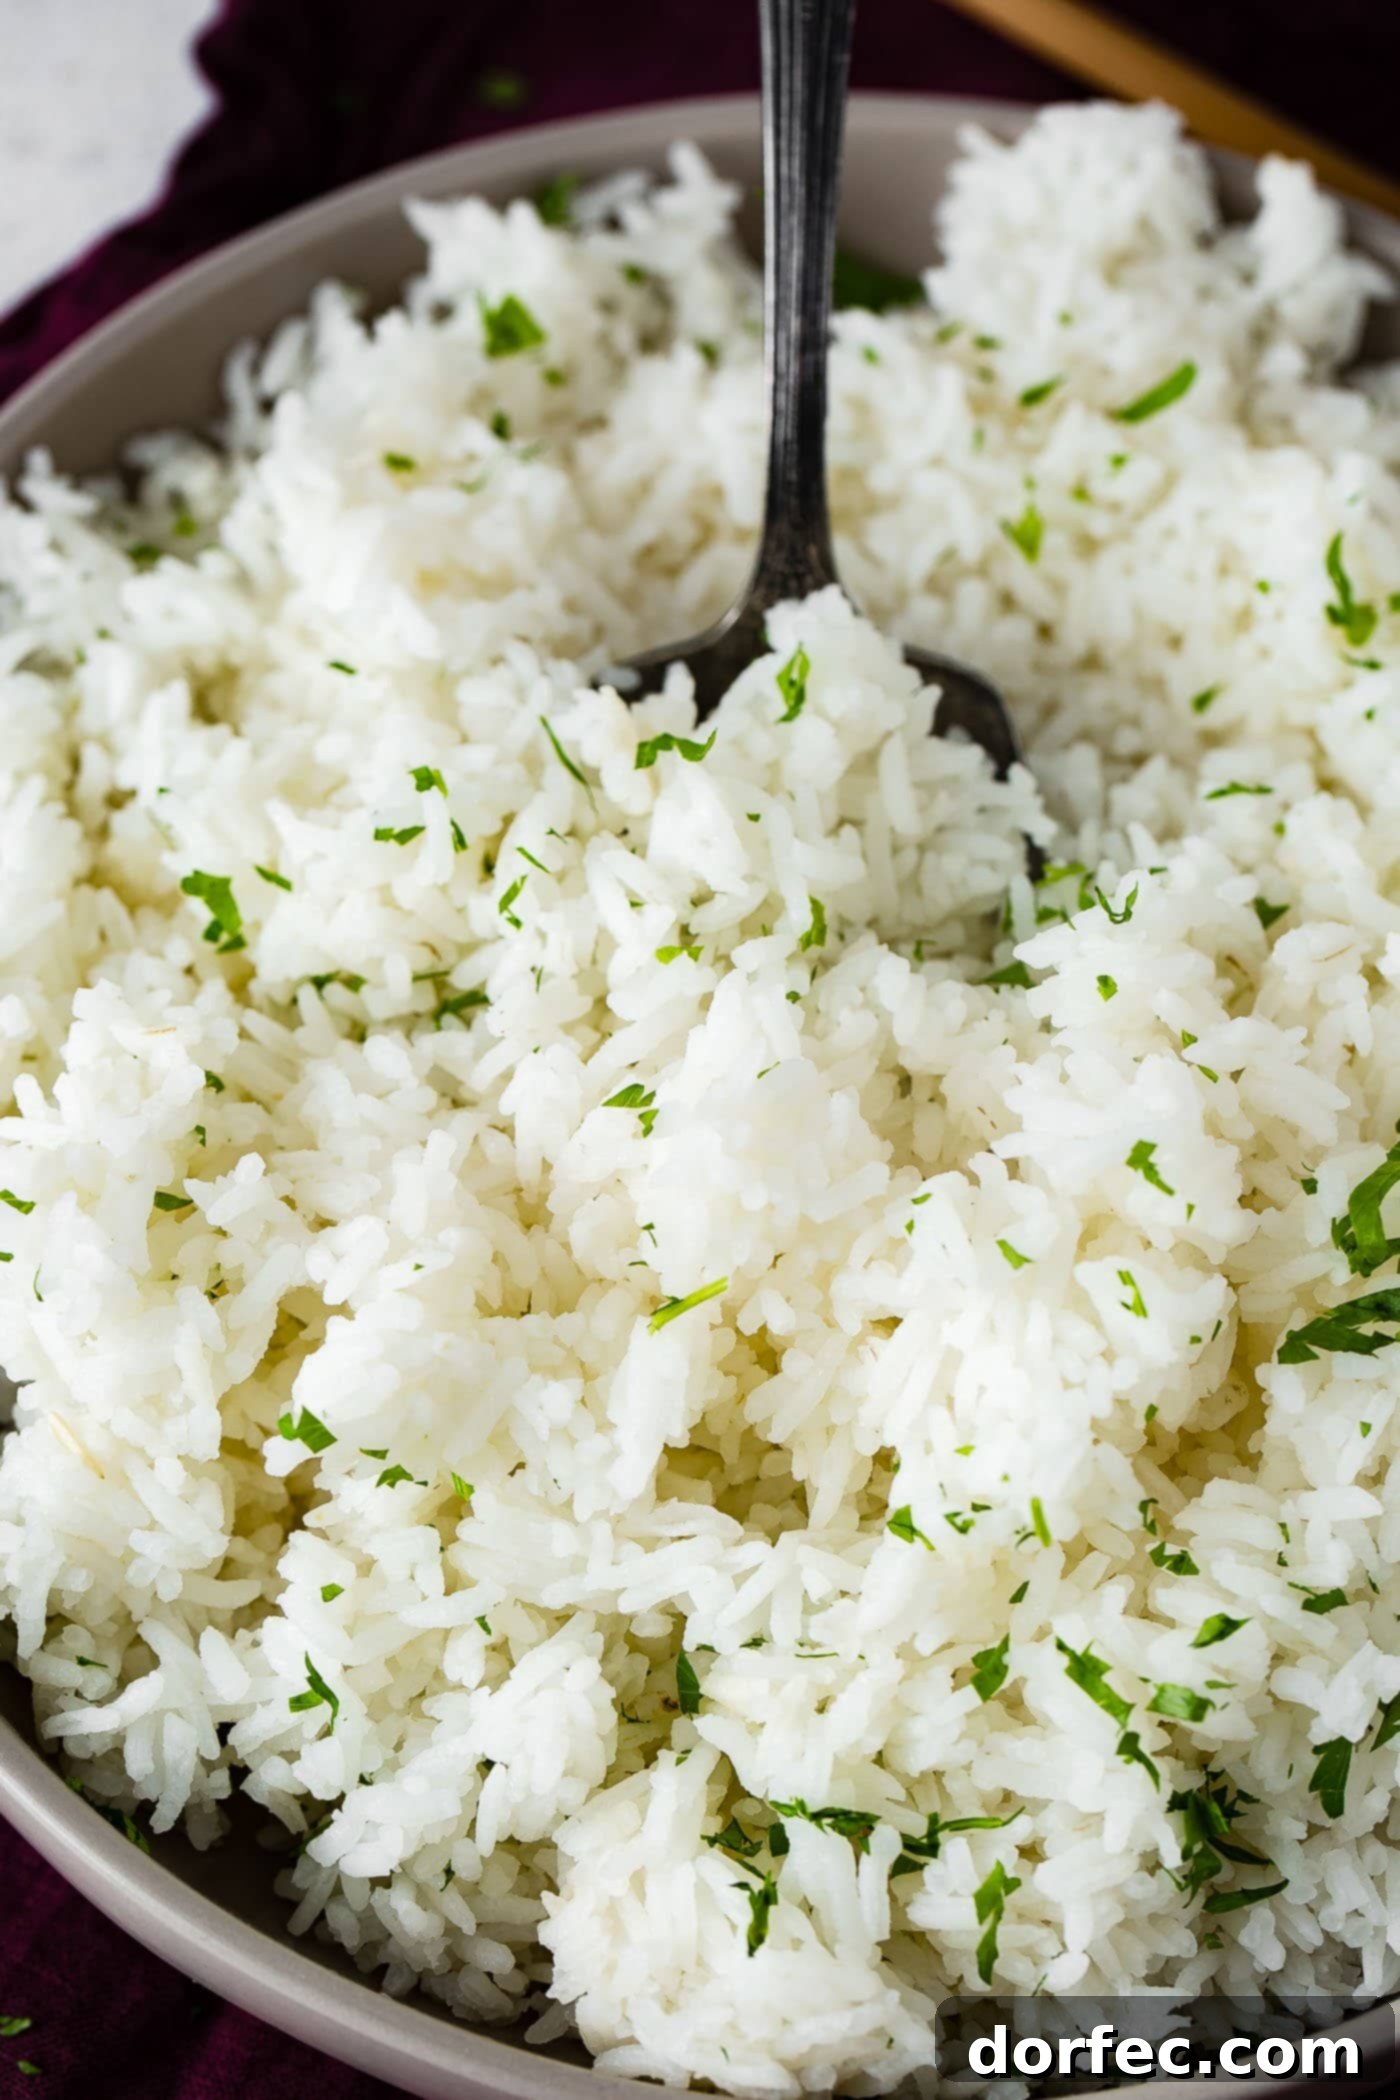
How to Cook Fluffy Long Grain White Rice on the Stovetop
This method focuses on achieving perfectly fluffy and separate long grain white rice, a skill that will serve you well for countless dishes. Follow these simple steps for consistent success:
Note: You can cover and store cooked rice in an airtight container in the refrigerator for up to 6 days.
Specific Cooking Times for Different Rice Types
While the general method remains similar, the cooking times and ratios can vary depending on the type of rice you’re preparing:
How Do You Know When Rice is Done?
There are a few clear indicators that your rice has reached perfect doneness:
Frequently Asked Questions About Cooking Rice
Why is My Rice Mushy?
Mushy rice is typically a result of too much water, or a lid that isn’t fitting properly and allows too much steam to escape prematurely, leading to over-absorption of water. Remember, when you double the amount of rice, you usually don’t need to double the water exactly. For example, for 2 cups of rice, you might only need 3.75 cups of water instead of 4, depending on your pot and lid. Consistent testing and slight adjustments to your water ratio for your specific cookware will yield the best results.
How to Cook Rice in the Microwave
Cooking rice in the microwave can be a convenient and quick method for smaller batches:
How to Cook Rice in the Instant Pot (Pressure Cooker)
The Instant Pot makes cooking rice incredibly easy and consistent:
Is Rice Good For You?
Rice, particularly whole-grain brown rice, offers various health benefits, but white rice also has its place in a balanced diet:
Do You Need a Rice Cooker to Cook Rice?
Absolutely not! While a dedicated rice cooker offers convenience and consistent results, it is by no means essential. A regular saucepan or stockpot with a well-fitting lid is all you need to cook perfect rice on your stovetop. The key, as emphasized, is managing the heat and keeping the lid on to create that crucial steaming environment.
How Long Will Rice Keep?
Proper storage is vital to extend the shelf life of both uncooked and cooked rice: