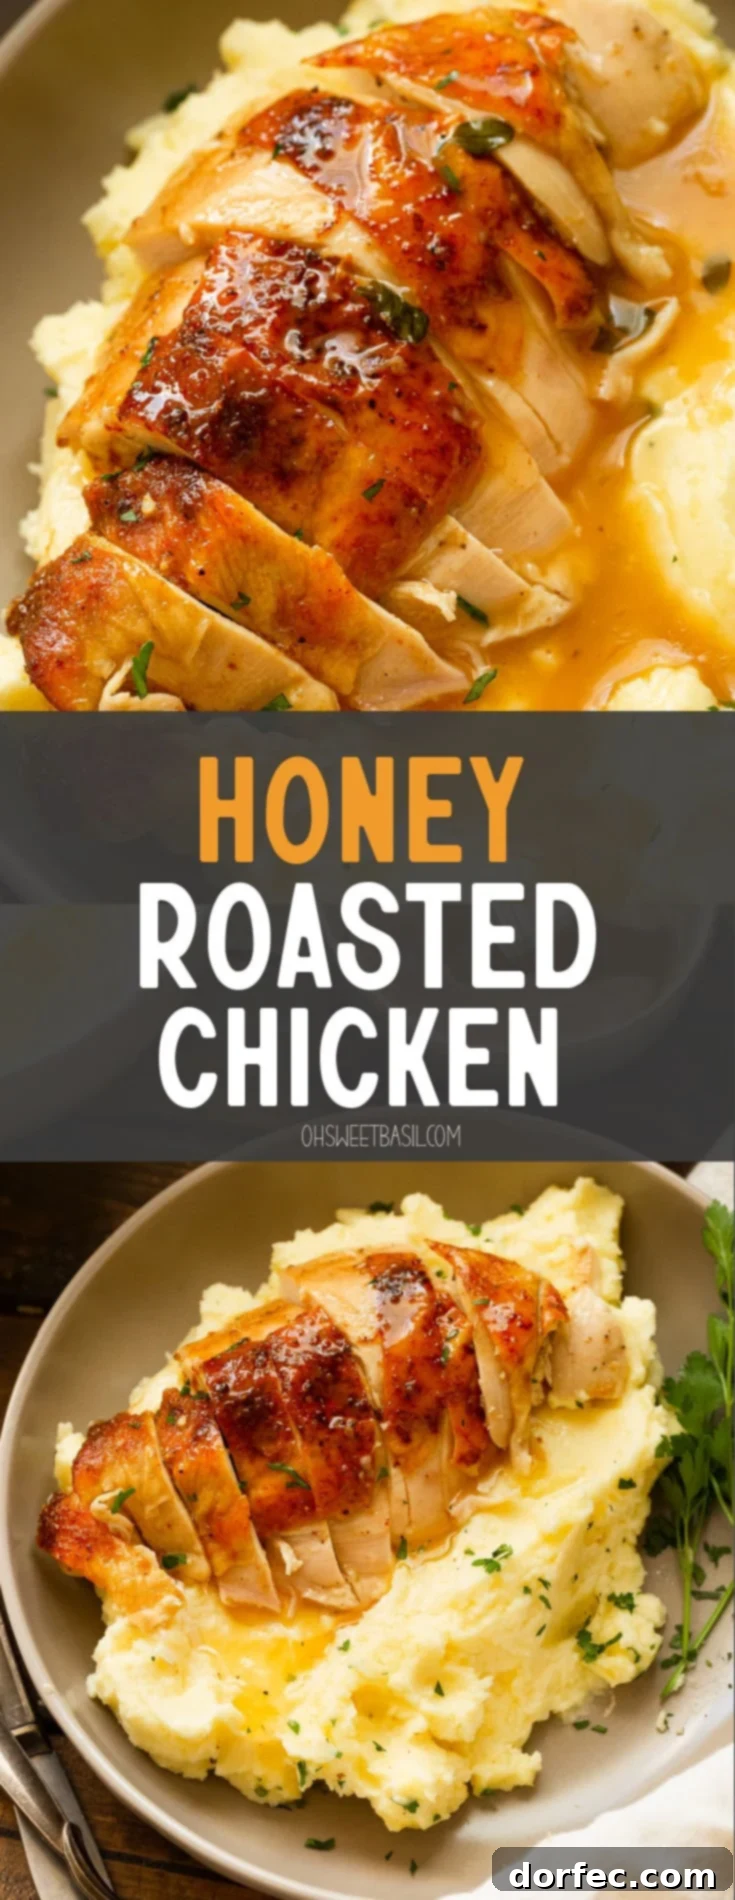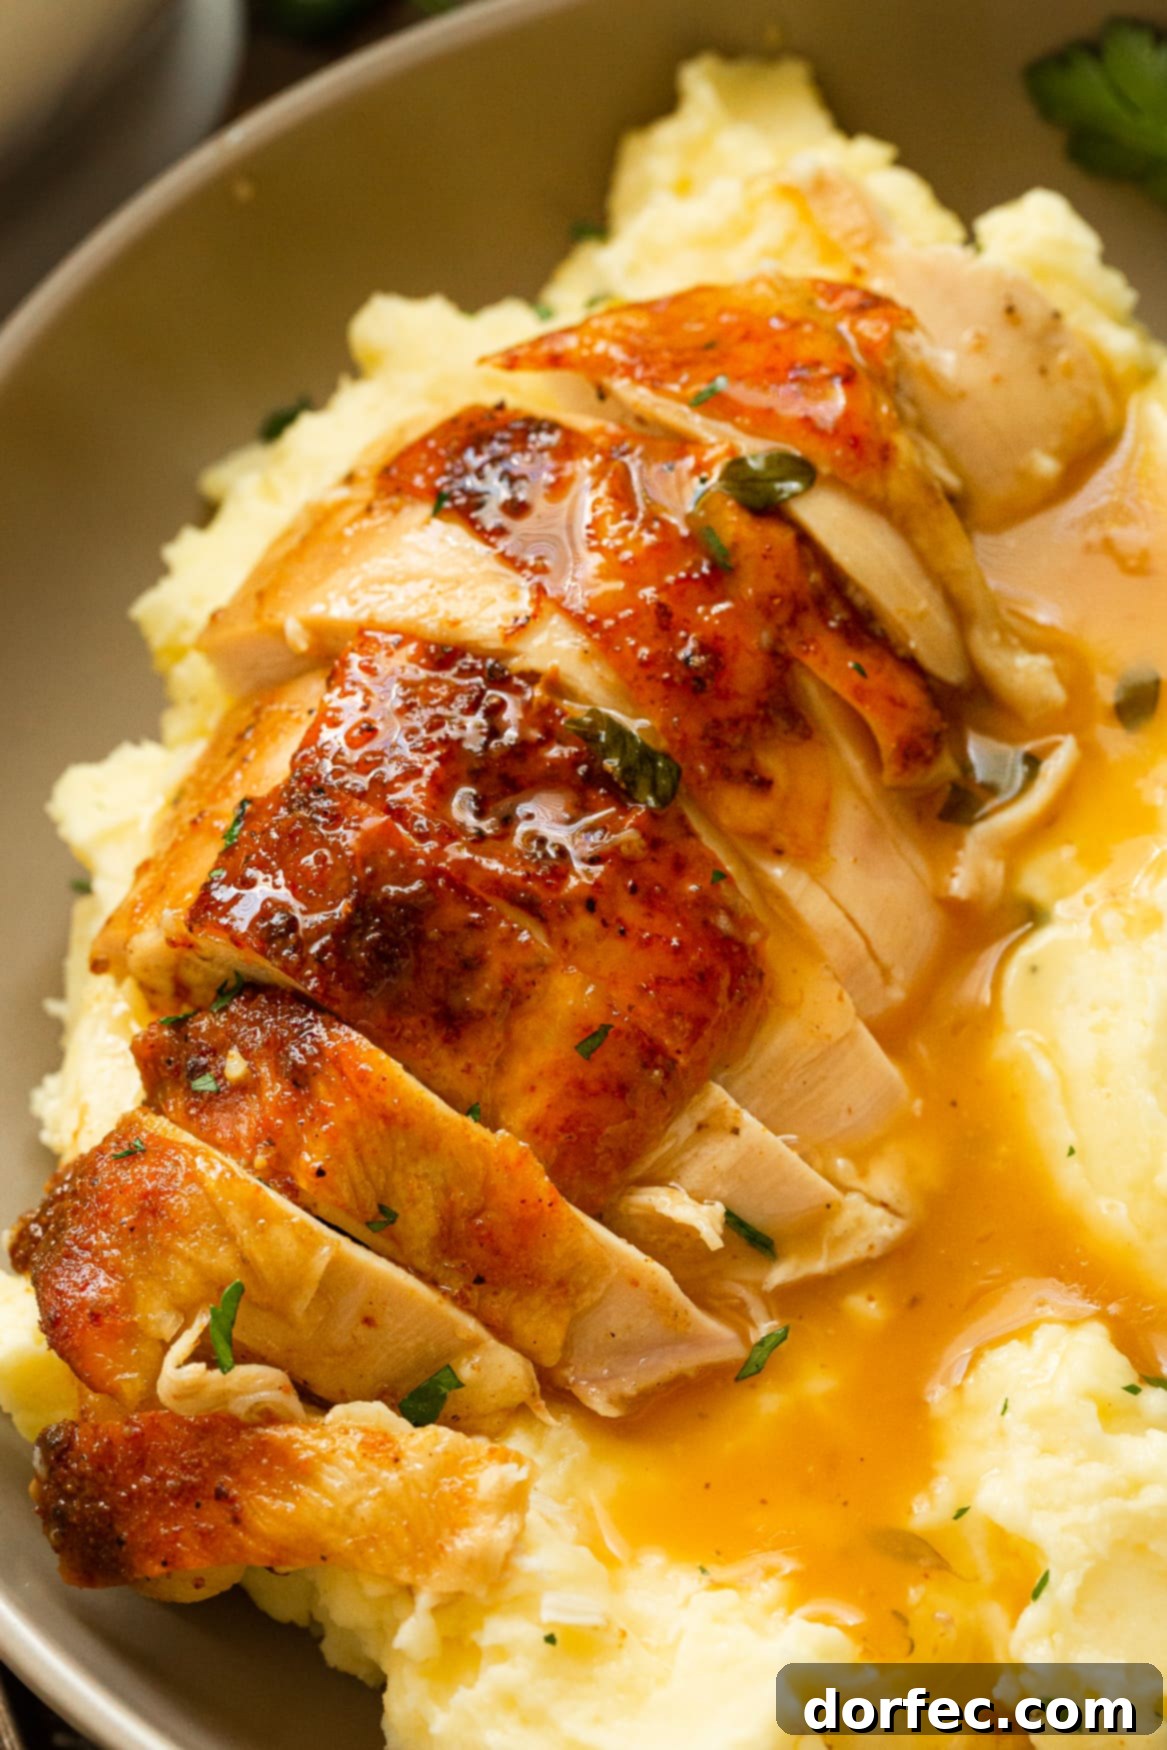
Unlock the secret to the most mouth-watering, perfectly golden honey roasted chicken with crispy, glazed skin – a true culinary delight that promises pure comfort and satisfaction! This exceptional roasted whole chicken recipe is meticulously crafted to elevate your Sunday dinner, transforming an ordinary meal into an unforgettable family feast.
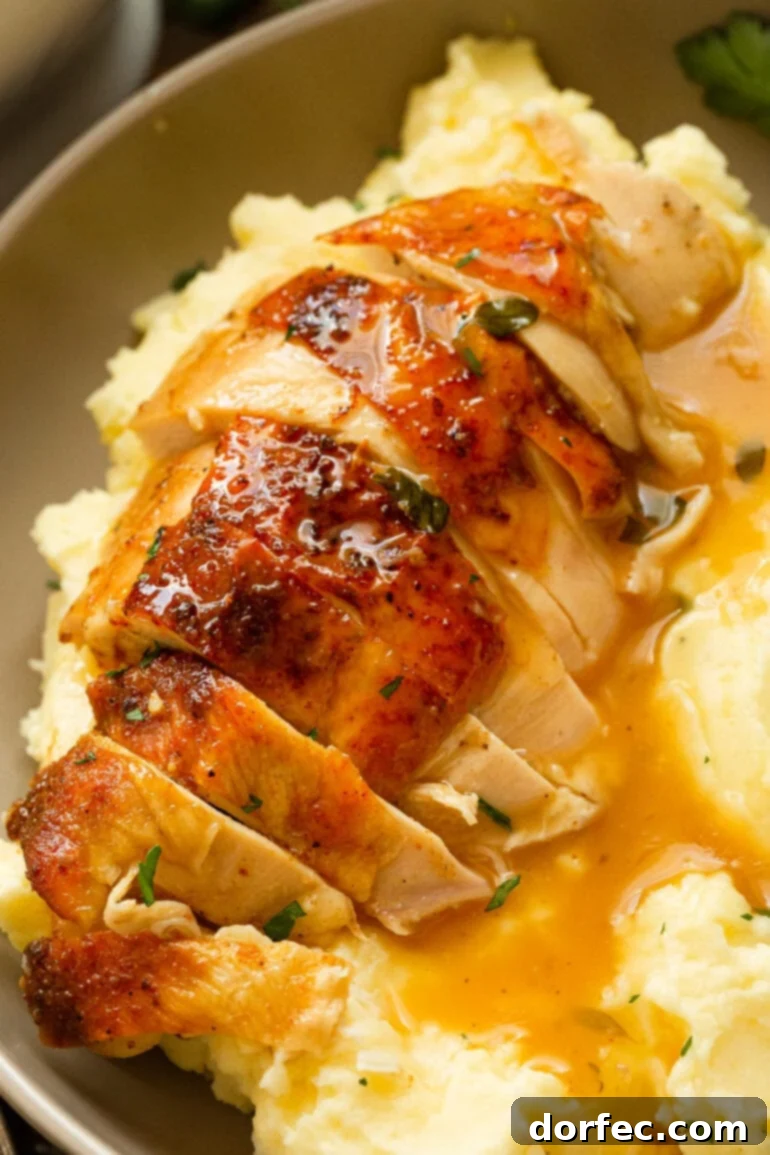
For many, certain dishes hold a special place in our hearts, echoing memories of childhood and cherished family gatherings. Growing up, my absolute favorite meal was undoubtedly honey roasted chicken, served alongside creamy mashed potatoes (often enjoyed plain with a generous knob of butter), fresh corn, and surprisingly, jello. This perfect combination was my annual birthday dinner request, a tradition that brought immense joy and a sense of unparalleled comfort.
As life unfolded, the convenience of boneless, skinless chicken parts often overshadowed my childhood love for a beautifully roasted whole bird. It was quicker to prepare, easier to store, and seemed like the practical choice for busy weeks. However, I eventually rediscovered the profound satisfaction that only a perfectly roasted chicken can offer. This recipe not only brought back those cherished memories but also proved that a truly spectacular meal doesn’t have to be complicated.
Just one glance at the glistening, golden-brown skin, hinting at the juicy meat beneath, is enough to ignite a craving! There’s an undeniable magic in bringing back old favorites, isn’t there? Each bite is a journey back in time, a warm hug of nostalgia that connects us to simpler, happier moments.
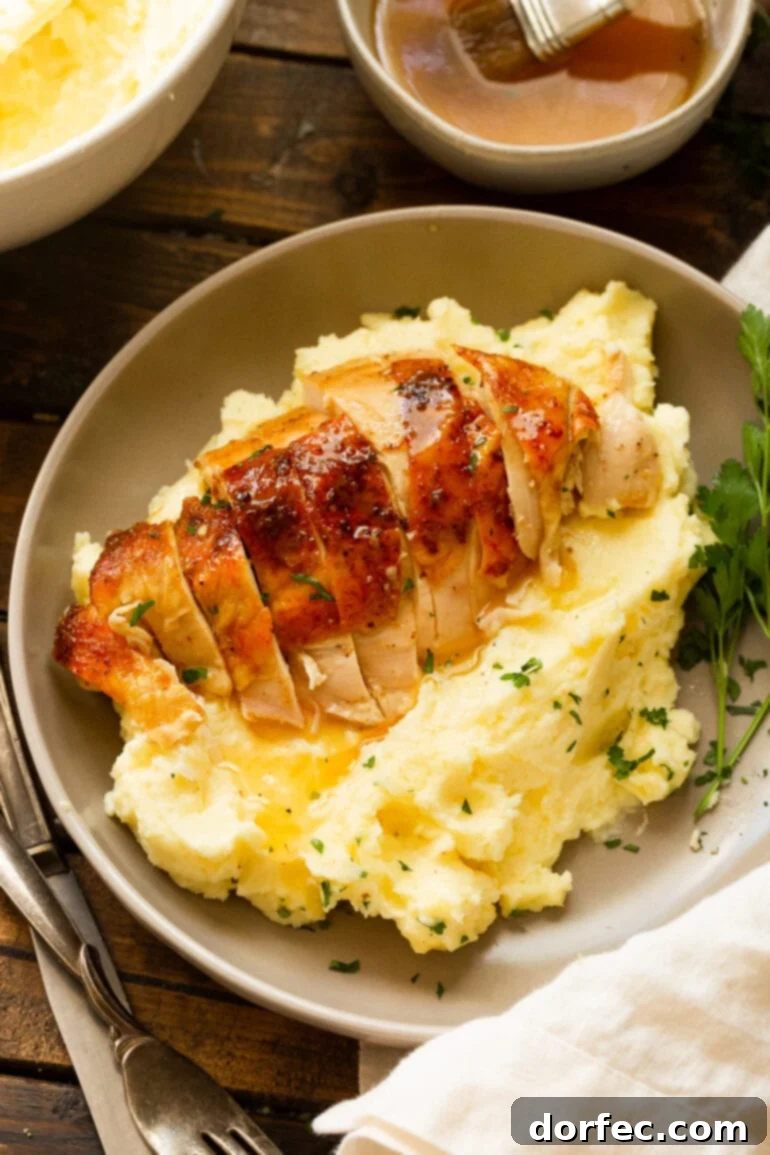
Essential Ingredients for the Perfect Honey Roasted Chicken
Crafting this delightful honey roasted chicken requires a thoughtful selection of ingredients, divided into two main components: the chicken itself and the irresistible honey glaze. Each element plays a crucial role in achieving the dish’s signature flavor and texture.
For the Chicken:
- Whole Chicken: Begin with a high-quality whole chicken, ideally weighing between 3 to 4 pounds. This size is perfect for roasting, yielding tender, juicy meat and providing ample servings. Discard the giblets before preparation.
- Seasonings: A simple yet powerful blend of salt, pepper, and smoked paprika creates a flavorful crust and deepens the chicken’s overall taste. The smoked paprika, in particular, adds a subtle, earthy smokiness that complements the sweetness of the honey.
- Aromatics: Infuse your chicken with incredible flavor by stuffing its cavity with quartered onion, halved lemon, minced garlic, and fresh sprigs of thyme and parsley. These aromatics release their essences as the chicken roasts, permeating the meat with fragrant notes.
- Butter: Melted butter, mixed with half of the spice blend, is crucial for achieving that succulent, flavorful meat. Applied directly under the skin, it helps keep the chicken moist and contributes to the golden color of the skin.
- Egg: An egg wash, whisked with the remaining spice mixture and brushed over the chicken’s skin, is a secret weapon for achieving an unbelievably crispy, golden-brown exterior. It helps create that coveted crackly texture.
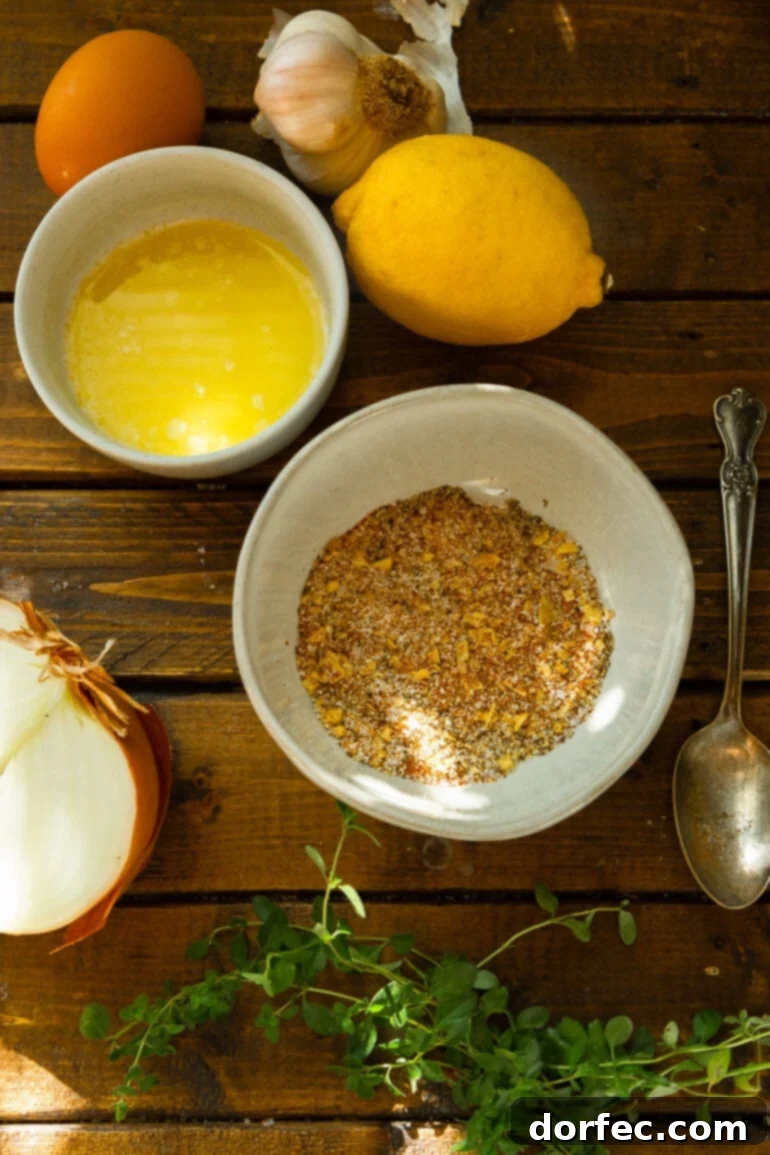
Crafting Your Honey Roasted Chicken: A Step-by-Step Guide
Don’t be intimidated by roasting a whole chicken! It’s an incredibly straightforward process that yields impressive results. Follow these detailed steps to create a show-stopping honey roasted chicken that will earn rave reviews.
For the Honey Glaze:
The honey glaze is what truly elevates this dish, providing a beautiful sheen, irresistible sweetness, and a tangy counterpoint that makes every bite memorable. This balanced glaze enhances both flavor and texture.
- Cornstarch: A small amount of cornstarch is used to thicken the glaze, giving it that luxurious, clingy consistency.
- Water: Combined with cornstarch to form a slurry, ensuring a smooth, lump-free glaze.
- Honey: The star of the glaze, providing natural sweetness, a rich amber color, and a delightful sticky texture.
- Apple Cider Vinegar: Adds a crucial tang and acidity that brightens the glaze and cuts through the richness of the chicken.
- Chicken Broth: Forms the savory base of the glaze, adding depth of flavor. Low sodium is recommended to control salt levels.
- White Wine: Contributes a sophisticated layer of flavor. If you prefer to avoid alcohol, simply double the chicken broth for an equally delicious result.
- Thyme: Dried thyme infuses the glaze with an herbaceous aroma that perfectly complements the chicken.
- Butter: A knob of chilled butter whisked in at the end adds richness and a silky finish to the glaze.
Exact measurements for all ingredients, along with detailed cooking times, are provided in the comprehensive recipe card below. Keep scrolling to ensure you have all the specifics!
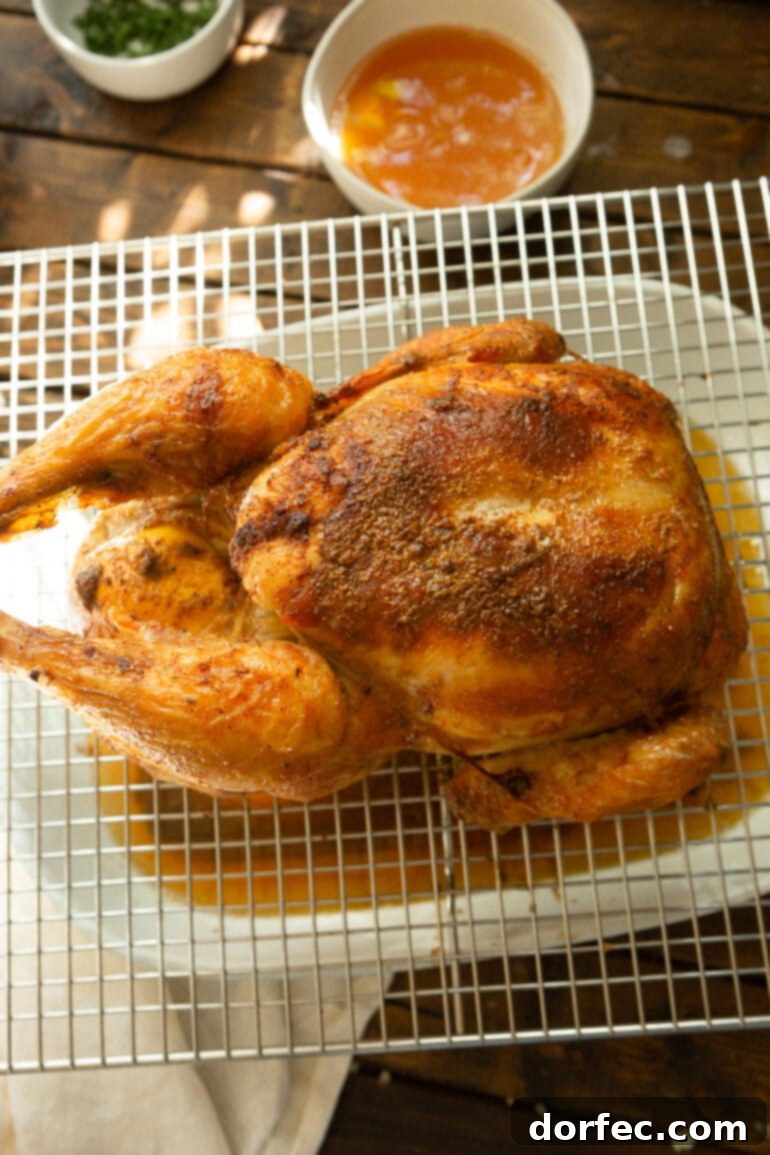
The Power of Lemon: Why It Belongs in Your Roast Chicken
You might wonder about the inclusion of lemon in a roast chicken recipe, but its role is far from minor. Lemon acts as a fantastic aromatic, slowly releasing its bright, citrusy essence into the chicken as it roasts. This infusion imparts a delicious, subtle tang to the meat, cutting through richness and adding a layer of freshness that complements the herbs, onions, and garlic beautifully. It’s not just for flavor; lemon also helps tenderize the meat slightly, contributing to a more succulent final product.
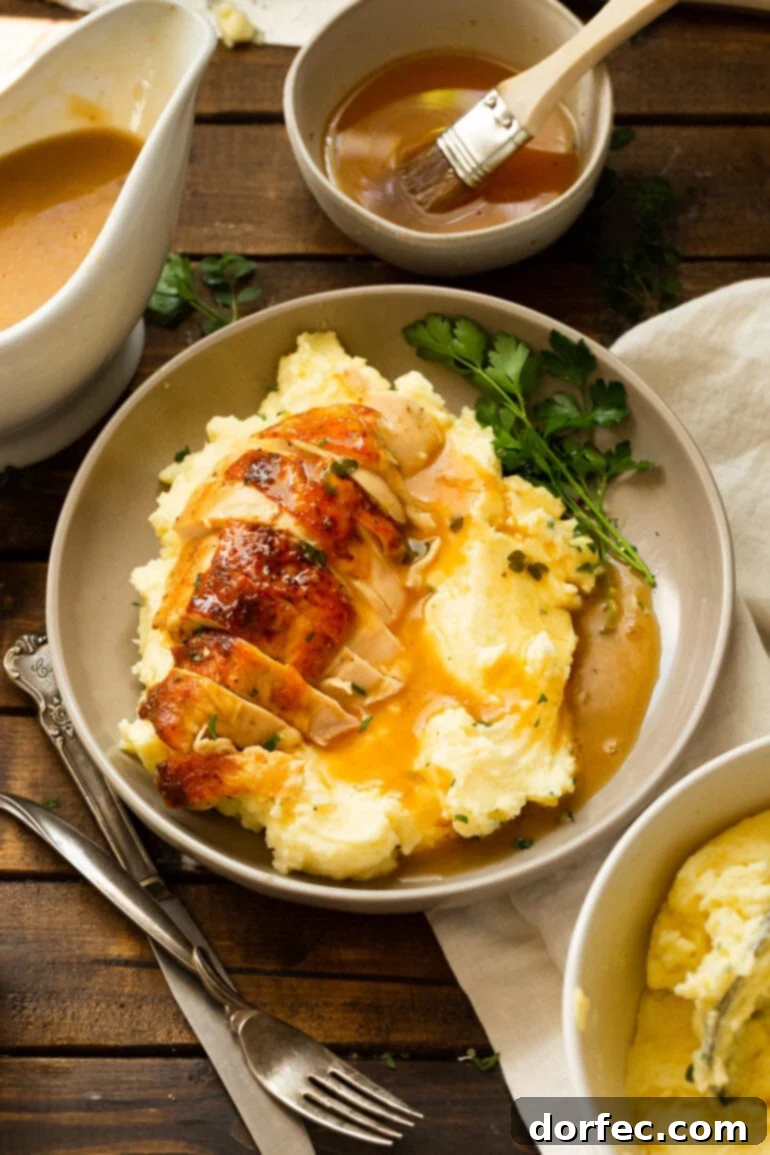
Roasting vs. Baking: Understanding the Key Differences for Perfect Chicken
While often used interchangeably, “roasting” and “baking” refer to distinct cooking methods, especially when it comes to achieving optimal results for dishes like our honey roasted chicken. Understanding these differences is key to unlocking the full potential of your poultry.
- Temperature: Roasting typically involves higher temperatures (generally 400°F and above), which are crucial for developing a beautiful, browned, and flavorful “crust” on the exterior of the food. Baking, conversely, is usually done at lower temperatures, providing a gentler, more even cooking.
- Exposure: Roasting is almost always done in an open, uncovered pan, allowing the hot air to circulate freely around the food, leading to browning and crisping. Baked foods, however, are often covered, especially for dishes where moisture retention and gentle cooking are paramount, like casseroles or some breads.
- Result: For chicken, roasting aims for that desirable crispy skin and tender interior, while baking might result in a softer skin texture, though still cooked through.
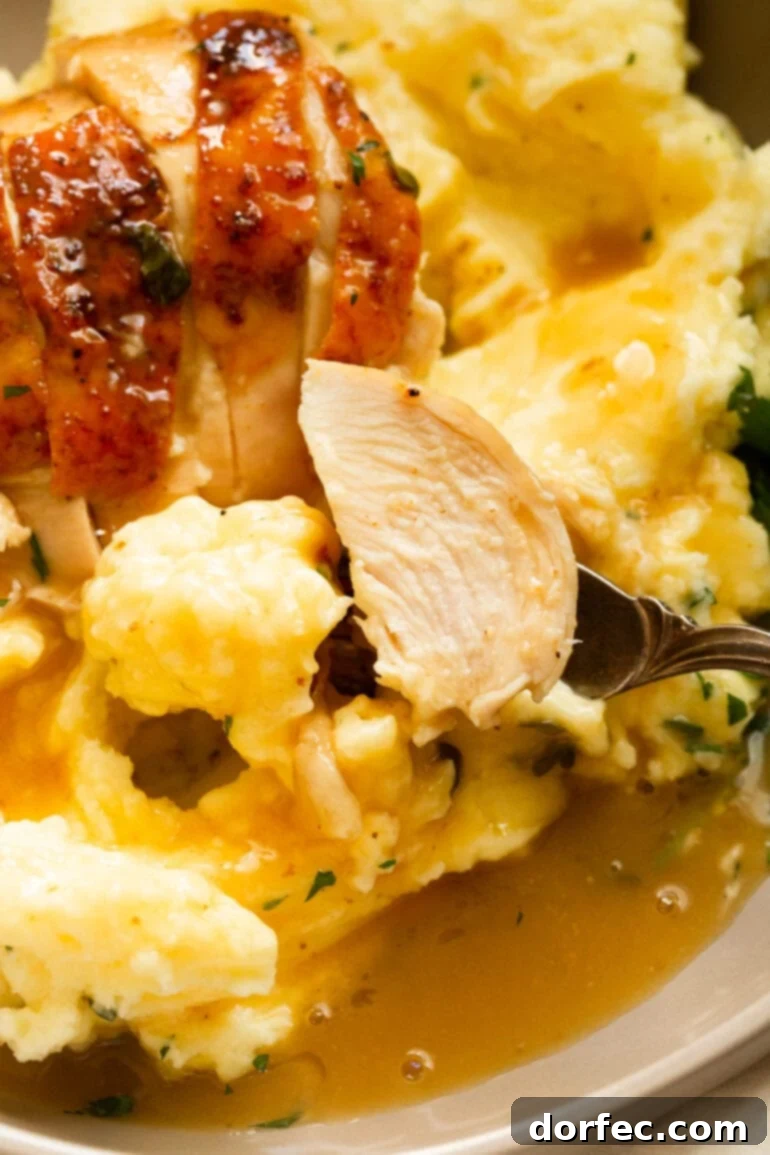
Mastering Moistness: How to Prevent Your Roast Chicken from Drying Out
The fear of dry chicken is a common concern for many home cooks, but with a few simple techniques, you can ensure your honey roasted chicken remains incredibly juicy and tender. Achieving this perfect balance is easier than you might think!
- Trussing is Key: My top tip for keeping chicken moist while roasting is to properly truss the bird. Tucking the wings and tying the legs closer to the body helps the chicken cook more evenly. This prevents the thinner parts, like the wing tips and breast, from overcooking and drying out before the darker meat of the thighs is done. Trussing also creates a more compact shape, promoting even heat distribution and resulting in a more beautifully presented bird.
- Monitor Internal Temperature: An instant-read thermometer is your best friend in the kitchen, especially when roasting chicken. Always check the internal temperature of both the thickest part of the chicken thighs (avoiding the bone) and the thickest part of the breast. You’re aiming for a temperature of 165°F (74°C) in both areas. You can even pull the chicken out of the oven when it reaches around 160°F (71°C), as it will continue to cook and come up to the target temperature while it rests. This carryover cooking is crucial to prevent overcooking.
- Don’t Over-Roast: The biggest culprit for dry chicken is simply leaving it in the oven for too long. Once it hits the safe internal temperature, it’s time to take it out!
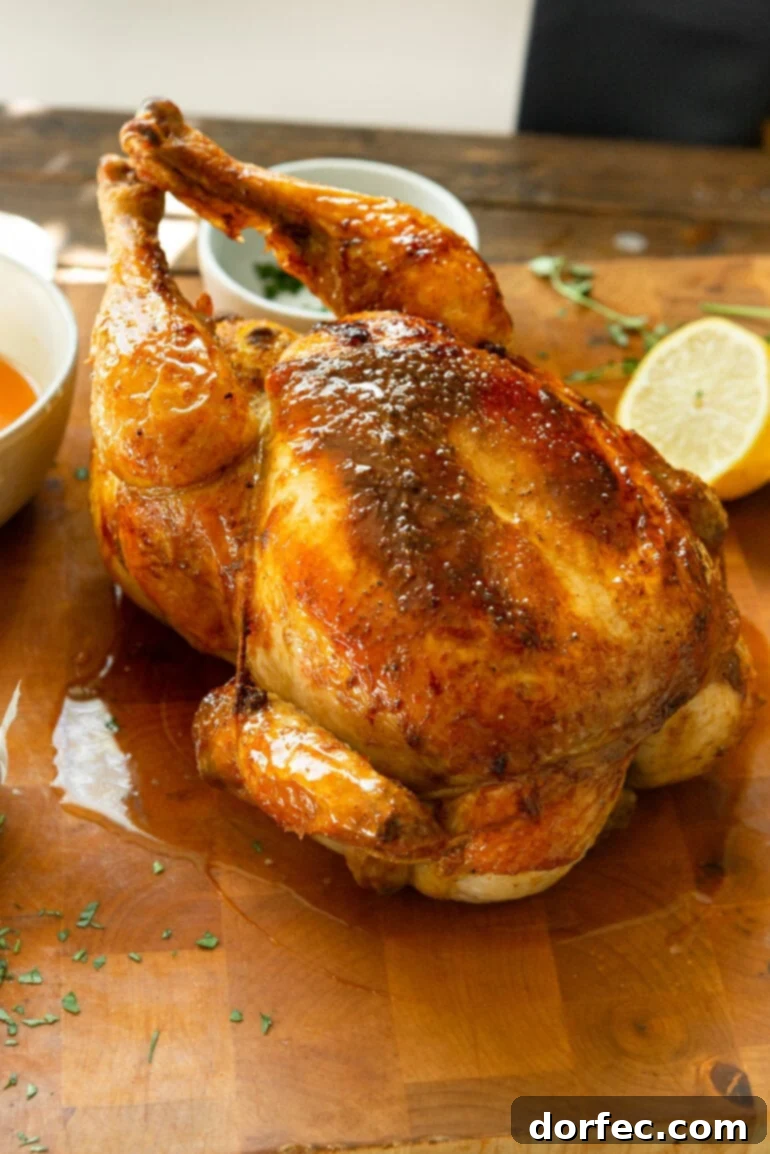
The Essential Art of Resting Chicken for Ultimate Juiciness
Beyond trussing and precise temperature monitoring, the single most critical step to ensure a truly juicy, moist roasted chicken is adequate resting. Once the chicken comes out of the oven, resist the urge to carve it immediately. Instead, transfer it to a cutting board and loosely tent it with foil for at least 15-20 minutes.
During the cooking process, the muscle fibers in the chicken contract, pushing the internal juices towards the center of the bird. If you cut into the meat too soon, these juices will immediately escape onto your cutting board, leaving you with a drier bird. Resting allows the muscle fibers to relax and reabsorb those precious juices, redistributing them throughout the meat. This results in every slice being incredibly tender, flavorful, and wonderfully moist.
Can You Roast a Whole Chicken in a Slow Cooker?
Absolutely! While the crispy skin achieved through oven roasting is a hallmark of this recipe, you can certainly cook a whole chicken in a slow cooker for a tender, fall-off-the-bone result, albeit without the crisp skin. This method is fantastic for busy days, allowing you to set it and forget it.
- Typically, a 3-4 pound whole chicken will take about 3-4 hours on high or 6-8 hours on low in a slow cooker.
- To achieve some browning, you can sear the chicken in a hot pan before transferring it to the slow cooker, or broil it for a few minutes after slow cooking.
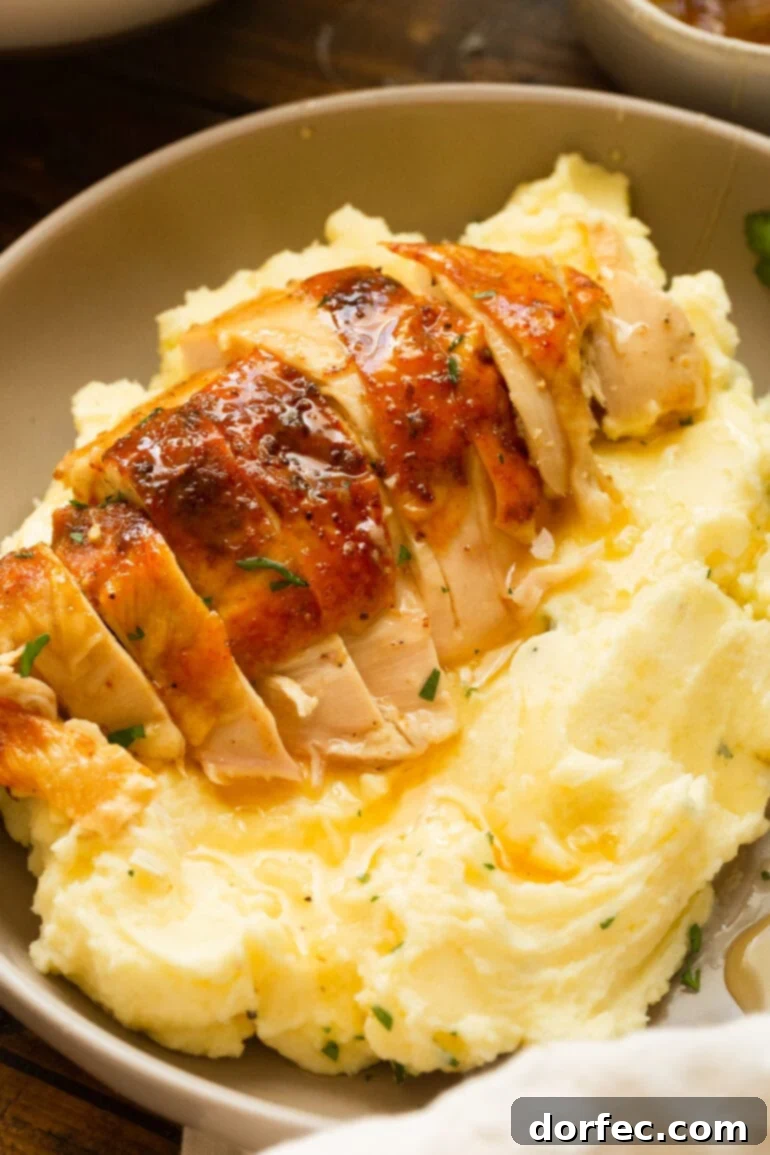
Smart Storage Tips for Your Roasted Chicken
Leftover honey roasted chicken is a treasure, perfect for meal prep or quick weeknight meals. Proper storage ensures its flavor and freshness are preserved.
- Refrigeration: Cooked chicken should always be covered and refrigerated within 2 hours of cooking to prevent bacterial growth. For best results and easier storage, carve the chicken off the bone and slice it into desired portions. Store these pieces in an airtight container in the refrigerator, where they will remain fresh for up to 4 days.
- Freezing: Roasted chicken also freezes exceptionally well. Place the carved chicken pieces in an airtight container or a heavy-duty freezer bag, ensuring as much air as possible is removed to prevent freezer burn. It will maintain its quality in the freezer for up to 2 months. Thaw frozen chicken overnight in the refrigerator before reheating.
- Reheating: For reheating, you have a couple of options. The microwave is convenient for quick individual servings, but can sometimes dry out the chicken. For a moister result, I recommend reheating the chicken in the oven. Place the chicken pieces in a covered baking dish with a splash of chicken broth or water at the bottom. Reheat at 325°F (160°C) until warmed through, usually about 15-20 minutes, or until an internal temperature of 165°F (74°C) is reached. The added moisture helps prevent dryness.
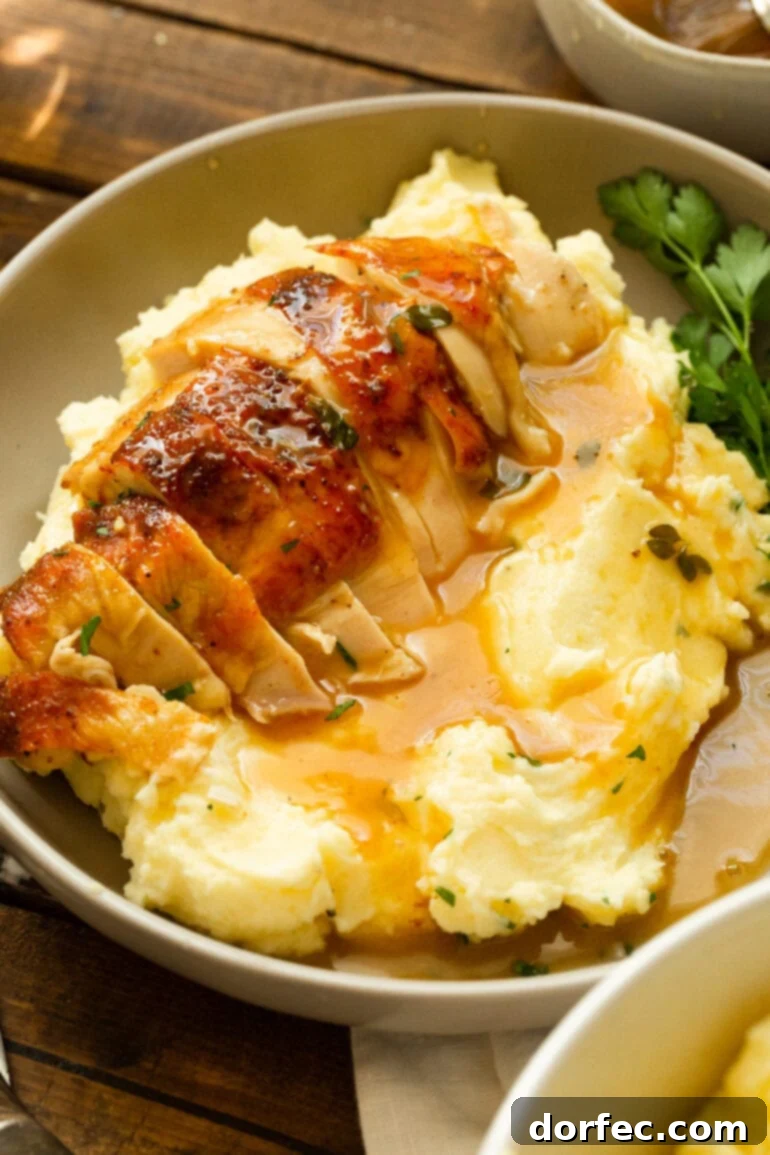
Get ready to be transported straight into Grandma’s kitchen for a heartwarming Sunday dinner when the irresistible aroma of this honey roasted chicken fills your home! The rich, familiar flavors and the pure comfort it brings are truly nostalgic. We’ve meticulously walked you through each step of roasting a whole chicken, proving that this impressive meal is not only delicious but also surprisingly easy to achieve. Gather your ingredients, follow our guide, and prepare to create a culinary masterpiece that will be cherished by everyone at your table!
Honey Roasted Chicken
Close your eyes and imagine a super moist chicken breast, extra crispy skin covered in a delicious apple cider-y glaze and then topped off with a creamy gravy.
Ingredients
For the Chicken
- 1/2 Tablespoon Salt
- 1 teaspoon Pepper
- 1/2 teaspoon Smoked Paprika
- 3 1/2-4 Pounds Whole Chicken, giblets discarded
- 1 small Onion, quartered
- 1 Lemon, halved
- 4 Cloves Garlic, minced
- Thyme sprigs
- Parsley sprigs
- 2 Tablespoons Butter, melted
- 1 Egg
For the Honey Glaze
- 1/2 teaspoon Cornstarch
- 1/2 Cup Water, plus 1/2 tablespoon
- 1/4 Cup Honey
- 2 1/2 Tablespoons Apple Cider Vinegar
- 1/2 Cup Chicken Broth, low sodium
- 1/2 Cup White Wine (cooking wine or extra chicken broth)
- 1 teaspoons Thyme, dried
- 1 Tablespoon Butter, cut into pieces and chilled
Instructions
-
Preheat the oven to 400°F (200°C) and ensure the oven rack is in the center position.
-
In a small bowl, combine the salt, pepper, and paprika. Divide this spice mixture in half. Whisk one half with the melted butter. Whisk the other half with the egg.
-
Pat the whole chicken dry thoroughly with paper towels. Stuff the cavity of the chicken with the quartered onion, halved lemon, minced garlic, and fresh thyme and parsley sprigs. Gently pour the spice and butter mixture under the skin, working it carefully over the meat. Then, place the skin back down and use your hand to spread the butter mixture evenly across the chicken meat.
-
Using a pastry brush, spread the spice and egg mixture all over the outside of the chicken skin.
-
Truss the chicken with kitchen twine. This essential step ensures even cooking, prevents the wings and legs from drying out or burning, and helps the chicken hold its shape.
-
In a small bowl, combine the cornstarch and 1/2 tablespoon of water, whisking until no lumps remain. Set aside.
-
In a small saucepan, bring the honey and 2 tablespoons of apple cider vinegar to a gentle simmer over medium-high heat.
-
Cook this mixture until it reduces to about 1/4 cup, typically taking 8-10 minutes, stirring occasionally. This concentrates the flavors.
-
Slowly whisk the cornstarch slurry into the reduced honey mixture.
-
Return the glaze to a simmer and cook for one minute, stirring continuously until thickened. Remove from heat and set aside.
-
Arrange the prepared chicken on a V-rack set inside a roasting pan, or on a sturdy cooling rack placed over a casserole dish. This allows for even air circulation.
-
Roast the chicken in the preheated oven for approximately 35 minutes, or until the skin begins to turn a beautiful golden color.
-
Carefully remove the roasting pan from the oven.
-
Pour the chicken broth and white wine (or extra broth) into the bottom of the roasting pan. Using a pastry brush, generously coat the chicken evenly with a thick layer of the prepared honey glaze. (You will reserve some glaze for later.)
-
Return the roasting pan to the oven and continue to roast for another 30 minutes, or until the glaze is golden brown and caramelized. The chicken is fully cooked when an instant-read thermometer inserted into the thickest part of the thigh (without touching bone) registers 165°F (74°C).
-
Transfer the perfectly roasted chicken to a clean cutting board. Tent it loosely with foil and allow it to rest for a full 15 minutes. This crucial resting period ensures that the juices redistribute throughout the meat, resulting in an incredibly moist and tender bird. Skipping this step will cause all the delicious juices to run out when carved.
-
While the chicken is resting, pour the pan juices and any accumulated chicken juices from the cutting board into a saucepan. Skim off any excess fat from the surface. Stir in the dried thyme.
-
Bring the sauce to a simmer and cook until it is slightly thickened and reduced to about 1 cup, approximately 15 minutes. If you desire a thicker gravy, whisk together 1 tablespoon of cornstarch with 1 tablespoon of water and gradually add it to the simmering sauce, stirring until thickened.
-
Remove the saucepan from the heat and whisk in the chilled butter pieces and the remaining apple cider vinegar. This adds richness and a final touch of bright flavor.
-
Season the gravy with salt and pepper to taste, adjusting as needed.
-
Carve the rested chicken into individual servings. Brush any remaining honey glaze over the carved chicken pieces for an extra layer of flavor and shine. Serve immediately, passing the rich, homemade gravy at the table for everyone to enjoy!
Recipe Notes
Cooked chicken will keep for up to 4 days when stored properly in an airtight container in the refrigerator.
Nutrition
Serving: 6 ounces, Calories: 409kcal, Carbohydrates: 15g, Protein: 25g, Fat: 26g, Saturated Fat: 9g, Polyunsaturated Fat: 4g, Monounsaturated Fat: 10g, Trans Fat: 0.4g, Cholesterol: 138mg, Sodium: 803mg, Potassium: 328mg, Fiber: 1g, Sugar: 13g, Vitamin A: 493IU, Vitamin C: 6mg, Calcium: 37mg, Iron: 2mg
Nutrition information is automatically calculated, so should only be used as an approximation.