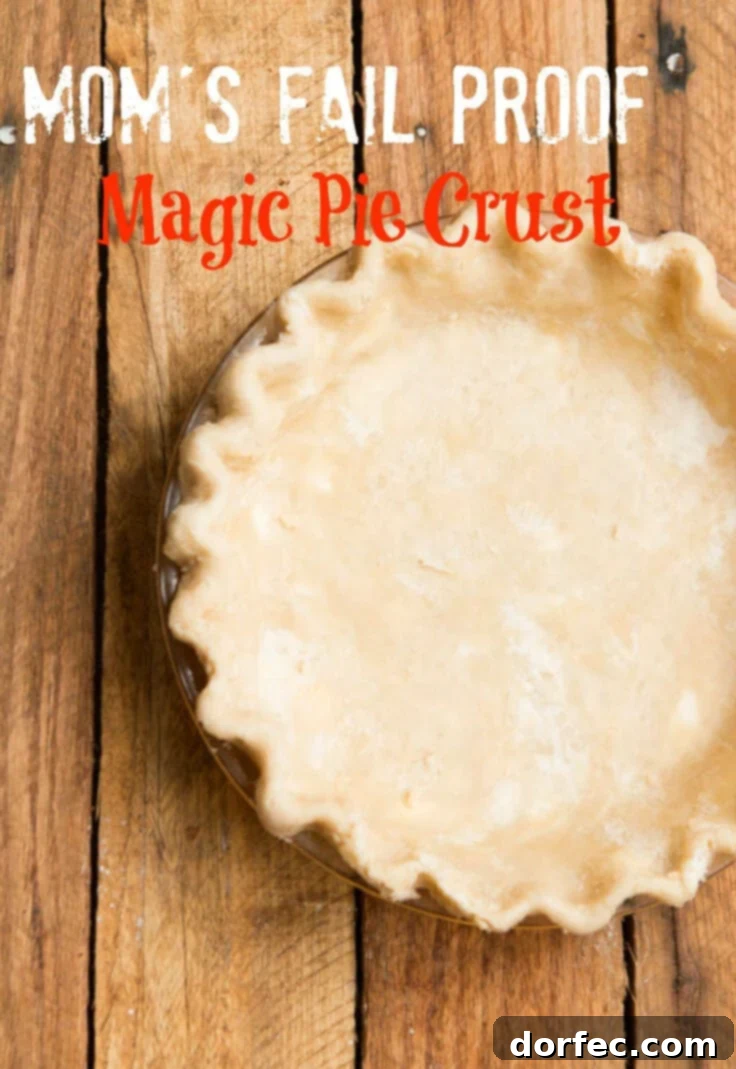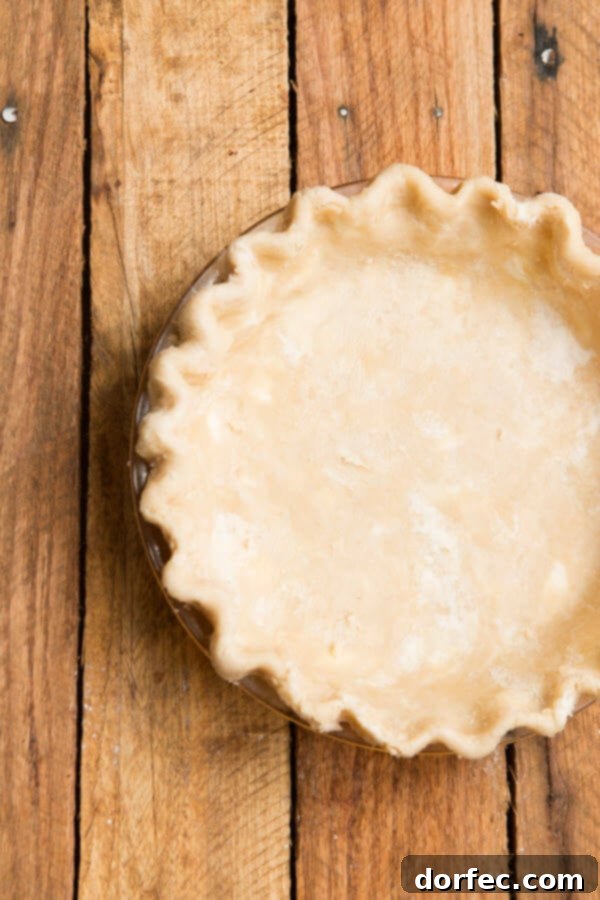
Grandma’s Secret: The Ultimate Fail-Proof Magic Pie Crust Recipe
There are some recipes that transcend generations, becoming culinary heirlooms that define family gatherings and special occasions. This particular pie crust recipe is one such treasure, a cherished tradition passed down from my beloved Grandma, through my mother, and now lovingly embraced by me. It’s more than just a recipe; it’s a piece of our family history, a guarantee of perfect pies every time. And now, I’m thrilled to share this legendary creation, which we fondly call Mom’s Fail-Proof Magic Pie Crust, with you. I’m even teaching my own girls its secrets, ensuring this magic continues for years to come.
For decades, this recipe has been our go-to for pies of all kinds – sweet fruit pies, savory pot pies, delicate quiches, and everything in between. Its promise is simple: a consistently flaky, tender, and impossibly delicious crust that never disappoints. Say goodbye to tough, crumbly, or soggy pie disasters. This recipe is designed for success, even for novice bakers. With just a few simple ingredients and time-tested techniques, you’ll unlock the secret to creating bakery-quality pie crusts right in your own kitchen.
Mastering Pie Dough: Essential Tips & Tricks
A truly great pie begins with an exceptional crust. While our “magic” recipe simplifies the process, understanding a few fundamental principles of pie dough can elevate your baking even further. We’ll delve into common questions and provide the insights you need for perfect pie crust mastery.
How Long Can You Freeze Pie Dough?
Preparing pie dough ahead of time is a fantastic way to save time and reduce stress, especially during busy holidays. This recipe yields two crusts, making it perfect for freezing one for future use. You can safely freeze pie dough for up to 3 months without compromising its quality or texture. The key is proper storage to prevent freezer burn and maintain freshness.
To freeze pie dough effectively, first wrap each disk tightly in several layers of plastic wrap, ensuring no air pockets remain. Then, place the wrapped dough into a heavy-duty freezer bag. Squeeze out as much air as possible from the bag before sealing it. This double layer of protection is crucial for preserving the dough’s integrity. When you’re ready to use it, simply thaw the dough in the refrigerator overnight. It’s important to roll it out while it is still cold, as this helps maintain its flakiness and prevents sticking.
What Makes Pie Dough Tough?
One of the most common frustrations for bakers is a tough pie crust. This undesirable texture usually stems from two main culprits: too much water and over-mixing. Understanding how these factors affect your dough is key to avoiding them.
Firstly, too much water will make pie dough sticky and, consequently, tough. Water activates gluten in flour, and excessive gluten development leads to a chewy, bread-like texture rather than a tender, flaky one. When adding water, do so sparingly, a tablespoon at a time, until the dough just comes together. The goal is to hydrate the flour enough to bind it without making it overly sticky or promoting excessive gluten formation.
Secondly, over-mixing the dough will also make pie crust tough. Similar to too much water, extensive mixing develops gluten, which is desirable in bread but detrimental to pie crust. Pie dough should be mixed just until the ingredients barely hold together when squeezed. You want to see distinct pieces of fat in your dough; these pockets of fat are what create that coveted flaky texture as they melt during baking. Resist the urge to knead pie dough, as this is a sure way to activate gluten and ruin its delicate structure. Gentle handling is paramount.
Why Does Pie Crust Crumble?
On the opposite end of the spectrum from tough dough is crumbly dough – a common issue when trying to roll out your crust. If your dough is persistently falling apart, it is too dry. This lack of moisture means the ingredients aren’t sufficiently binding together.
The good news is that a crumbly crust is often easily salvageable. To remedy this, sprinkle the dough with a small amount of cold water, about a teaspoon at a time. Gently integrate the water into the dough, handling it as little as possible. You can use your hands to lightly press and fold the dough to distribute the moisture. Continue adding small sprinkles of water if needed, until the dough comes together and holds its shape without cracking when you try to roll it. Remember, always use cold water; warm water can melt the shortening, which is crucial for flakiness.
How to Blind Bake and Avoid a Soggy Pie Crust
A soggy pie crust can ruin even the most delicious filling. This often happens with wet fillings (like quiches, custard pies, or fruit pies with high moisture content) or pies that don’t bake long enough for the bottom crust to fully cook. The best way to prevent a soggy bottom is through a technique called blind baking, which pre-bakes the crust before adding the filling.
Here’s a step-by-step guide to blind baking for a perfectly crisp crust:
- **Prepare the Crust:** Roll out your pie dough and carefully fit it into your pie dish. Trim the edges and crimp them as desired.
- **Chill:** Place the pie crust in the refrigerator for at least 30 minutes (or freezer for 15 minutes). Chilling helps prevent the crust from shrinking during baking.
- **Docking:** Before baking, use a fork to prick holes all over the bottom and sides of the pie crust. This “docking” allows steam to escape, preventing the crust from puffing up.
- **Line with Parchment and Weights:** Line the chilled pie crust with parchment paper, ensuring it covers the bottom and extends up the sides. Fill the parchment-lined crust with pie weights, dried beans, or uncooked rice. The weights help keep the crust from shrinking and puffing up as it bakes.
- **First Bake:** Bake the weighted crust in a preheated oven (typically 400°F or 200°C) for 15-20 minutes, or until the edges are lightly golden.
- **Remove Weights:** Carefully remove the parchment paper and pie weights.
- **Second Bake (Optional, but recommended for extra crispness):** Return the crust to the oven for another 5-10 minutes, or until the bottom appears dry and lightly golden.
- **Egg Wash (For Wet Fillings):** For particularly wet fillings, an optional step is to brush the partially baked crust with a thin layer of egg wash (one egg beaten with a tablespoon of water or milk) during the last few minutes of blind baking. The egg wash creates a protective barrier, further preventing sogginess.
- **Cool:** Let the blind-baked crust cool completely on a wire rack before adding your filling.
For even more detailed insights into blind baking and avoiding soggy crusts, including a fantastic example of its application, you can refer to our Lemon Meringue Pie recipe, which relies on a perfectly blind-baked crust for its success.
Mom’s Fail-Proof Magic Pie Crust
Mom’s Fail-Proof Magic Pie Crust
Print Recipe
Ingredients
- 3 Cups All-Purpose Flour
- 1 teaspoon Salt
- 1 1/4 Cups Shortening, chilled (e.g., Crisco)
- 1 Large Egg
- 1 Tablespoon White Vinegar
- Ice Cubes
- Cold Water
Instructions
- In a large mixing bowl, combine the all-purpose flour and salt. Using a pastry blender or your fingertips, cut in the chilled shortening until the mixture resembles coarse cornmeal with pea-sized bits of shortening throughout. This is crucial for flakiness.
- In a 1-cup measuring cup, lightly beat the egg, then add the vinegar. Fill another cup with 1/2 cup of cold water and add a few ice cubes (3-4) to ensure the water is truly ice-cold. Let it sit for a minute, then remove the ice cubes. Add the 1/2 cup of ice-cold water to the egg and vinegar mixture.
- Pour the wet ingredients into the dry ingredients. Stir gently with a fork until just combined. The mixture will still be somewhat crumbly, but it should hold together when squeezed. Avoid overworking the dough.
- Turn the dough out onto a lightly floured surface. Using your hands, gently gather the dough and divide it into two equal balls. Flatten each ball into a disc.
- Wrap one dough disc tightly in plastic wrap, then place it in a plastic freezer bag. Freeze for future use (up to 3 months) or refrigerate for up to 2 days.
- Lightly flour your work surface and rolling pin. Roll out the other dough disc from the center outwards, rotating it frequently to achieve an even thickness (about 1/8 inch) and the desired size for your pie dish.
- Carefully transfer the rolled-out dough to your pie dish. A helpful trick is to gently fold the dough in half, then in half again, creating a quarter circle. Lift it into the pie dish, position the corner in the center, and unfold it.
- Trim any excess dough from the edges, leaving about a 1/2-inch overhang. Crimp the edges decoratively between your fingers or with a fork.
- Using a fork, poke holes throughout the bottom and sides of the crust. This is called “docking” and helps prevent the crust from puffing up during baking.
- Bake the pie crust according to the directions for your specific pie filling. If your recipe calls for blind baking, refer to the detailed instructions above.
Recipe Notes
This recipe is designed to be versatile for any pie. For detailed instructions on how to blind bake a pie crust (to prevent a soggy bottom, especially with wet fillings), please refer to the “How to Blind Bake and Avoid a Soggy Pie Crust” section above, or our comprehensive Lemon Meringue Pie post for a practical application.
Nutrition Information
Approximate nutritional values per crust (based on two crusts from the recipe):
Calories: 924kcal, Carbohydrates: 71.5g, Protein: 11g, Fat: 66g, Saturated Fat: 16.5g, Polyunsaturated Fat: 18.5g, Monounsaturated Fat: 27g, Trans Fat: 8.5g, Cholesterol: 41mg, Sodium: 601.5mg, Potassium: 115.5mg, Fiber: 2.5g, Sugar: 0.5g, Vitamin A: 59.5IU, Calcium: 21.5mg, Iron: 4.5mg.
Nutrition information is automatically calculated and should only be used as an approximation. Values can vary based on specific ingredient brands and preparation methods.
This magic pie crust is the foundation for countless delicious possibilities. Its reliability and delightful texture will make it a staple in your kitchen, just as it has been in ours for generations. Share the love, share the pie!