
The Ultimate Turkey Brine Recipe: Guaranteeing a Juicy, Flavorful Feast Every Time
Are you ready to transform your Thanksgiving turkey from merely good to absolutely legendary? Searching for the secret to a bird that’s not just cooked, but incredibly succulent, bursting with flavor, and irresistibly moist from the first slice to the last? Look no further! This comprehensive guide reveals our tried-and-true, fail-proof turkey brine recipe – a culinary game-changer that promises to deliver a show-stopping centerpiece for any holiday meal. Prepare to impress your guests and elevate your cooking to a whole new level of deliciousness!
For years, I meticulously tested countless turkey recipes, constantly seeking that elusive perfection for Thanksgiving dinner. Yet, amidst all the experimentation, one element remained a constant, unwavering star: my simple, yet profoundly effective, turkey brine recipe. It’s truly perfect, and I use the exact same brine formula every single year, regardless of my chosen cooking method. Whether I’m traditional roasting turkey in the oven to achieve that classic golden-brown skin, or opting for the convenience of making Thanksgiving turkey in a slow cooker for tender, pull-apart meat, this brine is the foundational step that ensures success.
There’s nothing quite like biting into a perfectly cooked turkey – a harmony of tender texture and deep, savory taste. And I can tell you with absolute certainty, that perfection unequivocally starts with a dedicated turkey brine. This isn’t just an optional step; it is an absolutely essential pre-cooking ritual that you CANNOT skip. Trust me when I say, I’ve conducted enough culinary trials to confidently declare that brining truly is a game changer for any poultry, especially for your Thanksgiving turkey. It’s the difference between a dry, forgettable bird and a sensationally juicy, memorable feast.
Understanding Turkey Brine Basics: The Science of Succulence
Before we dive into the recipe, let’s understand the fundamental principles that make brining so incredibly effective. Brining a turkey, or any lean meat for that matter, relies on a basic scientific process involving osmosis and protein denaturation. Essentially, it’s a method of infusing moisture and flavor into the meat before it even touches the heat, ensuring a final product that is both tender and richly seasoned. For any effective turkey brine, two specific ingredients form the undeniable core, while the remaining components offer endless possibilities for customization based on your desired flavor profile.
- Liquid: The turkey, whether it’s a whole bird or a breast, will be fully submerged in a liquid solution for an extended period, typically anywhere from 8 to 24 hours. The type of liquid you choose plays a significant role in flavoring the meat. While the brine doesn’t necessarily soak all the way to the center of a large bird, it thoroughly penetrates the outer layers. As the turkey cooks, this infused flavor permeates deeper into the meat, resulting in a more uniform and delicious taste throughout. Common liquid bases include water, vegetable broth, and sometimes even fruit juices or cider, each contributing distinct notes to the final flavor.
- Salt: This is arguably the most critical ingredient in any brine. It is strongly preferred that you use Kosher salt for brining. Unlike finer table salt, Kosher salt has a coarser grain, which dissolves more slowly and evenly, preventing accidental over-salting of the outer layers of the meat. More importantly, salt facilitates the brining process through osmosis. It draws moisture from the turkey, creates a salt solution within the meat, and then allows the meat to reabsorb the flavored liquid. Beyond moisture, the salt also helps to break down muscle fibers, tenderizing the meat and allowing it to retain significantly more moisture during cooking. This results in a remarkably juicy bird that would otherwise dry out. Furthermore, the salt itself deeply seasons the meat from within, providing a more profound flavor than just a surface rub applied later.
The Art of Brining a Turkey: Simple Steps to Culinary Excellence
The concept of brining a turkey might conjure images of complex culinary techniques or elaborate setups, but in reality, it’s surprisingly straightforward. It’s as easy as immersing your turkey in a flavorful, salty liquid and allowing time to work its magic. This simple process is your key to unlocking incredible flavor and locking in essential moisture, guaranteeing a tender and juicy turkey every single time you cook it.
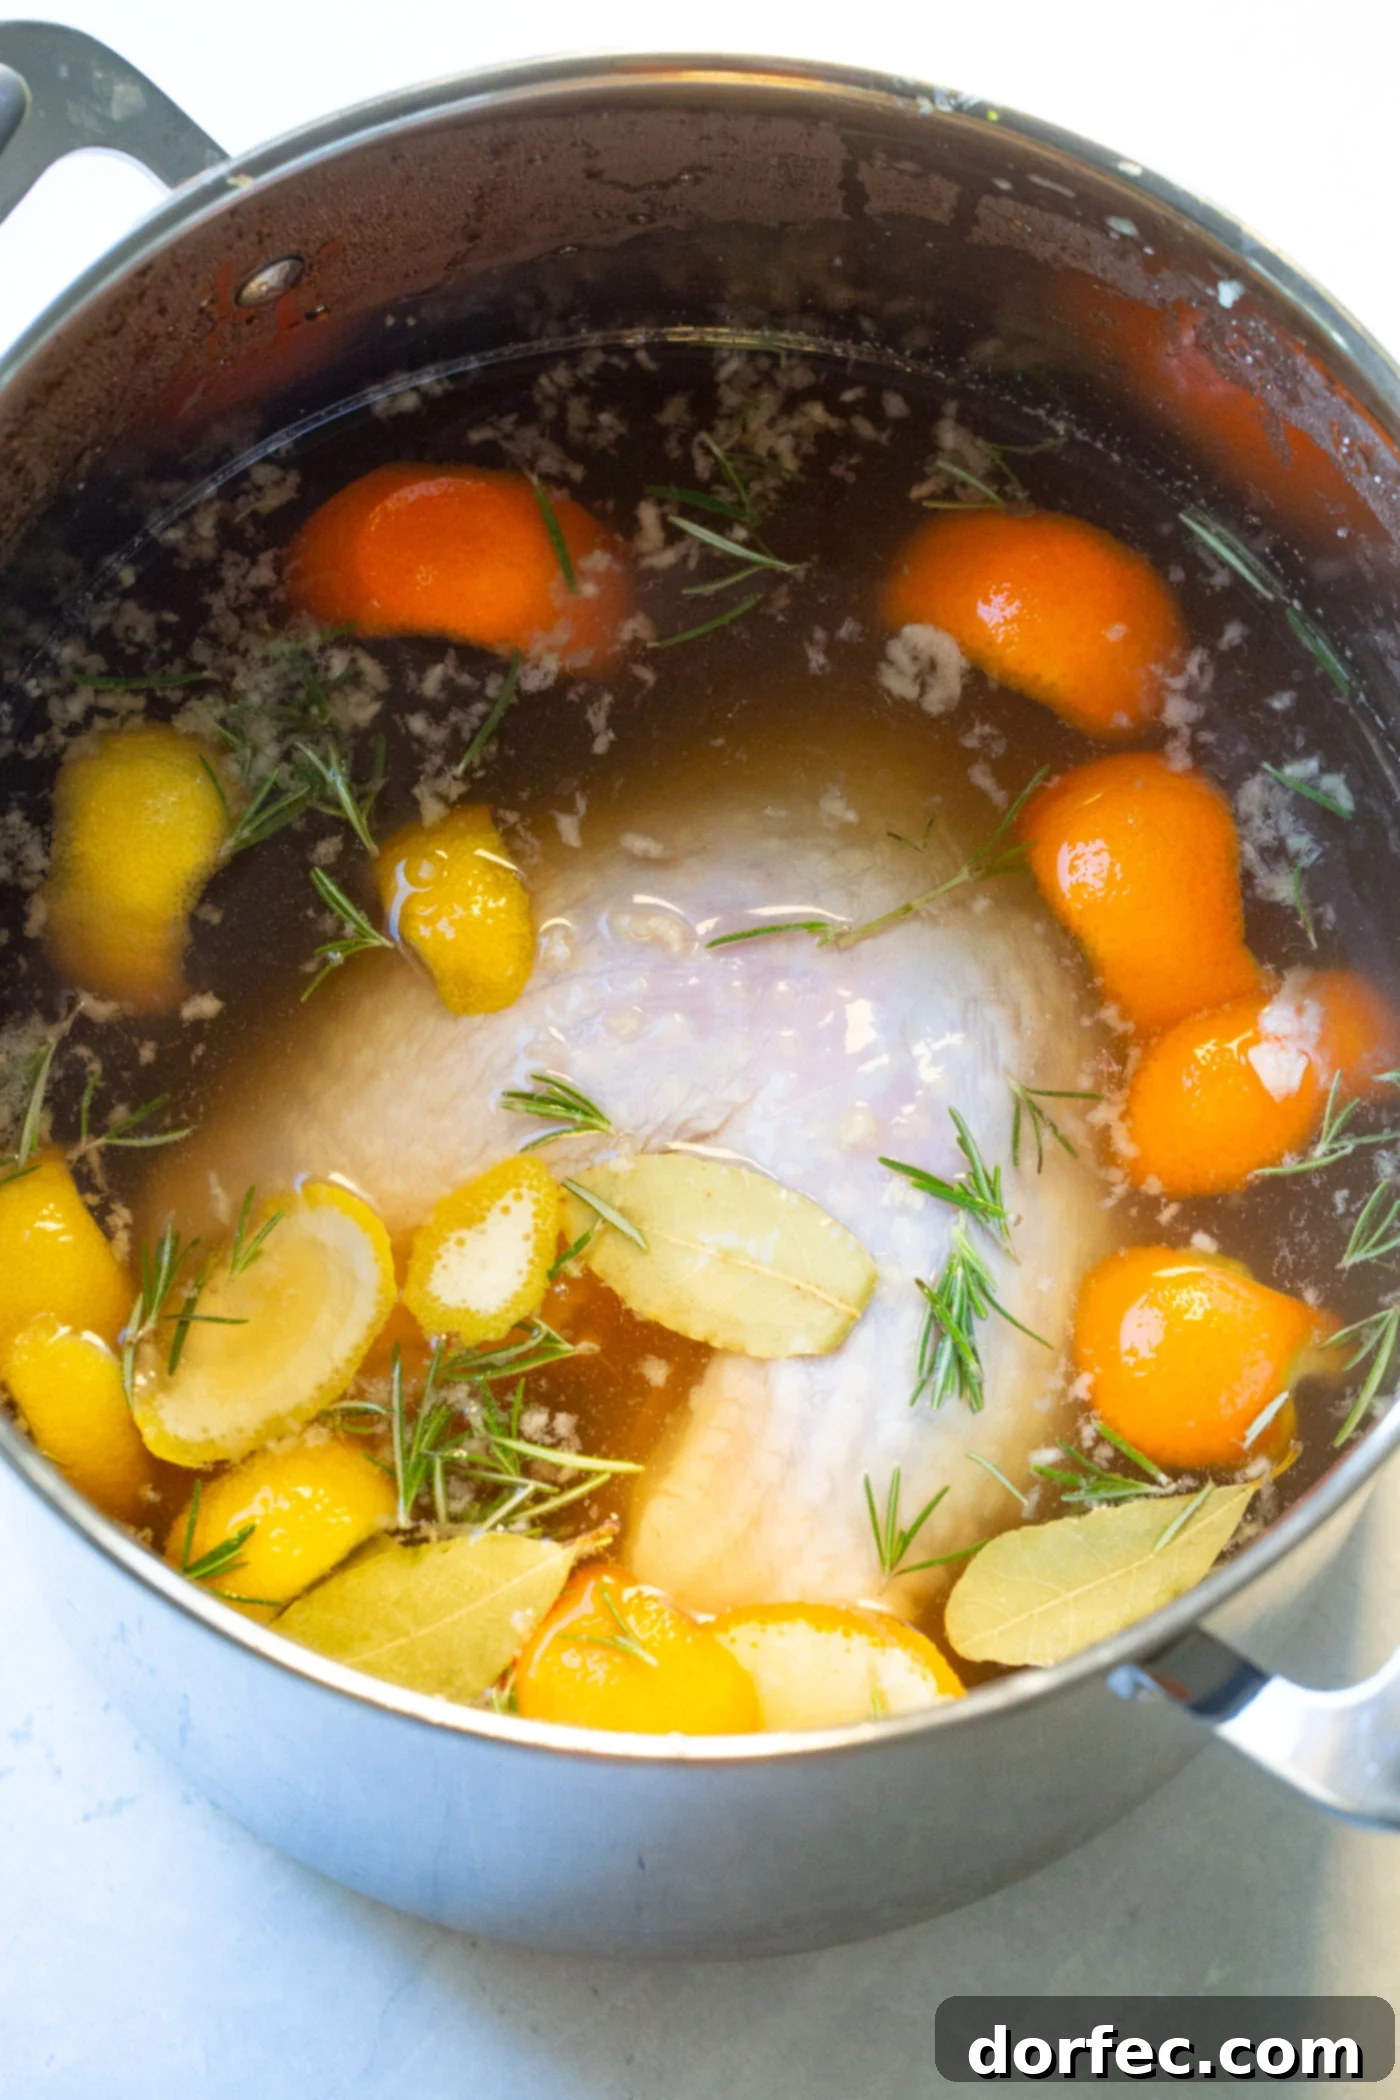
For our signature best turkey brine recipe, you’ll need just a few readily available ingredients, combining sweet, savory, and aromatic elements to create a perfectly balanced flavor profile:
- Apple Cider: Provides a subtle sweetness and fruity depth that complements turkey beautifully. If apple cider isn’t available, unsweetened apple juice can be a suitable substitute.
- Water: The primary liquid base for the brine, ensuring ample volume to submerge the turkey.
- Brown Sugar: Adds another layer of sweetness, which helps to balance the saltiness and contributes to that desirable golden-brown skin during roasting.
- Kosher Salt: As discussed, essential for both tenderizing and seasoning the meat.
- Bay Leaves: Offer a subtle, herbal aroma and flavor that enriches the brine.
- Garlic Cloves: Infuse a pungent, savory element that penetrates the turkey meat.
- Fresh Rosemary: Brings a robust, piney, and distinctly aromatic note, a classic pairing with poultry.
- Orange Peel: Adds bright, citrusy undertones, cutting through the richness of the turkey and enhancing overall freshness.
- Lemon Peel: Similar to orange peel, lemon zest contributes a zesty, fragrant dimension to the brine.
Step-by-Step Brining Instructions:
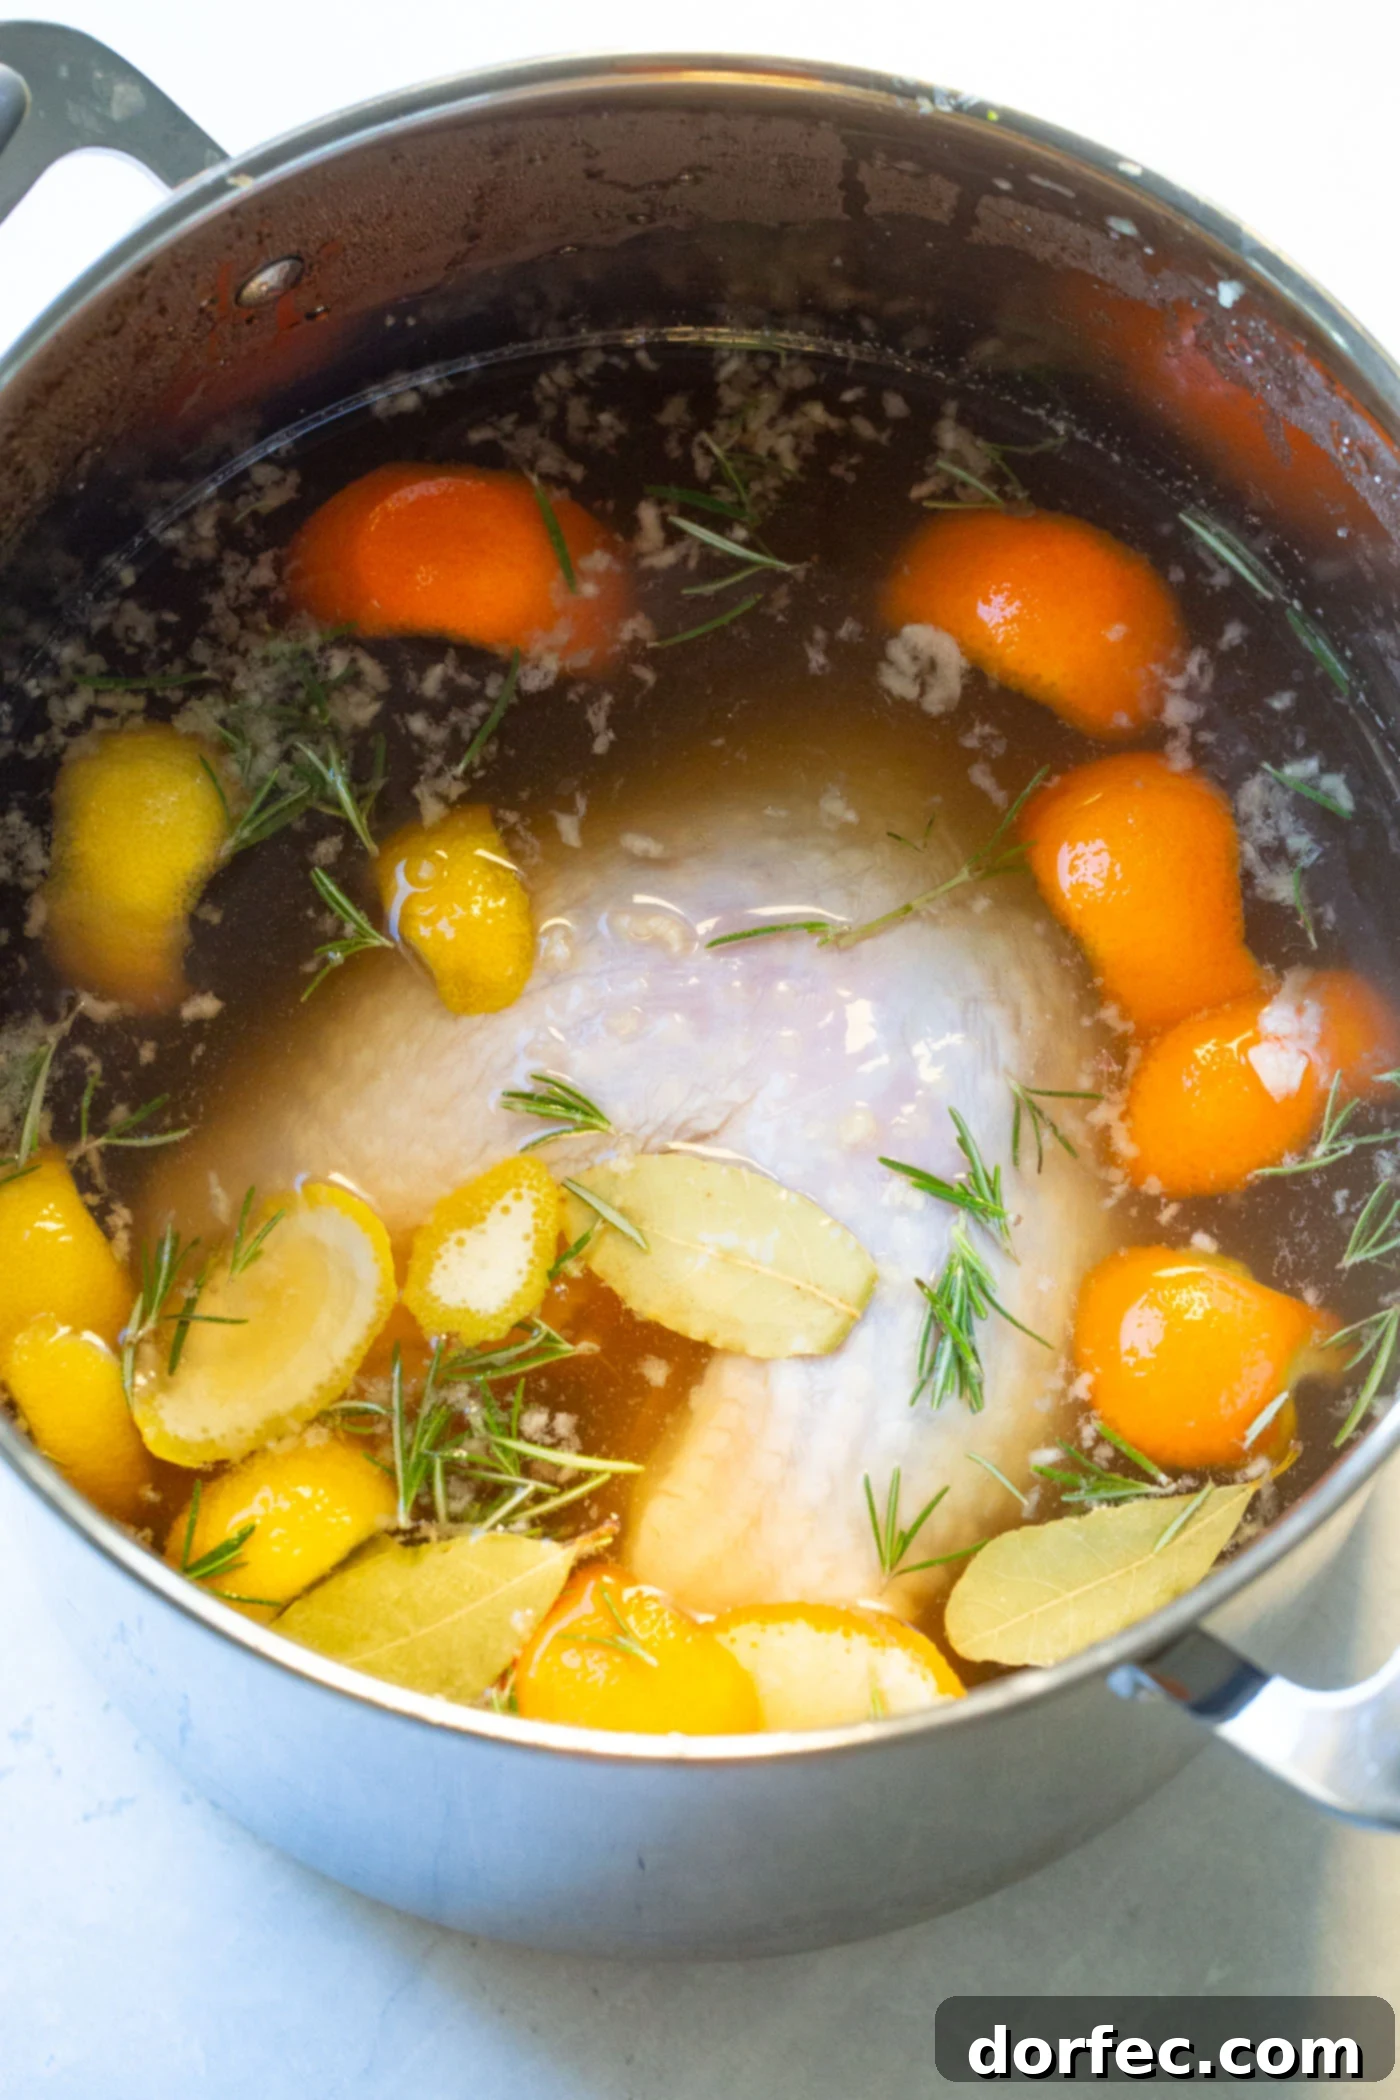
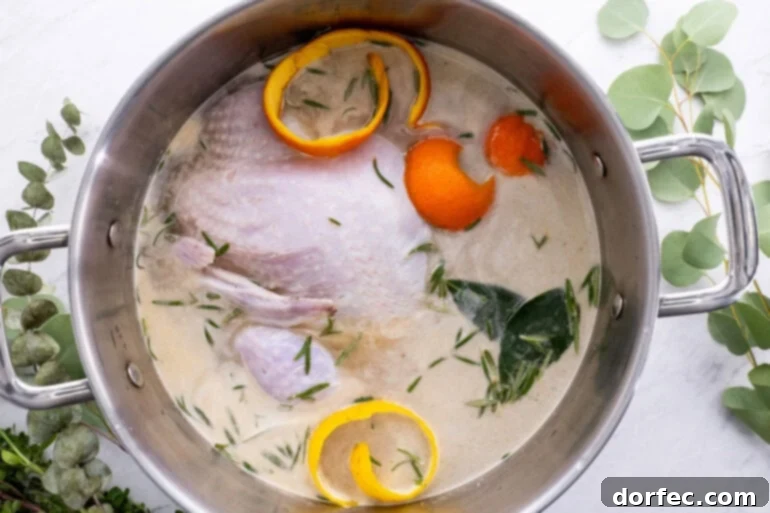
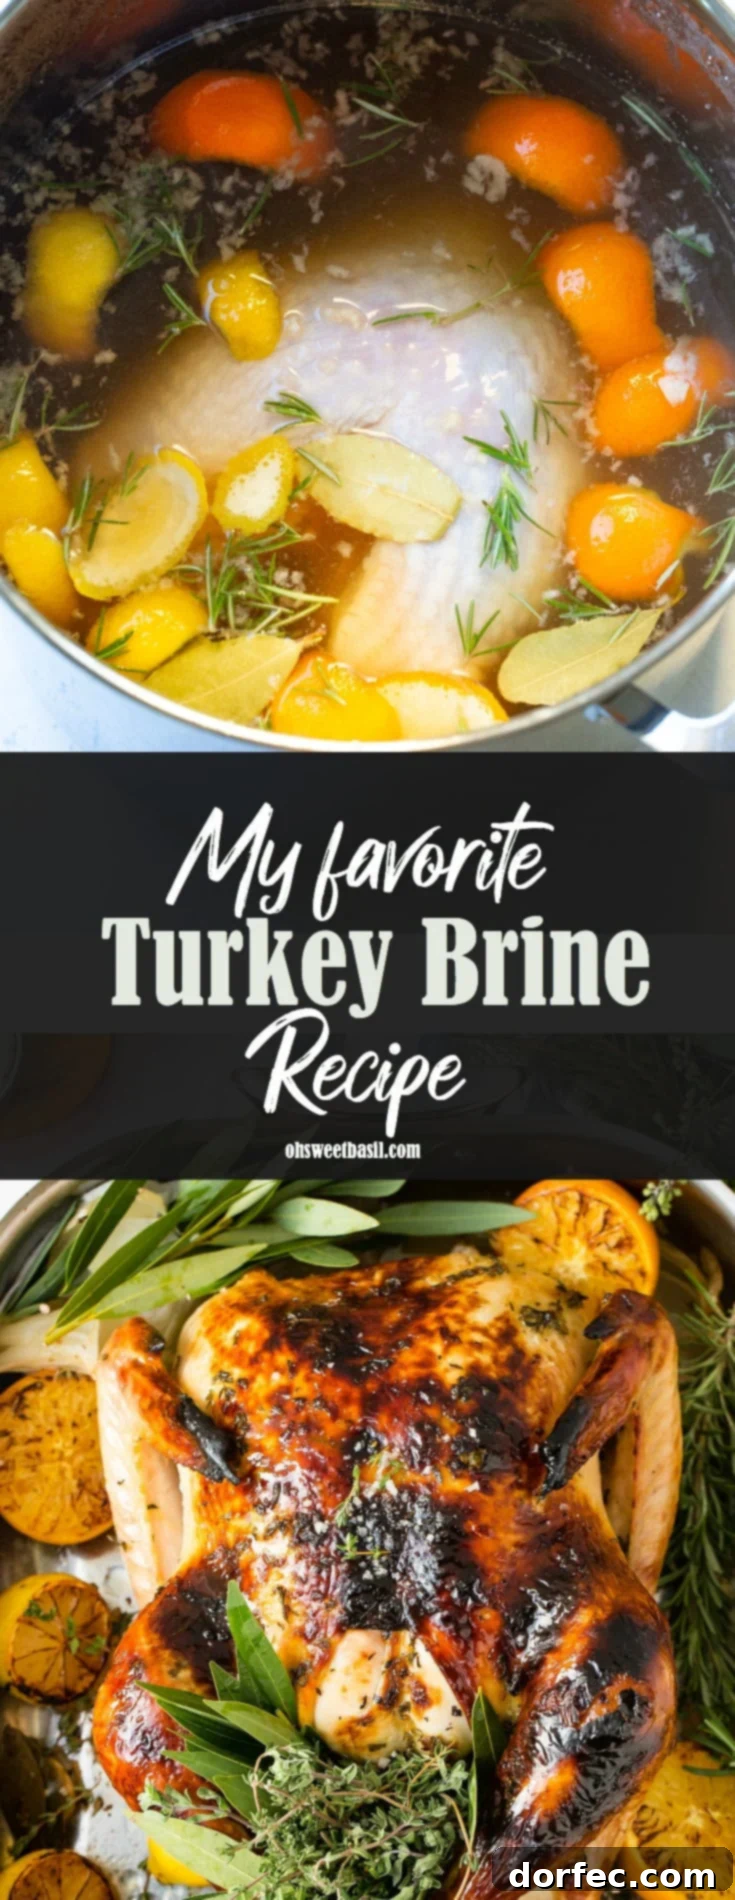
To prepare your turkey brine, grab a large stock pot – one spacious enough to comfortably submerge your entire turkey. Alternatively, if you plan to brine a larger bird, a dedicated brining bag or a clean, food-safe bucket designed for brining can also work wonderfully. Pour all the liquid ingredients (apple cider, water, orange juice) into the pot. Add the brown sugar, kosher salt, bay leaves, minced garlic, stripped rosemary leaves, orange peel, and lemon peel. Stir everything together vigorously until both the sugar and salt have completely dissolved. It’s important that these granular ingredients are fully incorporated into the liquid to ensure even distribution of flavor and effectiveness.
Once your brine is ready, carefully place your turkey into the solution, ensuring it is fully submerged. If the turkey floats, you might need to use a plate or a weighted object to keep it immersed. Place the lid on the pot, securing it tightly. The pot then needs to be set in the refrigerator for a full 24 hours. This duration allows ample time for the brining process to work its magic.
PRO TIP for Refrigeration: Finding space for a large stock pot in a packed refrigerator can be a challenge, especially during busy holiday seasons. If your stock pot doesn’t fit comfortably into your fridge, don’t fret! A simple and effective solution is to use a large, clean cooler. Place the lidded pot directly into the cooler and surround it completely with ice. Ensure there’s plenty of ice around all sides and on top of the pot. Replenish the ice as necessary throughout the 24-hour period to maintain a consistently cold temperature (below 40°F or 4°C). This method will safely store your brining turkey for the entire duration, keeping it perfectly chilled.
The Undeniable Power of Brining: Why This Step is Non-Negotiable
The question isn’t just “how to brine a turkey,” but more fundamentally, “why do you brine a turkey?” The answer lies in two critical outcomes that directly impact the quality of your final dish: unparalleled moisture and flavor. A basic brine recipe consists simply of salt and water, a testament to the power of these two elements. However, by incorporating additional spices, herbs, and fruit essences, as we do in our recipe, you elevate the experience, allowing the turkey to absorb a symphony of delicious flavors.
The science behind this transformation is fascinating. When the turkey is submerged in the brine, the salt initiates a process called osmosis, drawing some of the turkey’s natural moisture out. However, the salt also dissolves some of the muscle proteins (myosin), causing the muscle fibers to loosen and swell. This structural change allows the turkey to absorb more of the flavorful brining liquid. As a result, the meat is not only seasoned deeply but also holds onto significantly more moisture during cooking. This increased moisture content acts as a buffer against the drying effects of heat, making it almost impossible to end up with a dry bird.
Furthermore, the brining process actively breaks down tough muscle fibers and tenderizes the meat. This means your turkey will not only be juicy but also incredibly tender, making every bite a delight. In other words, forget those past experiences with dry, bland poultry – brining will unequivocally change your life (and your holiday meals) forever!
After the Brine: What’s Next?
Once your turkey has completed its glorious 24-hour brine, it’s natural to wonder about the next steps. A common question arises: Do you rinse meat after you brine it? The answer is a resounding NO. There’s no need to rinse your turkey after brining, and in fact, doing so can be counterproductive. Rinsing can wash away some of those delicious, hard-earned flavors that have penetrated the meat. Moreover, rinsing raw poultry in your sink can inadvertently spread bacteria to other surfaces in your kitchen, increasing the risk of cross-contamination.
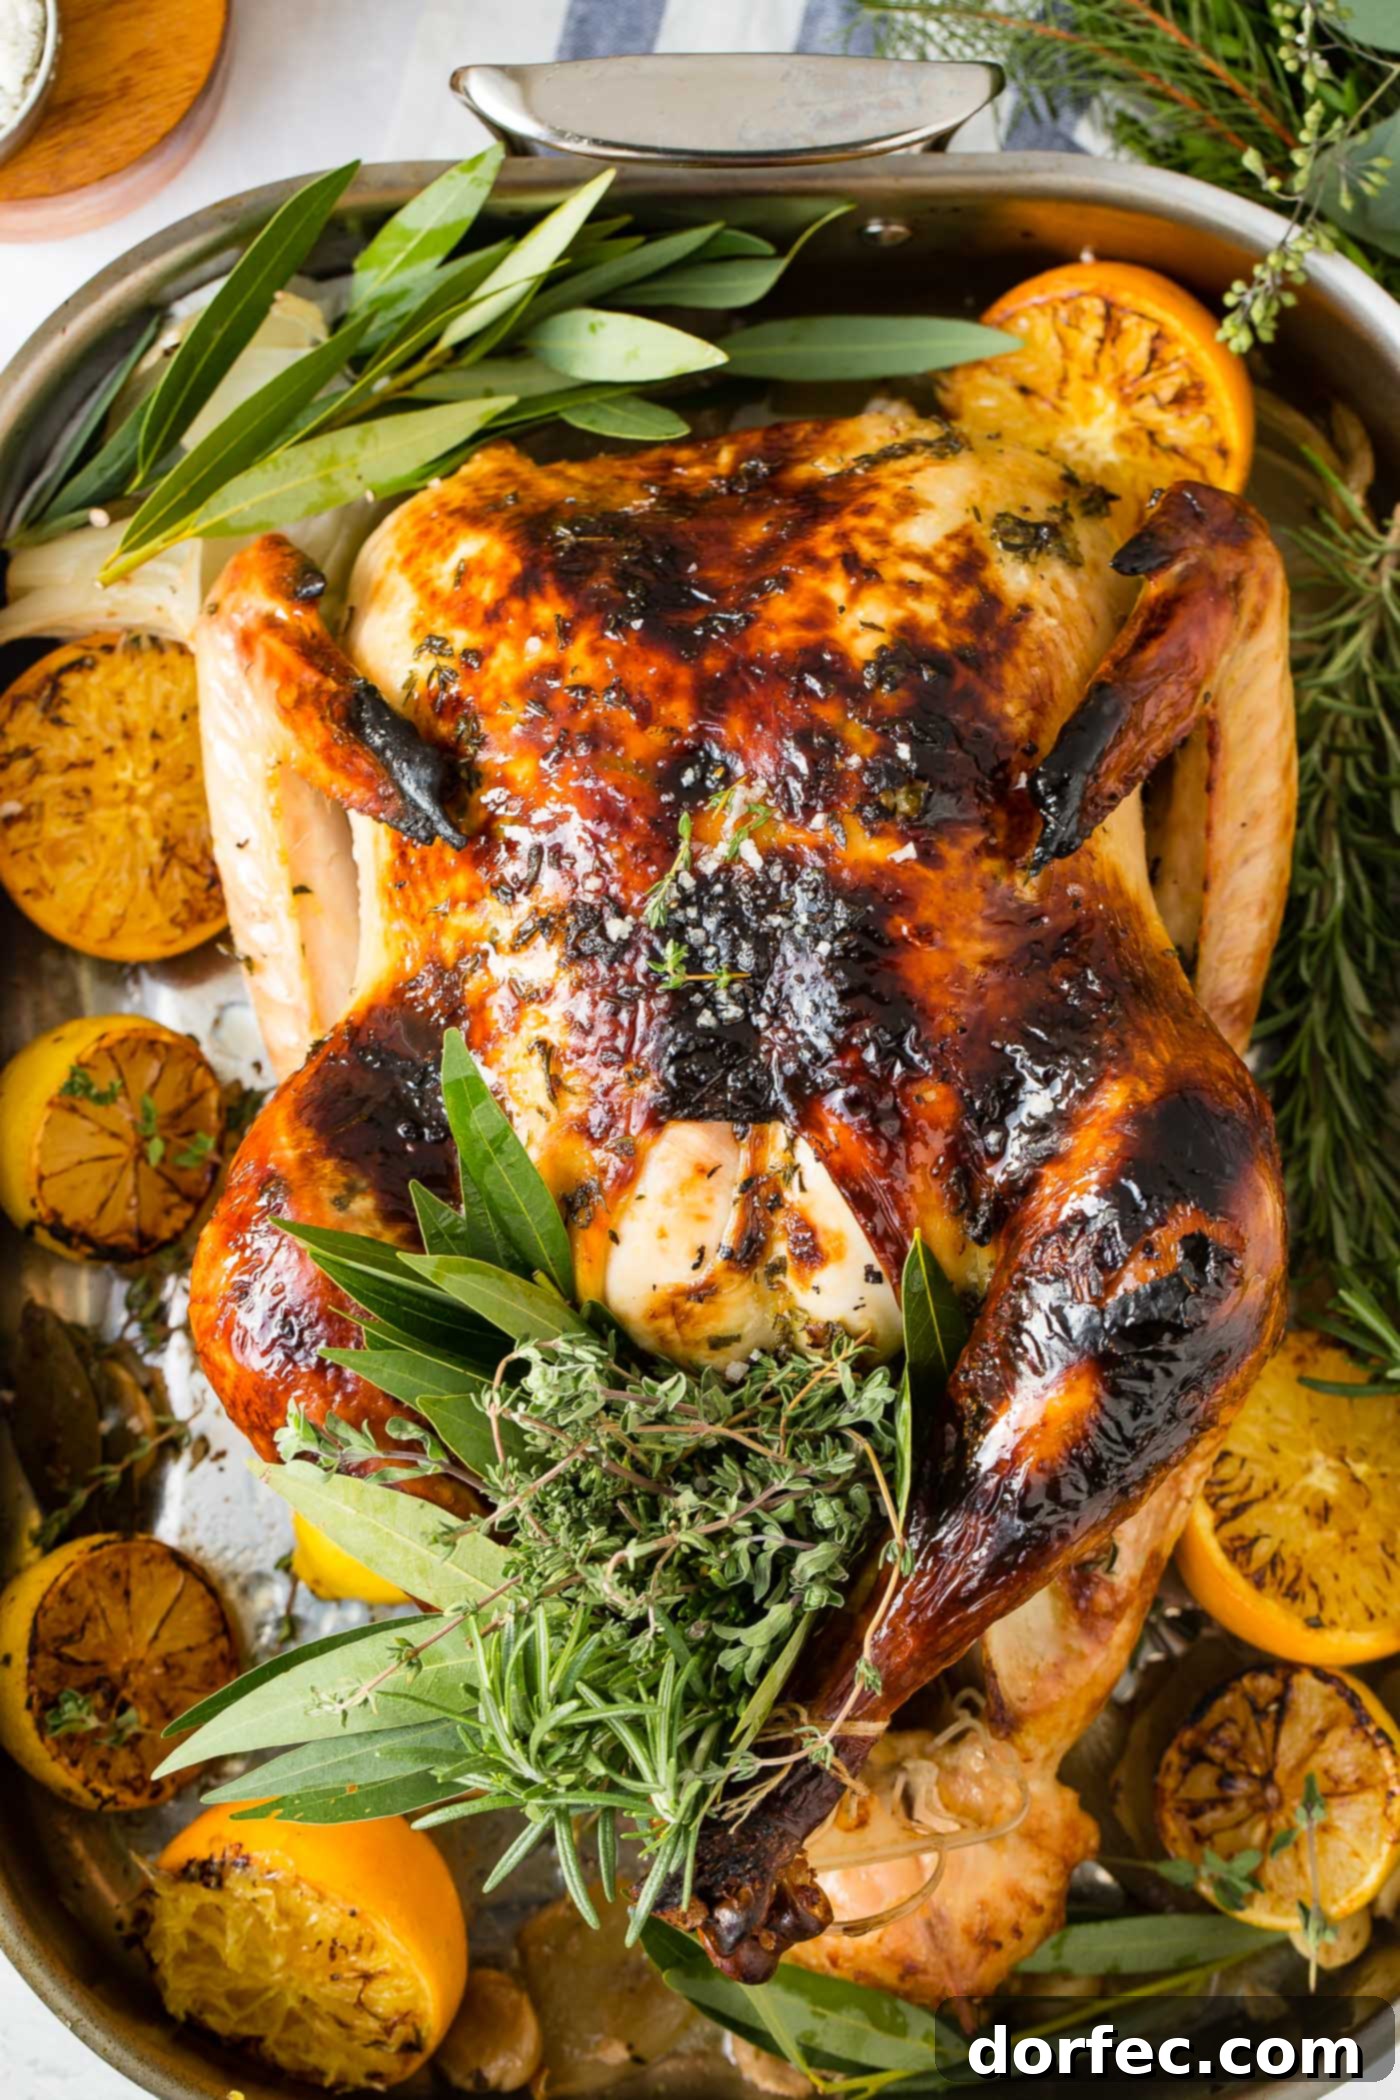
Instead of rinsing, simply remove the turkey from the brine and pat it thoroughly dry with paper towels. Be meticulous in this step, ensuring the entire surface of the bird is as dry as possible. After patting dry, it’s important to let the bird rest, uncovered, in the refrigerator for an additional 8-12 hours, or even overnight. This crucial resting period in the cold, dry air of the fridge works wonders to dry out the skin even further. A dry skin surface is the key to achieving that coveted, crispy, and beautifully golden-brown exterior when your turkey bakes or roasts. Without this step, you risk a flabby, pale skin, even on a perfectly brined bird.
If you’ve never experimented with brining before, I wholeheartedly encourage you to give it a try this year! It’s a simple technique that yields truly remarkable results and is totally worth the minimal extra effort. Once you experience the unparalleled juiciness and rich flavor that my favorite turkey brine recipe imparts, I guarantee it will become your go-to method for every turkey you ever prepare. Your guests (and your taste buds) will thank you!
More Delicious Turkey Recipes You’ll Love:
Now that you’ve mastered the art of brining for a perfectly juicy turkey, you might be looking for more ways to enjoy this versatile bird. From traditional roasts to innovative leftover ideas, explore these other fantastic turkey recipes:
- Deep Fried Turkey
- Turkey in a Bowl
- Herb Roasted Turkey Breast
- Turkey Pot Pie Soup
- The Ultimate Leftover Turkey Club
- Award Winning Instant Pot Turkey
- Thanksgiving Leftovers Turkey Tetrazzini
- Apple Pecan Smoked Turkey Breast
The Best Turkey Brine Recipe
A game-changing turkey brine that transforms any bird from boring and dry to tender, juicy, flavorful perfection, ensuring your holiday feast is unforgettable.
Author: Sweet Basil
Prep Time: 1 day 4 hrs
Cook Time: 3 hrs
Total Time: 1 day 7 hrs
Servings: 1 batch (sufficient for one whole turkey)
Ingredients for the Best Turkey Brine
Brine
- 3 Cups Apple Cider
- 3 Cups Orange Juice
- 13 Cups Water
- 2 Cups Brown Sugar
- 1 Cup Kosher Salt
- 5 Bay Leaves
- 5 Cloves Garlic, minced
- 4 Sprigs Rosemary, leaves stripped off
- 1 Orange Peel
- 1 Lemon Peel
Instructions for a Perfectly Brined Turkey
- Place apple cider, orange juice, water, brown sugar, kosher salt, bay leaves, minced garlic, stripped rosemary leaves, orange peel, and lemon peel in a large stock pot. Stir all ingredients thoroughly until the sugar and salt have completely dissolved.
- Carefully add the turkey (whole or breast) to the brine, ensuring it is fully submerged.
- Put the lid on the pot, making sure it fits securely.
- Refrigerate the pot with the turkey in brine for a full 24 hours.
- Remove the turkey from the brine and pat it thoroughly dry with paper towels. Discard the used brine. Allow the turkey to rest uncovered in the fridge for several hours to completely dry the skin. This step is crucial for achieving crispy skin when cooked.
- Proceed with your preferred turkey cooking method, such as a classic roasted turkey recipe.
Recipe Notes
You can prepare the brine solution 2-3 days ahead of time and store it in the refrigerator until you are ready to brine your turkey.
Nutrition Information (Approximate per batch)
- Serving: 1 batch
- Calories: 2372 kcal
- Carbohydrates: 599 g
- Protein: 8 g
- Fat: 3 g
- Saturated Fat: 1 g
- Polyunsaturated Fat: 1 g
- Monounsaturated Fat: 1 g
- Sodium: 113490 mg
- Potassium: 2913 mg
- Fiber: 5 g
- Sugar: 558 g
- Vitamin A: 1593 IU
- Vitamin C: 408 mg
- Calcium: 730 mg
- Iron: 7 mg
Nutrition information is automatically calculated and should only be used as an approximation. Actual values may vary based on specific ingredients and preparation methods.
Like this recipe? We’d love to hear from you!
Leave a comment below to share your experience with this turkey brine. Your feedback helps us and other home cooks create even more delicious meals!
REMEMBER TO SUBSCRIBE TO our FREE Oh Sweet Basil NEWSLETTER AND RECEIVE EASY RECIPES DELIVERED INTO YOUR INBOX EVERY DAY! Don’t miss out on more culinary inspiration and tips for making every meal special.
When you try a recipe, please use the hashtag #ohsweetbasil on INSTAGRAM for a chance to be featured in our stories! FOLLOW OH, SWEET BASIL ON FACEBOOK | INSTAGRAM | PINTEREST | TWITTER FOR ALL OF OUR LATEST CONTENT, RECIPES, AND STORIES. Join our community of food lovers and share your culinary journey with us!