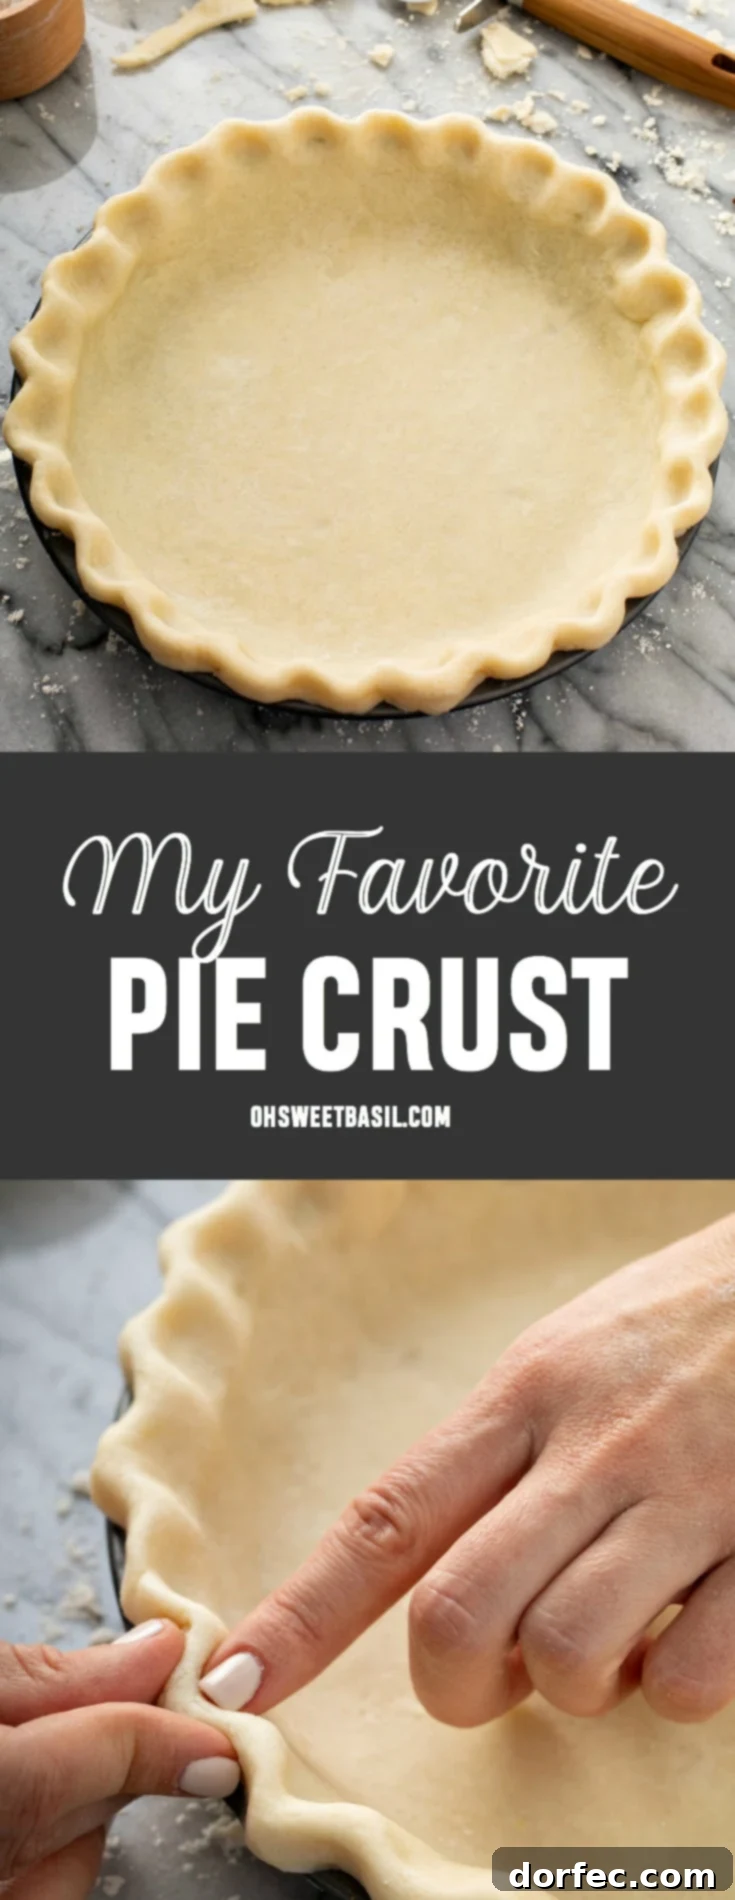
The Ultimate All-Butter Pie Crust: Your Secret to Perfectly Flaky Pies
Are you ready to transform your homemade pies from good to absolutely legendary? Look no further! This comprehensive guide reveals the secrets to crafting the ultimate all-butter pie crust – a recipe that stands out for its incredible flakiness, rich flavor, and surprisingly simple preparation. As a devoted pie enthusiast, I can confidently say this is my absolute favorite, and it will quickly become yours too. Say goodbye to store-bought crusts and hello to stress-free, homemade perfection!
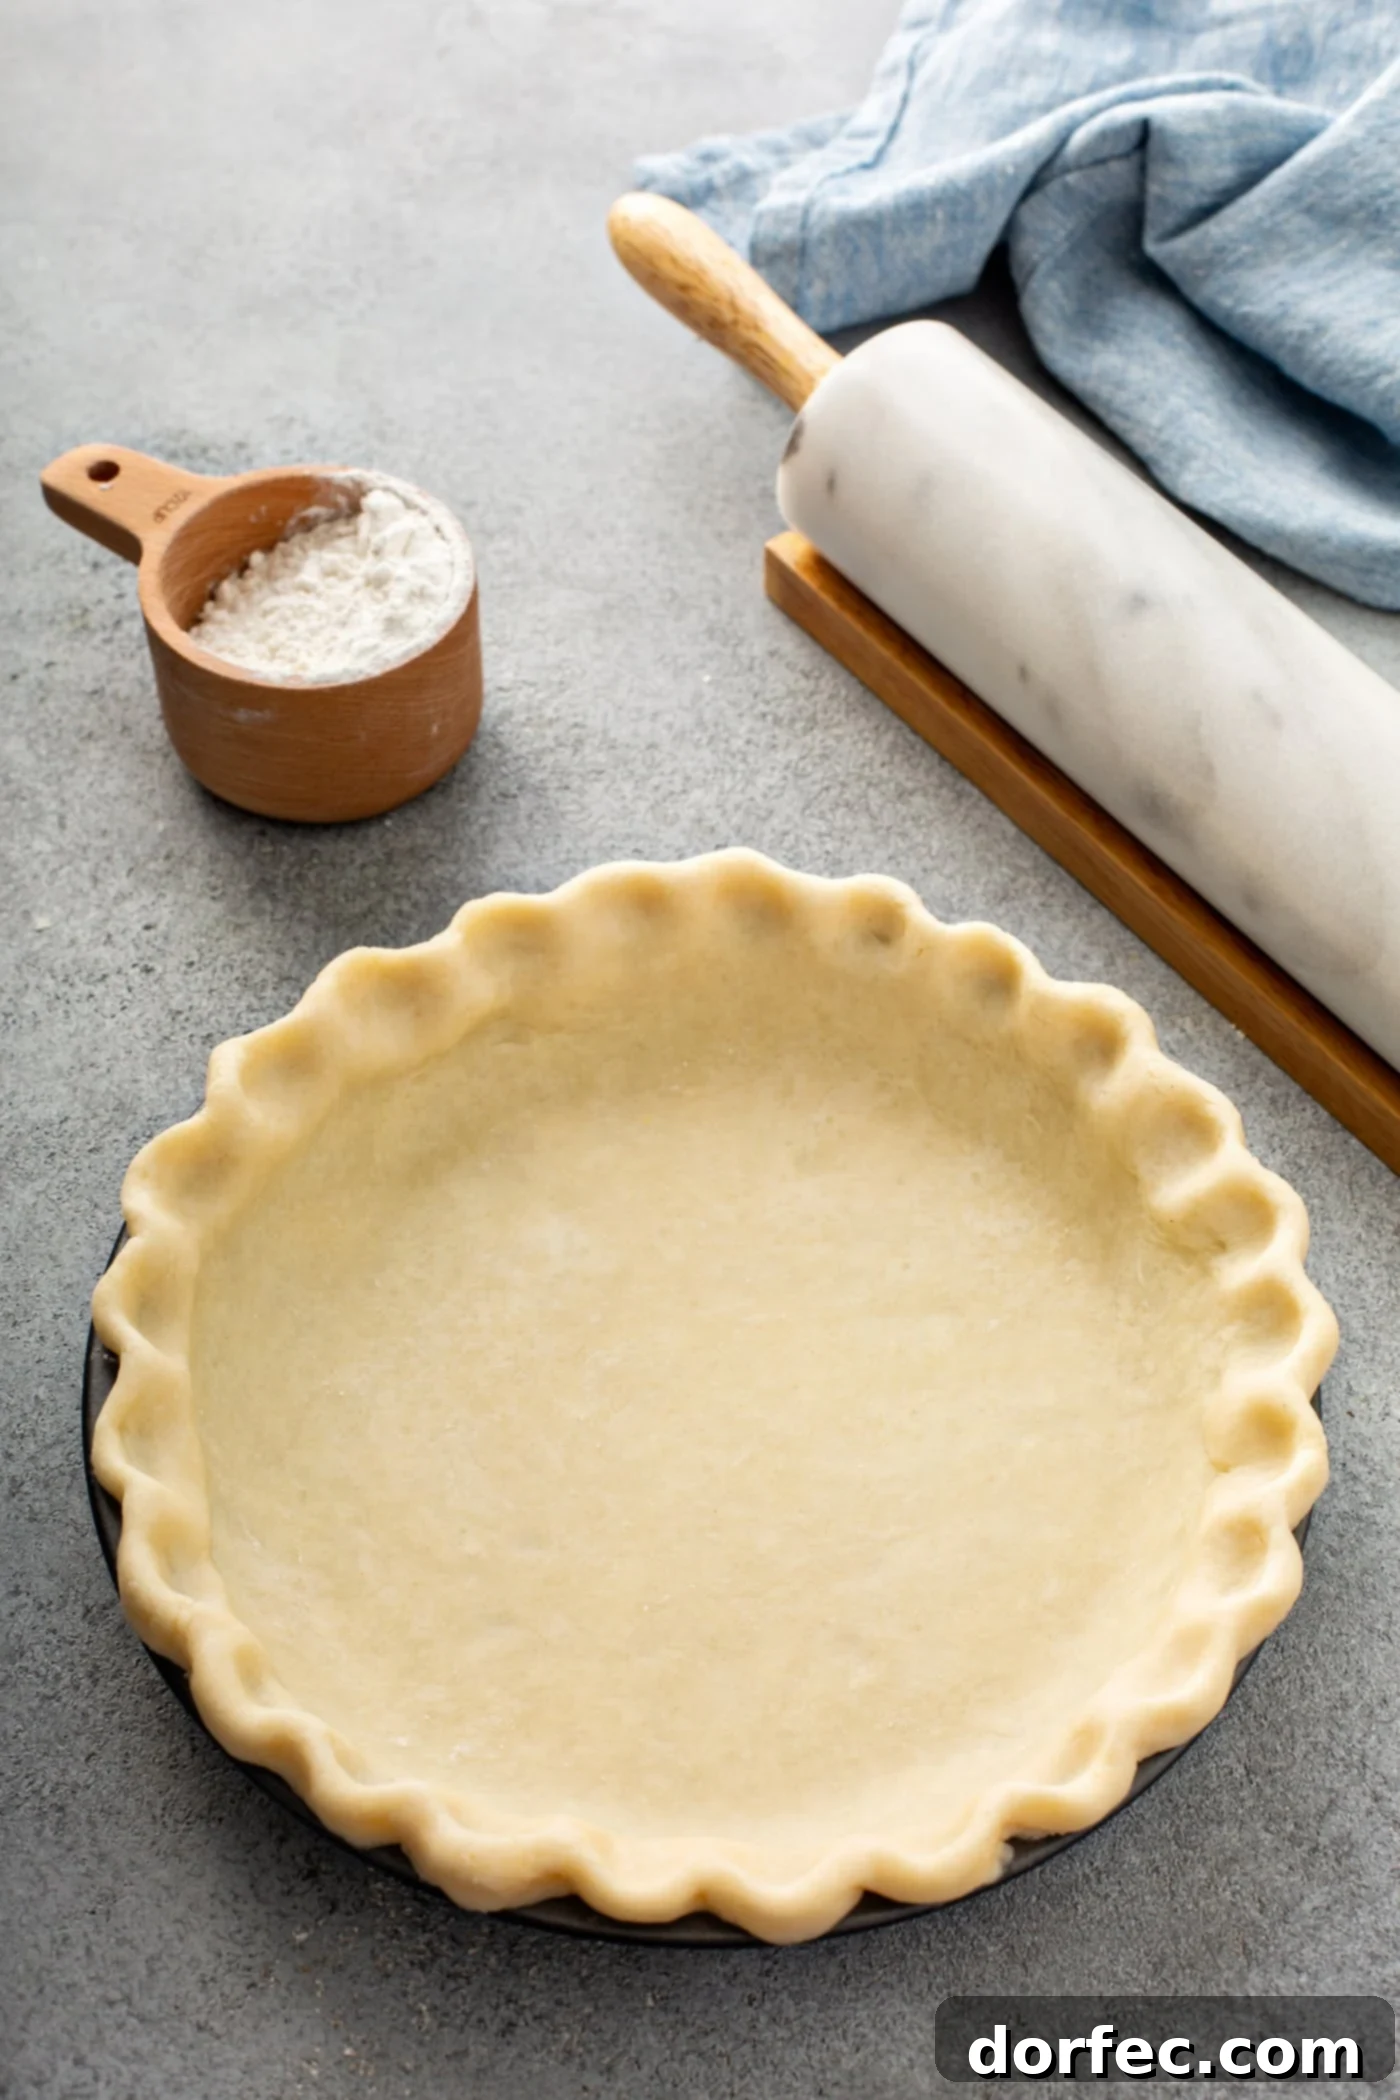
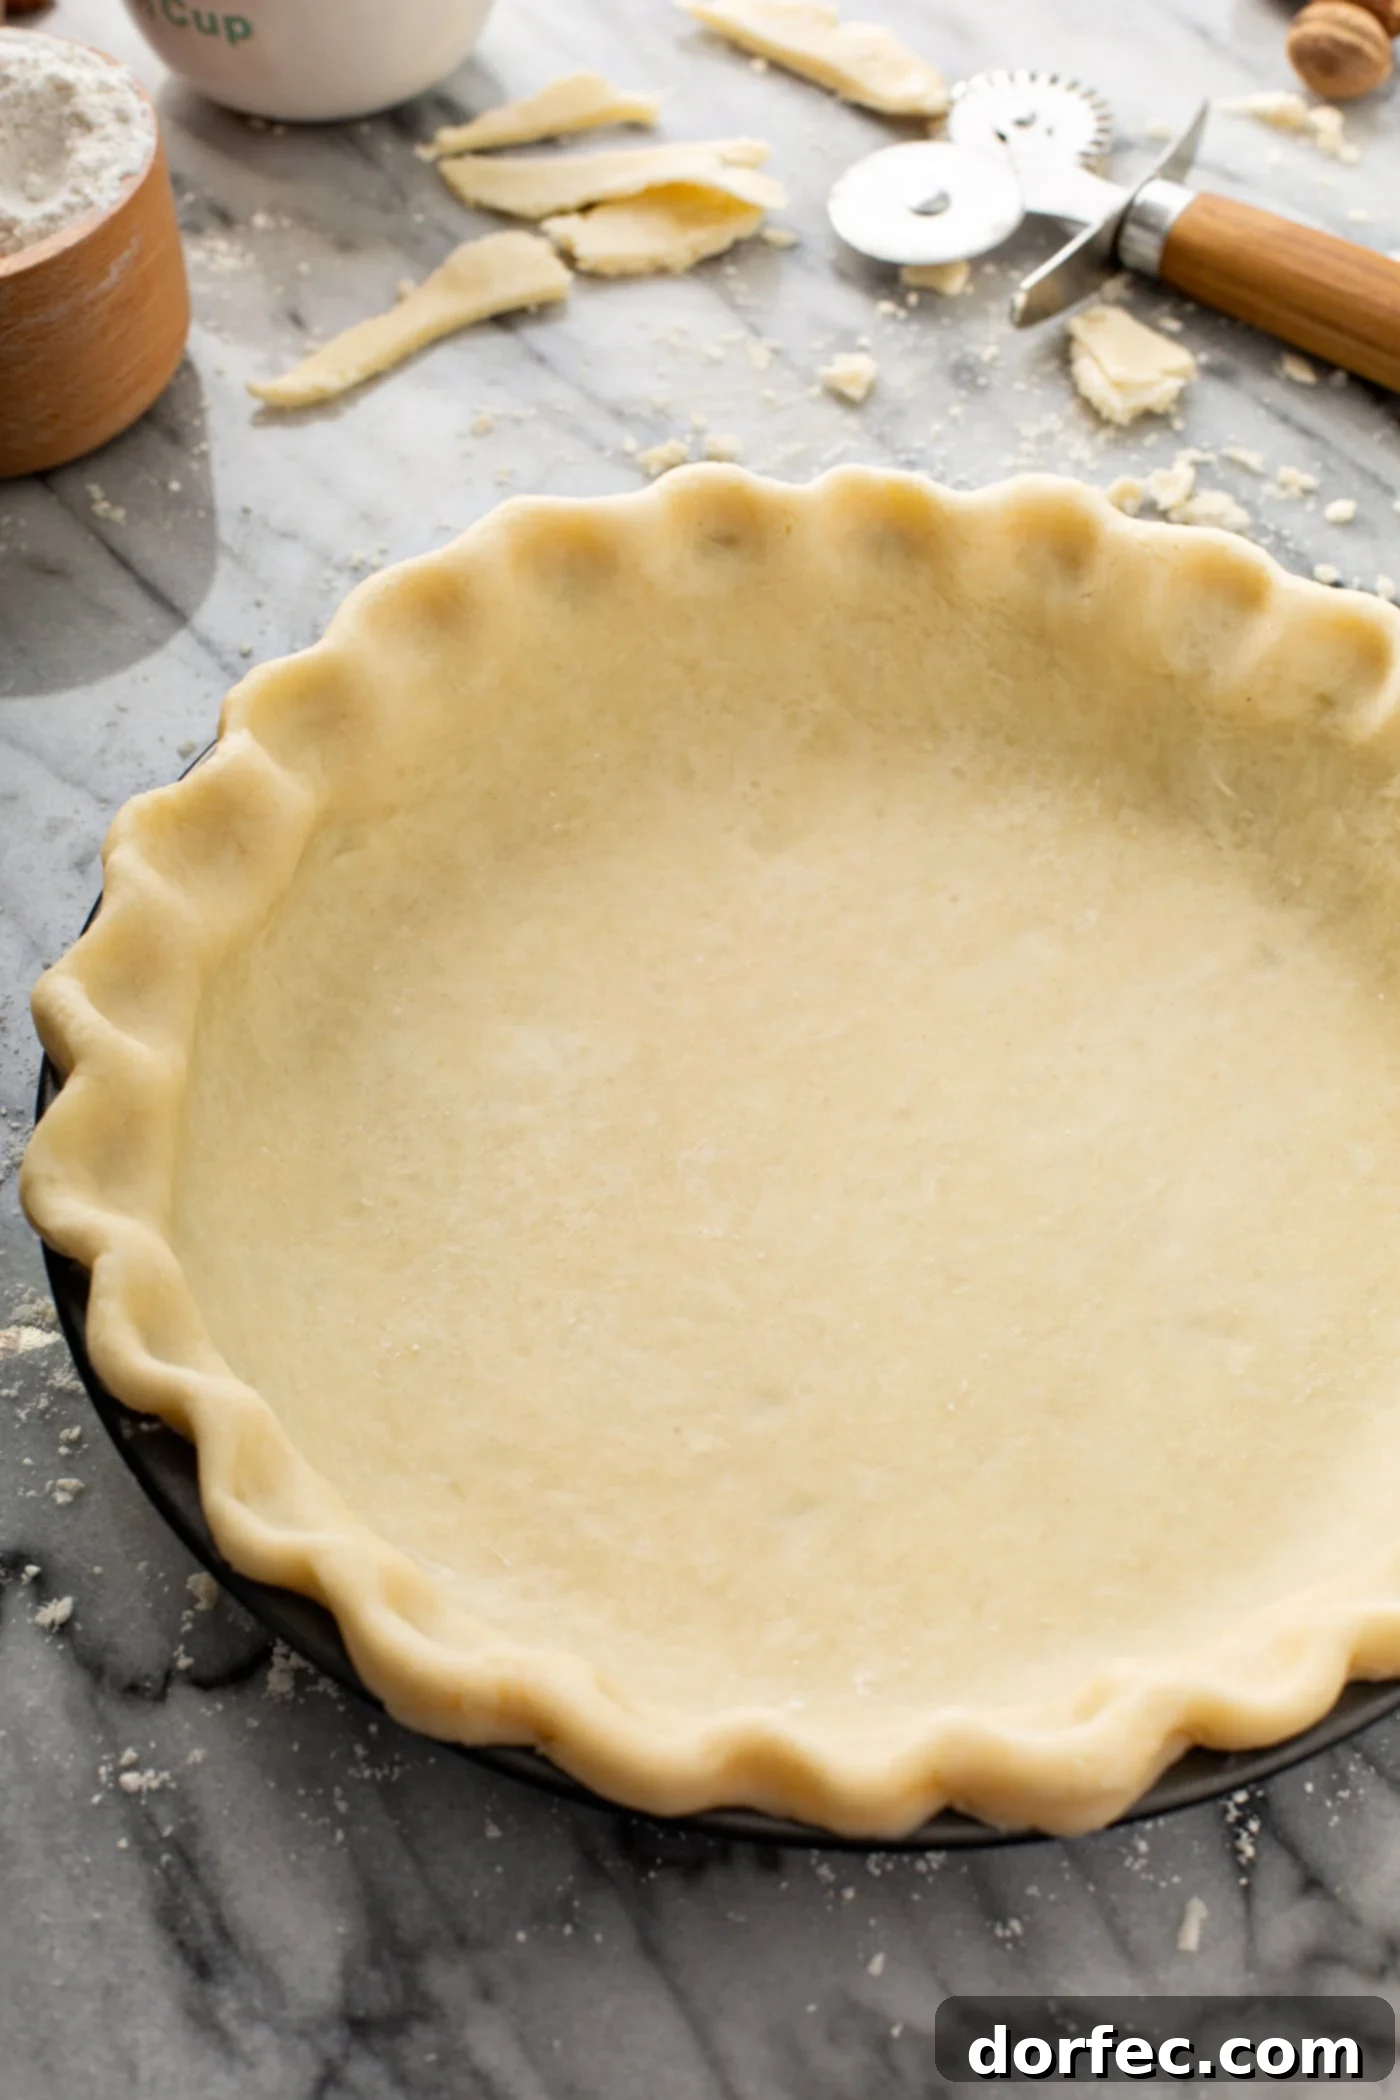
Many home bakers find the idea of making pie crust from scratch daunting. Visions of tough, crumbly, or soggy crusts can be intimidating, leading many to avoid this essential step. But what if I told you that creating a genuinely delicious and effortlessly flaky pie crust is not only achievable but also incredibly rewarding? I’m here to guide you, step-by-step, to become a confident pie crust expert. The journey to a perfect pie begins with this foundation, and once you master it, your baking world will expand.
The texture of your pie crust is profoundly influenced by the type of fat you incorporate. Over years of culinary exploration, I’ve experimented with various fats and techniques, arriving at a definitive recommendation. While some beginner recipes might suggest alternatives, for unparalleled flavor and the most desirable texture, an all-butter pie crust reigns supreme. It’s the gold standard for a reason, promising a truly memorable pie experience.
If you’re new to pie making or have previously struggled, don’t despair. Starting with a slightly more forgiving recipe, like one that includes cold shortening, egg, and vinegar, can be an excellent stepping stone to build confidence. These additions can make the dough easier to handle. However, if your goal is the pinnacle of pie crust achievement – a crust that not only performs beautifully but also infuses every bite with rich, buttery goodness – then this best pie crust recipe, focusing solely on butter, is precisely what you need.
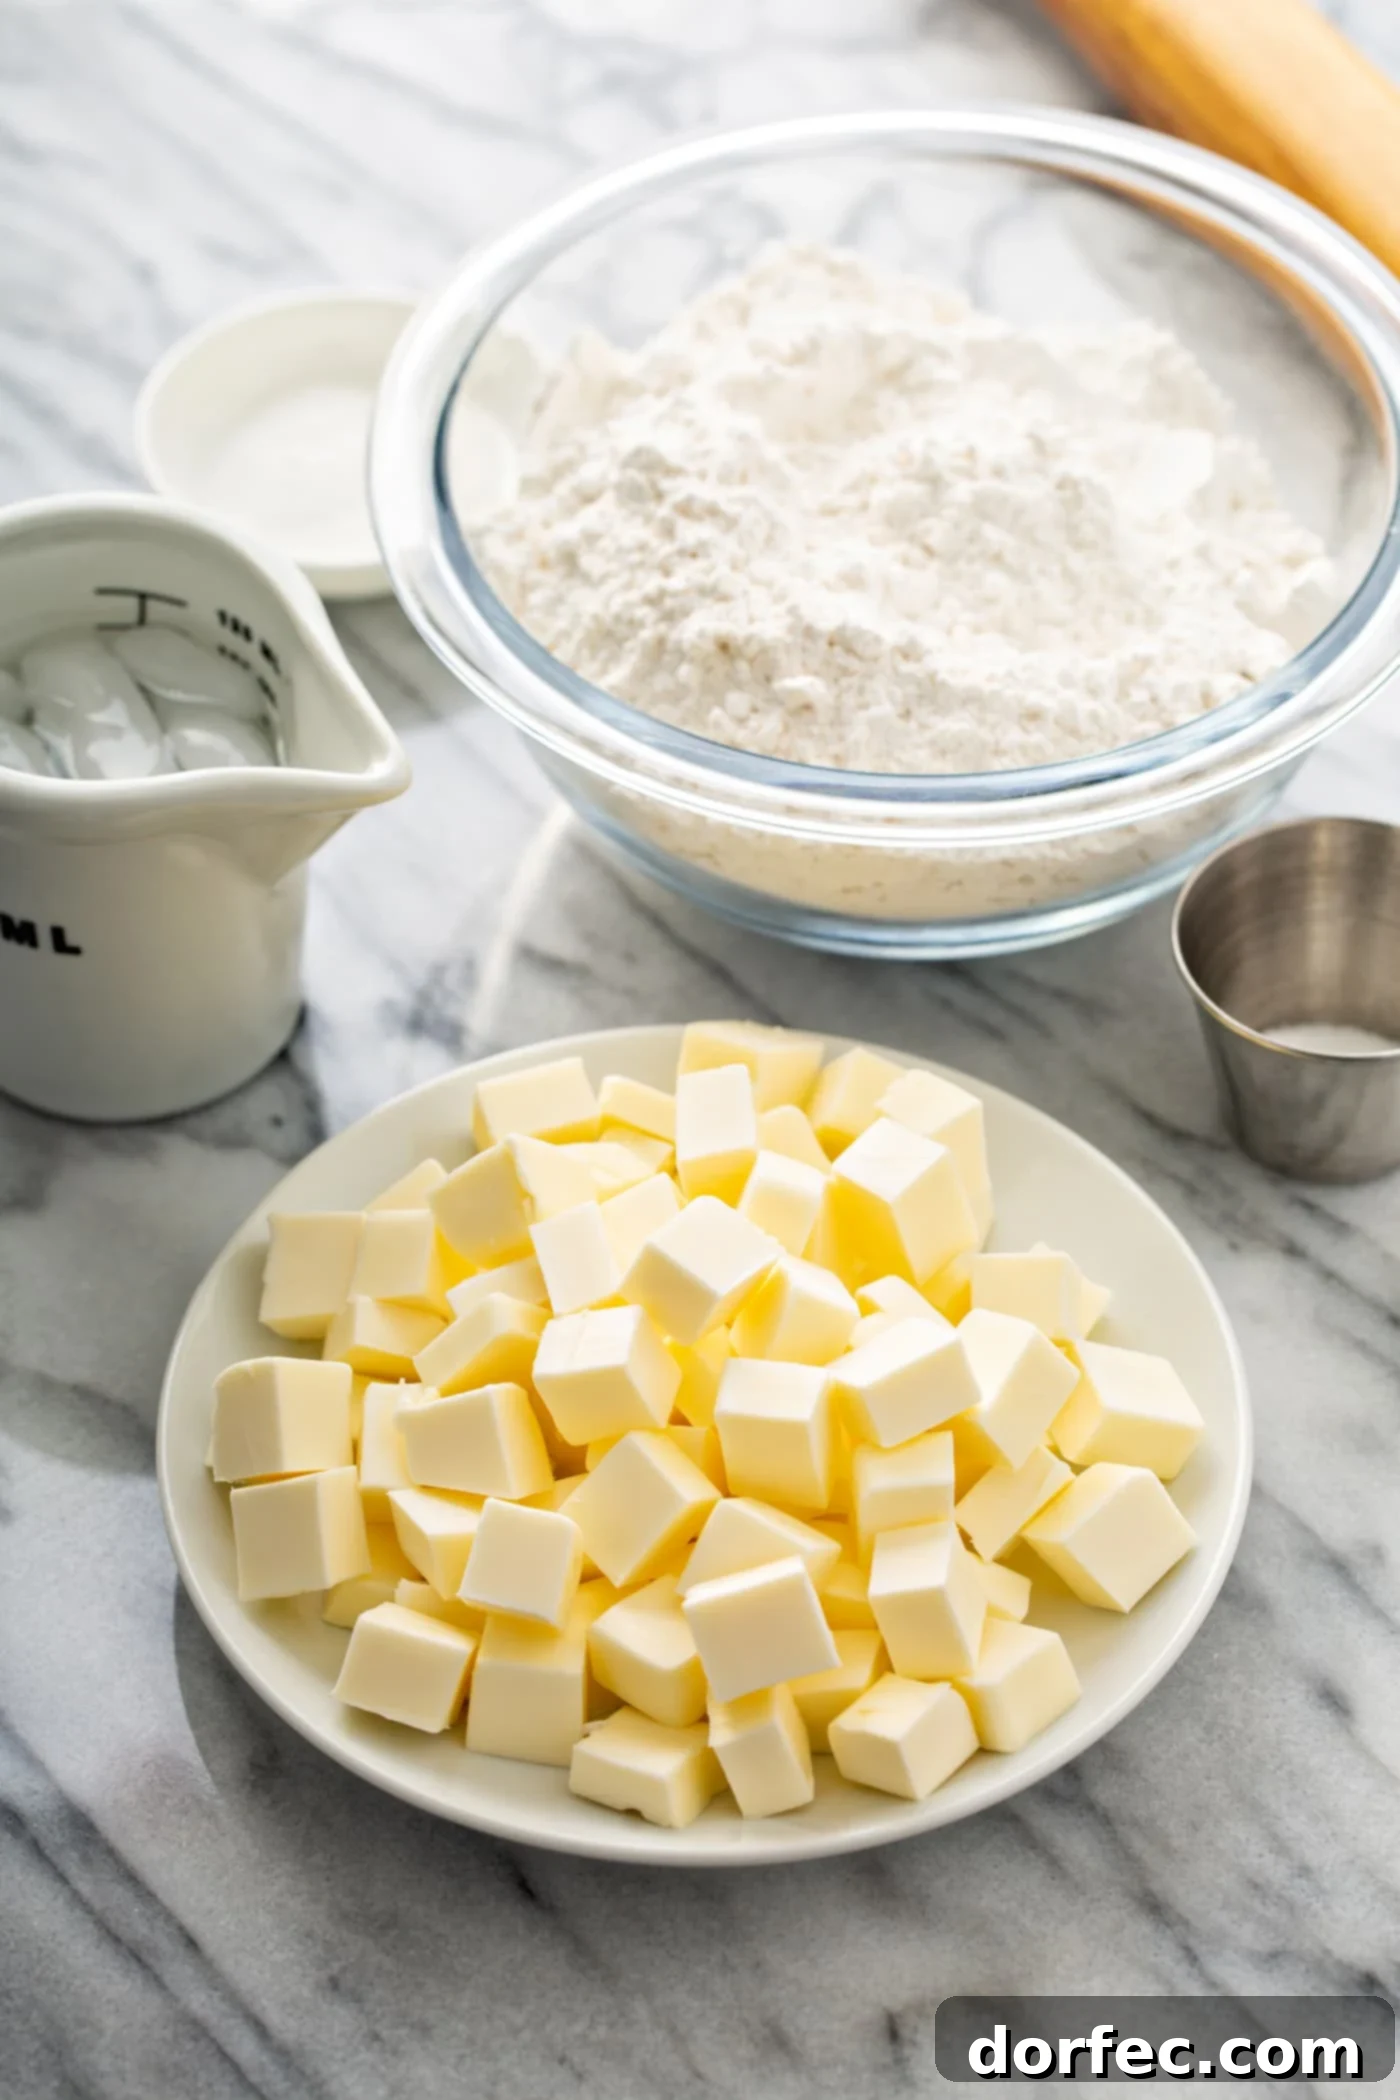
Key Ingredients for an Authentic All-Butter Pie Crust
Crafting a remarkably flaky pie crust starts with a handful of fundamental ingredients. The magic lies not in complexity, but in the quality and precise handling of these simple components:
- All-Purpose Flour: The structural backbone of your crust, providing the necessary gluten for elasticity and form.
- Granulated Sugar: A touch of sugar doesn’t sweeten the crust significantly, but it contributes to a beautiful golden-brown color and enhances flakiness by tenderizing the dough.
- Fine Sea Salt: Essential for balancing the flavors and elevating the richness of the butter. Don’t skip it!
- Unsalted Butter: The star ingredient, offering unparalleled flavor and contributing to those coveted flaky layers due to its water content.
- Ice Water: Crucial for keeping the butter cold and minimizing gluten development, which results in a tender, not tough, crust.
The addition of a small amount of sugar is a subtle yet impactful detail. While it won’t make your pie crust overtly sweet, it plays a vital role in achieving that desirable golden hue and an even more delicate, flaky texture. Every ingredient in this recipe serves a specific purpose, contributing to the overall excellence of the finished product.
Let’s delve deeper into why butter is the undisputed champion for the ultimate pie crust!
Choosing the Best Fat for Your Pie Crust: Butter vs. Alternatives
The type of fat you use is arguably the most critical decision when making a pie crust, directly influencing its flavor, texture, and workability. I’ve explored various options over the years, but my experiments consistently lead back to butter as the superior choice. Here’s a breakdown of common fats and their characteristics, explaining why butter holds a special place in my pie-making heart.
Lard in Pie Crust: Pros and Cons
Lard, rendered pork fat, is a traditional choice for pie crusts, and for good reason.
- Pros: Lard excels at producing an exceptionally crisp and flaky crust. Its high melting point means it remains solid longer during handling, making the dough easier to work with without becoming sticky. This can be a huge advantage for bakers who appreciate a more robust, malleable dough.
- Cons: The primary drawback of lard is its flavor. High-quality, neutral-tasting lard can be difficult to source, and inferior lard can impart an undesirable “porky” flavor to your pie, overpowering delicate fillings. Unless you render your own lard or have a trusted source, it’s a gamble many bakers prefer to avoid.
Shortening in Pie Crust: Pros and Cons
Vegetable shortening is another popular option, often favored for its reliability and cost-effectiveness.
- Pros: Shortening boasts an even higher melting point than lard, making it incredibly easy to cut into flour and roll out. This characteristic makes it ideal for elaborate, decorative pie crusts, as doughs made with shortening maintain their intricate shapes beautifully during baking. It’s a forgiving fat, perfect for beginners or when visual appeal is paramount.
- Cons: The main disadvantage of shortening is its lack of flavor. While it delivers on texture, it doesn’t contribute the rich, buttery depth that truly elevates a pie. Many bakers opt for a blend of butter and shortening to achieve a balance of flavor and workability.
Butter in Pie Crust: The Clear Winner
For me, butter is the quintessential ingredient for pie crust. It delivers on every front: flavor, texture, and accessibility.
- Pros: Butter offers the richest, most irresistible flavor that complements almost any pie filling. More importantly, it creates those distinct, light, and airy flaky layers that are the hallmark of a perfect pie crust. This flakiness is largely due to butter’s water content. As the pie bakes, the water in the butter turns to steam, which expands and separates the layers of dough, resulting in a tender, puffed texture. It’s a culinary marvel that transforms a simple crust into a heavenly experience.
- Cons: Butter can be more challenging to work with than shortening or lard because its lower melting point means it softens quickly at room temperature. However, this challenge is easily managed with proper technique: keep all your ingredients, especially the butter, very cold. If your dough becomes too soft, simply chill it in the refrigerator for 15-20 minutes. If it’s too hard, let it sit on the counter for a few minutes to soften slightly before rolling.
Mastering Homemade Pie Crust: A Step-by-Step Visual Guide
Creating a perfect pie crust is a simple process when you follow these steps carefully. Remember, keeping your ingredients cold is key!
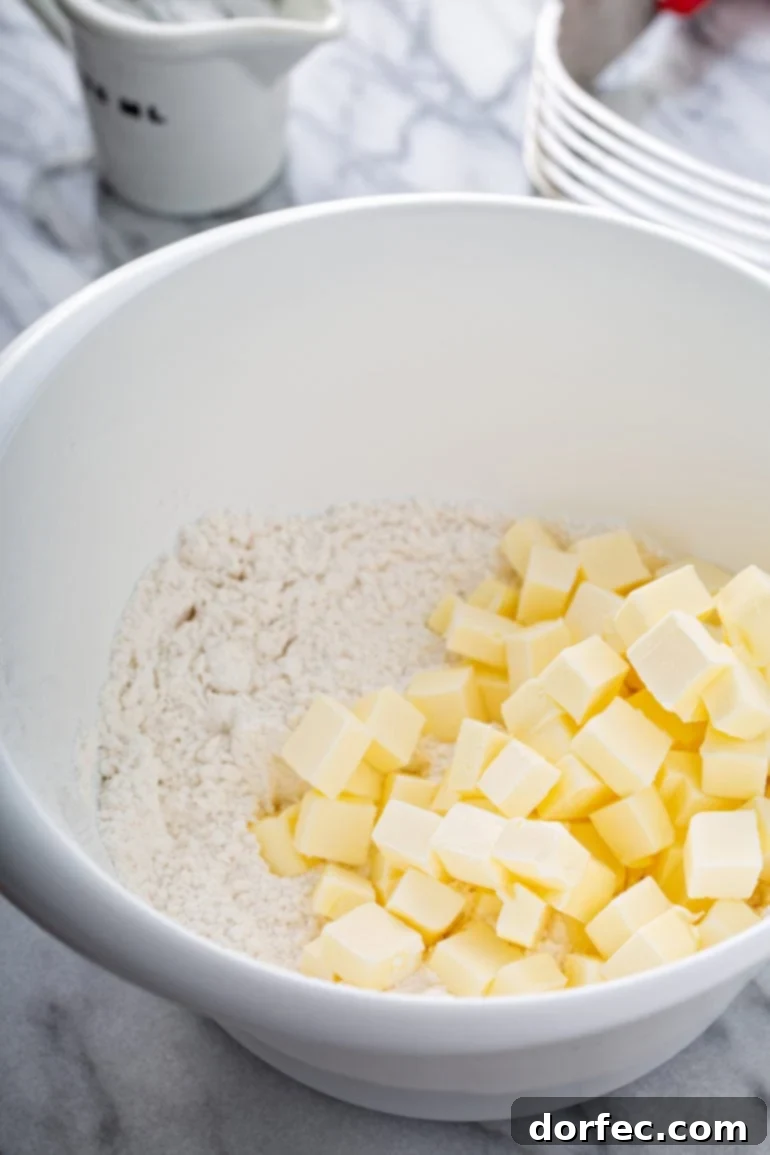
Step 1: Prepare Your Dry Ingredients. Ensure your butter is thoroughly chilled in the refrigerator, ideally cut into ½-inch cubes before you begin. In a large mixing bowl, combine the all-purpose flour, granulated sugar, and salt. Whisk these dry ingredients together thoroughly to ensure even distribution.
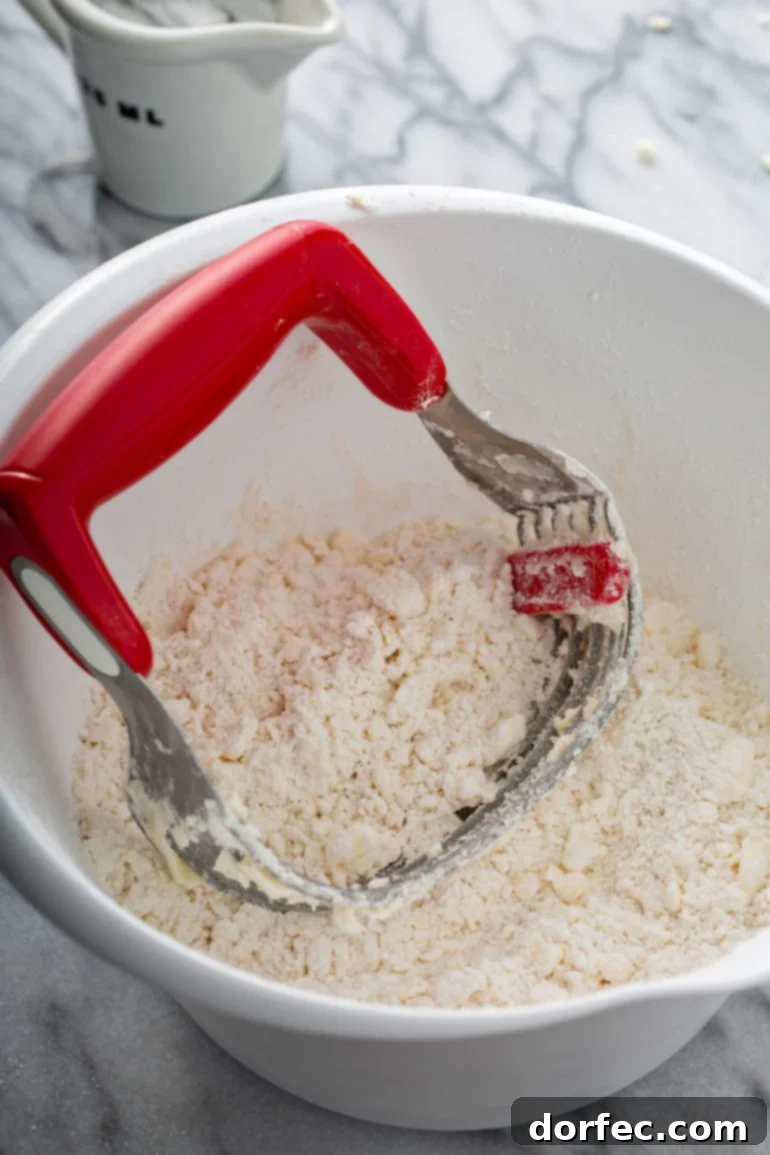
Step 2: Incorporate the Cold Butter. Quickly add the cold butter chunks to the flour mixture. Using a pastry blender (my preferred tool for controlling the butter size and avoiding overworking the dough), cut the butter into the flour until the mixture resembles coarse meal with some pea-sized pieces of butter remaining. This texture is vital for flakiness; larger pieces of butter will create pockets of steam during baking, leading to those desirable flaky layers.
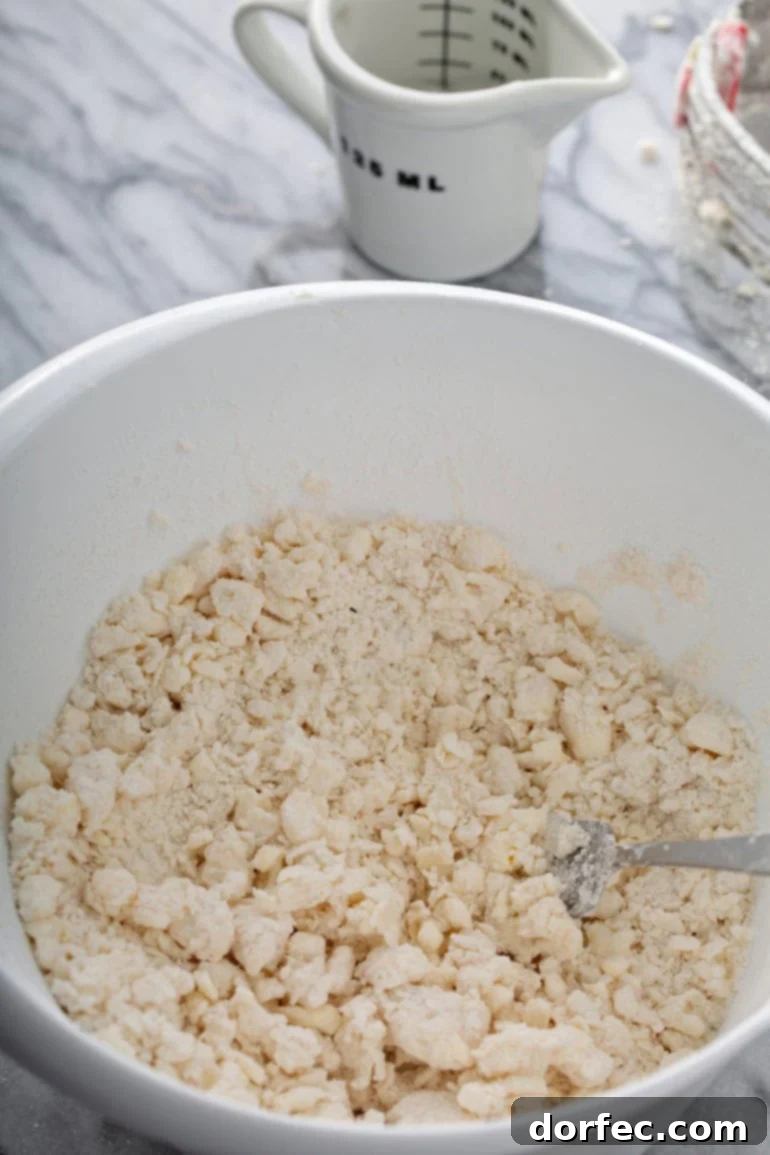
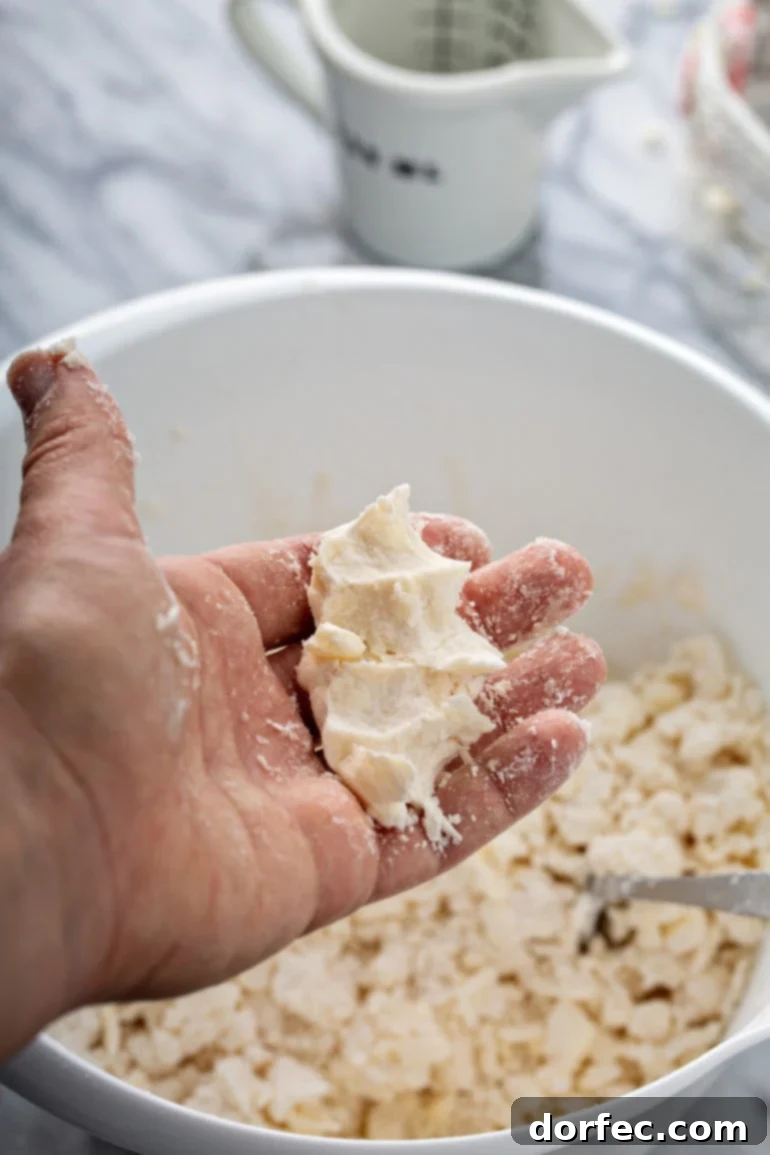
Step 3: Add the Ice Water. Fill a measuring cup with ice and water to ensure it’s as cold as possible. Create a small well in the center of your flour and butter mixture. Begin adding the ice water, one tablespoon at a time, mixing gently with a fork after each addition. The goal is for the mixture to just barely come together; it should still look very shaggy and crumbly, not like a smooth, cohesive ball. Test the dough by gently squeezing a small amount in your hand—if it holds together, it’s ready.
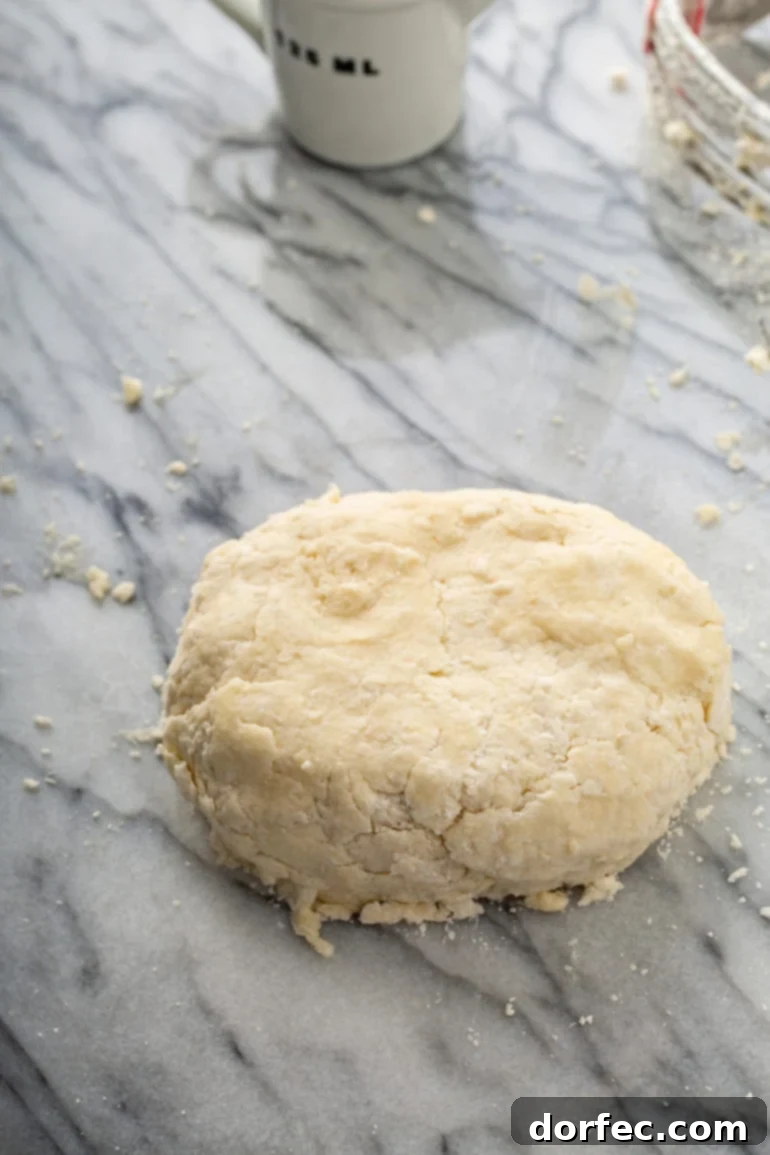
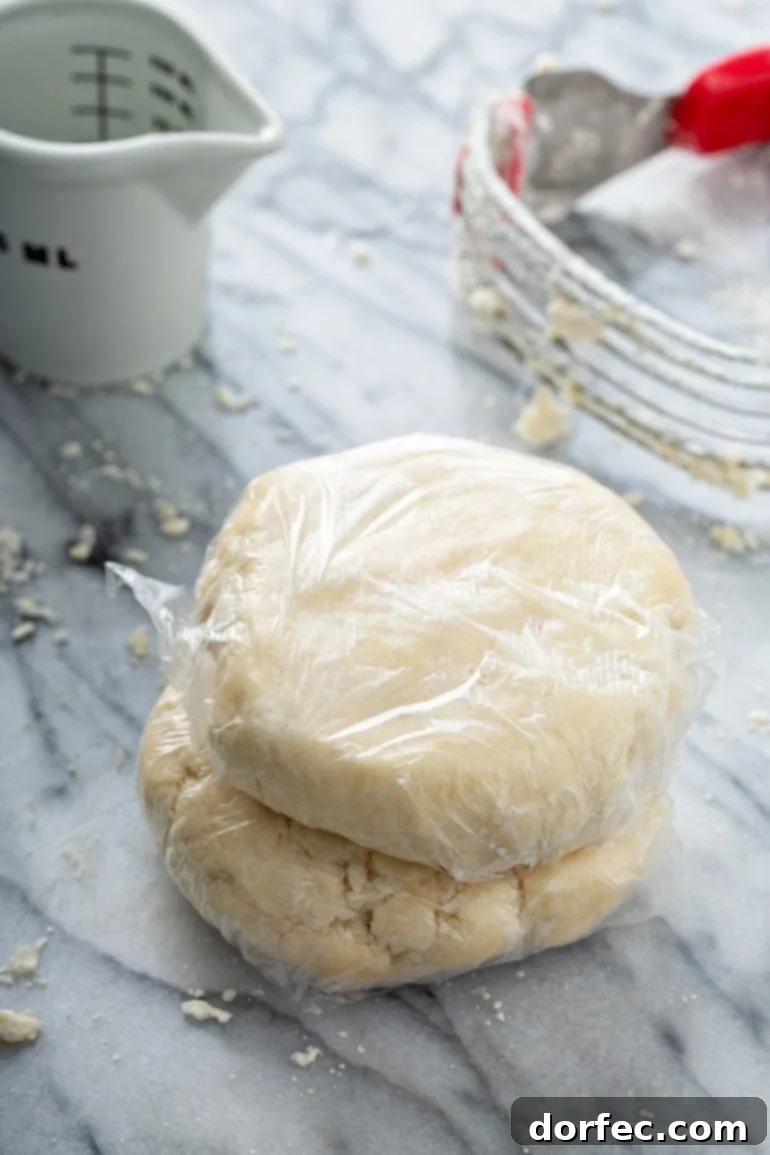
Step 4: Form and Wrap the Dough. Lightly flour your countertop or lay out a piece of plastic wrap. Gently turn out the shaggy dough mixture and any loose flour bits onto the surface. Gather the dough together as best you can, pressing it into a cohesive ball or two flattened discs. Avoid kneading or overworking the dough, as this develops gluten excessively, resulting in a tough crust. Wrap the dough tightly in plastic wrap.
Step 5: Chill Thoroughly. Place the wrapped dough discs in the refrigerator to chill for at least 1-2 hours, or up to 2 days. This resting period is critical for several reasons: it allows the butter to firm up again, prevents shrinking during baking, and gives the gluten a chance to relax, ensuring a tender crust.
Pro Tip: The Squeeze Test. Even if the dough looks crumbly in the bowl, perform the squeeze test. If it holds together when pressed in your palm, it has enough moisture. When forming discs, working on a marble slab can help maintain the butter’s cold temperature.
Properly wrapping the pie dough prevents it from drying out and allows it to chill uniformly, ensuring the butter remains firm and distinct within the dough – a key element for achieving that coveted flaky texture.
Visualize the Process: Making This Flaky Pie Crust
For those who learn best visually, seeing the process in action can be incredibly helpful. Imagine watching the transformation from simple ingredients to a beautifully formed dough, ready for your favorite pie filling. While I cannot embed the video directly in this HTML, you can typically find a step-by-step video guide on the original recipe’s website that perfectly illustrates each stage, from cutting in the butter to forming the dough discs.

Choosing the Right Pie Crust for Your Filling
Did you know that the type of pie filling you choose should influence how you prepare your pie crust? It’s a subtle but significant detail that can make all the difference in the final outcome of your pie. Understanding the interaction between your crust and filling is key to preventing common pie pitfalls like a soggy bottom.
When to Opt for a Flaky Pie Crust
A flaky pie crust is your best friend for fruit-filled creations, such as our luscious Razzleberry Pie. The tender, airy layers of a flaky crust perfectly complement the juicy, often slightly acidic nature of fruit fillings. This type of crust is achieved by leaving the fat (butter, in our case) in larger pieces—think the size of walnut halves or slightly smaller—when cutting it into the flour.
The Science Behind the Flake: When these larger pieces of cold butter encounter the heat of the oven, the water within them rapidly turns to steam. This steam then pushes apart the layers of dough, creating those distinct, airy pockets and a beautifully flaky texture that melts in your mouth alongside your fruit filling.
When to Make a Mealy Pie Crust
Conversely, a mealy pie crust is the ideal choice for custard, cream, or savory pies, like our indulgent French Silk Pie. The tighter, more compact structure of a mealy crust prevents it from absorbing moisture from wetter fillings, effectively combating sogginess. To achieve a mealy crust, the butter is cut into much smaller pieces—about the size of small peas or even finer—during the mixing process.
Why Mealy Prevents Soggy Bottoms: With smaller fat pieces, less steam is generated, resulting in fewer air pockets and a denser, more uniform crust. This creates a barrier that helps maintain the crust’s integrity even when filled with rich custards or creamy concoctions.
Consider a savory example: When preparing a chicken pot pie, which kind of crust would you choose? It’s not a fruit pie, nor is it a traditional custard. You’re right to still lean towards a more mealy crust! The savory sauce inside needs a sturdy barrier to prevent it from seeping into and destroying the crust, ensuring a satisfyingly crisp bite with every forkful. Understanding this distinction is a game-changer for pie perfection!
Frequently Asked Questions About Pie Crust
Even seasoned bakers have questions when it comes to pie crust. Here are answers to some common concerns:
Should I Use an Egg Wash on This Pie Crust?
Absolutely, yes! An egg wash is highly recommended and almost essential for achieving that gorgeous, golden-brown, and slightly shiny finish on your pie crust. It’s a simple step that adds a professional touch and enhances the visual appeal of your baked pie.
Why Is Pie Crust Too Crumbly to Roll Out?
If your pie crust dough is excessively crumbly and resists rolling, it’s typically a sign that it’s too dry. The solution is straightforward: add a few sprinkles of very cold water, one tablespoon at a time, and gently work it in until the dough reaches an evenly moist consistency. Be cautious not to overdo it or overhandle the dough, as this can develop gluten unnecessarily.
Why Does Pie Crust Shrink During Baking?
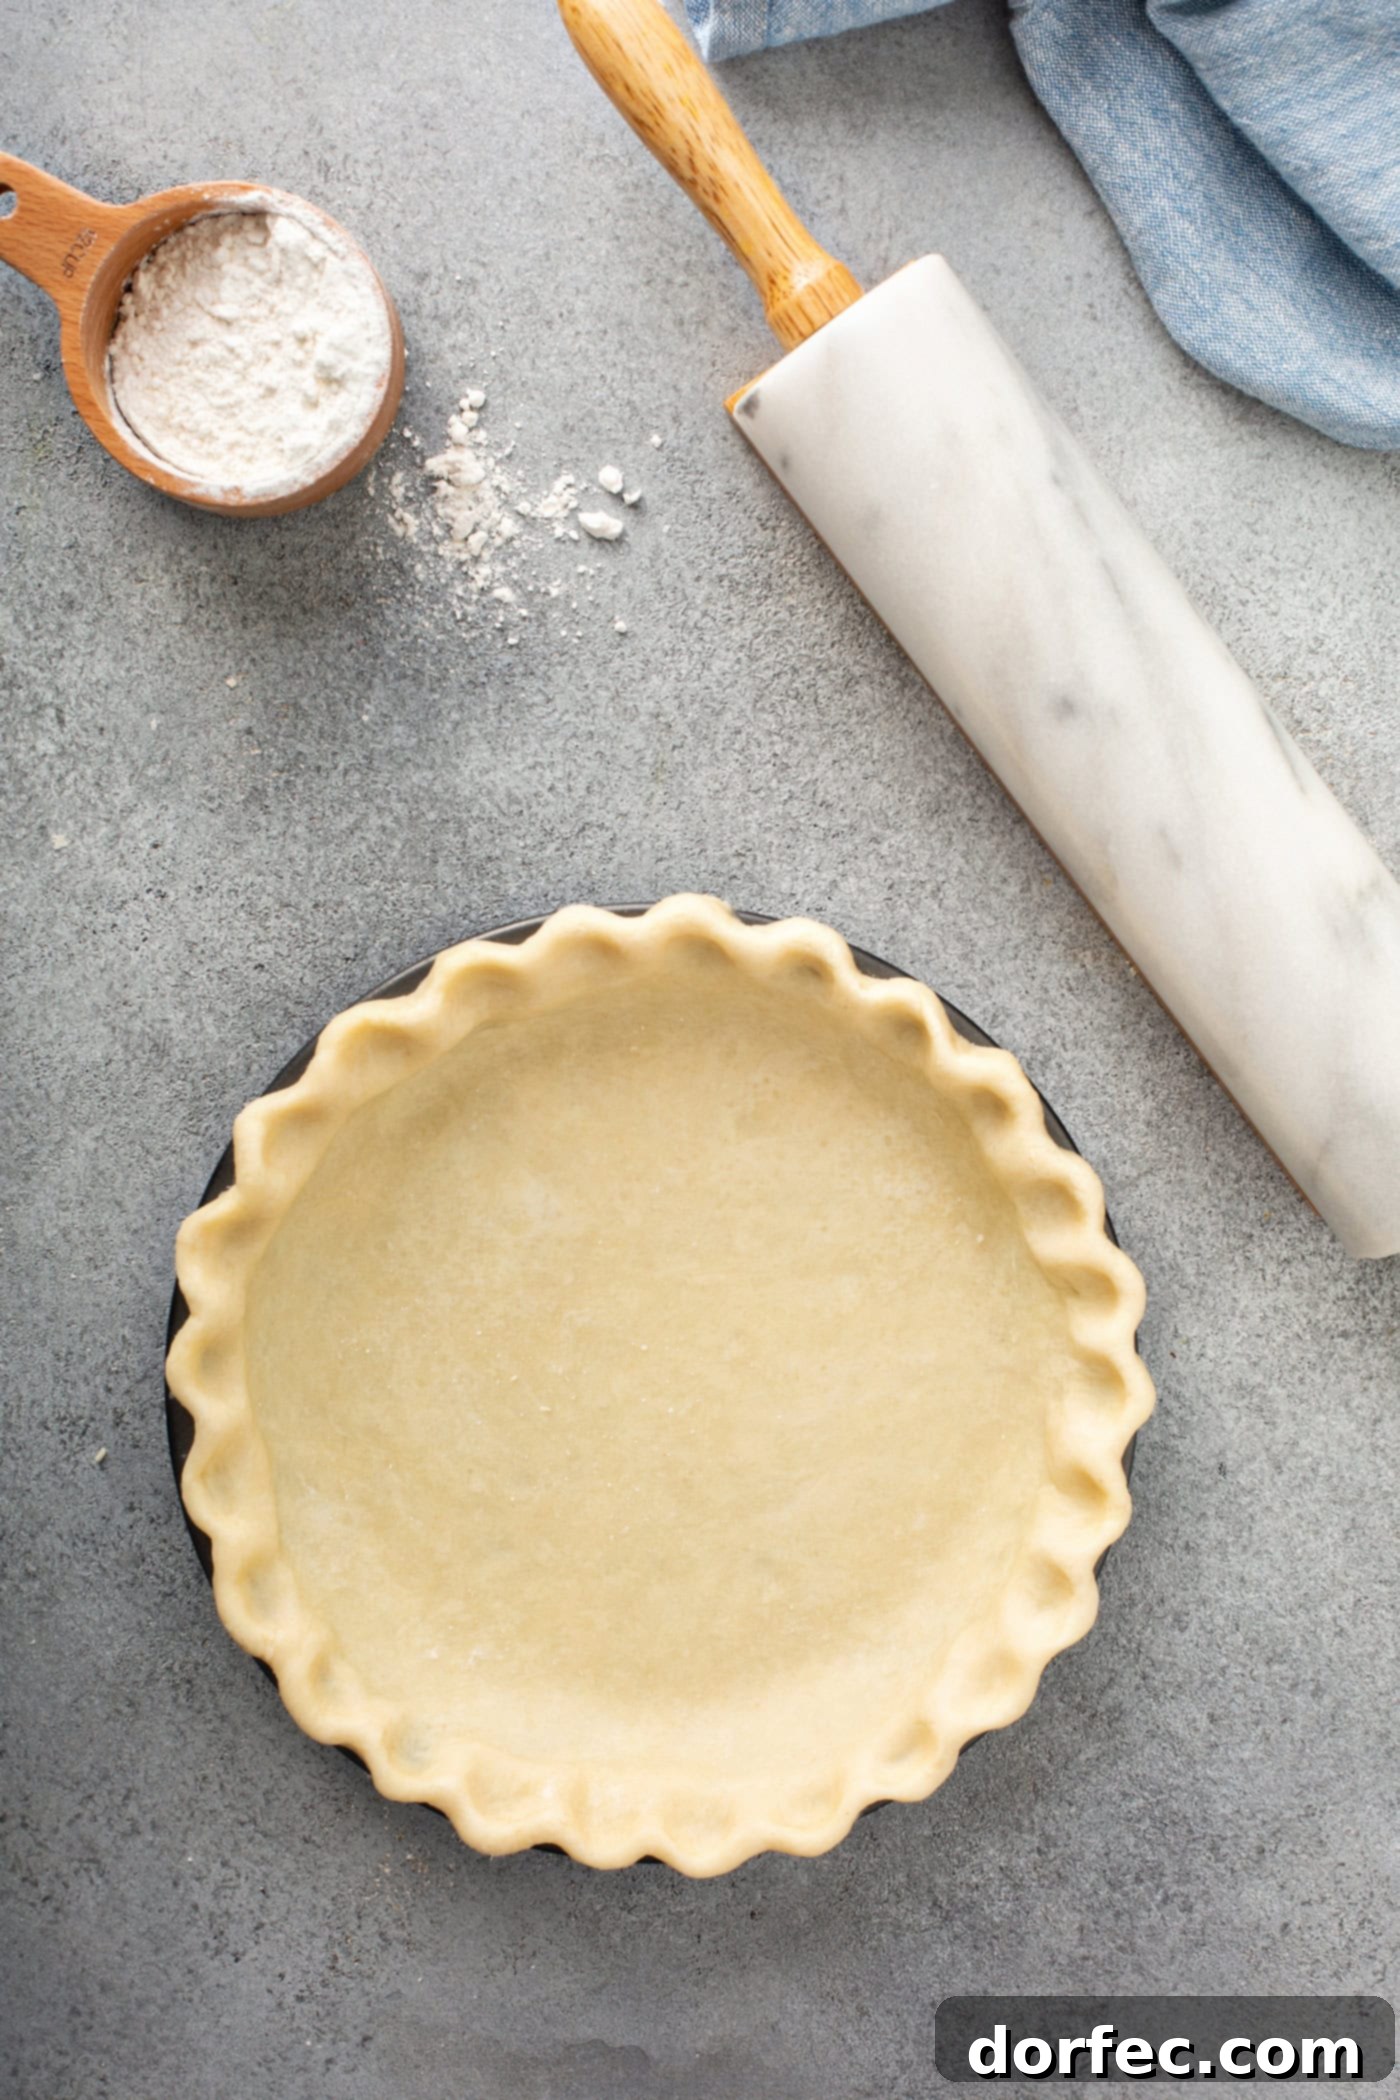
Pie crust shrinking is a common issue often caused by insufficient “resting” time. After mixing and forming, the dough needs time to chill in the refrigerator. This resting period allows the gluten strands, which become stretched and tightened during mixing and rolling, to relax. Without adequate relaxation, the gluten will contract during baking, leading to a noticeable shrinkage of your crust. Always ensure your dough has a good, long chill before rolling and baking.
Essential Pie Crust Techniques
Once you have your perfect dough, mastering a few techniques will elevate your pie game.
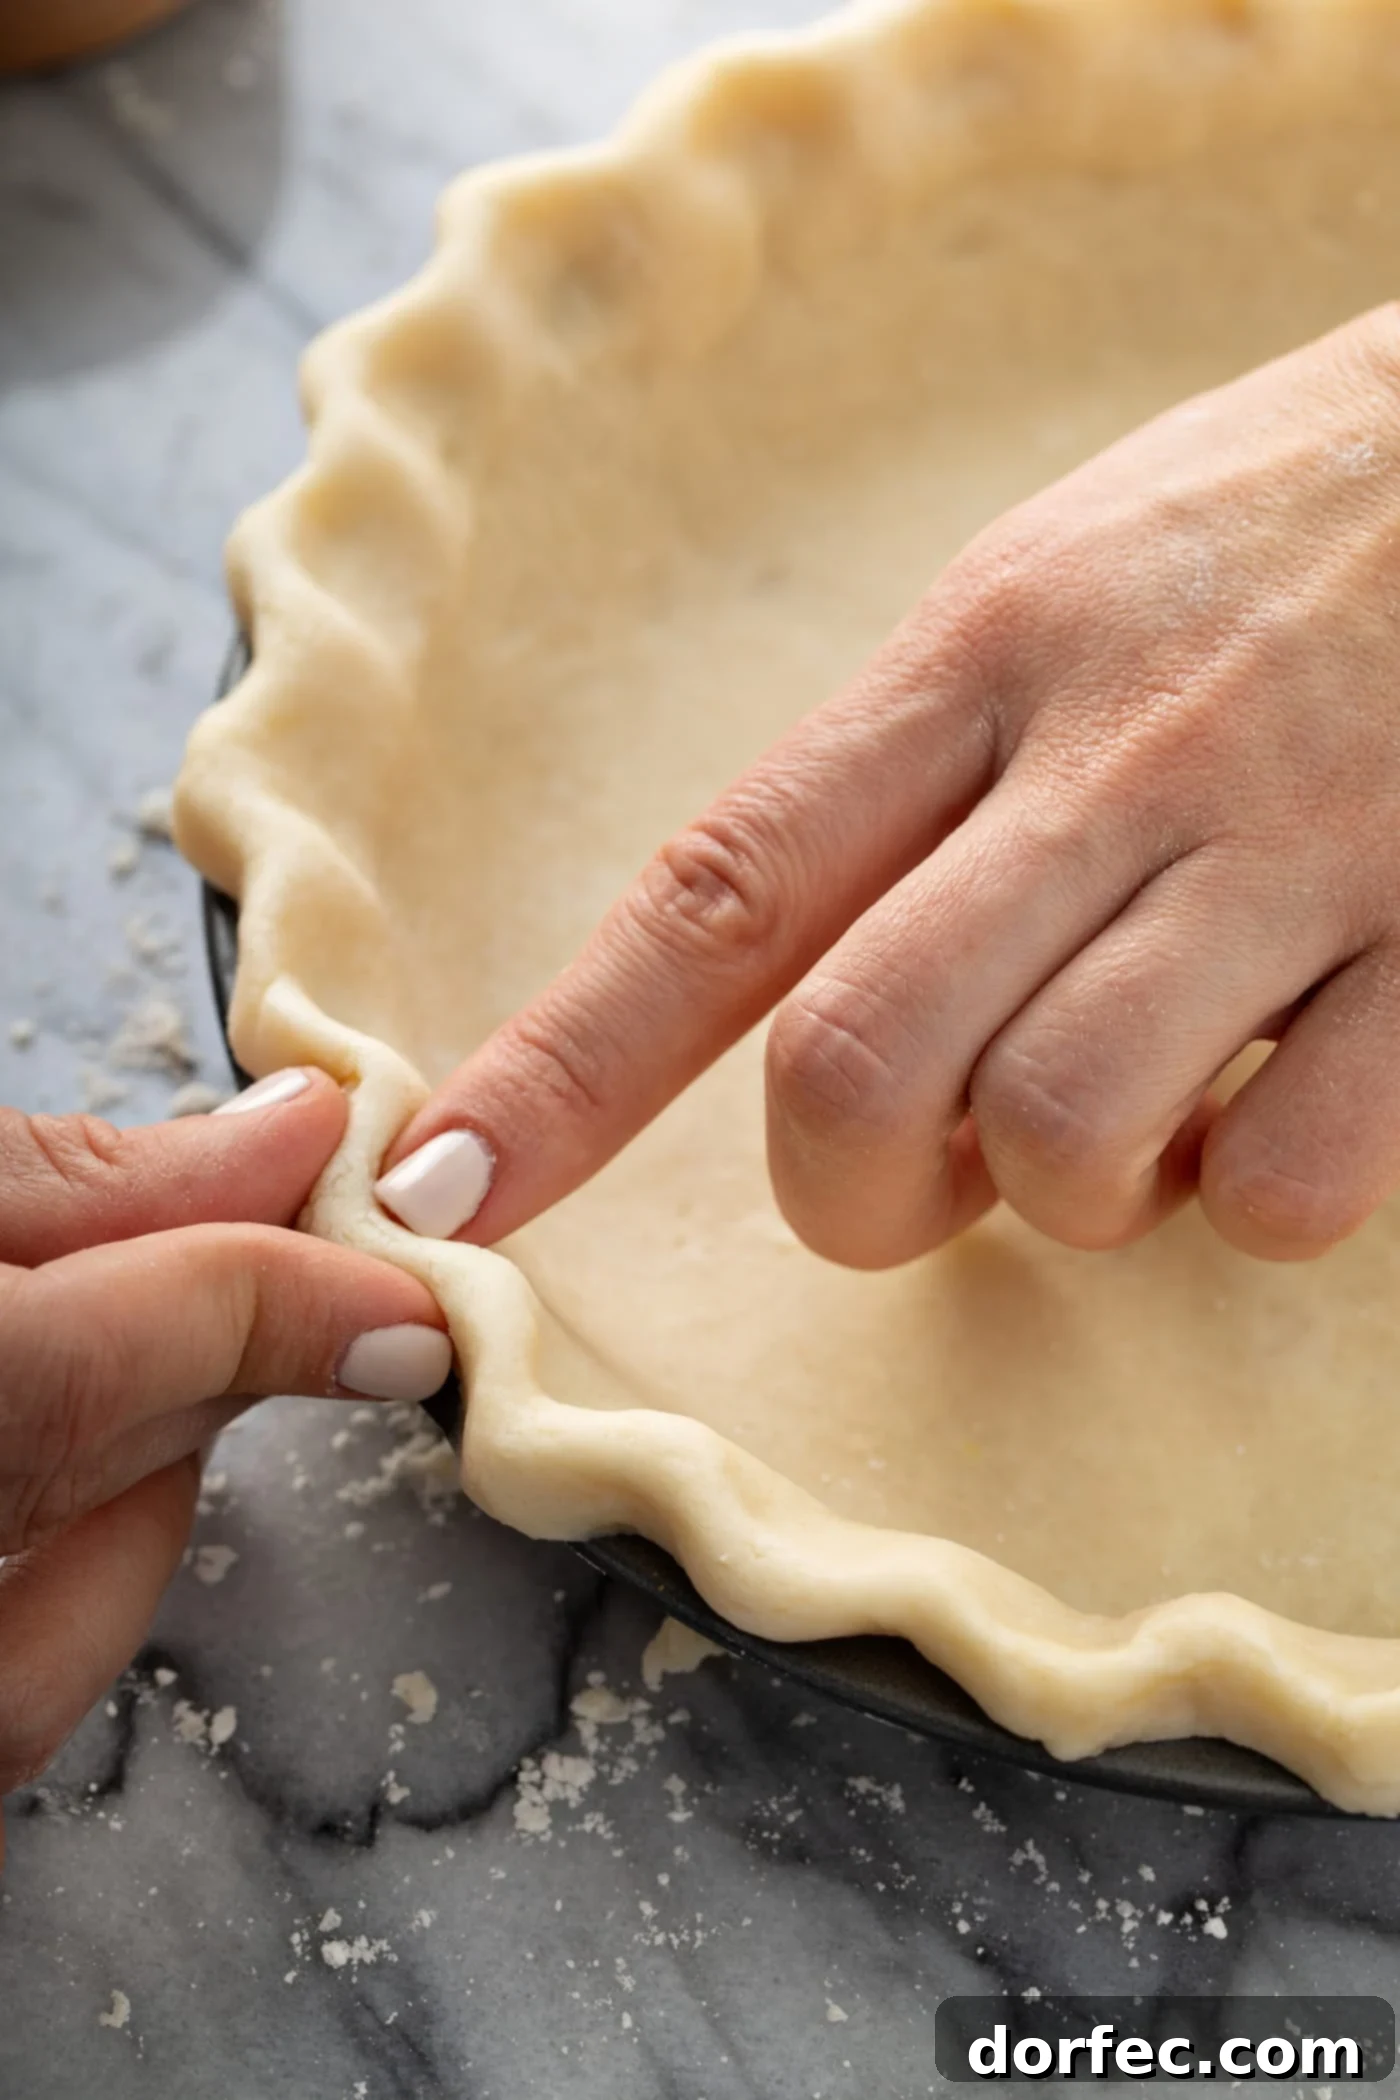
How to Crimp Pie Edges Beautifully
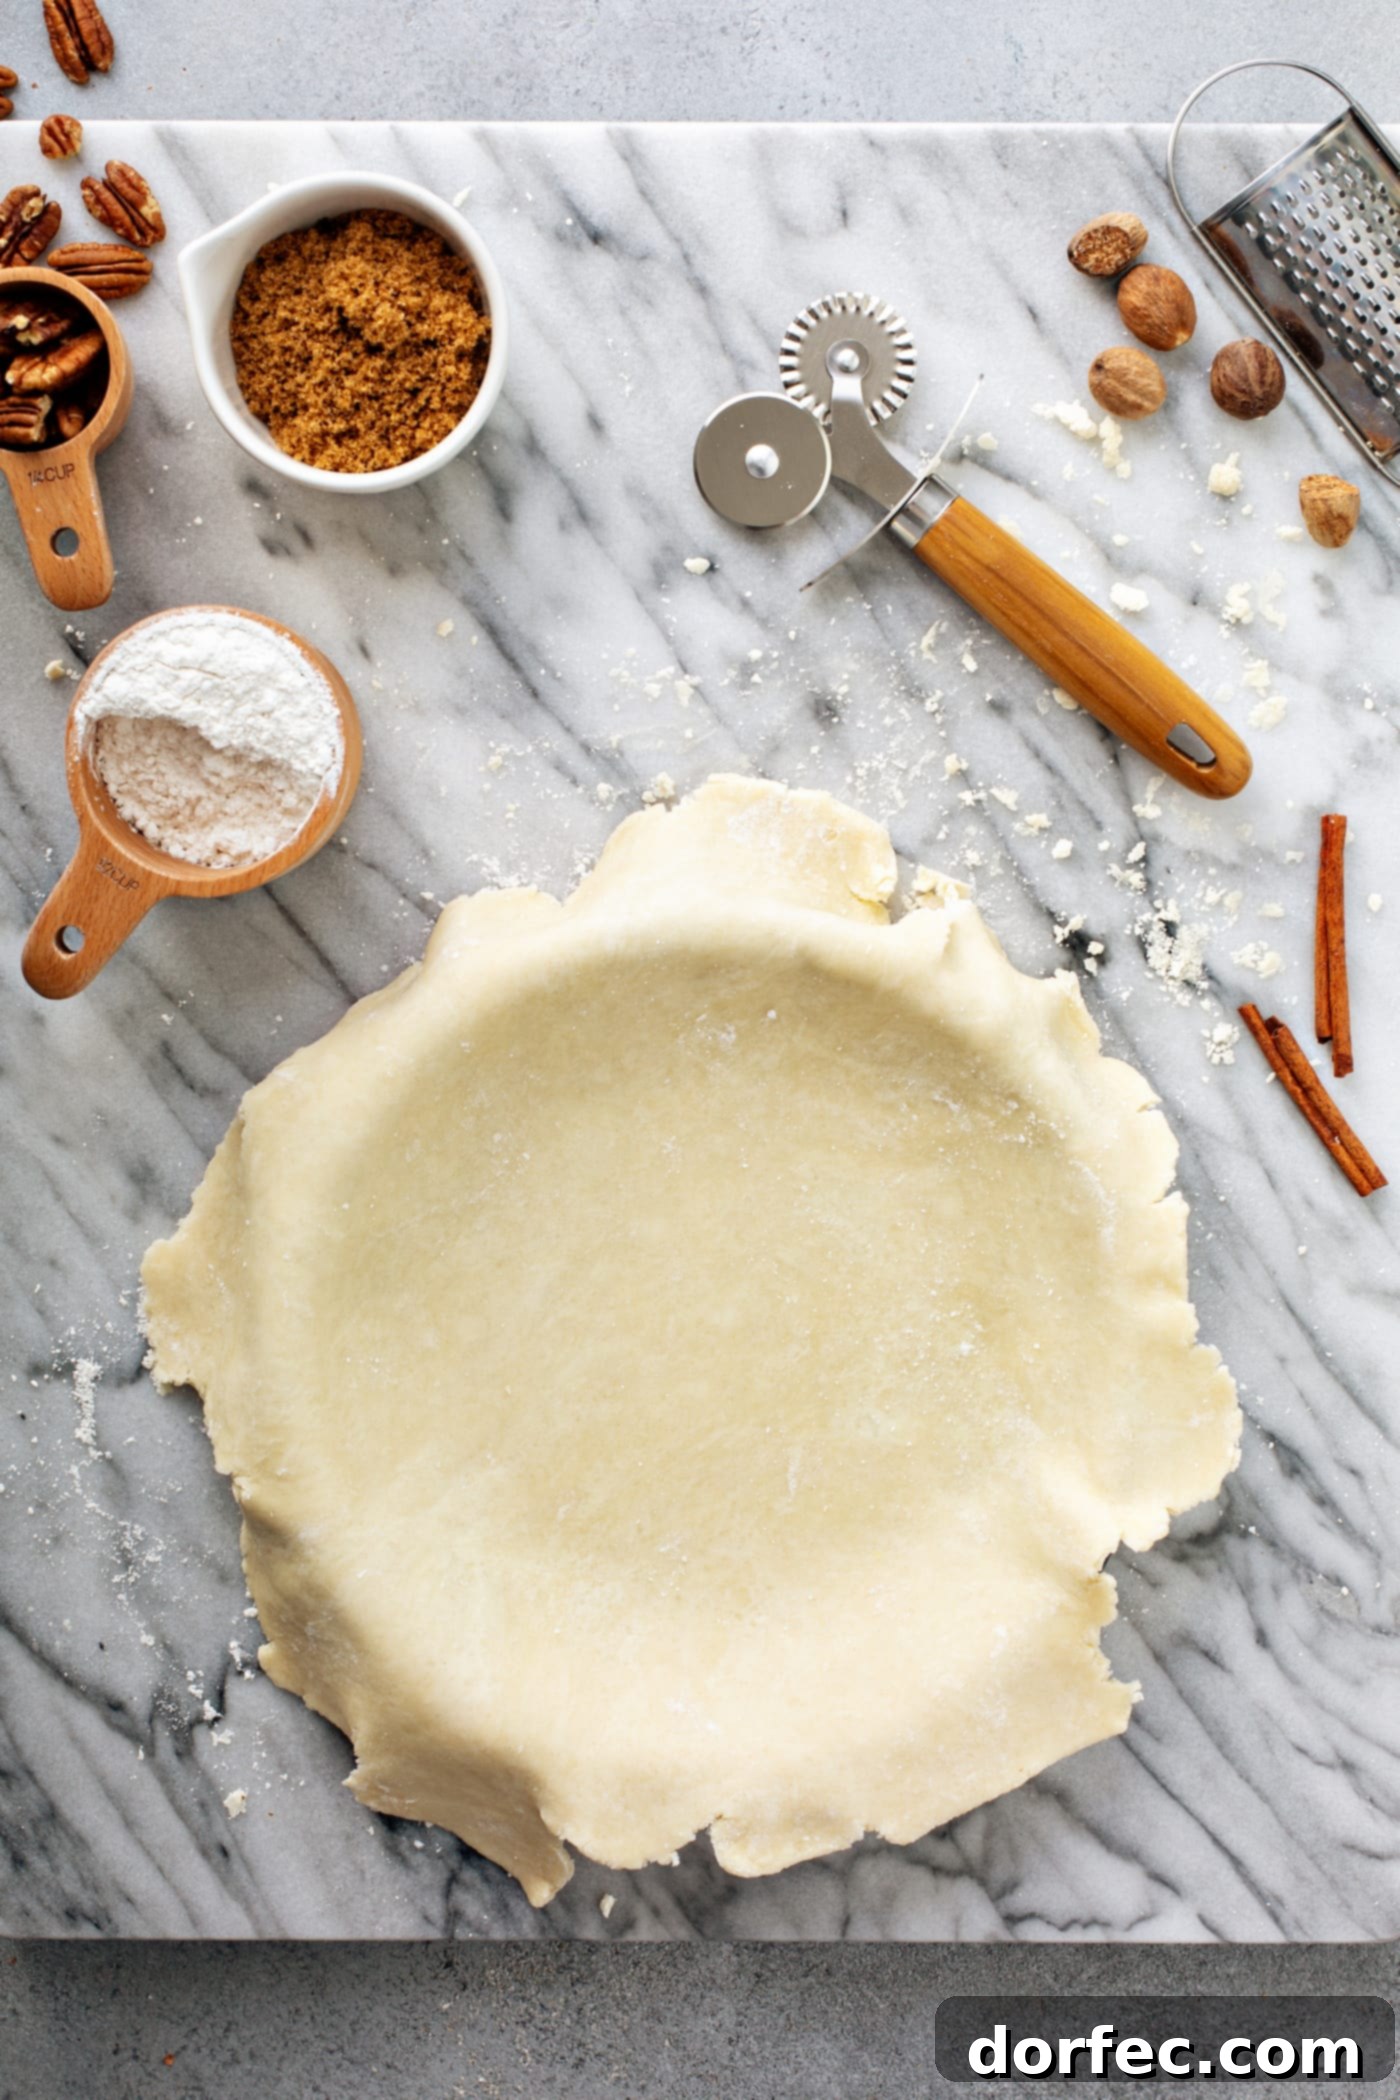
Crimping pie edges is a classic finishing touch that’s easier than it looks. I learned this as a child, and it became second nature, but teaching my own daughters made me realize it’s a skill worth breaking down. To achieve a traditional crimped edge:
Using the index finger or knuckle of one hand, gently push the inner edge of the dough outwards. Simultaneously, use the thumb and index finger of your other hand to pinch the outer edge of the dough inwards, forming a consistent pattern. Work your way around the entire crust for a stunning, professional-looking border.
How to Blind Bake and Prevent a Soggy Pie Crust
A soggy pie crust is a baker’s nemesis, especially with wetter fillings. The most effective way to prevent this is through blind baking, a process that partially or fully bakes the crust before adding the filling. This method involves:
- Docking: Pricking the bottom and sides of the raw pie crust with a fork to allow steam to escape and prevent bubbling.
- Weights: Lining the docked crust with parchment paper and filling it with pie weights (or dried beans/rice) to prevent the crust from shrinking or puffing up unevenly during baking.
- Egg Wash (Optional for Blind Bake): For a fully blind-baked crust that will be filled with a no-bake filling, an egg wash after removing the weights can help seal the crust and provide a beautiful color.
For a detailed guide on the blind baking process, including specific timings and temperatures, refer to our comprehensive instructions within our Lemon Meringue Pie recipe – it’s a masterclass in achieving a perfectly crisp crust.
Can You Freeze All-Butter Pie Crust for Later Use?
Absolutely! This all-butter pie dough freezes exceptionally well, making it a fantastic make-ahead option for busy bakers. To freeze unbaked pie crust:
After forming the dough into discs and wrapping tightly in plastic wrap, further protect it with heavy-duty aluminum foil or a freezer-safe bag, ensuring it’s sealed completely to prevent freezer burn. Label with the date. Frozen dough will keep for up to 2 months.
When you’re ready to bake, simply transfer the frozen pie dough to the refrigerator and allow it to thaw completely for at least 2 hours, or overnight, before rolling out and using as directed in your pie recipe.
Pro Tips for Baking the BEST All-Butter Pie Crust
Achieving a truly spectacular pie crust involves a few critical details:
- Keep Everything Cold: This is the golden rule! Ensure your butter is straight from the fridge and cut into pieces, and always use ice water. Cold ingredients prevent the butter from melting into the flour prematurely, which is essential for developing those signature flaky layers.
- Don’t Overwork the Dough: Once you’ve added the liquids, mix the dough just until it barely comes together. Overworking the dough develops gluten excessively, leading to a tough, chewy crust rather than a tender, flaky one. A shaggy appearance is actually a good sign!
- Chill, Chill, Chill: After cutting in the butter, and again after combining all ingredients, it’s wise to pop your dough back into the fridge. This ensures the butter stays firm and gives the gluten time to relax, preventing shrinkage.
- Freeze Before Baking: For an extra safeguard against shrinkage and to ensure maximum flakiness, place your formed, unbaked pie crust in the freezer for about 10-15 minutes just before it goes into the oven. This super-chills the butter, enhancing the steam-creation process.
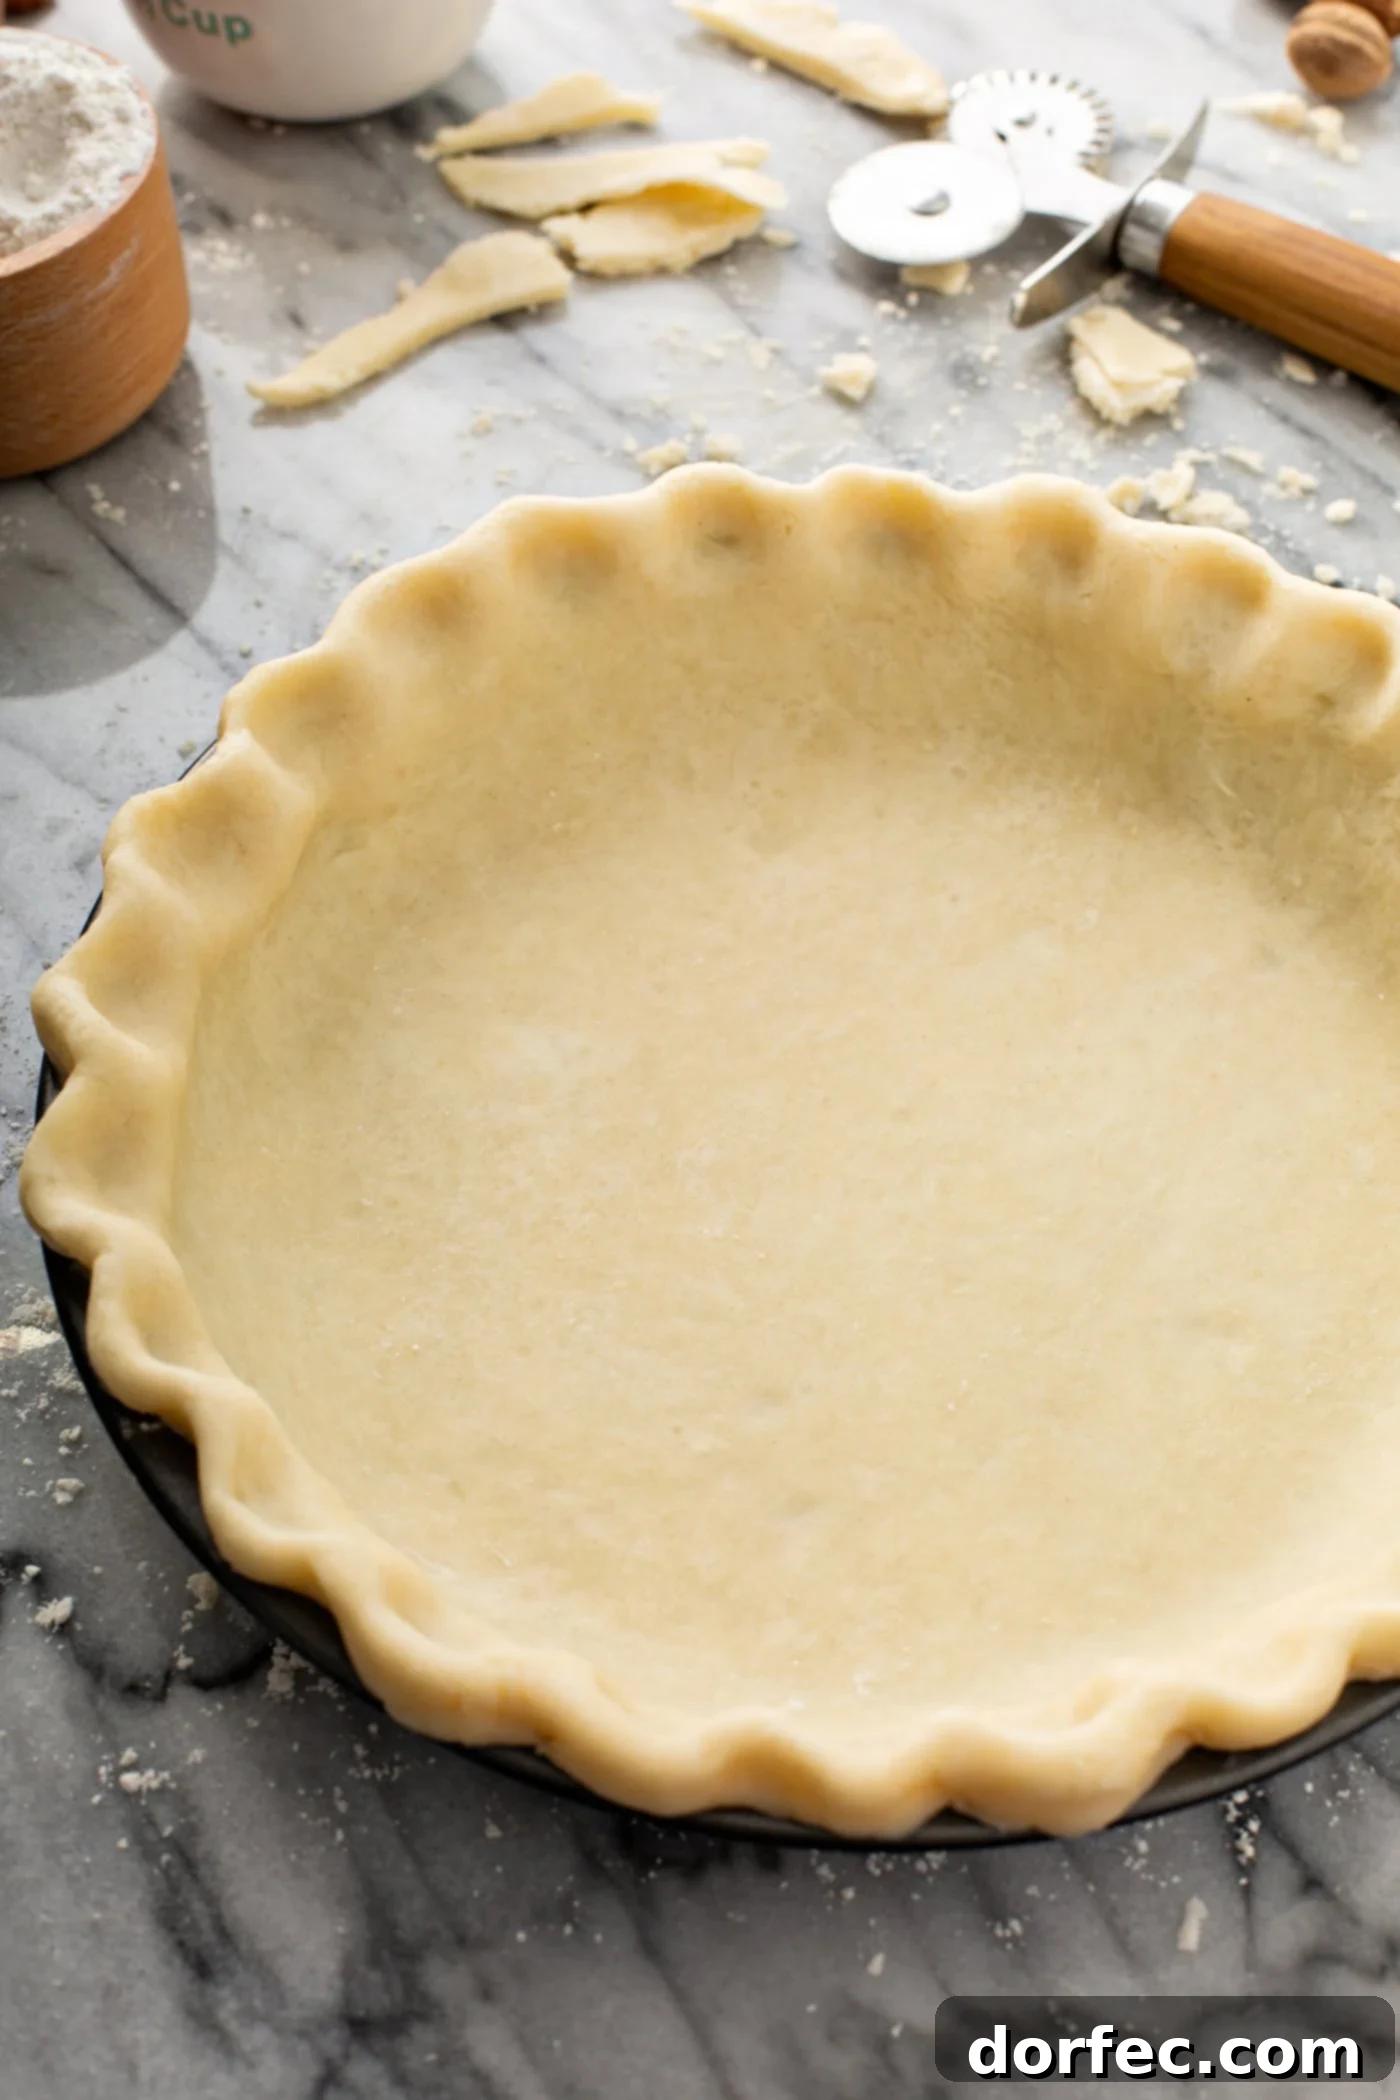
Essential Tools for Your Pie Baking Journey
Whether you’re a casual baker or a true pie fanatic, having the right tools makes the process smoother and the results more consistent. Here are some essentials:
- Pastry Blender: I’m a strong advocate for cutting fat into flour by hand using a pastry blender. It gives you precise control over the butter size, unlike a food processor which can easily overwork the dough. Look for one with a comfortable handle and strong, sturdy cutters. The OXO version is a reliable choice.
- Silicone Baking Mat: A large silicone mat is invaluable. It provides a non-stick surface, reducing the need for excess flour (which can dry out your crust). Many come with measurement guides, eliminating the need for a separate ruler to roll out the perfect sized crust.
- Wooden Rolling Pin: While a traditional handled rolling pin works well, I’ve recently fallen in love with a French pin. Its tapered design offers greater control and makes it easier to turn and smoothly roll out dough to an even thickness.
- Pastry Cutter: If you’re planning a lattice top or simply desire a more decorative edge, a specialized pastry cutter with different wheel designs is a fantastic addition. Many are double-sided, offering versatility.
- High-Quality Pie Dish: The right pie dish can make a difference. Ceramic or glass dishes are generally preferred for even heat distribution. Some innovative dishes feature dark or gold-tinted bottoms to promote even baking without over-browning the edges.
- Pastry Brush: Essential for applying an egg wash to achieve that beautiful, golden crust. A good quality pastry brush ensures an even, streak-free application.
- Pie Stamps: While not strictly essential, pie stamps can instantly elevate a plain top crust. They allow you to cut out charming shapes, creating a visually appealing design that’s perfect if a full lattice makes you nervous.
- Pie Weights: A must-have for blind baking. reusable ceramic or metal pie weights are far superior to dried beans, providing even pressure to prevent your crust from bubbling and shrinking during pre-baking.
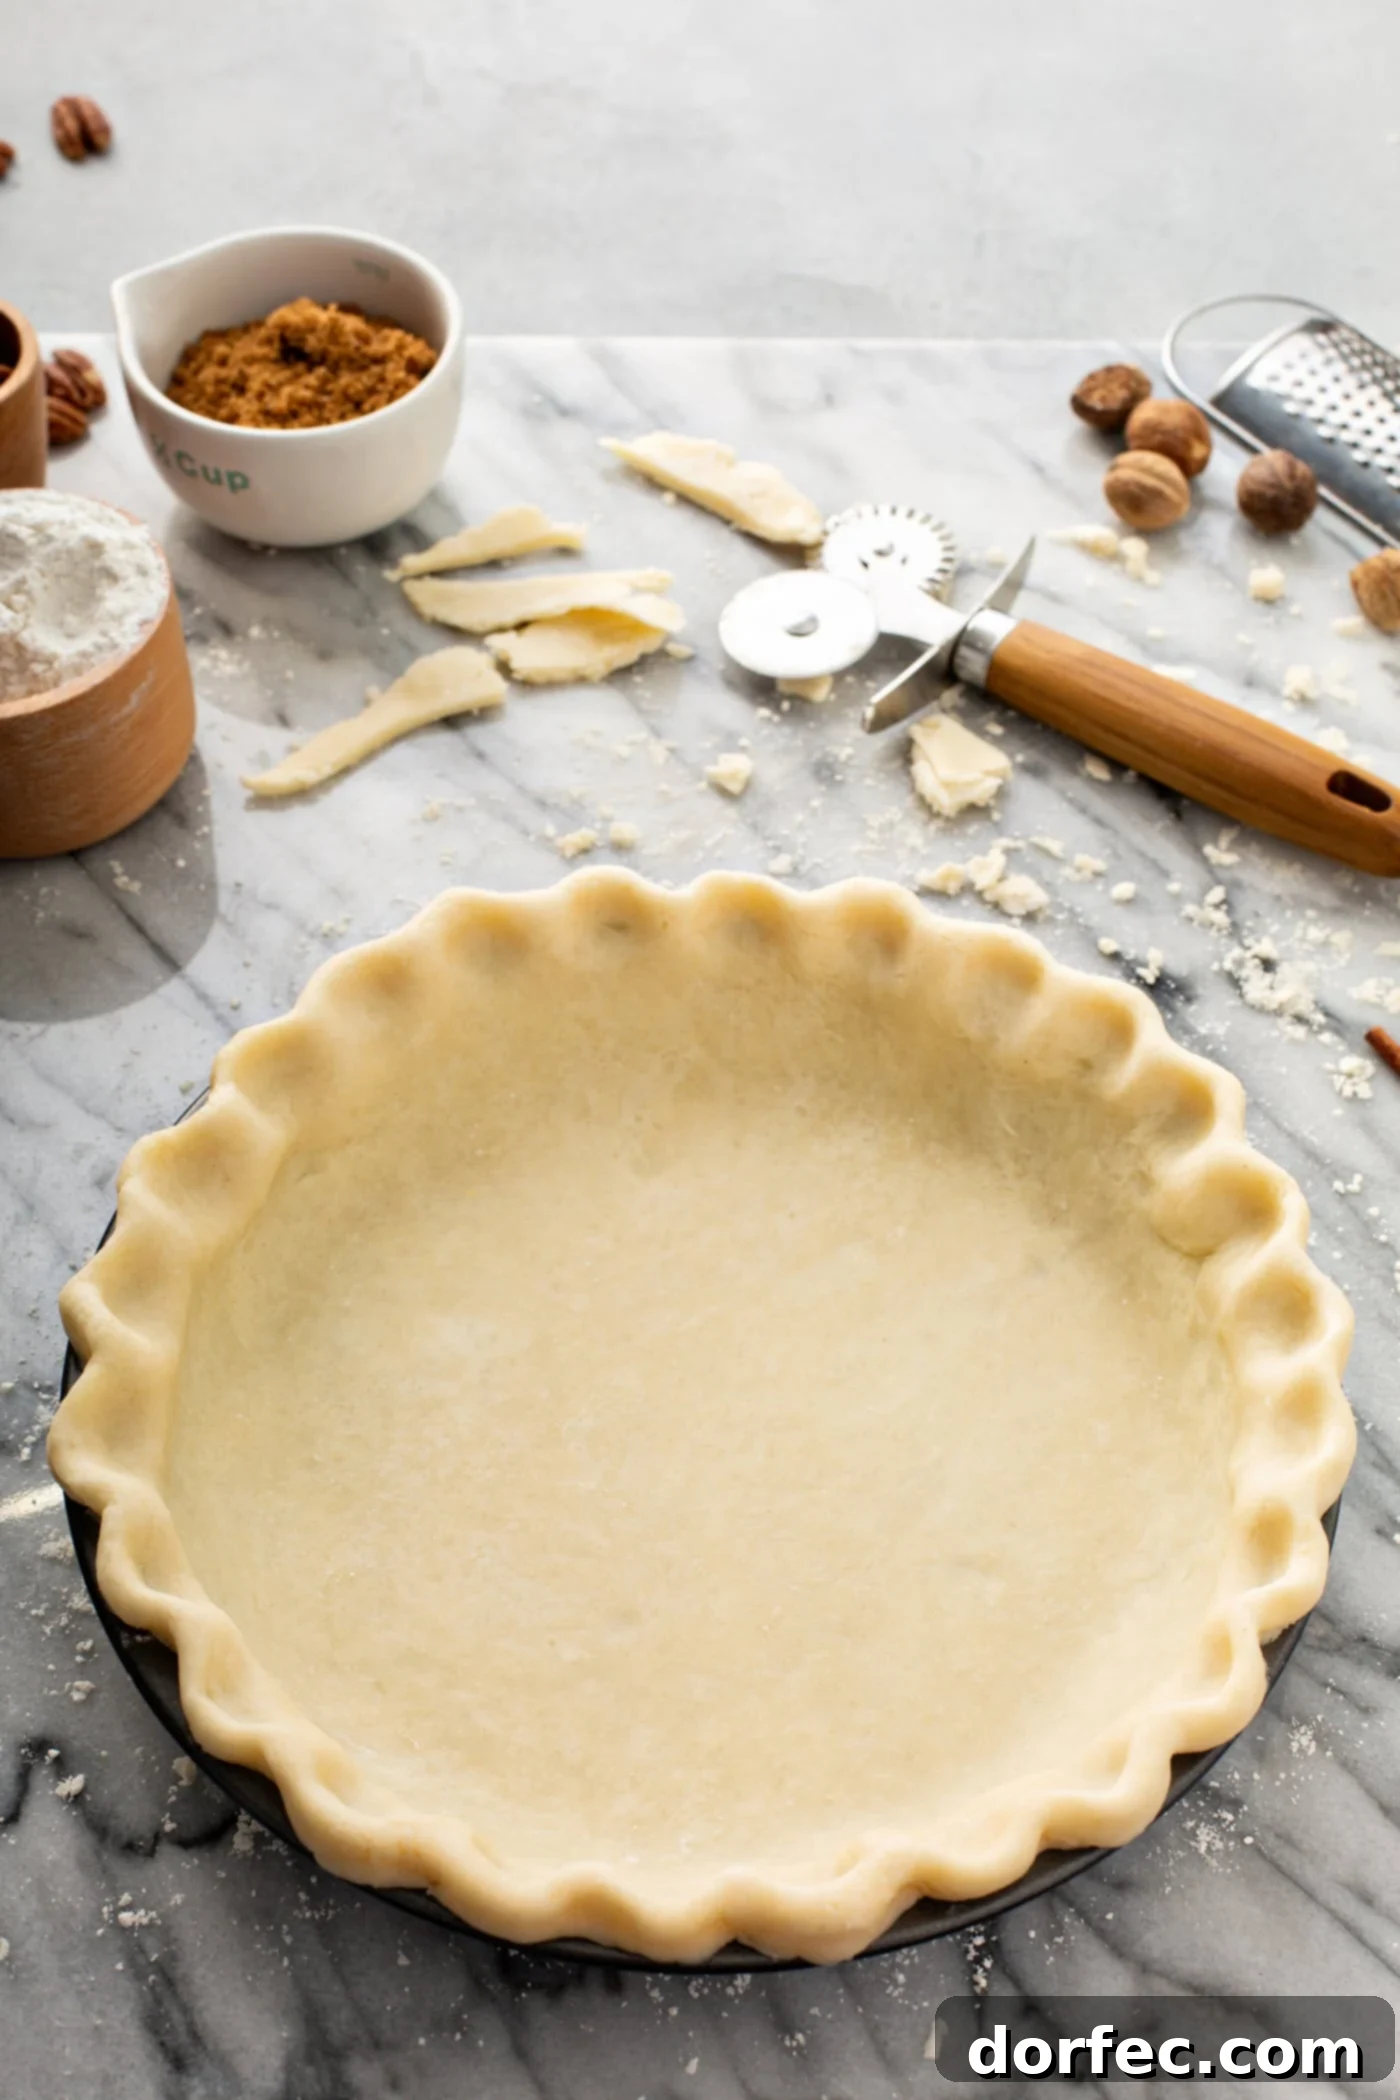
Conclusion: Your Go-To All-Butter Pie Crust Recipe
With this guide and recipe in hand, you’ll never need another pie crust recipe again! This all-butter pie crust delivers consistently buttery, perfectly flaky, and utterly delicious results every single time. It’s so good, you might be tempted to eat it plain, but imagine the possibilities when you fill it with your favorite sweet or savory delights. Embrace the joy of homemade baking and impress everyone with your pie-making prowess!
Our Favorite Pie Recipes to Pair with This Crust:
- Razzleberry Pie
- French Silk Pie
- Peach Pie
- Strawberry Pie
- No Bake Chocolate Pie
- Tomato Pie
- Apple Pie
- Pumpkin Pie
- Blueberry Pie
- Pecan Pie
- Marionberry Pie
- Explore All Our Delicious Pie Recipes!
All-Butter Pie Crust
This All-Butter Pie Crust is my absolute favorite pie crust recipe! It’s super flaky, easy to make, and comes together quickly!
Prep time: 20 minutes
Total time: 1 hour 20 minutes
Yields: 8 servings (makes 2 crusts)
Ingredients
- 2 ½ Cups All-Purpose Flour
- 1 teaspoon Granulated Sugar
- 1 teaspoon Salt
- 1 Cup Unsalted Butter, very-cold and cut into 1/2 inch cubes (this is 2 sticks)
- 8 Tablespoons Ice Water
Instructions
- Place the flour, sugar, and salt into a large bowl and mix well to combine evenly.
- Add the very cold butter cubes. Using a pastry cutter or two forks, quickly cut the butter into the flour mixture until it resembles coarse meal with some pea-sized pieces of butter remaining.
- Begin adding the ice water, a few tablespoons at a time. Stir gently with a fork after each addition until the dough just starts to come together but is still crumbly and shaggy. Test the dough by squeezing a small portion in your hand; if it holds its shape, it’s ready.
- Gently gather the shaggy dough together and divide it into two equal balls.
- Wrap each dough ball tightly in plastic wrap and flatten into a disc. Rest the dough in the refrigerator for 1-2 hours, or up to 2 days in advance. (If made in advance, allow the dough to sit on the counter for about 10 minutes before rolling.)
- Allow the chilled dough to sit out for a few minutes to soften slightly, then roll out the dough according to your specific pie recipe’s instructions.
Recipe Notes
- For truly ice-cold water, fill a glass measuring cup halfway with ice cubes, then fill the rest with water. Use a tablespoon to measure the water into your flour mixture.
- Pie crust dough can be made ahead and frozen for up to 2 months. Ensure it’s wrapped tightly. Allow it to thaw completely on the counter or in the refrigerator before rolling.
- For detailed information on how to blind bake a pie crust, please refer to our Lemon Meringue Pie post.
Approximate Nutrition Information (per serving)
Serving: 1g, Calories: 348kcal, Carbohydrates: 30g, Protein: 4g, Fat: 23g, Saturated Fat: 15g, Cholesterol: 61mg, Sodium: 495mg, Potassium: 49mg, Fiber: 1g, Sugar: 1g, Vitamin A: 709IU, Calcium: 13mg, Iron: 2mg.
Nutrition information is automatically calculated and should only be used as an approximation.
Enjoyed this recipe? Please leave a comment below and share your experience!