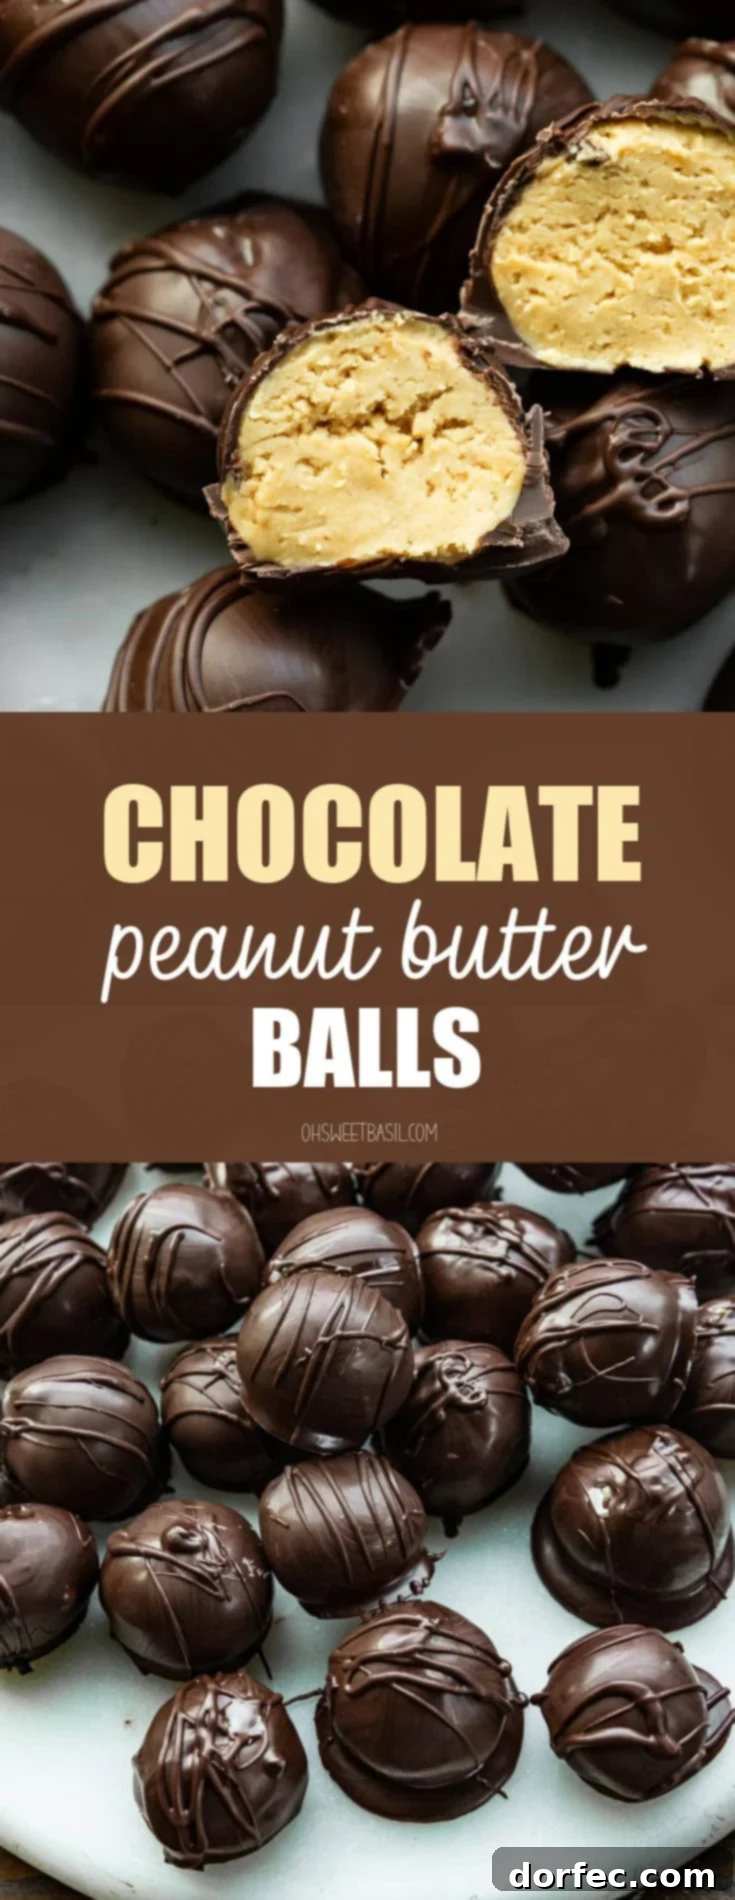
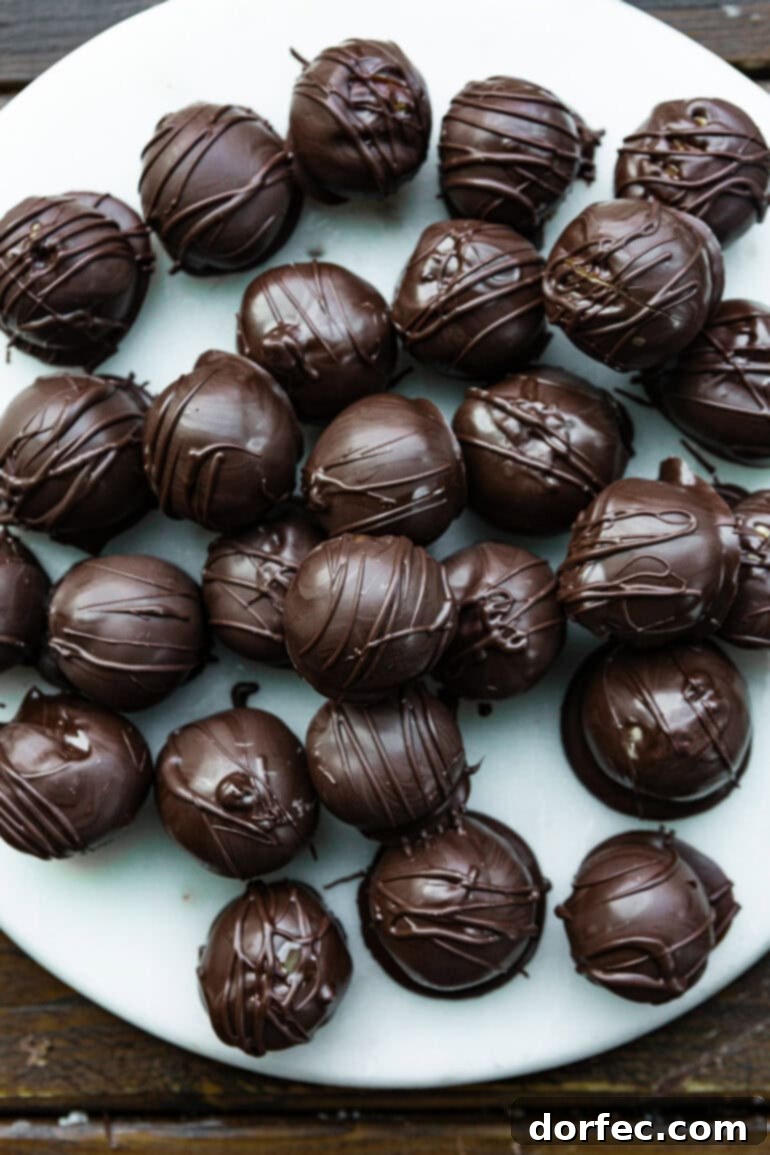
Welcome to a world where simplicity meets extraordinary flavor! Prepare to delight your senses with these incredibly delicious and effortlessly easy-to-make chocolate peanut butter balls. Perfect for any occasion, from casual family gatherings to elegant holiday parties, this no-bake sensation requires just 4 simple ingredients. You’ll be satisfying your deepest sweet tooth cravings in mere moments!
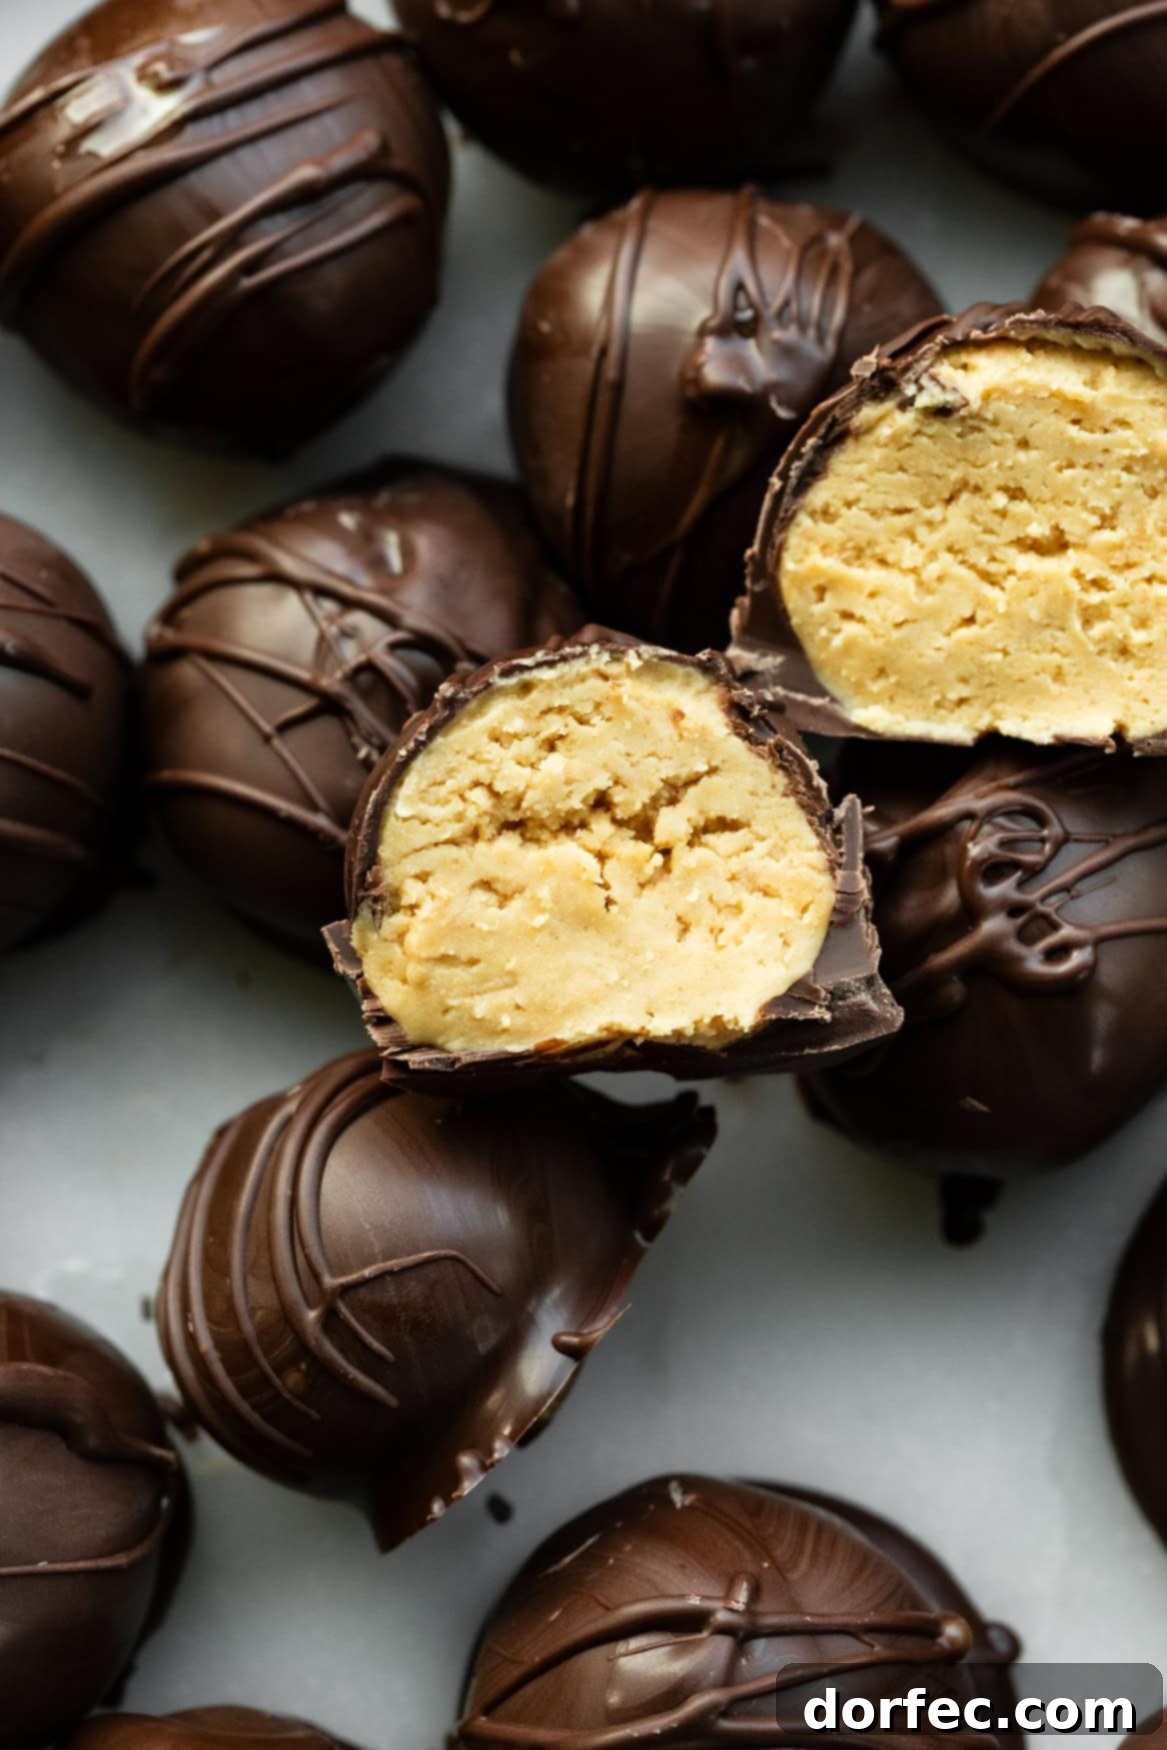
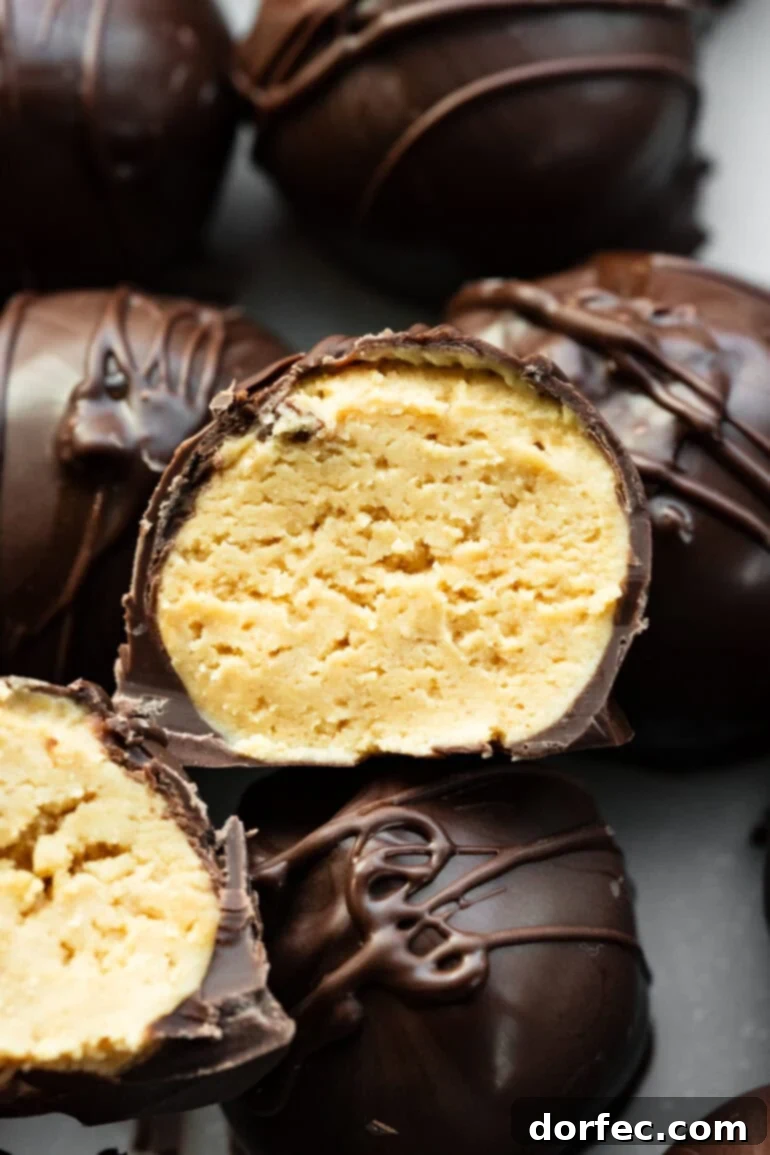
Imagine a velvety smooth, rich peanut butter filling, meticulously crafted to perfection, then enveloped in a generous coat of luscious, melt-in-your-mouth chocolate. This simple combination creates a truly unforgettable treat that tastes far more complex than its humble ingredient list suggests. The best part? You likely already have everything you need for these delectable peanut butter truffles right in your pantry, making them an ideal last-minute dessert or snack.
Often hailed as a more refined and elegant version of the beloved classic chocolate peanut butter cup, these delightful bites are brimming with intense peanut butter flavor. Their beautiful, impressive appearance makes them a fantastic choice for gifting or serving when you want to impress without the fuss. They’re not just delicious; they’re a statement of simple sophistication!
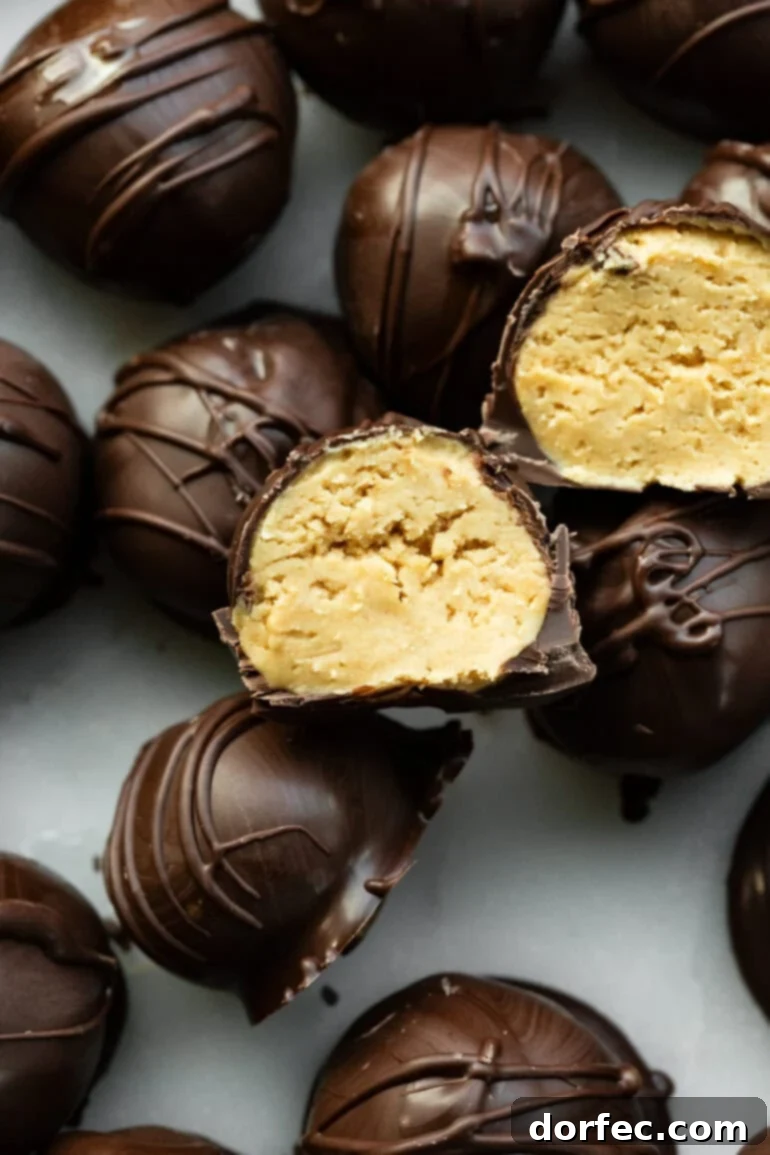
It’s no secret that the pairing of chocolate and peanut butter holds a special place in the hearts of many dessert enthusiasts. If you’re one of them, then these homemade truffles are about to become your new obsession. While perfect any time of year, I find myself reaching for this recipe especially often around the holidays. Their festive nature and melt-in-your-mouth texture make them an ideal addition to any celebratory spread.
These bite-sized wonders are not only a fantastic treat to serve at dinner parties but also make for thoughtful, personalized Christmas gifts for neighbors, friends, or family. Simply package them in a pretty box or bag, and you have a gourmet-looking present that everyone will adore. Be warned: these little truffles are so utterly irresistible that you might find it hard to stop at just one. Prepare a large batch – one for you, and a few more for sharing! Everyone is guaranteed to fall in love with these creamy, chocolate-covered peanut butter truffles.
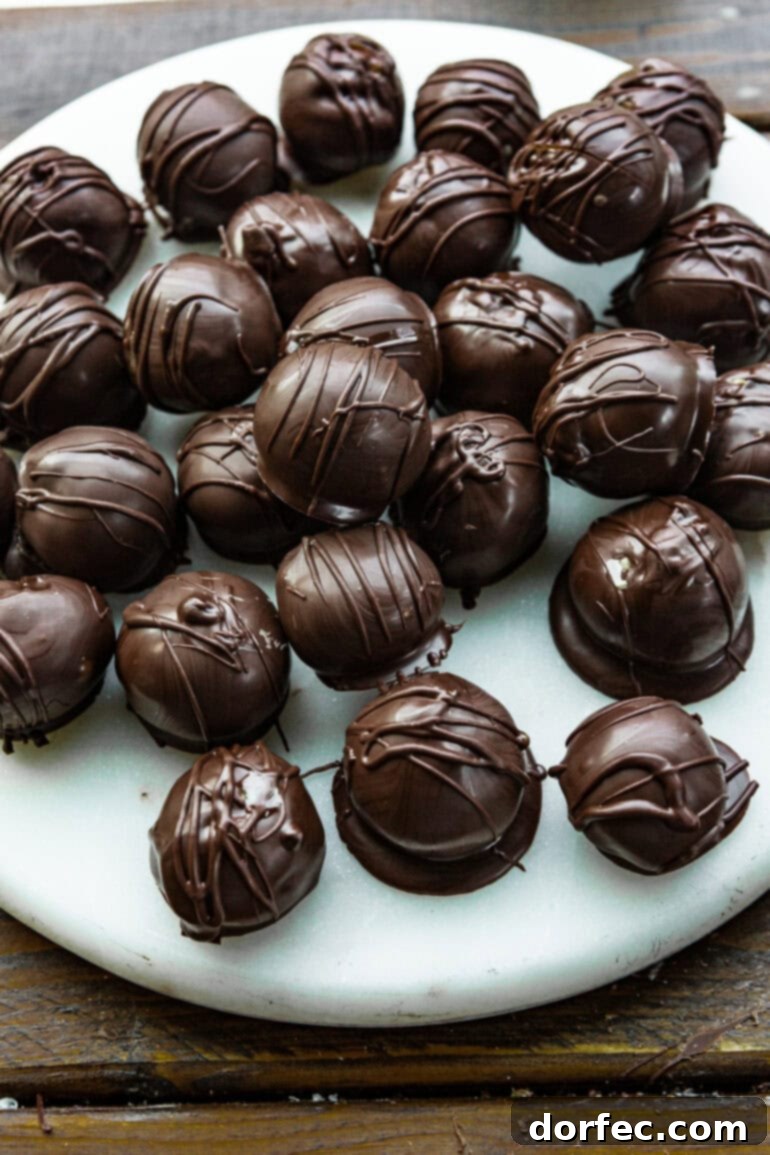
Why You’ll Adore This No-Bake Peanut Butter Truffle Recipe
There are countless reasons why these chocolate peanut butter balls have become a firm favorite in so many kitchens. Beyond their incredible taste, their simplicity and versatility truly stand out. If you’re searching for a quick dessert fix, a crowd-pleasing party treat, or a delightful edible gift, this recipe checks all the boxes.
- Minimal Ingredients: With just four core ingredients, this recipe keeps things refreshingly simple. No obscure items or lengthy shopping lists required!
- No Baking Required: Perfect for those hot summer days or when your oven is already busy, these truffles come together without any baking.
- Quick to Prepare: While chilling time is necessary, the active preparation for these peanut butter truffles is surprisingly fast, making them ideal for busy schedules.
- Customizable: Easily adapt the type of chocolate, peanut butter, or even add fun toppings to suit your taste or occasion.
- Perfect for Gifting: Homemade gifts always carry a special touch, and these truffles are elegant enough for any holiday or special occasion.
- Kid-Friendly: The simple steps make this an excellent recipe for getting children involved in the kitchen, fostering fun memories (and delicious results!).
Essential Ingredients for Perfect Chocolate Peanut Butter Truffles
As mentioned earlier, the beauty of this recipe lies in its simplicity. You truly only need a handful of common pantry staples to create these decadent 4-ingredient chocolate peanut butter balls. It’s almost magical how such basic components can transform into something so incredibly delicious!
- Powdered Sugar: Also known as confectioners’ sugar, this fine sugar is crucial for achieving the smooth, melt-in-your-mouth texture of the peanut butter filling. It dissolves easily without creating a grainy consistency.
- Creamy Peanut Butter: The star of the show! We’ll discuss specific types below, but generally, a smooth, creamy variety is preferred for the best texture.
- Butter: Softened butter helps bind the peanut butter filling and adds a rich, luscious mouthfeel. If you want a slightly tangier flavor and even richer texture, you can substitute with softened cream cheese.
- Semi-Sweet Chocolate Chips: Or any chocolate chip or melting chocolate you prefer! This forms the crisp, irresistible outer shell.
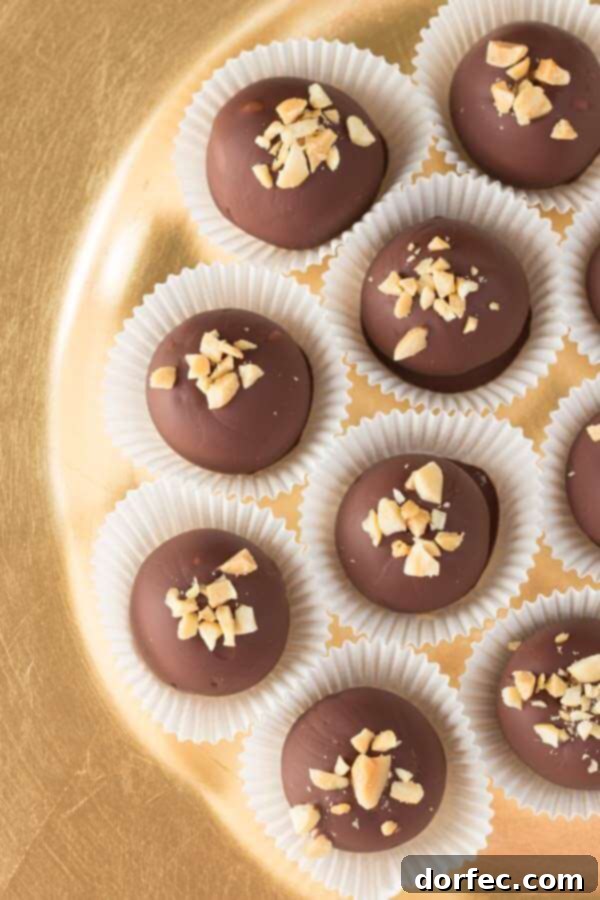
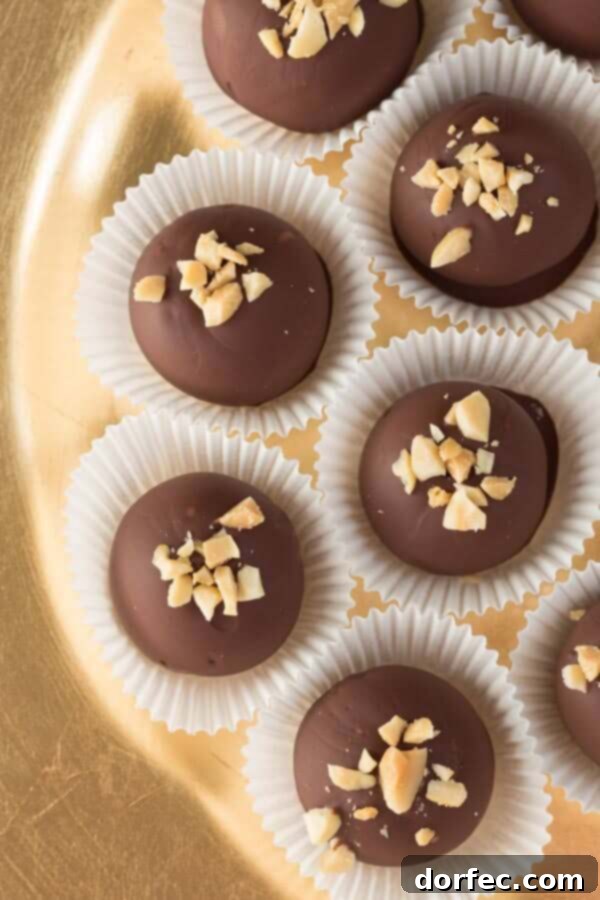
- Optional: Roasted Peanuts, coarsely chopped: For an extra layer of texture and intensified peanut flavor, these make a wonderful garnish.
The exact measurements and detailed instructions for each ingredient are provided in the comprehensive recipe section below. Get ready to gather your ingredients and whip up a batch of these extraordinary treats!
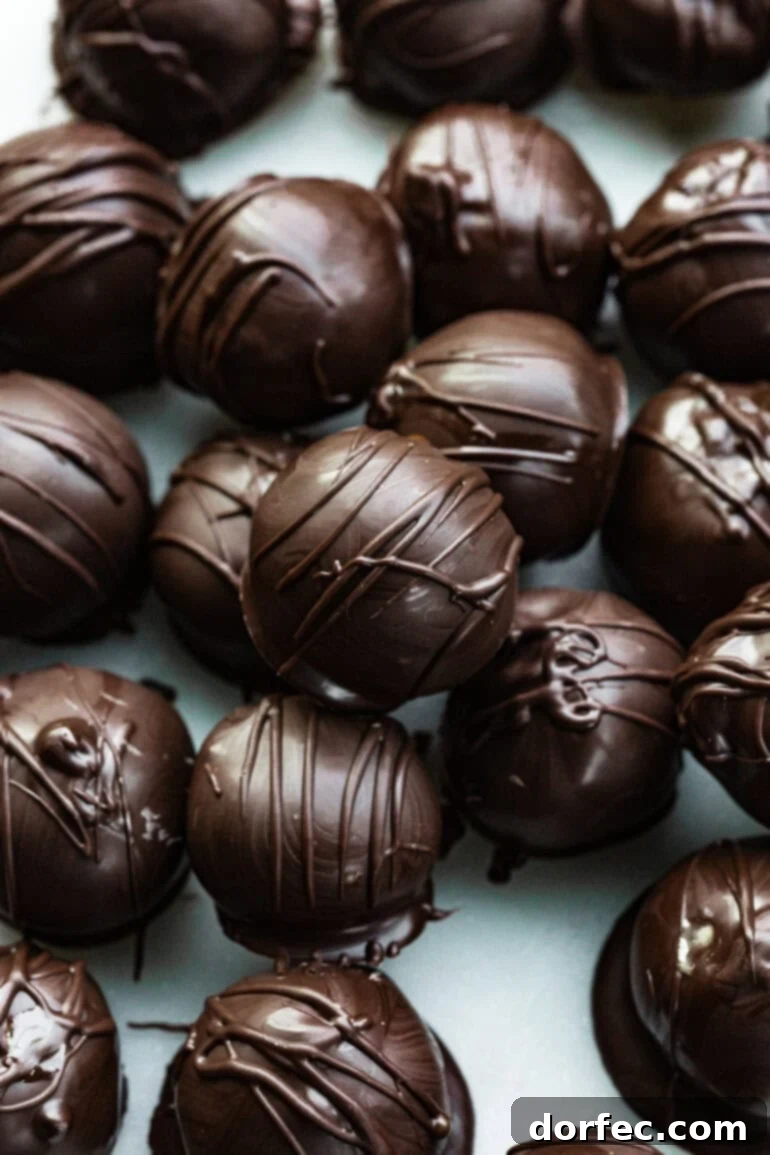
Crafting Your Own Chocolate-Dipped Peanut Butter Truffles: A Step-by-Step Guide
Given that this recipe boasts only four ingredients, it’s naturally incredibly straightforward to prepare. The process is simple and doesn’t require any fancy equipment like a candy thermometer, making it accessible to even novice bakers. The key to success lies in allowing sufficient chilling time between steps. Follow these easy instructions to create your perfect batch of homemade chocolate peanut butter truffles:
- Prepare the Peanut Butter Mixture: In the bowl of a stand mixer fitted with the paddle attachment (or a large bowl with an electric hand mixer), combine the powdered sugar, creamy peanut butter, and softened butter (or cream cheese). Mix on medium speed until all ingredients are thoroughly combined and the mixture forms a cohesive dough.
- Consistency Check: The dough should be firm enough to hold its shape when squeezed. If it feels too sticky or wet, gradually add a tablespoon or two more powdered sugar until the desired consistency is reached. If it’s too dry and crumbly, a tiny bit more peanut butter will help. Remember, keeping the dough chilled and handling it as little as possible will help maintain its perfect texture.
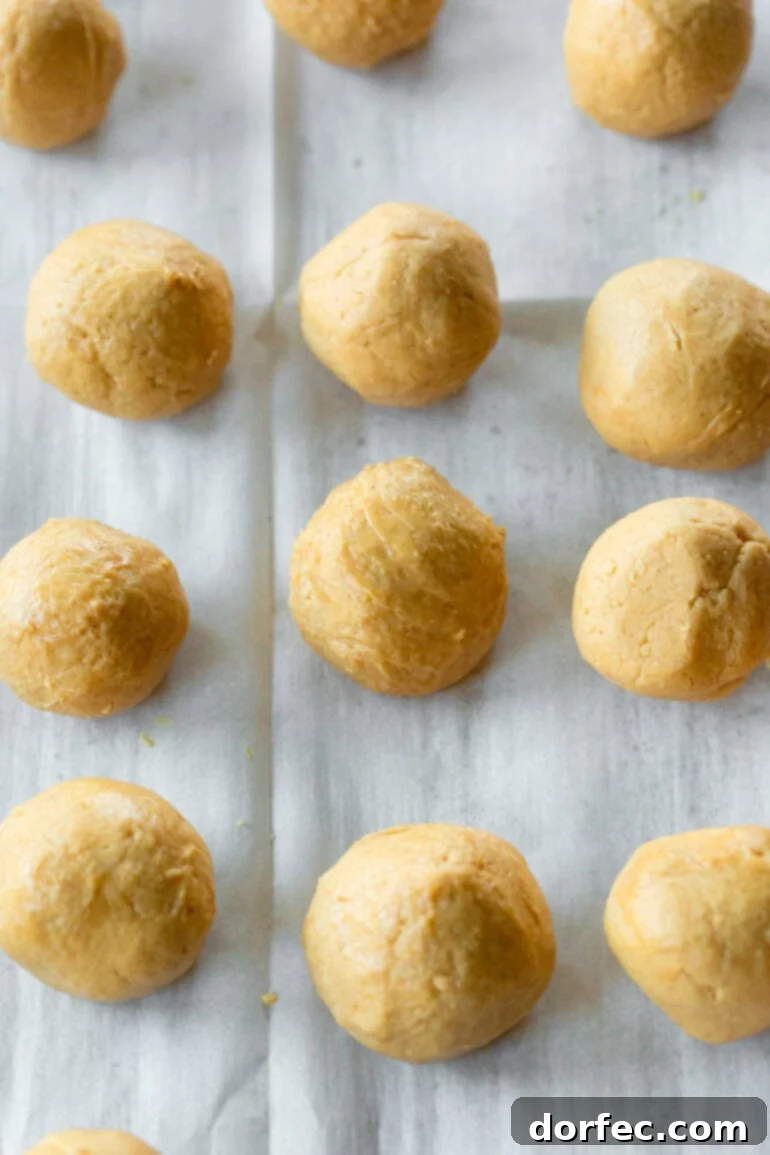
- Shape the Truffles: Using a small cookie scoop (about 1.5 tablespoons) or simply your hands, roll the peanut butter mixture into smooth balls, roughly 1/2 to 3/4 inch in diameter. Arrange these uniformly on a baking sheet lined with wax paper or parchment paper. This prevents sticking and makes the next steps much easier.
- Chill for Firmness: Once all the balls are formed, cover the baking sheet loosely with plastic wrap. Transfer it to the freezer and chill for at least 30 minutes. This crucial step ensures the peanut butter balls are firm enough to be dipped without falling apart and helps the chocolate set quickly.
- Melt the Chocolate: While the peanut butter balls are chilling, prepare your chocolate for dipping. Place the semi-sweet chocolate chips (or your chosen melting chocolate) in a heatproof bowl. Set this bowl over a pot of simmering water (creating a double-boiler effect), ensuring the bottom of the bowl does not touch the water. Stir occasionally until the chocolate is completely melted and beautifully smooth. Alternatively, you can melt the chocolate in the microwave in 30-second intervals, stirring well after each, until smooth.
- Dip the Truffles: Remove the chilled peanut butter balls from the freezer. One at a time, carefully dip each truffle into the melted chocolate, ensuring it’s fully coated. A fork is an excellent tool for this; use it to gently lift the truffle out of the chocolate, allowing any excess to drip off before placing it back on the wax paper-lined baking sheet.
- Keep it Cold: If at any point the peanut butter balls become too soft to handle or dip effectively, simply return the entire tray to the freezer for another 10-15 minutes to firm up before continuing.
- Add Optional Toppings: If you’re adding toppings like chopped peanuts or sea salt, sprinkle them onto each truffle immediately after dipping and before the chocolate sets. This ensures they adhere properly.
- Allow to Set: Gently place each chocolate-coated truffle back onto the baking sheet lined with wax paper or parchment paper. Let them rest at room temperature or in the refrigerator until the chocolate coating has fully hardened and set.
- Store and Serve: Once the chocolate is firm, transfer the truffles to an airtight container. Store them in the refrigerator until you’re ready to serve these delightful chocolate peanut butter dessert balls.
You might find it hard to believe, but these homemade wonders truly rival, and dare I say, surpass, the taste of classic store-bought peanut butter cups! The freshness and quality of simple ingredients shine through. Keep reading for the full printable recipe card with exact measurements and detailed nutritional information.
Choosing the Right Peanut Butter for Your Truffles
The type of peanut butter you choose can significantly impact the final texture of your truffles. For this specific recipe, it is highly recommended to use a regular, creamy peanut butter. Brands like Jif or Skippy are excellent choices. These types of peanut butter contain stabilizers that help maintain their smooth consistency, which is vital for creating a perfectly firm yet melt-in-your-mouth peanut butter filling.
While natural peanut butter might seem like a healthier alternative, it typically separates and has a runnier consistency due to the absence of added oils and sugars. This difference in texture will unfortunately not yield the desired firm yet creamy filling needed for these truffles. Sticking to conventional creamy peanut butter will ensure your easy peanut butter balls have that classic, irresistible texture everyone loves.
Delicious Variations and Customization Ideas
One of the joys of making homemade treats is the ability to customize them to your preferences or to accommodate dietary needs. These chocolate peanut butter truffles are incredibly versatile, offering many avenues for creative twists:
- Allergy-Friendly Swaps: If you or your guests have a peanut allergy, don’t fret! You can easily swap the peanut butter for another creamy nut or seed butter. Almond butter, cashew butter, or even sunflower seed butter (for a nut-free option) work wonderfully. The ratio should be close to 1:1, but you may need to slightly adjust the amount of powdered sugar to achieve the correct dough consistency, as different nut/seed butters have varying moisture levels.
- Chocolate Choices: While semi-sweet chocolate offers a classic balance, feel free to experiment with your favorite type of chocolate for the coating. Milk chocolate will lend a sweeter, creamier finish, dark chocolate will provide a more intense, less sweet contrast, and white chocolate can add a unique, rich sweetness. Each option will pair beautifully with the creamy peanut butter filling.
- Crunch Factor: If you appreciate a bit of texture in your treats, consider using crunchy peanut butter instead of creamy for the filling. The added bits of peanuts will provide a delightful contrast to the smooth chocolate shell. Alternatively, you can chop roasted peanuts and fold them into the creamy peanut butter mixture for a similar effect.
- Fancy Toppings: Elevate the visual appeal and flavor profile with various toppings.
- Chopped Nuts: A sprinkle of finely chopped peanuts, almonds, or pecans immediately after dipping adds a professional touch and extra crunch.
- Flaky Sea Salt: A delicate sprinkle of flaky sea salt on top of the chocolate creates an exquisite sweet and salty combination that enhances both the chocolate and peanut butter flavors.
- Holiday Sprinkles: For festive occasions, colorful holiday sprinkles are a simple yet effective way to decorate your truffles.
- Drizzles: A contrasting chocolate drizzle (e.g., white chocolate over dark chocolate) can add an artistic flair.
- Confectioners’ Sugar: For a simple, elegant look, lightly dust some truffles with a touch of powdered sugar.
Peanut Butter Balls vs. Buckeyes: What’s the Difference?
You might hear these delightful treats referred to as either peanut butter balls or Buckeyes, and while they are incredibly similar, there’s a subtle distinction that gives Buckeyes their unique name. Essentially, both are composed of a creamy peanut butter filling coated in chocolate. However, with Buckeyes, a small portion of the peanut butter filling is intentionally left exposed during the dipping process. This creates a distinctive appearance that resembles the “eye” of a buckeye nut, native to the Ohio region.
Flavor-wise, whether you fully coat your truffles or leave a small peanut butter “eye” exposed, the taste will be largely the same – a harmonious blend of rich chocolate and creamy peanut butter. The choice simply comes down to aesthetic preference!
Optimal Storage for Your Homemade Chocolate Truffles
Proper storage is key to maintaining the freshness, texture, and flavor of your homemade chocolate peanut butter truffles. Unlike commercially packaged chocolates that often contain preservatives, fresh truffles have a more delicate shelf life, but they can still be enjoyed for a good period with the right care.
- Refrigeration: The best way to store chocolate truffles is in an airtight container in a cool place, preferably the refrigerator. The cool temperature helps prevent the chocolate from melting and keeps the peanut butter filling firm. Be sure the container is truly airtight to protect them from absorbing any odors from other foods in the fridge and to prevent them from drying out.
- Freezing for Longer Storage: For extended enjoyment, chocolate truffles freeze beautifully! Arrange the set truffles in a single layer on a baking sheet and freeze until solid (this prevents them from sticking together). Once firm, transfer them to a freezer-safe airtight container or a heavy-duty freezer bag. You can layer them with parchment paper to prevent sticking.
How Long Will These Delightful Chocolate Truffles Keep?
The shelf life of your 4-ingredient chocolate peanut butter balls varies depending on how they are stored:
- In the Refrigerator: When stored in an airtight container in the refrigerator, these handmade truffles will remain fresh and delicious for up to 3 weeks. They are a great make-ahead treat for parties or gifts.
- In the Freezer: If properly frozen, your chocolate peanut butter truffles can be kept for up to 3 months. When you’re ready to enjoy them, simply transfer them from the freezer to the refrigerator a few hours before serving, or let them sit at room temperature for about 15-20 minutes for a softer texture.
This recipe isn’t just about creating a delectable dessert; it’s also a wonderful opportunity for family bonding. Get the kids involved in the kitchen! While it might get a little messy, I promise that the laughter, the shared experience, and the incredibly tasty treats you’ll make together will be absolutely worth every moment. There’s nothing quite like enjoying a homemade treat that you created with your loved ones.
In conclusion, these chocolate peanut butter balls are more than just candy; they are an irresistible experience that everyone, from the youngest to the oldest, will absolutely adore. The harmonious blend of creamy peanut butter and rich chocolate creates a sensation that is simply unmatched. I can confidently guarantee that once you take a bite, you won’t be able to stop at just one!
Full Recipe: Chocolate Peanut Butter Balls
Chocolate Peanut Butter Balls
By Sweet Basil
Prep Time: 40 mins | Total Time: 55 mins
Yields: 16-20 truffles, depending on size
Print Recipe
Ingredients
- 1 Cup Powdered Sugar
- 1 Cup Creamy Peanut Butter
- 2 Tablespoons Butter, softened (or cream cheese)
- 2 Cups Semi-Sweet Chocolate Chips, or any chocolate chip or melting chocolate
- 1/4 Cup Roasted Peanuts, coarsely chopped (optional, for topping)
Instructions
- In the bowl of an electric mixer fitted with the paddle attachment, mix the powdered sugar, creamy peanut butter, and softened butter (or cream cheese) together on medium speed until well combined and smooth. The mixture should form a thick, pliable dough that holds its shape.
- Using a small cookie scoop or your hands, shape the peanut butter mixture into uniform 1/2 to 3/4 inch balls. Aim for consistent size for even dipping.
- Place the shaped peanut butter balls on a baking sheet lined with wax paper or parchment paper. Make sure they are not touching.
- Cover the baking sheet loosely with plastic wrap and transfer it to the freezer to chill for at least 30 minutes. This step is essential to ensure the balls are firm for dipping.
- When the peanut butter balls are almost done chilling, prepare your chocolate. Place the semi-sweet chocolate chips (or chosen melting chocolate) in a heatproof bowl set over a pot of simmering water (a double boiler). Stir gently until the chocolate is completely melted and smooth. Alternatively, melt in the microwave in short intervals, stirring thoroughly.
- Remove the chilled peanut butter truffles from the freezer. One at a time, dip each truffle into the melted chocolate, ensuring it is fully coated. Use a fork to lift the truffle, gently tapping it against the side of the bowl to remove any excess chocolate.
- If using, quickly sprinkle the coarsely chopped roasted peanuts (or other desired topping) on top of each truffle immediately after dipping, before the chocolate begins to set.
- Carefully place each chocolate-covered truffle back onto the wax paper-lined baking sheet. Allow the chocolate to harden and set completely at room temperature or in the refrigerator.
- Once the chocolate has fully set, store the chocolate peanut butter balls in an airtight container in the refrigerator until you are ready to serve them.
Recipe Notes
Store these delicious truffles in an airtight container in the refrigerator for up to 3 weeks. For longer storage, freeze them in a freezer-safe container for up to 3 months. Thaw in the refrigerator or at room temperature for a few minutes before serving.
Nutrition Information (Approximate)
Serving: 1 truffle, Calories: 281kcal, Carbohydrates: 23g, Protein: 6g, Fat: 19g, Saturated Fat: 8g, Polyunsaturated Fat: 3g, Monounsaturated Fat: 8g, Trans Fat: 0.1g, Cholesterol: 5mg, Sodium: 93mg, Potassium: 237mg, Fiber: 3g, Sugar: 17g, Vitamin A: 55IU, Calcium: 25mg, Iron: 2mg
Nutrition information is automatically calculated, so should only be used as an approximation.
More Delicious Candy Recipes You’ll Love:
- Salted Caramel Pretzel Snaps
- Chocolate Covered Coconut Balls
- White Chocolate Cranberry Pecan Fudge
- Twix Ritz
- 6 Minute Microwave Caramels
- Oreo Truffles – Lumps of Coal
- Chocolate Fudge
- Oreo Peanut Butter Truffles
- White Chocolate Peppermint Cream Cheese Mints
- Salted Milk Chocolate Homemade Caramels
- Rocky Road Fudge
- All ourCANDY RECIPES here!