
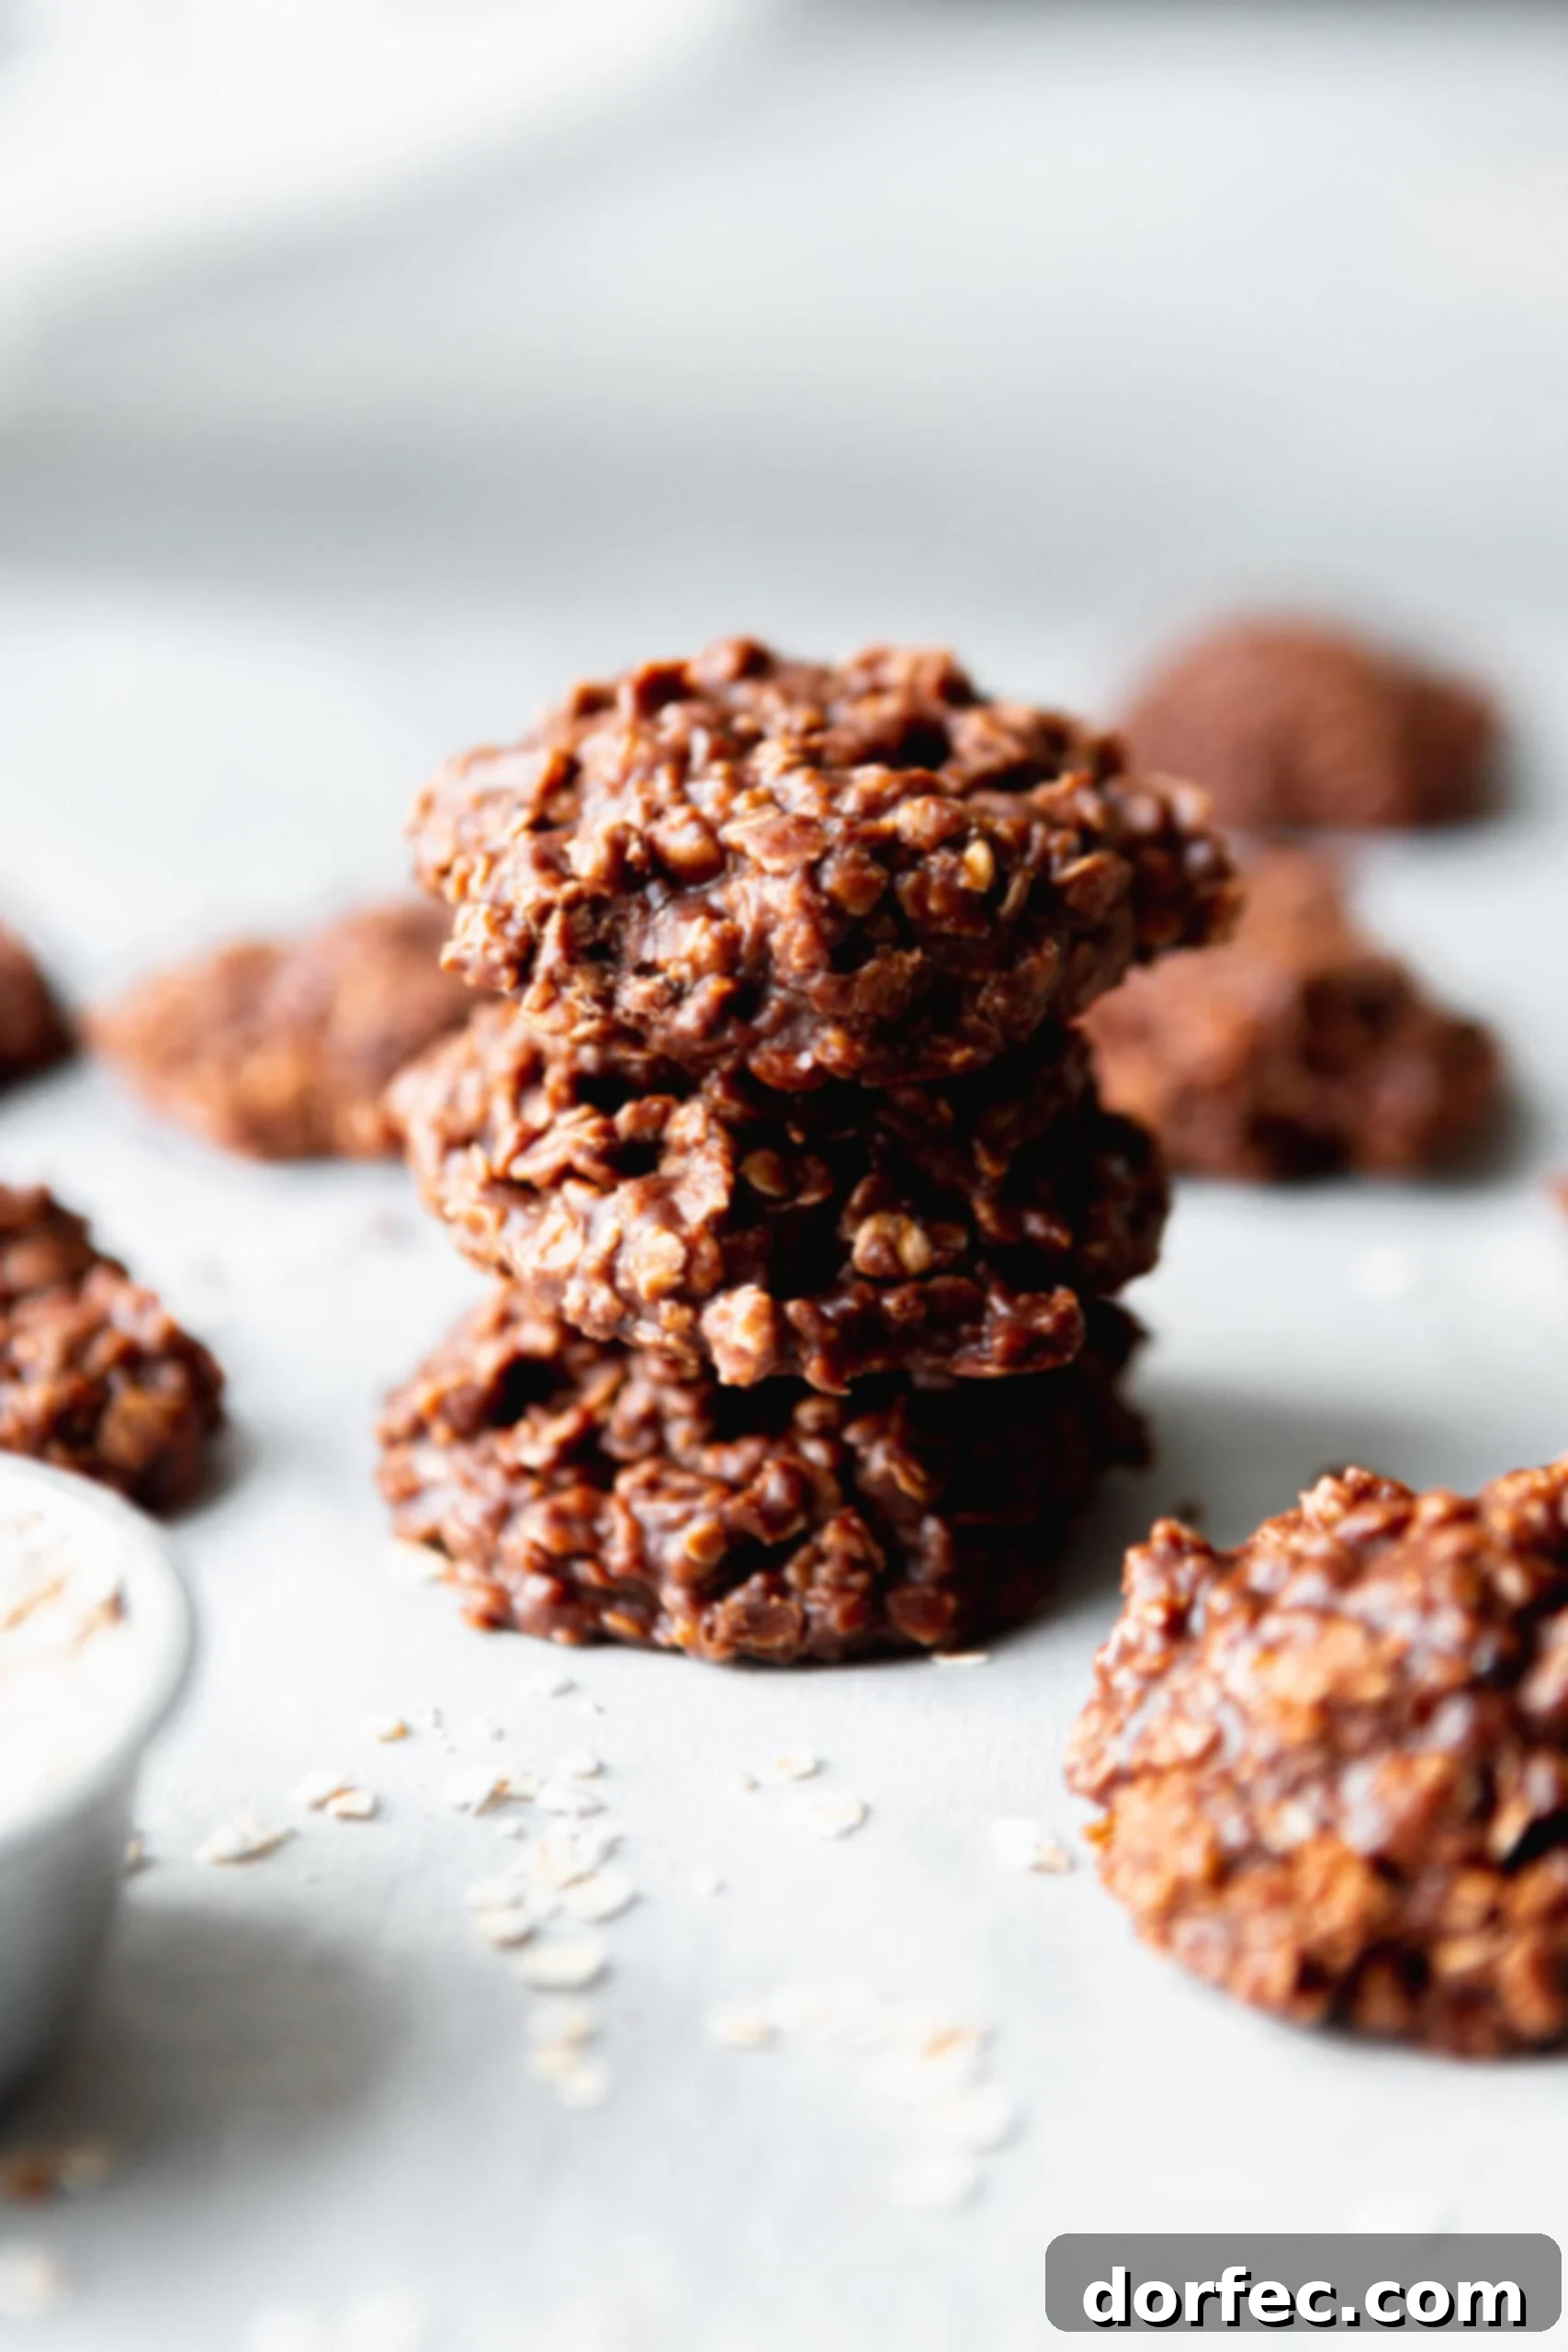
Imagine sinking your teeth into a rich, fudgy, and delightfully chewy cookie that comes together in mere minutes using ingredients you likely already have in your pantry. This no-bake cookie recipe offers exactly that: a taste of pure peanut butter and chocolate bliss without ever needing to turn on your oven. Perfect for busy schedules or sudden cravings, these classic treats are ready in about 40 minutes, including cooling time, making them an ideal dessert solution for any occasion.
There’s a special kind of magic that comes with whipping up a batch of these quick and easy no-bake cookies. They’re a cherished classic that, despite their simple preparation, often gets overlooked. Yet, who can resist the irresistible combination of chocolate, peanut butter, and hearty oats? Their enduring popularity is a testament to their comforting flavor and effortless creation, appealing to both seasoned bakers and kitchen novices alike.
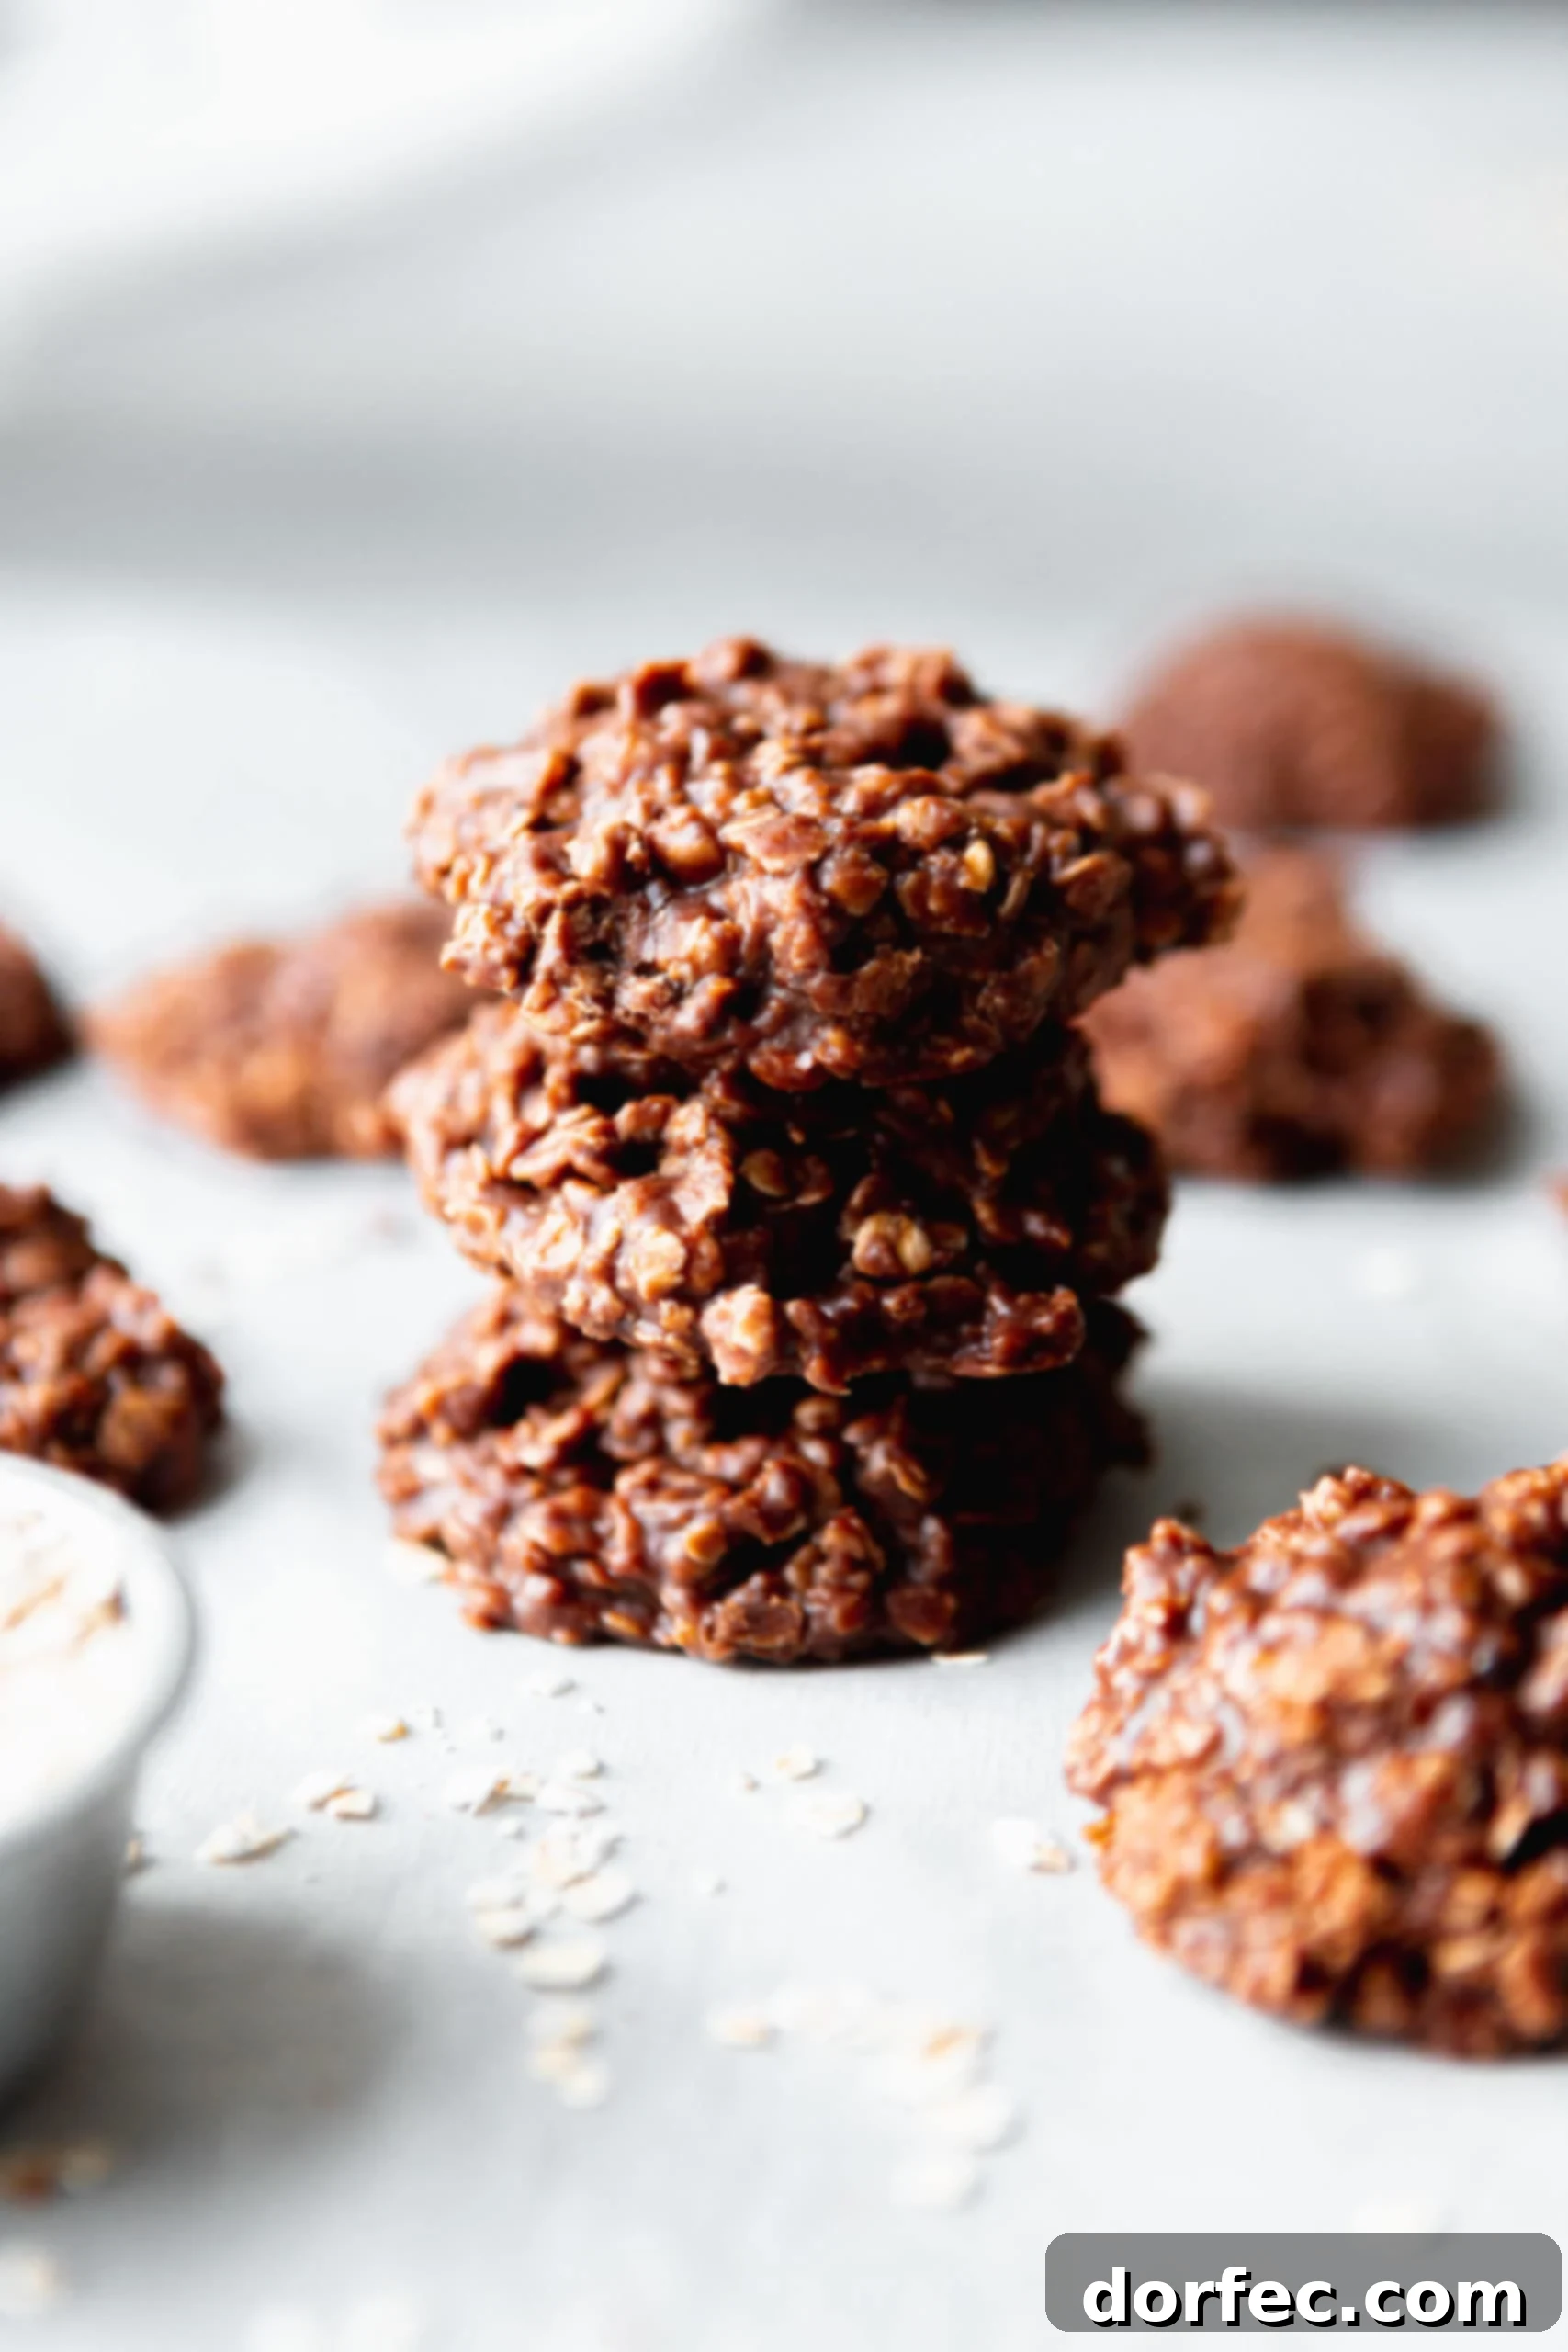
For many, including myself, no-bake cookies evoke fond childhood memories. I can vividly recall the rhythmic clinking of spoons against the saucepan as my family and I carefully scooped mounds of warm, melting chocolatey goodness onto parchment paper. Those moments, filled with laughter and the anticipation of sweet indulgence, are forever etched in my heart and mind. Perhaps you, too, have similar recollections of making these cookies with a loved one, or perhaps they were one of the first treats you learned to master all by yourself?
These cookies aren’t just a dessert; they’re a simple joy, a comforting reminder of simpler times. Their accessibility, requiring no baking skills and minimal equipment, makes them a fantastic entry point for children eager to help in the kitchen. Watching their eyes light up as they mix ingredients and see the transformation into delicious cookies is a reward in itself. Even now, the aroma alone transports me back to those happy days, a feeling I love to recreate with my own kids.
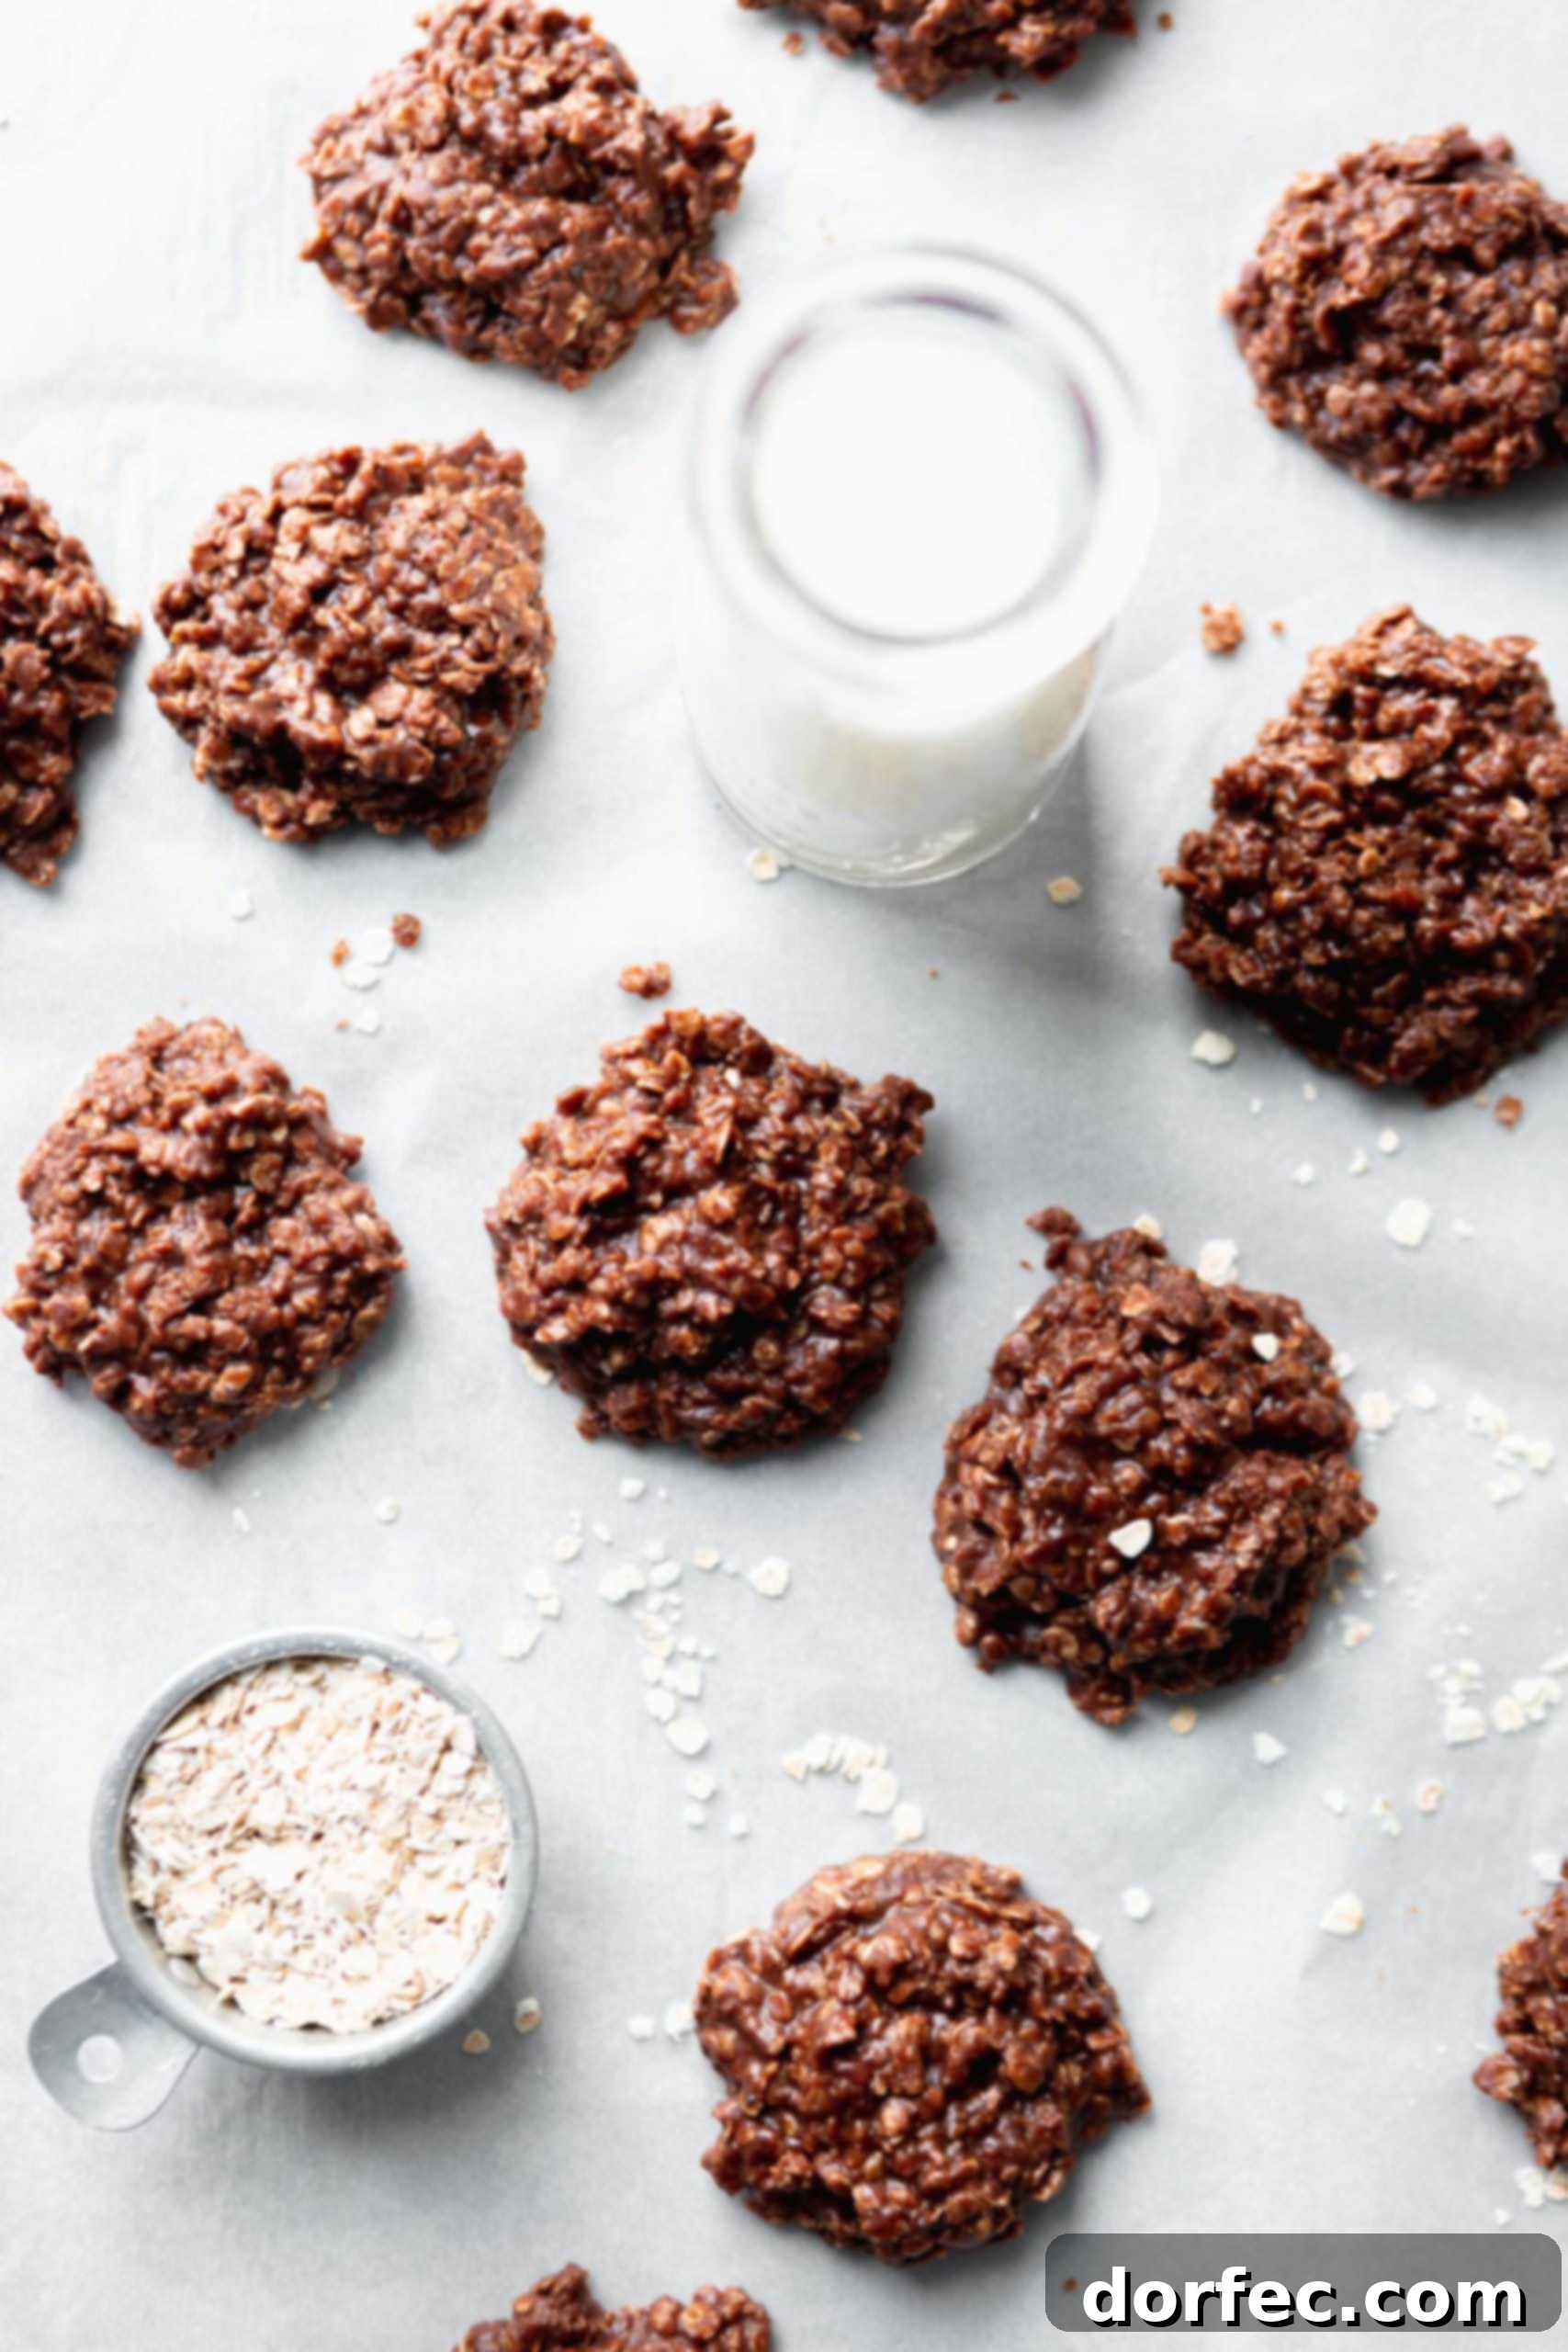
Essential Ingredients for Your Perfect No-Bake Cookies
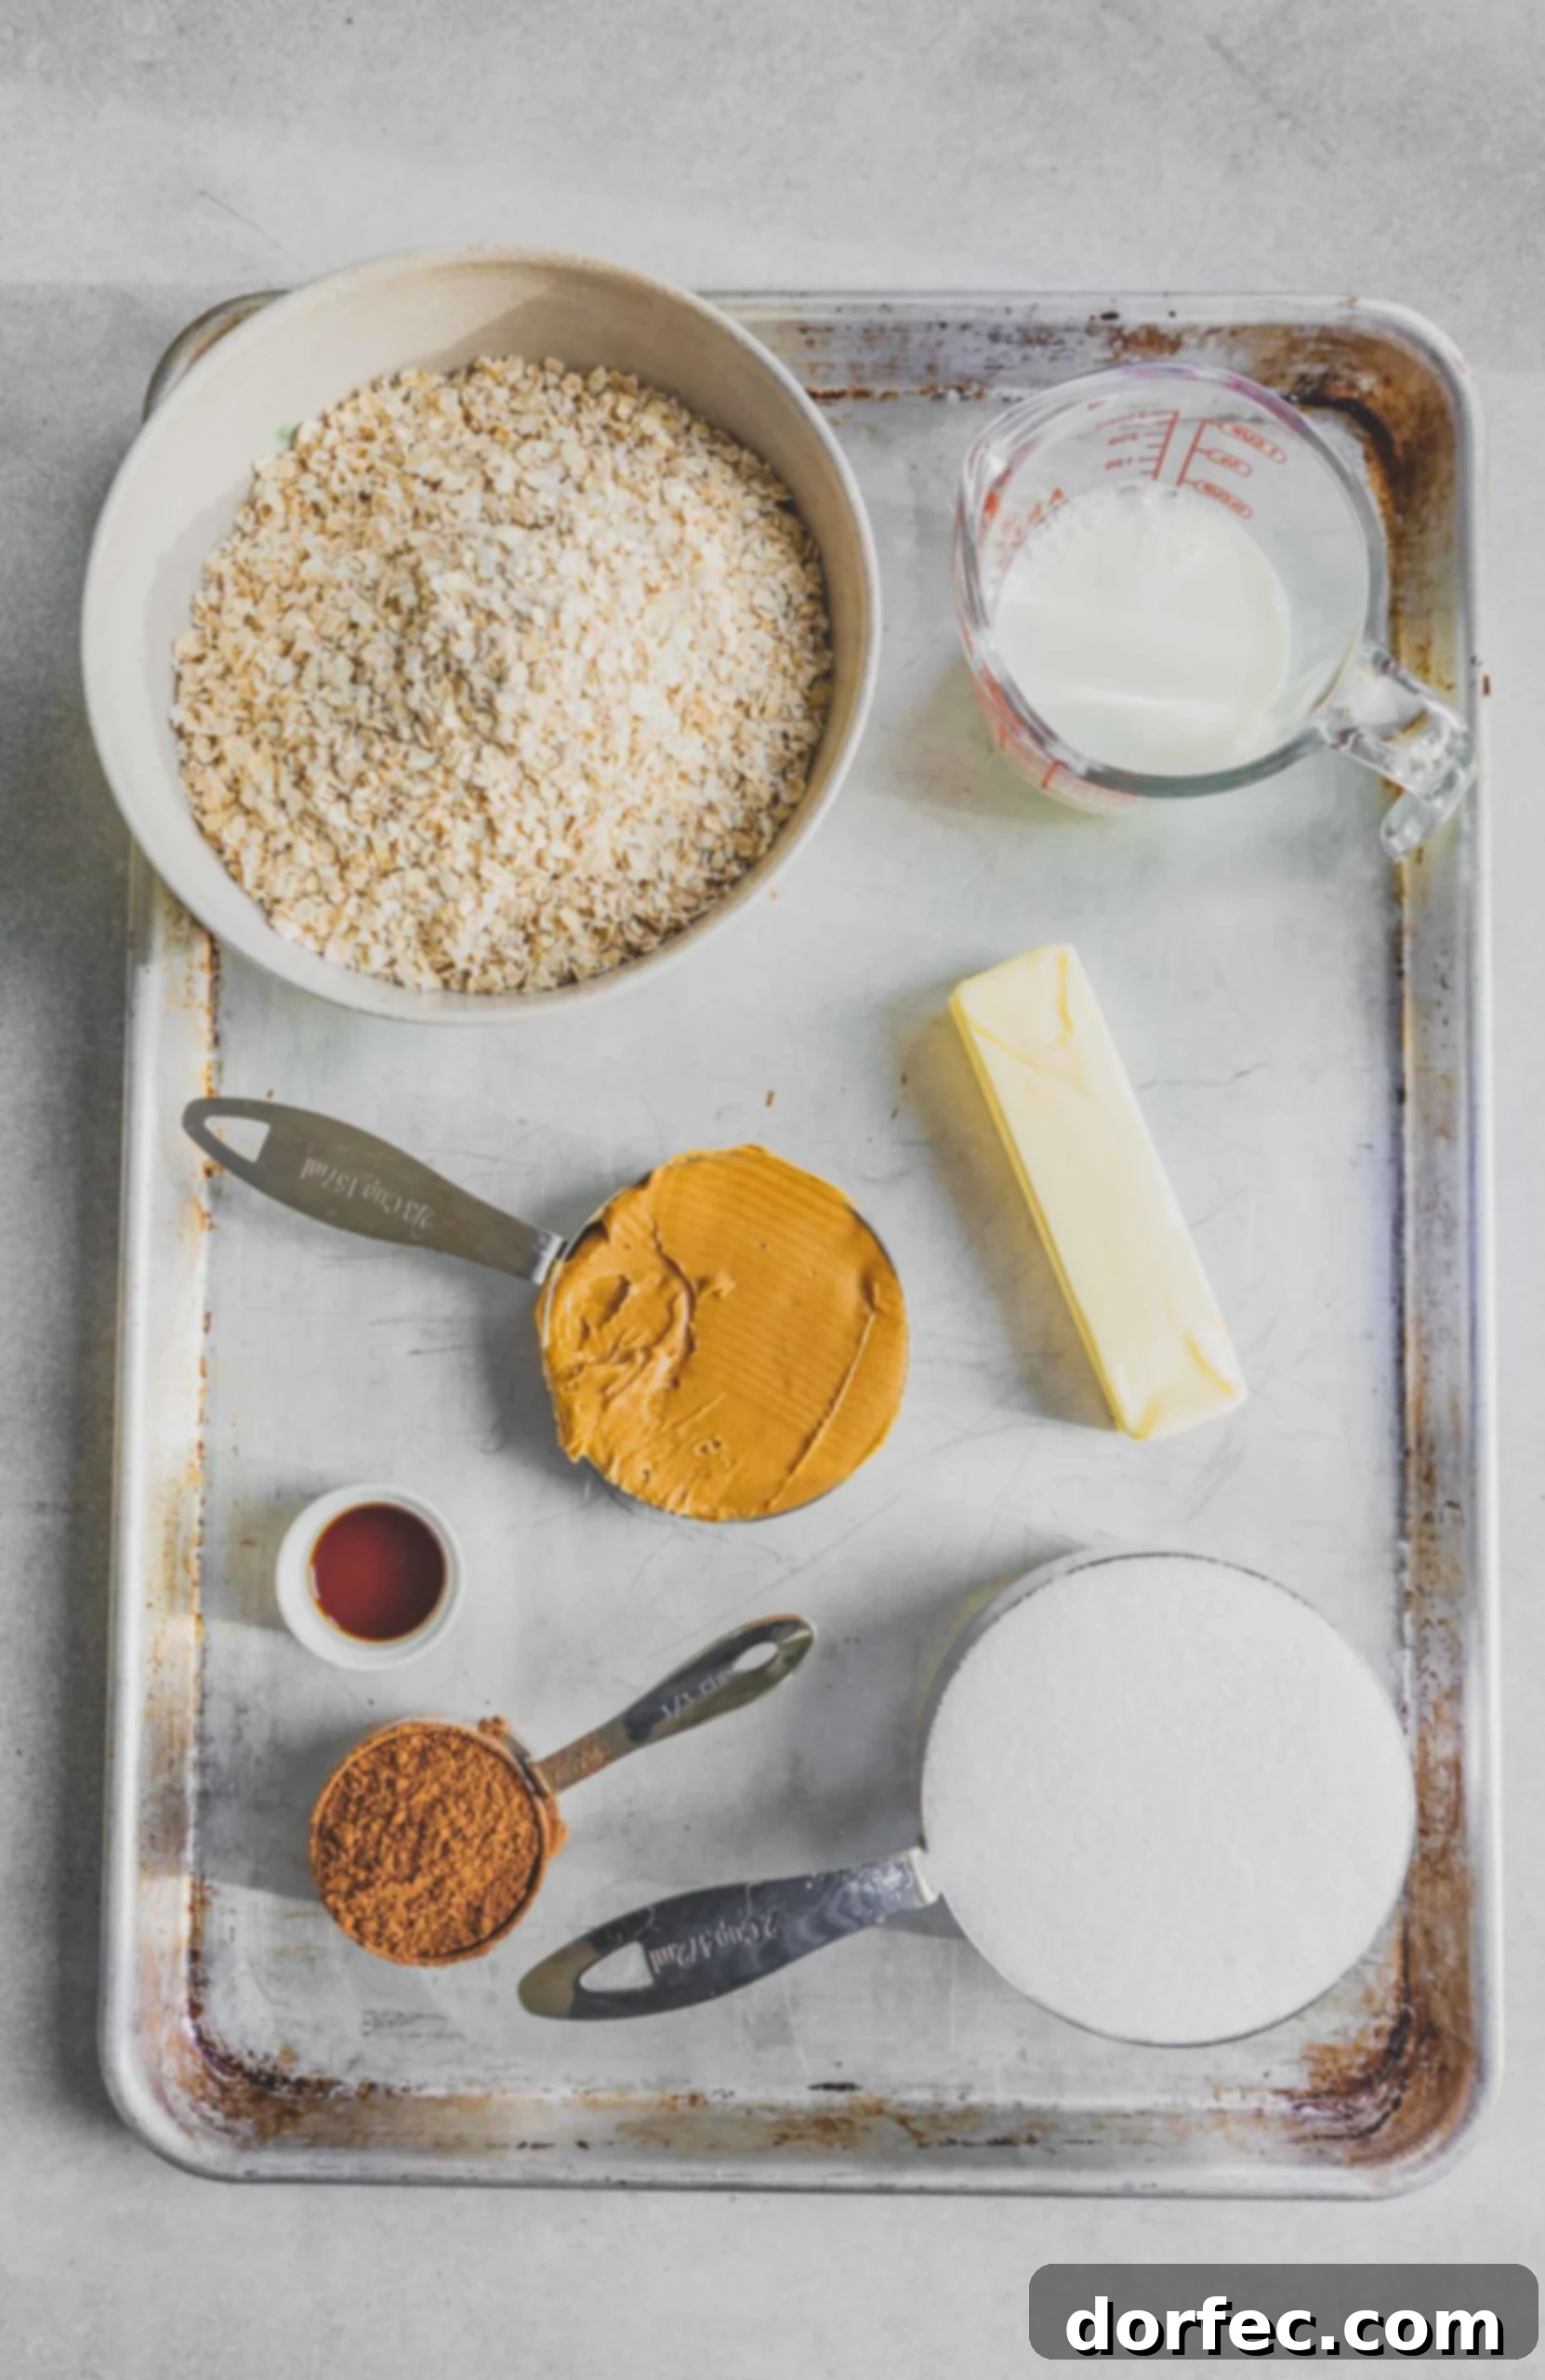
One of the many reasons no-bake cookies are a family favorite in our home is their reliance on common pantry staples. This means my kids can often whip up a batch on a whim, much to my delight (and sometimes, my waistline’s dismay!). The ingredients are straightforward, yet combine to create an incredible depth of flavor. Here’s what you’ll need to gather:
- Sugar: Provides the foundational sweetness and is crucial for the texture.
- Butter: Adds richness and helps bind the ingredients, contributing to a smooth, fudgy consistency.
- Milk: Acts as the liquid base, dissolving the sugar and cocoa powder to create a luscious chocolate mixture.
- Salt: A small pinch enhances all the other flavors, particularly the chocolate and peanut butter.
- Cocoa Powder: The star of the show for that deep, irresistible chocolate taste. Choose a good quality unsweetened cocoa for best results.
- Creamy Peanut Butter: Essential for that signature nutty flavor and chewy texture. Creamy is preferred for a smoother cookie, but crunchy can add an interesting textural contrast.
- Vanilla Extract: A splash of vanilla elevates the overall flavor profile, adding warmth and depth.
- Quick Oats: The fibrous base of the cookie, absorbing moisture and providing that satisfying chewiness. Quick oats are key for the right consistency.
For precise measurements of each ingredient, please refer to the comprehensive recipe card provided below.
Crafting Your Delicious No-Bake Cookies: A Step-by-Step Guide
Prepare to be amazed at how effortlessly these delightful cookies come together. They are hands down one of the easiest cookie recipes you’ll ever encounter. To ensure your success, we’ve included a visual guide with pictures for each critical step, so you’ll know exactly what to look for along the way. Precision in the boiling stage is key, so pay close attention to the timing!
- Prepare Your Baking Surface: Begin by lining a large baking sheet with parchment paper or a silicone baking mat (silpat). This crucial step prevents sticking and makes for easy cleanup. Set it aside for later.
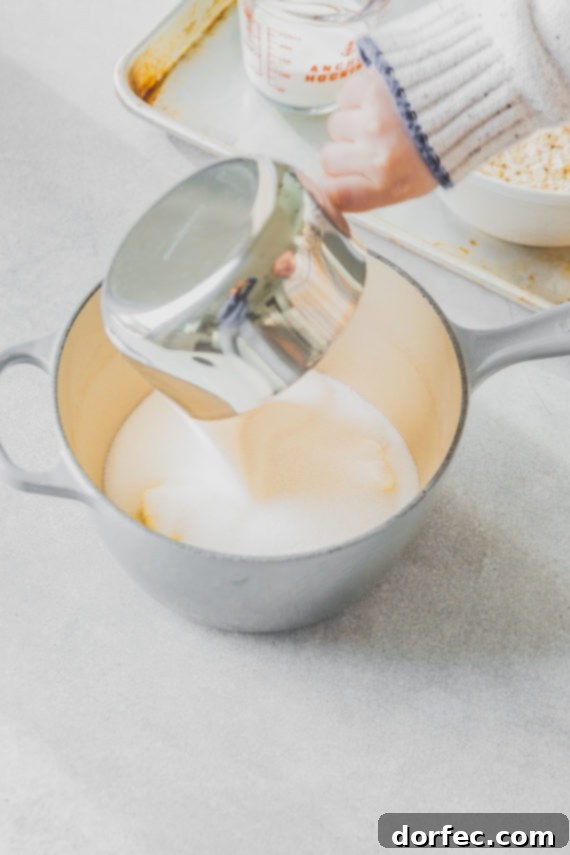
- Combine Wet Ingredients for Boiling: In a medium-sized saucepan, combine the granulated sugar, butter, milk, and cocoa powder. Place the saucepan over medium heat. Stir the mixture continuously as it heats up, ensuring all the ingredients are well incorporated and the butter melts completely. Your goal is to bring this mixture to a full, rolling boil.
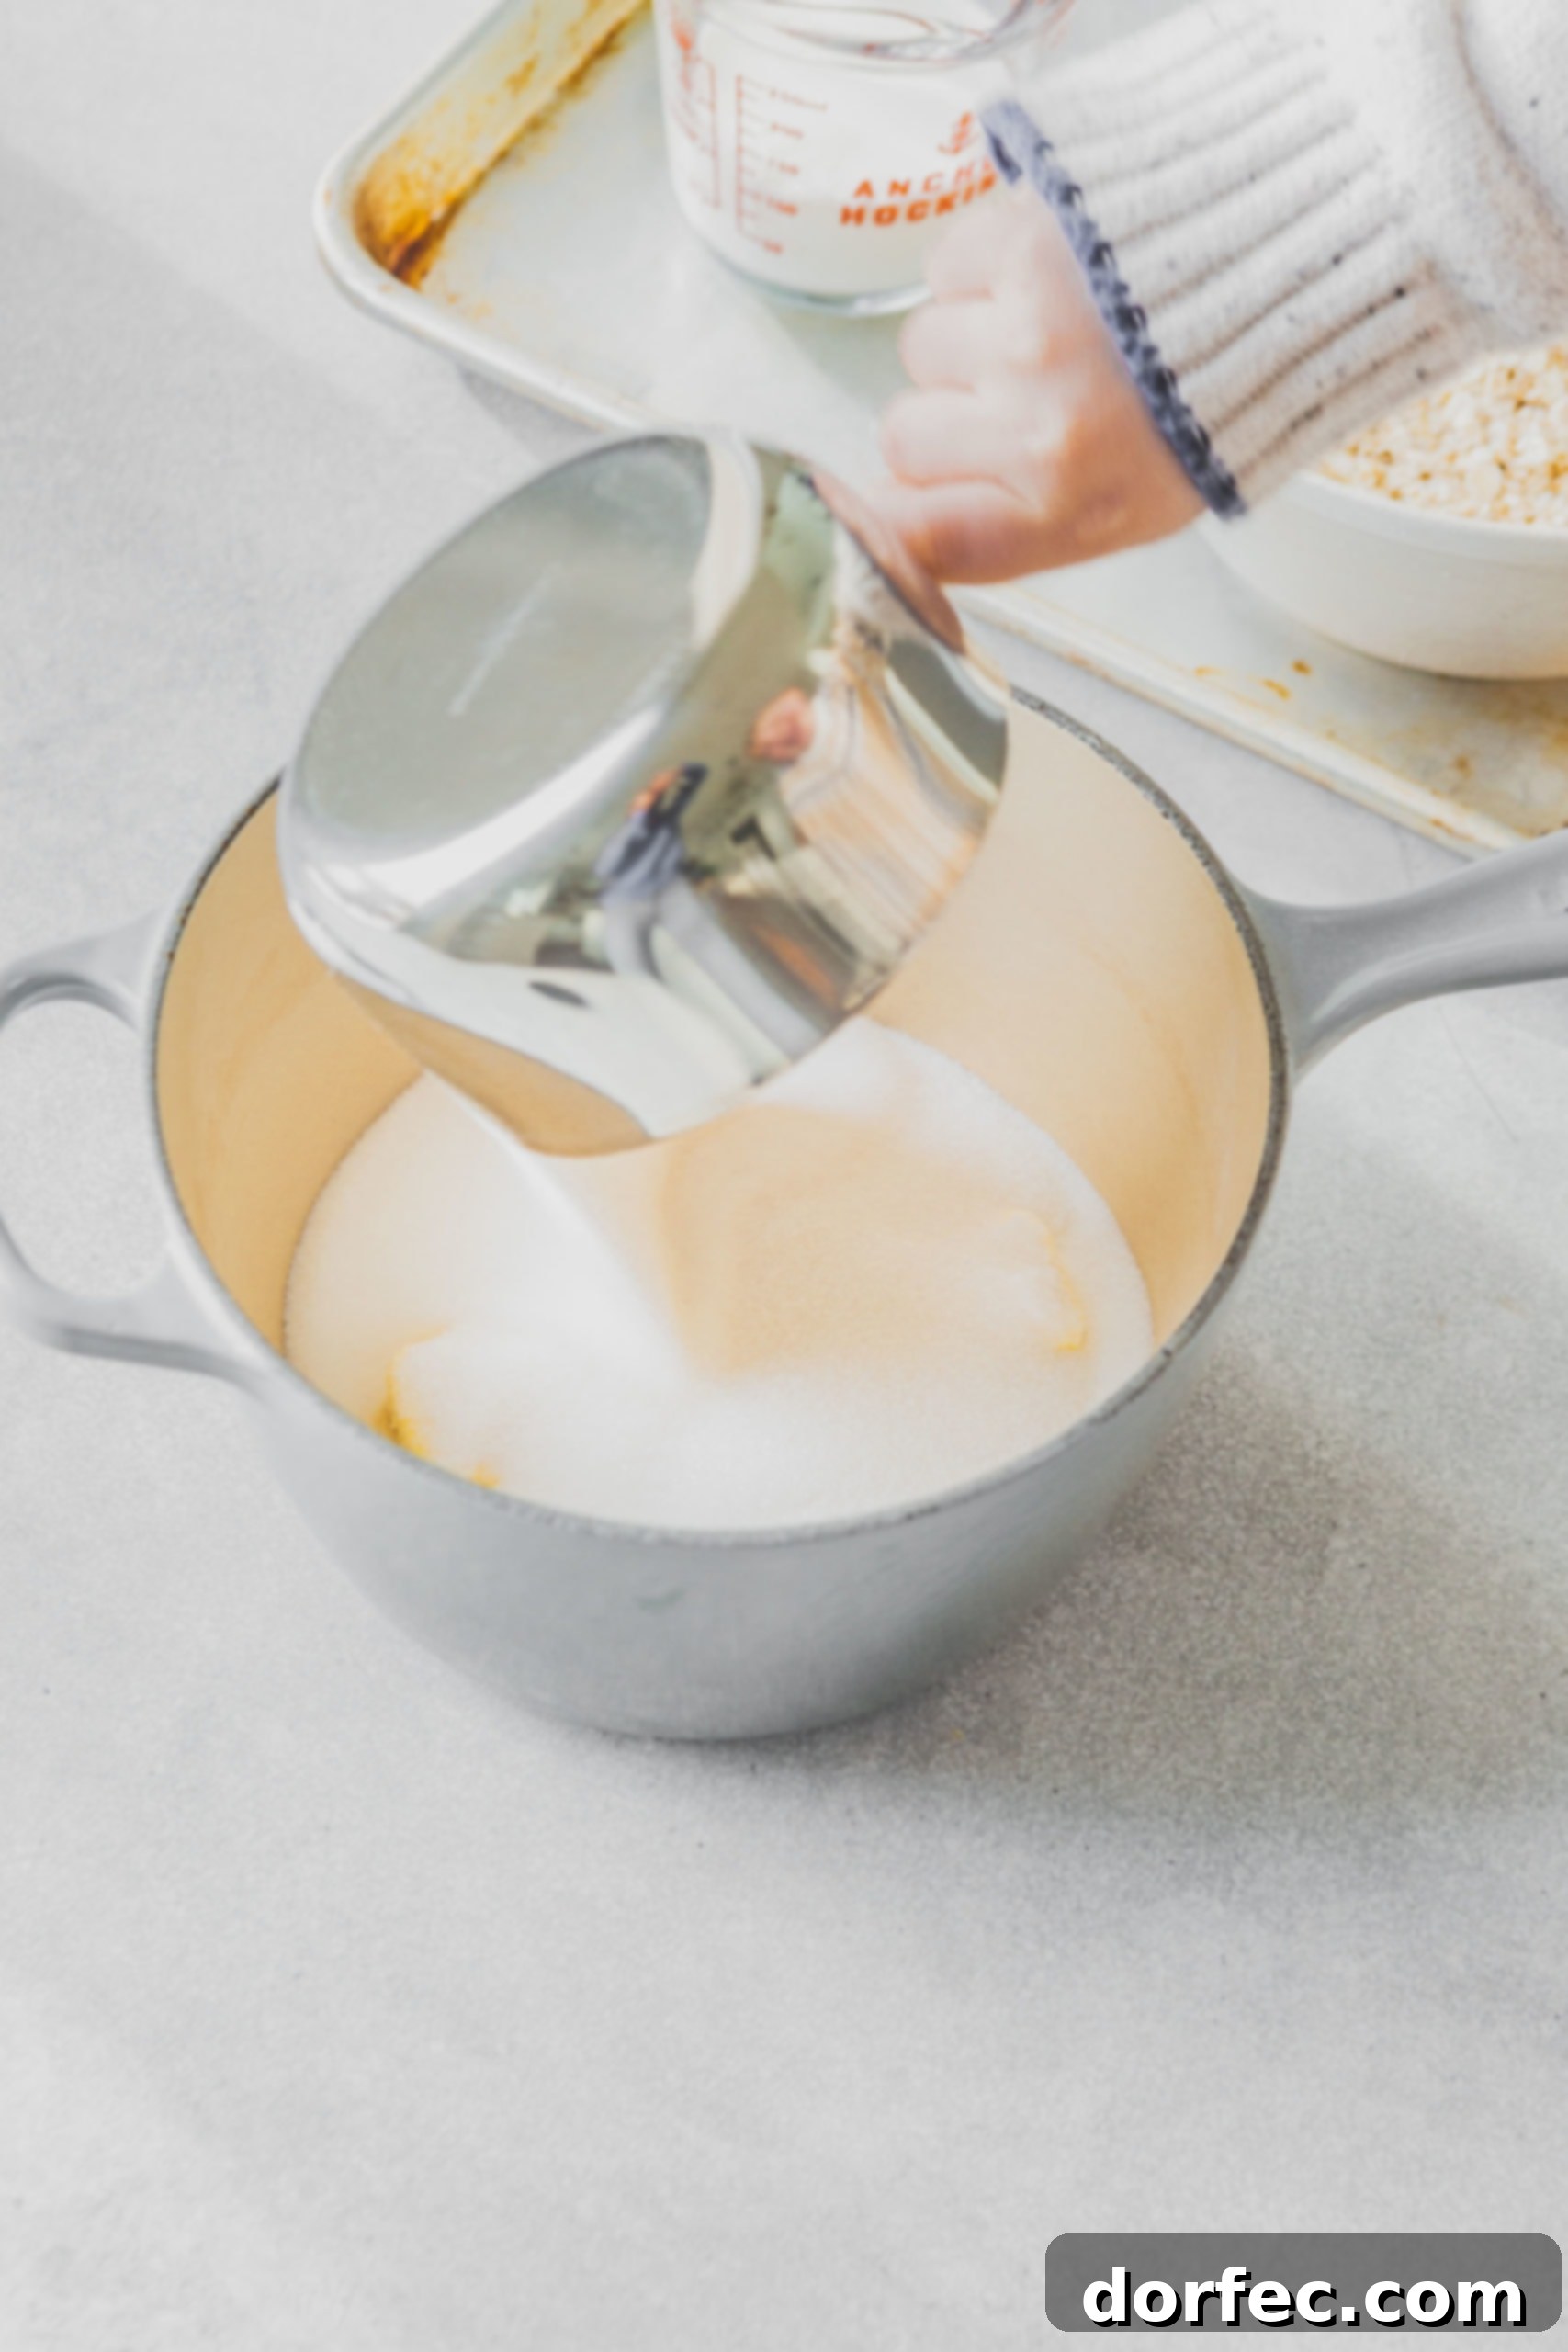
***A quick, heartwarming moment:*** My little guy was so excited to help add the ingredients for this picture, and I rushed to snap it before he moved! It might be a little blurry from the haste, but if you look closely, you can see the joyful reflection of his out-loud laughter in the saucepan. Oh, my heart!
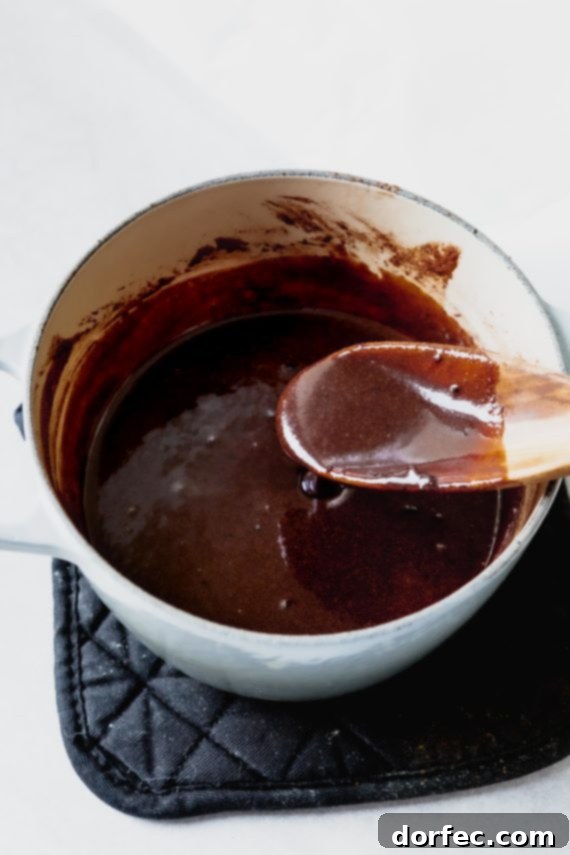
- The Critical Boil: Once the mixture reaches a vigorous, rolling boil (meaning it continues to bubble even when stirred), immediately set a timer for precisely 1 minute. Allow the mixture to boil for this exact duration. This step is vital for achieving the correct consistency; too short, and your cookies will be too soft; too long, and they’ll be dry and crumbly.
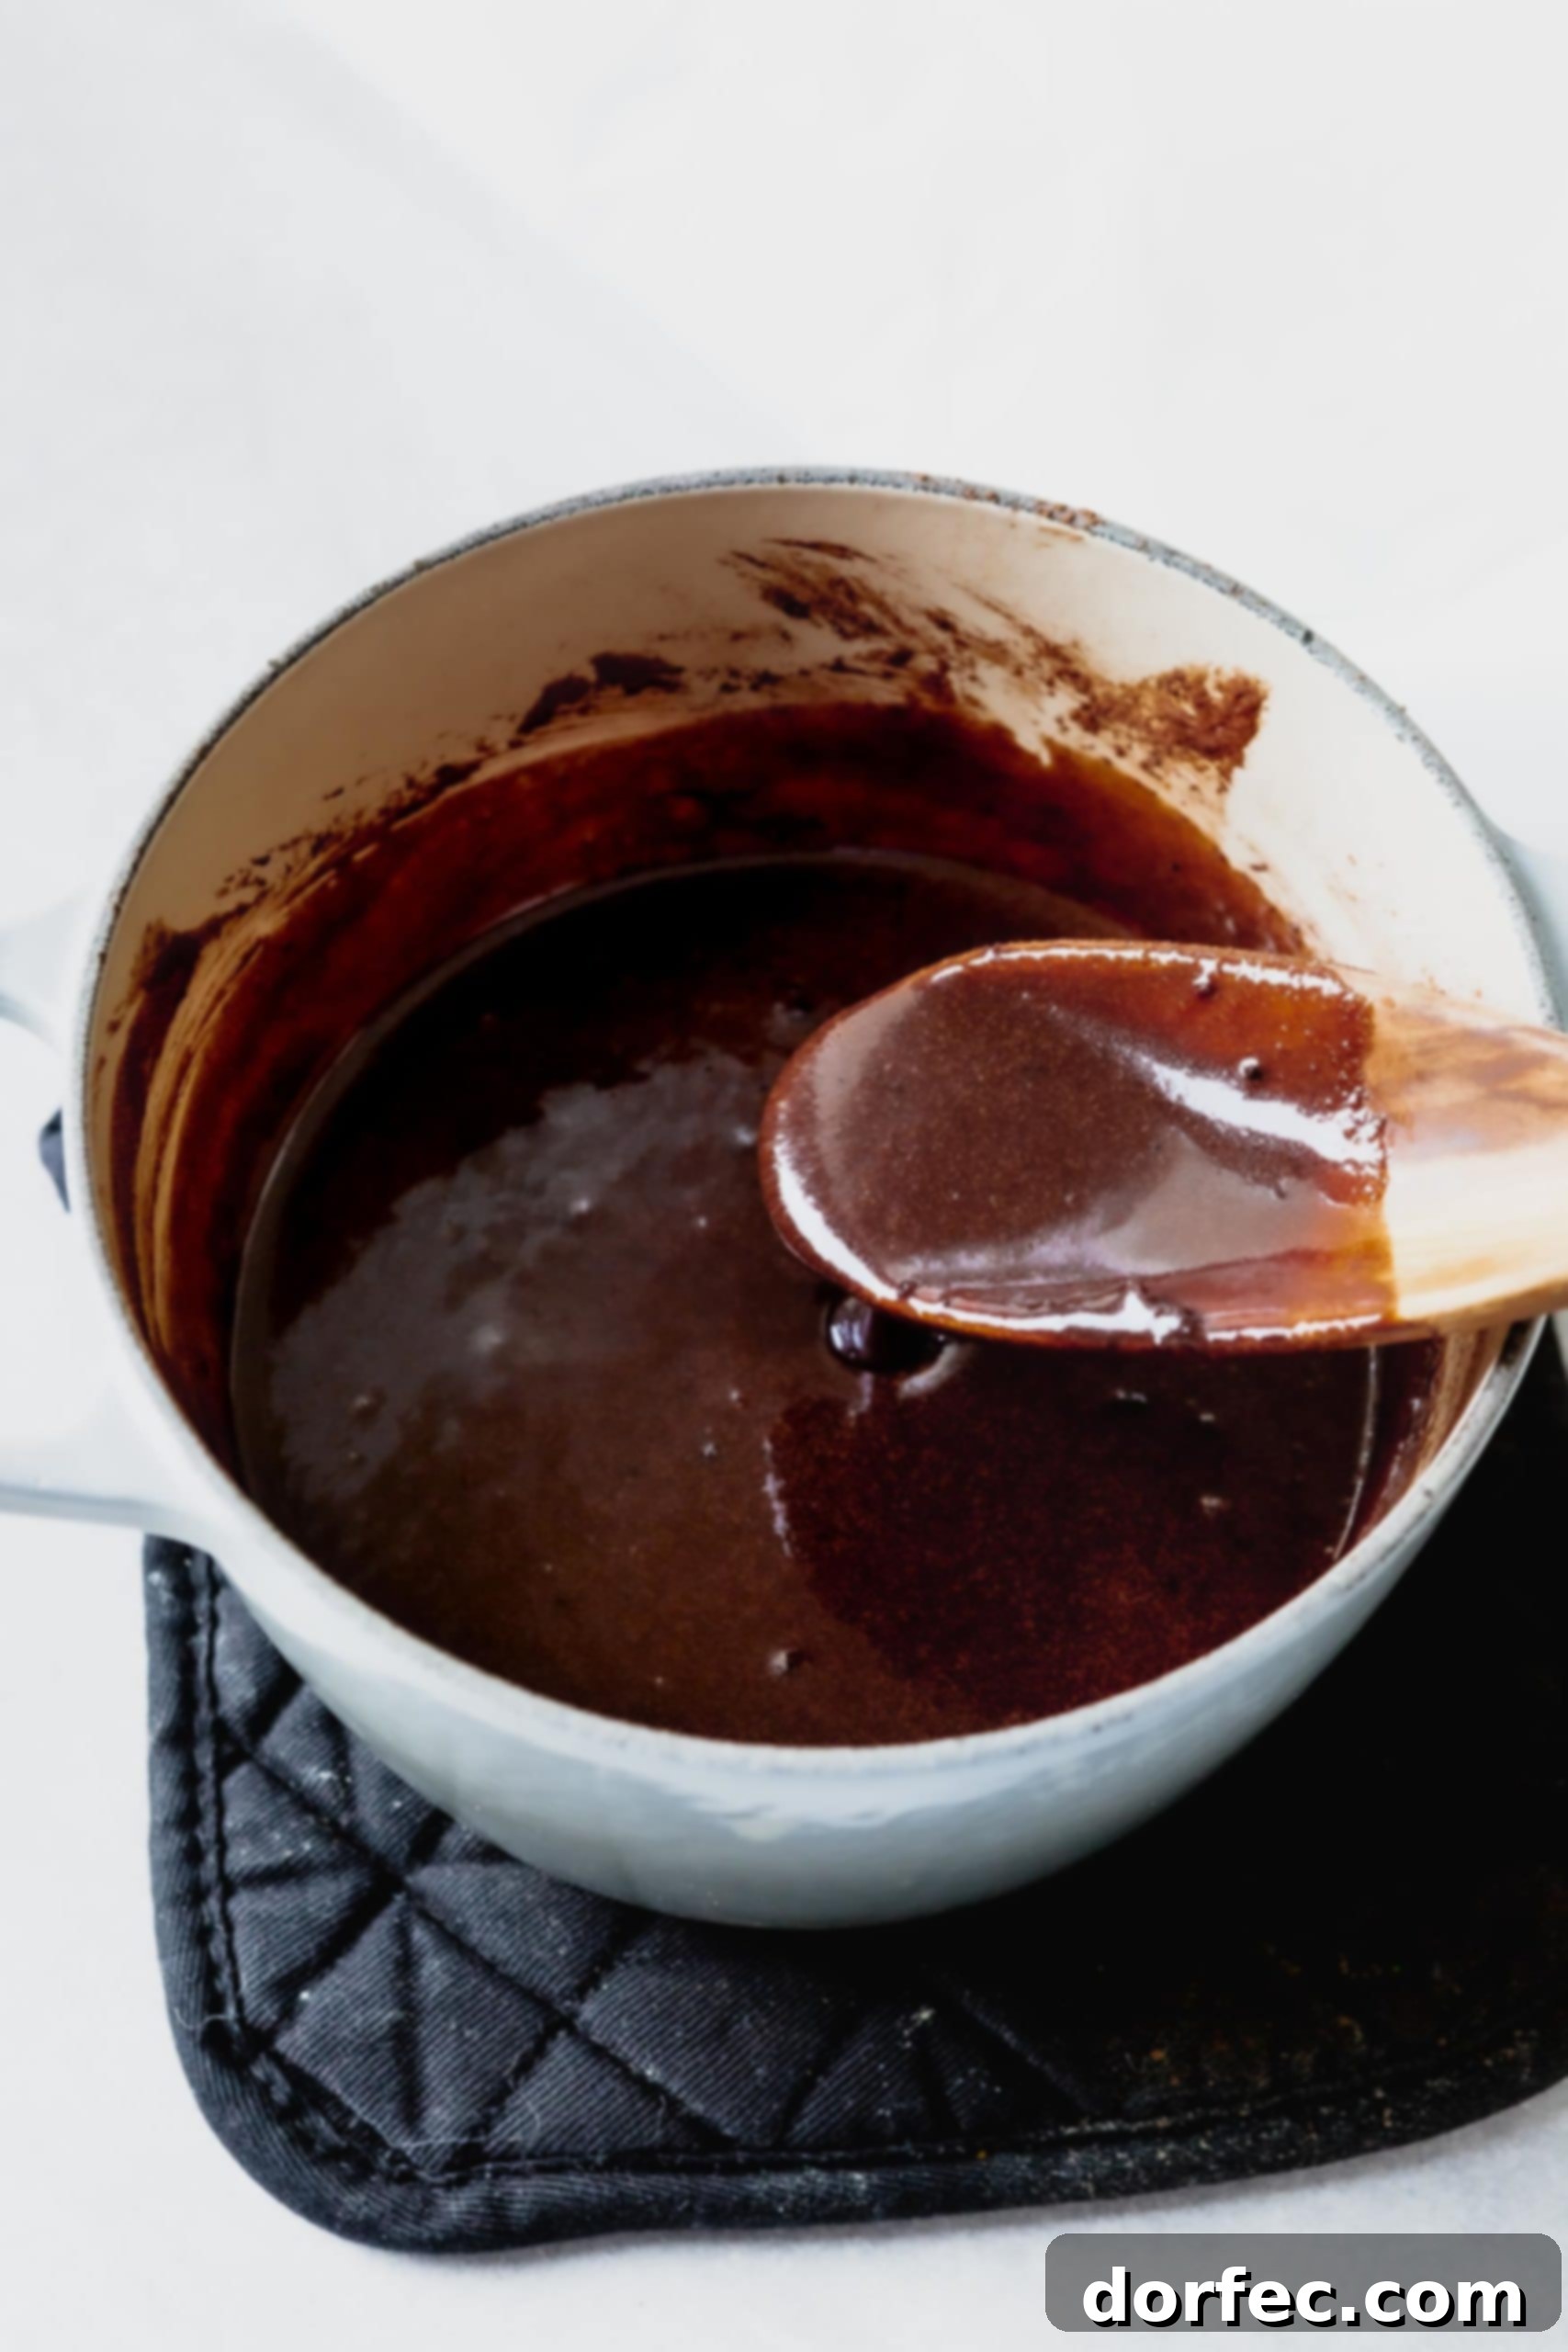
- Remove from Heat and Incorporate Remaining Flavors: As soon as the 1-minute boiling time is up, promptly remove the saucepan from the heat. Without delay, whisk in the creamy peanut butter, vanilla extract, and a pinch of salt until everything is smoothly combined. The residual heat will melt the peanut butter into a rich, luscious sauce.
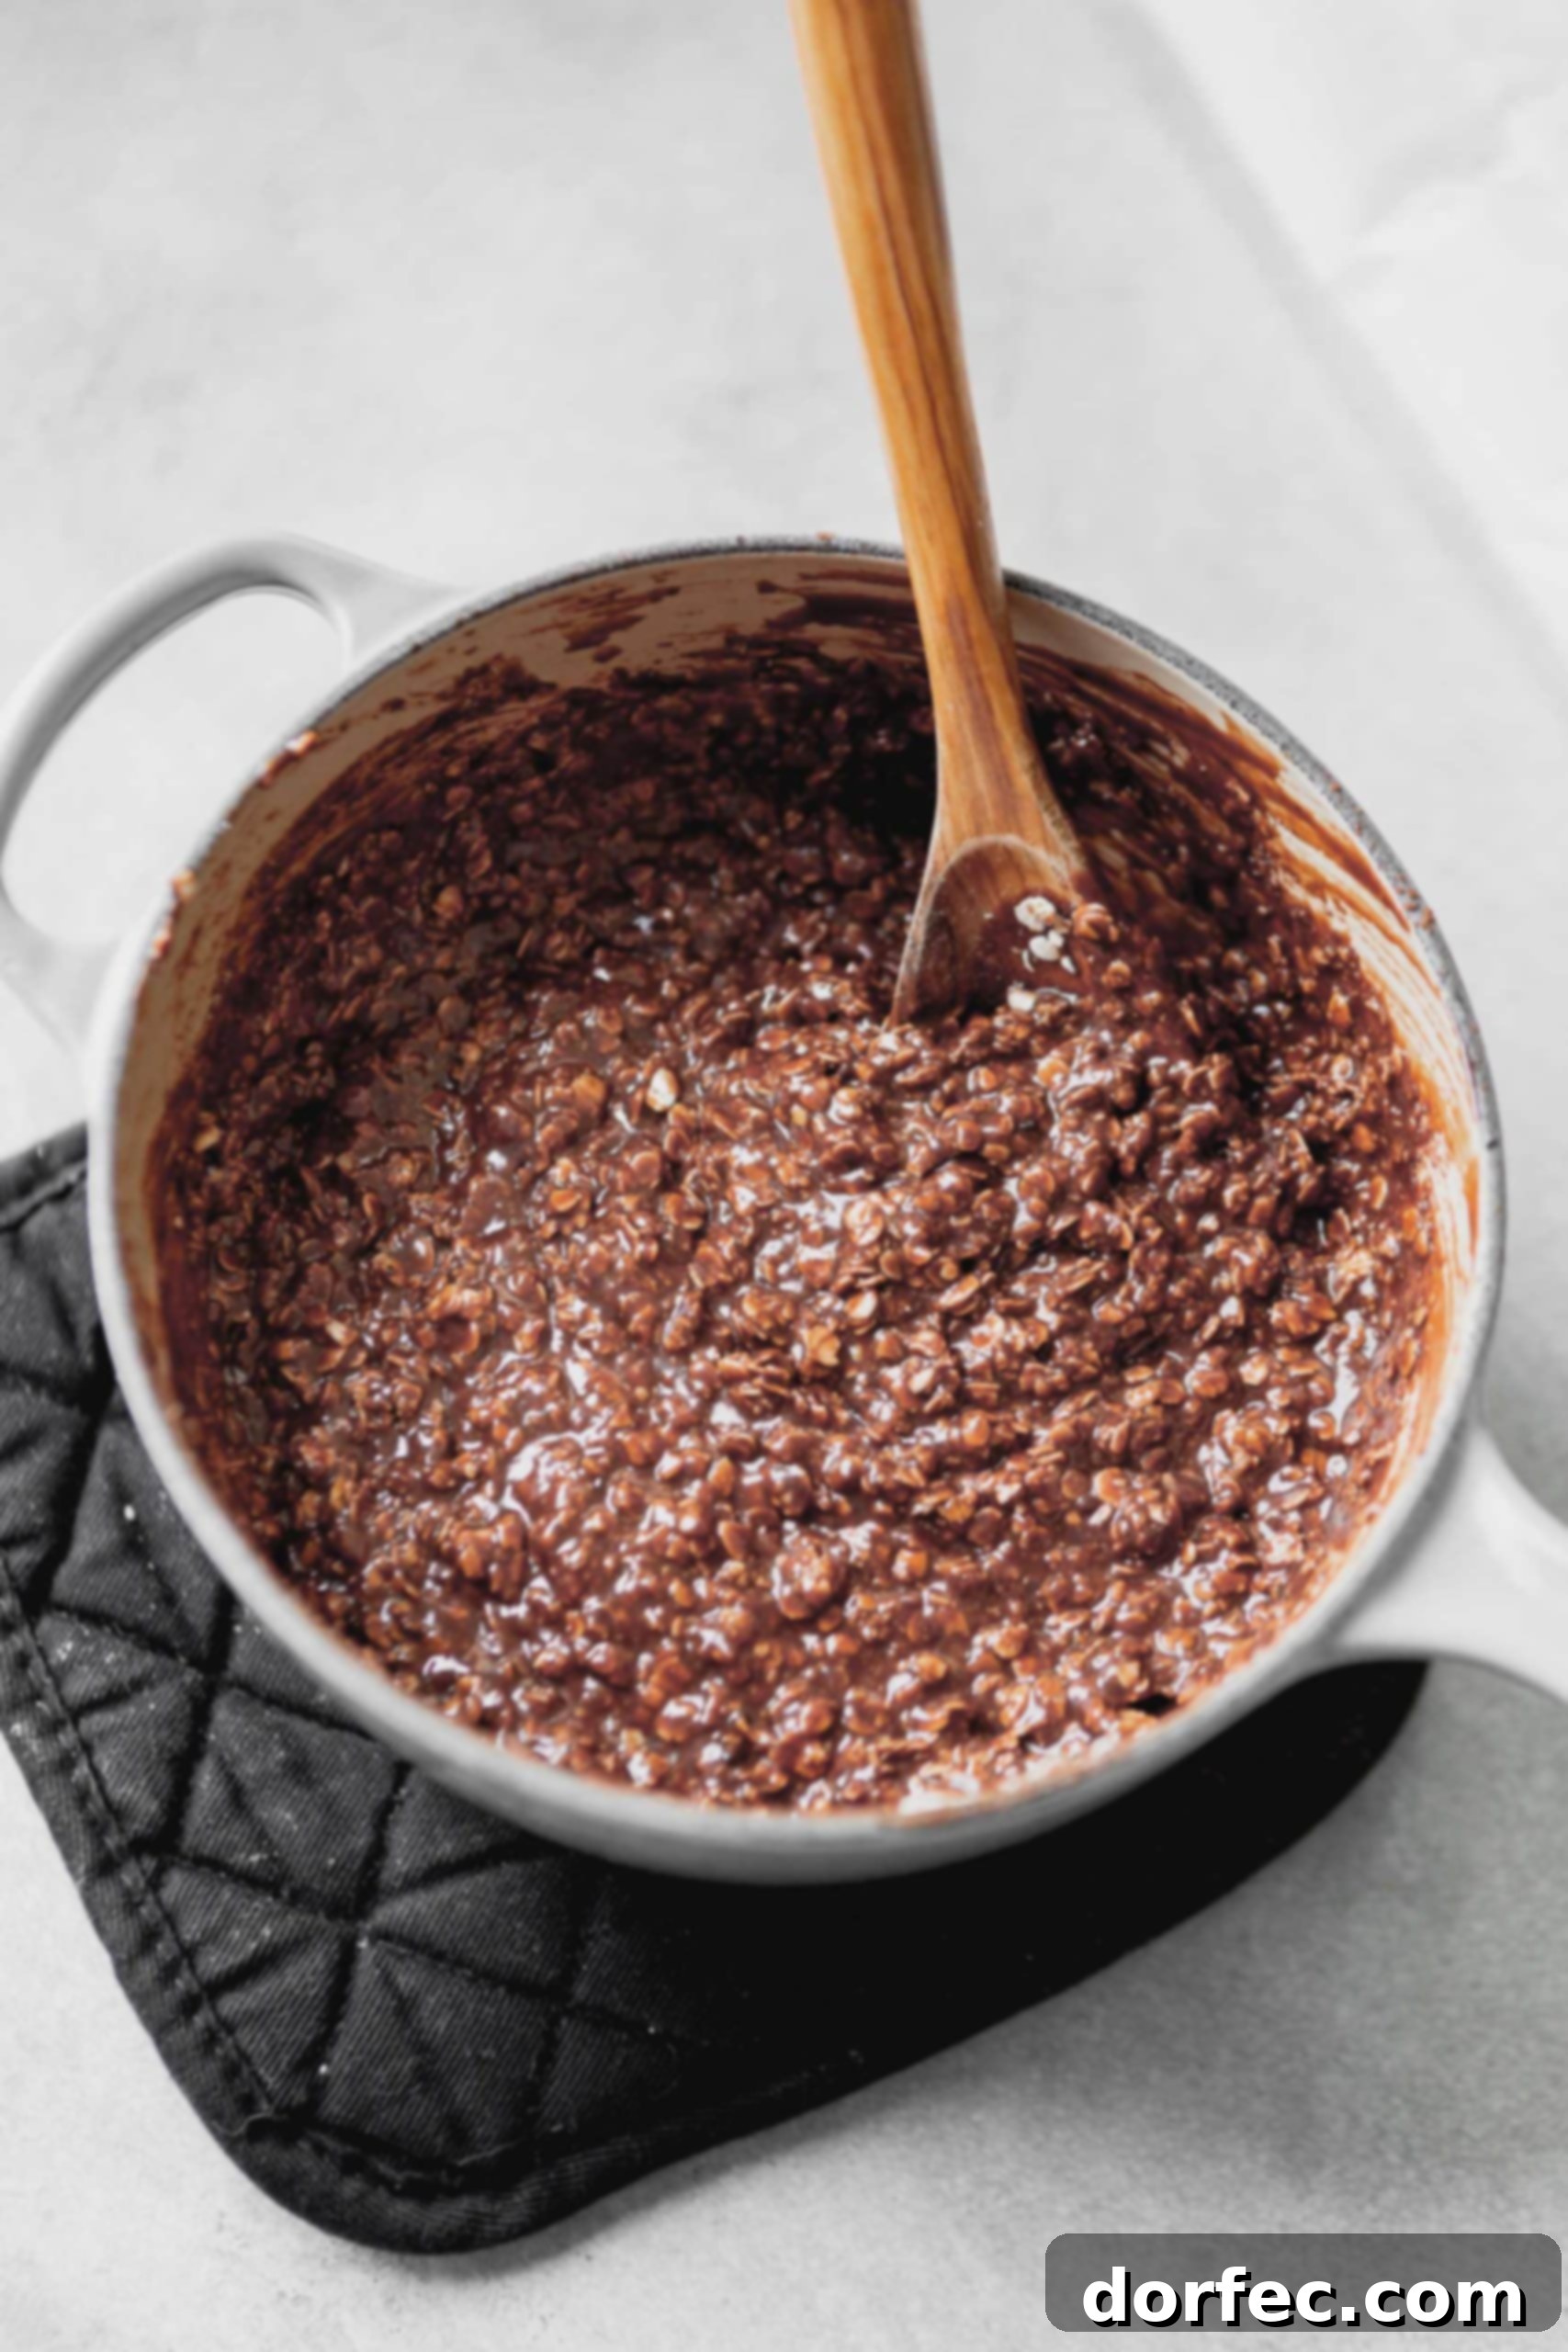
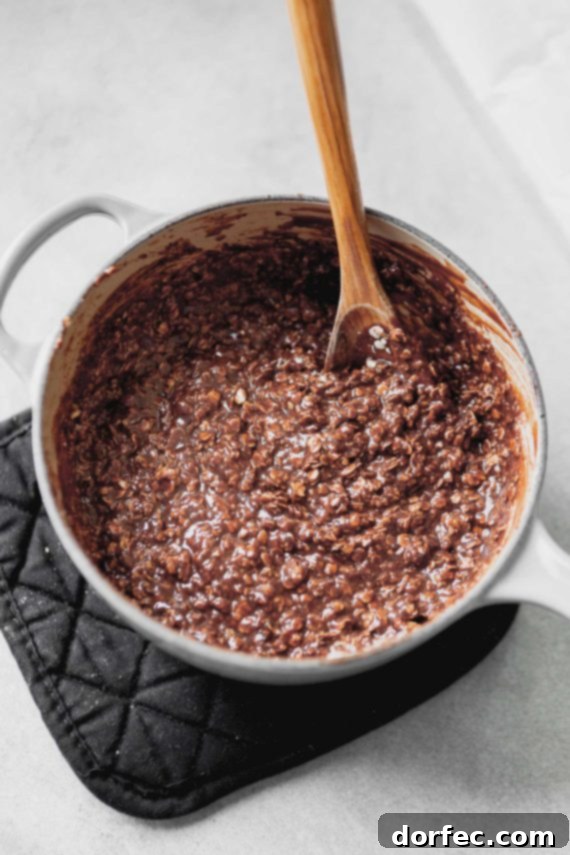
- Stir in Oats and Drop onto Baking Sheet: Quickly add the quick oats to the saucepan. Stir vigorously and thoroughly until the oats are completely coated and incorporated into the chocolate-peanut butter mixture. Working swiftly, use two spoons or a cookie scoop to drop heaping tablespoonfuls of the batter onto your prepared baking sheet. Aim to work quickly so the mixture doesn’t cool too much in the pan.
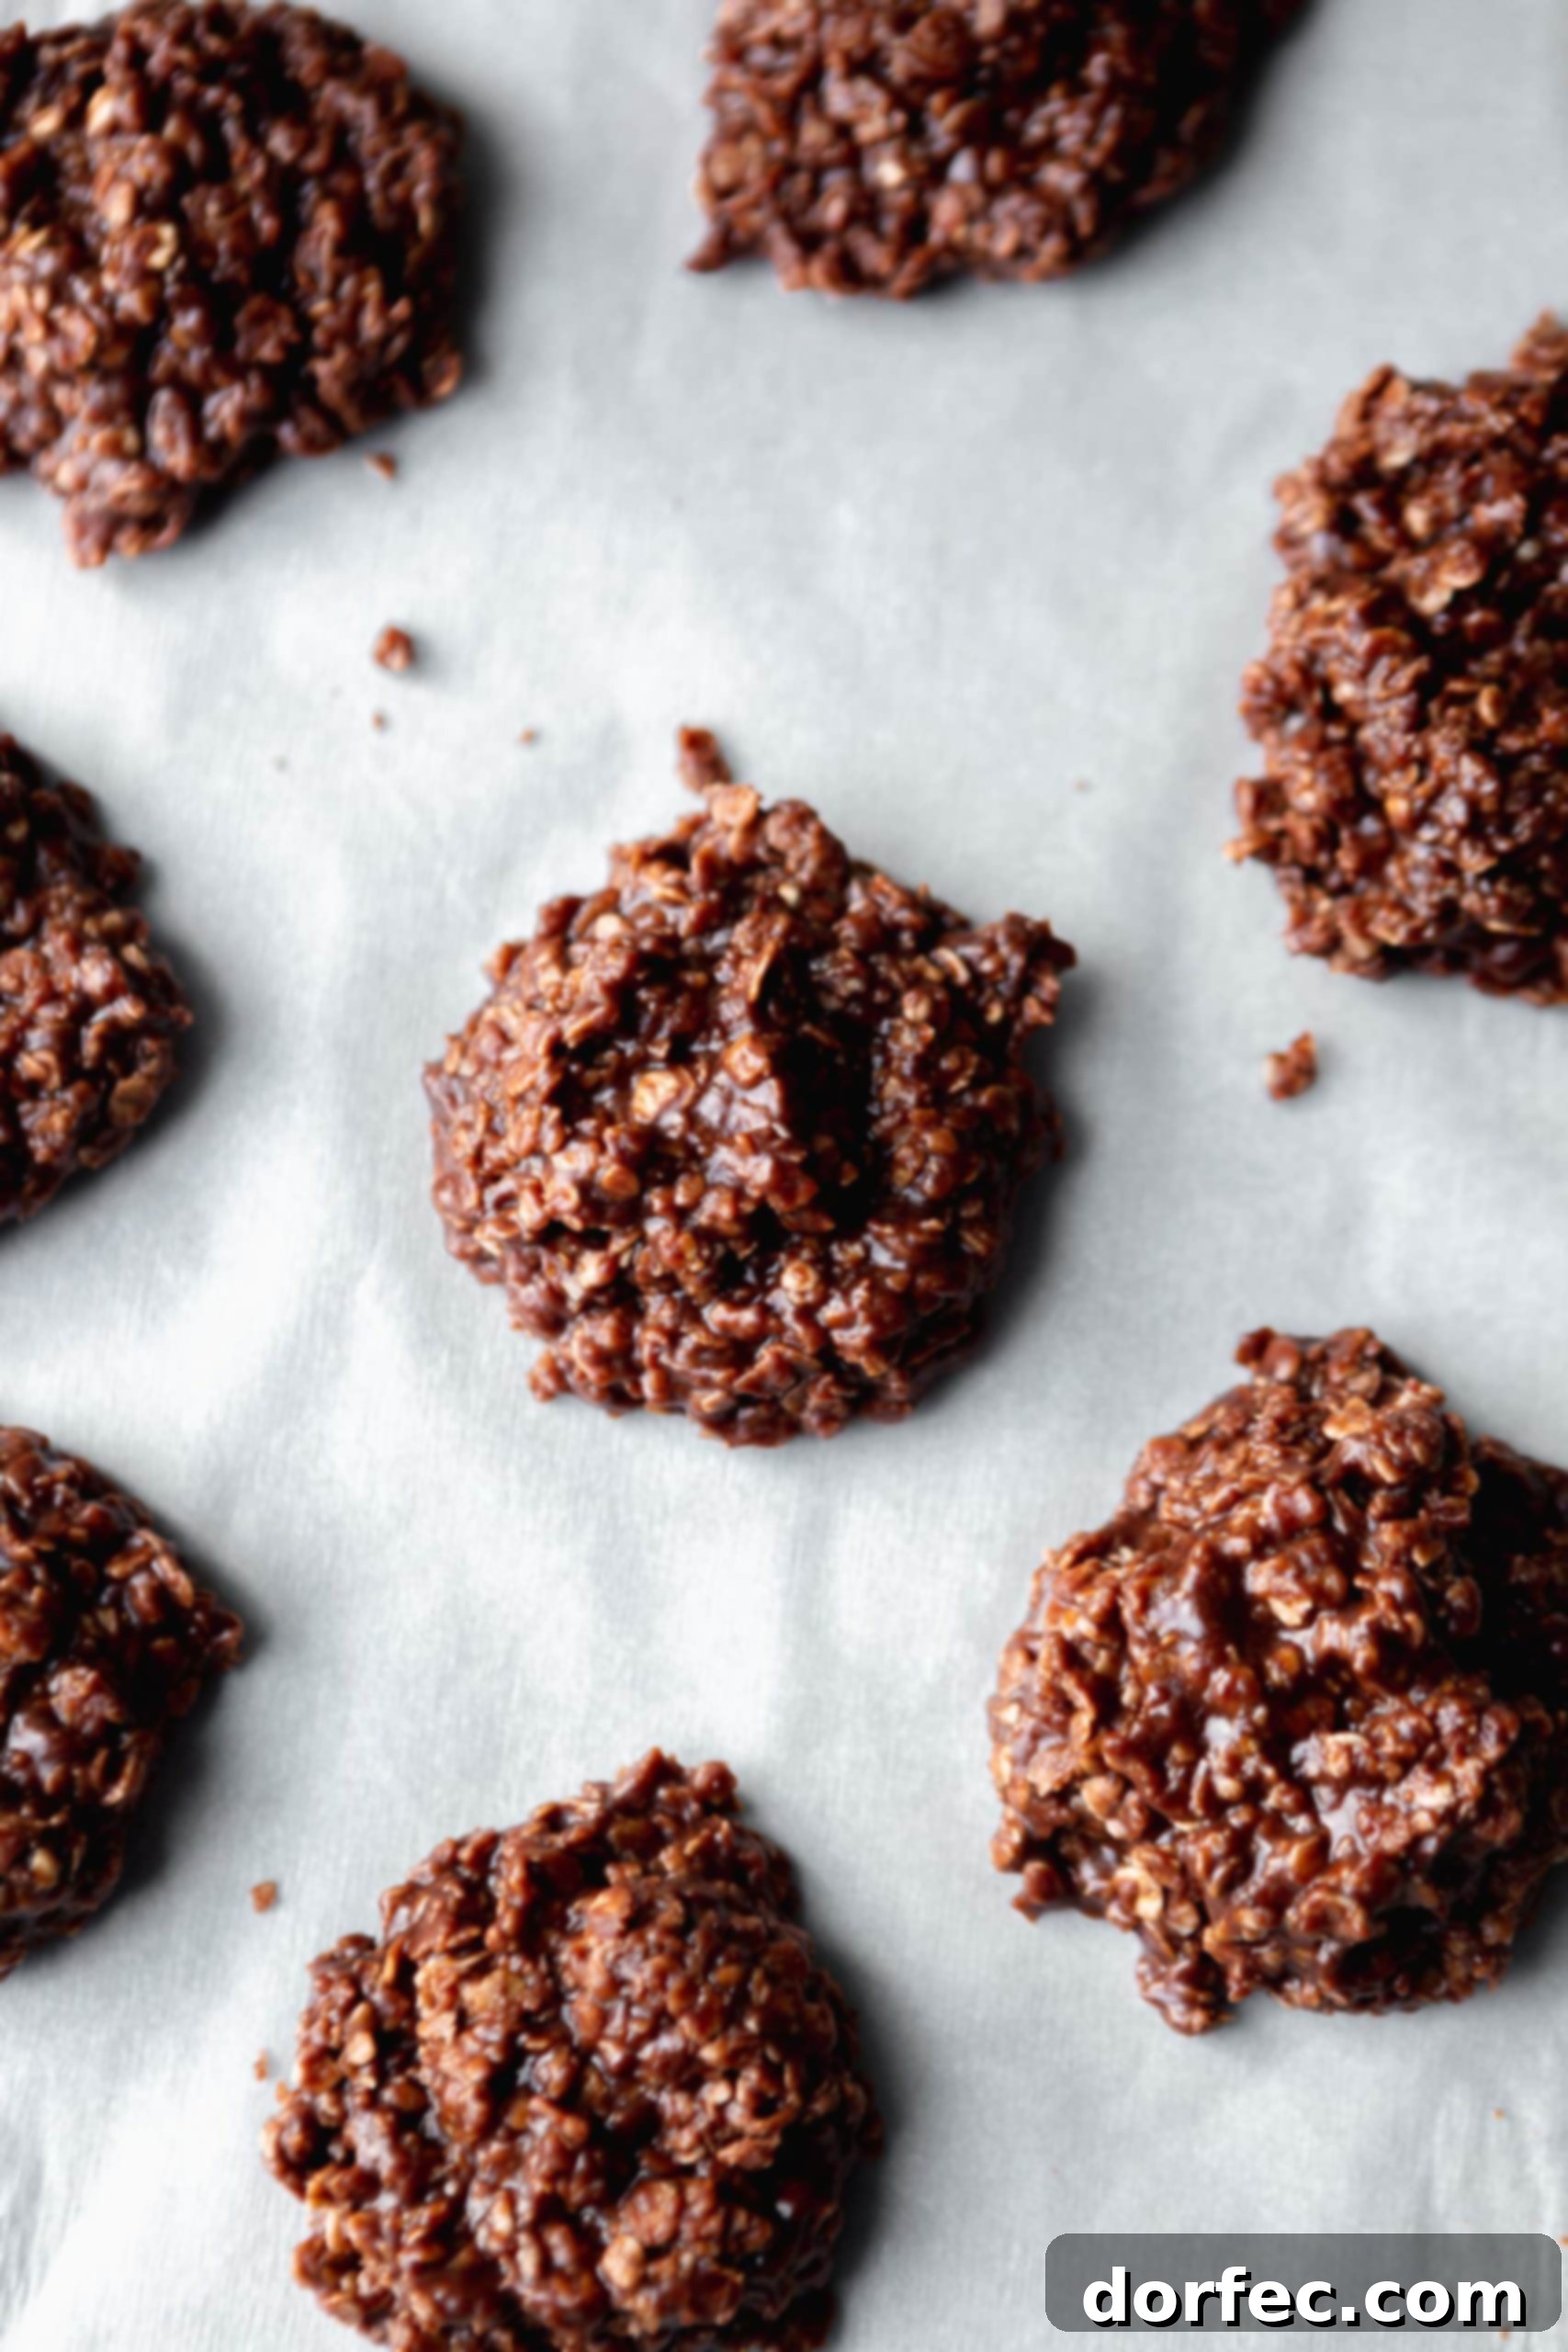
- Cool and Set: Allow the cookies to cool and set on the counter at room temperature for about 20-30 minutes. If you’re impatient (like me!) and want to enjoy them sooner, you can transfer the baking sheet to the refrigerator for a quicker set. The cooling process is essential for them to firm up into their characteristic chewy texture.
The complete, detailed instructions can also be found in the recipe card section below for easy reference.
Expert Tips for No-Bake Cookie Perfection
While this recipe is incredibly simple, a few insider tips can help you achieve the absolute best results every single time. Follow these recommendations for consistently delicious, perfectly textured no-bake cookies:
- Choose the Right Oats: Always opt for quick oats (also known as instant oats) over old-fashioned rolled oats. Quick oats are cut into smaller pieces and cook faster, allowing them to absorb the liquid and bind together more effectively, creating that signature chewy texture. If you only have old-fashioned oats on hand, don’t despair! You can pulse them a few times in a food processor until they are broken into smaller, more uniform pieces, mimicking the texture of quick oats.
- Master the Boil: The chocolate mixture needs to reach a full, rolling boil, not just a gentle simmer. This vigorous boil is crucial for properly dissolving the sugar and creating the right candy-like base. Once it reaches this stage, boil it for exactly 1 minute. This precise timing is the most critical step in the entire recipe. Boiling for too long will result in dry, crumbly cookies, while boiling for too short a time will leave them too soft and gooey to hold their shape.
- Peanut Butter Preference: Our recipe calls for creamy peanut butter, which yields a smoother, more uniform cookie. However, if you crave an extra layer of texture and a bit of crunch, feel free to substitute with crunchy peanut butter. Both options deliver that beloved chocolate-peanut butter flavor combination.
- Work Quickly: Once the oats are added to the hot mixture, it will begin to set rapidly. Have your prepared baking sheet ready and work quickly to drop the cookies by spoonfuls before the mixture becomes too stiff to manage. Speed is your friend here!
- Parchment Paper is Your Pal: Don’t skip lining your baking sheet. Parchment paper or a silicone mat ensures easy removal of the cookies once they’ve set and makes cleanup a breeze.
Troubleshooting Common No-Bake Cookie Problems
Even with a simple recipe, things can sometimes go awry. Here’s how to diagnose and fix the most common issues you might encounter when making no-bake cookies:
How to Prevent No-Bake Cookies from Becoming Dry and Crumbly
The primary culprit behind dry, crumbly no-bake cookies is almost always over-boiling the chocolate mixture. When you boil the sugar, butter, milk, and cocoa for too long, too much liquid evaporates. The oats then absorb the remaining, overly concentrated liquid, leading to a dry and stiff final product. This effectively turns the sugar mixture into a brittle candy base rather than a fudgy one.
To avoid this, stick to the crucial 1-minute boiling time. As soon as the timer goes off, remove the pan from the heat immediately. Stir in the peanut butter, vanilla, and salt quickly, then promptly drop the cookies onto the prepared baking sheet. This rapid process prevents the mixture from continuing to cook and thicken excessively in the hot pan, ensuring your cookies remain moist and deliciously chewy.
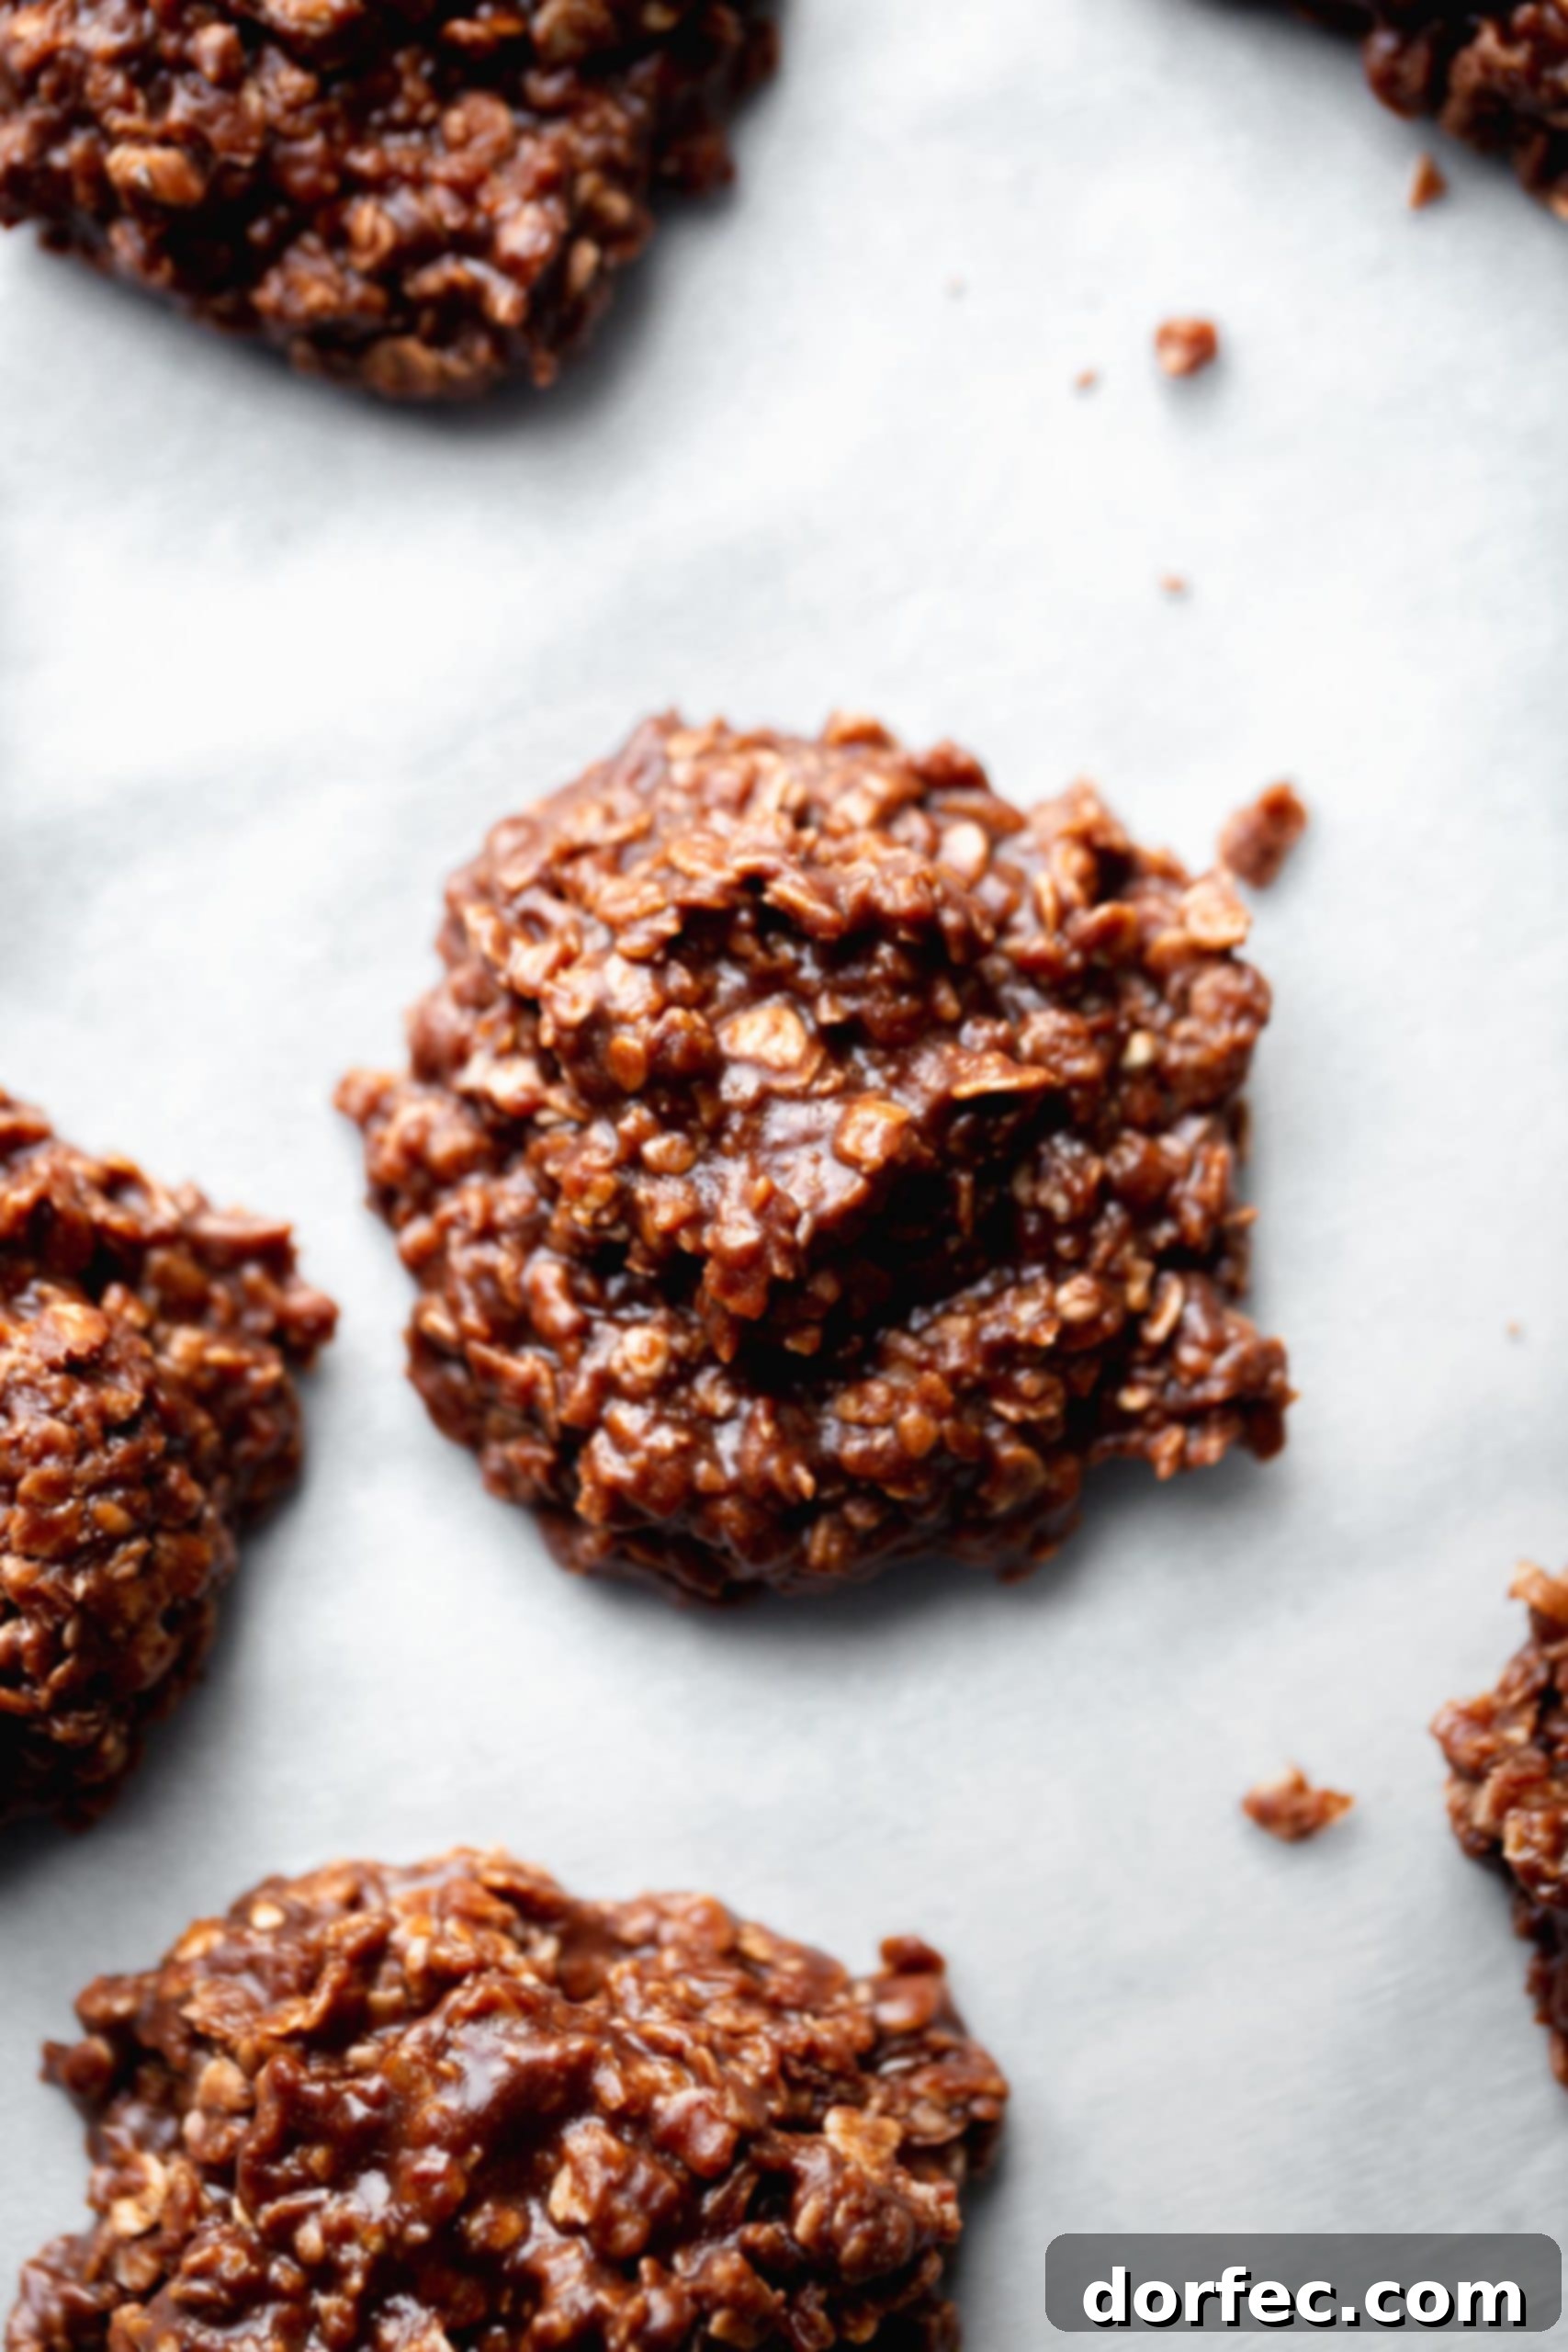
What to Do If Your No-Bake Cookies Are Too Soft or Don’t Set
If your no-bake cookies turn out too soft, sticky, or fail to set properly, it’s typically because you didn’t boil the chocolate mixture for long enough. The boiling process is essentially a quick candy-making step. If the sugar solution doesn’t reach the correct temperature and boil for the full minute, it won’t thicken enough to create a firm structure when cooled. Instead, it remains too liquidy and sticky, preventing the cookies from holding their shape.
While you can’t re-boil the mixture once the oats are in, a simple trick can often salvage overly soft cookies: pop them into the refrigerator or even the freezer for a bit. The colder temperature will help them firm up considerably, allowing them to achieve a more desirable texture. Next time, ensure your boil is truly rolling and precisely timed for 1 minute.
Storing Your No-Bake Cookies
Do No-Bake Cookies Need to Be Kept in the Refrigerator?
No-bake cookies are quite versatile when it comes to storage. They can be safely stored at room temperature, or if you prefer a firmer, chilled treat, they can also be kept in the refrigerator. If your kitchen tends to be on the warmer side, especially during hot weather, storing them in the refrigerator is recommended to prevent them from becoming too soft or gooey.
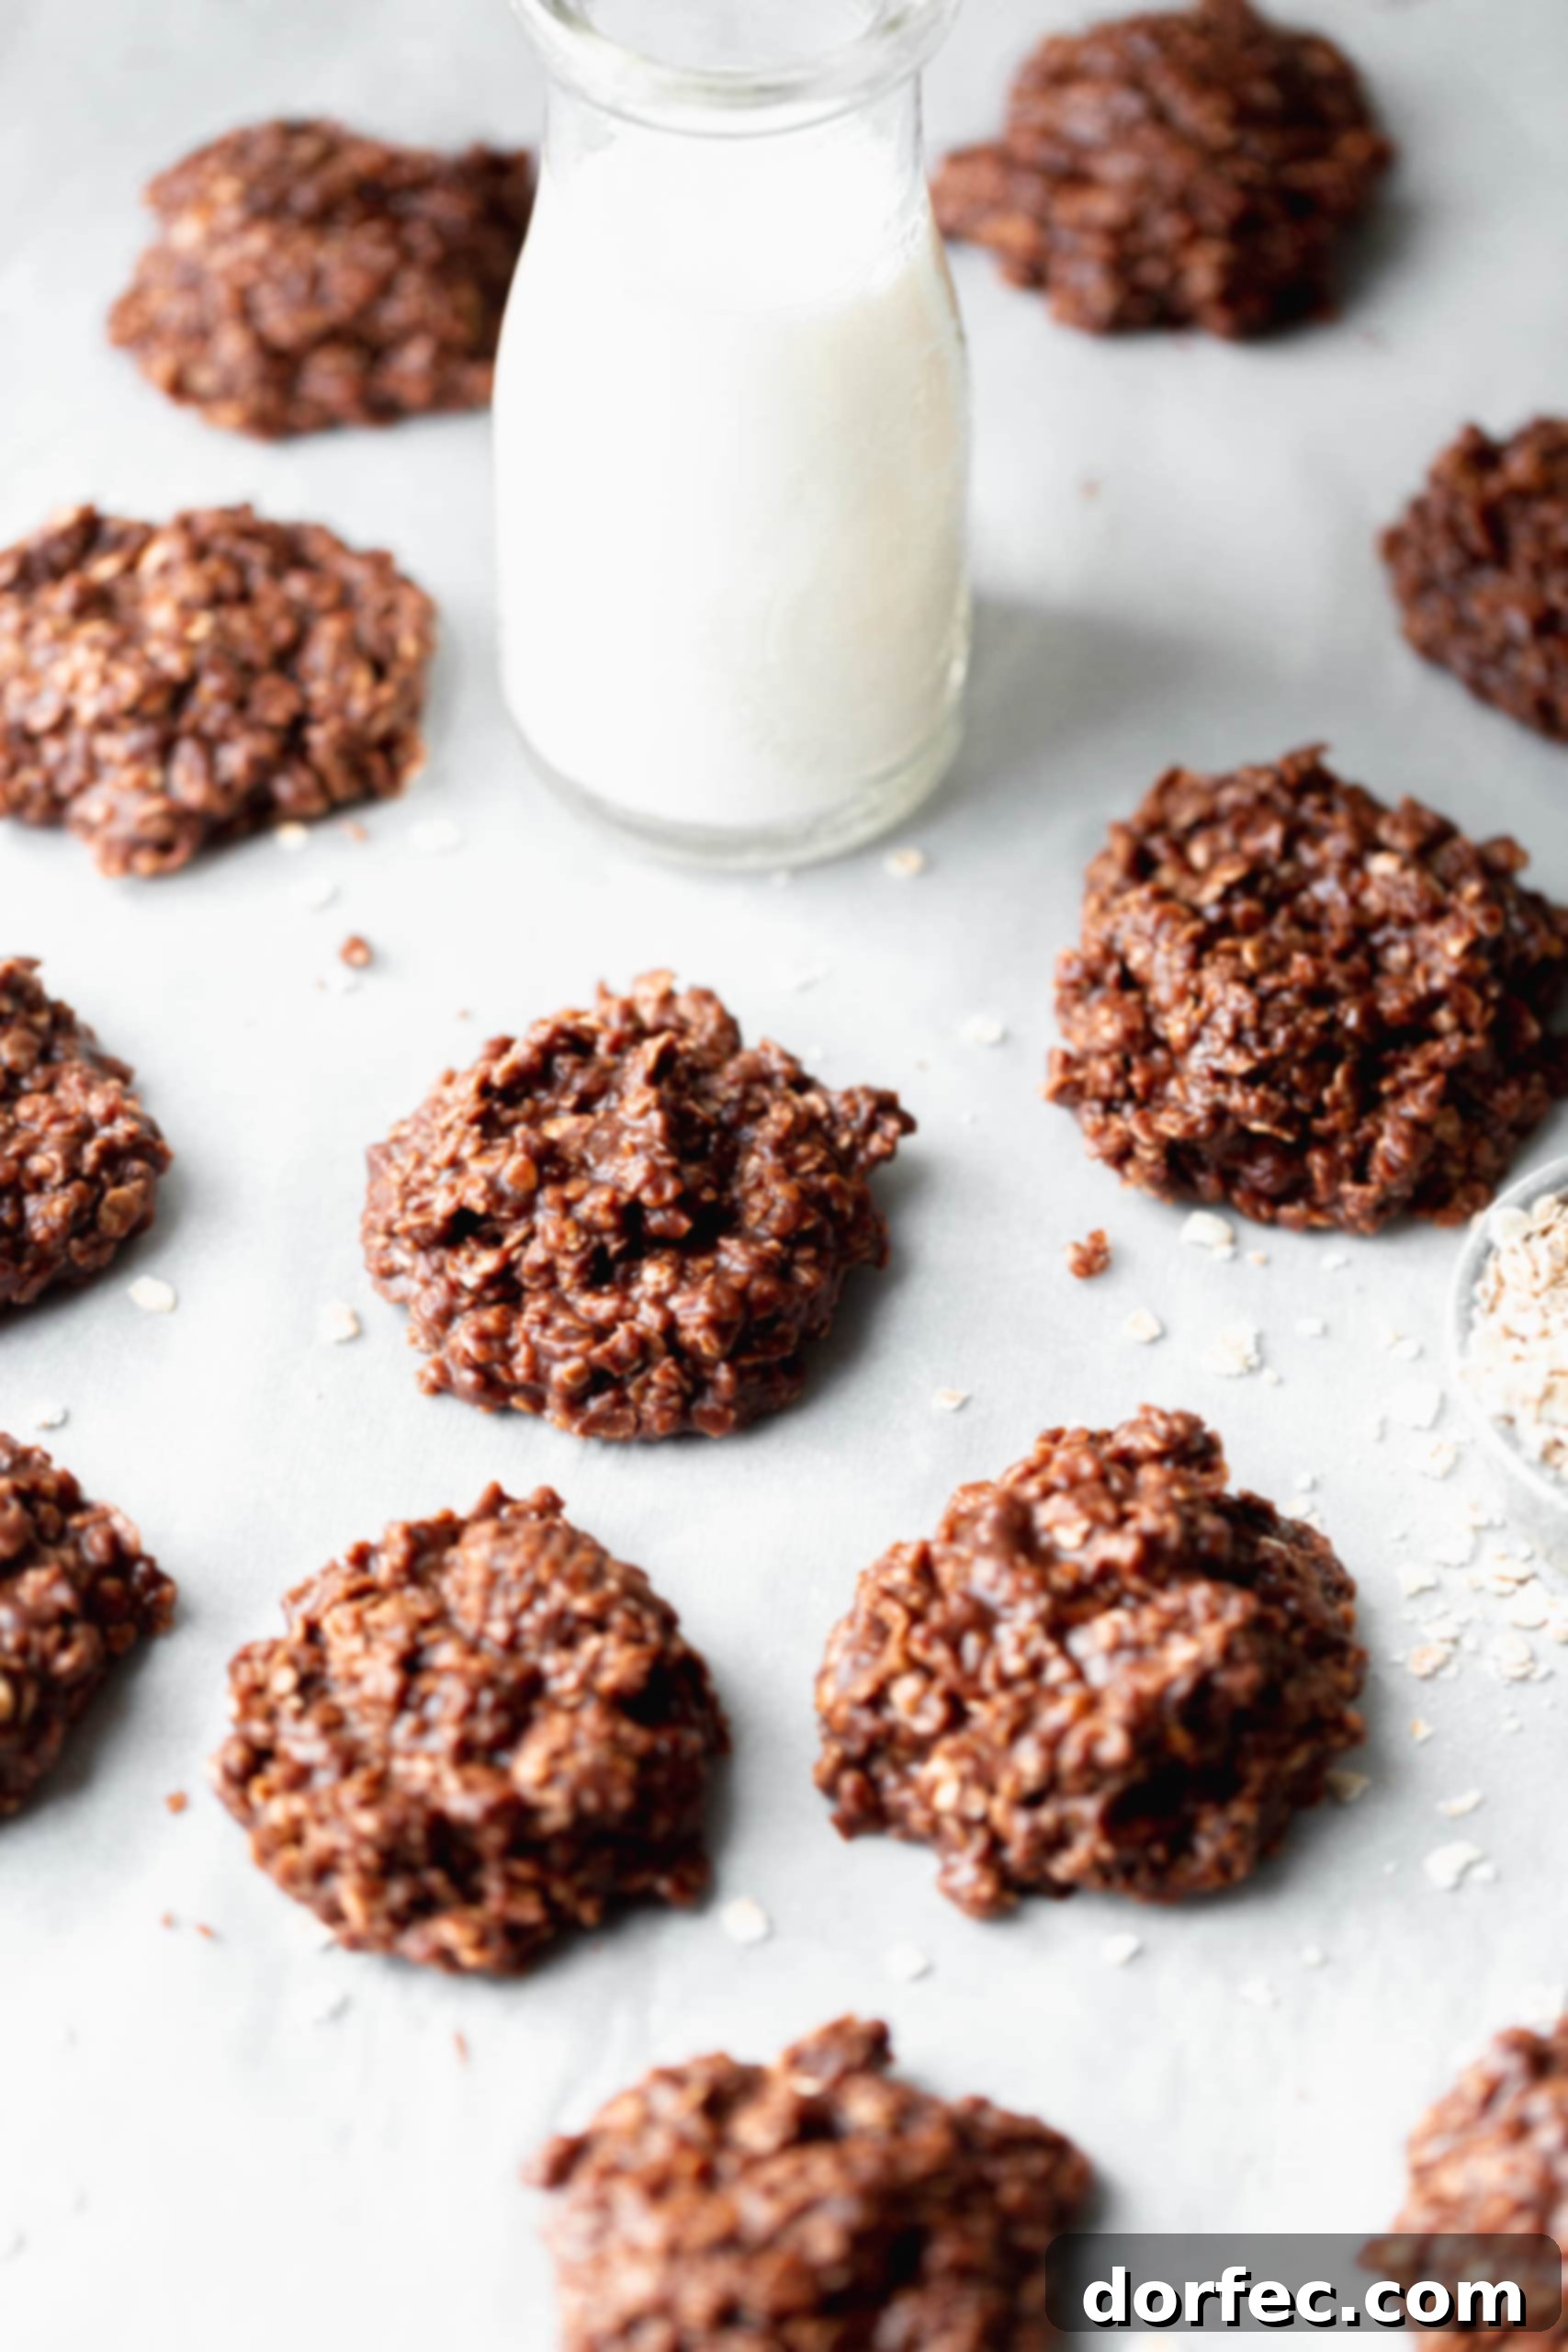
How Long Will No-Bake Cookies Stay Fresh?
When stored correctly in an airtight container, your no-bake cookies will maintain their optimal freshness and deliciousness for up to 4 days at room temperature or in the refrigerator. For extended freshness and to prevent them from drying out, I recommend wrapping individual cookies (or small stacks) in plastic wrap before placing them in an airtight container or a Ziploc bag with as much air pressed out as possible. This extra step really helps preserve their moisture and chewiness.
Can No-Bake Cookies Be Frozen?
Absolutely! No-bake cookies freeze exceptionally well, making them perfect for meal prep or enjoying a homemade treat whenever a craving strikes. To freeze them, first arrange the cooled, set cookies in a single layer on a baking sheet. Place the baking sheet in the freezer for about 1-2 hours, or until the cookies are completely firm. This “flash freezing” prevents them from sticking together. Once hardened, transfer the cookies to an airtight freezer-safe container or a heavy-duty freezer bag. They will happily last in the freezer for approximately 3 months. When you’re ready to enjoy one, simply let it thaw at room temperature for a few minutes or enjoy it straight from the freezer for a delightful chewy-cold treat.
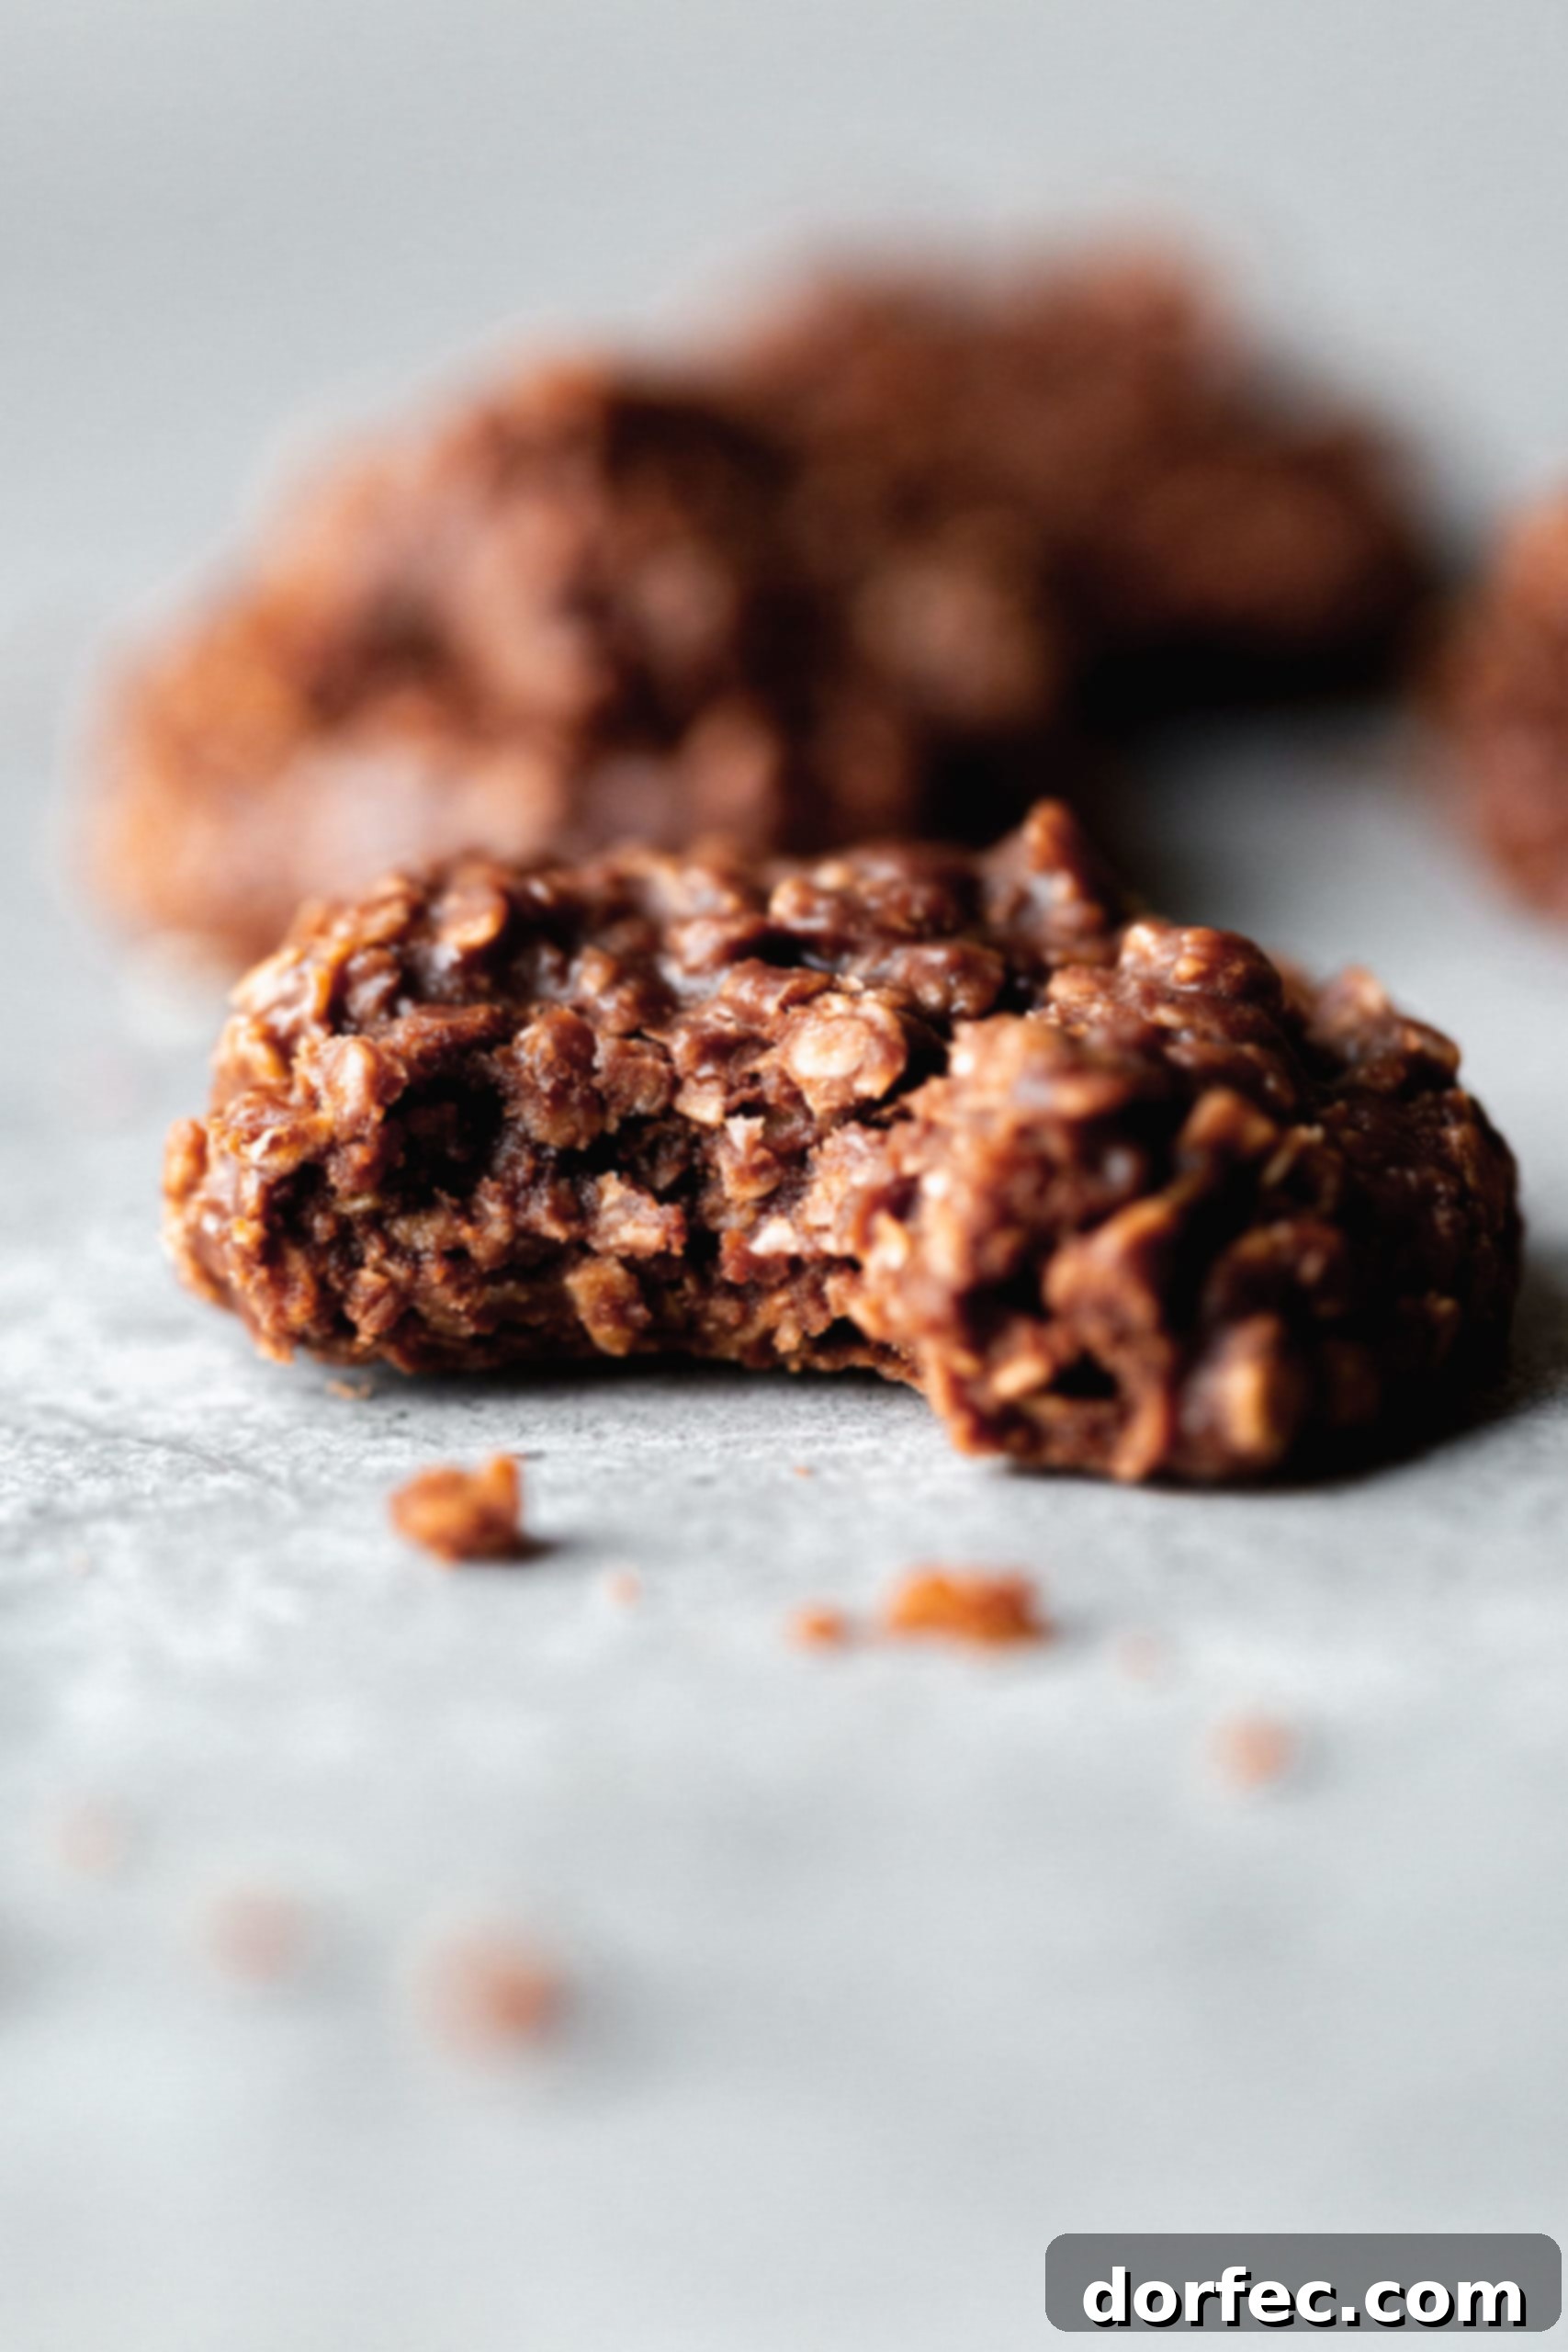
This timeless no-bake cookie recipe consistently delivers thick, chewy, and utterly satisfying chocolate peanut butter delights. Whether you’re introducing young children to the joys of the kitchen or empowering older kids to create their own treats, these cookies are a fantastic choice. Their ease of preparation and universally loved flavor make them a staple in many households. Be warned, though: once you taste them, stopping at just one is a formidable challenge!
More Irresistible No-Bake Desserts to Explore:
- Reese’s Rice Krispie Treats
- Caramel Cheesecake Bars
- Lemon Blueberry Cheesecake
- Chocolate Pie
- Gooey Rice Krispie Treats
- S’mores Bars
No-Bake Chocolate Peanut Butter Oatmeal Cookies
By Sweet Basil
Print Recipe
Ingredients
- 2 Cups Granulated Sugar
- 1/2 Cup Unsalted Butter
- 1/2 Cup Milk (any kind)
- 1/3 Cup Unsweetened Cocoa Powder
- 2/3 Cup Creamy Peanut Butter
- 1 1/2 teaspoons Vanilla Extract
- Pinch of Salt
- 3 Cups Quick Cooking Oats
Instructions
- Line a large baking sheet with parchment paper or a silicone baking mat. Set aside.
- In a medium saucepan, combine the sugar, butter, milk, and cocoa powder. Bring the mixture to a full, rolling boil over medium heat, stirring occasionally. Once it reaches a rolling boil, set a timer for exactly 1 minute and allow it to boil vigorously.

- Immediately remove the saucepan from the heat. Whisk in the creamy peanut butter, vanilla extract, and pinch of salt until smooth and well combined.
- Quickly add the quick cooking oats to the mixture and stir until they are fully coated. Working quickly, drop heaping tablespoonfuls of the cookie mixture onto the prepared baking sheet.
- Allow the cookies to cool and set on the counter at room temperature for 20-30 minutes. For a faster set, you can place them in the refrigerator.
Recipe Notes
Store these delicious no-bake cookies in an airtight container at room temperature or in the refrigerator for up to 4 days to maintain their freshness and chewy texture.
Nutrition Information
- Serving: 1 Cookie
- Calories: 185 kcal
- Carbohydrates: 26g
- Protein: 4g
- Fat: 8g
- Saturated Fat: 3g
- Trans Fat: 1g
- Cholesterol: 11mg
- Sodium: 70mg
- Potassium: 110mg
- Fiber: 2g
- Sugar: 18g
- Vitamin A: 126 IU
- Calcium: 17mg
- Iron: 1mg
Nutrition information is automatically calculated and should be considered an approximation.
We absolutely love hearing from you! If you try this recipe, please consider leaving a comment below to share your experience. Your feedback helps us and other readers.
REMEMBER TO SUBSCRIBE TO our FREE Oh Sweet Basil NEWSLETTER AND RECEIVE EASY RECIPES DELIVERED INTO YOUR INBOX EVERY DAY!
When you try a recipe, please use the hashtag #ohsweetbasil on INSTAGRAM for a chance to be featured in our stories! FOLLOW OH, SWEET BASIL ON FACEBOOK | INSTAGRAM | PINTEREST | TWITTER FOR ALL OF OUR LATEST CONTENT, RECIPES AND STORIES.