
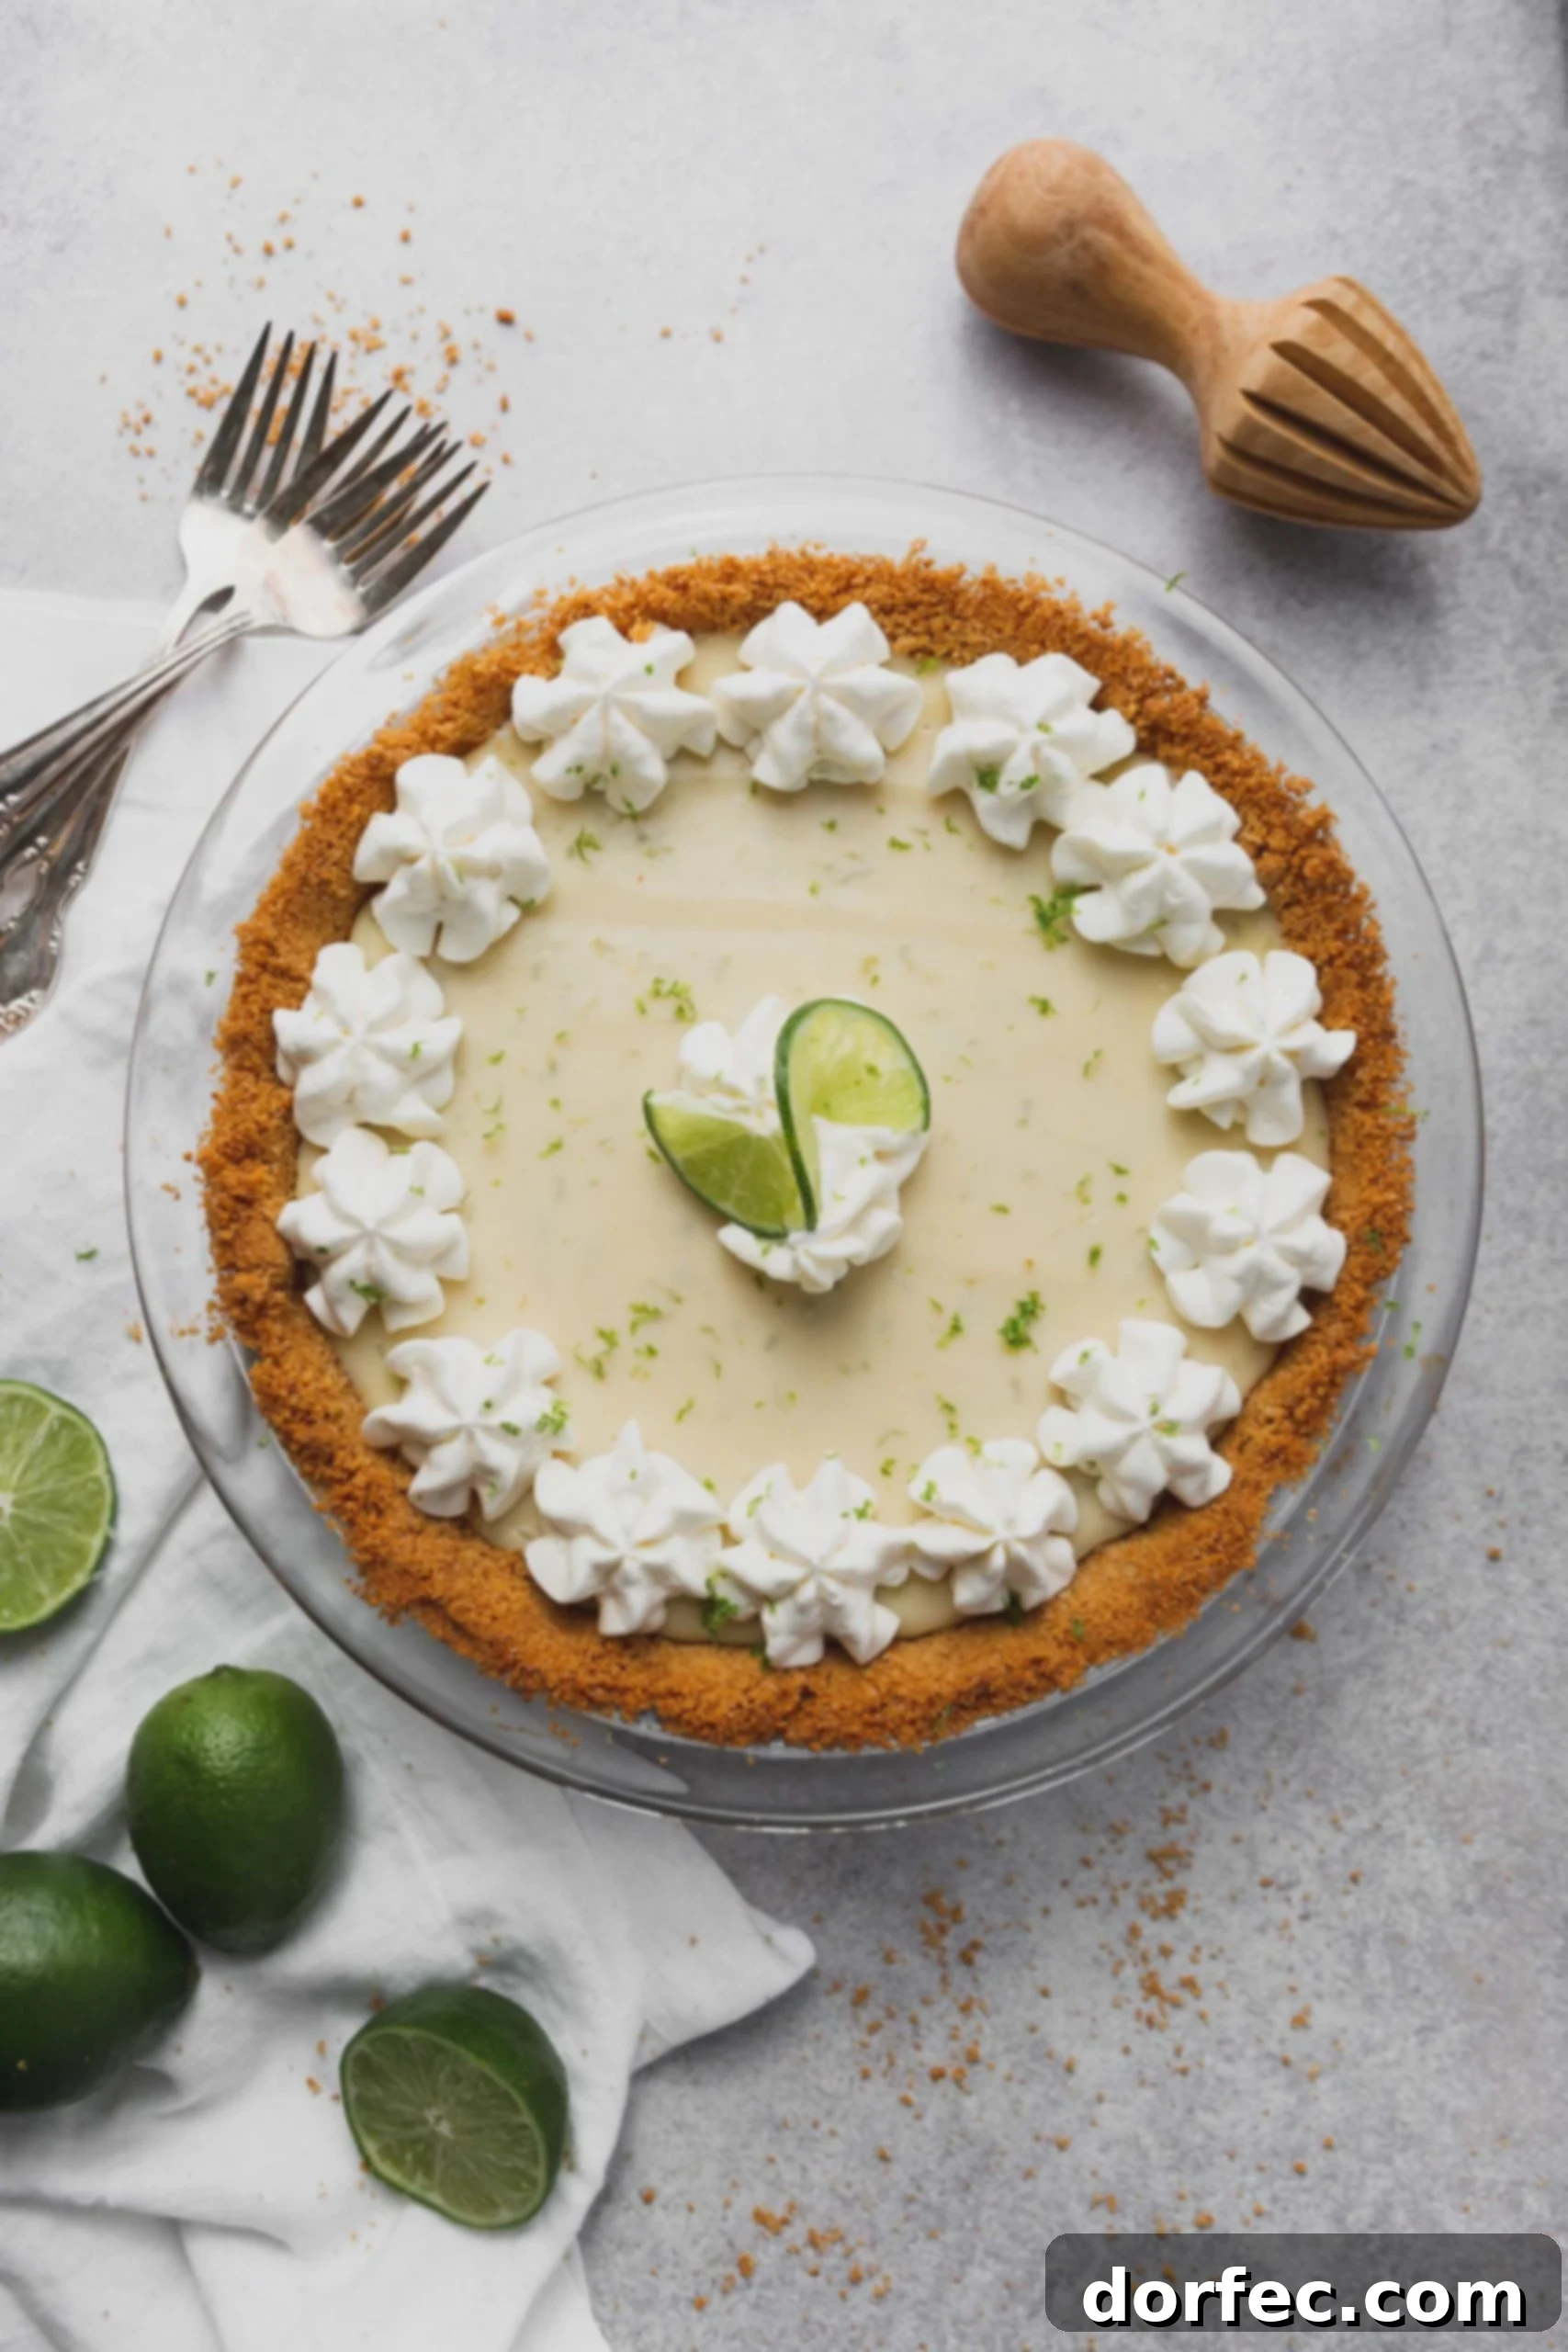
The Ultimate Key Lime Pie Recipe: A Zesty, Creamy Delight
There’s nothing quite as refreshing and satisfying as a perfectly crafted Key Lime Pie. With its vibrant, tangy-sweet filling nestled in a crisp graham cracker crust, and often crowned with a cloud of whipped cream, it’s a dessert that instantly transports you to sun-drenched Florida Keys. This isn’t just any recipe; it’s the culmination of years of testing and refining, resulting in a pie that’s simply irresistible. Prepare for this to become your go-to dessert for any occasion, promising a burst of citrusy goodness in every single bite.
My journey to perfecting this Key Lime Pie began over 16 years ago, shortly after I got married. My husband, Cade, developed a deep love for “Torta de Limão” during his two-year mission in Brazil. While we cherish our recipe for Key Lime bars, we were determined to capture that authentic Florida Key Lime essence in a pie. After countless experiments, a simple addition changed everything: a touch of sour cream. This secret ingredient elevates the pie, adding an extra layer of creamy texture and a perfectly balanced tang that truly sets this recipe apart.
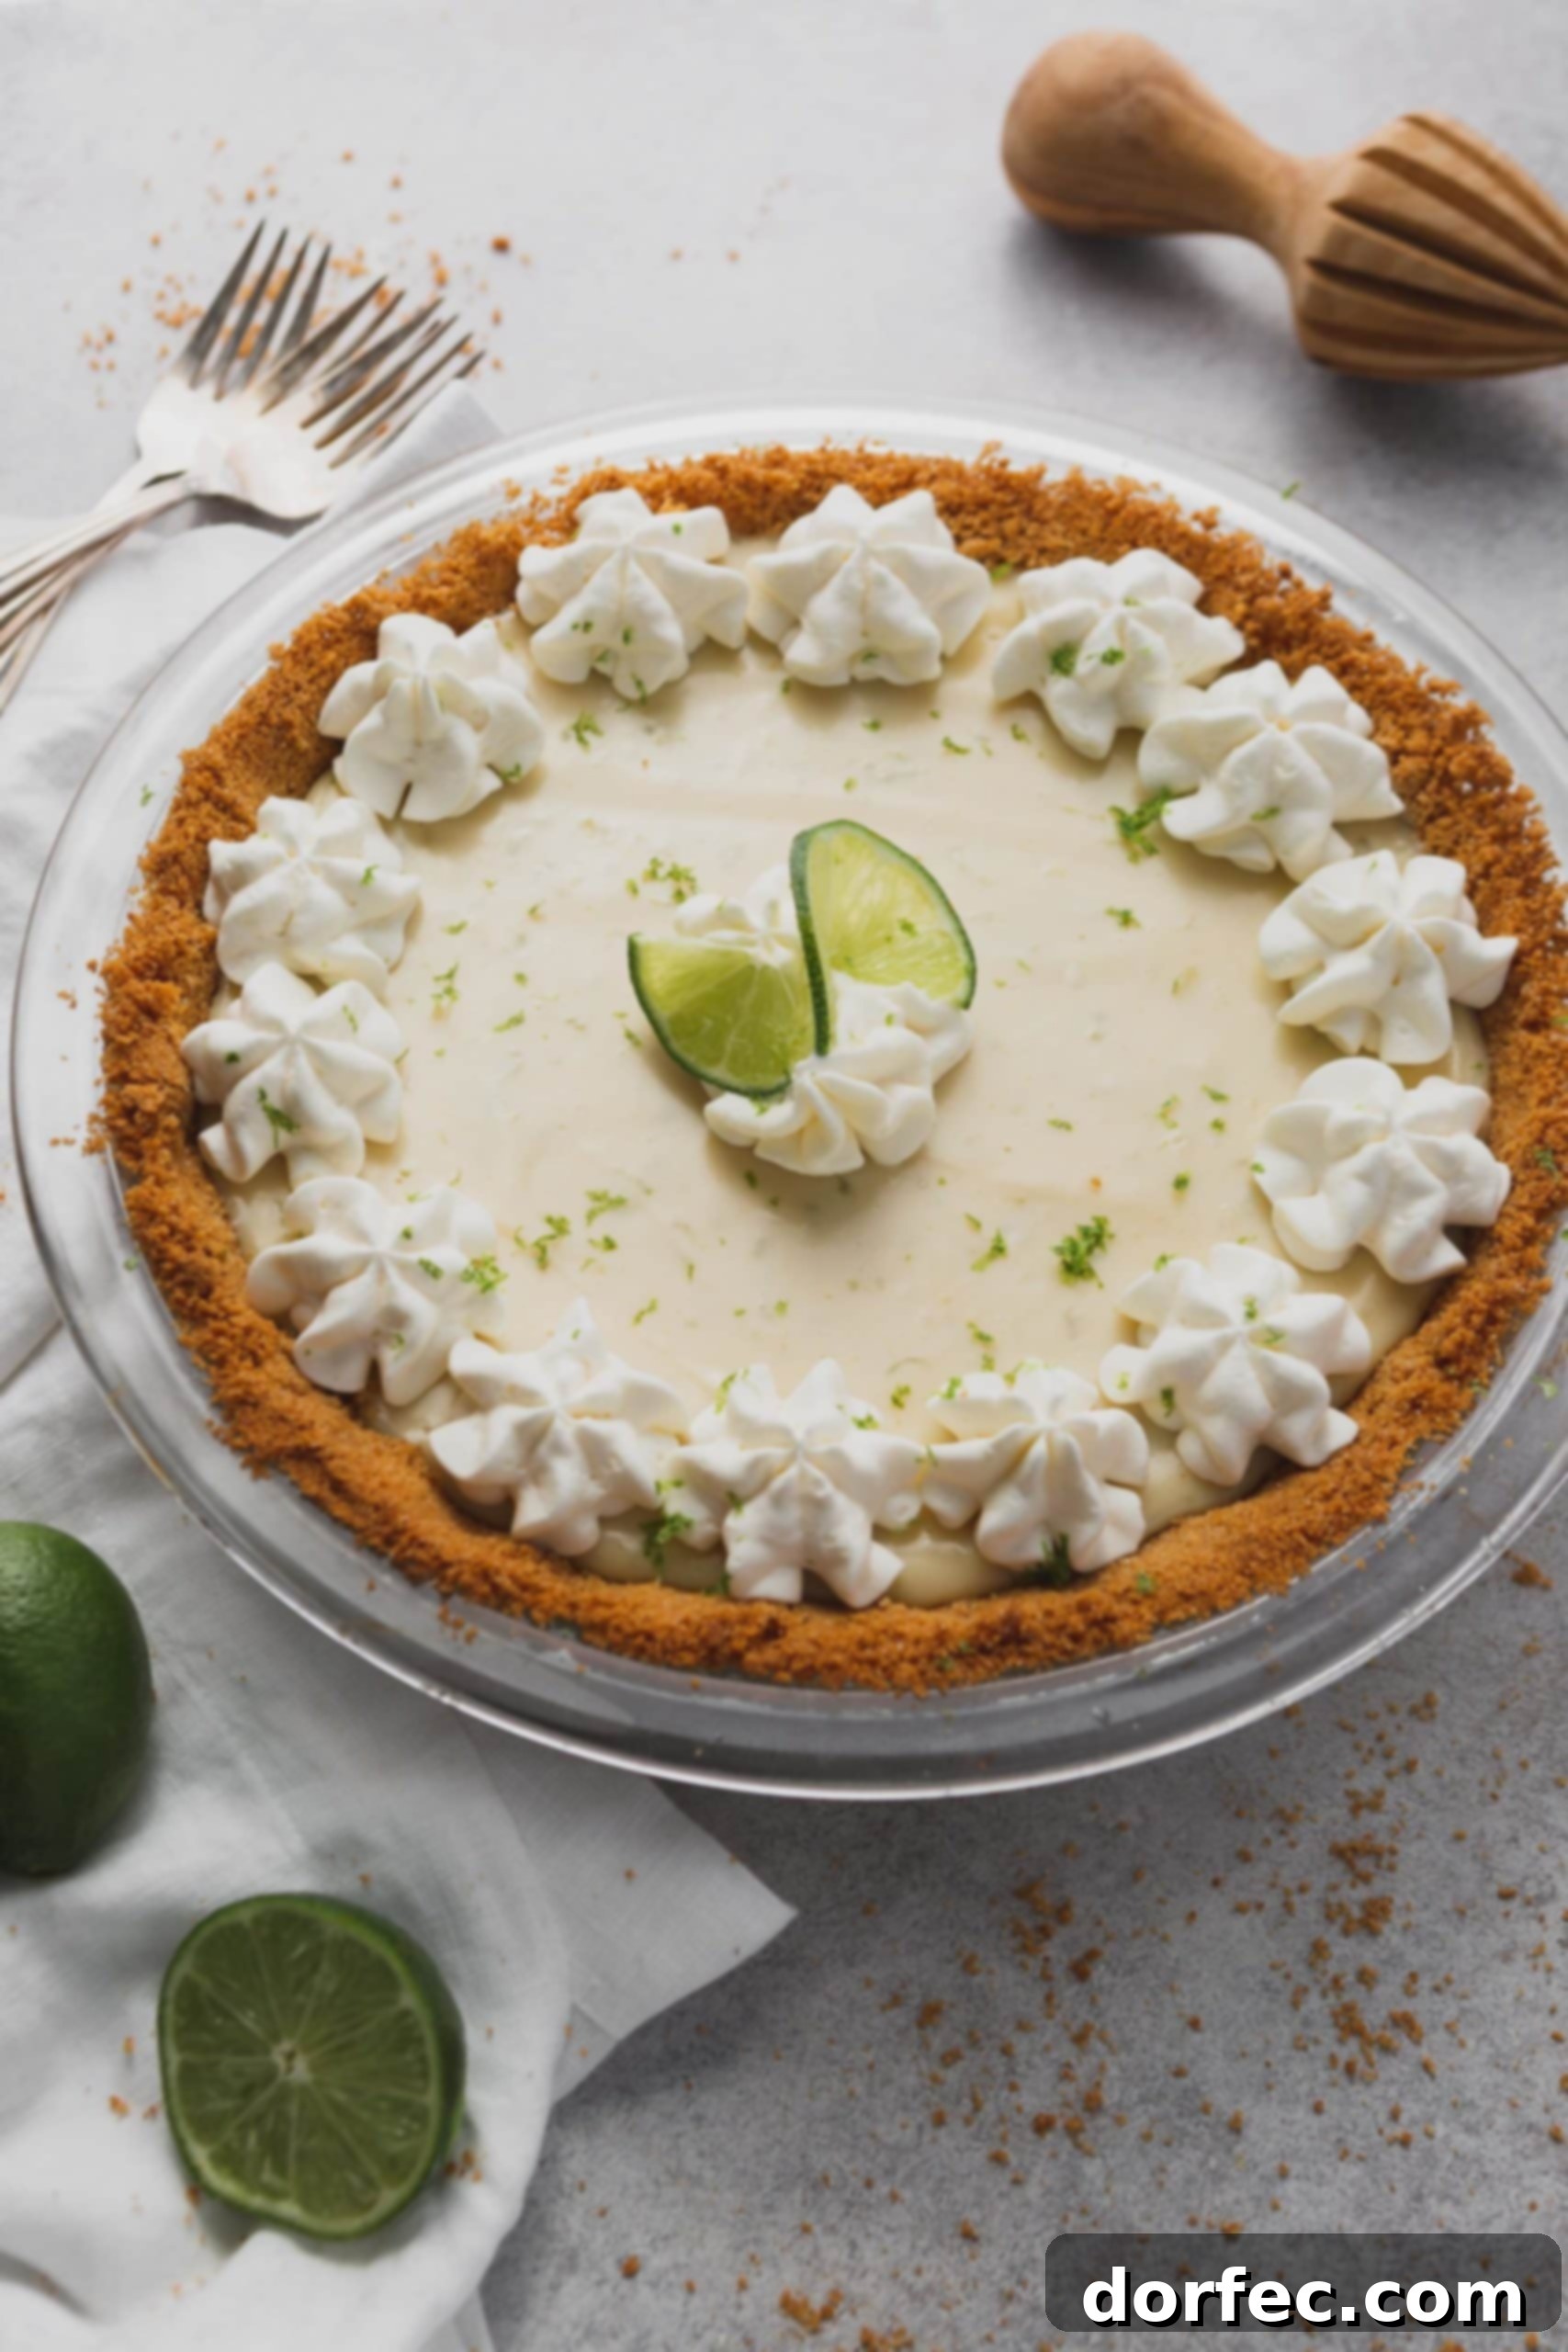
Essential Ingredients for a Classic Key Lime Pie
You’ll be delighted by how few ingredients are needed to create this show-stopping dessert, and many might already be in your pantry! Crafting this pie often reminds me of my mom’s famous lemon meringue pie, where fresh citrus makes all the difference. The quality of your ingredients truly shines through in such a simple recipe, so opt for the best you can find. Here’s a detailed look at what you’ll need:
- Graham Cracker Crust: This forms the foundational layer of our pie. A classic graham cracker crust is made from finely crushed graham crackers, melted butter, and a touch of sugar. The crumbs provide a delightful texture and a subtly sweet, buttery flavor that complements the tart lime filling beautifully. We recommend making your own for the freshest taste and perfect consistency, but a good quality store-bought crust can also work in a pinch.
- Sweetened Condensed Milk: This is the backbone of our creamy filling, providing both its essential sweetness and its luxurious, silky texture. It reacts chemically with the lime juice to thicken the pie without the need for excessive baking, contributing to its signature smooth consistency.
- Sour Cream: The secret ingredient that makes this recipe truly special! Sour cream adds an unparalleled richness and a delicate tang that perfectly balances the sweetness of the condensed milk. It contributes to a wonderfully creamy mouthfeel and enhances the overall complexity of the lime flavor, making the pie even more irresistible.
- Lime Zest: For an explosion of fresh, aromatic lime flavor! Zest contains the essential oils of the lime, offering a concentrated burst of citrus that is far more potent and fragrant than juice alone. Don’t skip this step; it elevates the pie from good to extraordinary. Make sure to use a fine zester and only get the green part of the lime, avoiding the bitter white pith.
- Lime Juice: The star of the show! While bottled Key lime juice is available, we wholeheartedly recommend squeezing fresh Key limes for the most authentic and vibrant flavor. Fresh juice offers a bright, zippy tartness that is simply unmatched. If Key limes are hard to find, a blend of fresh regular lime juice and a touch of lemon juice can serve as a worthy substitute.
- Egg Yolks: These add incredible richness and further enhance the pie’s creamy texture. They also play a crucial role in the setting process, contributing to a firm yet delicate custard-like filling when baked.
- Stabilized Whipped Cream: Perfect for topping, stabilized whipped cream holds its shape beautifully and adds a lovely, airy counterpoint to the dense, tangy filling. Made with heavy cream, powdered sugar, vanilla, and a hint of gelatin, it’s the ideal garnish for both beauty and taste.
Exact measurements for each ingredient can be found in the comprehensive recipe card below.
Recommended Equipment for Key Lime Pie Perfection
Having the right tools can make your pie-making process much smoother and more enjoyable. While some items are optional, they certainly enhance the experience and results:
- Pie Pan: A good quality pie pan ensures even baking and easy serving.
- Food Processor: Ideal for quickly making graham cracker crumbs for your crust.
- KitchenAid Mixer: While not strictly necessary (a whisk works fine!), a stand mixer simplifies the whisking of the filling ingredients and makes whipping cream a breeze.
- Citrus Juicer: Essential for extracting maximum juice from your Key limes.
- Zester: A microplane zester is perfect for grating fine, fragrant lime zest without hitting the bitter white pith.
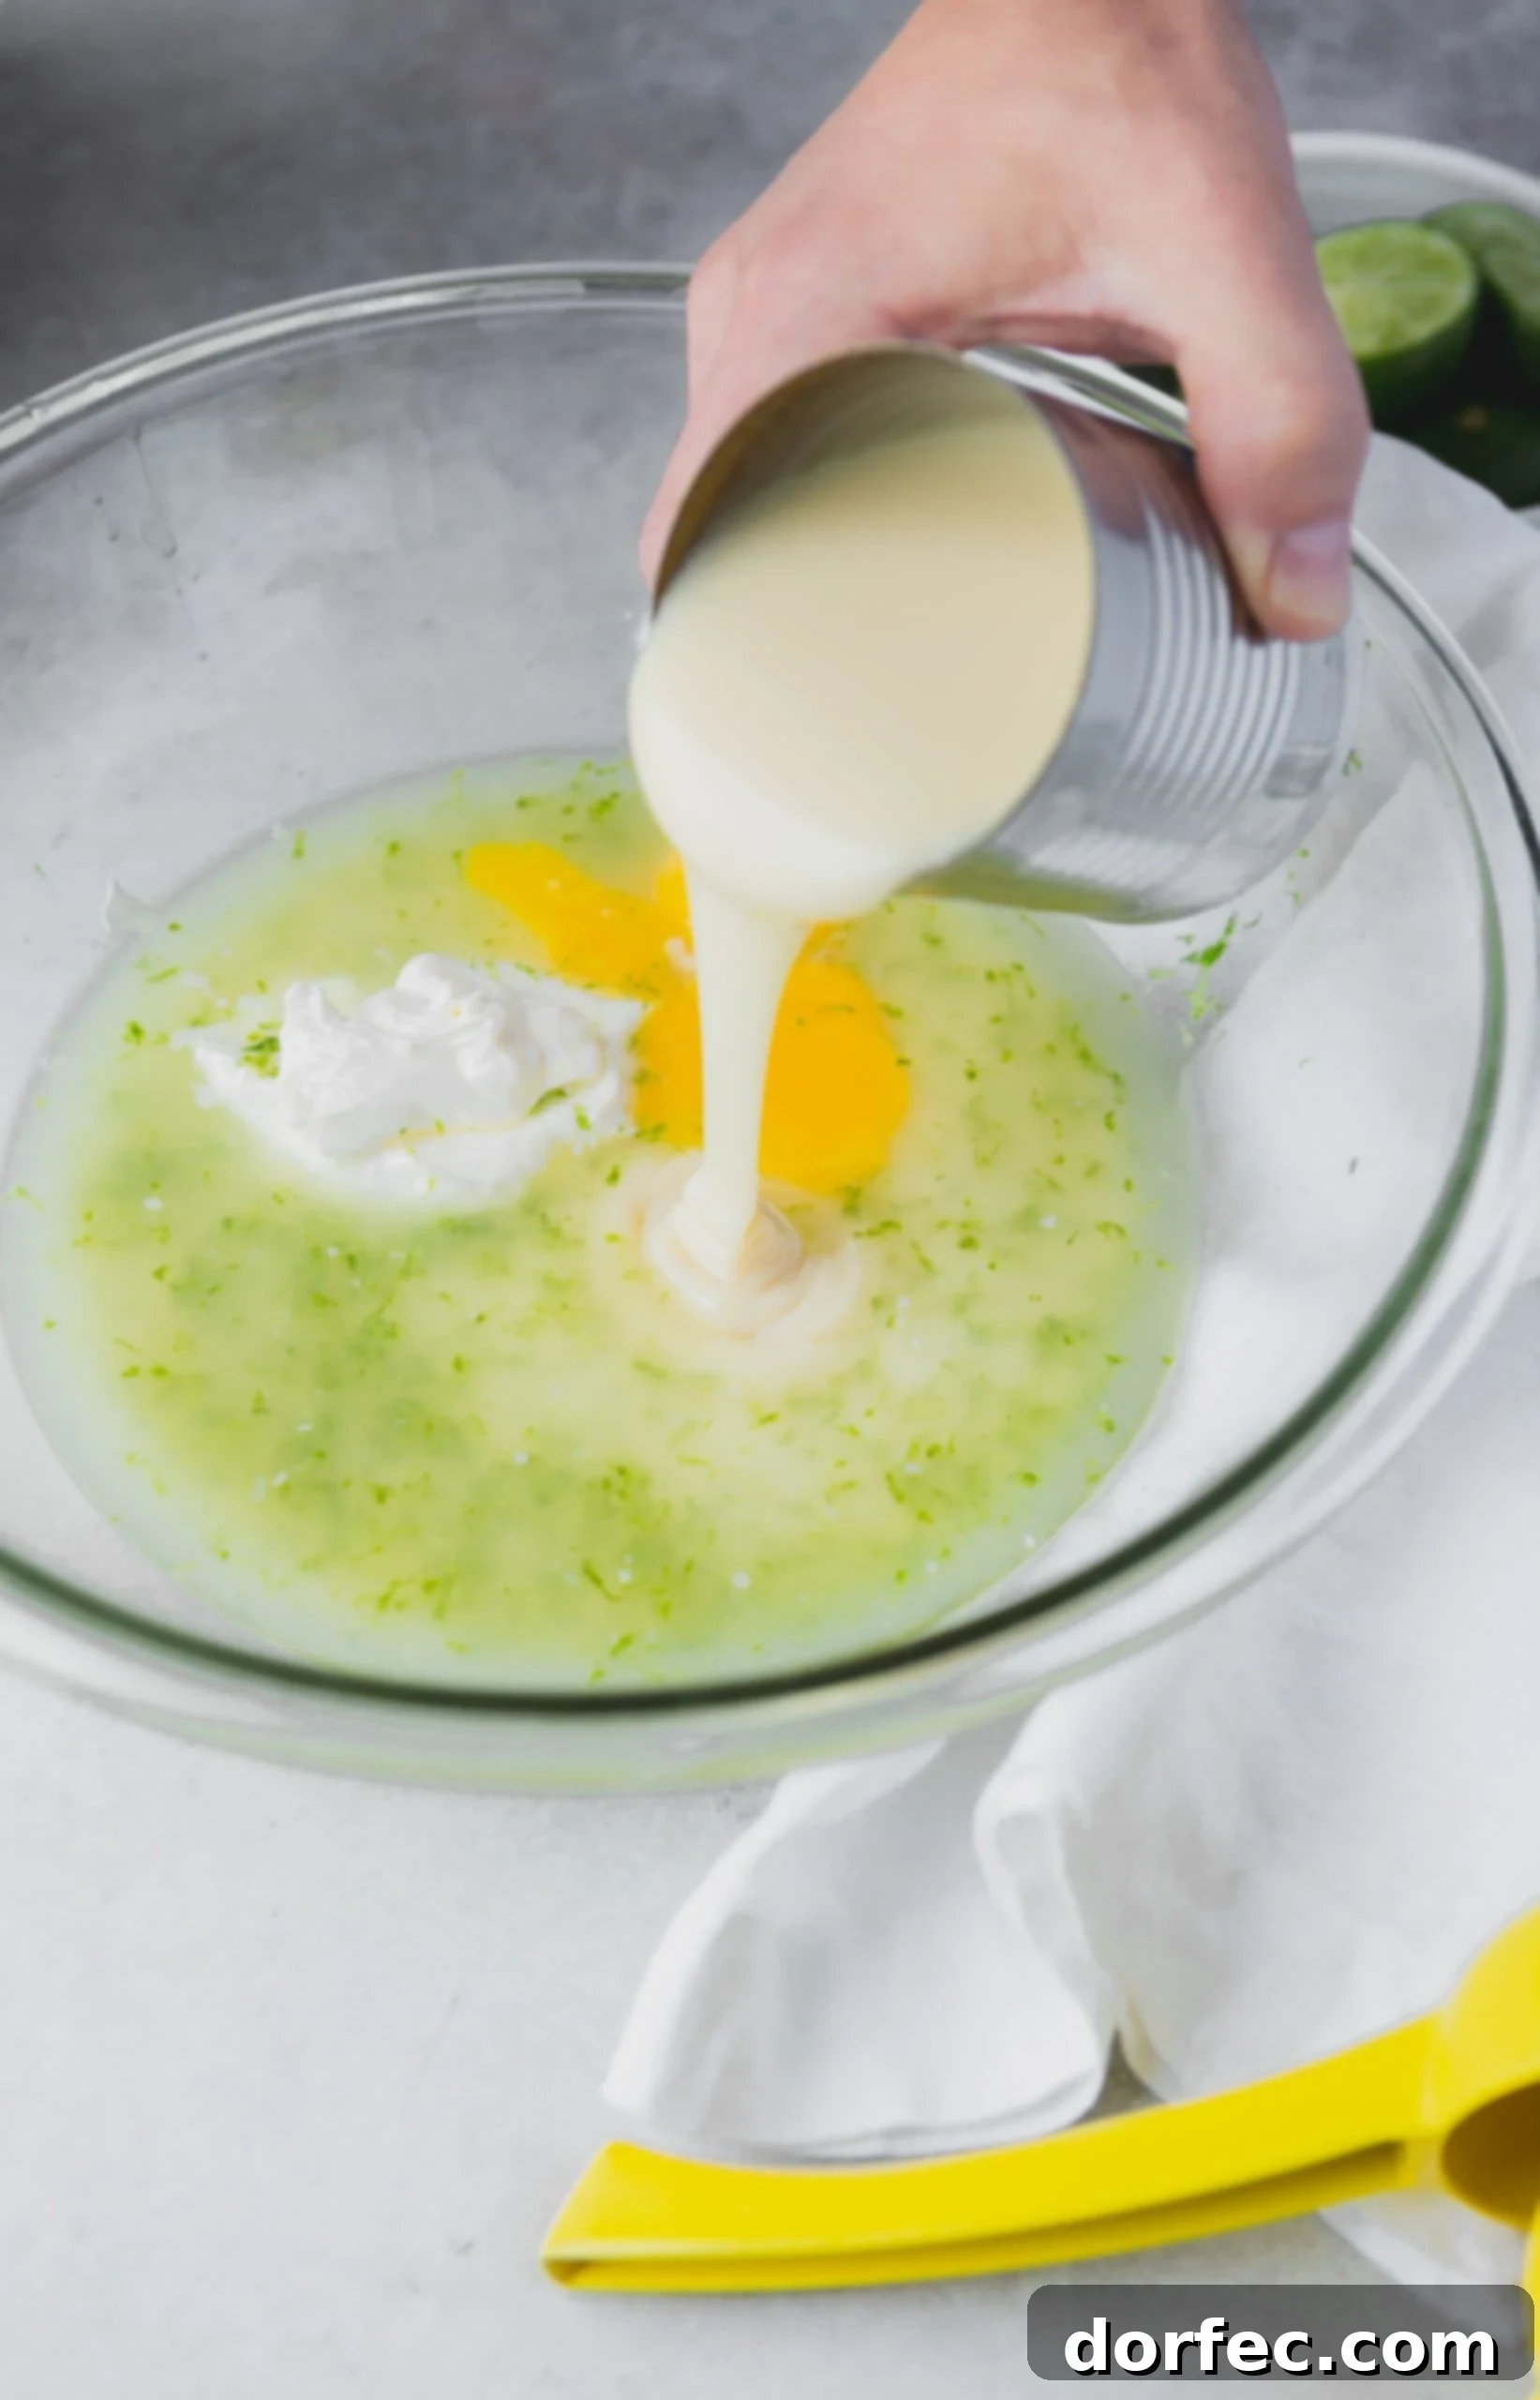
How to Make This Dreamy Key Lime Pie
If you thought the ingredient list was simple, just wait until you see how incredibly easy it is to assemble this masterpiece! The beauty of Key Lime Pie lies in its straightforward preparation, allowing the quality of the ingredients to truly shine. Follow these basic steps for a flawless dessert:
- Prepare the Graham Cracker Crust: Begin by making your homemade graham cracker crust according to the recipe instructions. Once pressed into your pie pan, bake it briefly to set, then allow it to cool completely. A well-cooled crust prevents a soggy bottom and provides a stable base for your filling.
- Whisk the Filling Ingredients: In a large mixing bowl, combine all the luscious filling ingredients: sweetened condensed milk, sour cream, lime zest, fresh lime juice, and egg yolks. Whisk them together until the mixture is smooth, thoroughly combined, and slightly thickened. The acid from the lime juice will begin to react with the condensed milk, starting the thickening process even before baking.
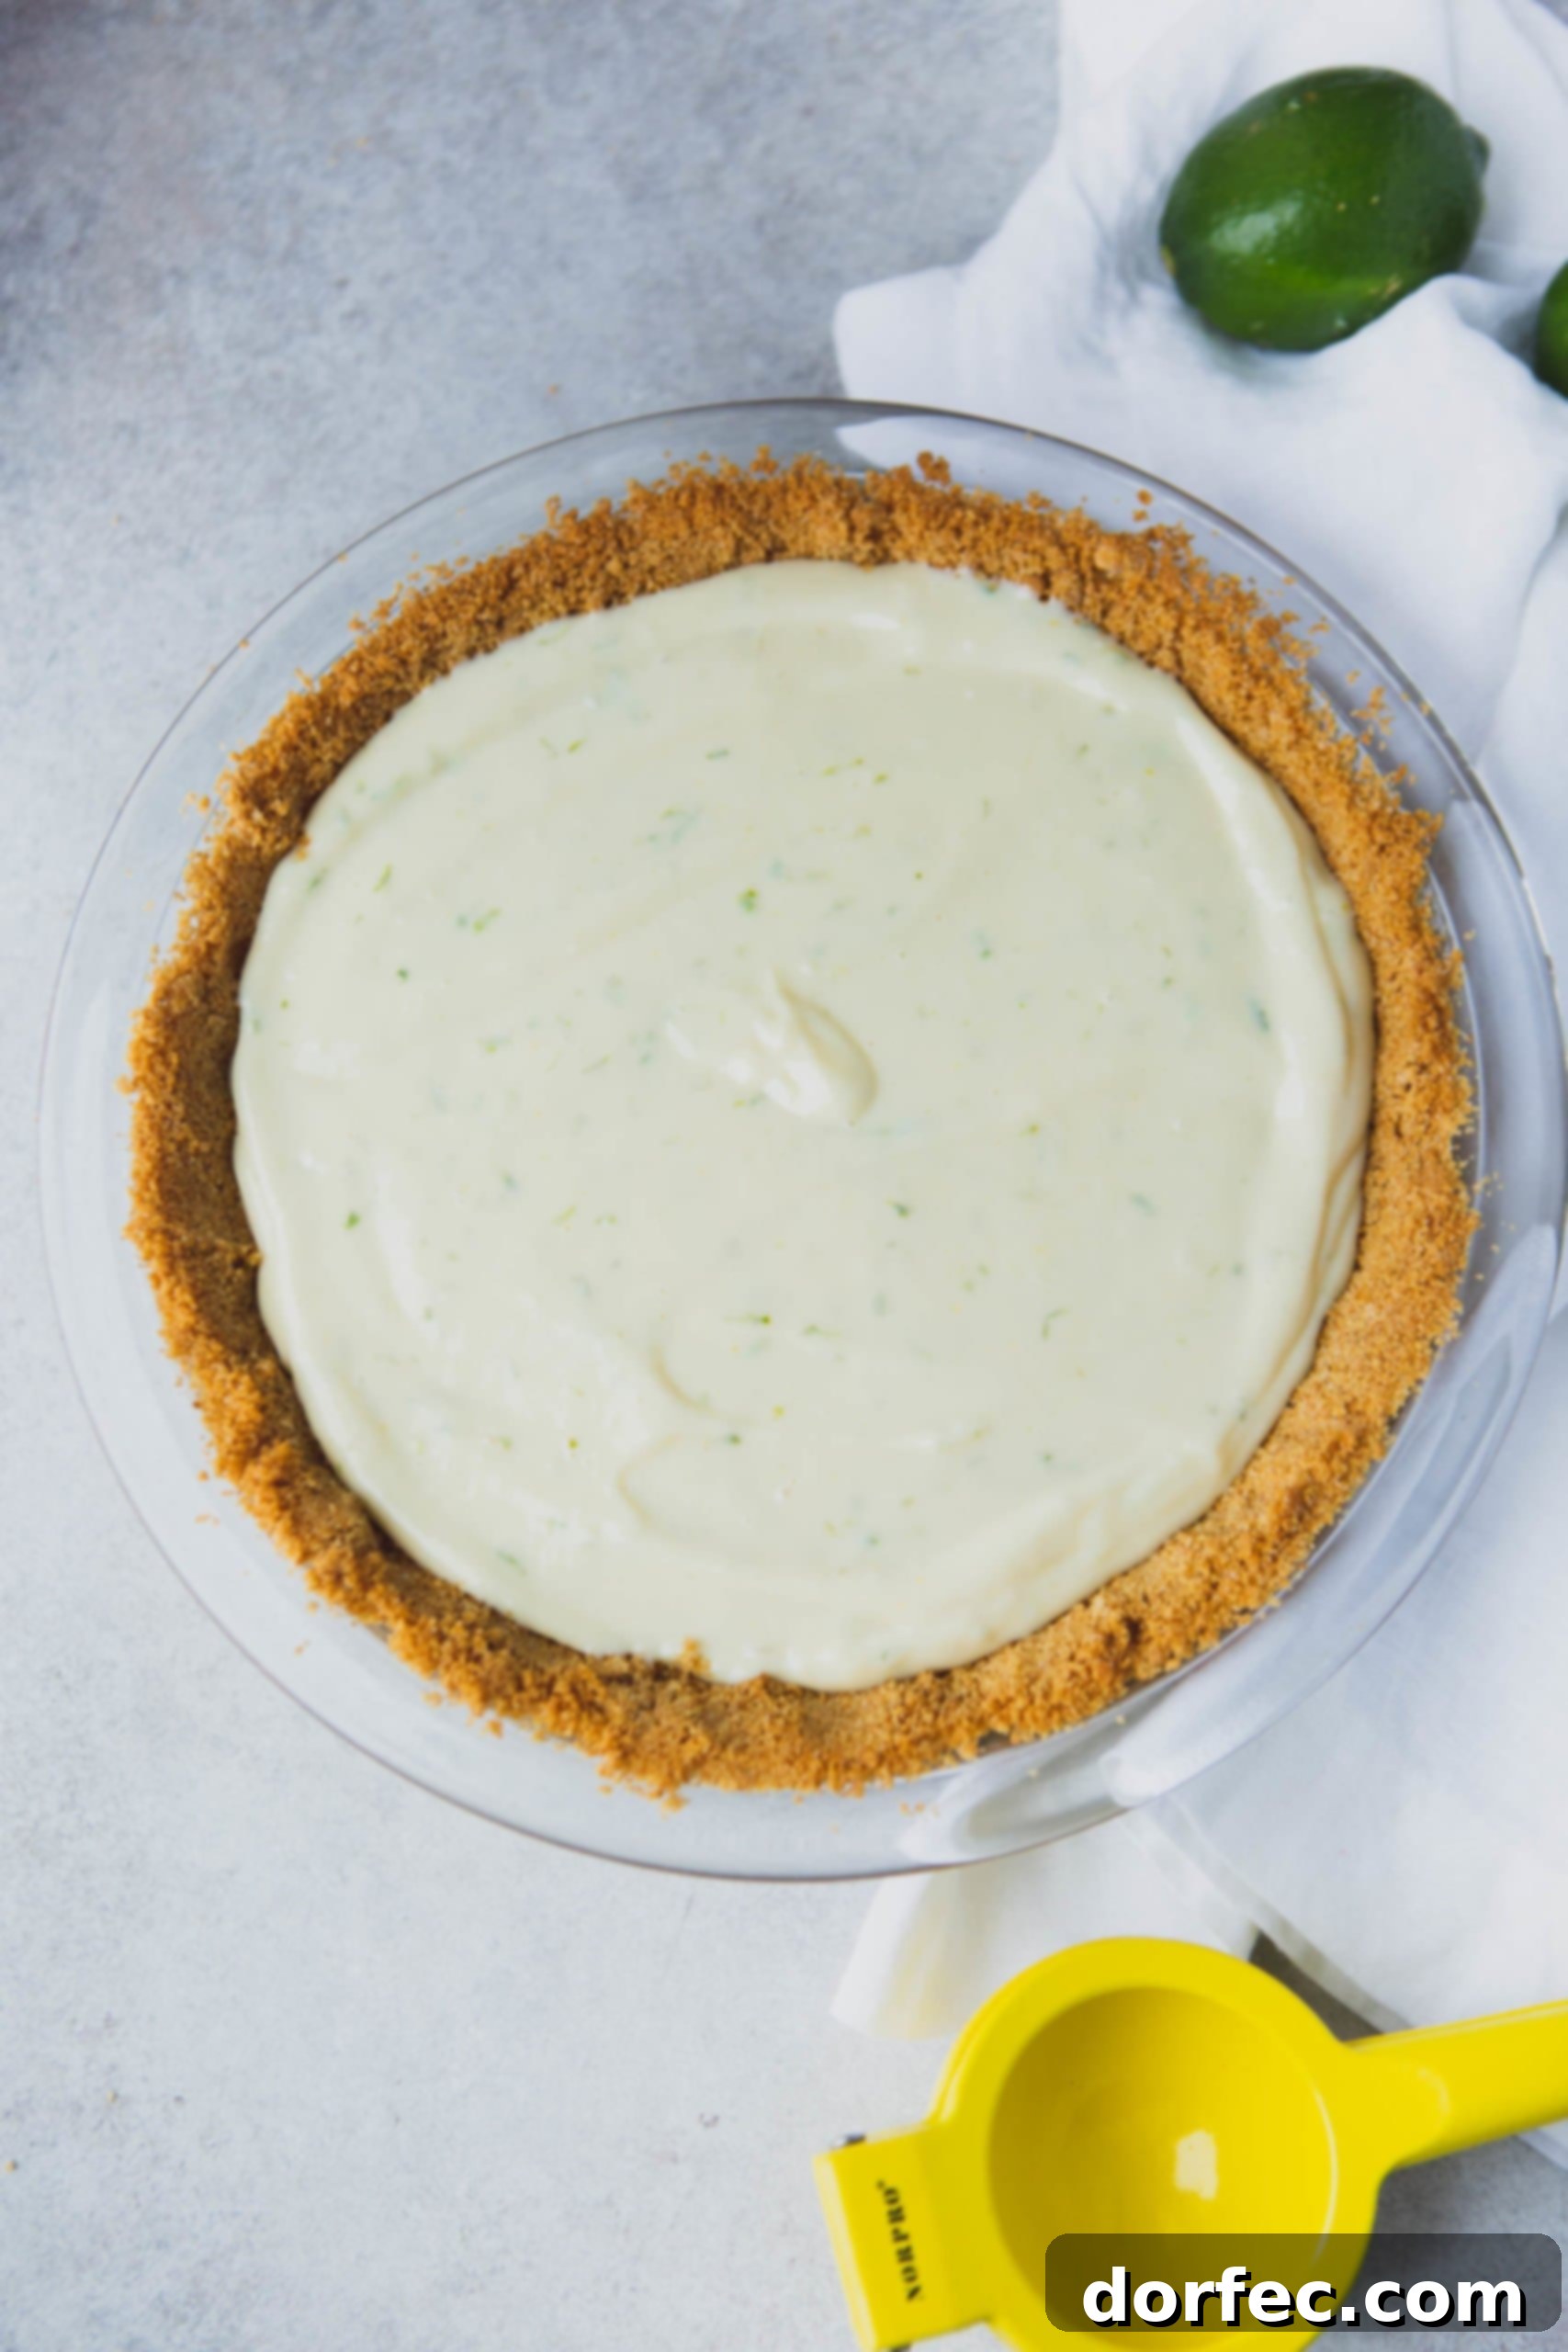
- Pour into the Crust: Carefully pour the silky Key lime filling into your prepared and cooled graham cracker crust. Ensure the filling is evenly distributed.
- Bake and Cool: Bake the pie for a short period, just enough to set the edges. Then, the real magic of setting happens as it cools and chills. Let it cool on the countertop for about 15-20 minutes before transferring it to the refrigerator.
- Serve with Whipped Cream: Once fully chilled and set, slice and serve your magnificent Key Lime Pie. A generous dollop of homemade stabilized whipped cream is the perfect accompaniment, adding a light, creamy contrast to the tangy pie.
Detailed instructions, including specific temperatures and times, are provided in the recipe card below.
Knowing When Your Key Lime Pie is Perfectly Done
Key Lime Pie doesn’t require a long baking time, as much of its final set occurs during the chilling process. After its brief stint in the oven, you’re looking for a slight jiggle in the very center of the pie. The edges should appear set and firm, but the middle should still have a delicate quiver, similar to a perfectly baked cheesecake. It’s crucial not to over-bake it, as this can lead to a rubbery texture or cracks in the filling. Once it has that subtle jiggle, remove it from the oven, let it cool at room temperature for about 15 minutes, then transfer it to the refrigerator to complete its transformation.
Key Limes vs. Regular Limes: What’s the Difference?
While both are limes, Key limes (Citrus aurantifolia) and Persian limes (Citrus latifolia, or regular limes) offer distinct characteristics that impact the flavor of your pie:
- Flavor Profile: Key limes are more aromatic, offering a unique blend of intense tartness with delicate floral notes. Their flavor is complex, brighter, and slightly sweeter than regular limes. Persian limes, on the other hand, tend to be less acidic, with a bolder, simpler tartness.
- Appearance: Key limes are considerably smaller, about the size of a golf ball, and have a thinner, yellowish-green rind when ripe. Regular limes are larger, typically bright green, and have a thicker skin.
- Juice Yield: Due to their small size, Key limes yield less juice per fruit, making them more laborious to juice. However, the unique flavor they impart is often considered worth the effort for an authentic Key Lime Pie.
Ultimately, a pie made with fresh Key limes tastes like pure sunshine and summer, providing an unmatched depth of citrus flavor.
Can I Substitute Key Limes?
Yes, you can! If fresh Key limes are difficult to source, you can create a very close approximation using a blend of other citrus. The best substitute is often a mix of half fresh lemon juice and half fresh regular lime juice. The lemon juice adds the extra brightness and floral notes that are characteristic of Key limes, while the regular lime juice provides the familiar lime flavor. While it won’t be exactly the same, it will still yield a delicious, tangy pie that’s wonderfully refreshing.
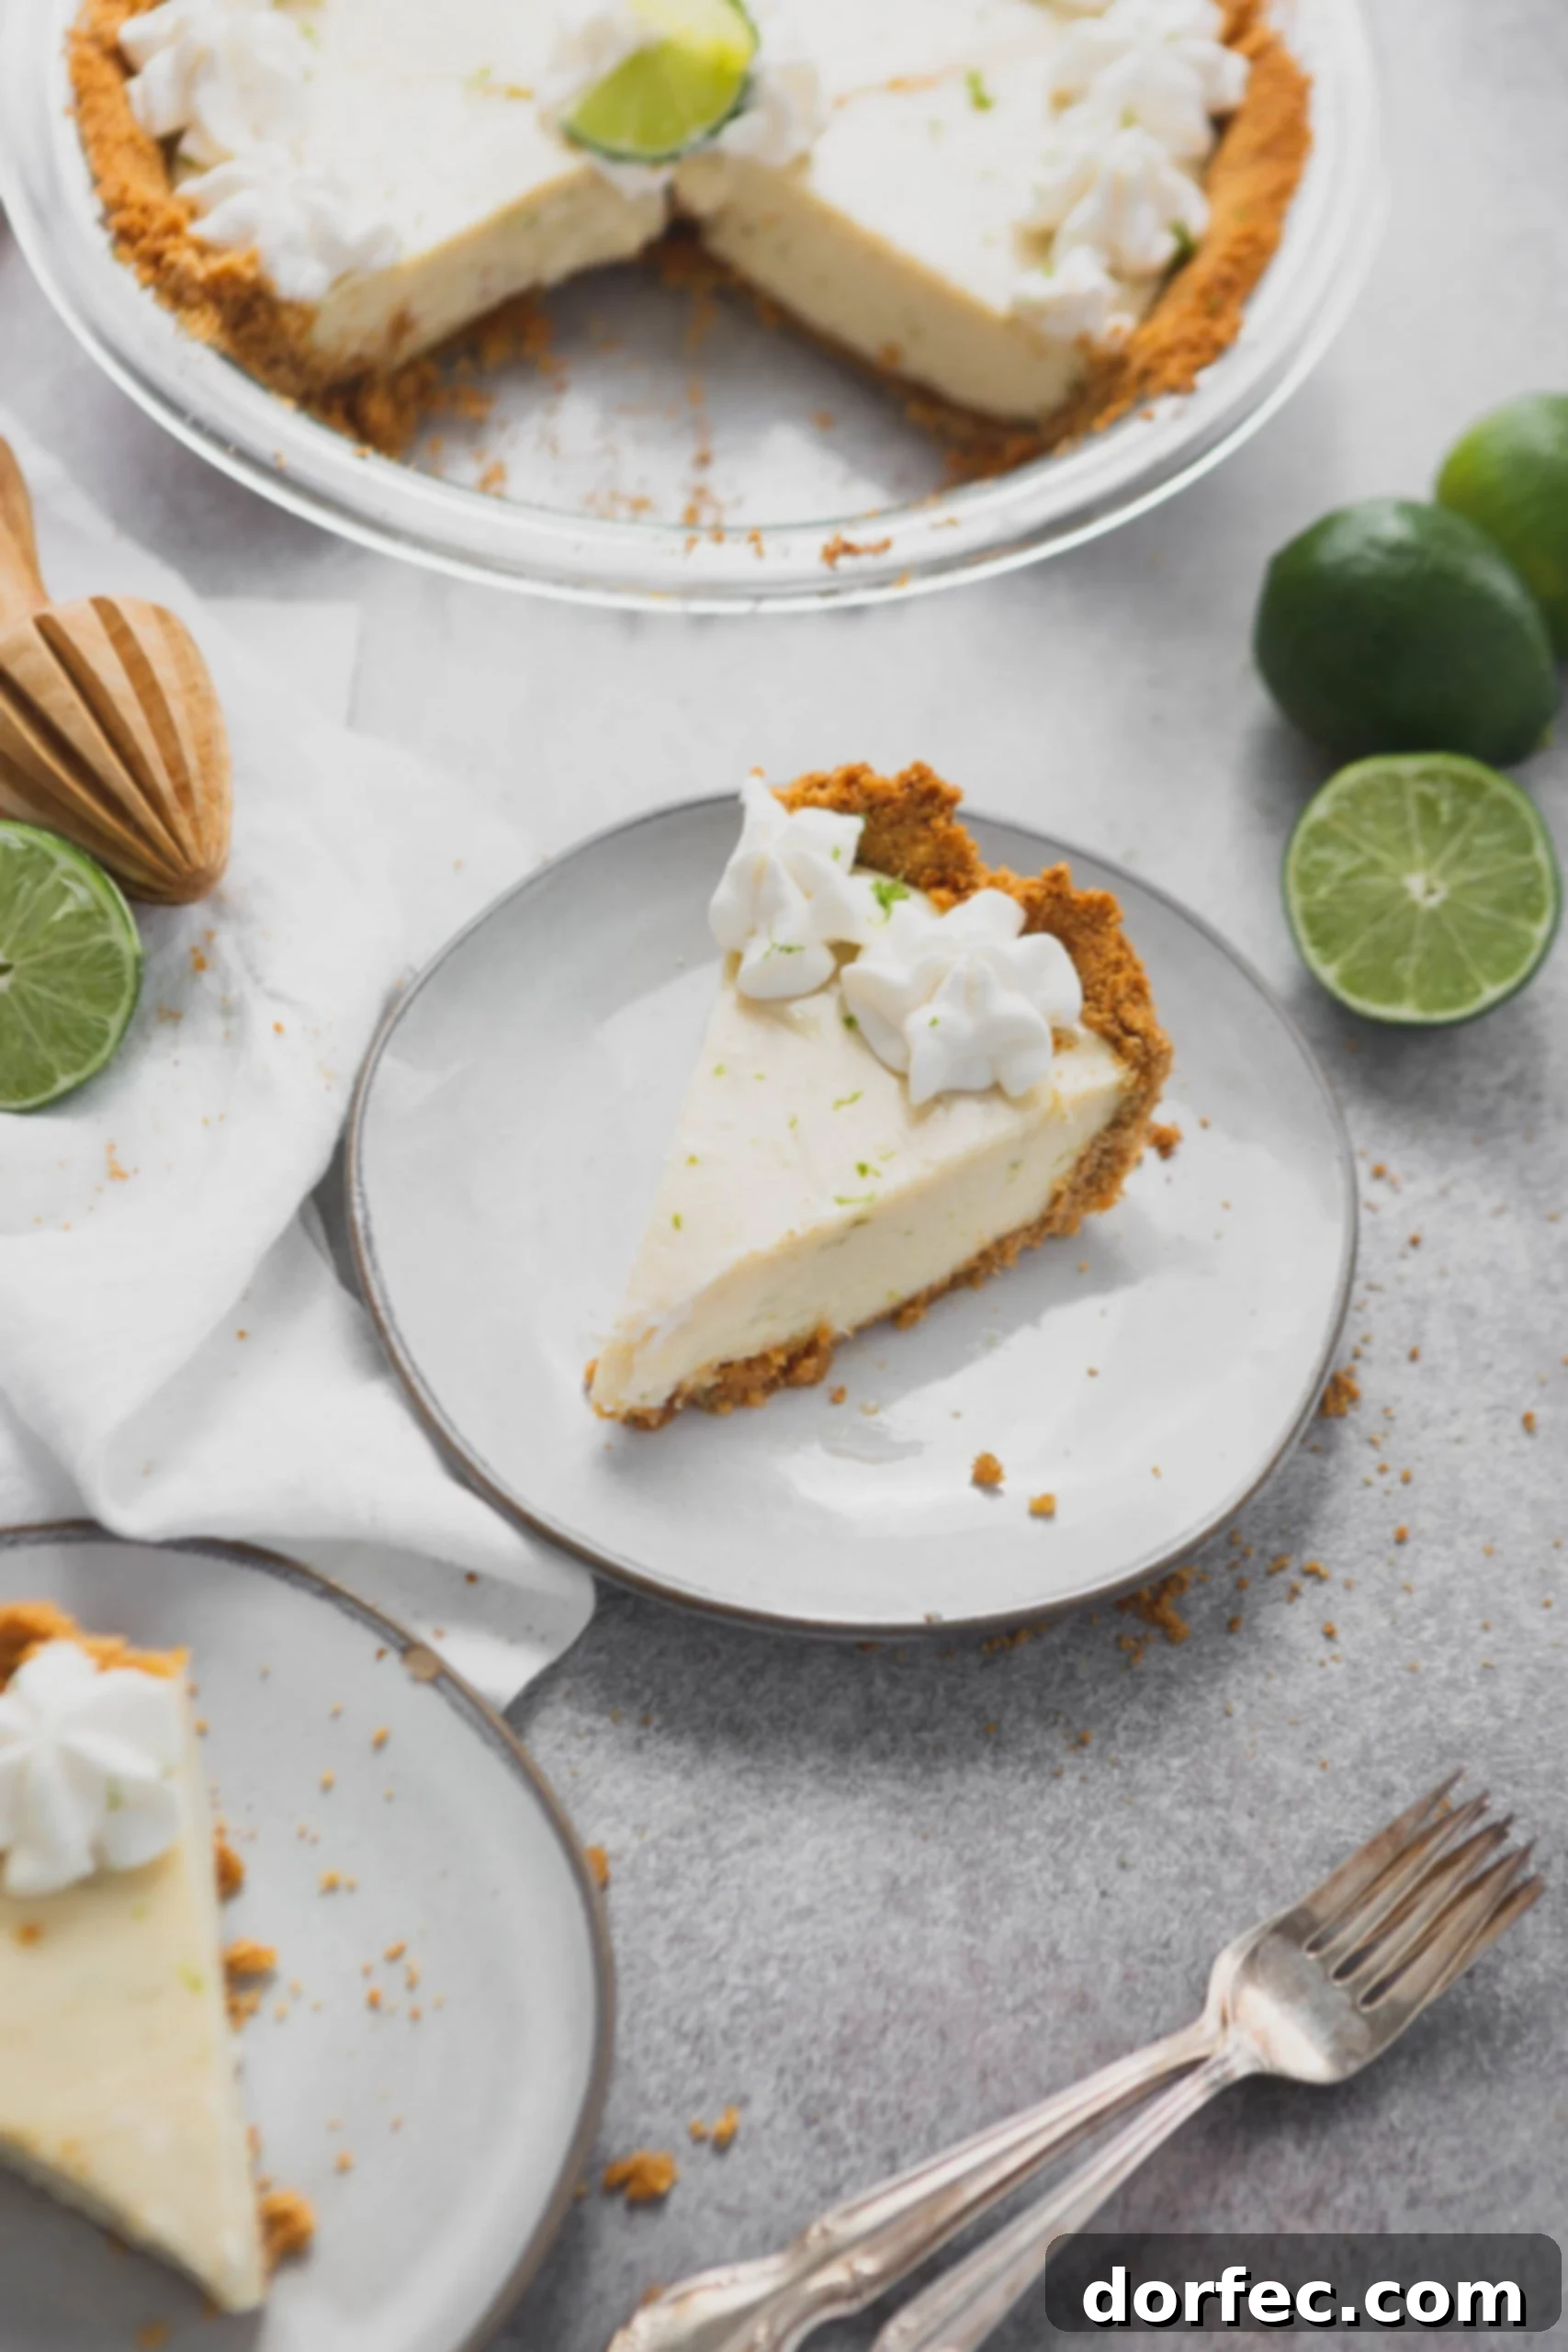
Elevate Your Key Lime Pie with Elegant Decoration
A beautifully decorated Key Lime Pie is as much a feast for the eyes as it is for the palate. Since Key Lime Pies are wonderfully tart, a creamy topping is the ideal complement. My personal preference is to use stabilized whipped cream because it maintains its pristine shape and texture, ensuring a picture-perfect presentation.
To achieve those elegant swirls, transfer your stabilized whipped cream into a piping bag fitted with a large decorating tip. Hold the bag perpendicular to the pie slice and apply even pressure, squeezing out a generous dollop. As you slowly lift the bag, gradually lessen the pressure to create a graceful, sharp peak. This technique allows for beautiful, professional-looking garnishes.
For an extra touch of flavor and visual appeal, I love to sprinkle a pinch of fresh Key lime zest over the whipped cream. The vibrant green flecks add a pop of color and an additional aromatic boost.
If you prefer a simpler approach or don’t have a piping bag, simply spread an even layer of whipped cream across the entire top of the pie. Then, sprinkle with lime zest or arrange a few thin lime slices for an equally appealing, yet effortlessly chic, finish.
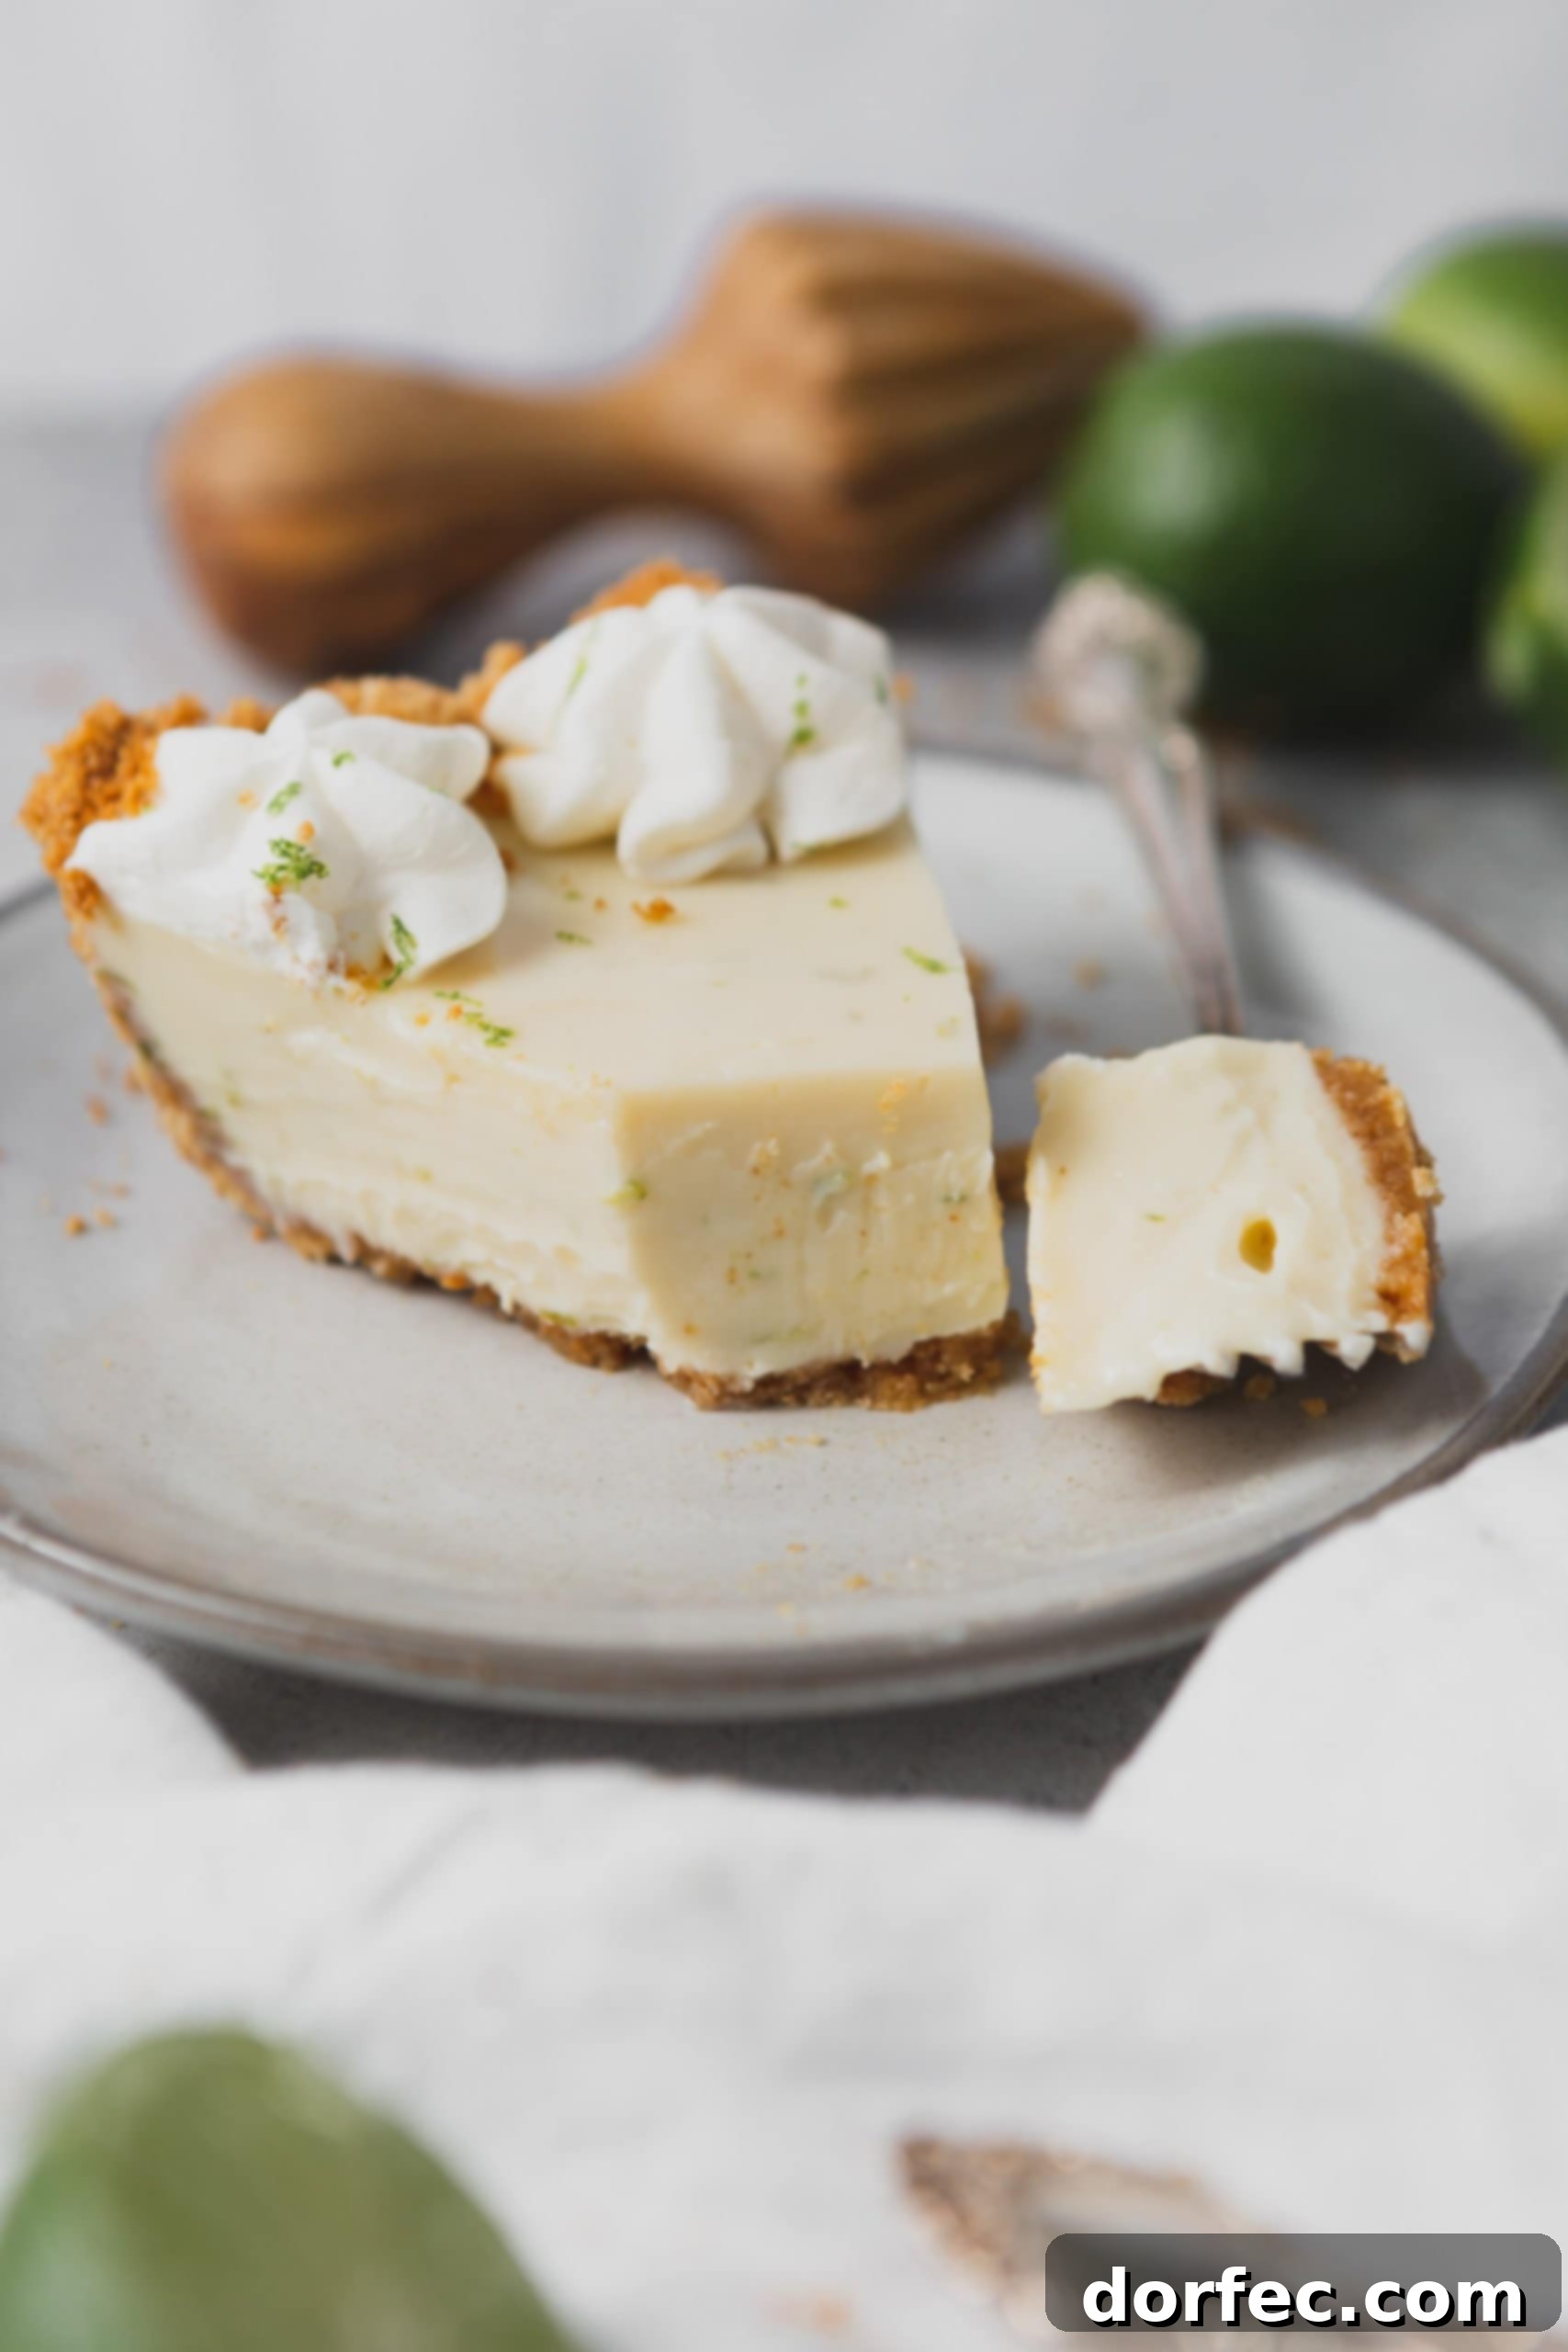
Alternatives to Stabilized Whipped Cream
While stabilized whipped cream is excellent for maintaining shape, you have several other options for topping your Key Lime Pie. You can easily opt for store-bought whipped topping, such as Cool Whip, for a convenient and consistently fluffy finish. Alternatively, a simple homemade whipped cream (without gelatin) works wonderfully too. It might not hold its peaks quite as long, but its fresh, creamy taste is always a winner.
Can Key Lime Pie Be Frozen?
I’ve encountered conflicting advice on freezing Key Lime Pie, but based on my personal experience, I haven’t found it to be very successful. Freezing often leads to separation of the filling, resulting in a runny, unappealing texture once thawed. Additionally, the graham cracker crust tends to become soggy. To truly enjoy the optimal texture and flavor of this exquisite dessert, it’s best consumed fresh. I guess that means you’ll just have to eat it all within a few days!
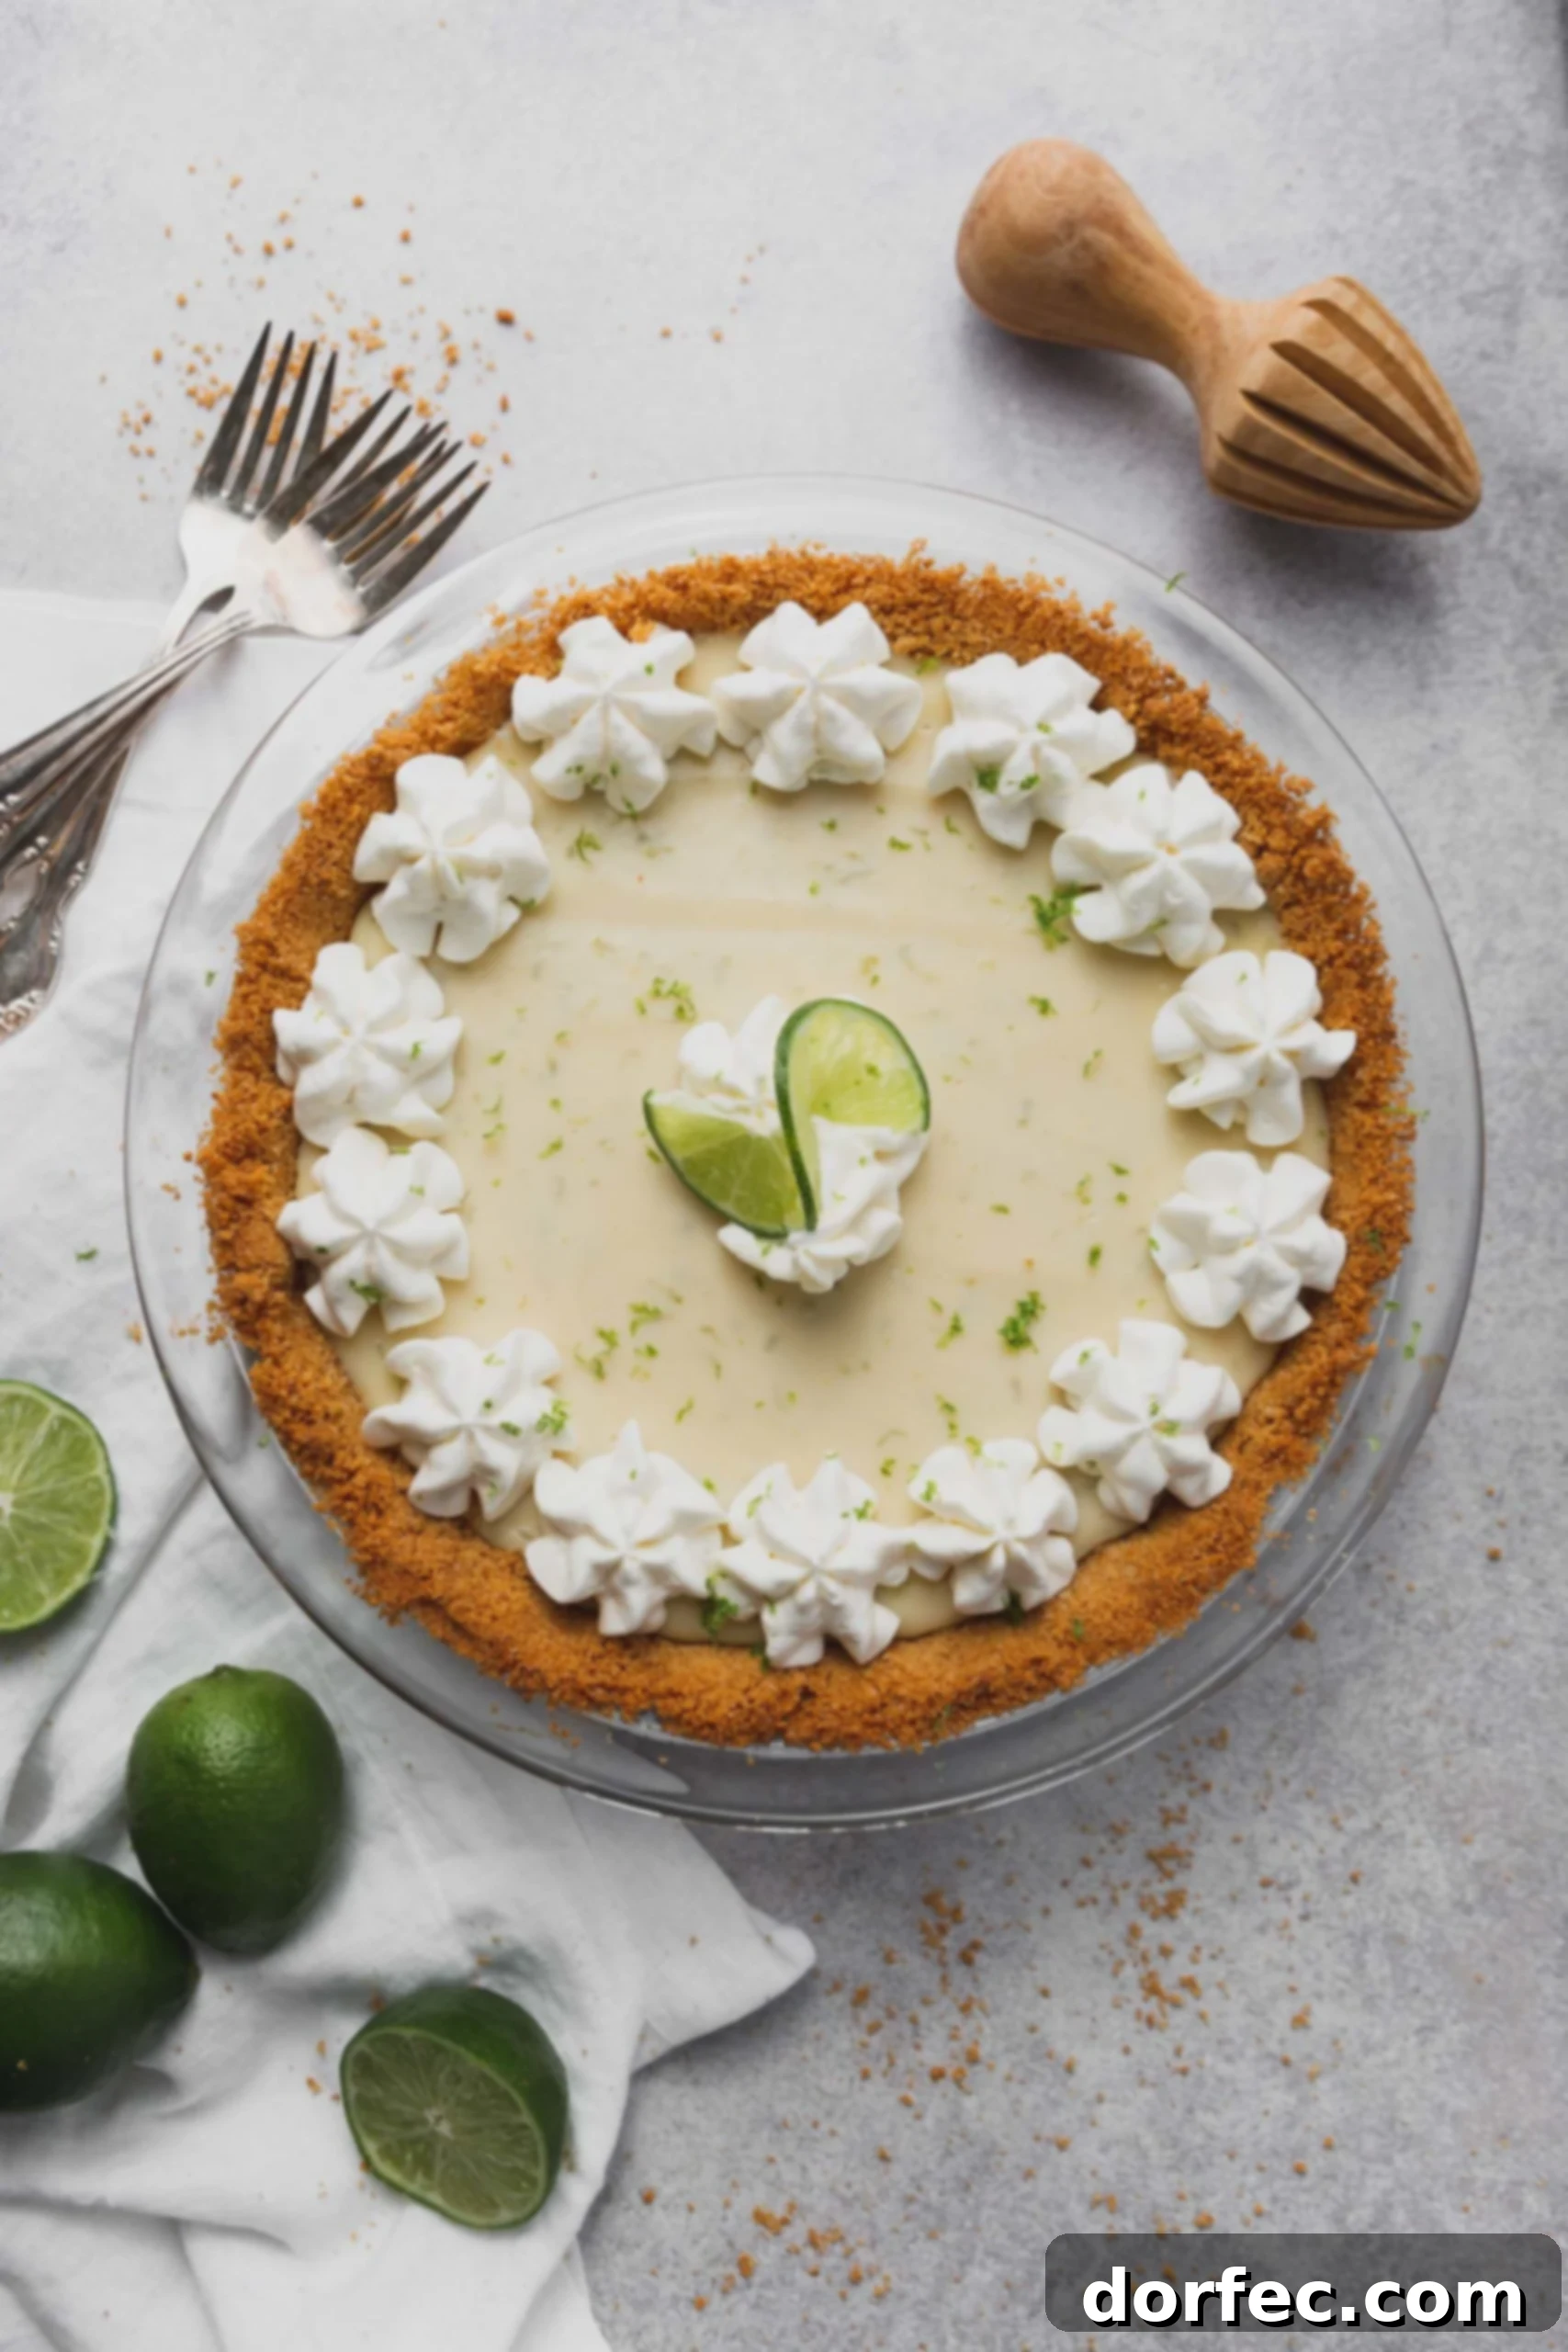
Does Key Lime Pie Require Refrigeration?
Absolutely, yes! Refrigeration is not only recommended but essential for Key Lime Pie. After baking and cooling for a short period on the counter, the pie must be thoroughly chilled in the refrigerator for at least 3-4 hours (or ideally overnight) to allow the filling to fully set and firm up. This chilling period ensures the pie holds its beautiful structure when sliced.
Furthermore, due to its dairy and egg content, Key Lime Pie should always be stored in the refrigerator to maintain food safety and freshness. Cover it lightly with plastic wrap to prevent it from absorbing other odors and to keep the crust from becoming stale. When properly refrigerated, your Key Lime Pie will maintain its delicious taste and texture for up to 4 days.
The Science Behind Key Lime Pie’s Thickening
The magic behind Key Lime Pie’s firm, custard-like filling is a fascinating bit of food science! The thickening process primarily occurs through a chemical reaction between the highly acidic lime juice and the proteins in the sweetened condensed milk. The acid causes the milk proteins to coagulate or “curdle,” similar to how cheese is made or how lemon juice sets a no-bake cheesecake. This reaction is called denaturation, where the acid changes the structure of the proteins, causing them to bind together and thicken the mixture.
While a brief bake in the oven helps to solidify the edges and kill any bacteria from the raw egg yolks, the majority of the setting takes place as the pie cools and chills in the refrigerator. This is why adequate chilling time is so crucial for achieving that perfectly firm, yet creamy, slice of Key Lime Pie.
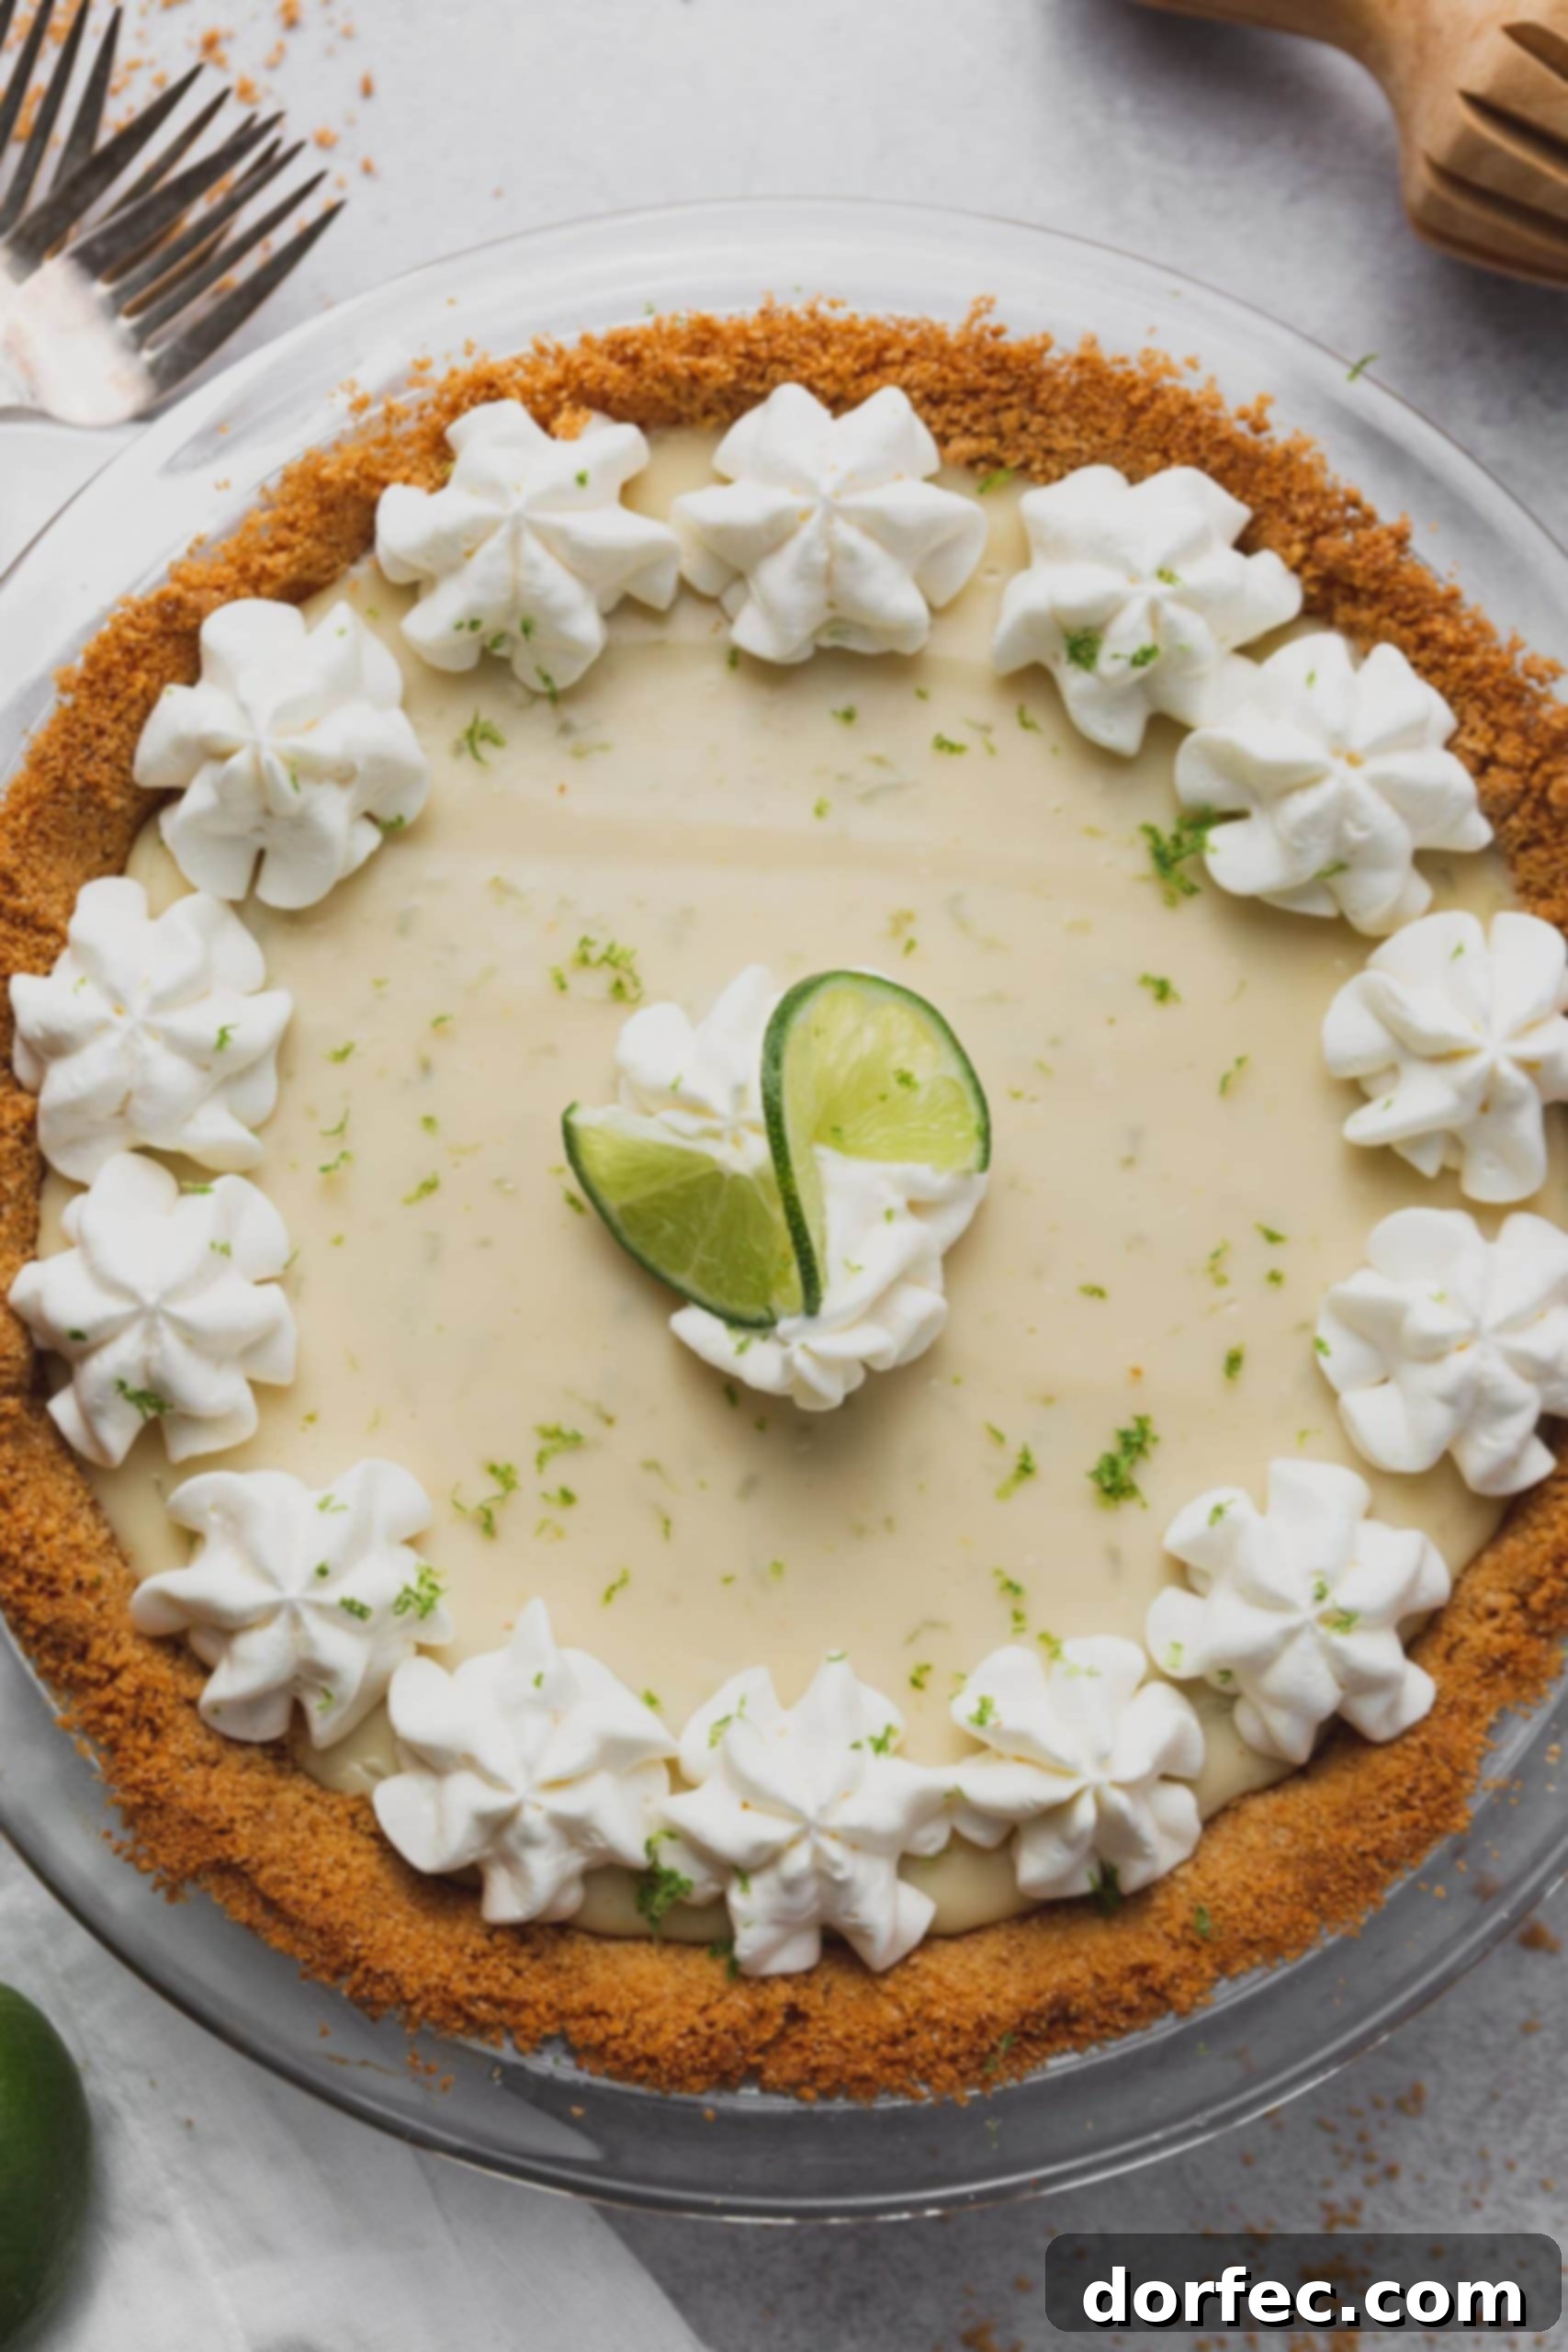
This, ladies and gentlemen, is truly the **BEST Key Lime Pie recipe** you will find! Its thick, creamy texture and perfect balance of sweet and tart make it an ideal dessert for any occasion. Whether you’re celebrating Pi Day, hosting a bridal shower, enjoying a summer BBQ, or gathering for holidays like Easter, Mother’s Day, or Thanksgiving, this pie is always a crowd-pleaser. Prepare for compliments and requests for the recipe!
More Dreamy Lime Desserts to Explore:
- Key Lime Meringue Pie
- Key Lime Oreo Cream Pie
- Raspberry Lime Cupcakes
- Key Lime Bars
- Key Lime Crumble
- Lime Cheesecake with Triple Berry Sauce
- Key Lime Pie Milkshake
- Key Lime Cookies
- Blackberry Lime Bars
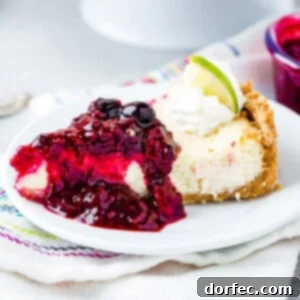
Key Lime Pie
Ingredients
- Graham Cracker Crust
- 2 Cans Sweetened Condensed Milk, 14 oz. cans
- 1/2 Cup Sour Cream
- 1 Tablespoon Lime Zest, about 2 limes
- 3/4 Cup Lime Juice, Key lime, or regular lime (freshly squeezed recommended)
- 2 Large Egg Yolks
- Stabilized Whipped Cream, for serving
Instructions
-
Prepare your graham cracker crust and set aside to cool completely.
-
In a large mixing bowl, whisk together the sweetened condensed milk, sour cream, lime zest, lime juice, and egg yolks until thoroughly combined and smooth.
-
Pour the mixture evenly into the prepared and cooled pie crust.
-
Bake at 350°F (175°C) for 15 minutes. The edges should be set, with a slight jiggle in the center.
-
Remove from the oven and let cool at room temperature for 15 minutes. Then, transfer to the refrigerator and chill for at least 3 hours, or preferably overnight, to allow the pie to fully set.
-
Serve slices with a generous topping of fresh stabilized whipped cream and a sprinkle of extra lime zest for garnish.
Recipe Notes
Cover the pie lightly and keep it refrigerated for optimal freshness and texture. It will last up to 4 days.
Nutrition
Nutrition information is automatically calculated and should be used as an approximation.
We love hearing from you! If you try this recipe, please leave a comment below and share your experience. Your feedback helps us improve and brings joy to our community of home bakers!
REMEMBER TO SUBSCRIBE TO our FREE Oh Sweet Basil NEWSLETTER and receive easy recipes delivered directly to your inbox every day!
When you try a recipe, please use the hashtag #ohsweetbasil on INSTAGRAM for a chance to be featured in our stories! FOLLOW OH, SWEET BASIL ON FACEBOOK | INSTAGRAM | PINTEREST | TWITTER FOR ALL OF OUR LATEST CONTENT, RECIPES AND STORIES.