
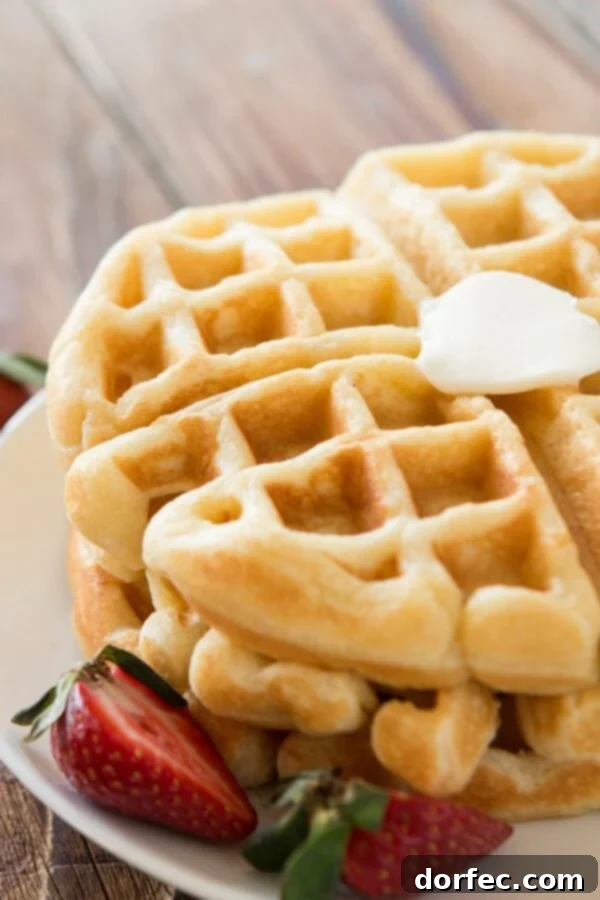
After diligently testing well over 100 different approaches and variations, we are thrilled to unveil what we confidently declare to be the pinnacle of homemade breakfast delights: the ultimate buttermilk waffle recipe. This isn’t just another recipe; it’s the culmination of countless hours in the kitchen, driven by a passion for perfection and a few closely guarded secrets that promise to transform your waffle-making experience. Prepare to indulge in waffles that are consistently golden, exquisitely crisp on the outside, and wonderfully fluffy on the inside.
Unlocking the Secrets to Perfectly Crispy Waffles: Avoiding the “Soggy” Trap
Few things are as disappointing as biting into a waffle only to find it lacks that satisfying crunch. Soggy waffles are a common culinary mishap, but with a few simple techniques, you can ensure your homemade creations achieve that coveted crisp exterior every single time. Here’s how to banish sogginess for good:
1. Don’t Overmix the Batter: The Gentle Touch
The cardinal rule of waffle making is to never overmix your batter. While it might be tempting to whisk vigorously until every last lump disappears, resist the urge! Overmixing develops the gluten in the flour, leading to a tough, chewy, and ultimately soggy waffle. A few small lumps are perfectly acceptable and will naturally dissolve during the cooking process. Aim for a batter that is just combined, with a few streaks of flour still visible. This light hand ensures a tender, airy crumb.
2. Resist the Urge to Peek: Let the Waffle Work Its Magic
The temptation to lift the lid of your waffle iron mid-cook is strong, but it’s a critical error. Every time you open the waffle iron, it loses precious heat, which is essential for proper cooking and browning. This heat loss can cause the waffle to collapse, preventing it from reaching its full potential for crispness and fluffiness. Trust your iron and the recommended cooking time.
3. Watch the Steam: Your Waffle’s Readiness Indicator
One of the best indicators that your waffle is nearing perfection is the amount of steam escaping from your waffle iron. When you first pour the batter, you’ll see a good amount of steam billowing out, signifying the evaporation of moisture from the batter. As the waffle cooks and dries out, the steam will gradually diminish. Once only a whisper of steam remains, your waffle is likely golden, crisp, and ready to be enjoyed.
4. Post-Cooking Steam Dissipation: The Crucial Cooling Step
Once you carefully remove your beautifully golden, crisp waffle from the iron, the work isn’t quite done. Immediately transfer it to a wire rack. Gently tossing it back and forth between your hands for a few seconds can also help release trapped steam. Resting the waffle on a wire rack allows air to circulate freely around all sides, preventing steam from condensing on the bottom and making it soggy. Never stack hot waffles directly on top of each other, as this will trap steam and ruin their crisp texture.
5. Serve Promptly for Peak Enjoyment
Waffles are best enjoyed fresh from the iron. While they can be kept warm for a short period in a low oven, their optimal crispness is experienced immediately after cooking. Have your toppings ready and your plates warmed to serve these irresistible treats as soon as they’re done.
The Genesis of a Masterpiece: Our Quest for the Ultimate Waffle
Every culinary blog and cookbook seems to lay claim to “the ultimate waffle recipe,” a bold declaration that often falls short of expectations. Here at Sweet Basil, we thrive on a challenge, and our pursuit of waffle perfection became an obsession. We embarked on an extensive culinary journey, meticulously gathering every buttermilk waffle recipe we could possibly find – from vintage cookbooks to modern online sensations. Our kitchen transformed into a waffle laboratory, where we spent an almost embarrassing amount of time testing, tweaking, and tasting. Each recipe was evaluated not just for taste, but for texture, aroma, and overall performance. We even put Bobby Flay’s renowned waffle recipe to the test, famously used in his chicken and waffles throw-down. While good, it simply didn’t possess the magic required to be crowned “the ultimate.”
What started as a simple kitchen experiment evolved into a full-scale research project, fueled by our commitment to delivering truly exceptional recipes to our readers. We analyzed the nuances of different leavening agents, the impact of various fats, the precise ratios of wet to dry ingredients, and even the subtle influence of resting times. This relentless pursuit of perfection allowed us to deconstruct what makes a waffle truly great and reconstruct it into a recipe that stands head and shoulders above the rest.
Beyond the Cookbook: An Exclusive Recipe Shared
For a long time, this extraordinary recipe was an exclusive gem, hidden within the pages of our acclaimed cookbook, Our Sweet Basil Kitchen. Today, we are delighted to share this culinary treasure with our cherished online community. We believe that everyone deserves to experience the sheer joy of creating these perfect waffles at home. If you haven’t already, make sure to grab a copy of our cookbook, currently on sale this week, to discover even more family-favorite recipes and culinary insights. Your continued love and support for our site inspire us to keep pushing the boundaries of deliciousness, and we are incredibly grateful. Now, let’s dive into the core components that make this recipe so revolutionary!
The Building Blocks of Brilliance: Key Ingredients and Their Roles
The journey to the ultimate waffle began with a deep dive into each ingredient, dissecting its role and impact on the final product. We learned that while many recipes use similar components, the type, quantity, and even the *timing* of adding these ingredients make all the difference.
1. The Role of Fats: Why Butter Reigns Supreme
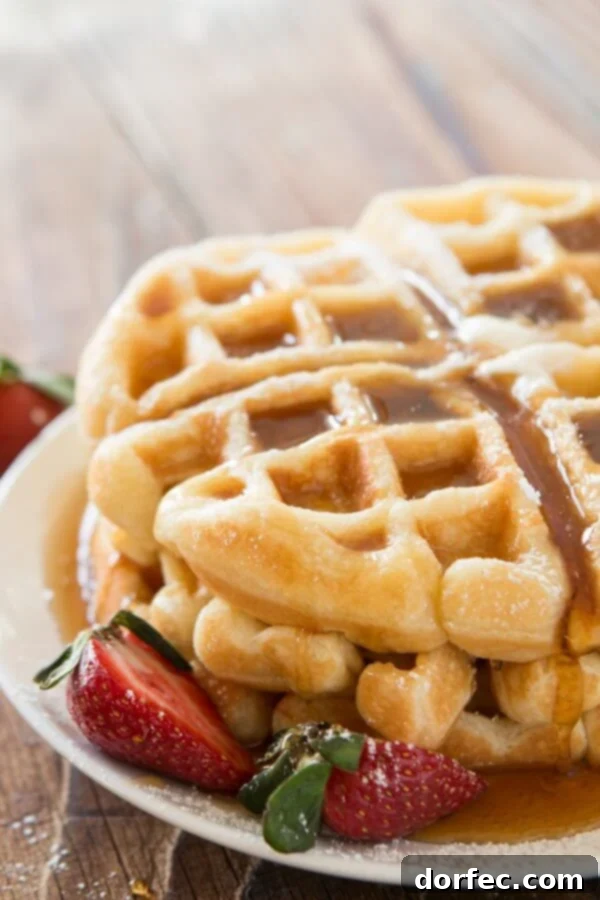
Our initial experiments involved a wide array of fats: oil, margarine, shortening, coconut oil, and, of course, butter. While each had its merits, butter consistently delivered the most superior flavor and richness, imparting that unmistakable depth and golden hue. This was hardly surprising, as butter’s inherent flavor profile is hard to beat. However, the true revelation wasn’t *what* fat to use, but *when* to incorporate it. This seemingly minor detail turned out to be the absolute most critical factor in achieving the desired texture.
2. The Buttermilk and Heavy Cream Breakthrough: A Eureka Moment
Buttermilk is a non-negotiable in any “ultimate” waffle recipe; its tangy flavor and tenderizing qualities are indispensable. Yet, we found ourselves constantly experimenting with the ideal amount. Most recipes hovered around similar measurements, but during one test, running slightly short on buttermilk, a spontaneous decision led to a groundbreaking discovery: we added heavy cream. Oh, sweet mercy! The result was nothing short of miraculous. The waffles emerged with an incomparably better texture and flavor, surpassing anything we had previously achieved. The heavy cream reduced the “eggy” taste often associated with waffles and lent an incredible richness and delicate crumb that instantly put all other batches out of the running. A side-by-side comparison unequivocally confirmed that the addition of sweet cream elevated the waffle to an entirely new level.
3. Sugar: More Than Just Sweetness
The debate of sugar or no sugar, and if sugar, how much, was another critical point. We found that waffles made without any sugar were simply too bland, lacking depth of flavor. While the sugar in our recipe doesn’t make the waffles overtly sweet, it plays a vital role in rounding out the flavor profile, enhancing the other ingredients, and contributing to that beautiful golden-brown crust. It’s a flavor enhancer and a browning agent, creating a perfectly balanced taste experience.
4. The Leavening Duo: Baking Powder & Baking Soda
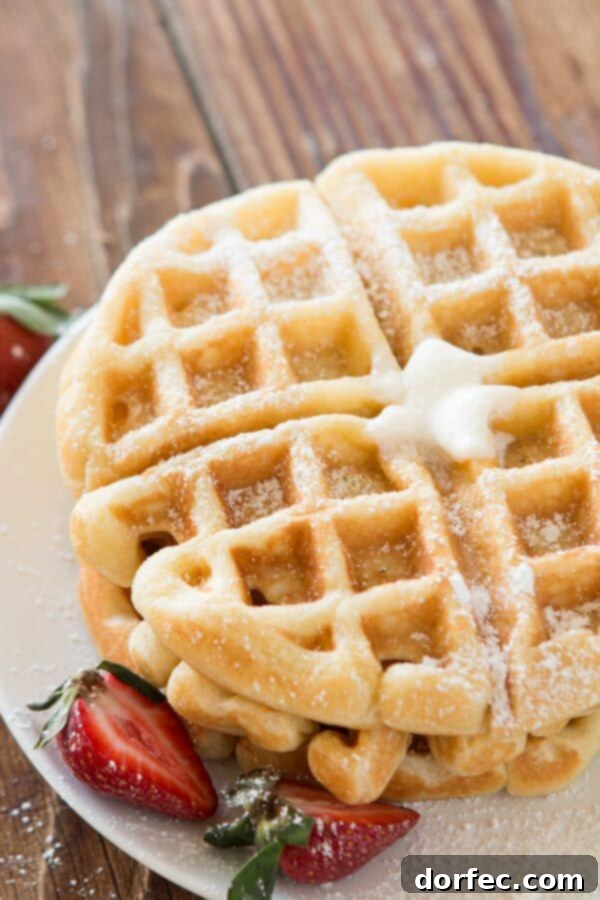
To achieve the ideal balance of fluffiness and delicate texture, we determined that both baking powder and baking soda were essential. Baking powder provides a beautiful, airy rise, giving the waffles their characteristic plumpness. Baking soda, activated by the acidity of the buttermilk, contributes to an even finer crumb and further aids in leavening, ensuring a light and tender interior. This dynamic duo works in tandem to create the perfect lift and texture.
5. The “Secret” Ingredient: Cornstarch for Crispiness
Our quest for crispy perfection led us to a brilliant technique we learned from our friends at Completely Delicious: the inclusion of cornstarch. This seemingly unassuming ingredient is a game-changer. Cornstarch helps to inhibit gluten development further and, more importantly, creates an incredibly crisp exterior that holds up beautifully, offering that satisfying crunch with every bite. It’s the unsung hero behind the waffle’s irresistible golden crust.
Mastering the Craft: Essential Techniques for Waffle Perfection
Beyond the ingredients, the method of preparation is equally critical. These techniques, honed through extensive testing, are the keys to unlocking the full potential of this ultimate waffle recipe.
1. The Gentle Mix: Avoiding the Over-Mixing Pitfall
We cannot stress this enough: over-mixing is the enemy of a perfect waffle. Seriously, it’s the devil! Vigorous stirring over-develops the gluten in the flour, resulting in a dense, chewy, and rubbery waffle. The goal is to combine the ingredients just until they are moistened. Don’t worry about a few lumps; they are normal and will disappear during cooking. You should still see plenty of streaks of flour after incorporating the wet ingredients into the dry. Embrace the imperfection of a slightly lumpy batter for a perfectly tender waffle.
2. The Late Addition of Butter: Soft Inside, Crispy Outside
Remember our revelation about butter’s timing? Here’s the secret: gently stir in the melted and slightly cooled butter at the very end of the mixing process. This may leave your batter looking even lumpier, but it’s a crucial step. Adding butter at the end coats the flour particles, preventing excessive gluten formation and ensuring a wonderfully soft and tender interior. Simultaneously, this method promotes a superior crispness on the exterior when cooked on the hot iron. It’s the ultimate trick for that desirable textural contrast.
3. The Power of Patience: Resting the Batter
Our final, and perhaps most serendipitous, discovery was the importance of resting the batter. In the final stages of our testing, a momentary distraction (thanks, kids!) caused a batch of batter to sit for about 30 minutes before cooking. To our absolute astonishment, it yielded the best waffles yet! While the exact science involves allowing the flour to fully hydrate and the gluten to relax, which results in a more tender crumb, and giving the leavening agents time to activate, the outcome is undeniable. A rested batter produces waffles with unparalleled texture and flavor. This simple step, born from a happy accident, is now a non-negotiable part of our ultimate recipe.
Waffle Iron Wisdom: Tips for Success
While the batter is paramount, your waffle iron also plays a crucial role. Here are a few tips to ensure your cooking process is as flawless as your batter:
- Preheat Thoroughly: Always ensure your waffle iron is fully preheated to its optimal temperature before adding batter. A cold iron will lead to pale, sad, and soggy waffles. Most irons have an indicator light that signals when it’s ready.
- Lightly Grease: Even non-stick waffle irons benefit from a light brushing of butter or oil between batches, especially for the first waffle. This helps achieve that perfect golden-brown crust and prevents sticking.
- Don’t Overfill: Resist the urge to pour too much batter. Overfilling will result in messy overflow and unevenly cooked waffles. Start with the recommended amount (typically about 1/3 to 1/2 cup, depending on your iron) and adjust as needed.
- Different Types of Irons: Whether you have a classic square, Belgian, or even a fancy Liege waffle iron, the principles of preheating, greasing, and not over-mixing remain the same. Adjust cooking times according to your specific model’s instructions.
Beyond the Breakfast Table: Storing Waffle Batter & Cooked Waffles
Planning ahead or having leftovers? Here’s how to manage your waffle batter and cooked waffles efficiently:
Can Waffle Mixture be Frozen?
Absolutely! Waffle batter is surprisingly freezer-friendly. You can store uncooked batter in an airtight container or freezer-safe bag for up to a month. When you’re ready to make a fresh batch, simply thaw it overnight in the refrigerator or more quickly in a bowl of warm water. Give it a gentle whisk to recombine any separated ingredients before using.
Storing Cooked Waffles
Cooked waffles can be stored in an airtight container in the refrigerator for 5-7 days. For longer storage, freeze cooled waffles in a single layer on a baking sheet until solid, then transfer them to a freezer-safe bag or container. They will keep well for up to 2-3 months. Reheat frozen waffles in a toaster, toaster oven, or even a regular oven for a quick and crispy breakfast!
More Sweet Breakfast Options from Our Kitchen:
- Buttermilk Pancakes
- Apple Pie Slow Cooker Oatmeal
- Dutch Baby Pancakes
- Orange Sweet Rolls
- Classic French Toast
- Waffles
- Cinnamon Rolls
- Blueberry French Toast Bake
- Homemade Yogurt
- Cinnamon Roll Pigs in a Blanket
- Peach Coffee Cake
- Liege Waffles
- Slow Cooker Overnight Steel Cut Oats
- All ourBREAKFAST RECIPES!
The Ultimate Waffle Recipe: Your Path to Breakfast Bliss
The best waffles you’ll ever make, perfected with every tip and trick you need for consistently outstanding results.
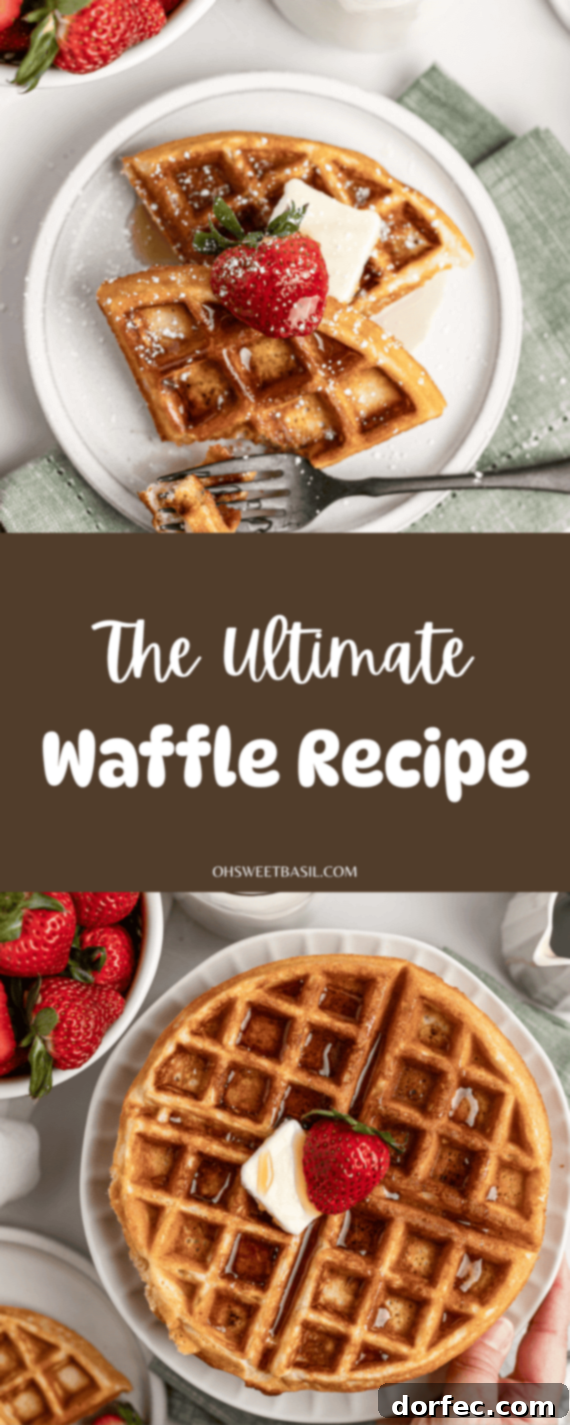
The Ultimate Waffle Recipe
By Sweet Basil
Print Recipe
Ingredients
- 1 3/4 Cup All Purpose Flour
- 2 1/4 teaspoons Baking Powder
- 1/4 teaspoon Baking Soda
- 2 Tablespoons Cornstarch
- 3 Tablespoons Sugar, plus 1 Teaspoon (for optimal flavor and browning)
- 1/2 teaspoon Fine Sea Salt
- 3 Large Eggs
- 3/4 Cup Buttermilk
- 3/4 Cup Heavy Cream (this is our secret for richness and less egginess!)
- 1/2 Cup Unsalted Butter, melted and cooled slightly (added last for perfect texture)
Instructions
- In a large bowl, whisk together the flour, baking powder, baking soda, cornstarch, sugar, and fine sea salt. Ensure these dry ingredients are well combined.
- In a separate medium bowl, whisk together the eggs, buttermilk, and heavy cream until thoroughly combined.
- Using a wooden spoon or a spatula, gently stir the wet ingredients into the dry ingredients. Mix until just combined, allowing a few streaks of flour to remain visible. Do not overmix.
- Pour the melted and slightly cooled butter into the batter. Stir gently until just combined. The batter may still appear lumpy, which is exactly what you want for a tender waffle.
- **Important Step:** Allow the batter to rest at room temperature for 15-30 minutes. This resting period allows the flour to fully hydrate and the gluten to relax, resulting in a lighter and crispier waffle.
- While the batter rests, heat your waffle iron according to the manufacturer’s instructions.
- Once the waffle iron is hot, lightly brush both sides of the cooking plates with melted butter or oil. This ensures a golden, crispy crust and prevents sticking.
- Pour approximately 1/3 cup of batter onto the hot waffle iron (adjust amount based on your waffle iron size) and cook according to your waffle iron’s instructions, typically until steam stops escaping and the waffle is golden brown and crisp.
- Remove the cooked waffle from the iron and immediately place it on a wire rack to prevent it from becoming soggy. Serve hot with your favorite toppings!
Recipe Notes
For convenience, cooked waffles can be stored in an airtight container in the refrigerator for 5-7 days. For best results, reheat them in a toaster or toaster oven to restore their crispness.
Nutrition
Serving: 1g, Calories: 647kcal, Carbohydrates: 51g, Protein: 13g, Fat: 44g, Saturated Fat: 26g, Polyunsaturated Fat: 15g, Trans Fat: 1g, Cholesterol: 253mg, Sodium: 774mg, Fiber: 2g, Sugar: 5g
Nutrition information is automatically calculated and should only be used as an approximation. Values may vary based on specific ingredients and preparation methods.
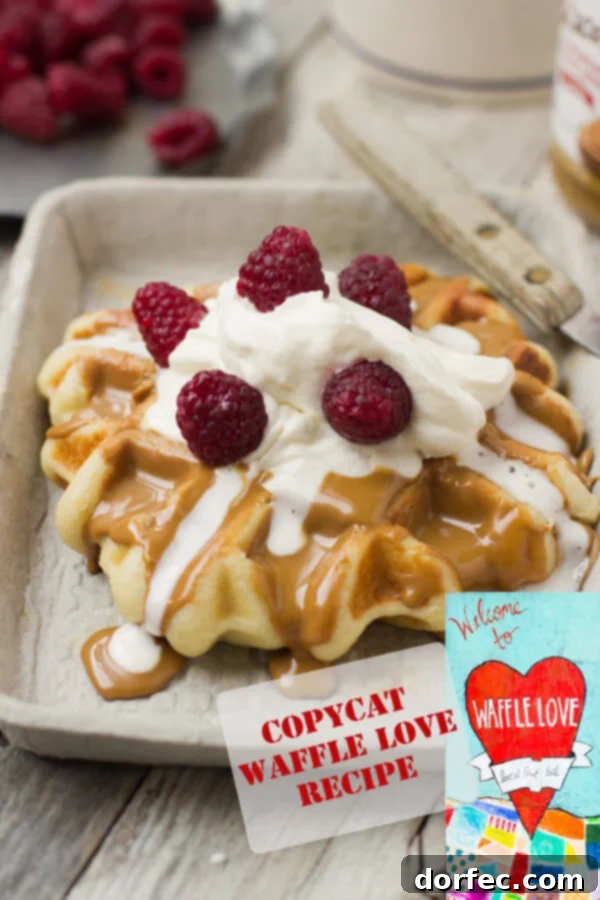
Liege Waffles: Indulge in Authentic Belgian Bliss
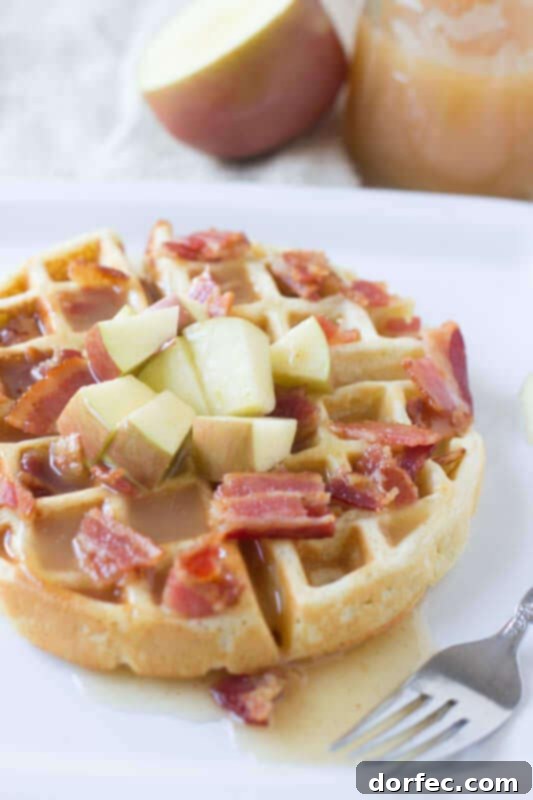
Apple Bacon Waffles with Cider Syrup: A Sweet and Savory Delight
Conclusion: Your Journey to Waffle Perfection Starts Here
Our tireless dedication, countless trials, and unwavering commitment to excellence have culminated in this definitive guide and recipe for the ultimate buttermilk waffles. We’ve peeled back the layers of conventional wisdom, challenged assumptions, and uncovered the subtle yet powerful secrets that elevate a good waffle to a truly extraordinary one. From understanding the crucial role of un-overmixed batter and the surprising impact of heavy cream, to mastering the timing of butter incorporation and embracing the magic of a rested batter, every detail has been refined to ensure your success.
We invite you to experience the unparalleled joy of creating these golden, crispy, and fluffy delights in your own kitchen. This isn’t just a recipe; it’s a proven method for crafting breakfast masterpieces that will impress your family and friends, making every morning feel like a special occasion. Say goodbye to soggy, lackluster waffles and hello to your new favorite breakfast tradition. Dive in, experiment with your favorite toppings, and savor the ultimate waffle experience!