
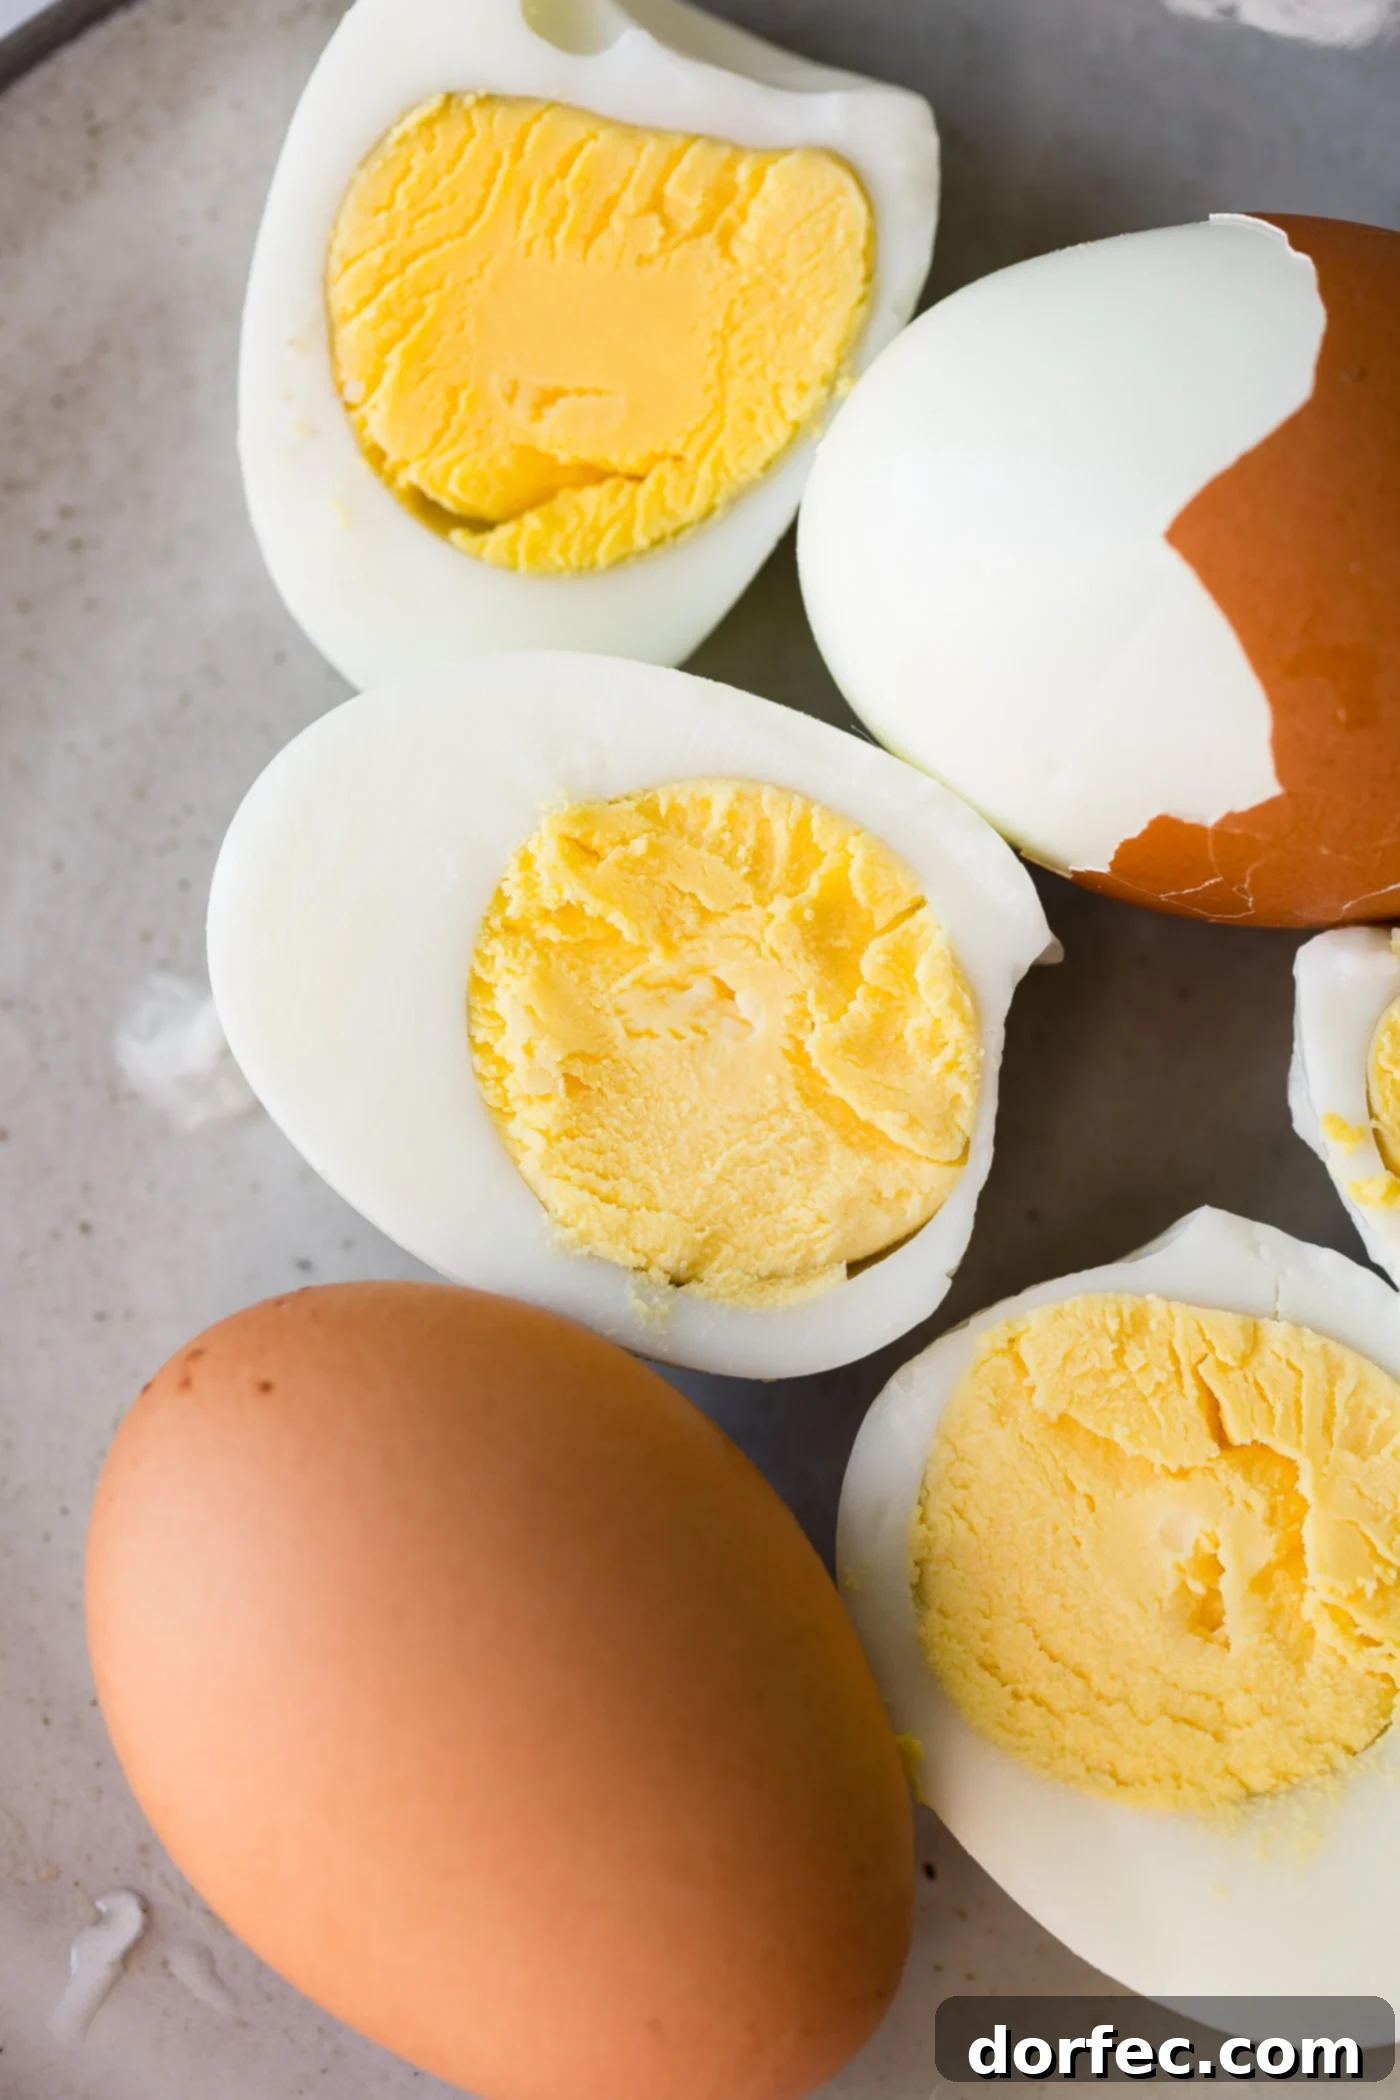
Unlock the secrets to crafting the **perfect hard-boiled eggs** every single time! After years of experimentation in my own kitchen, spanning over 15 years, I’ve finally perfected a method that consistently delivers flawless results. With holidays like Easter just around the corner, or simply for healthy snacks and delicious meals, knowing how to make hard-boiled eggs that are easy to peel, beautifully cooked, and wonderfully flavorful is an invaluable skill. Forget rubbery whites, greenish yolks, or shells that cling stubbornly; I’m thrilled to share my tried-and-true approach with you.
Like many home cooks, I’ve encountered all the common hard-boiled egg dilemmas: yolks that are still too soft, eggs cracking mid-cook, unsightly gray rings around the yolk, impossibly difficult peeling, and whites with an unappealing rubbery texture. I’ve also delved into countless tips and tricks over the years, experimenting with baking soda, vinegar, and salt in the water, trying various cooking methods like baking them in the oven, using an Instant Pot, or specialized egg cookers. While some methods offered minor improvements, none delivered the consistent perfection I sought until I discovered this simple, yet incredibly effective, technique. It’s a game-changer that promises **perfect hard-boiled eggs** in minutes!
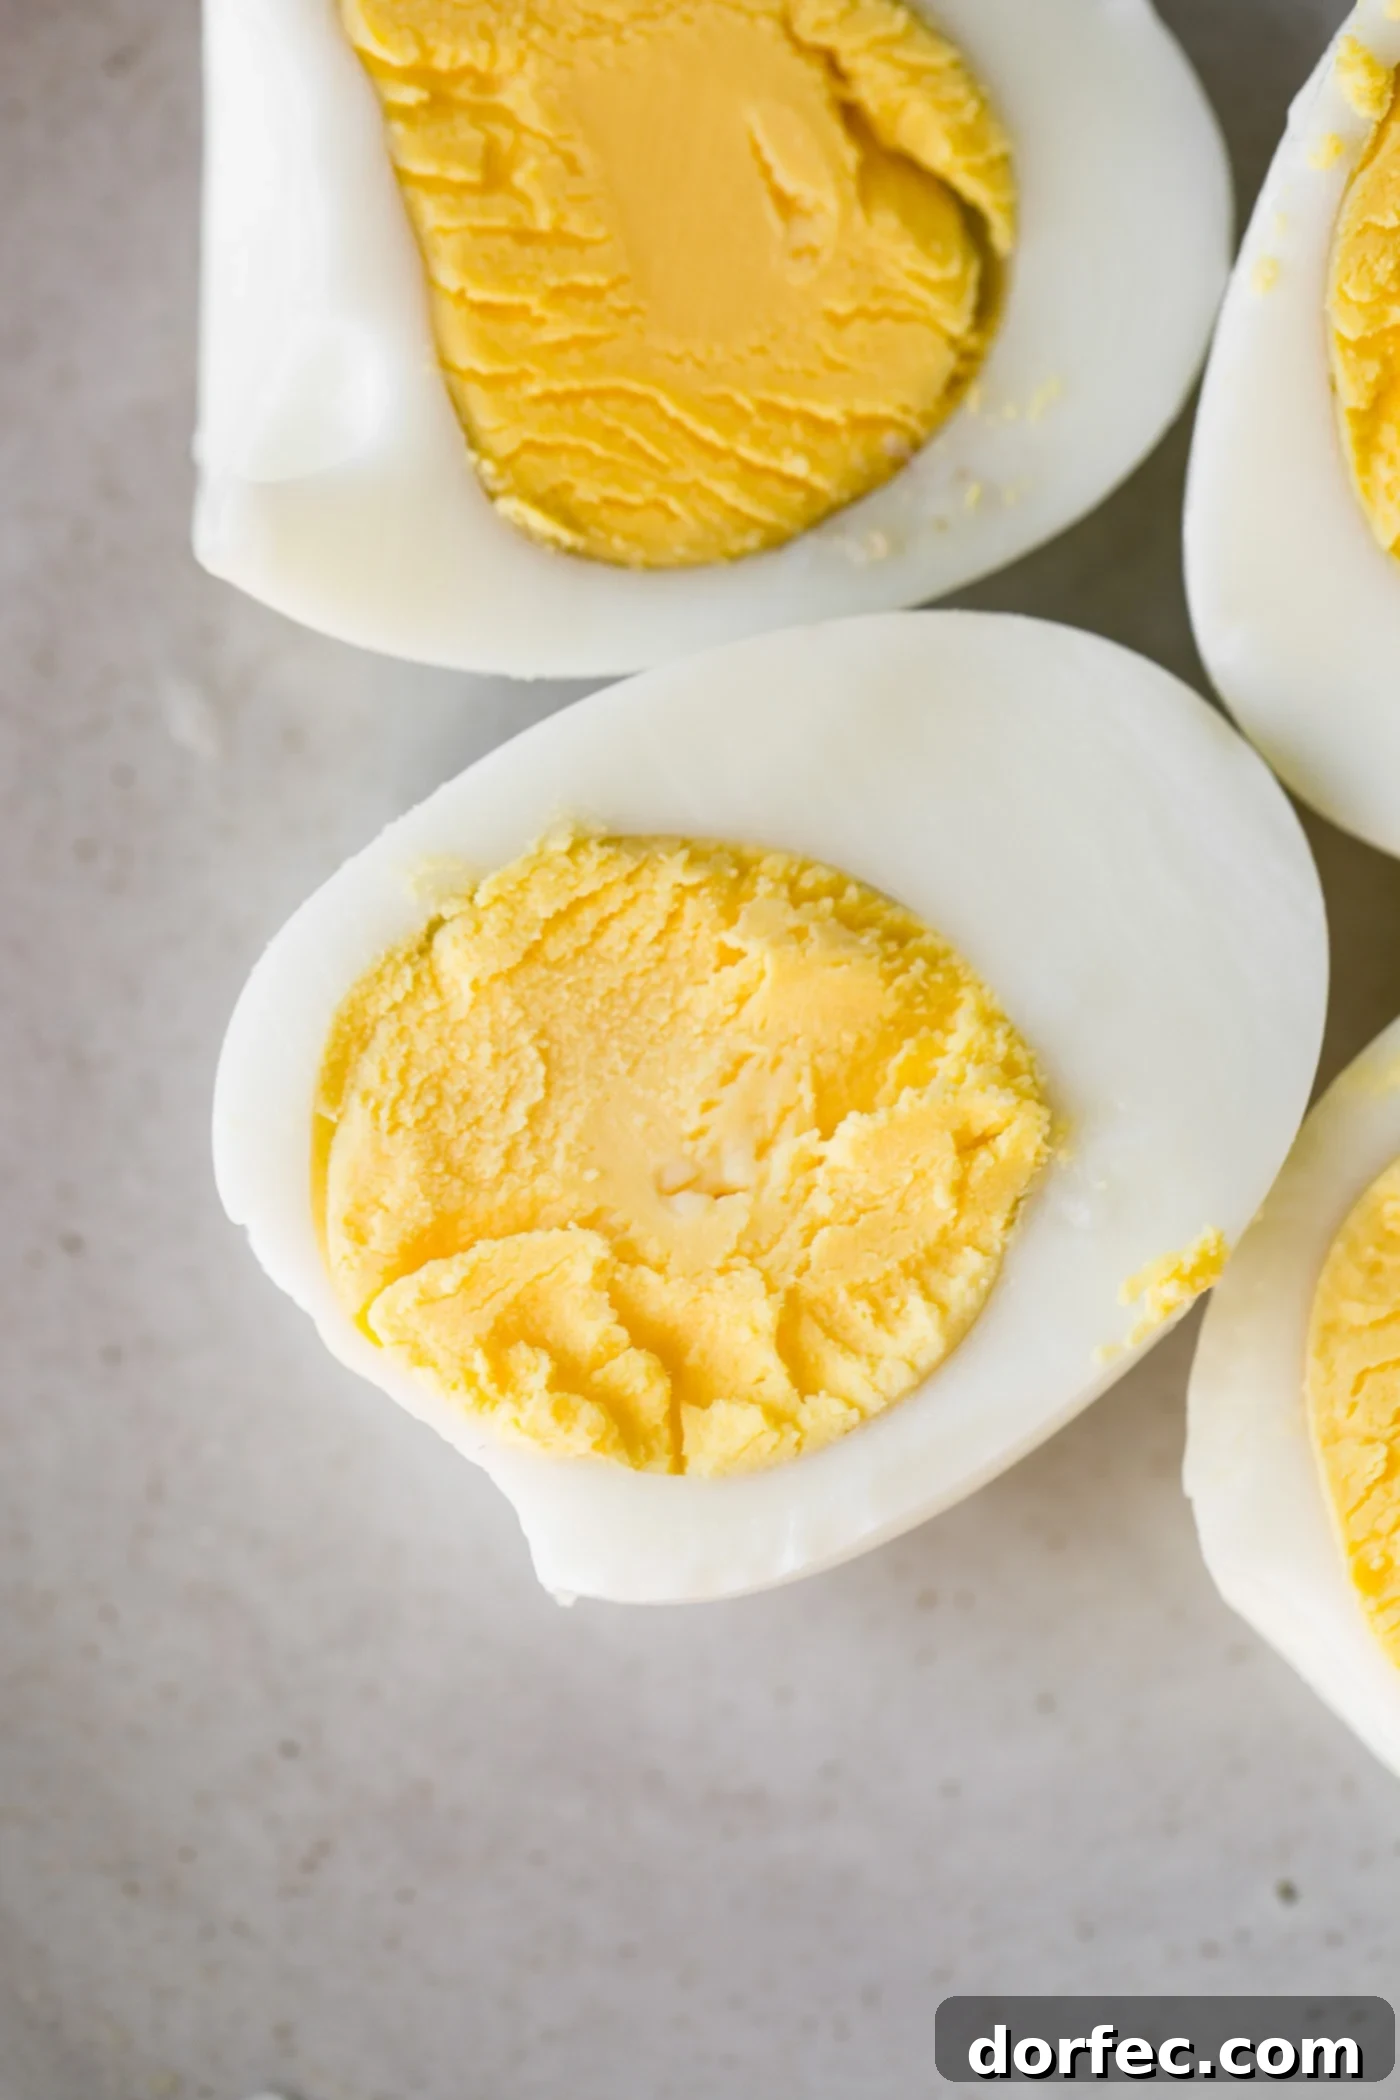
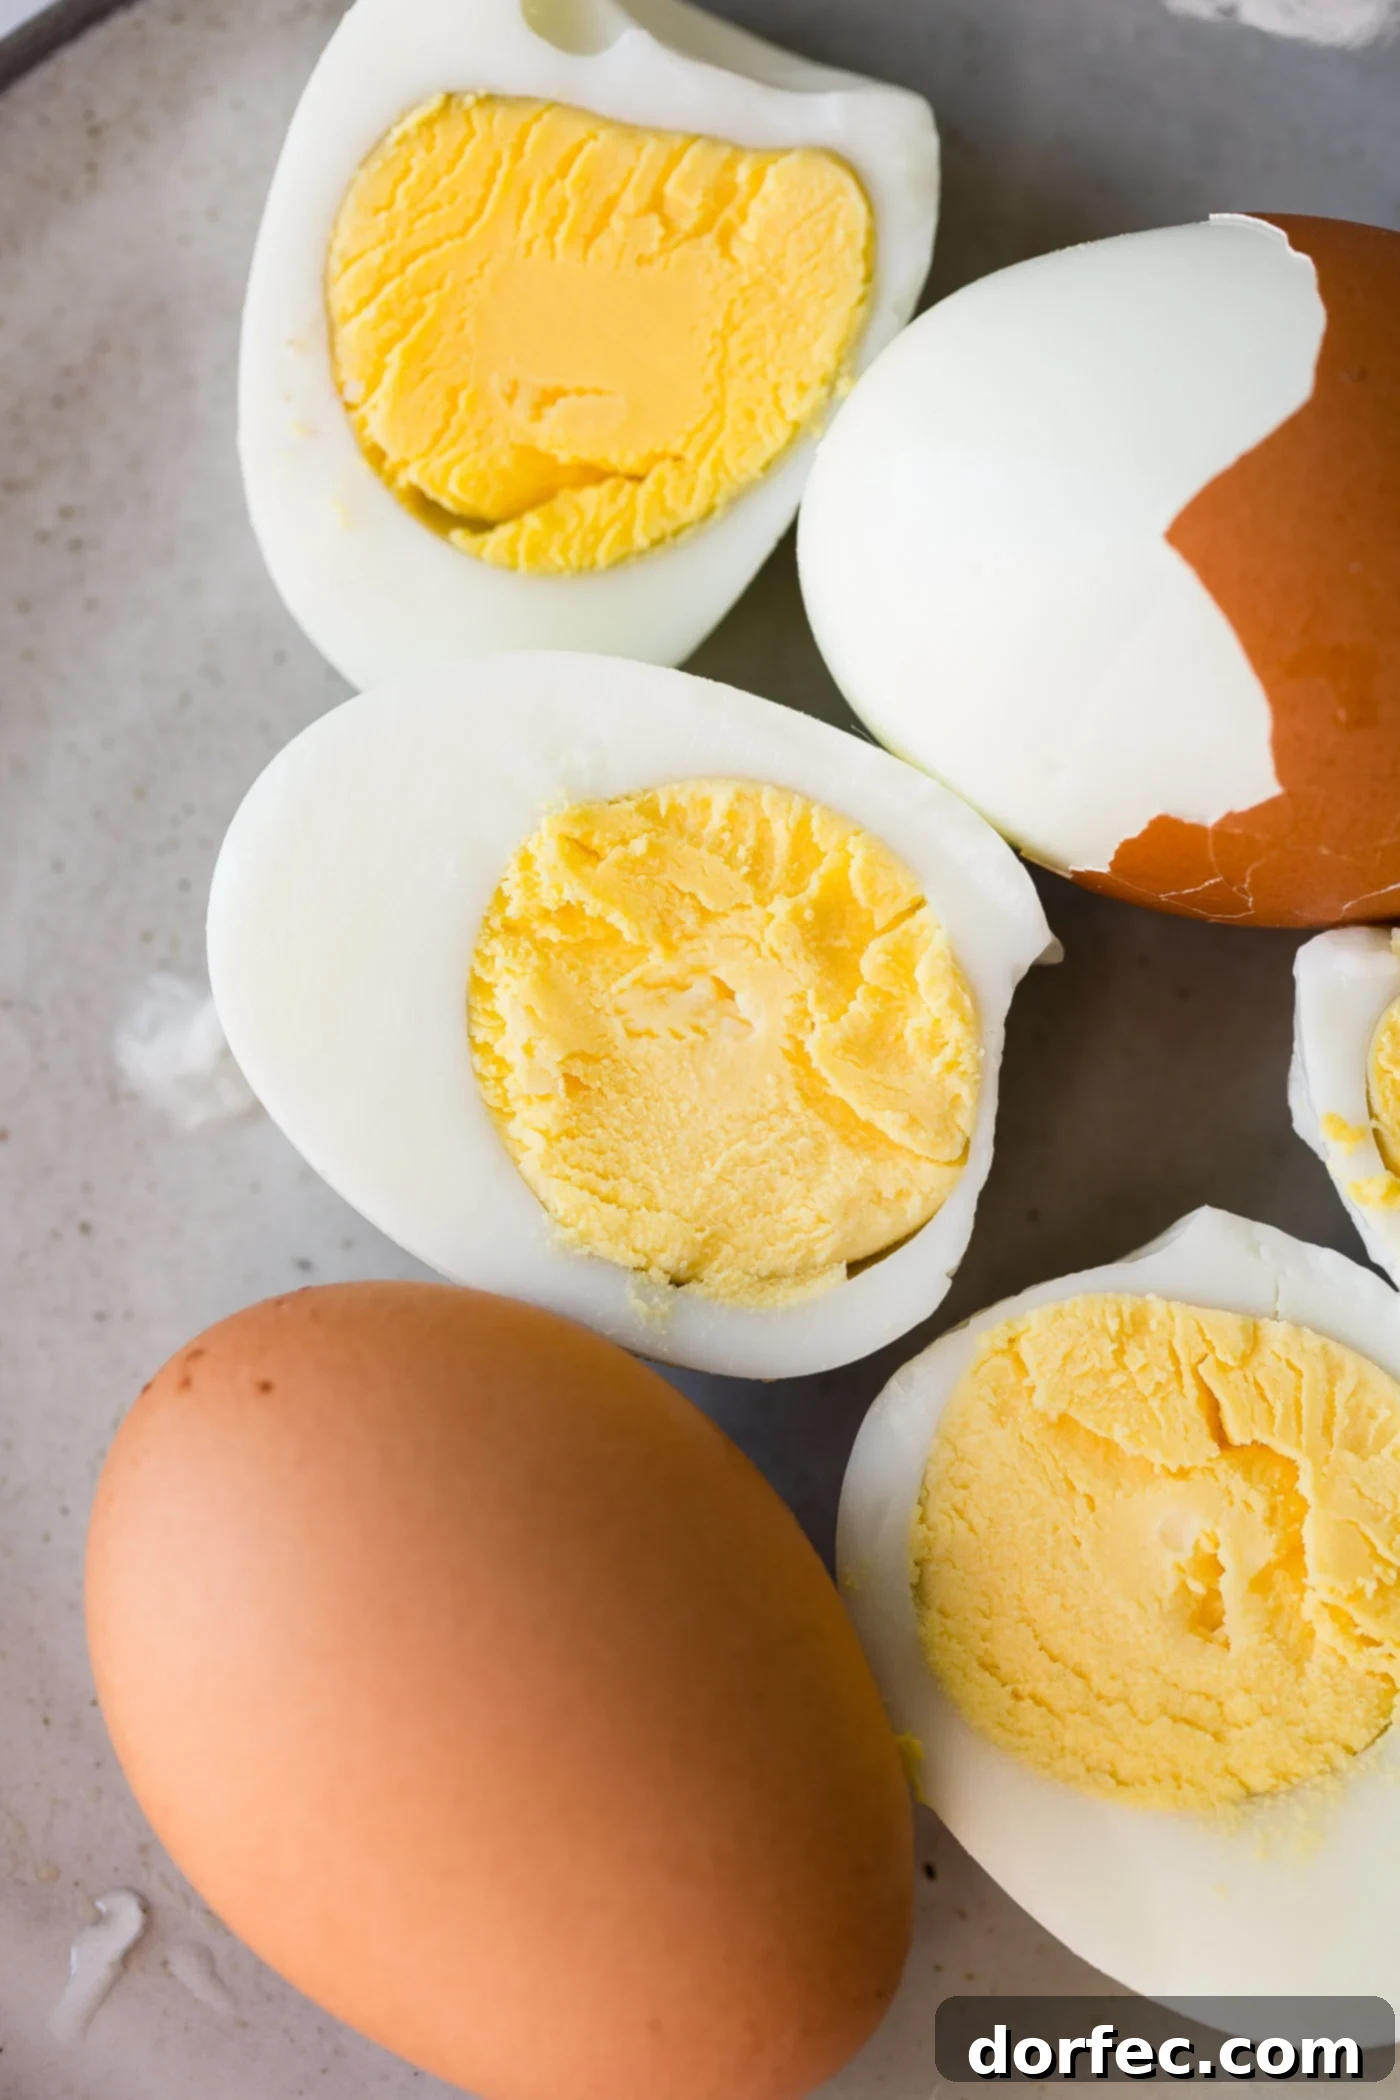
The secret lies not just in the cooking process itself, but also in a few simple preparatory steps and, surprisingly, the type of eggs you choose. This method ensures the yolk is cooked to a delightful, bright, and vibrant yellow, without any discoloration. Furthermore, the shells virtually glide off, making peeling a breeze. And the best part? The taste is simply spot-on, making these eggs a versatile and delicious addition to any meal or snack. Let’s dive into the foolproof steps to achieve consistently amazing **hard-boiled eggs**.
How to Make Perfect Hard Boiled Eggs: A Foolproof Method
Selecting Your Eggs: Does Color Matter?
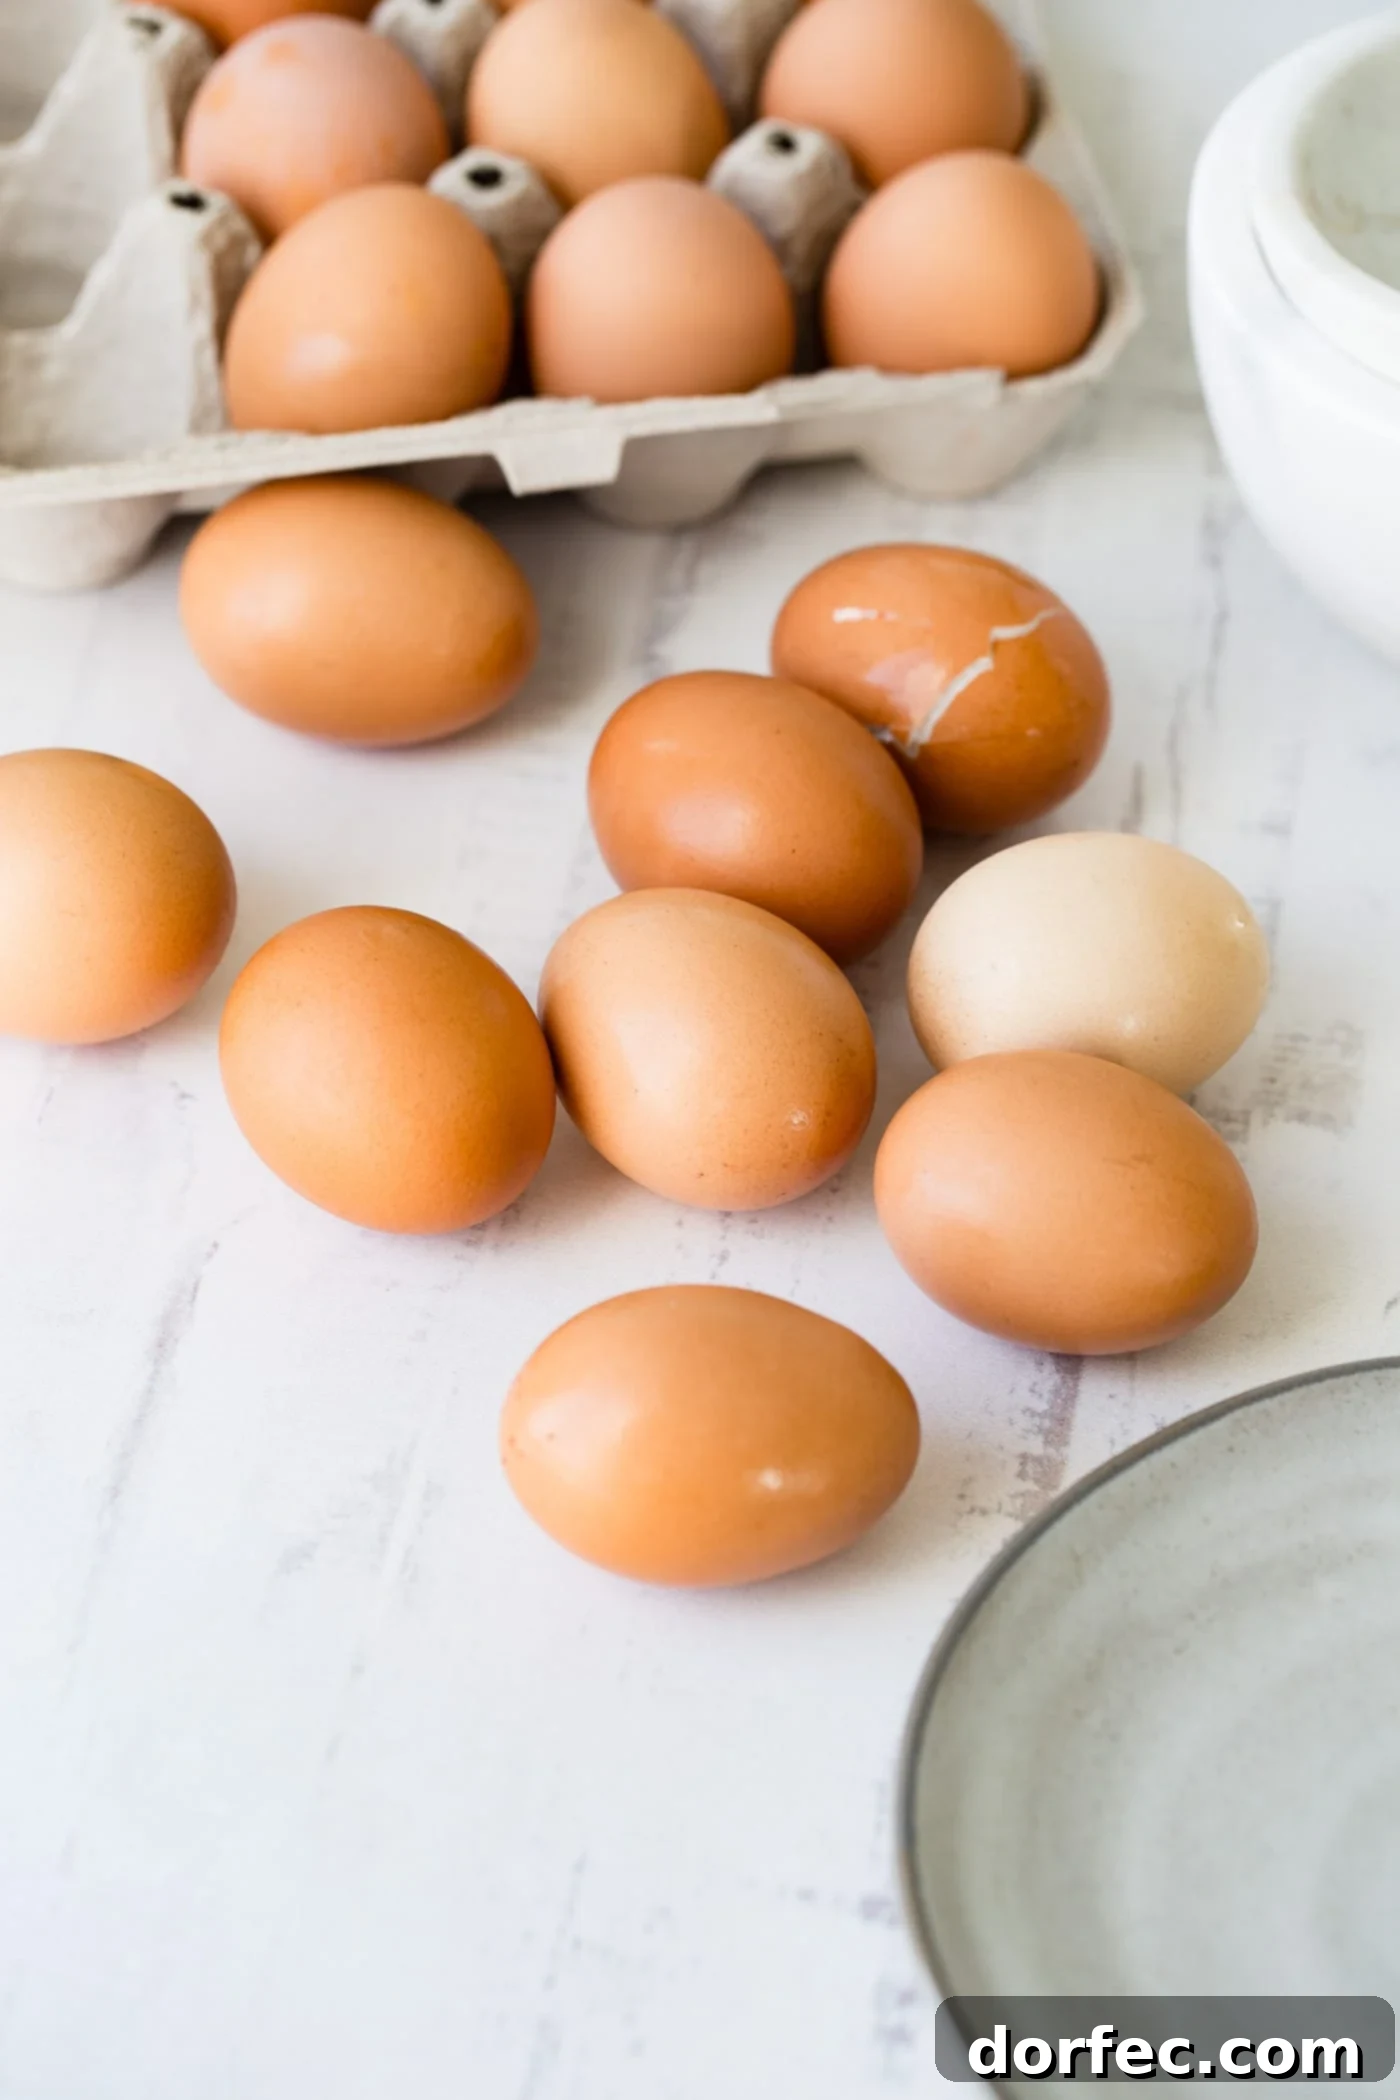
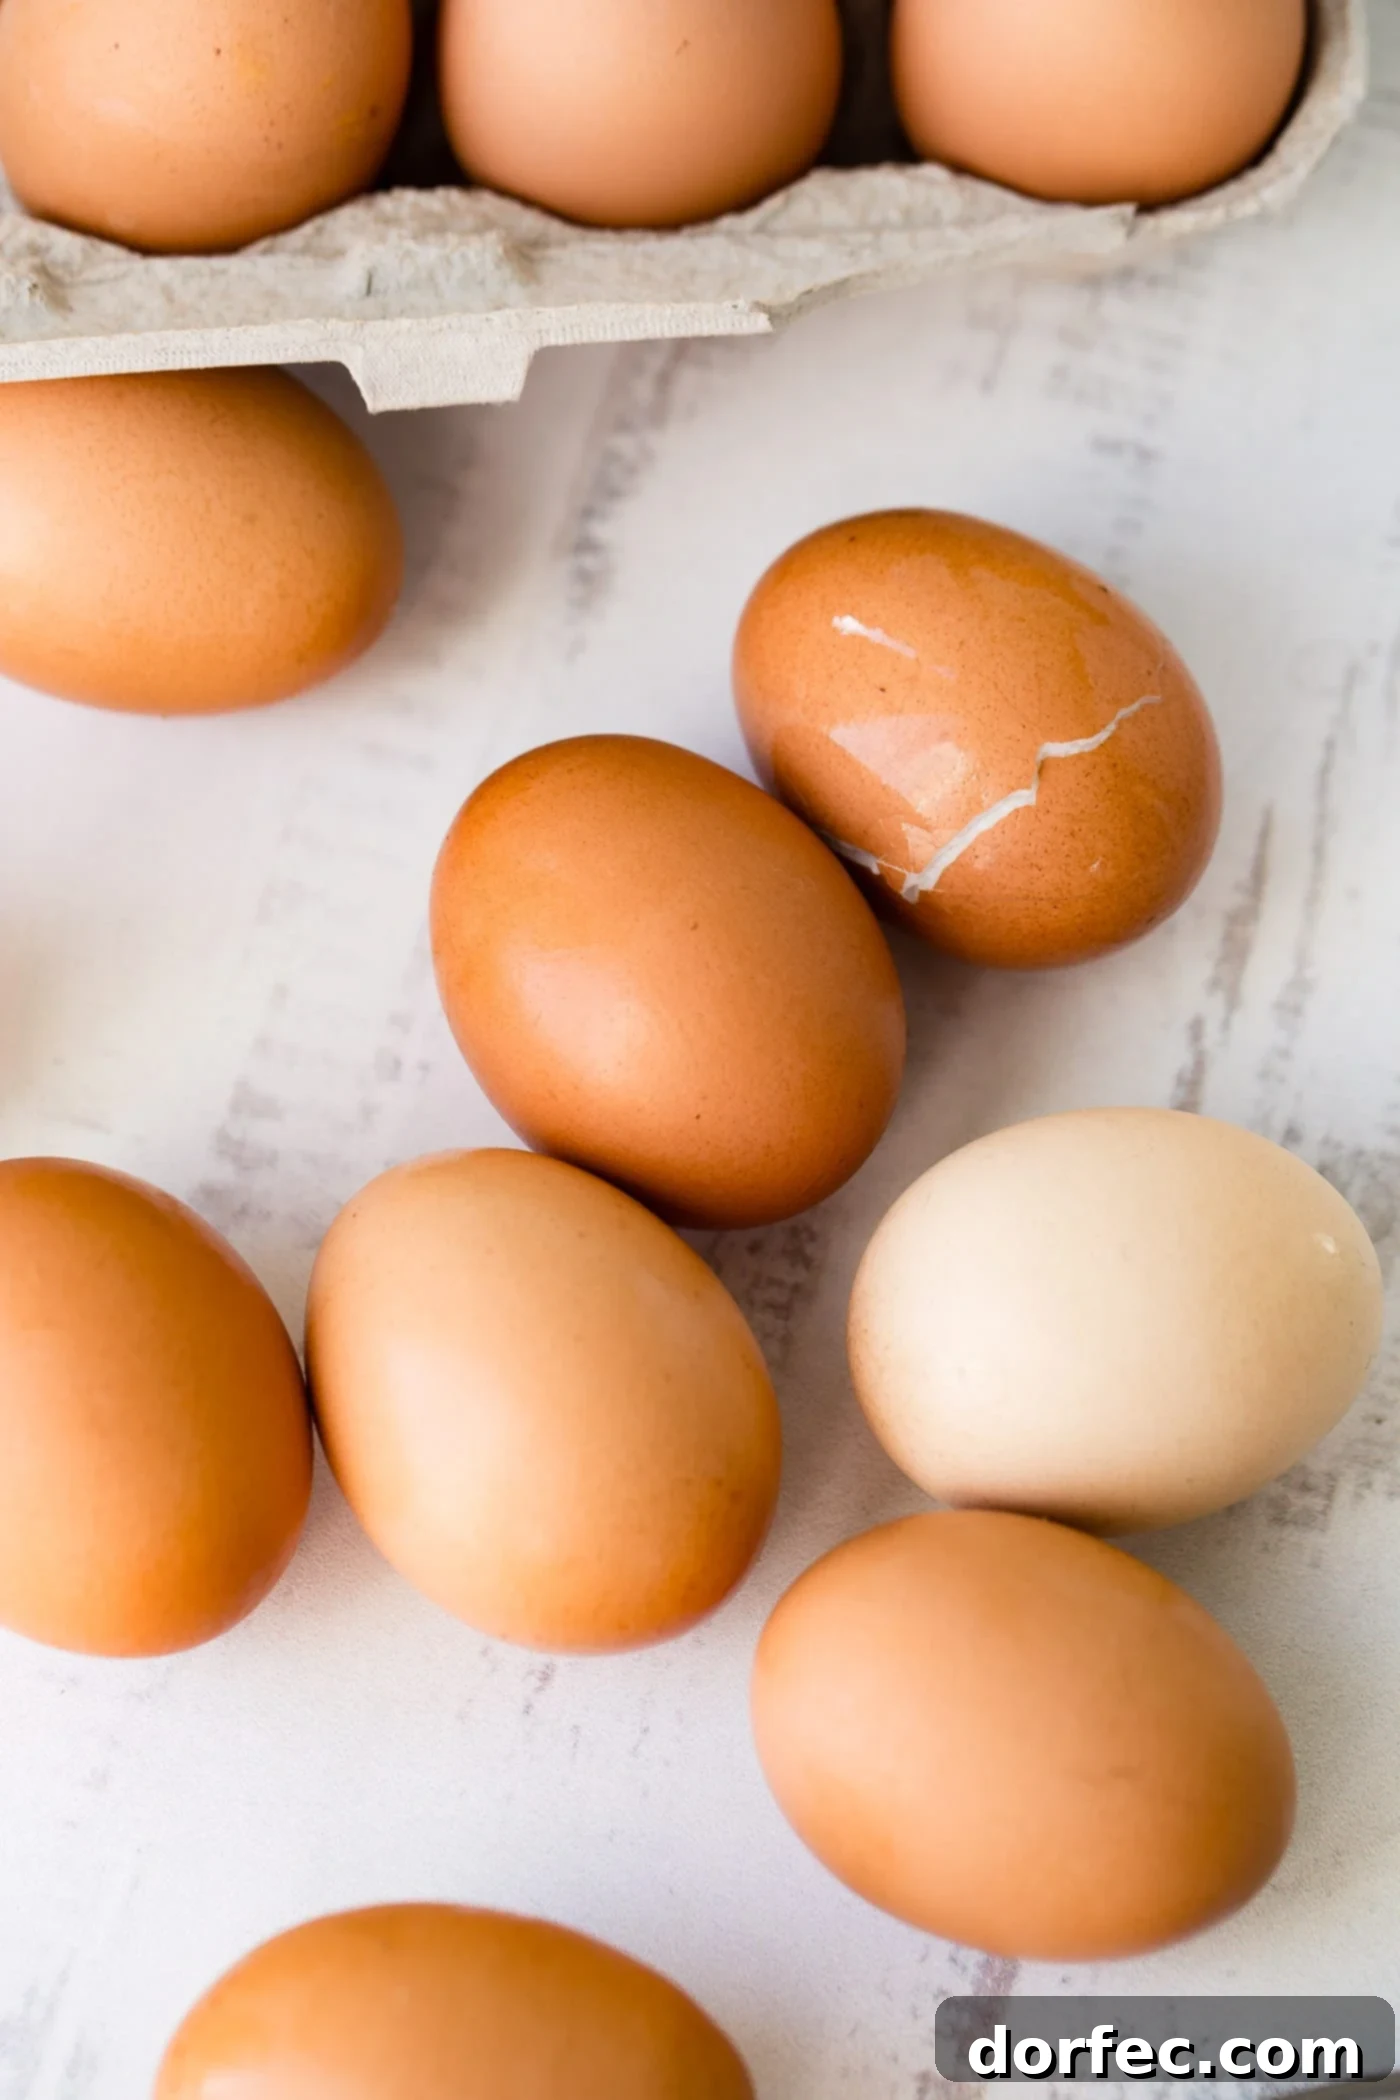
Our first crucial tip, surprisingly, revolves around the color of your eggs. Through extensive testing, I’ve found that **brown eggs** tend to perform slightly better than white eggs when it comes to hard boiling and, most importantly, peeling. While the scientific reasons aren’t entirely clear, some theories suggest differences in shell porosity or membrane adhesion. Regardless of the exact science, brown eggs consistently yield an easier peeling experience and a more satisfying result. So, when you’re at the grocery store with the goal of making **perfect hard-boiled eggs**, reach for a carton of brown eggs if available. However, rest assured that this method also works wonderfully with white eggs, so don’t hesitate to use what you have on hand. The technique itself is robust enough to deliver great results with any type of egg, though brown might give you that extra edge.
The Gentle Boil: Preparing for Perfection
The initial heating process is fundamental to preventing cracked shells and ensuring even cooking. Begin by carefully placing your eggs in a single layer at the bottom of a large saucepan. It’s essential to use cold water for this step. Starting with cold water allows the eggs to gradually come up to temperature along with the water, which significantly reduces the risk of the shells cracking from a sudden thermal shock. Pour enough cold water into the pot to cover the eggs by approximately one inch. This ensures all eggs are fully submerged and cook uniformly. Once the eggs are covered, place the pot on your stove and turn the heat to high. Allow the water to come to a full, rolling boil. This means you should see large, continuous bubbles breaking the surface. The moment the water reaches this vigorous boiling point, immediately turn off the heat. Do not continue to boil the eggs on high heat, as this can lead to rubbery whites and that undesirable green ring around the yolk. As soon as the heat is off, place a tight-fitting lid securely on the pot and, if possible, remove the pot from the hot burner to prevent any residual cooking from the stovetop itself.
The Steaming Stage: The Heart of the Method
The Cold Shock: Easy Peeling Guaranteed
The 10 minutes of steaming are up, and now it’s time for the game-changing “shock” phase. Carefully remove the hard-boiled eggs from the hot pot using a slotted spoon and immediately transfer them to the large bowl filled with ice water that you prepared earlier. Ensure the eggs are completely submerged in the cold water. This rapid transition from hot to cold is what we call “shocking” the eggs, and it serves two vital purposes. Firstly, the sudden drop in temperature instantly halts the cooking process, preventing any further cooking that could lead to overdone yolks or rubbery whites. Secondly, and perhaps most importantly for many, this shock causes the egg to contract slightly within its shell. This tiny shrinkage creates a small gap between the cooked egg and its membrane, making the shells incredibly easy to peel. This is the secret to avoiding those frustrating moments of chipping away at a stubborn shell, taking chunks of precious egg white with it.
Peel with Ease: Enjoying Your Perfect Eggs
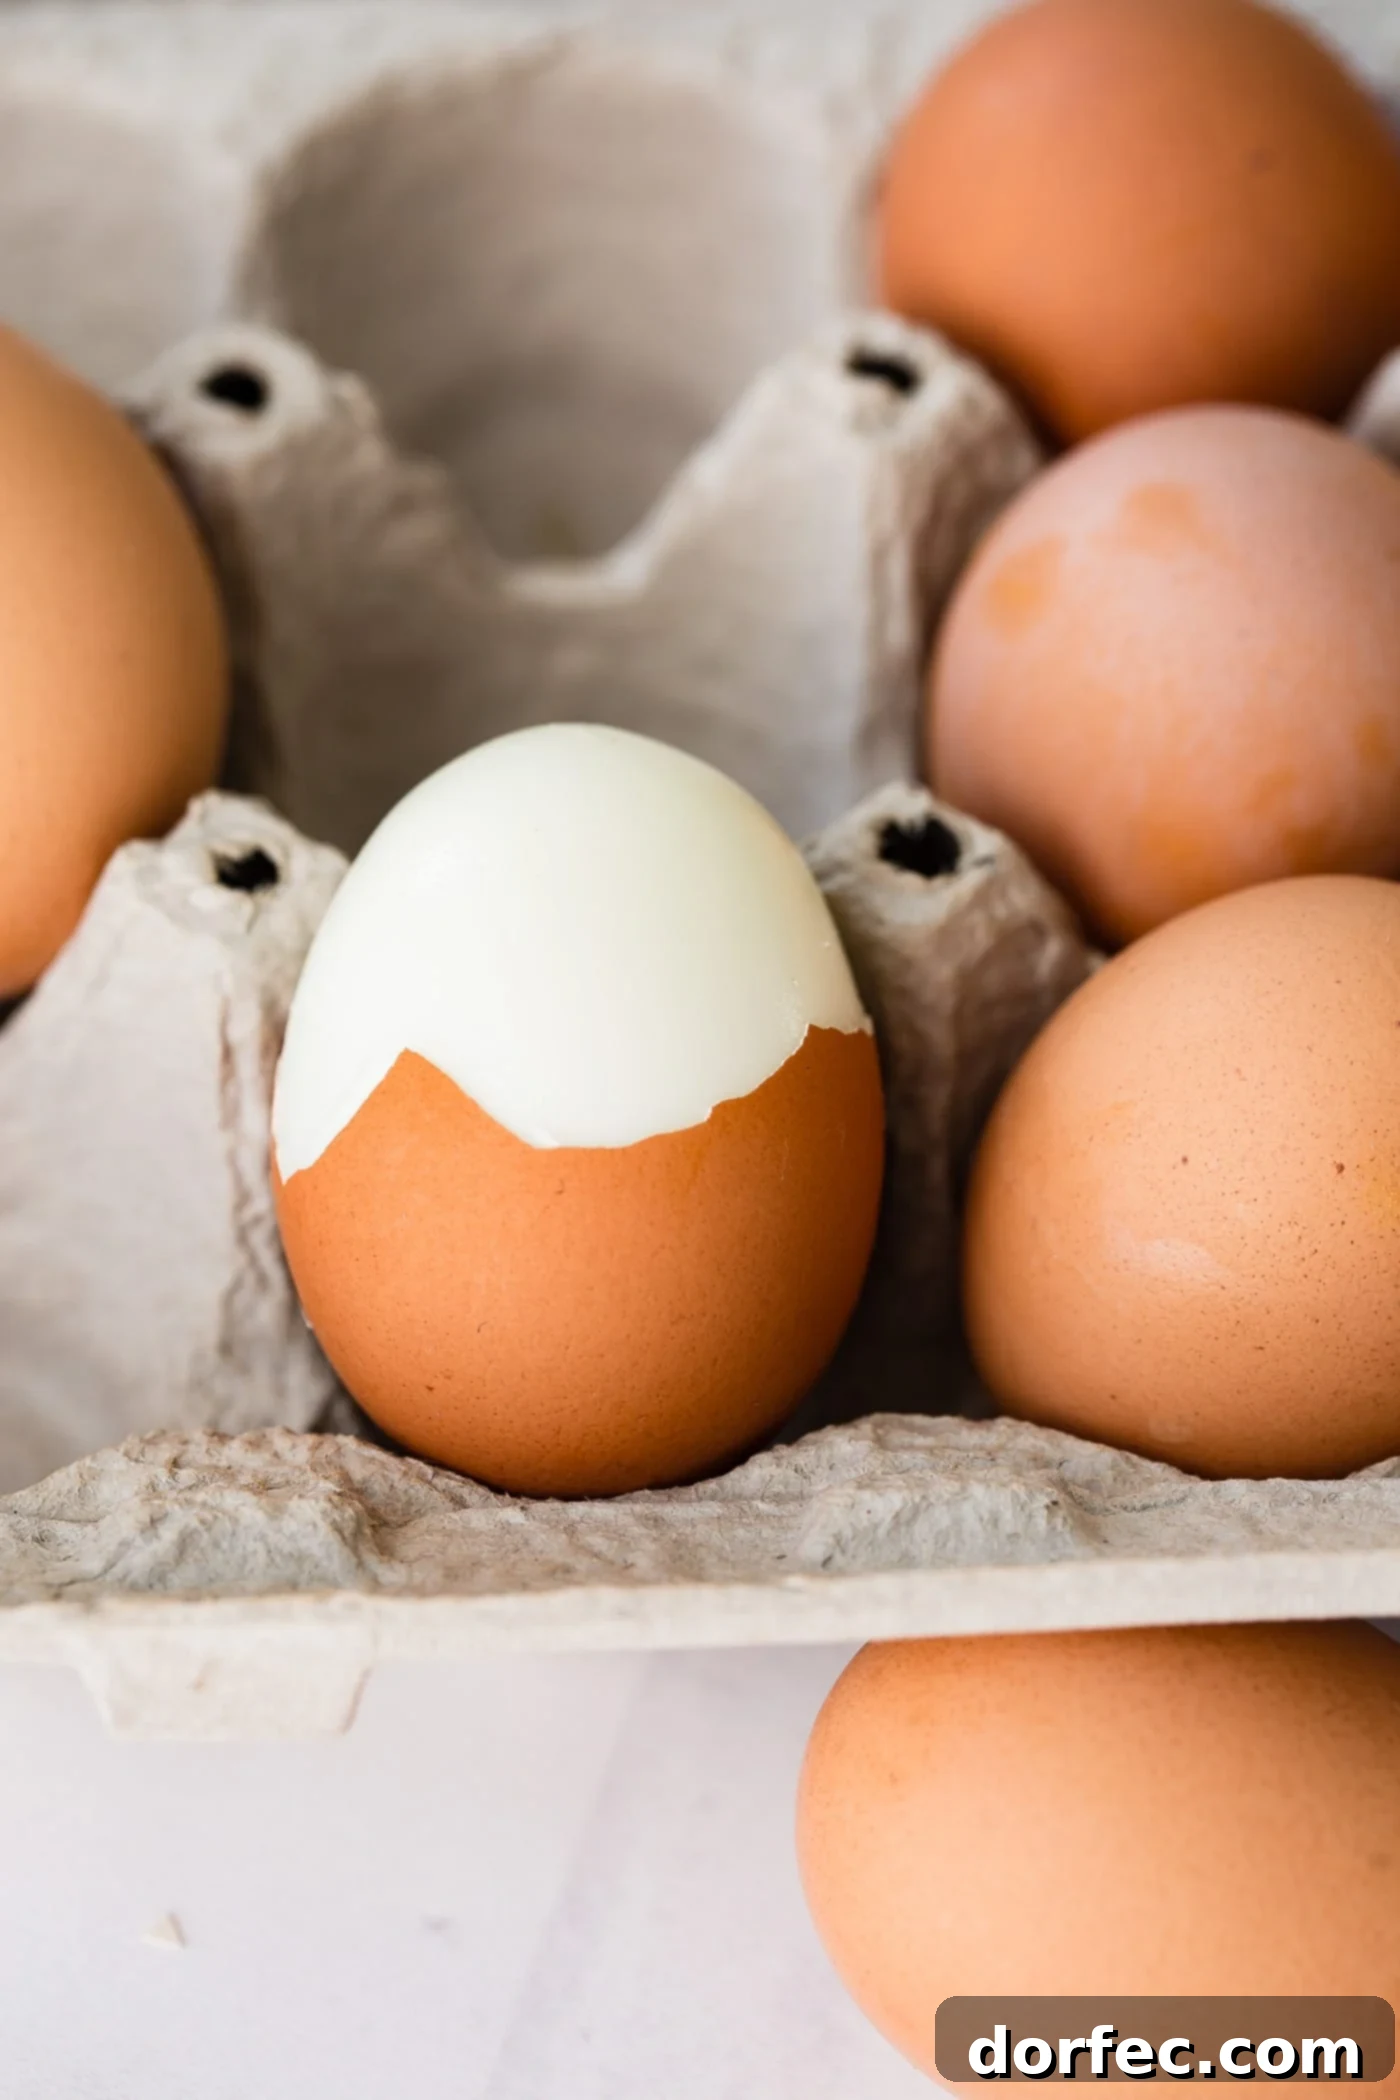
For the absolute easiest peeling experience, it’s best to allow the eggs to cool completely in the ice bath. You can move the ice bowl to the refrigerator and let the eggs sit there for a few hours, or even up to overnight. The colder the eggs, the more effectively the shocking process works, leading to shells that virtually slide off. When you’re ready to peel, gently tap the egg on a hard surface to crack the shell all around, then roll it between your hands to loosen the shell further. Often, peeling under a gentle stream of cold water can also help separate any stubborn membrane pieces. With this method, you’ll find the shells come off in large pieces, revealing a smooth, perfectly cooked egg white. Your **perfect hard-boiled eggs** are now ready to be enjoyed as a wholesome snack, or to be incorporated into your favorite recipes!
How to Use Hard Boiled Eggs: Versatility in Your Kitchen
**Hard-boiled eggs** are an incredibly versatile ingredient, offering a protein-packed punch that can elevate a wide array of dishes. Beyond their nutritional benefits, their firm texture and mild flavor make them a culinary chameleon, adapting seamlessly to various cuisines and meal types. I personally adore them as a quick, healthy snack throughout the day, simply seasoned with a sprinkle of salt and freshly ground black pepper. They’re a fantastic source of protein, helping you feel full and energized. But their utility extends far beyond simple snacking.
No brunch is complete without classic fabulous deviled eggs, a party favorite that always disappears quickly. Similarly, our delightful egg salad sandwiches wouldn’t be possible without perfectly cooked hard-boiled eggs, offering that creamy, savory filling we all love. For those seeking lighter options, hard-boiled eggs are a stellar addition to salads, bringing substance and nutrition. They are absolutely perfect in our vibrant harvest cobb broccoli salad, adding a rich texture and protein to the crisp greens. They also make a fantastic, satisfying topping for soups, such as a hearty hot and sour soup, or even a comforting bowl of ramen. Their ability to blend into complex dishes while shining on their own truly makes them a staple in any kitchen. From breakfast to dinner, and everything in between, hard-boiled eggs are truly so versatile!
Hard-Boiled Egg FAQs: Your Questions Answered
How Long Will Hard Boiled Eggs Keep?
Proper storage is key to extending the freshness and safety of your **hard-boiled eggs**. For optimal longevity and flavor, it is always recommended to store hard-boiled eggs with their shells intact in the refrigerator. The shell acts as a natural protective barrier, much like it does for raw eggs, helping to prevent moisture loss and absorb any unwanted odors from other foods in your fridge. When stored correctly in their shells, hard-boiled eggs will remain fresh and delicious for **up to 1 week**. Once peeled, it’s best to consume them within 2-3 days.
Do Hard Boiled Eggs Need To Be Refrigerated?
Yes, absolutely! Unlike raw eggs, which have a protective bloom on their shell that can allow them to be stored at room temperature in some countries (though not recommended in the US), cooked eggs, particularly **hard-boiled eggs**, must be refrigerated. The cooking process removes this natural protective layer, making them more susceptible to bacterial growth if left at room temperature. Always store hard-boiled eggs in the refrigerator at or below 40°F (4°C) to ensure their safety and freshness. It’s a simple but crucial step for food safety.
Why Is It Hard To Peel A Hard Boiled Egg?
The difficulty in peeling hard-boiled eggs is a common kitchen frustration, often attributed to the inherent chemistry of an egg. When an egg cooks, the proteins in the white expand and bond tightly with the inner membrane of the shell. This strong adhesion can make it incredibly challenging to remove the shell cleanly, often resulting in chunks of delicious egg white being torn away. Another contributing factor is the freshness of the egg; very fresh eggs tend to be harder to peel than older eggs (which are a few days or a week old) because the albumen (egg white) pH is lower, leading to a stronger bond with the membrane. However, by consistently following the method outlined in this post – particularly the crucial steps of steaming and immediately shocking the eggs in an ice bath – you can significantly mitigate this issue. The rapid temperature change from hot to cold helps to quickly shrink the egg within its shell, creating a small air pocket that allows for remarkably easy peeling, regardless of the egg’s initial freshness.
Now that I’ve shared all my best tips, tricks, and the detailed steps for **how to make hard boiled eggs** perfectly, you are fully equipped to conquer your kitchen and prepare a batch of consistently flawless eggs. Whether you’re preparing for Easter celebrations, planning delicious recipes that feature this versatile ingredient, or simply looking for a healthy and satisfying snack, you’re all set! Say goodbye to frustration and hello to beautifully cooked, easy-to-peel hard-boiled eggs every single time.
More Recipes that Use Hard Boiled Eggs:
- Deviled Eggs
- Harvest Cobb Broccoli Salad
- Pea Salad
- Pea Pasta Salad
- Hot and Sour Soup
- Egg Salad Sandwich
- Roasted Potato Salad
- 7 Layer Pea Salad
- Asparagus Avocado Salad
- Dill Potato Salad
- Avocado Egg Salad Wrap
- Cobb Salad
Hard Boiled Eggs
Ingredients
- 8 Large Eggs
Instructions
-
Place water in a large saucepan and set on the stove.
-
Add the eggs, being sure that the water totally covers them.8 Large Eggs
-
Turn to high heat and bring to a boil. As soon as the water is boiling, turn off the heat and place the lid on, removing the pan from the burner.
-
Allow to steam for 10 minutes.
-
Meanwhile, fill a large bowl with ice.
-
Remove the eggs directly to the ice bowl and cover with cold water.
-
Allow to sit in the fridge for a few hours, up to overnight before peeling so that the eggs are completely cold.
Recipe Notes
Hard-boiled eggs can be kept in the refrigerator for 1 week.
Nutrition
Nutrition information is automatically calculated, so should only be used as an approximation.
REMEMBER TO SUBSCRIBE TO our FREE Oh Sweet Basil NEWSLETTER AND RECEIVE EASY RECIPES DELIVERED INTO YOUR INBOX EVERY DAY!
When you try a recipe, please use the hashtag #ohsweetbasil on INSTAGRAM for a chance to be featured in our stories! FOLLOW OH, SWEET BASIL ON FACEBOOK | INSTAGRAM | PINTEREST | TWITTER FOR ALL OF OUR LATEST CONTENT, RECIPES AND STORIES.