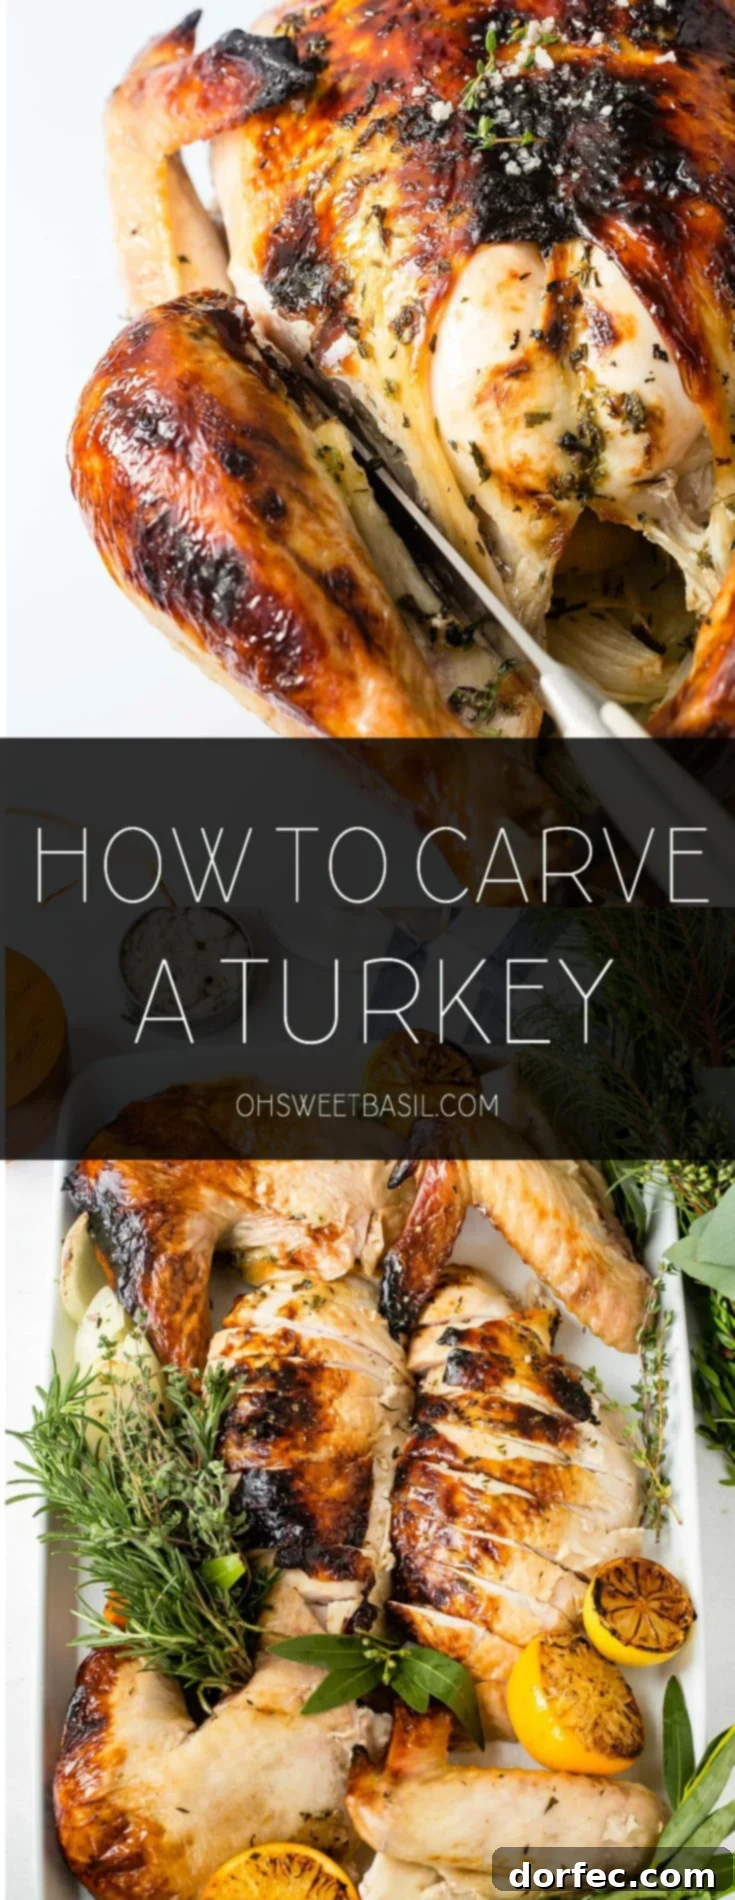
Mastering the Art of Turkey Carving: Your Essential Guide to a Flawless Feast
Thanksgiving and other festive occasions often center around a magnificent roasted turkey. You’ve spent hours perfecting that golden, crispy skin and succulent meat, perhaps using our best oven-roasted turkey recipe. Now comes the moment of truth: carving. While the thought of carving a turkey might seem daunting, especially with hungry guests eagerly watching, it’s a skill easily mastered with the right technique and a little patience. A perfectly carved turkey not only looks impressive on your holiday table but also ensures every slice is moist, tender, and absolutely delicious. This comprehensive guide will walk you through each step, transforming you into a confident turkey carving expert, ready to impress everyone at your gathering.
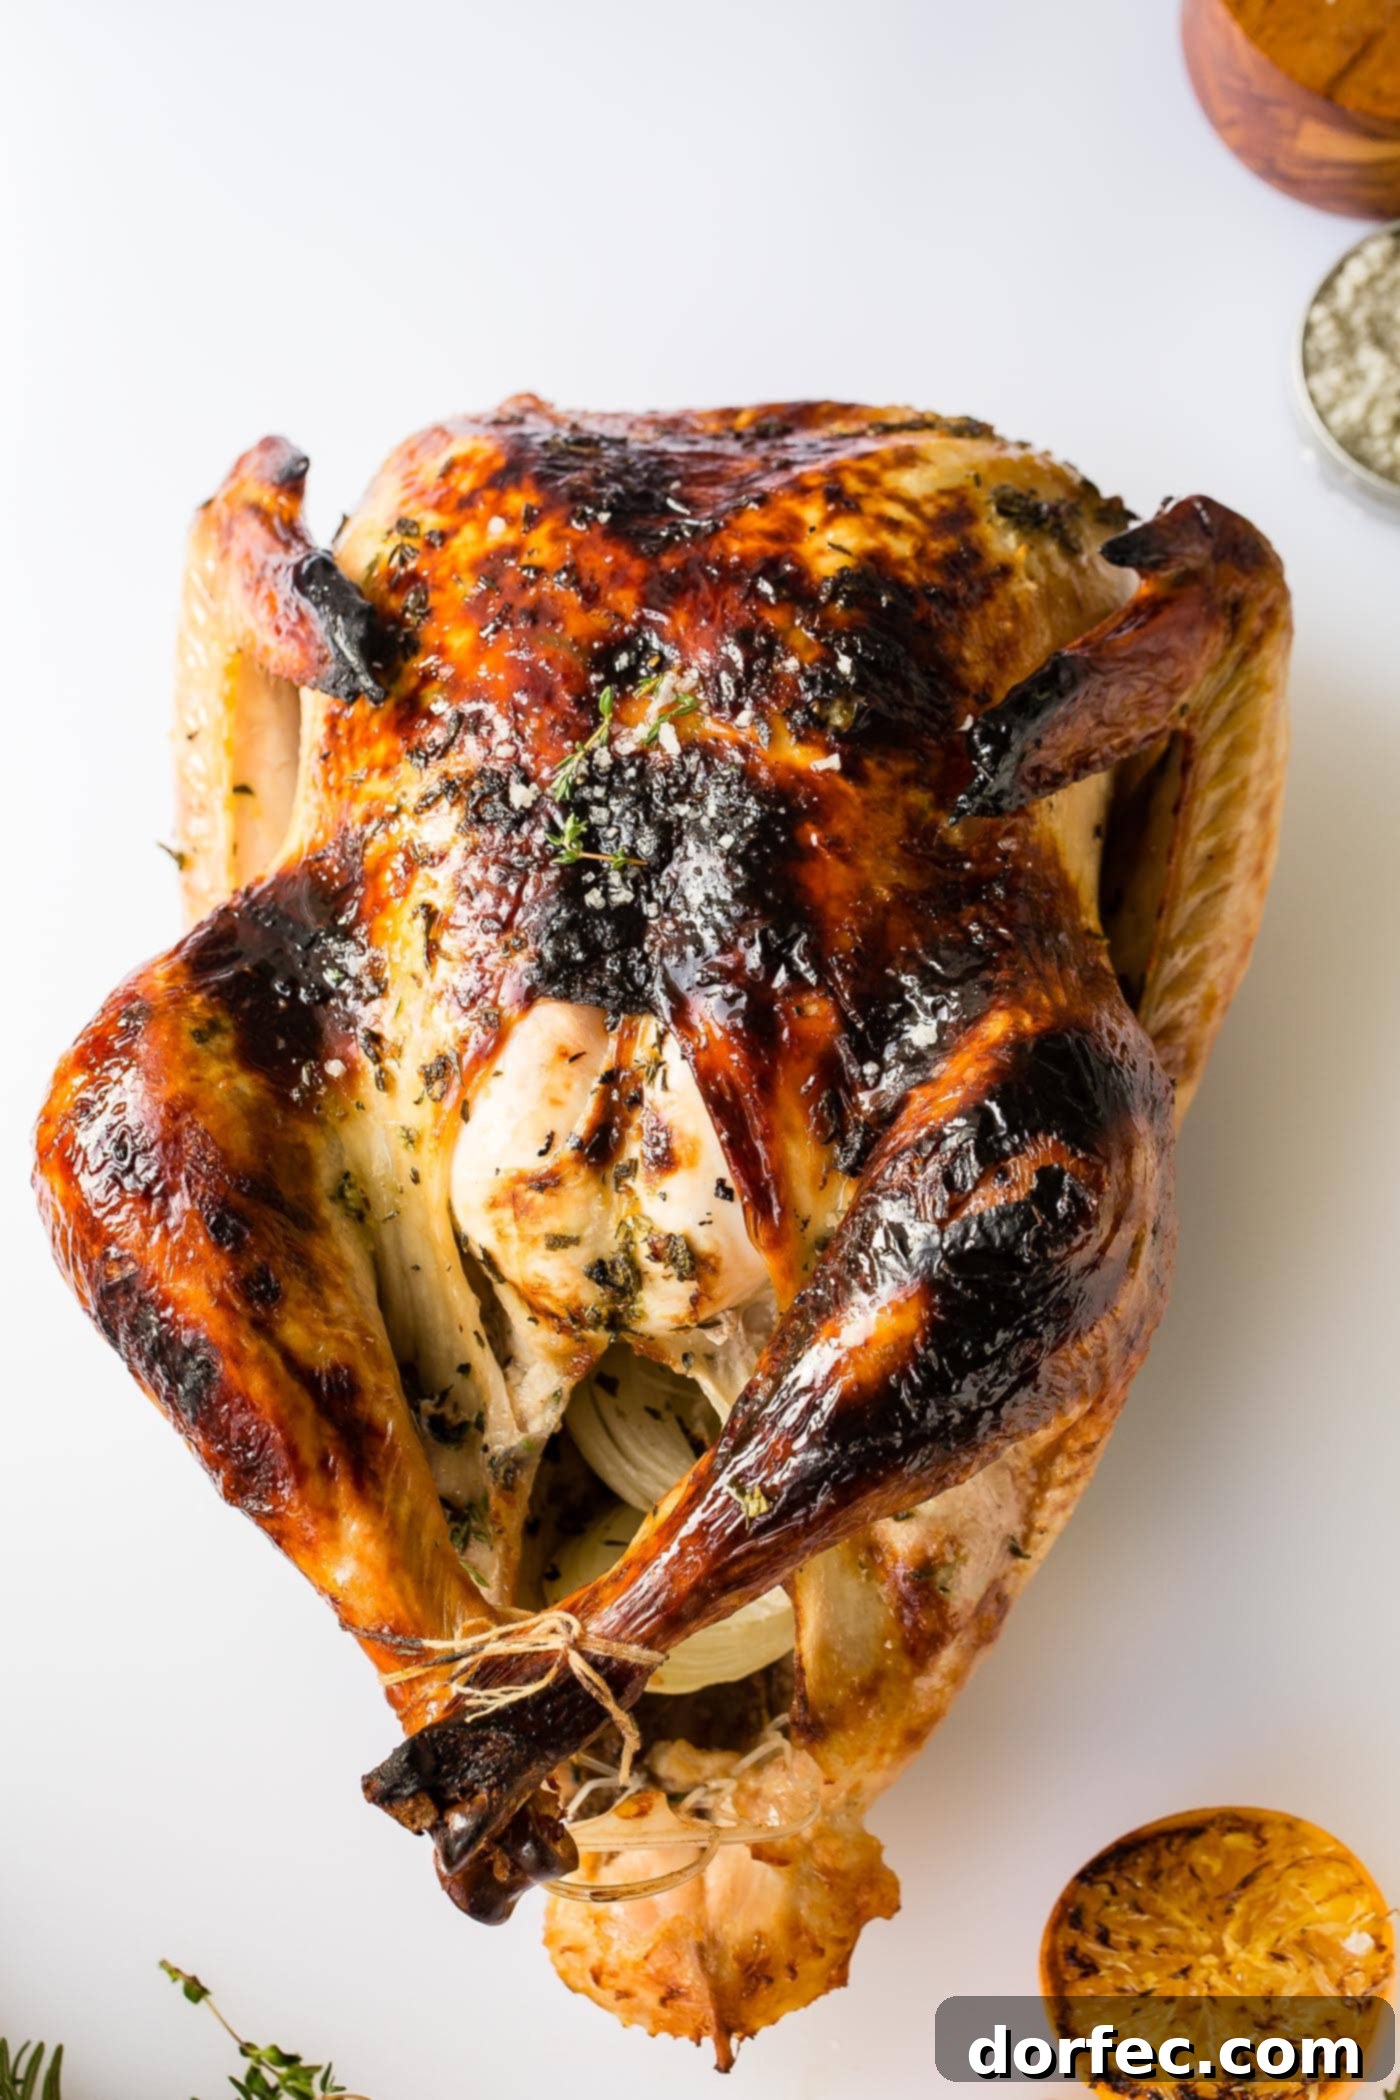
The foundation of successful turkey carving begins long before your knife ever touches the bird. The most critical first step, often overlooked, is allowing your beautifully roasted turkey to rest. If you’ve followed our oven-roasted turkey recipe, you’ll already be familiar with this crucial step, typically involving a rest period of at least 20-30 minutes, or even longer for larger birds. Why is resting so important? As the turkey cooks, the juices migrate to the center of the bird due to heat. If you cut into it immediately, these precious juices will simply run out onto your cutting board, leaving you with dry, flavorless meat. Resting allows these juices to redistribute throughout the meat, reabsorbing back into the muscle fibers. This process ensures every slice remains incredibly moist and flavorful, making all your roasting efforts worthwhile. Don’t skip this step; it’s the secret to a truly succulent turkey!
Before you begin carving, ensure your workspace is prepared. First, carefully remove any cooking twine or trussing that was used to bind the turkey during roasting. Next, if you opted to stuff your turkey (though we highly recommend cooking your no-fuss make-ahead stuffing or sausage stuffing separately for better results and safety), gently scoop out all the stuffing. Place it in a serving dish, ready for your guests. Having a clean, stable cutting board – ideally one with a well to catch any juices – and a very sharp carving knife and fork are essential tools. A dull knife is not only inefficient but can also be dangerous. Take a moment to sharpen your knife if needed. With your turkey rested and your tools ready, you are now perfectly poised to begin the carving process.
How to Carve a Thanksgiving Turkey with Confidence
Carving a turkey can feel like a performance, but with these clear, step-by-step instructions, you’ll glide through it with ease and elegance. We’ll start with the dark meat, which is typically easier to remove and sets the stage for the breast meat.
Step 1: Removing the Legs and Thighs
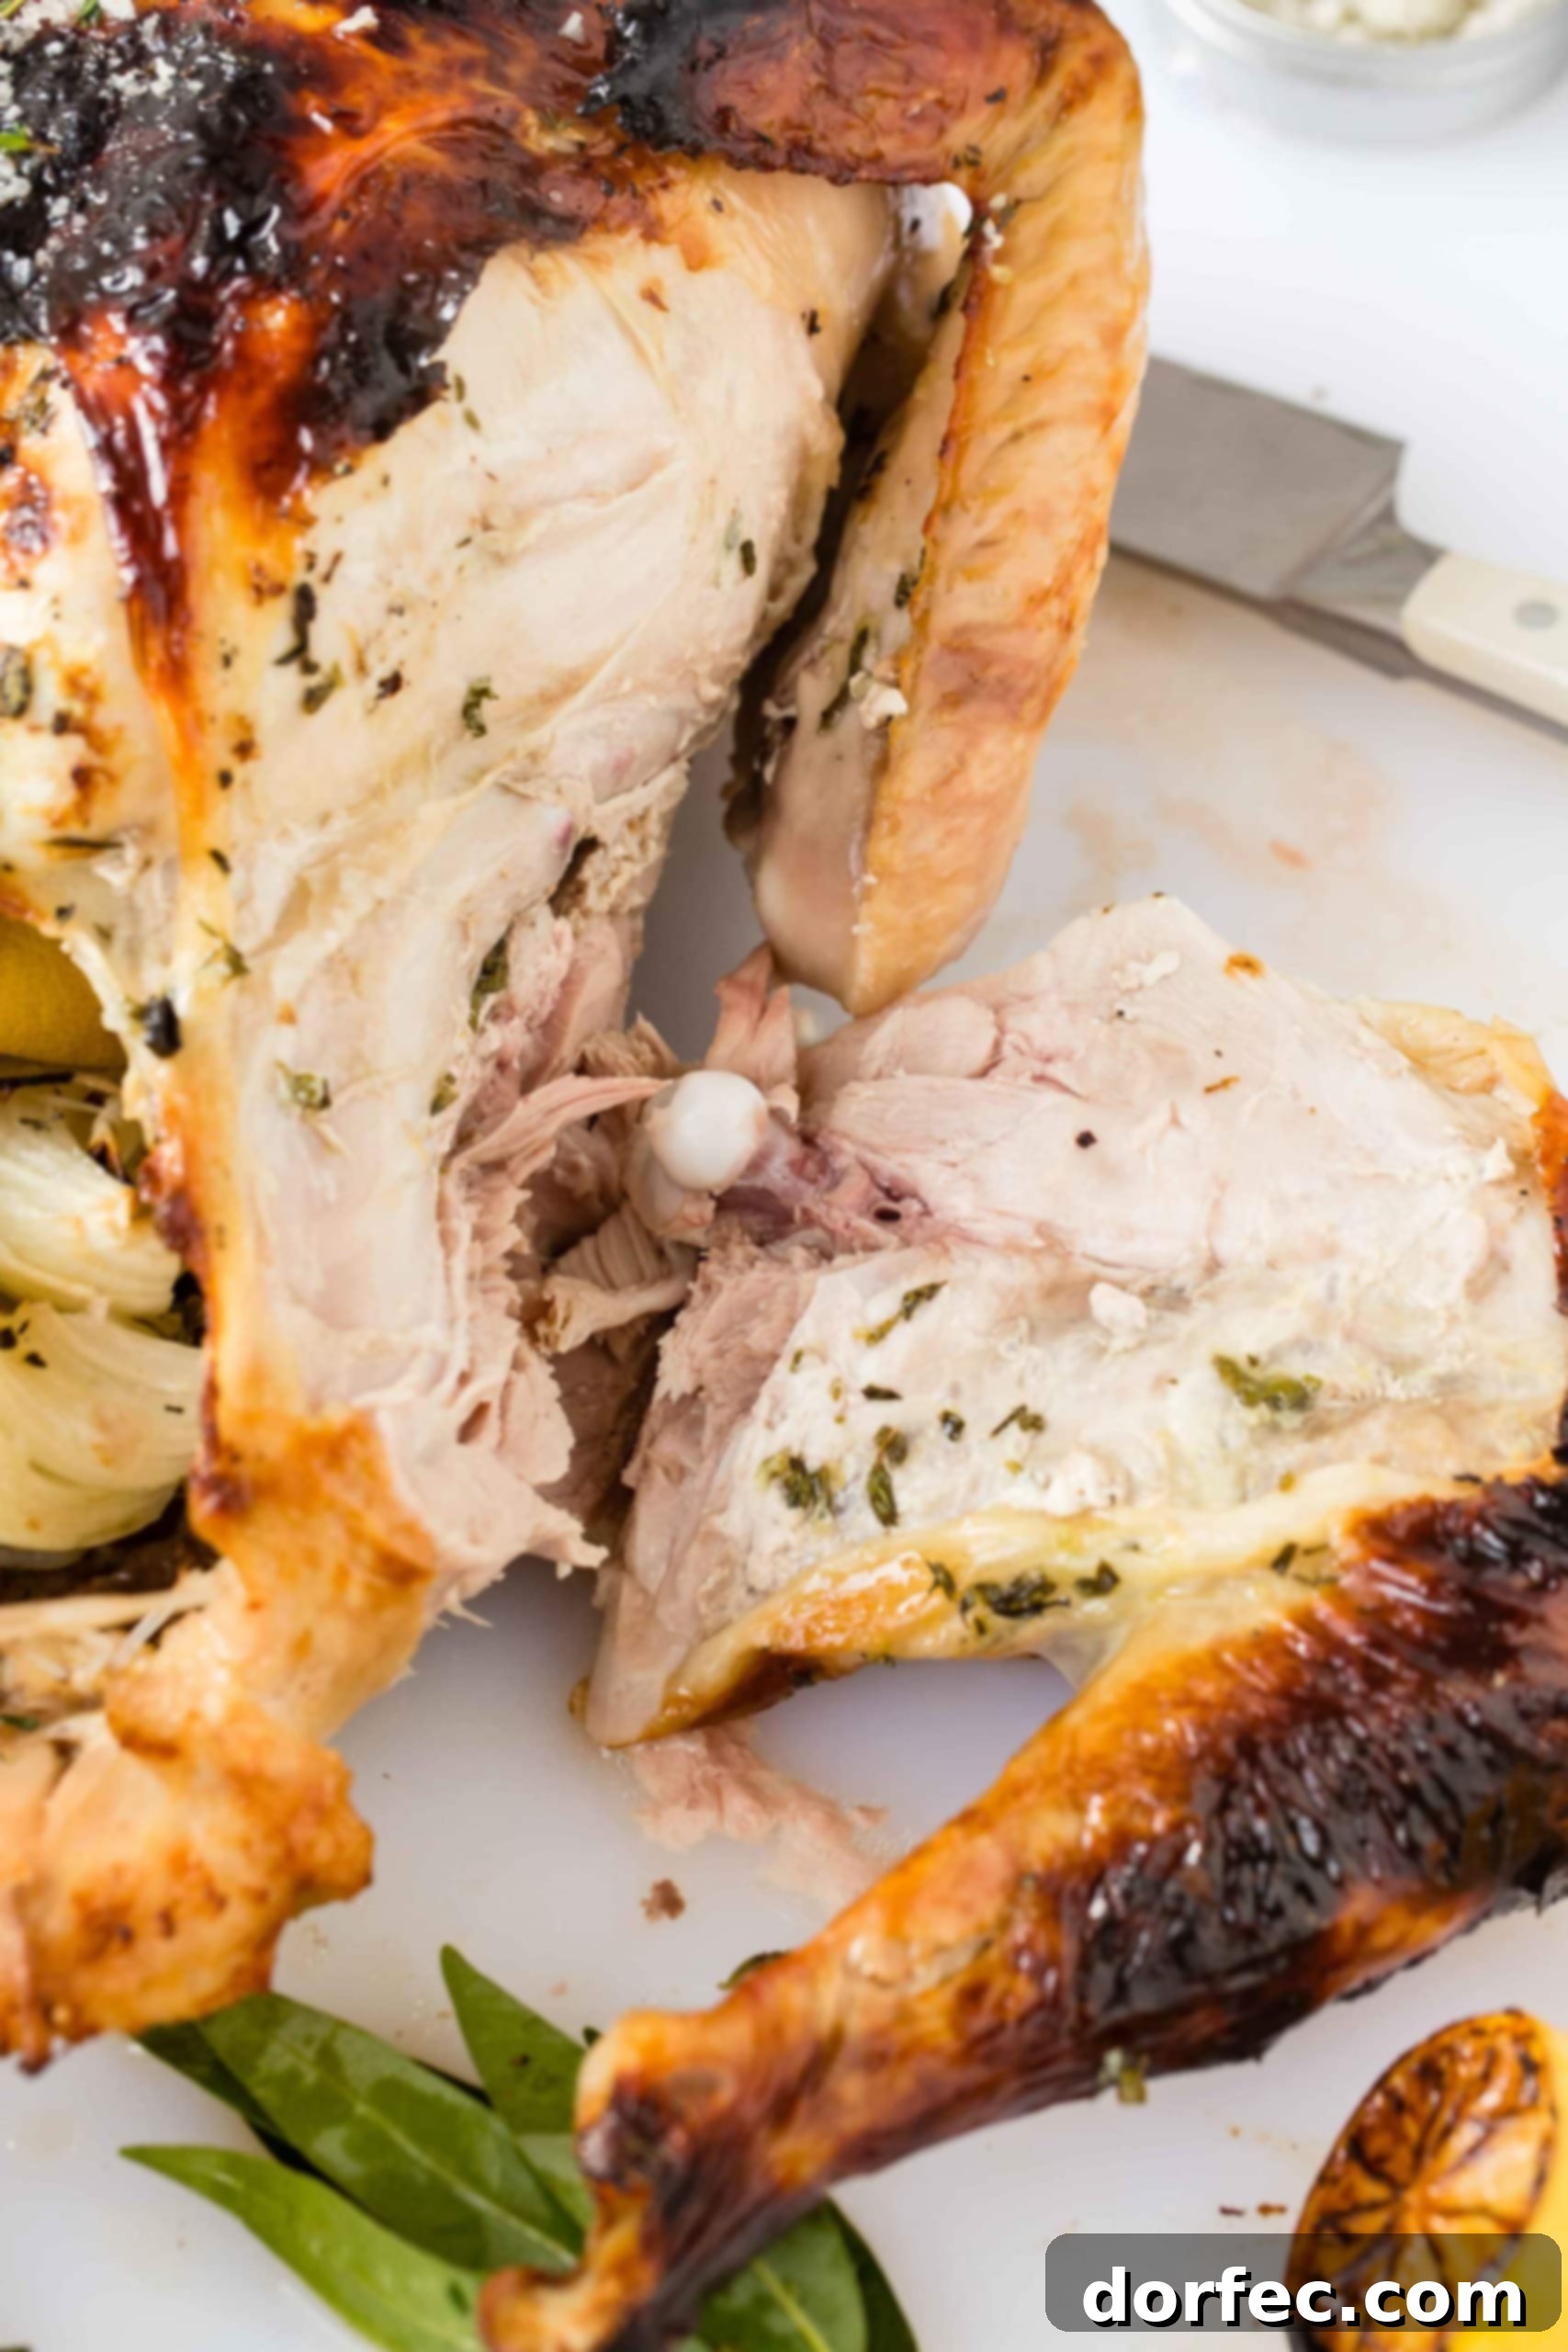
Begin by focusing on the turkey’s dark meat. Position the turkey so that a leg is facing you. Gently but firmly press one leg away from the main body of the turkey. As you do this, you’ll notice the skin and meat stretching. With your sharp carving knife, carefully make an incision through the skin and meat, sliding your knife downwards until you feel the resistance of the hip joint. You don’t need to force your knife through bone; instead, locate the natural joint. Apply gentle pressure, and the joint should pop apart relatively easily. If there’s any connective tissue or cartilage, use the tip of your chef’s knife to cleanly slice through it, fully detaching the entire leg and thigh section from the body. Repeat this process for the other leg and thigh.
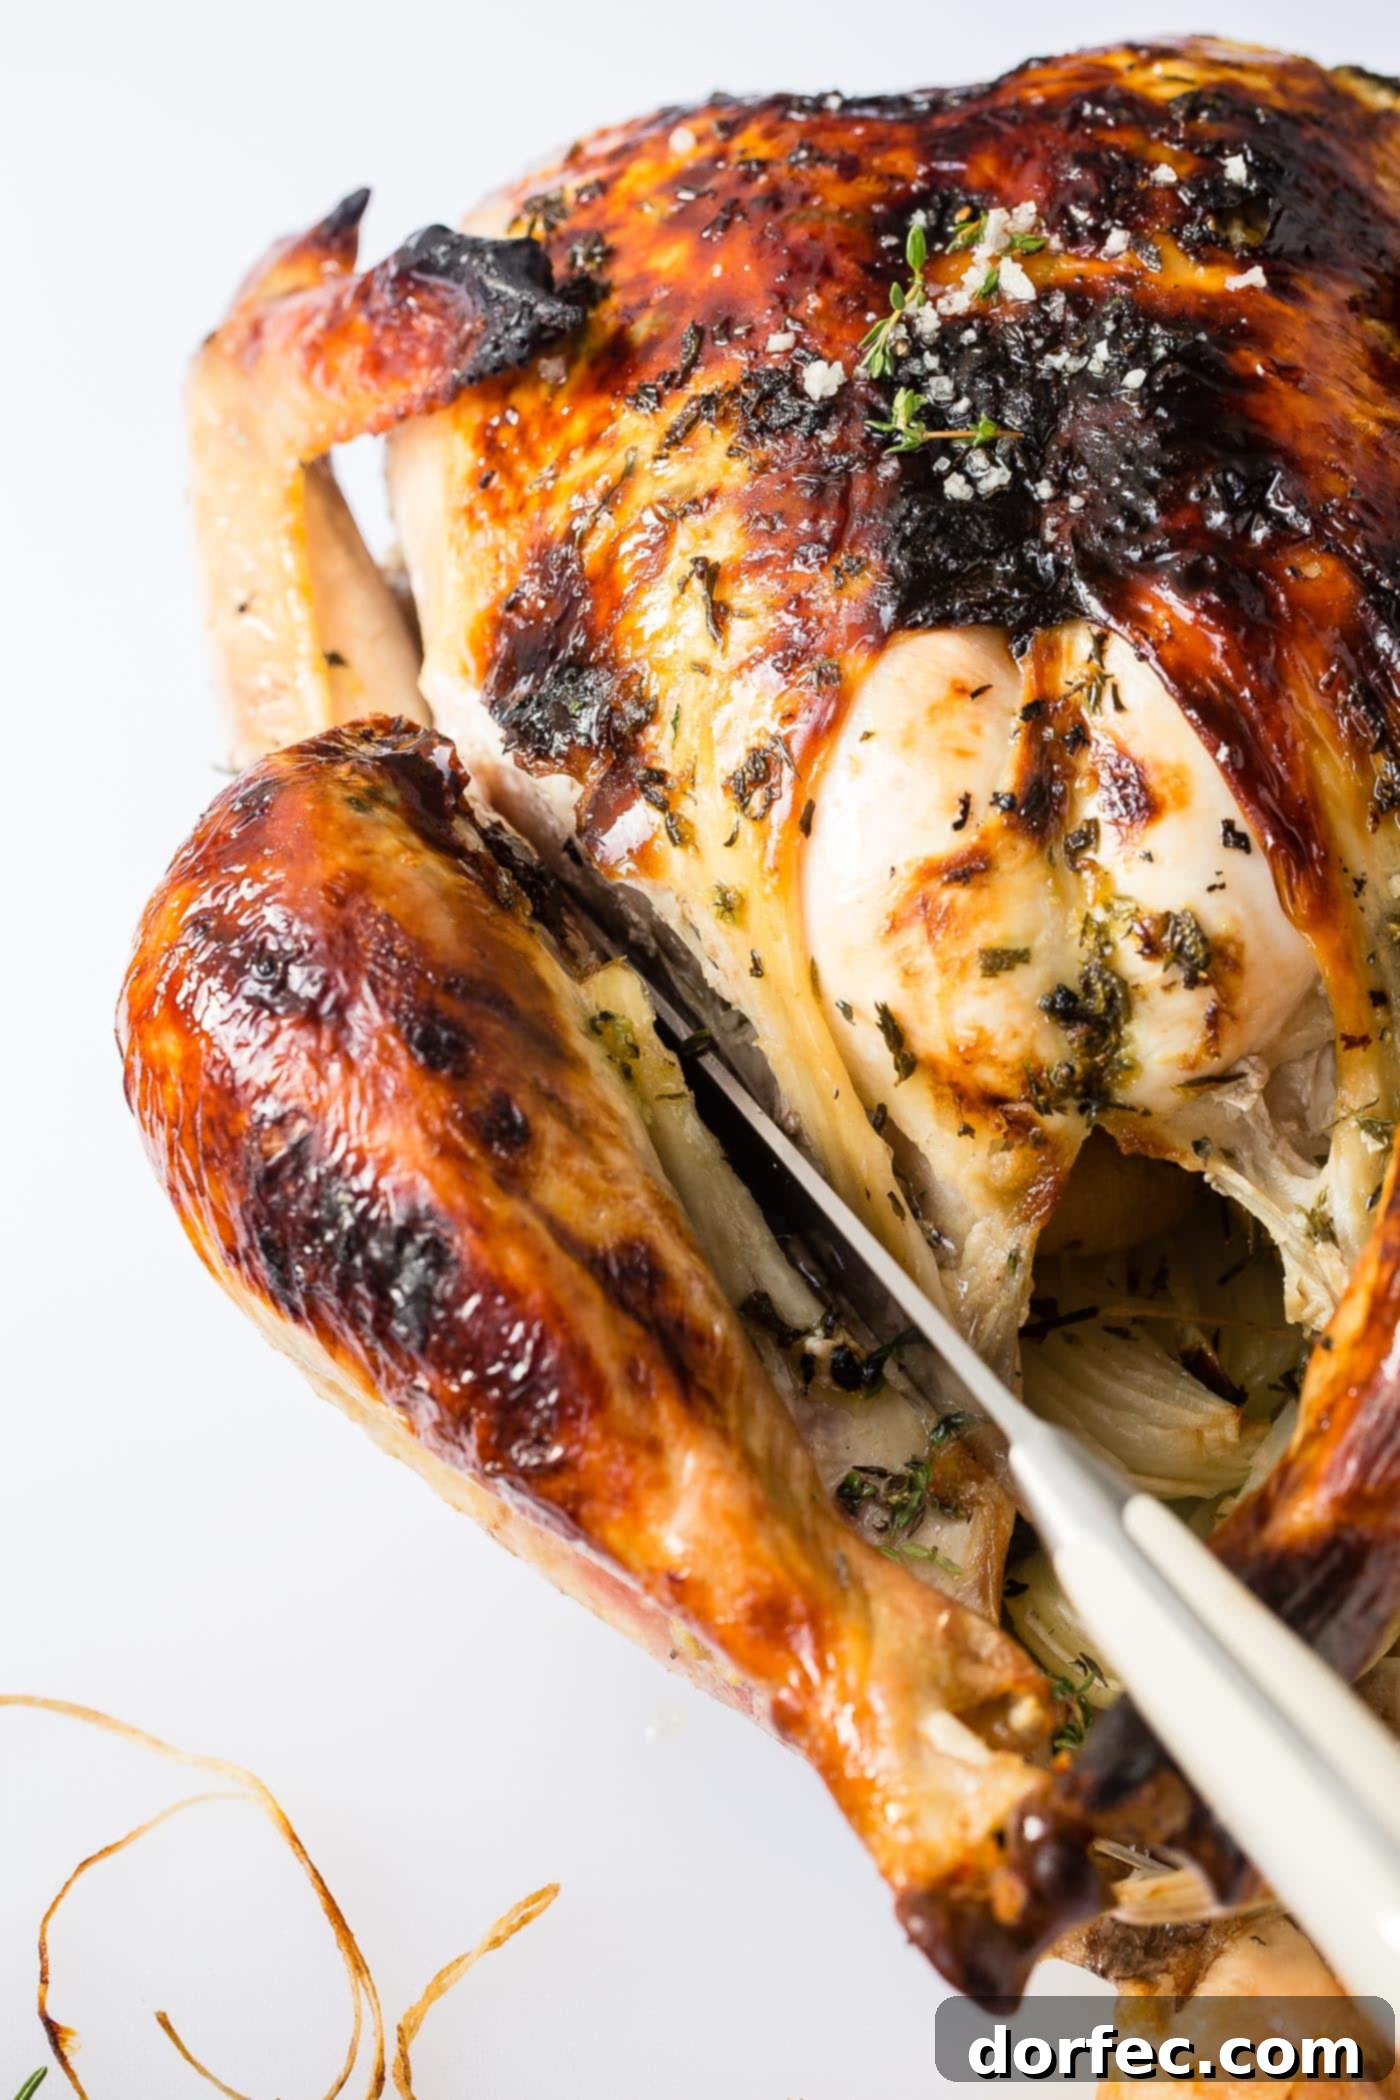
Once both the leg and thigh sections have been removed, you have a couple of options. You can choose to leave the drumstick and thigh connected as a single piece, which some prefer for a rustic presentation, or you can separate them for easier serving. To separate, simply locate the joint connecting the drumstick to the thigh. Flex the joint a little to expose it, then slice through it with your knife. The drumsticks can be transferred directly to your serving platter, ready for those who love to enjoy them whole. Set aside the thigh meat on your cutting board for further slicing.
Now, let’s prepare the thigh meat. Holding the thigh bone firmly with tongs or a paper towel to prevent slipping, use your chef’s knife to carefully slice the meat away from the bone. Once deboned, orient the thigh meat so you can slice against the grain. Slicing against the grain is crucial for tender meat; it shortens the muscle fibers, making each bite incredibly soft and easy to chew. Arrange these succulent slices neatly on your serving platter. At this point, all your dark meat is perfectly carved and ready!
Step 2: Carving the Turkey Breasts
While the white meat of the turkey breast is often the most coveted, it’s best to remove the legs and thighs first. This creates a more stable base and provides better access to the breast meat, making the process much smoother. With the dark meat taken care of, your focus shifts to the star of the show: the tender, juicy breast.
Begin by identifying the prominent breastbone running down the center of the turkey. This will be your guide. Position a long, thin, and flexible carving knife on one side of the breastbone. Aim to get your knife as close to the bone as possible. Gently, but with steady pressure, begin to slice downwards, following the natural curve of the rib cage. You want to hug the bone as you cut to maximize the amount of meat you remove.
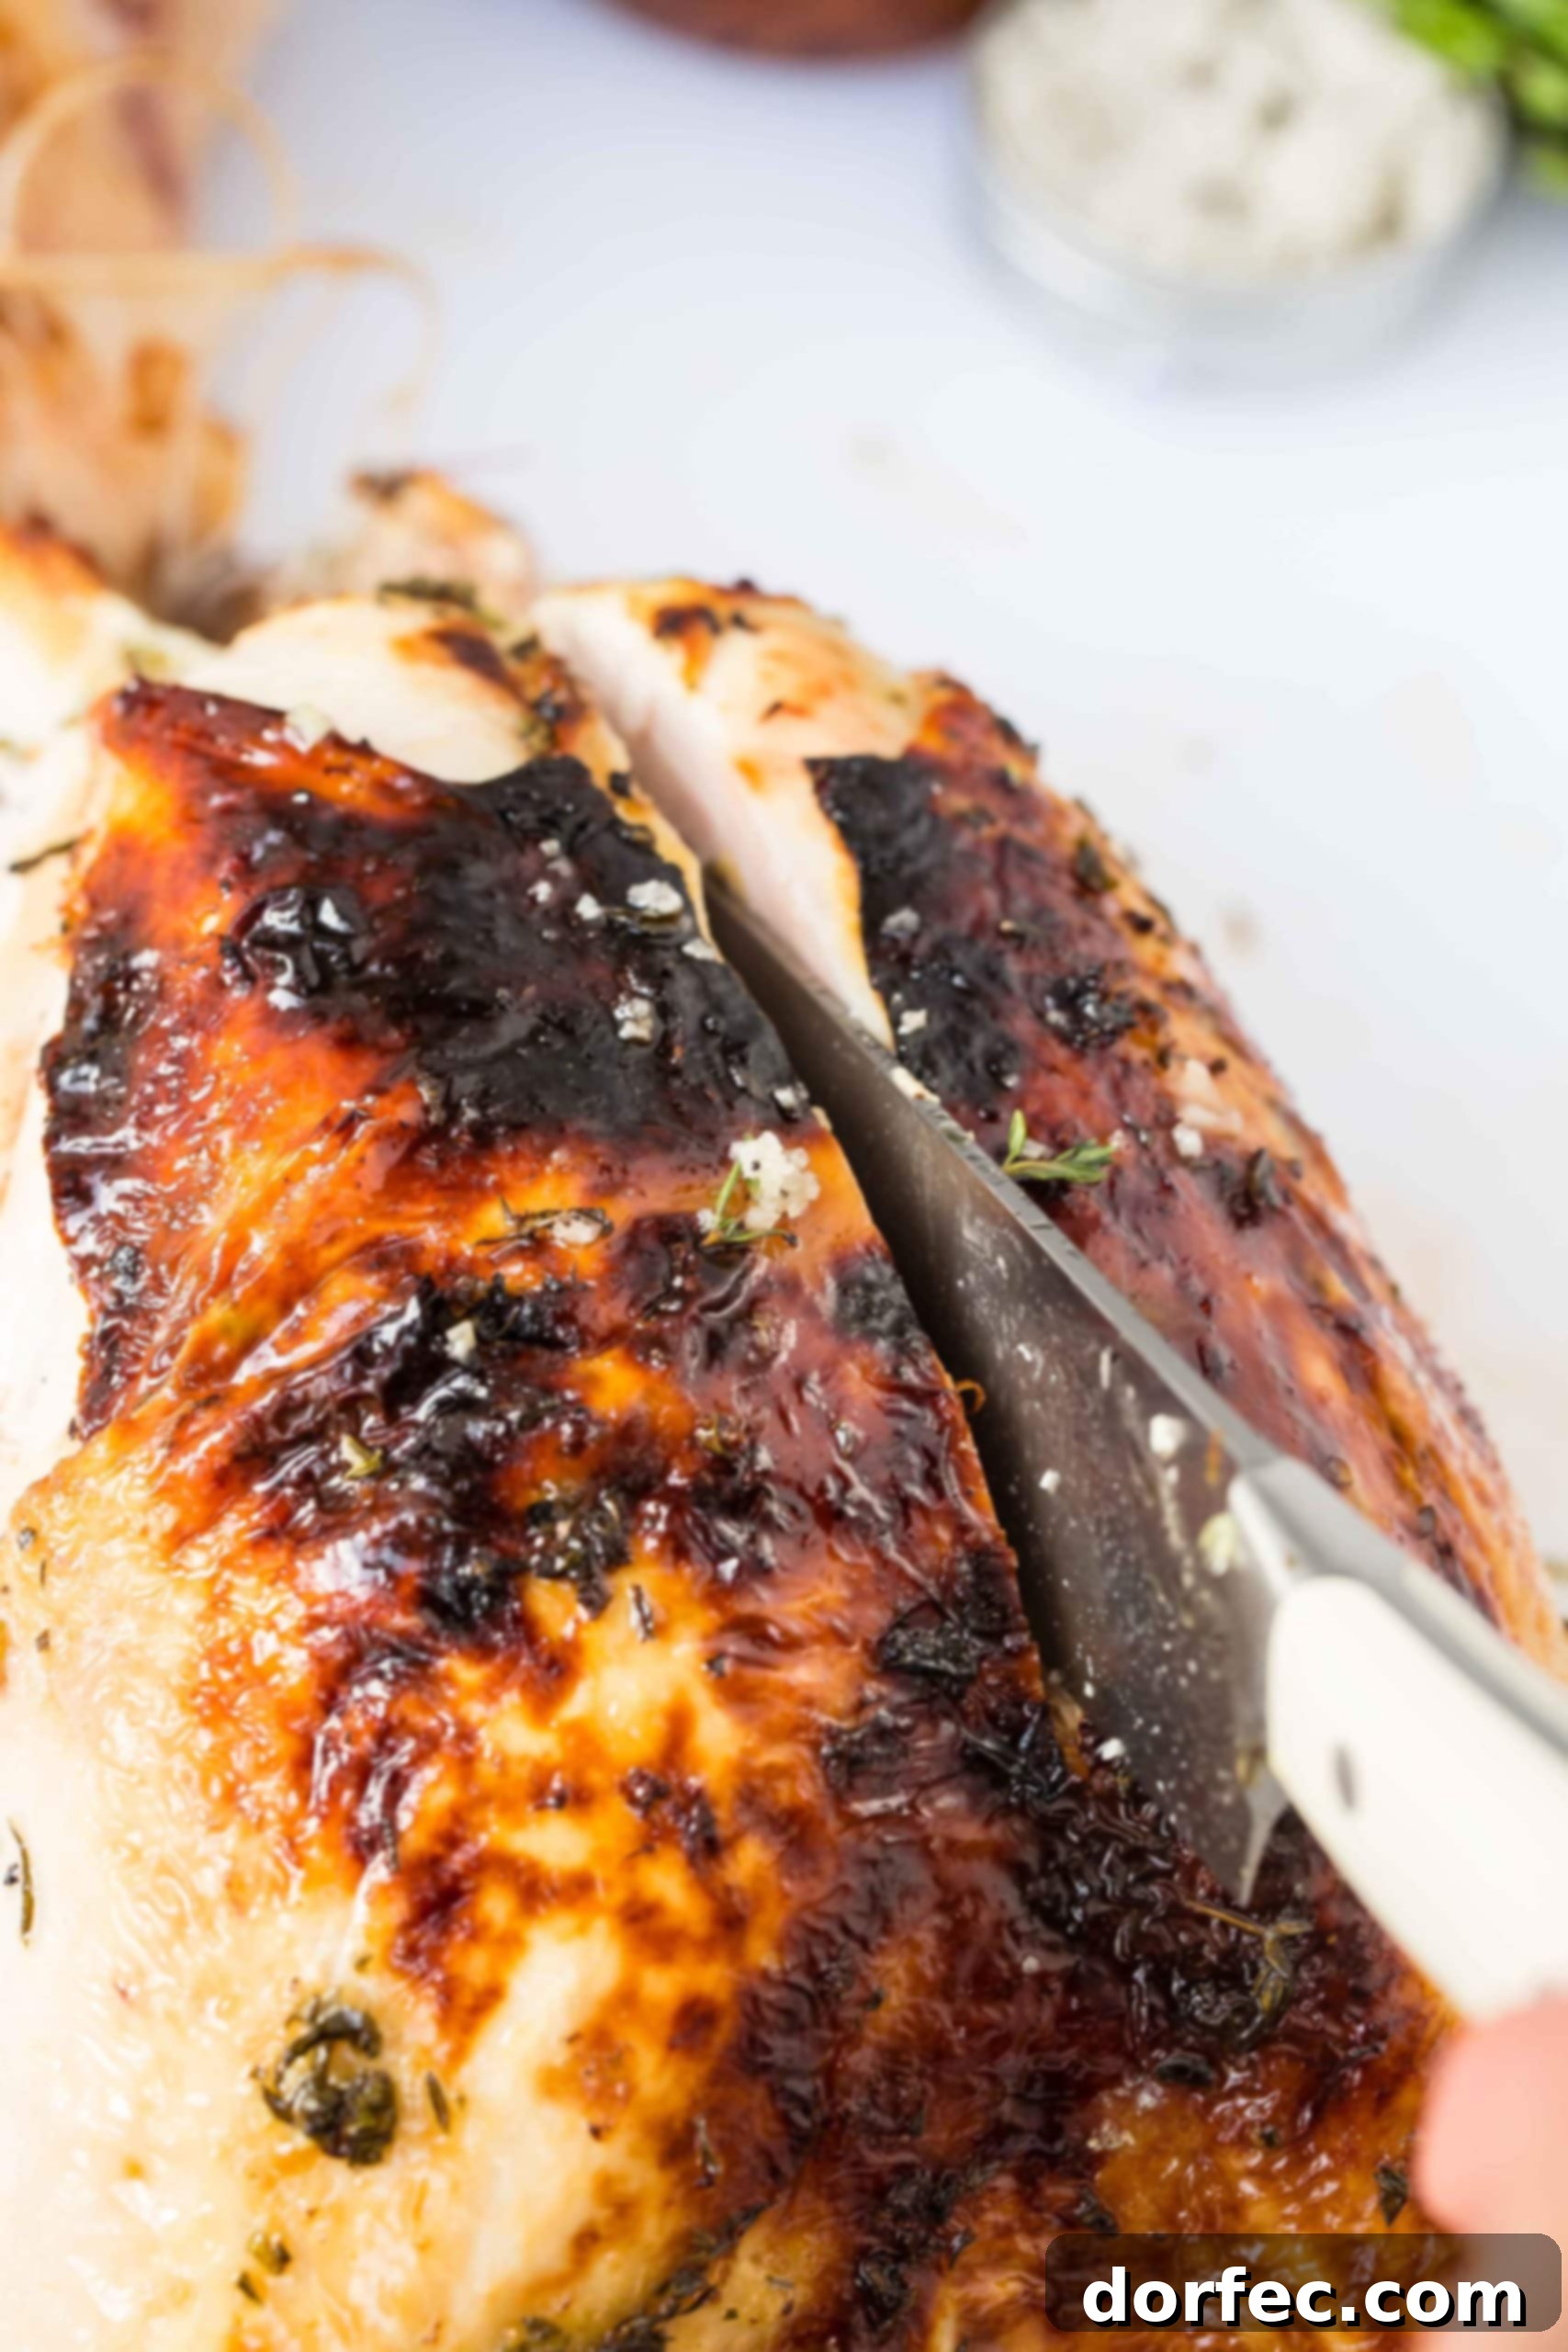
A technique often employed by professional carvers is to make an initial slice along the top of the breastbone, then to approach the breast from the bottom. Make a horizontal slice from the bottom, under the breast, meeting your initial vertical cut. This method allows the breast to loosen more easily. Then, return to your top cut and continue slicing downwards, detaching the entire breast lobe in one clean piece. The goal is to separate the entire breast from the bone, keeping it as intact as possible. Repeat this precise process for the other breast, carefully removing it from the opposite side of the breastbone. Once both magnificent breast lobes are free, transfer them to your cutting board, ready for slicing.
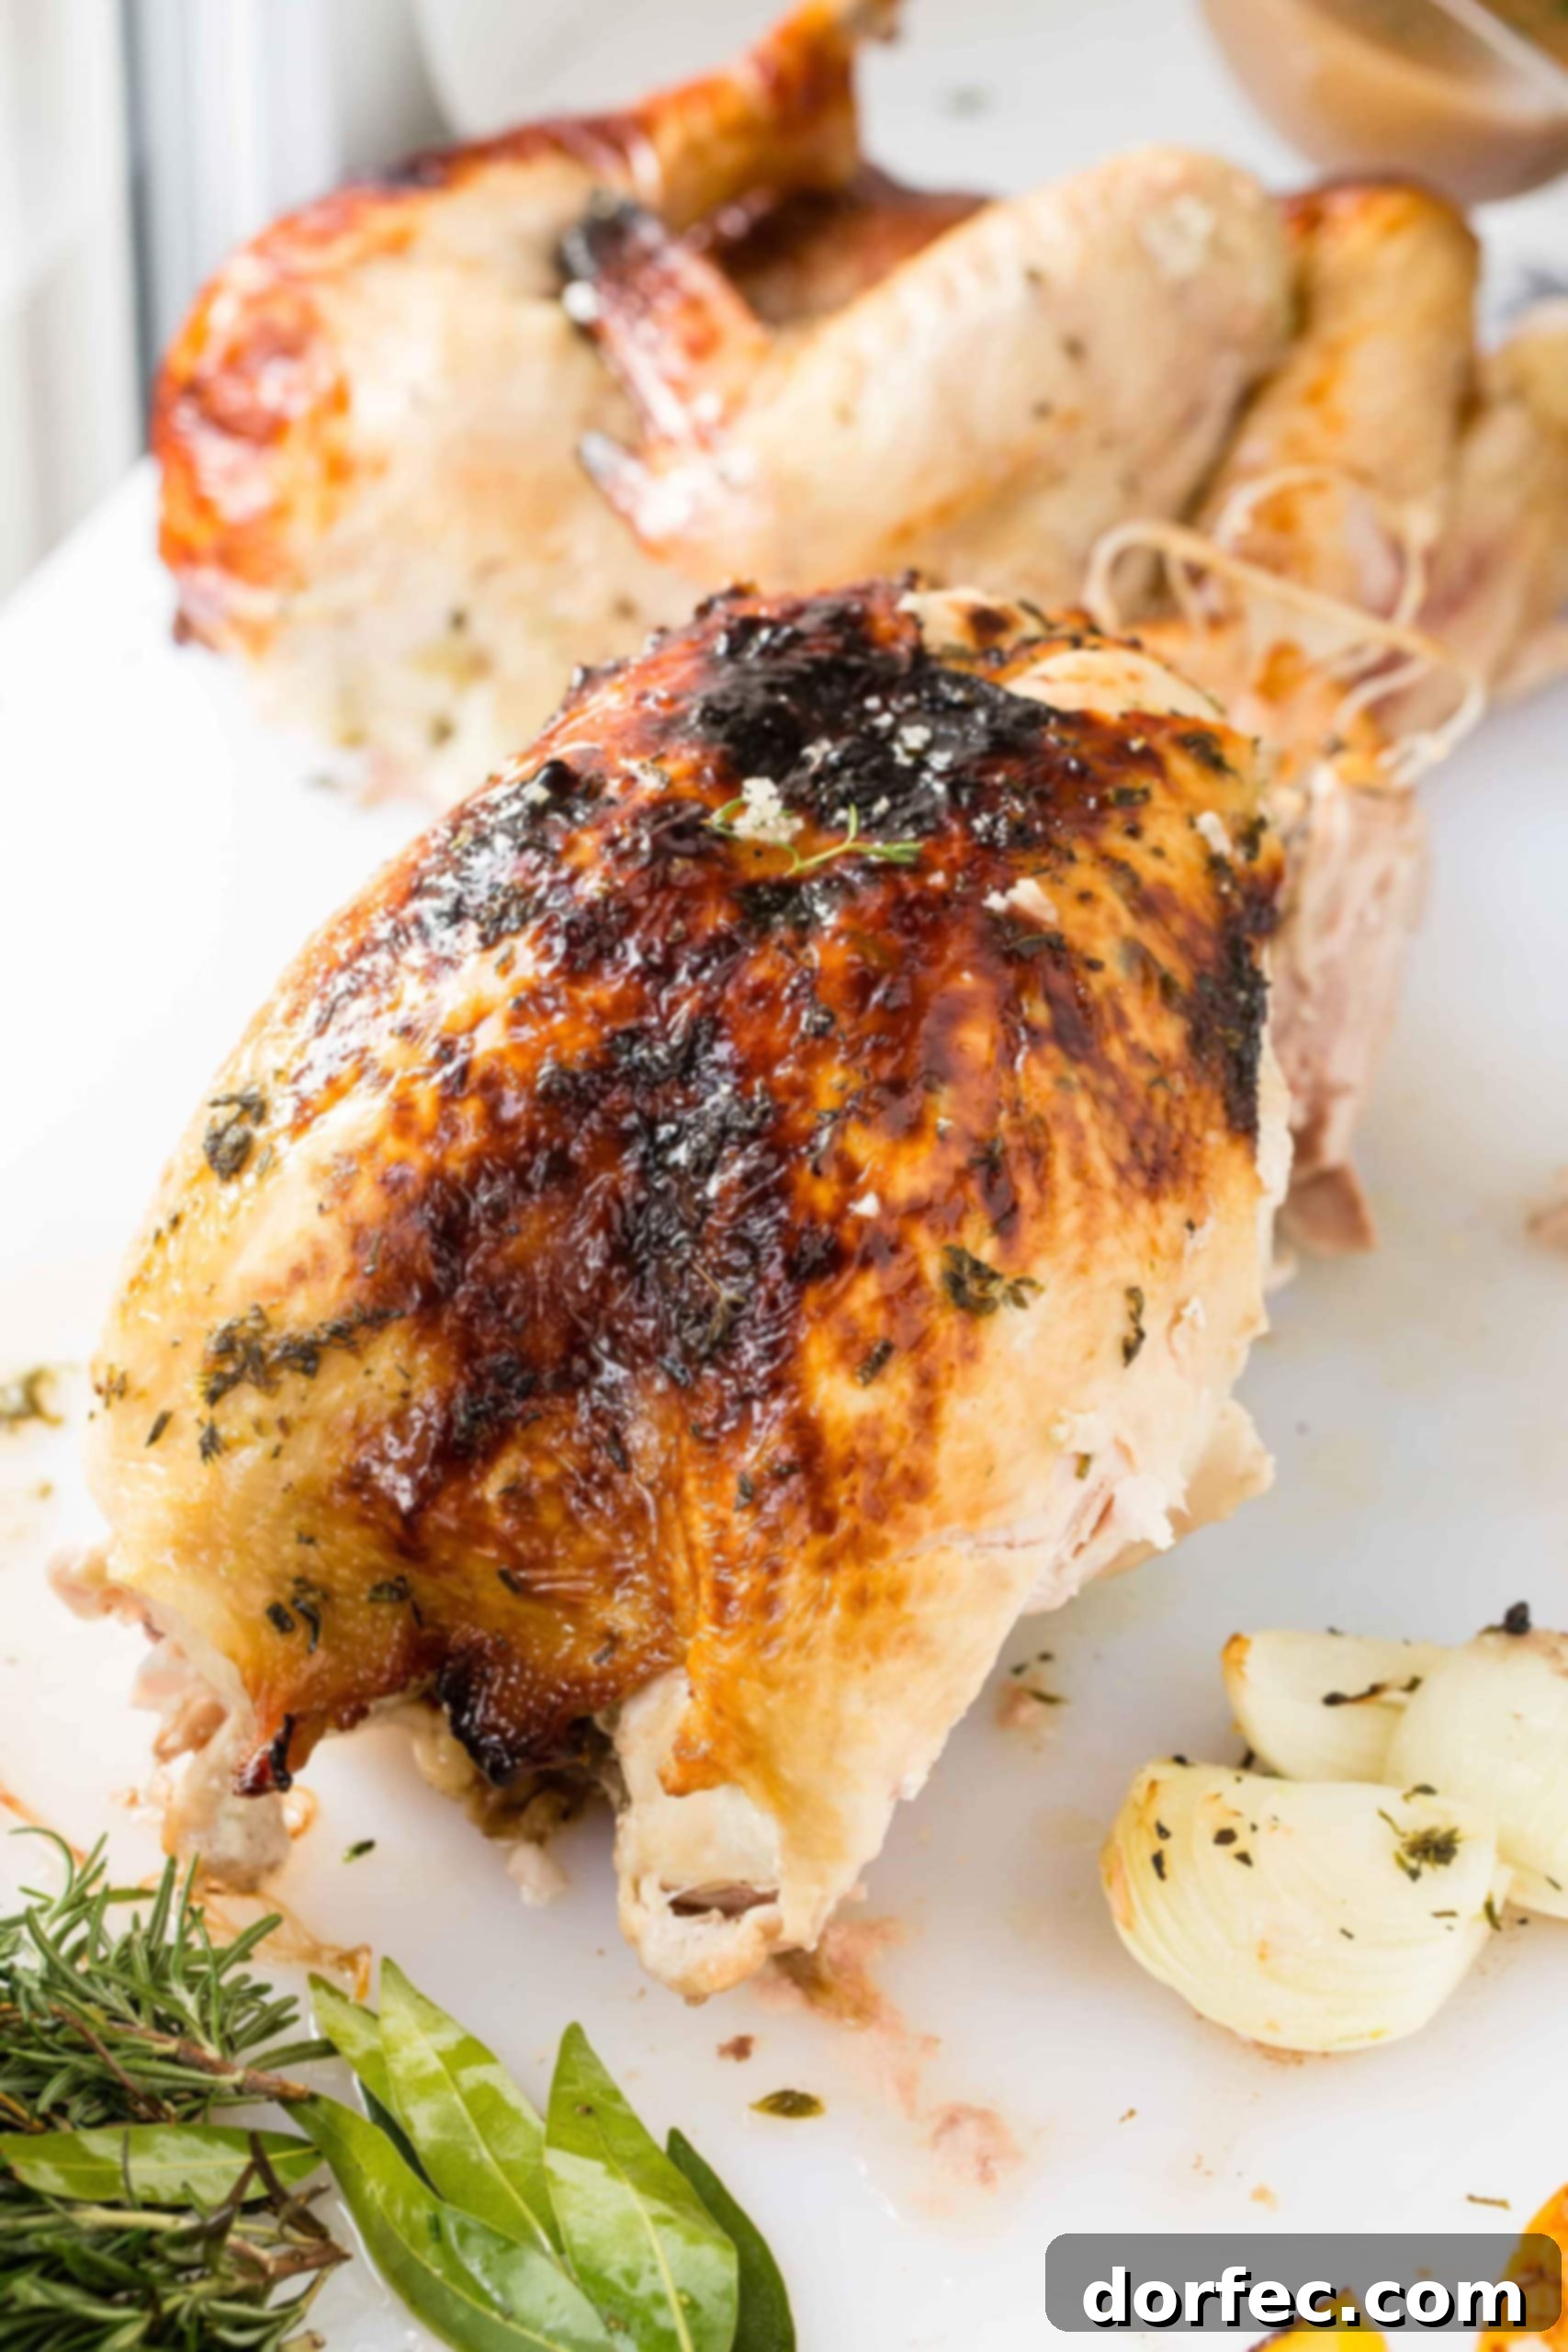
Now for the expert slicing technique: Lay each breast skin-side up on the cutting board. Instead of simply slicing straight down, which can result in uneven, dry pieces, position the breast so you can slice it at a slight diagonal or across its shorter length. This method allows you to cut against the grain, which is paramount for achieving tender, even slices that retain their moisture. Using your carving knife, slice the breast meat into uniform pieces, about 1/4 to 1/2 inch thick, taking care to keep that beautiful crispy skin attached to each slice. This diagonal cut ensures maximum tenderness and presentation. Neatly arrange these elegant slices of white meat on your serving platter, ready to be enjoyed by all your guests.
Step 3: Removing the Wings
The final step in carving your magnificent turkey is to remove the wings. Using your chef’s knife or carving knife, locate the joint where each wing attaches to the body. Similar to the legs, gently manipulate the wing to find the natural joint. With a swift, clean cut through the joint and any remaining connective tissue, detach the wing. Transfer it to your serving platter. Repeat this process for the other wing. The wings are often a favorite for their flavorful, tender meat, and removing them completes the carving process, leaving you with a fully deboned and ready-to-serve turkey.
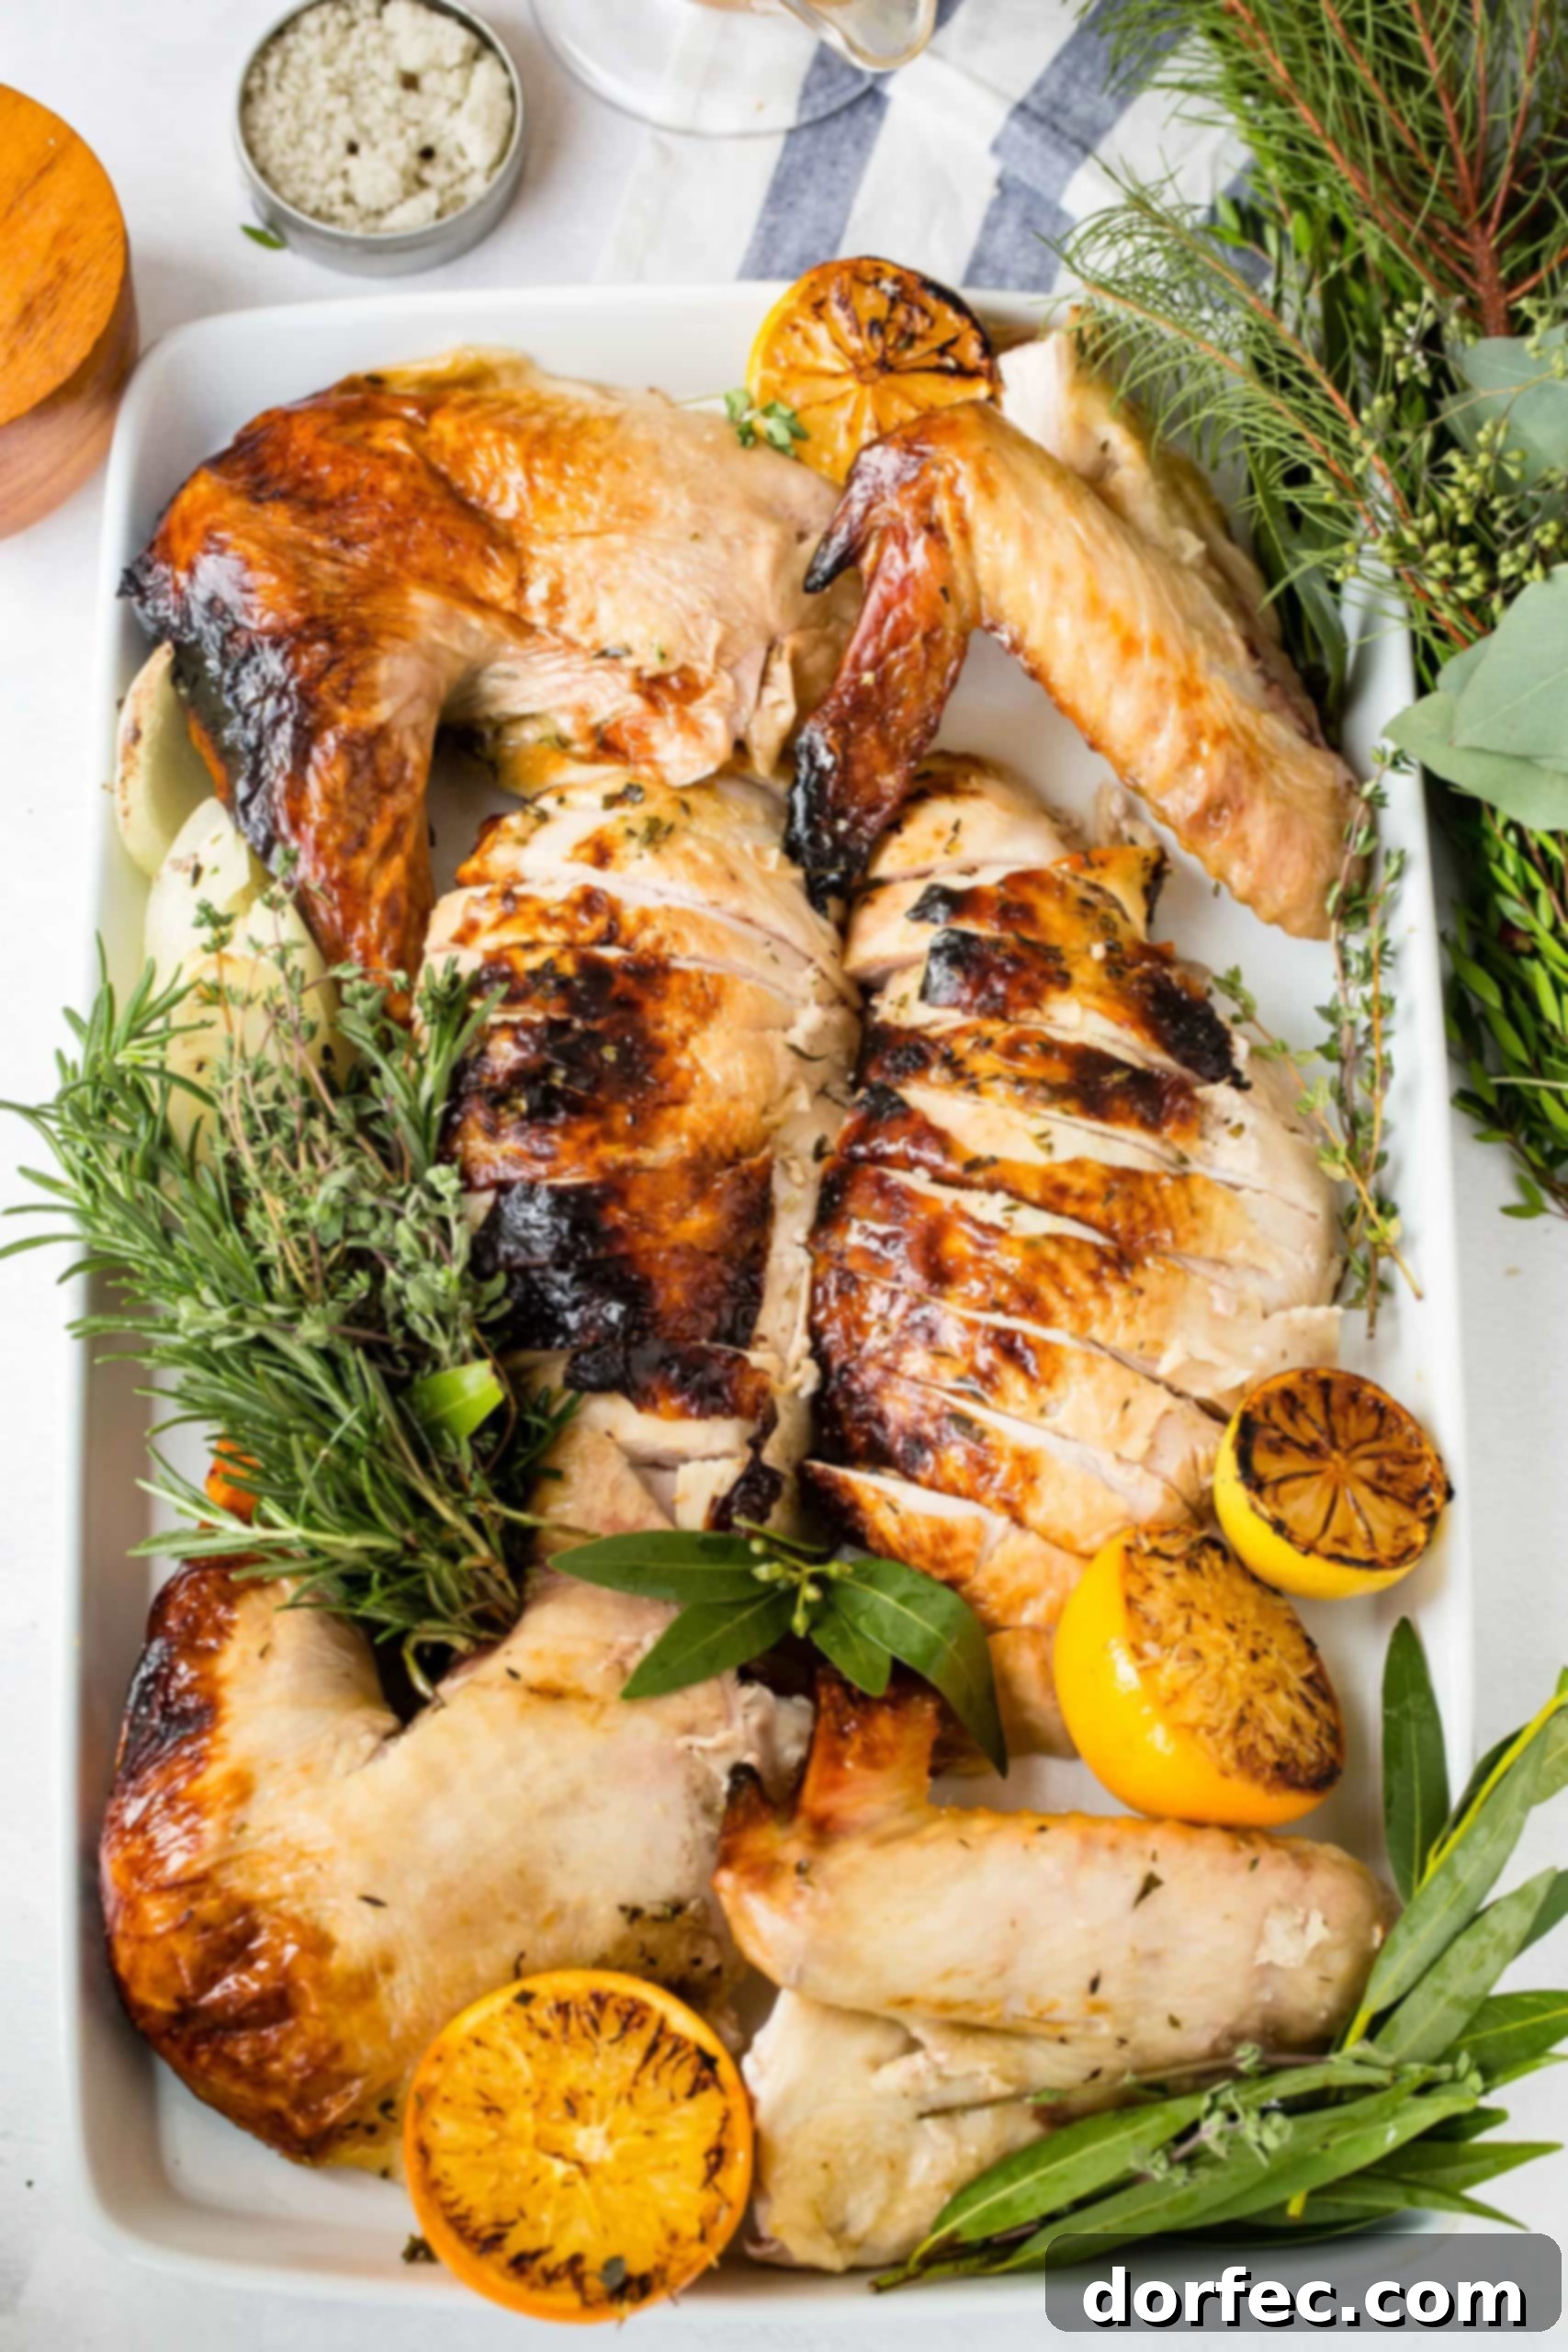
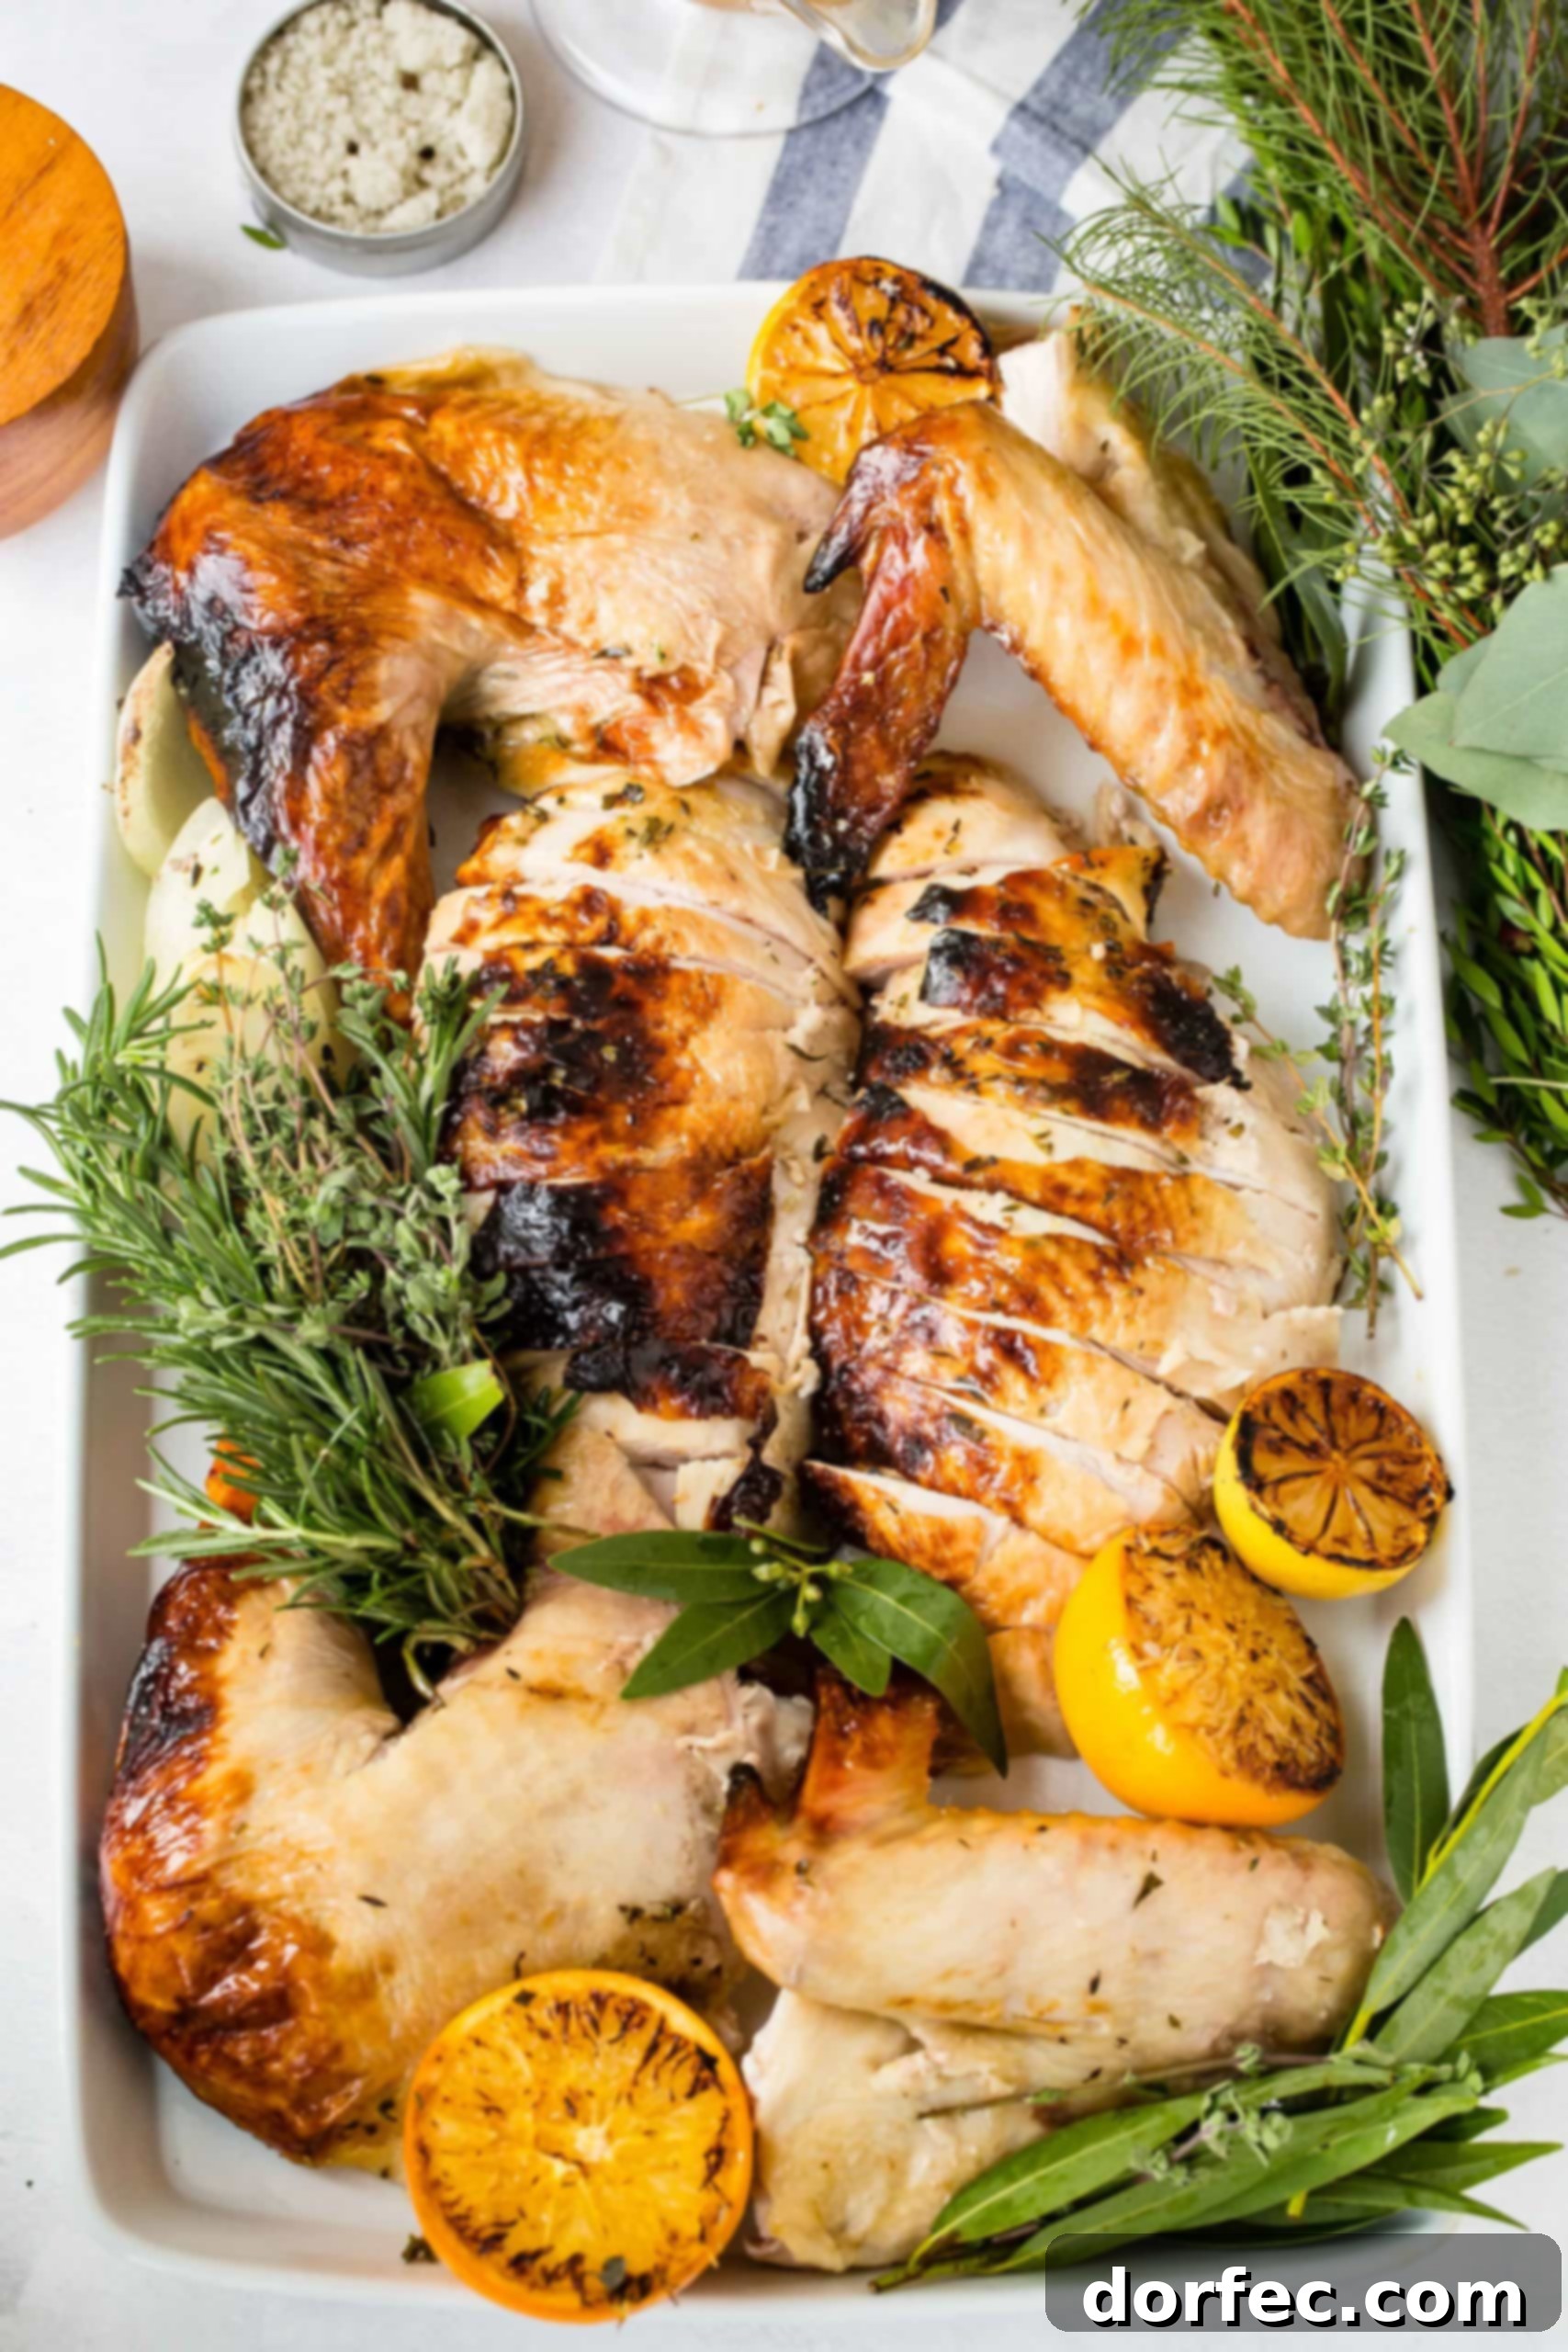
With all the succulent pieces carefully carved, the final touch is arranging them beautifully on your serving platter. Artfully intersperse the white meat slices with the dark meat, ensuring a balanced and appealing presentation. You can add a few roasted lemon halves from the turkey cavity, fresh sprigs of rosemary or thyme, and vibrant green garnishes to elevate the visual appeal of your holiday feast. A well-presented platter not only looks inviting but also makes it easier for your guests to select their preferred pieces of meat.
Your Perfectly Carved Turkey is Ready to Serve!
Congratulations! You’ve successfully navigated the turkey carving process, transforming a whole bird into an elegant spread of tender, juicy meat. It truly is that simple once you understand the basic steps and have the right tools. Hopefully, these detailed descriptions and accompanying images have demystified the carving process, making it less intimidating and more enjoyable for you.
Now, both your white meat enthusiasts and dark meat lovers will find perfectly carved, moist, and incredibly flavorful pieces awaiting them. The effort you put into roasting, resting, and carving will be evident in every delicious bite. Your guests will undoubtedly be impressed not only by the taste but also by the beautiful presentation of your holiday centerpiece. Enjoy the fruits of your labor and savor the moments with your loved ones.
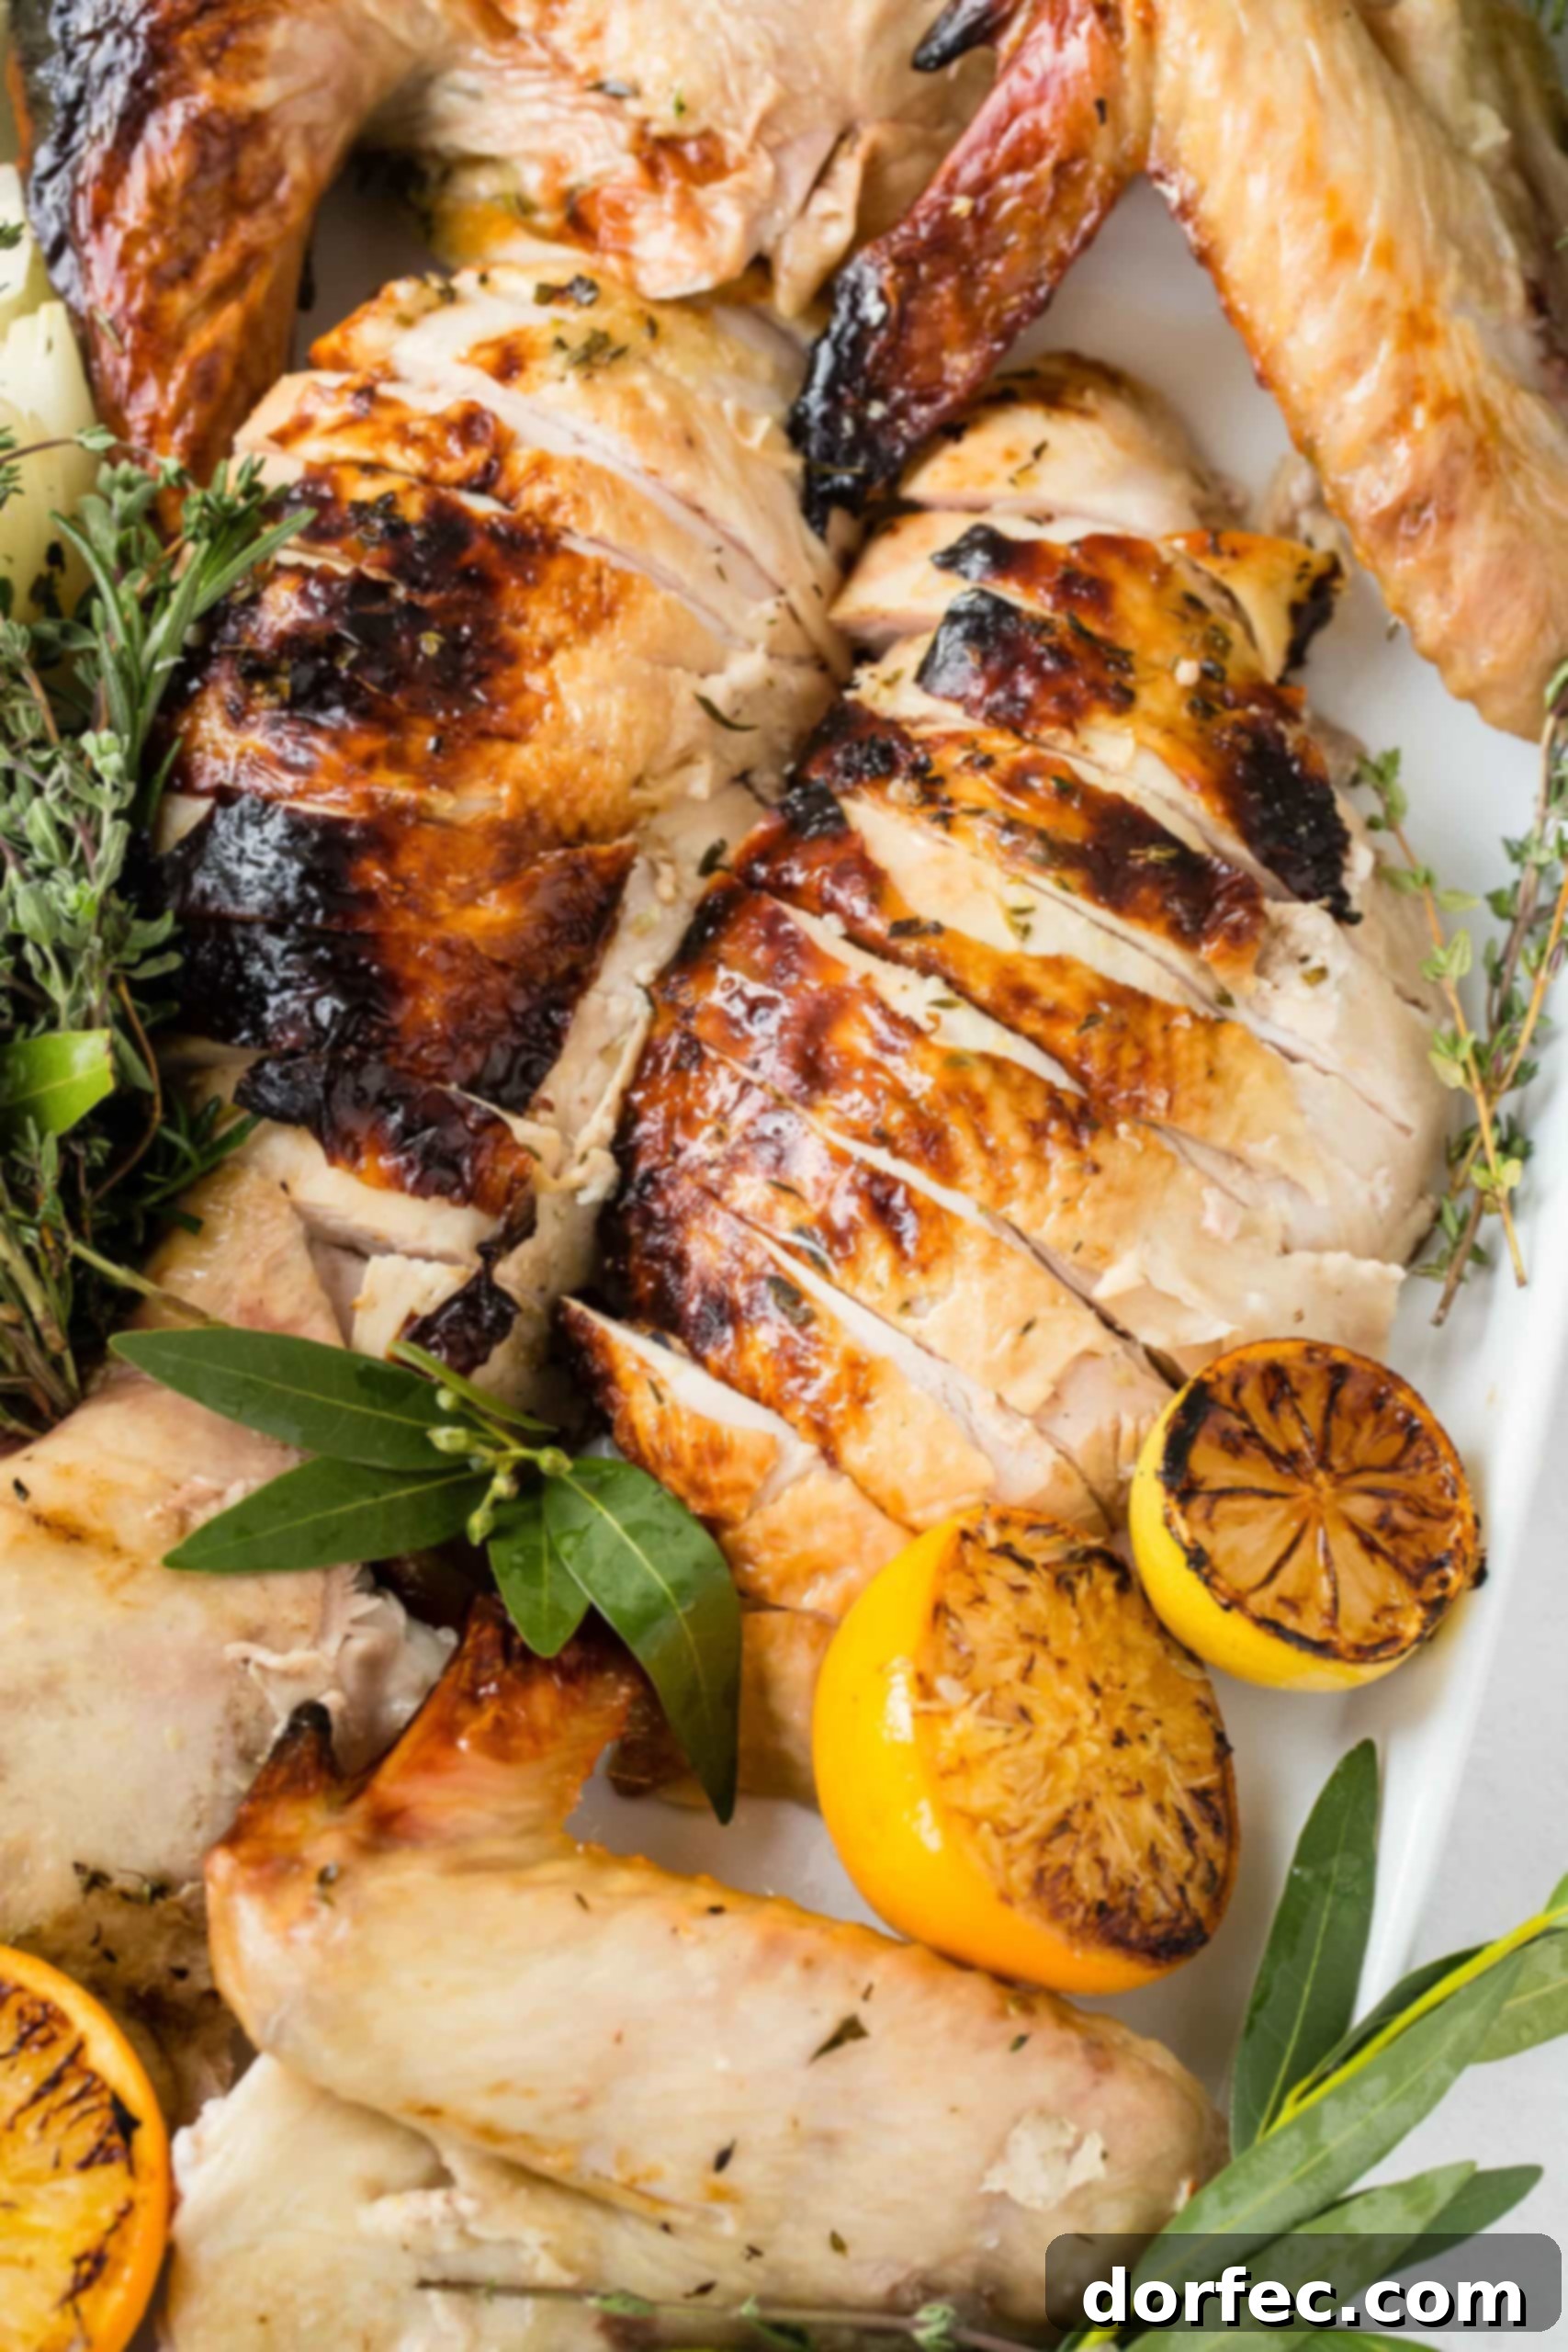
To add a final flourish to your feast, consider arranging a few of the roasted lemon halves that were cooked with the turkey around the platter. Fresh herbs like parsley, rosemary, or sage, along with some crisp greens, can further enhance the visual appeal and add a touch of freshness. All your questions on how to carve a turkey have been answered, ensuring your holiday meal is a resounding success. Happy Thanksgiving, and happy feasting everyone!
More Delicious Turkey Recipes You’ll Love:
Once you’ve mastered carving, explore more ways to prepare and enjoy this versatile bird. From traditional roasts to innovative leftover dishes, we have a recipe for every occasion.
- Classic Oven Roasted Turkey: The Ultimate Holiday Centerpiece
- Irresistible Deep Fried Turkey: For Crispy Perfection
- Turkey in a Bowl: A Unique and Flavorful Approach
- Herb Roasted Turkey Breast: A Lighter, Quicker Option
- Comforting Turkey Pot Pie Soup: Warm and Wholesome
- The Ultimate Leftover Turkey Club: A Post-Holiday Treat
- Award-Winning Instant Pot Turkey: Fast and Flavorful
- Thanksgiving Leftovers Turkey Tetrazzini: A Creative Repurpose
- Amazing Apple Pecan Smoked Turkey Breast: Infused with Flavor
REMEMBER TO SUBSCRIBE TO our FREE Oh Sweet Basil NEWSLETTER AND RECEIVE EASY RECIPES DELIVERED INTO YOUR INBOX EVERY DAY! Don’t miss out on more delicious cooking tips and family-favorite recipes.
When you try any of our recipes, please share your creations using the hashtag #ohsweetbasil on INSTAGRAM for a chance to be featured in our stories! FOLLOW OH, SWEET BASIL ON FACEBOOK | INSTAGRAM | PINTEREST | TWITTER FOR ALL OF OUR LATEST CONTENT, RECIPES, AND STORIES, and join our growing community of food lovers!