
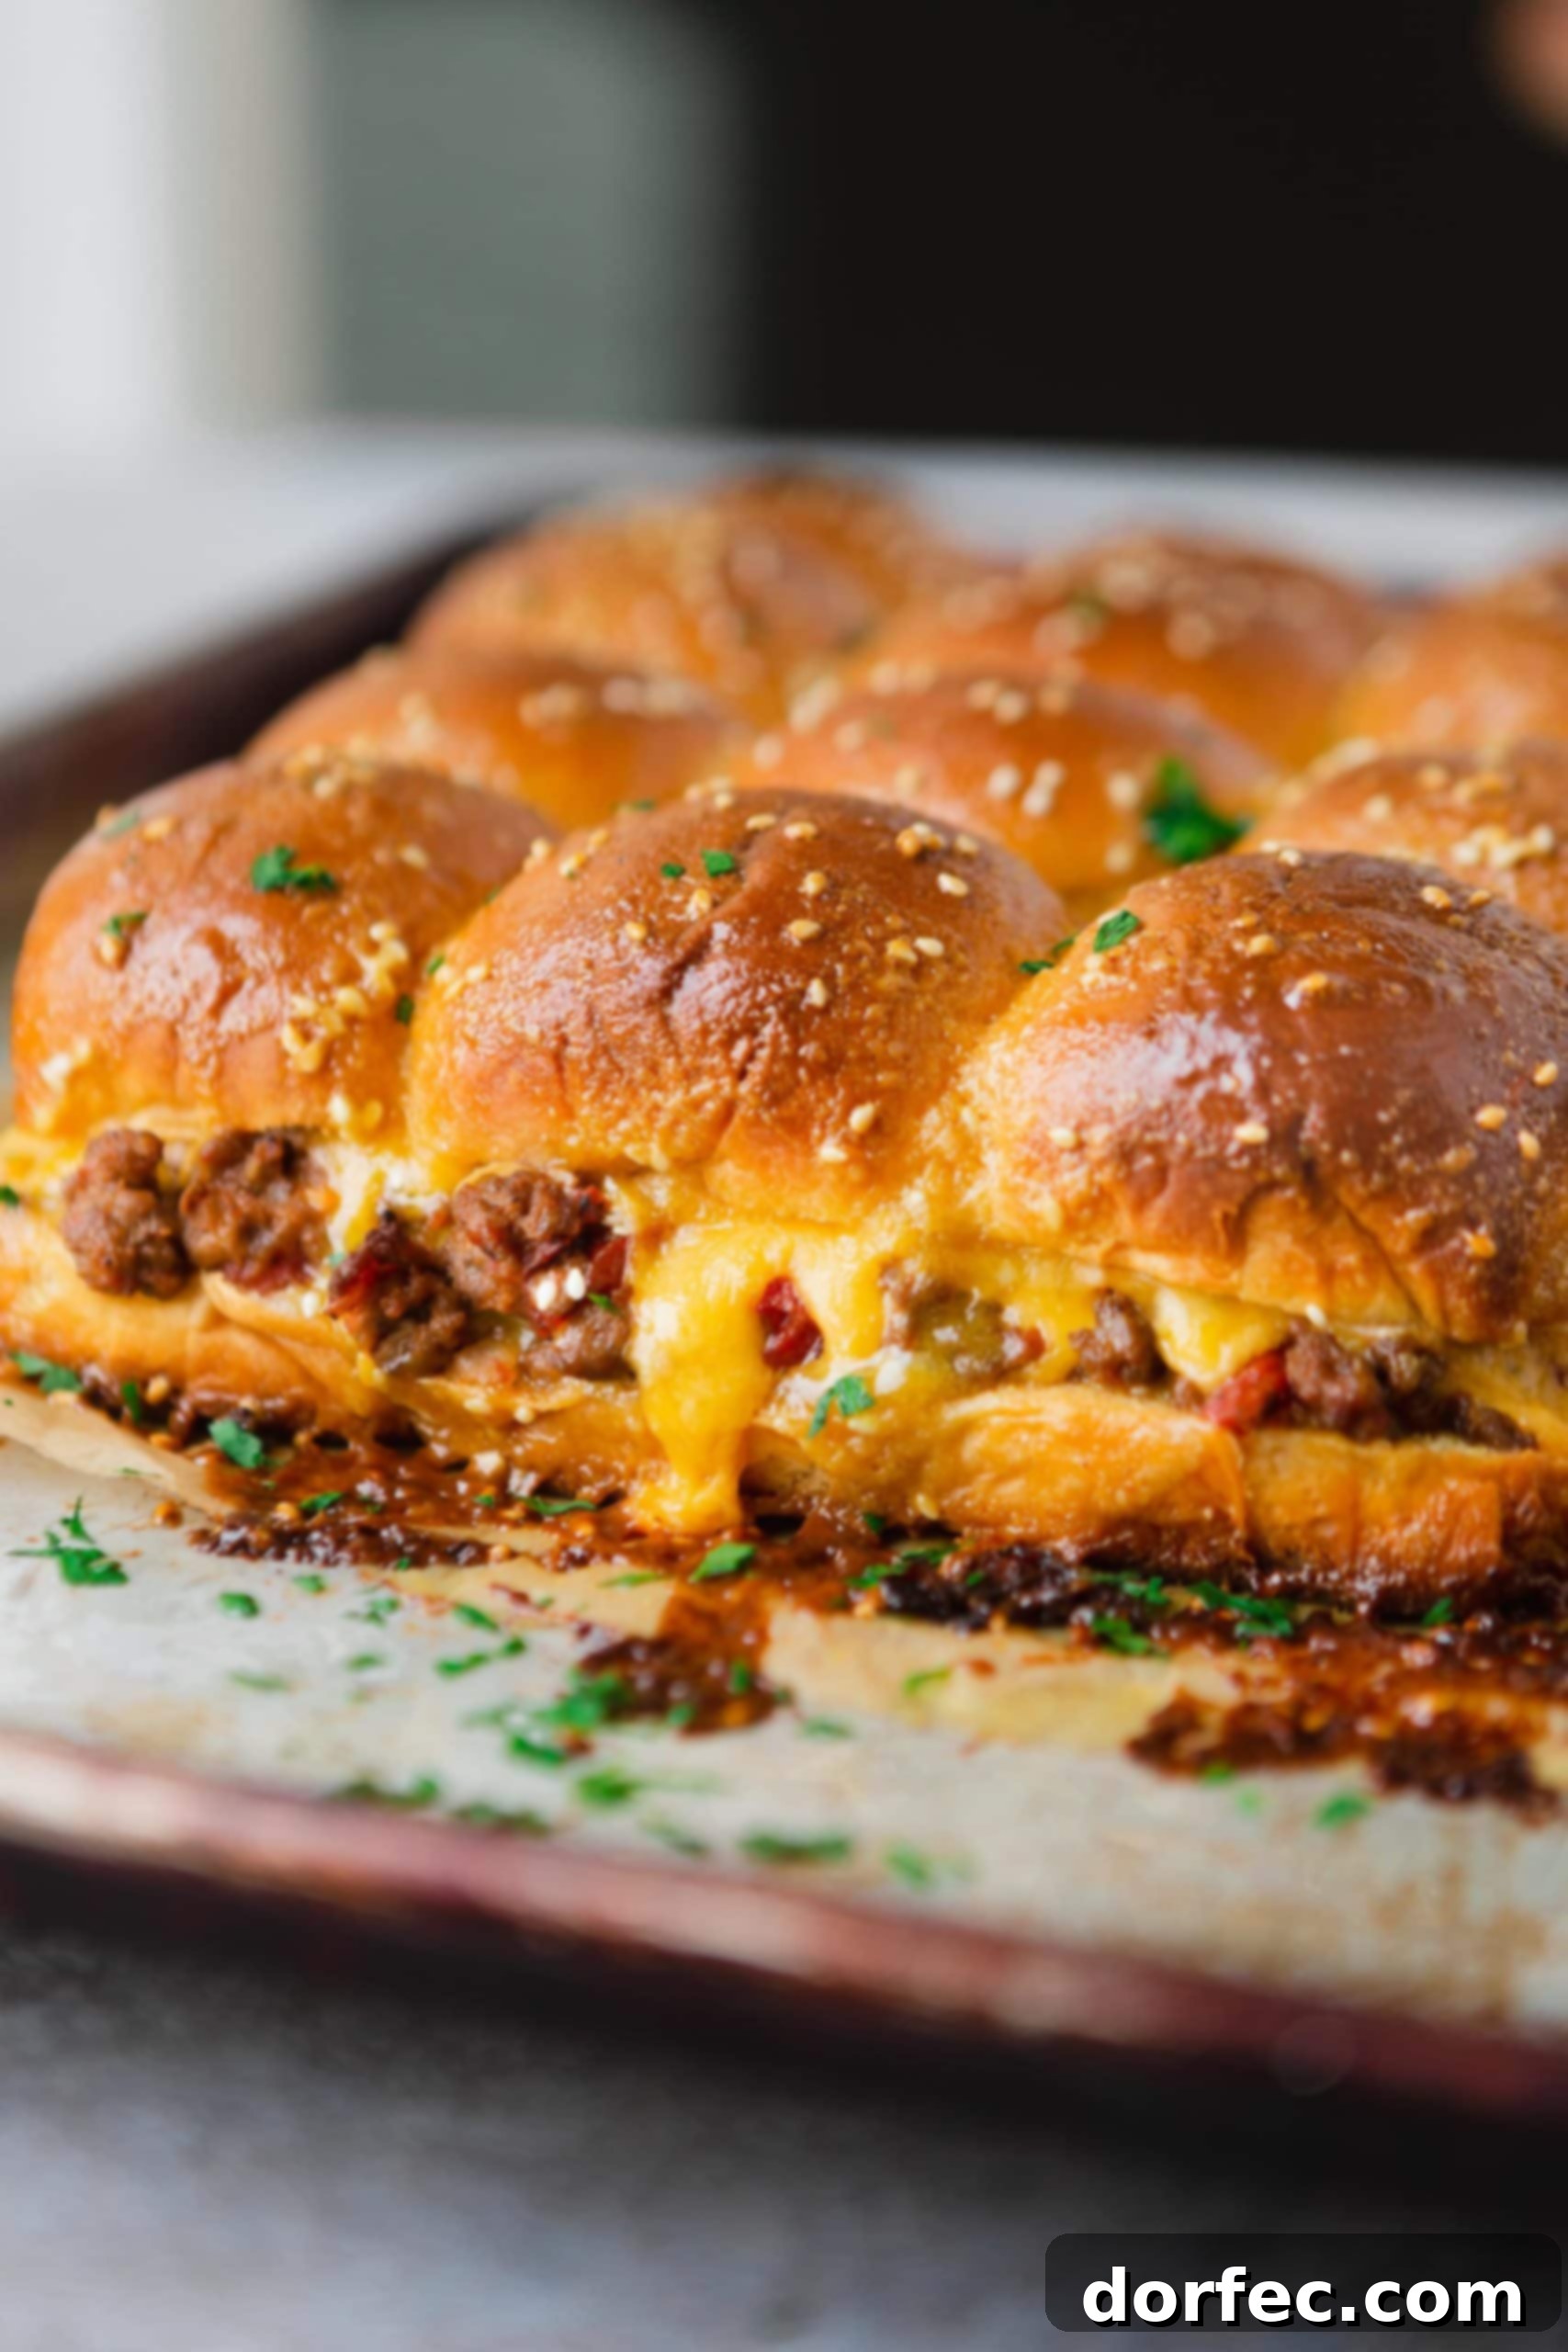
Welcome to the ultimate guide for creating the most delicious, crowd-pleasing Cheeseburger Sliders! These aren’t just mini burgers; they’re a culinary revelation, designed to deliver maximum flavor with minimal effort. Imagine sinking your teeth into a perfectly proportioned slider, bursting with juicy, seasoned beef, rich melted cheese, and a secret sauce that ties it all together in a symphony of taste. Whether you’re hosting a Super Bowl party, celebrating a birthday, or simply looking for an effortless weeknight dinner, these sliders are guaranteed to be a hit with both kids and adults alike.
Forget the hassle of grilling individual patties, meticulously chopping a dozen different toppings, or dealing with mountains of messy dishes. Our cheeseburger sliders simplify the entire process without compromising on that beloved classic cheeseburger experience. They’re cheesy, beefy, and incredibly juicy, encapsulating everything you love about a full-sized burger in a convenient, bite-sized package. Plus, they can be prepared in advance, allowing you to spend less time in the kitchen and more time enjoying your guests or the game! When it’s time to serve, simply pop them into the oven, and watch as these golden-brown beauties emerge, promising hot, gooey cheeseburger goodness for everyone.
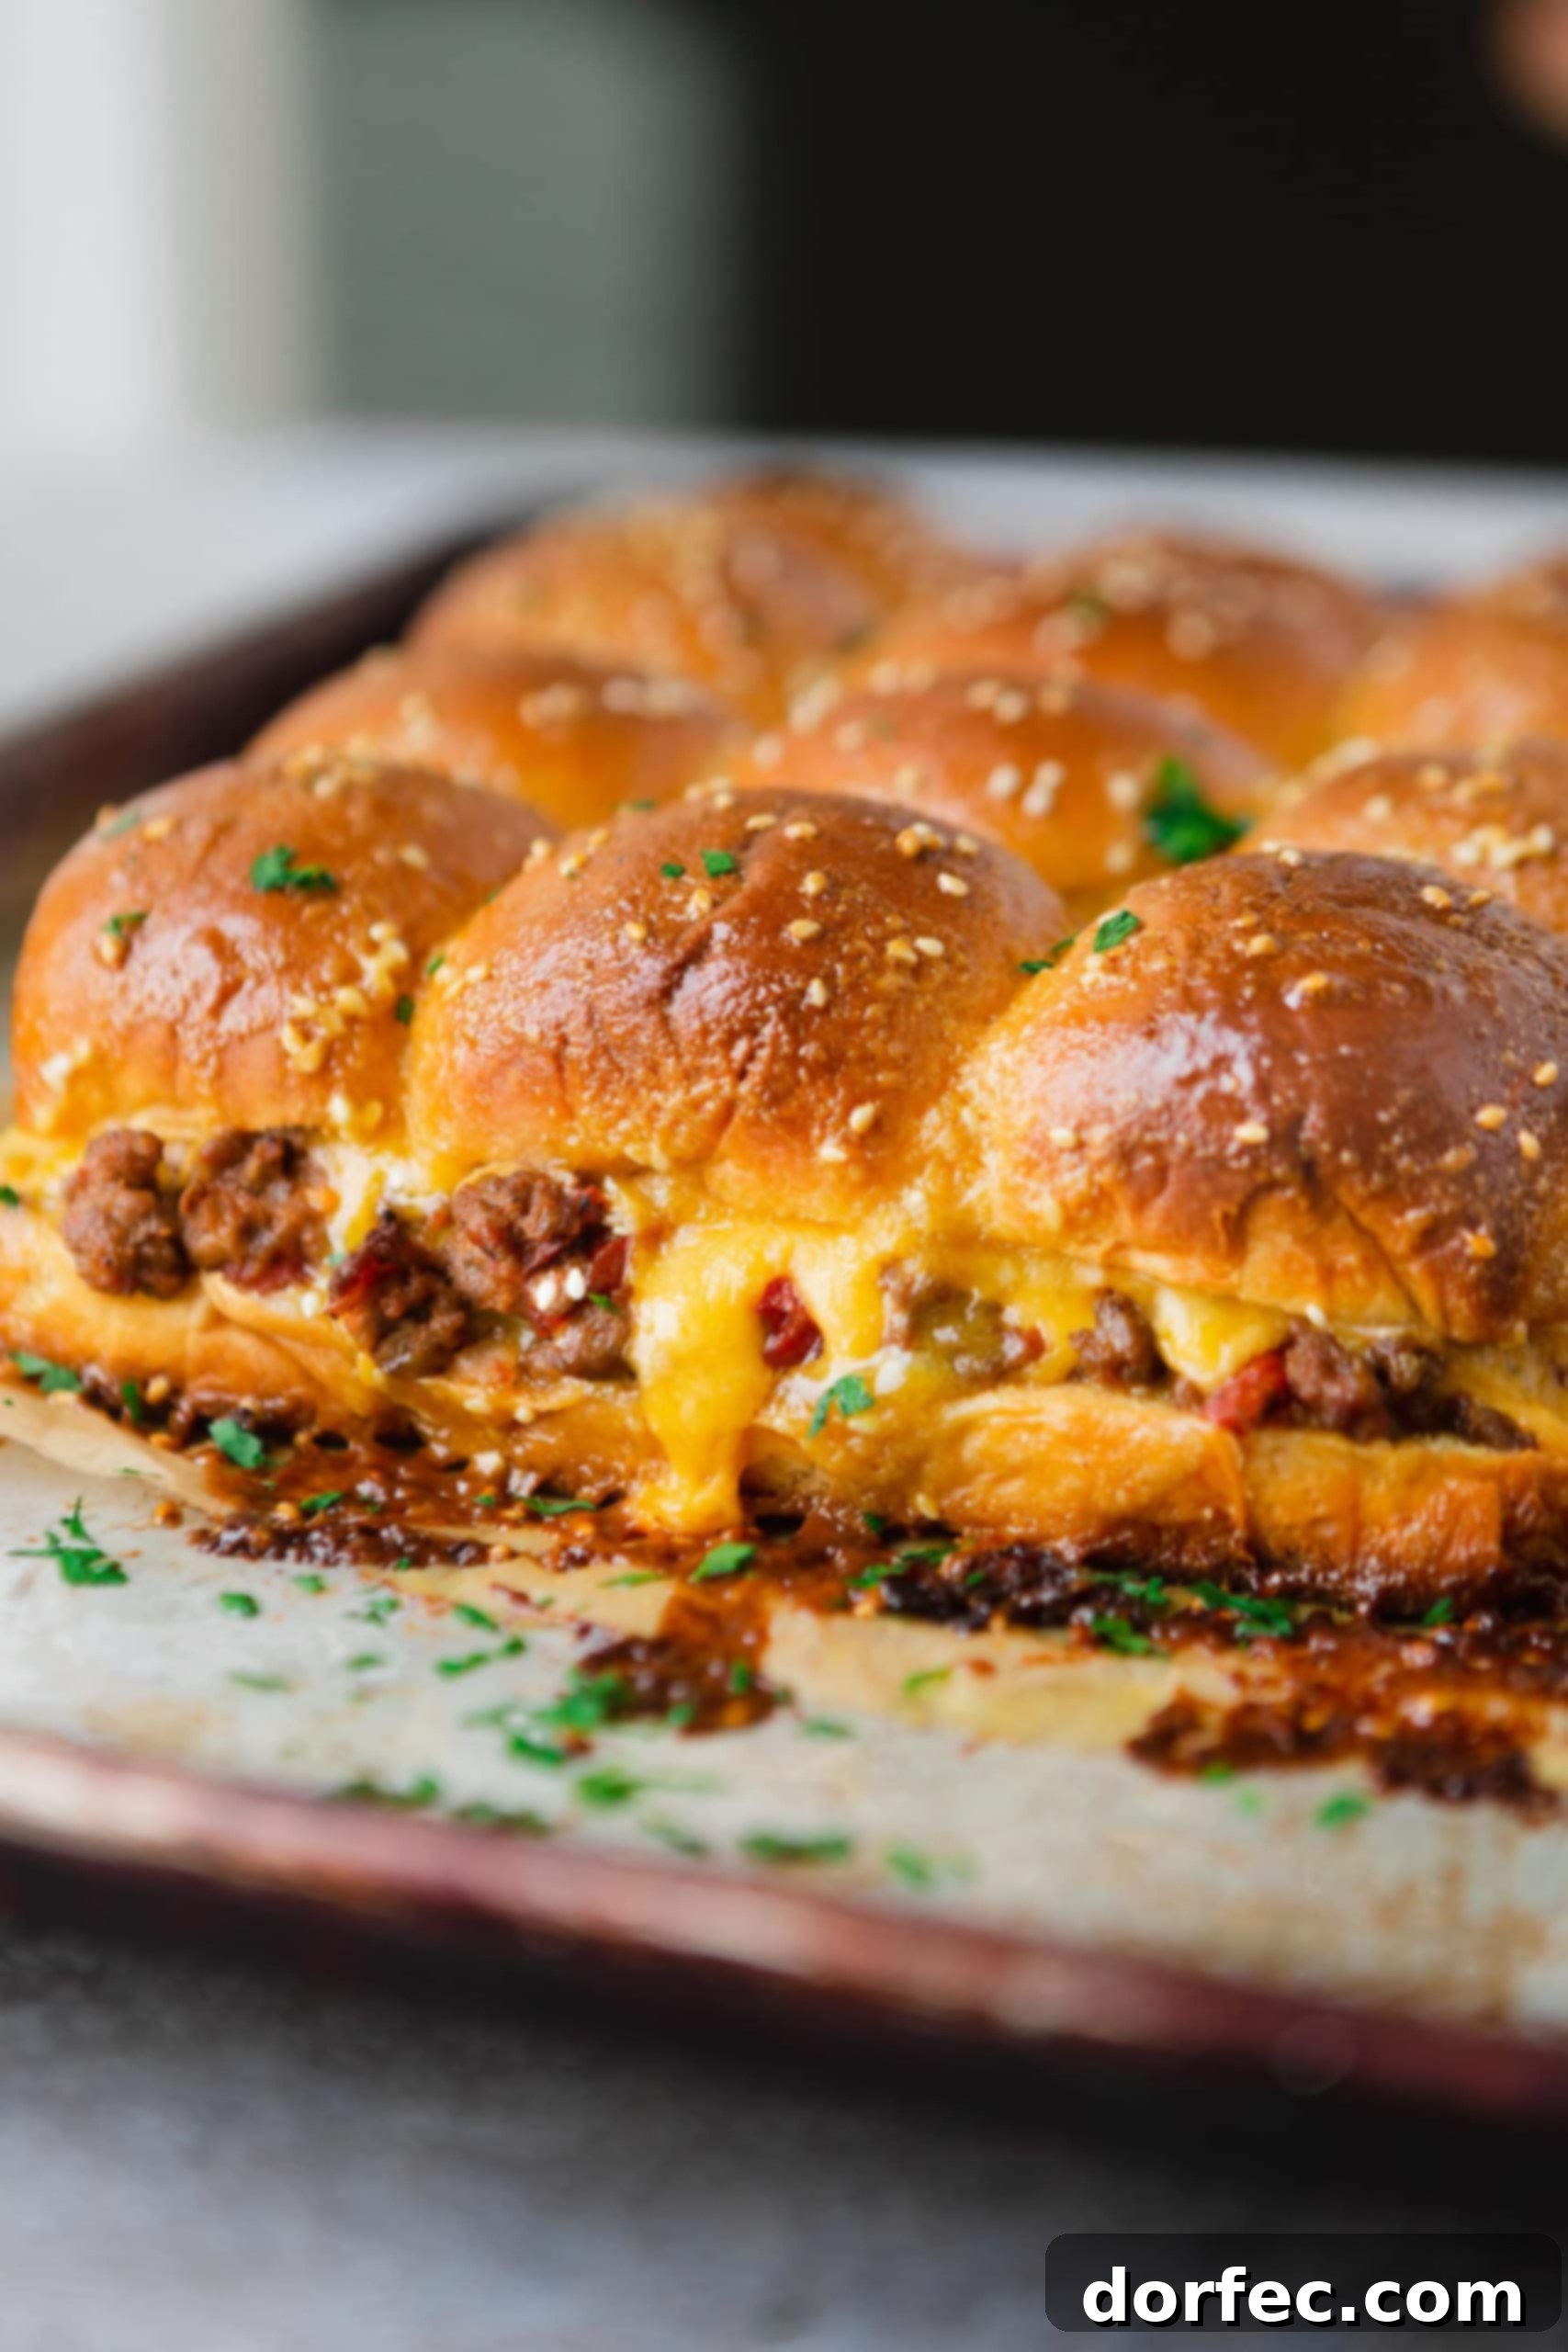
Not a football fanatic? No problem at all! These versatile mini cheeseburgers transcend sporting events. They are absolutely perfect for any festive occasion – think lively birthday parties, elegant New Year’s Eve gatherings, heartfelt Father’s Day brunches, casual get-togethers with friends, or even just a quick, satisfying dinner for the family. Their miniature size makes them irresistible and easy to handle, ensuring they’re a surefire hit across all age groups. Prepare to become the go-to host for delicious, stress-free entertaining!
Why Cheeseburger Sliders Are Your New Go-To Party Food
Cheeseburger sliders offer an unparalleled combination of convenience, flavor, and crowd appeal that makes them superior to traditional burgers for many occasions. First and foremost, their size is a major advantage. These mini marvels are perfect for portion control, allowing guests to sample other dishes without feeling overly stuffed. They also reduce waste, as people are more likely to finish a slider than a full-sized burger. The bite-sized format also means less mess, making them ideal for casual gatherings where guests might be mingling and holding drinks.
Beyond convenience, the flavor profile of sliders is incredibly concentrated. The smaller bun-to-meat ratio ensures that every bite is packed with the deliciousness of the seasoned beef, melted cheese, and signature sauce. This intensifies the classic cheeseburger experience, making each slider a delightful burst of flavor. Furthermore, the baking method, as opposed to grilling, allows the ingredients to meld together beautifully, creating a moist, tender, and incredibly savory result that’s hard to achieve with individual grilled patties. Plus, making a large batch in one go is infinitely easier than flipping multiple burgers on a grill, freeing you up to enjoy the party.
Understanding Sliders: What They Are and Why They’re a Party Essential
The term “slider” refers to a small sandwich, typically served on a miniature bun. While often associated with hamburgers, sliders can feature a variety of fillings, from pulled pork to chicken salad. The defining characteristic is their small size, making them easy to eat in just a few bites. The origin of sliders is often attributed to White Castle, which began serving its iconic small burgers in the 1920s. Over time, these mini sandwiches evolved into the versatile party food we know and love today.
Sliders have become a party essential for several compelling reasons. Their petite size encourages guests to try more than one, fostering a sense of variety and exploration at your food spread. They are incredibly versatile, adaptable to countless flavor combinations and dietary preferences. More importantly, they promote a communal eating experience. Baking a tray of sliders to share instantly creates a warm, inviting atmosphere, making your guests feel comfortable and well-cared for. They’re less formal than a sit-down meal but more substantial than simple appetizers, striking the perfect balance for almost any social gathering. Sliders are truly the unsung heroes of effortless entertaining.
Crafting the Perfect Cheeseburger Sliders: Ingredients You’ll Need
Gathering the right ingredients is the first step to creating these irresistible cheeseburger sliders. We’ve carefully selected components that deliver maximum flavor and convenience. Here’s your essential grocery list for both the savory mini burgers and the delightful sauce that brings it all together:
Slider Essentials
- Ground Beef: Opt for a lean-to-fat ratio that you prefer. A good 80/20 blend offers excellent flavor and juiciness without excessive grease. This forms the hearty base of our sliders, providing that unmistakable burger taste.
- Salt & Pepper: The foundational seasonings that enhance the natural flavors of the beef. Don’t underestimate their power!
- Cumin: Adds a warm, earthy depth to the beef, giving it a slightly smoky and robust character that complements the cheese perfectly.
- Ground Mustard: A fantastic, often-overlooked secret ingredient that boosts the savory notes of the beef and adds a subtle tang, mirroring the classic burger condiment.
- Onion Powder & Garlic Powder: These provide a concentrated, aromatic punch, ensuring even distribution of onion and garlic flavor throughout the meat mixture. They’re essential for a well-rounded taste.
- Smoked Paprika: Infuses the beef with a delightful smoky aroma and a touch of sweet pepperiness, elevating the overall flavor profile.
- Yellow Onion: Finely diced and cooked with the beef, fresh yellow onion adds a sweet, pungent flavor and tender texture to the meat mixture, enhancing its savory complexity.
- Garlic: Freshly minced garlic provides an indispensable aromatic foundation, contributing a rich, pungent flavor that is quintessential to savory dishes.
- Diced Tomatoes: Drained diced tomatoes add a subtle tang and moisture to the beef mixture, preventing it from drying out and offering a hint of fresh flavor.
- Cheddar Cheese: Sliced cheddar is the classic choice, melting beautifully into a gooey, rich layer that blankets the beef. Its sharp flavor is a perfect counterpoint to the savory meat. Feel free to experiment with other meltable cheeses too!
- Dinner Rolls: The foundation of our sliders! Soft, slightly sweet dinner rolls (like King’s Hawaiian) are ideal. Their fluffy texture and subtle sweetness perfectly balance the savory beef and cheese. You can use your favorite store-bought brand or make them from scratch.
The Signature Sauce
- Butter: Melted butter forms the rich, flavorful base of our topping sauce, ensuring a golden, glossy finish and adding incredible depth.
- Mayonnaise: Contributes a creamy texture and a subtle tang to the sauce, helping it emulsify and adhere beautifully to the rolls.
- Brown Sugar: A touch of brown sugar adds a delightful sweetness and a hint of molasses, creating a wonderfully balanced sweet and savory profile in the sauce.
- Yellow Mustard: Essential for that classic cheeseburger flavor, yellow mustard provides a bright, tangy kick that cuts through the richness of the beef and cheese.
- Sesame Seeds: Sprinkled generously over the top, sesame seeds provide a familiar texture and nutty flavor, mimicking a classic burger bun and adding a professional finishing touch.
You’ll find precise measurements for each of these ingredients in the detailed recipe card conveniently located at the end of this post, ensuring you have everything you need for flawless execution.
Step-by-Step Guide: How to Assemble Your Mouthwatering Cheeseburger Sliders
I promised these sliders were easy to make, and now it’s time to show you just how simple they are. Follow these straightforward steps to create a batch of incredibly flavorful and juicy cheeseburger sliders that will have everyone reaching for more:
- Prepare Your Baking Dish: Begin by preheating your oven to 350°F (175°C). While the oven heats, take a 9×13 inch baking dish and lightly spray it with nonstick cooking spray. This crucial step prevents sticking and ensures easy cleanup.
- Slice the Rolls: Carefully slice your dinner rolls in half horizontally, keeping them connected if possible for easier handling. Place the bottom halves of the rolls evenly in the prepared baking dish.
- PRO TIP for Perfect Buns: To prevent the bottom buns from becoming soggy, arrange the rolls tightly in a smaller baking dish rather than spreading them out on a large cookie sheet. This snug fit helps contain any liquid from the meat mixture, ensuring your buns stay deliciously firm.
- Cook the Beef Mixture: In a large skillet, over medium-high heat, add the ground beef, diced yellow onion, minced garlic, and all the dry seasonings (salt, pepper, cumin, ground mustard, onion powder, garlic powder, smoked paprika). Cook, breaking up the beef with a spoon or a ground beef chopper, until it is thoroughly browned and the onions are tender and translucent. Once cooked, be sure to drain off any excess grease from the skillet to keep your sliders from becoming oily.
- Incorporate Tomatoes: Add the drained diced tomatoes to the cooked beef mixture in the skillet. Stir everything together well, ensuring the tomatoes are evenly distributed throughout the seasoned beef.
- Layer the Sliders: Evenly spread the savory beef mixture over the bottom halves of the rolls in the baking dish. Once the beef is spread, layer the cheddar cheese slices generously over the meat. (Make-Ahead Tip: If you’re preparing these sliders in advance, place the cheese slices directly on the bottom buns first, then add the beef mixture. This creates a barrier that helps prevent the buns from getting soggy.)
- Cap with Top Buns: Gently place the top halves of the dinner rolls back over the cheese layer, completing your slider assembly.
- Prepare the Signature Sauce: In a small saucepan, melt the butter over medium heat. Once melted, stir in the mayonnaise, brown sugar, and yellow mustard until thoroughly combined and smooth. This creates our irresistible, tangy-sweet topping.
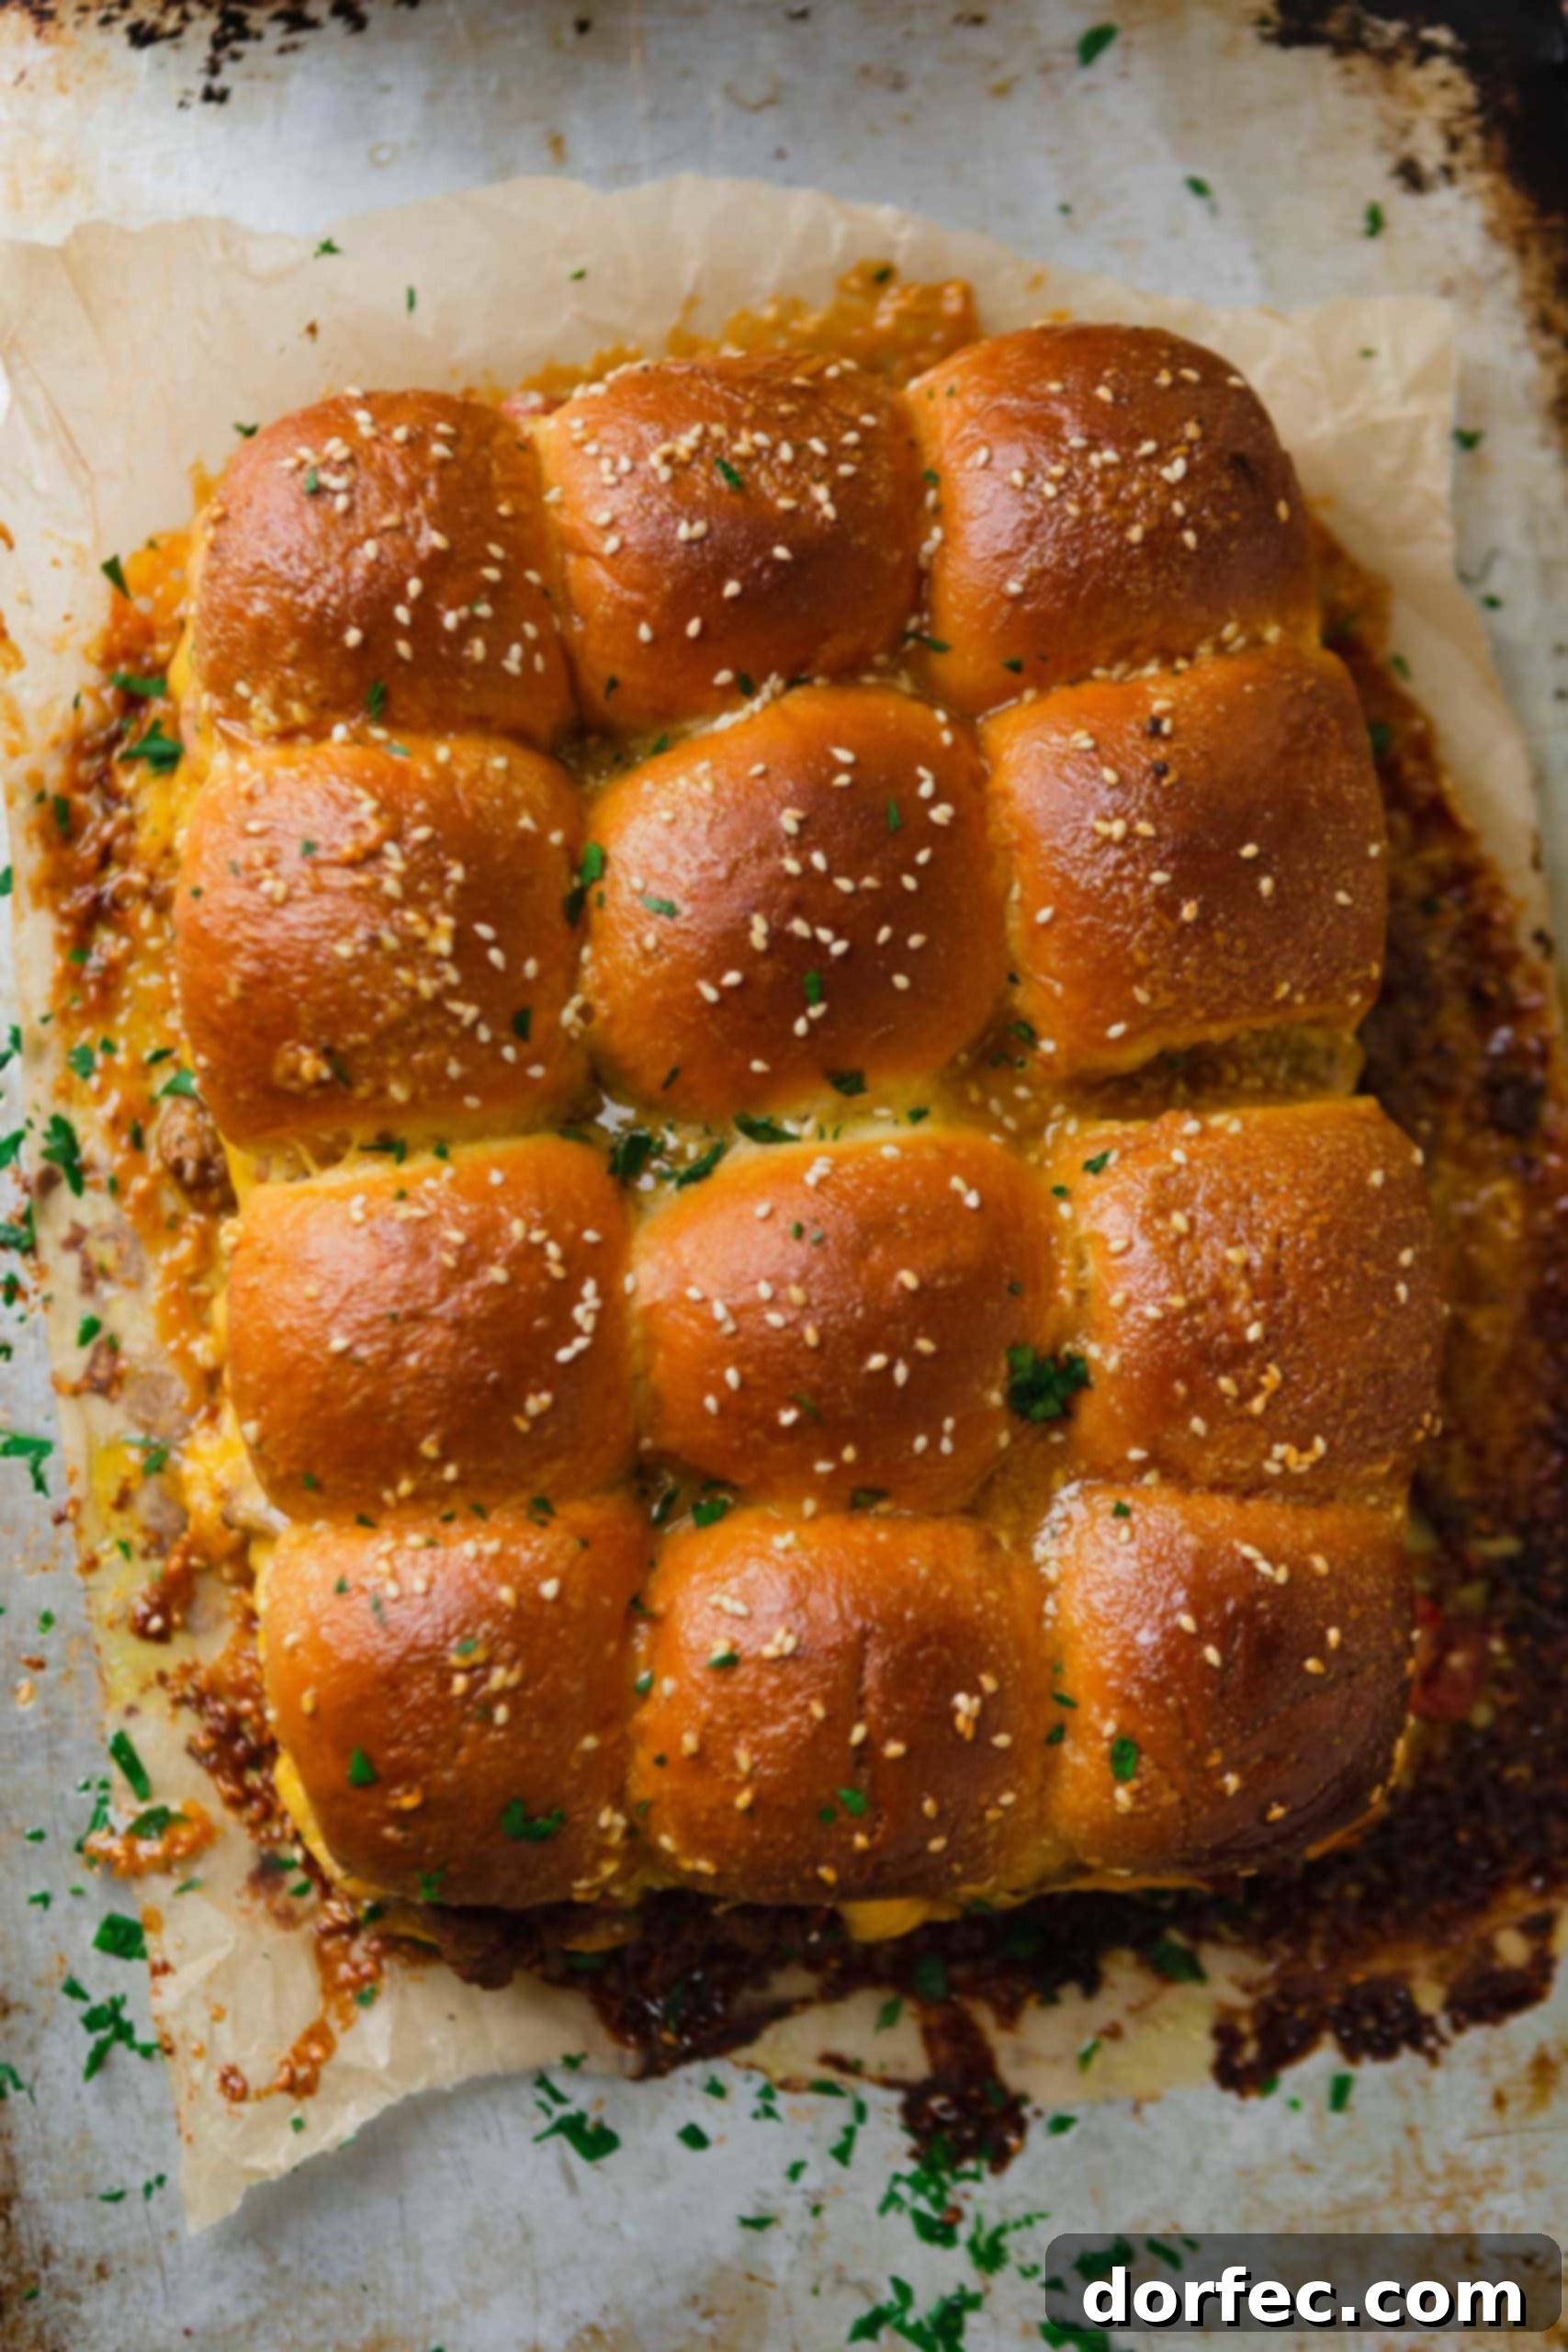
- Sauce and Bake: Pour the prepared sauce evenly over the tops of the assembled rolls in the baking dish. Sprinkle a generous amount of sesame seeds over the saucy tops. Bake for 25 minutes, or until the cheese is melted and bubbly, and the tops of the rolls are golden brown. If the tops start to brown too quickly, you can loosely tent the dish with aluminum foil.
For more granular details and specific quantities, refer to the full recipe card at the very end of this article. Enjoy your perfectly baked cheeseburger sliders!
Mastering Make-Ahead Sliders: Tips for Effortless Entertaining
One of the greatest advantages of these cheeseburger sliders is their make-ahead capability, which makes entertaining a breeze. Preparing them in advance allows you to enjoy your own party without being stuck in the kitchen when guests arrive. Here’s how to do it effectively:
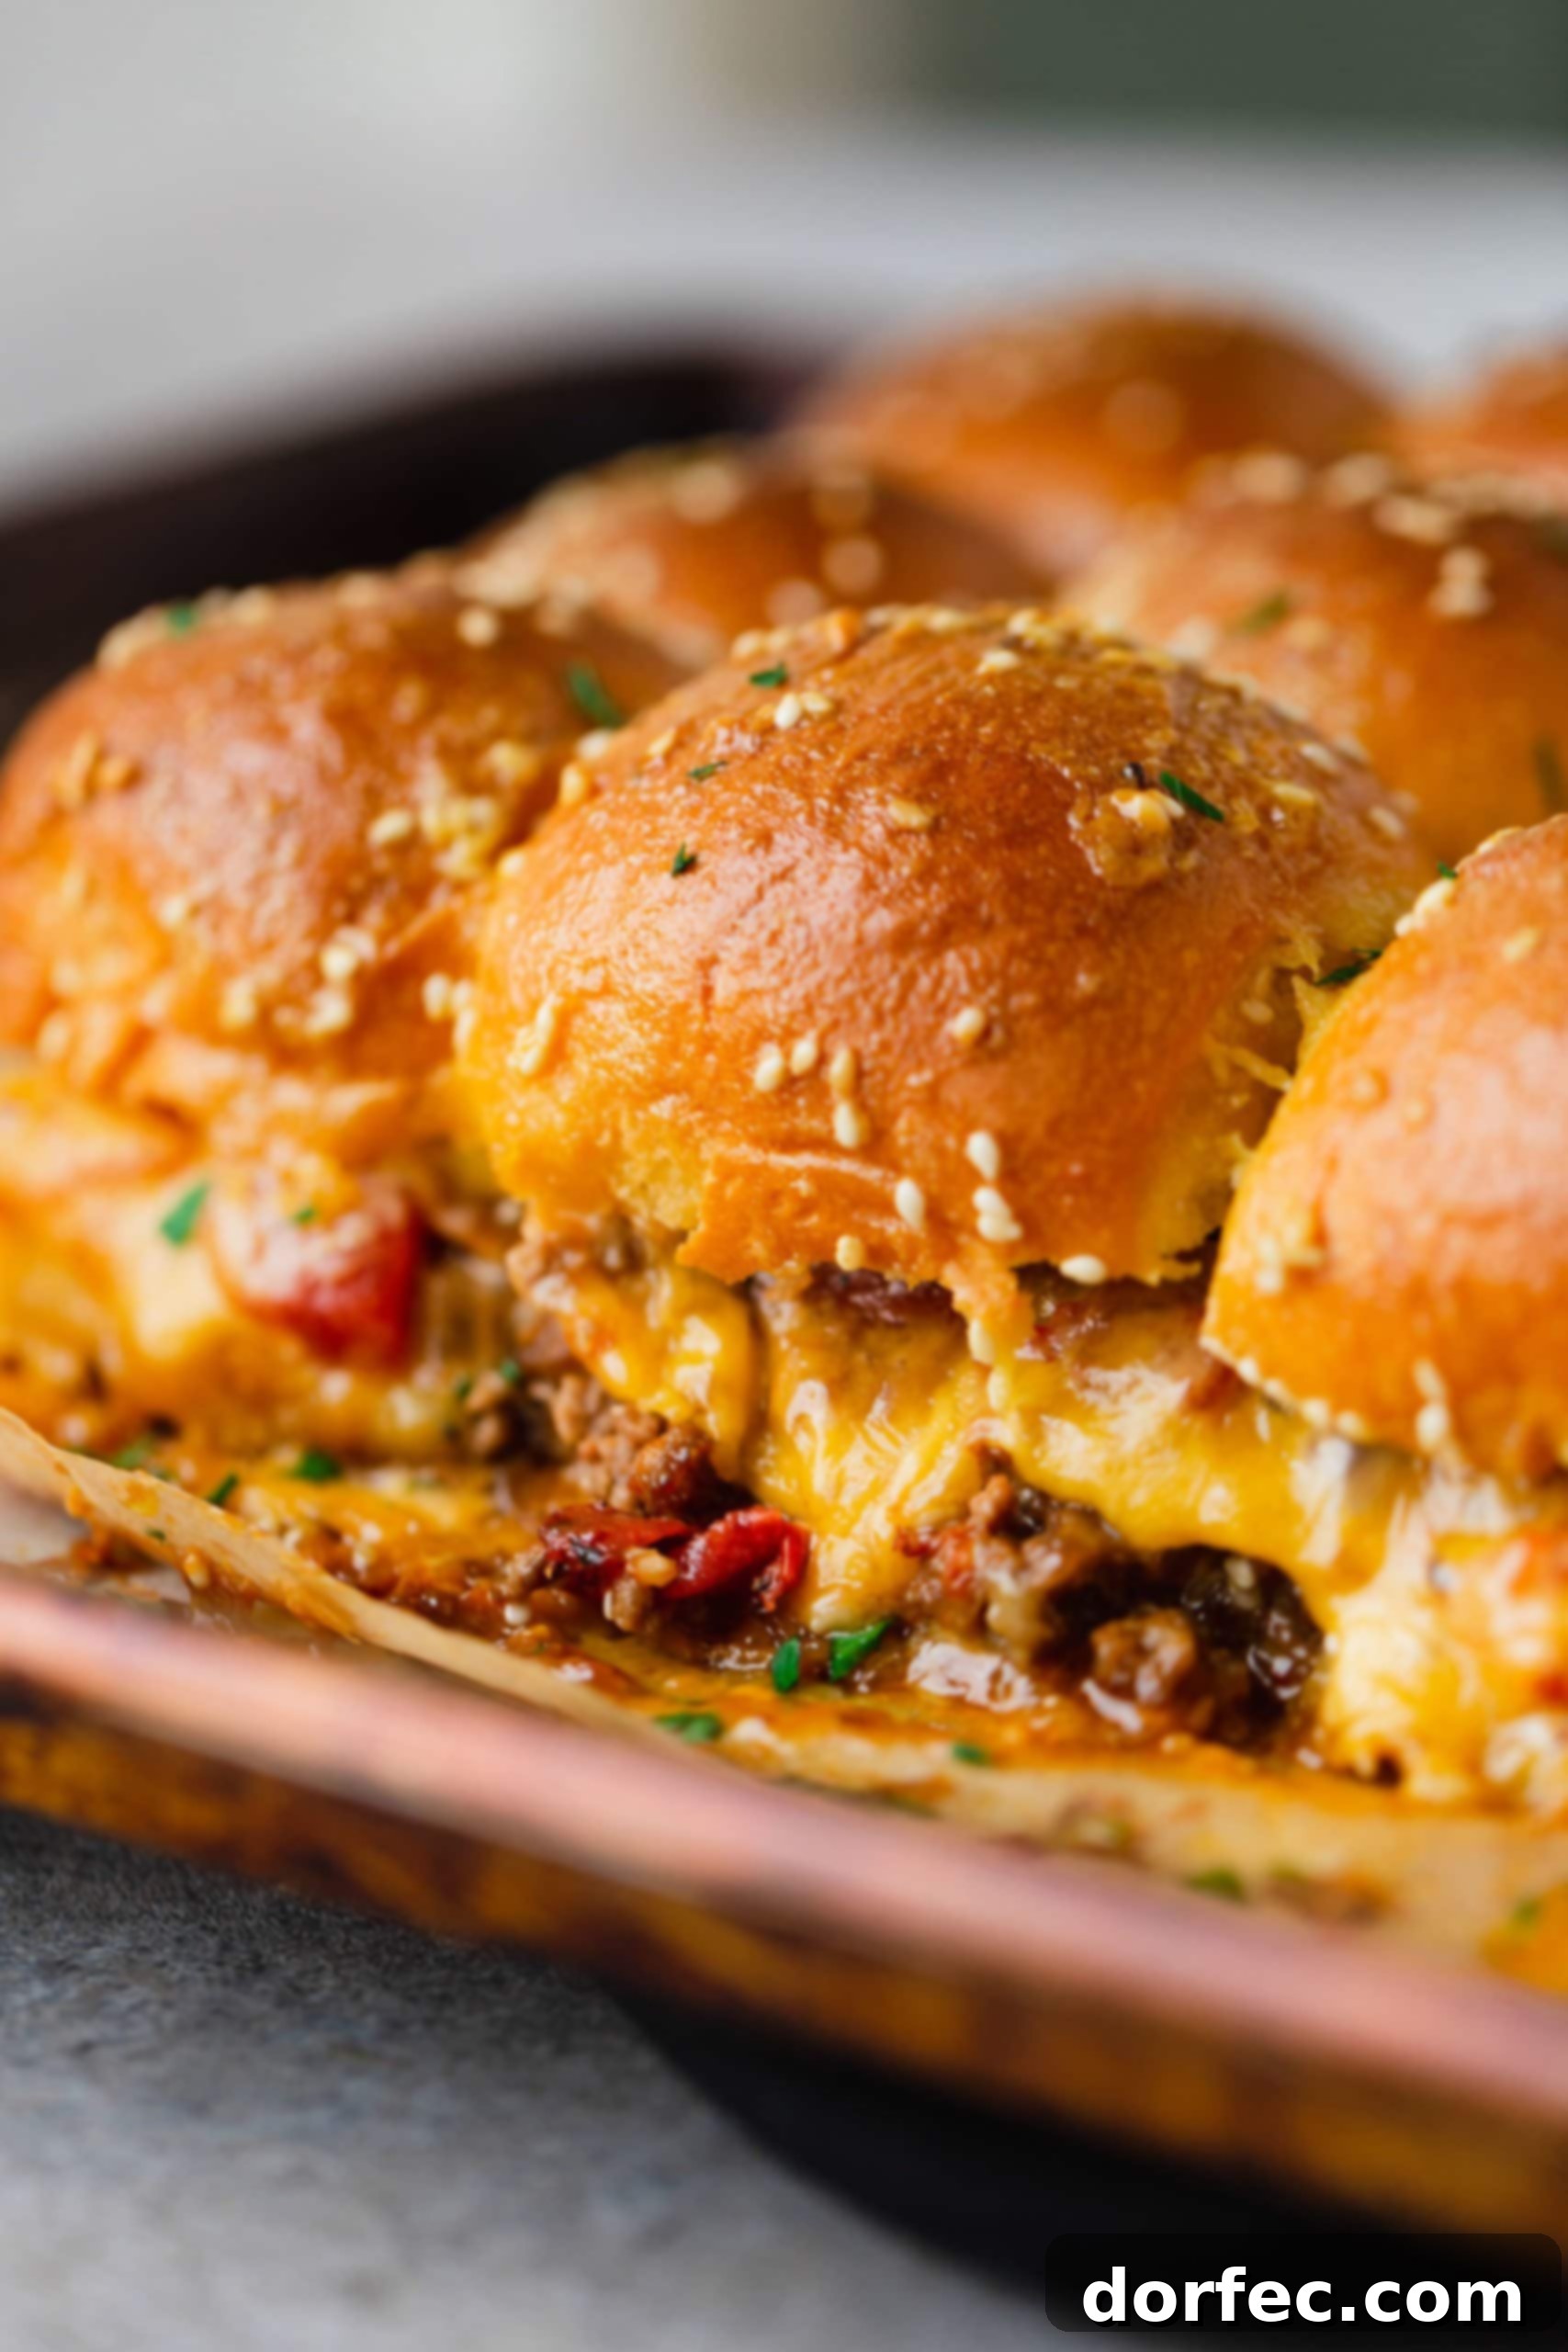
To ensure your mini cheeseburgers remain perfectly delicious when made ahead, I recommend a slight alteration to the layering process. Instead of placing the beef directly on the bottom buns, first lay down your slices of cheddar cheese onto the bottom rolls. Then, spread the cooked meat mixture over the cheese. This strategic layering creates a protective barrier, preventing the bottom buns from absorbing too much moisture from the meat and becoming soggy.
Once you’ve assembled the sliders with the beef and cheese layers and capped them with the top buns, cover the baking dish tightly with plastic wrap. You can then store the prepared sliders in the refrigerator for up to 24 hours. Just before you’re ready to bake, prepare and pour the signature sauce over the rolls, sprinkle with sesame seeds, and then pop them into the preheated oven. You may need to add a few extra minutes to the baking time (around 5-10 minutes) since the sliders will be starting from a chilled temperature.
This simple make-ahead method ensures that you’ll have hot, fresh, and perfectly textured sliders ready to serve whenever your event kicks off!
Choosing Your Buns: The Foundation of a Great Slider
The choice of rolls is paramount to the success of your cheeseburger sliders. The right bun provides the perfect soft texture and subtle sweetness to complement the savory filling. You have a couple of excellent options:
If you’re a fan of baking from scratch and want to elevate your sliders even further, our classic dinner rolls recipe is an outstanding choice. These homemade rolls are wonderfully soft, slightly chewy, and possess a robustness that holds up beautifully to the juicy beef and melted cheese without falling apart. Making your own rolls also allows you to control the ingredients and savor the undeniable freshness of homemade bread.
However, for those times when convenience is key, store-bought dinner rolls work absolutely perfectly and save a significant amount of time. Look for soft, slightly sweet varieties. Our personal favorite and a highly recommended brand are King’s Hawaiian rolls. Their signature sweet, pillowy texture is a fantastic match for cheeseburger sliders, providing a delightful contrast to the savory filling and a consistent, high-quality result every time.
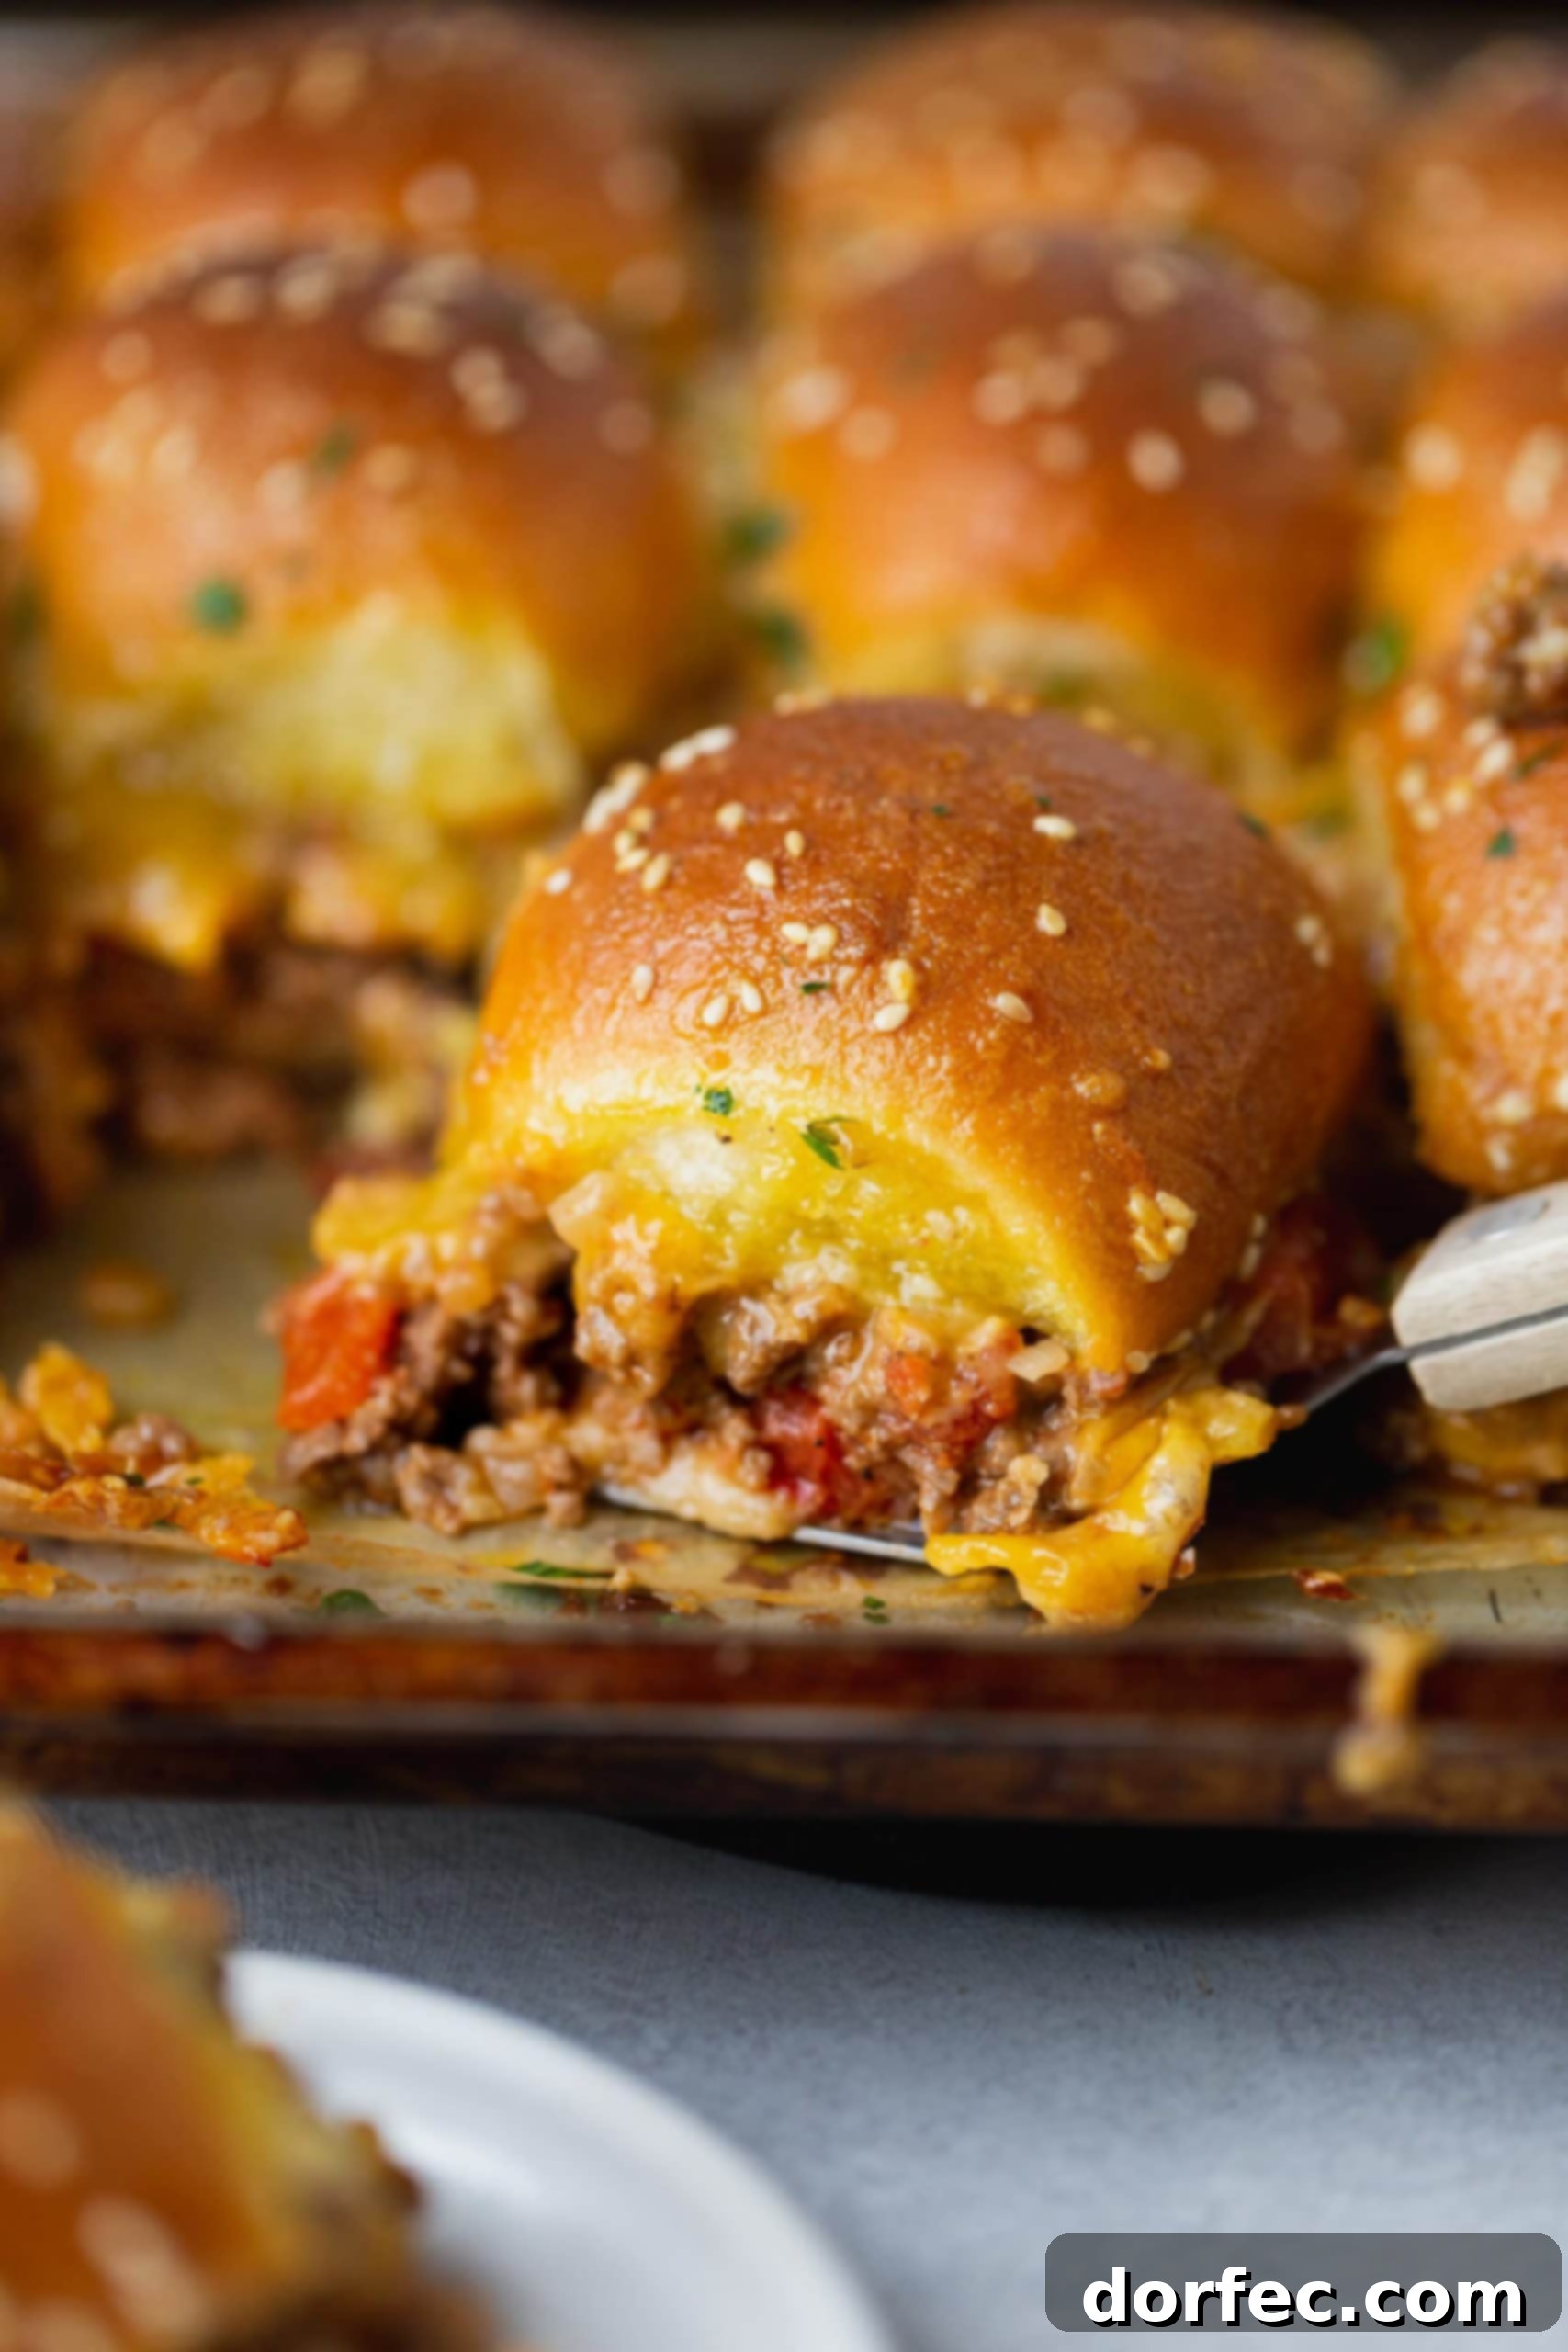
Serving Suggestions: What to Pair with Your Mini Burgers
These delicious mini burgers are fantastic on their own as appetizers, but if you’re making them the star of your meal, you’ll want a few complementary side dishes. Just like with full-sized hamburgers, the options are endless. Here are some of our top picks that perfectly round out a cheeseburger slider feast:
- Garlic Herb Roasted Potatoes: Crispy on the outside, fluffy on the inside, and infused with aromatic garlic and herbs, these potatoes are a more sophisticated alternative to fries and pair wonderfully with the rich sliders.
- Killer Burger Sauce: While our sliders have their own sauce, a side of this amazing burger sauce is perfect for dipping extra slider pieces, or even better, for dunking a pile of hot, crispy French fries!
- Best Baked Beans: Sweet, smoky, and deeply flavorful, homemade baked beans offer a comforting and hearty side that’s a classic match for any burger.
- Grilled Corn on the Cob: For a touch of sweetness and a hint of smoky char, grilled corn on the cob adds a fresh, seasonal element to your meal.
- Macaroni Salad: A creamy, tangy, and satisfying macaroni salad is always a refreshing counterpoint to the richness of the cheeseburger sliders.
- Crispy French Fries: Of course, no burger experience is truly complete without a generous serving of hot, perfectly salted French fries. They’re a timeless classic that everyone loves!
Mix and match these sides to create a balanced and utterly delightful meal that complements the savory goodness of your cheeseburger sliders.
Creative Variations: Customizing Your Cheeseburger Sliders
The beauty of these cheeseburger sliders lies in their adaptability. They serve as a fantastic canvas for your culinary creativity, allowing you to easily switch up ingredients and tailor them to your personal preferences. Don’t hesitate to experiment and make them uniquely yours!
Feel free to get creative with the type of cheese you use. While cheddar is a classic, consider Monterey Jack for a milder, creamier melt, pepper jack for a spicy kick, or even provolone for a distinct savory note. You can also mix and match different cheeses for a custom blend.
Toppings are where you can really personalize your sliders. Here are some popular additions:
- Pickles: A few thin pickle slices added to the beef mixture or placed on top before baking will provide a welcome tangy crunch.
- Crispy Bacon: Cooked and crumbled bacon pieces mixed into the beef or sprinkled over the cheese layer before baking will infuse your sliders with irresistible smoky, salty goodness.
- Sautéed Mushrooms: Earthy, savory sautéed mushrooms add a gourmet touch and wonderful umami flavor.
- Caramelized Onions: For a sweeter, richer flavor profile, swap the regular diced onions for deeply caramelized onions.
- Jalapeños: If you love a bit of heat, finely diced fresh or pickled jalapeños can be added to the beef mixture.
- Different Sauces: While our signature sauce is incredible, you can also experiment with a drizzle of BBQ sauce, a spicy sriracha mayo, or a classic ketchup-mustard blend.
However, there’s one ingredient I strongly advise against adding before baking: lettuce. While fresh lettuce is a staple on a traditional burger, baking it within the slider will result in soggy, limp, and generally unappetizing leaves. And let’s be honest, absolutely no one enjoys hot, wilted lettuce! If you wish to add lettuce, do so fresh, right before serving.
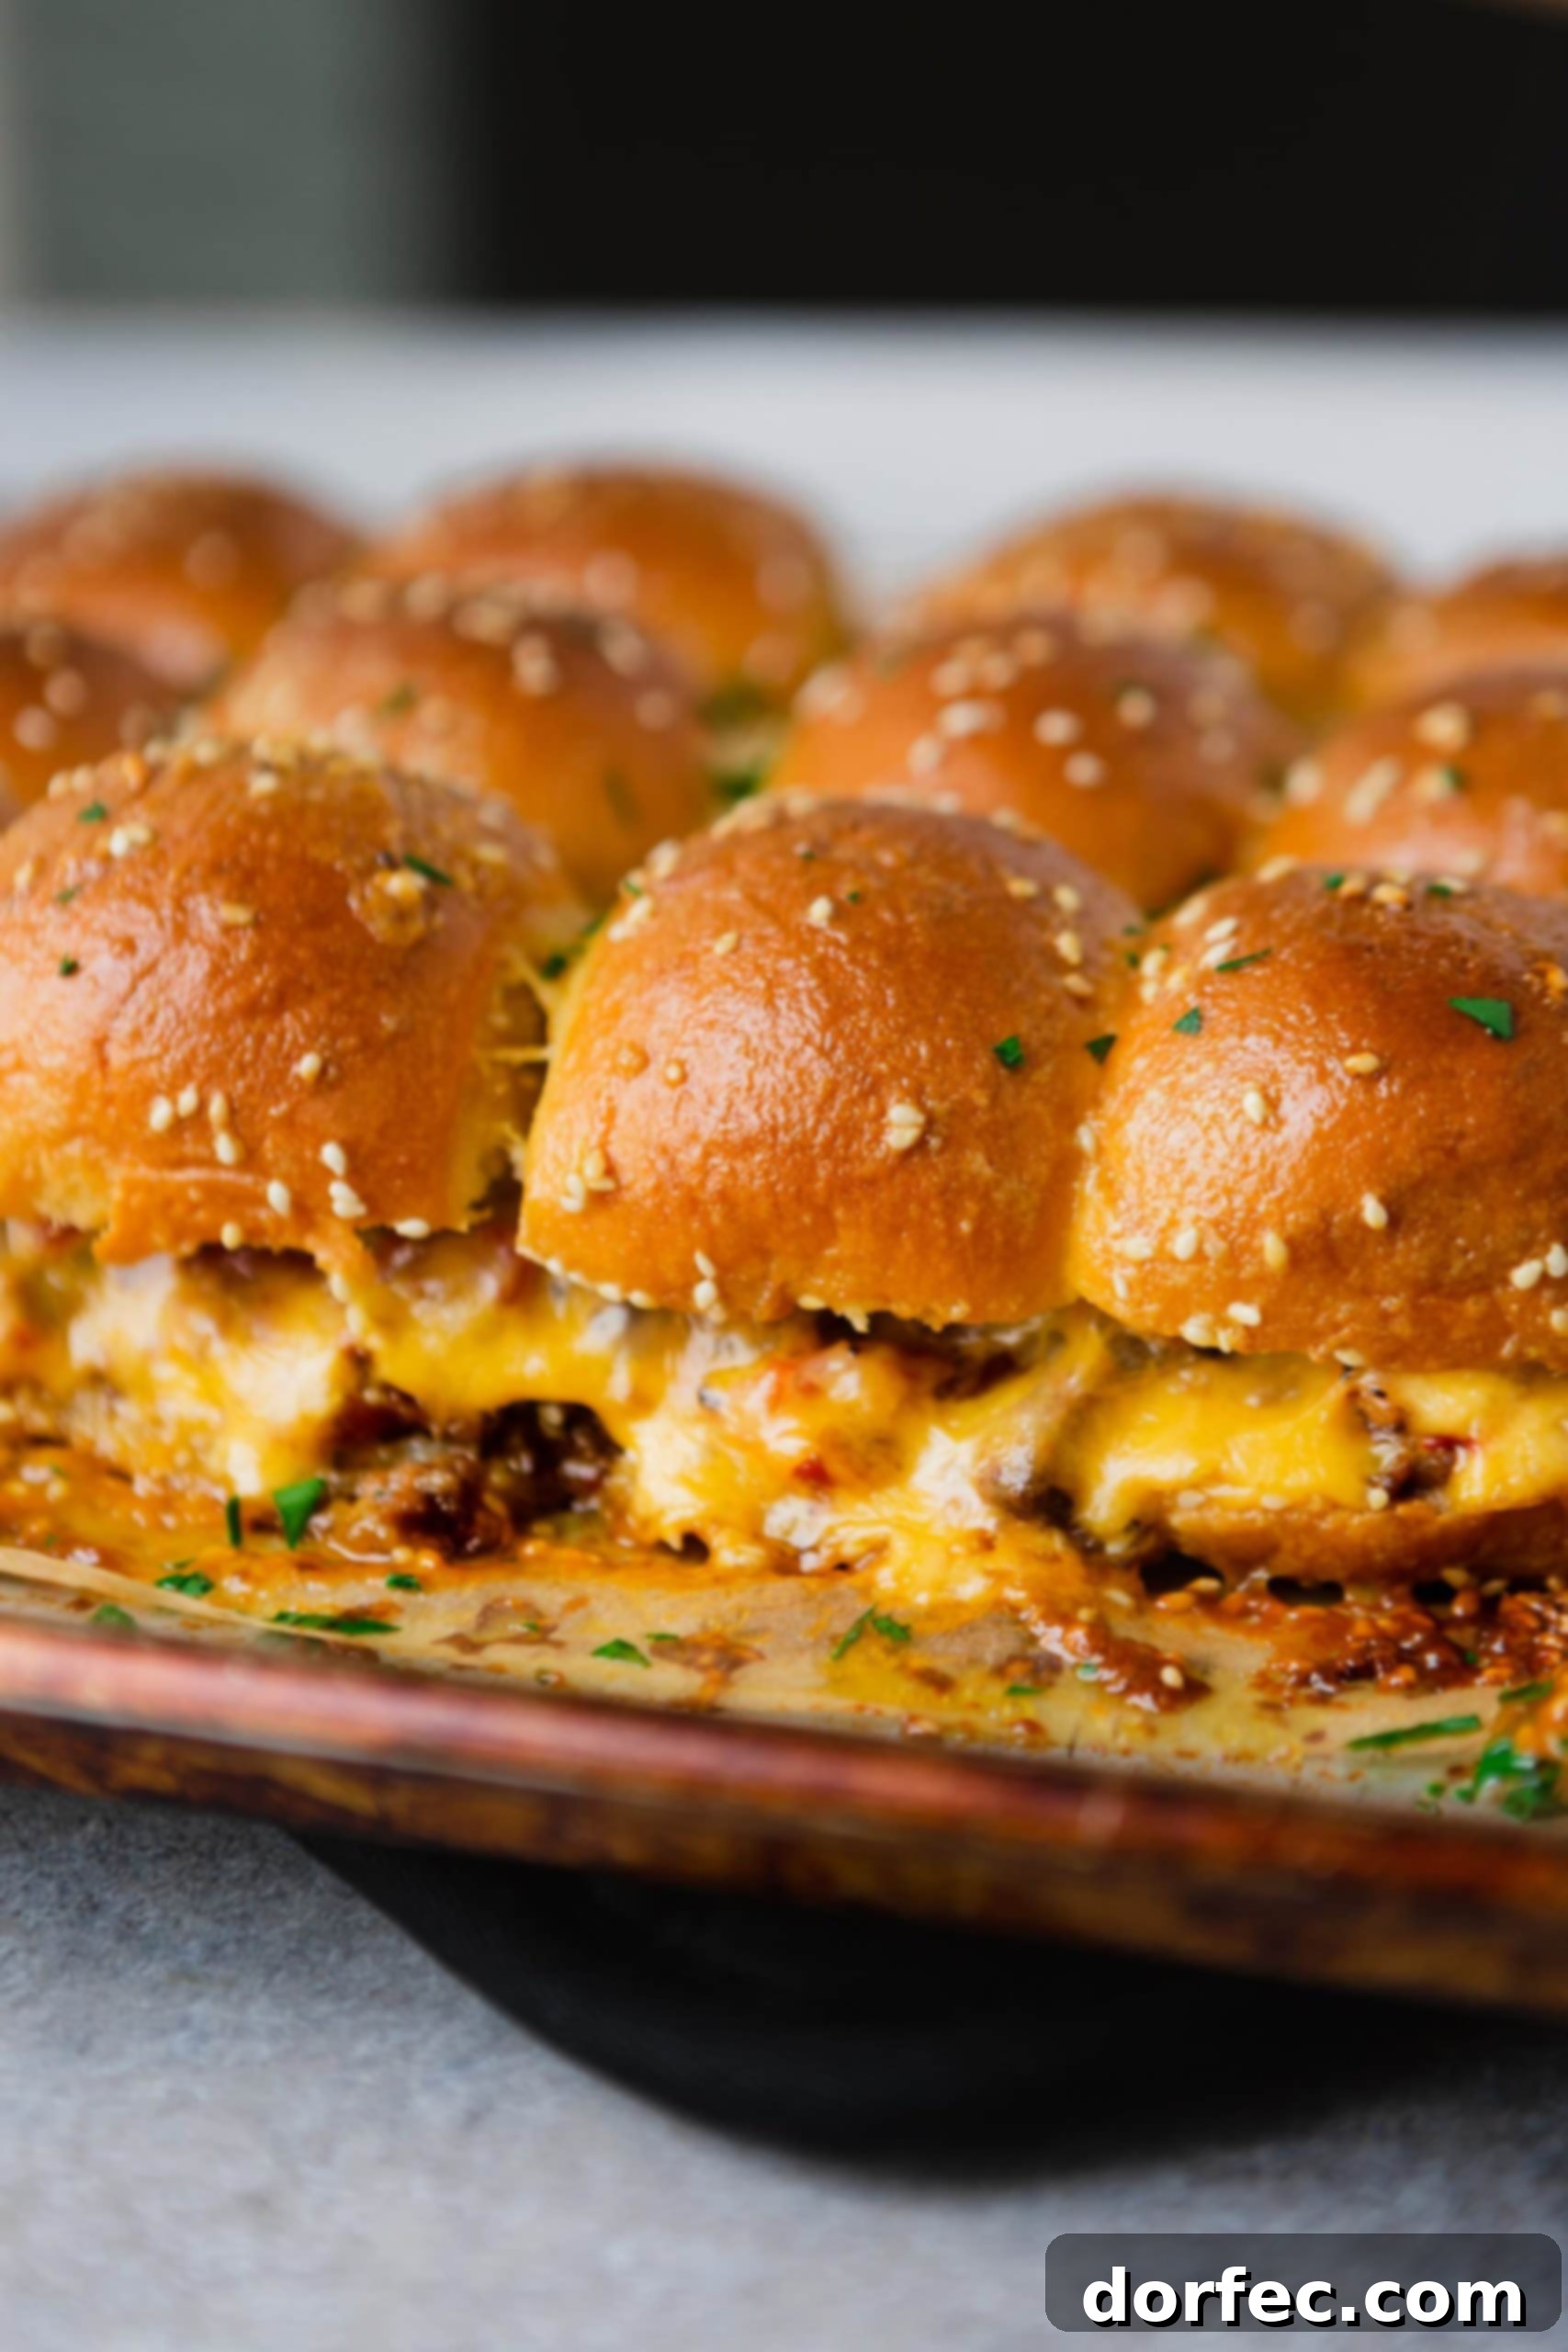
Storage and Reheating: Enjoying Leftover Sliders
These cheeseburger sliders are so delicious that leftovers might be a rarity! However, if you do find yourself with a few extra, proper storage and reheating techniques will ensure they remain just as enjoyable. Their make-ahead and freezer-friendly nature further solidify their status as a versatile kitchen staple.
Refrigeration
Cooked cheeseburger sliders can be stored in an airtight container in the refrigerator for up to 4 days. Ensure they are completely cooled before transferring them to the container to prevent condensation, which can make the buns soggy.
Reheating Instructions
To reheat refrigerated sliders and bring back their gooey, cheesy goodness, arrange them in a single layer on a baking sheet. Cover the baking sheet loosely with aluminum foil to prevent the buns from drying out. Reheat in a preheated 350°F (175°C) oven for about 10-15 minutes, or until the cheese is melted and the sliders are heated through. The foil helps to steam them slightly, keeping the buns soft.
Freezing for Later
Yes, mini cheeseburgers can absolutely be frozen, making them an excellent meal prep option! For best results, it’s easiest to reheat frozen sliders if they are frozen individually. After assembling (but before pouring on the sauce), wrap each slider tightly in plastic wrap, then place them in a freezer-safe bag or container. They can be frozen for up to 2-3 months.
When freezing, do not add the sauce to the sliders. The sauce is best prepared fresh and added just before baking. This prevents the sauce from becoming gummy or separating upon thawing and reheating.
To bake frozen sliders, you have a couple of options: you can thaw them overnight in the refrigerator, or you can place them directly into your baking dish from frozen. If baking from frozen, let them sit at room temperature for about 30 minutes while your oven preheats. Then, prepare and pour the sauce over them and bake at 350°F (175°C), adding an extra 10-15 minutes to the baking time (totaling around 35-40 minutes) to ensure they are heated through and the cheese is melted. Cover with foil if the tops brown too quickly.
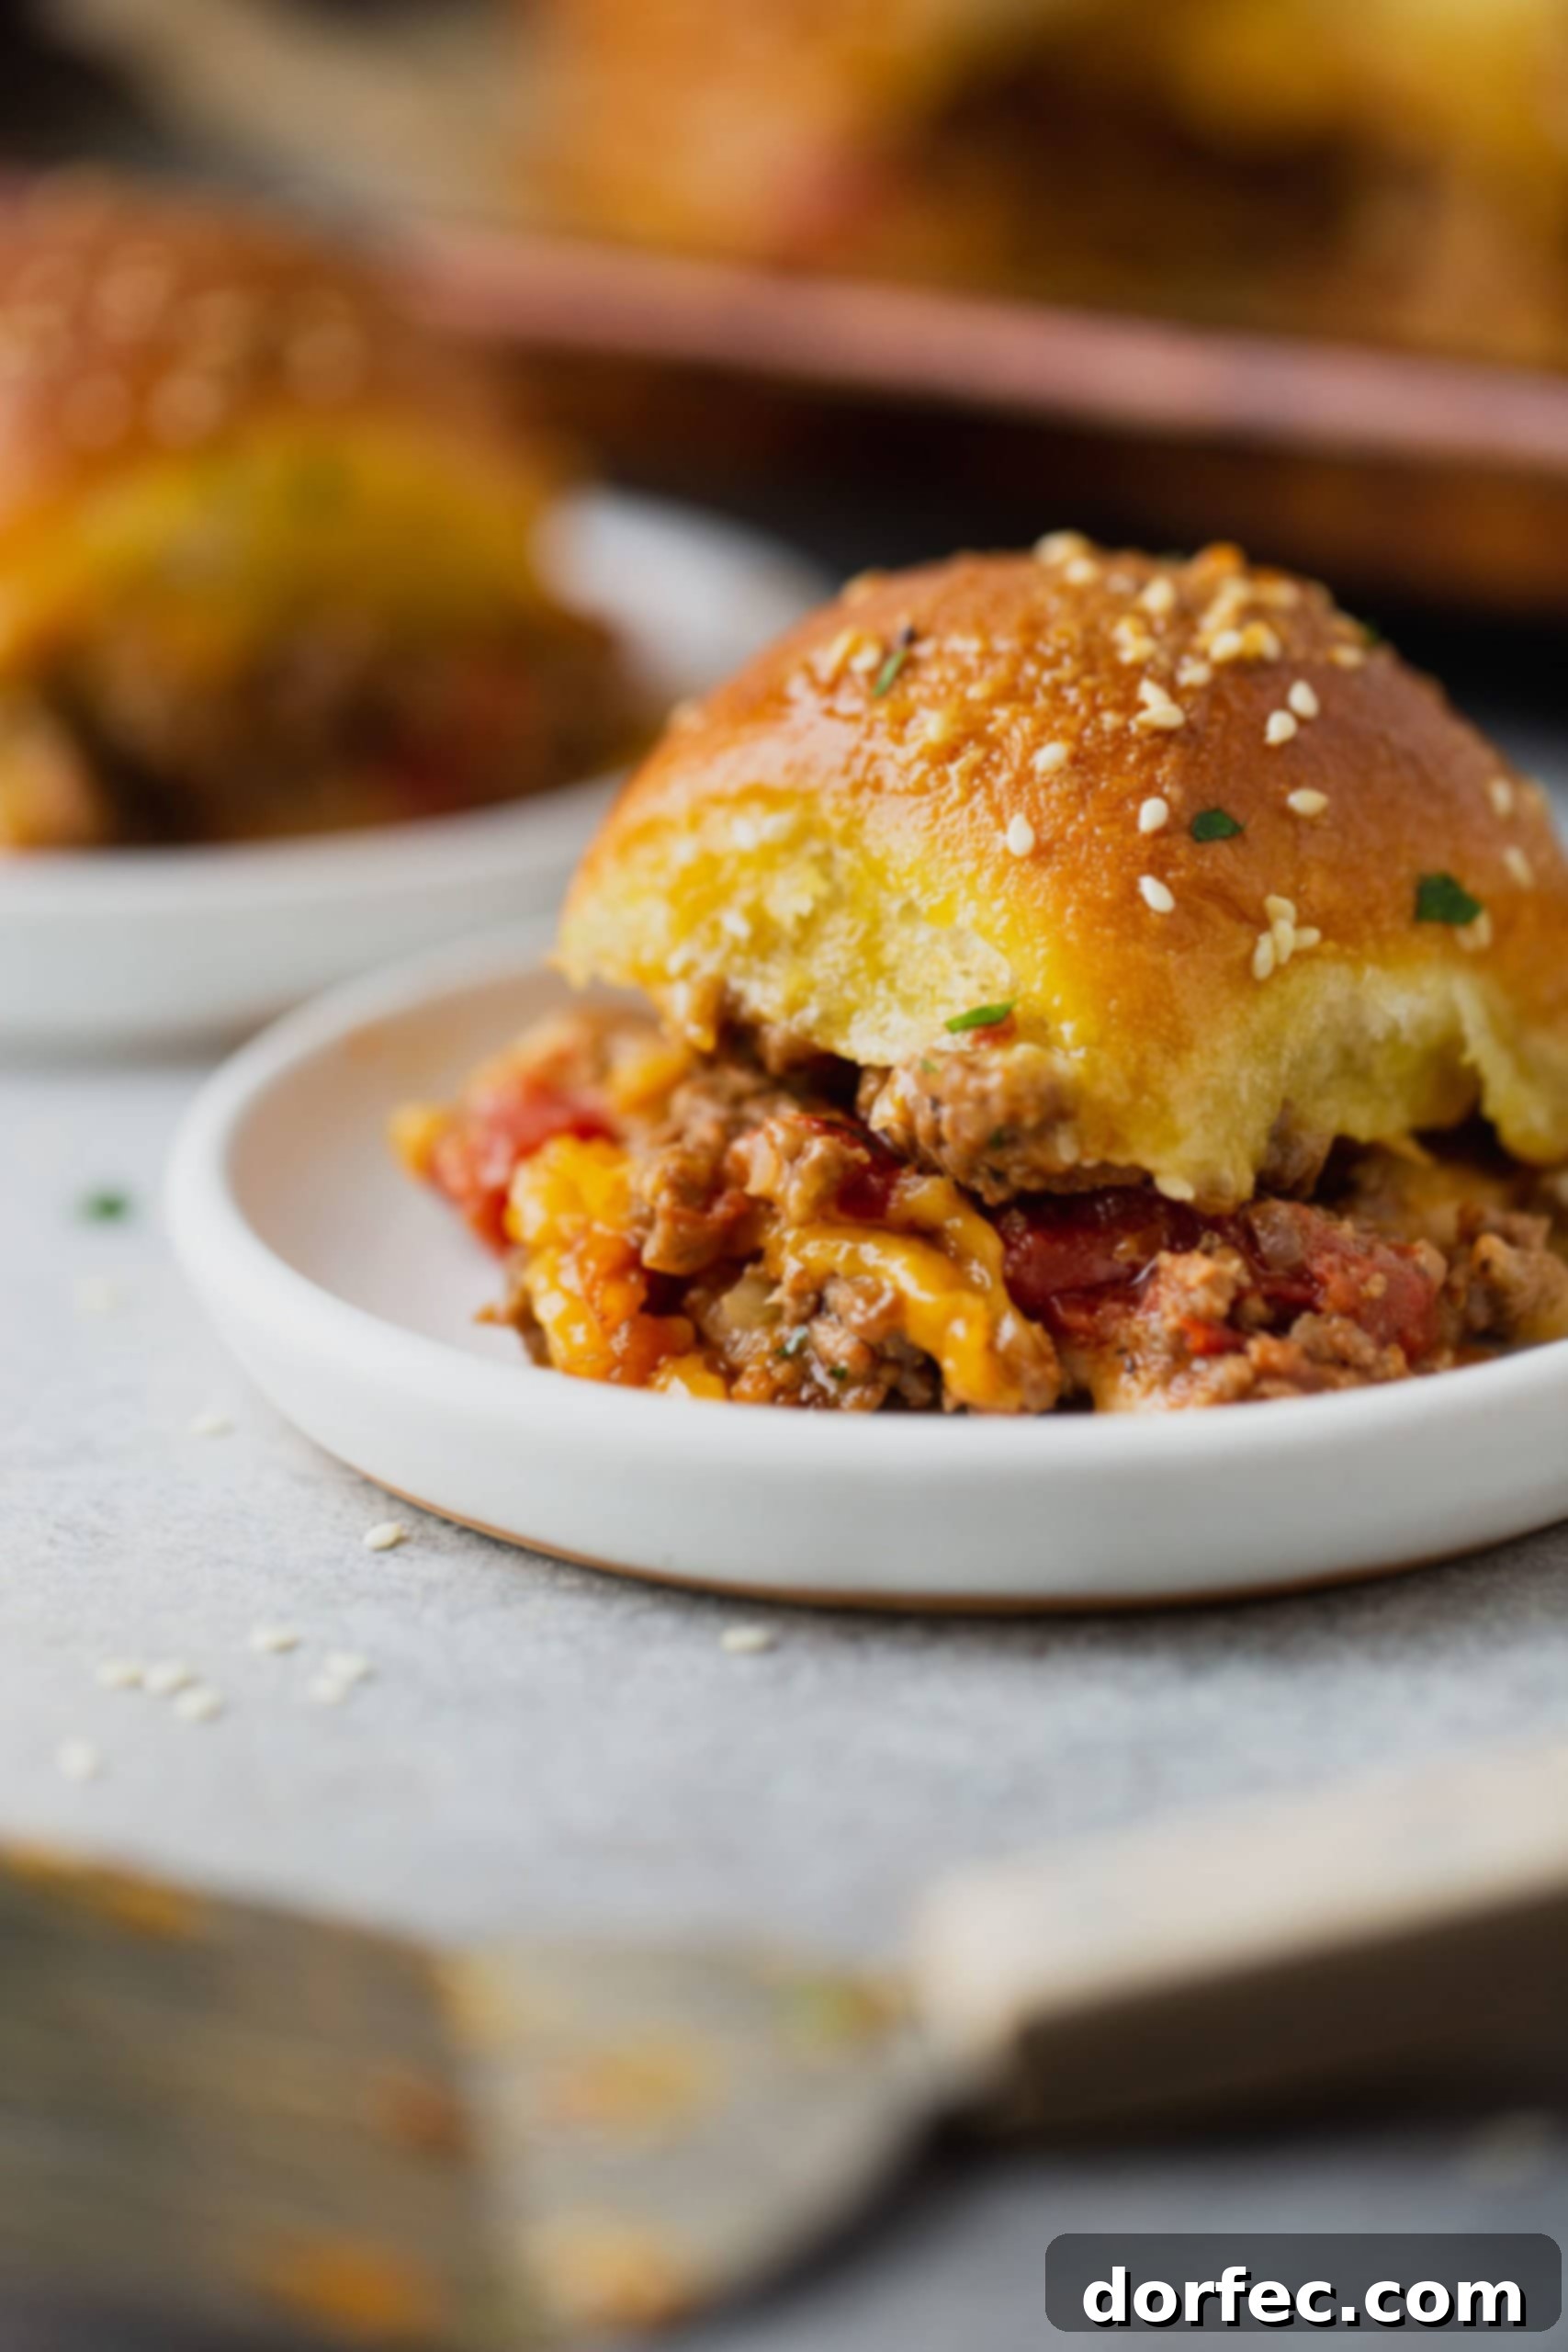
The Ultimate Easy Cheeseburger Sliders: Recipe Card
Cheeseburger Sliders
By Sweet Basil
Prep Time: 15 mins
Cook Time: 25 mins
Total Time: 40 mins
Servings: 12 sliders
Print Recipe
Ingredients
Sliders
- 1 Pound Ground Beef
- 1 Cup Yellow Onion, diced
- 3 Cloves Garlic, minced
- 1/2 teaspoon Salt
- 1/4 teaspoon Pepper
- 1 teaspoon Cumin
- 1 teaspoon Ground Mustard
- 1/4 teaspoon Onion Powder
- 1/2 teaspoon Garlic Powder
- 1/2 teaspoon Smoked Paprika
- 10 oz Diced Tomatoes, drained
- 12 Slices Cheddar Cheese
- 12 Dinner Rolls, sliced open
Sauce
- 1/2 Cup Butter
- 1 Tablespoon Mayonnaise
- 2 Tablespoons Brown Sugar
- 1 Tablespoon Yellow Mustard
- 1 Tablespoon Sesame Seeds
Instructions
- Preheat the oven to 350 degrees F (175°C). Spray a 9×13 inch baking pan with nonstick spray and place the bottom halves of the rolls inside the pan. Set aside.
- In a large skillet over medium-high heat, add the ground beef, diced onions, minced garlic, and all the seasonings (salt, pepper, cumin, ground mustard, onion powder, garlic powder, smoked paprika). Cook, stirring often with a ground beef chopper or spoon, until browned and the onions are tender. Drain any excess grease. Add the drained diced tomatoes and stir well until combined.
- Spread the beef mixture evenly over the roll bottoms in the baking dish. Top generously with the cheddar cheese slices.
- Place the top halves of the rolls over the cheese layer.
- In a small saucepan over medium heat, melt the butter. Stir in the mayonnaise, brown sugar, and yellow mustard until combined.
- Pour the prepared sauce evenly over the tops of the rolls. Sprinkle the sesame seeds all over the top. Bake for 25 minutes, or until the cheese is melted and bubbly, and the tops are golden brown. If the tops brown too quickly, you can loosely tent the dish with aluminum foil.
Recipe Notes
Note: Recipe adapted from Kevin and Amanda.
Leftovers can be frozen. Wrap each slider separately in plastic wrap and freeze for future enjoyment. Add sauce just before baking.
Nutrition (per serving)
Serving: 1 slider, Calories: 383kcal, Carbohydrates: 25g, Protein: 15g, Fat: 25g, Saturated Fat: 12g, Cholesterol: 66mg, Sodium: 578mg, Potassium: 241mg, Fiber: 2g, Sugar: 4g, Vitamin A: 475IU, Vitamin C: 3mg, Calcium: 229mg, Iron: 3mg.
Nutrition information is automatically calculated and should only be used as an approximation.
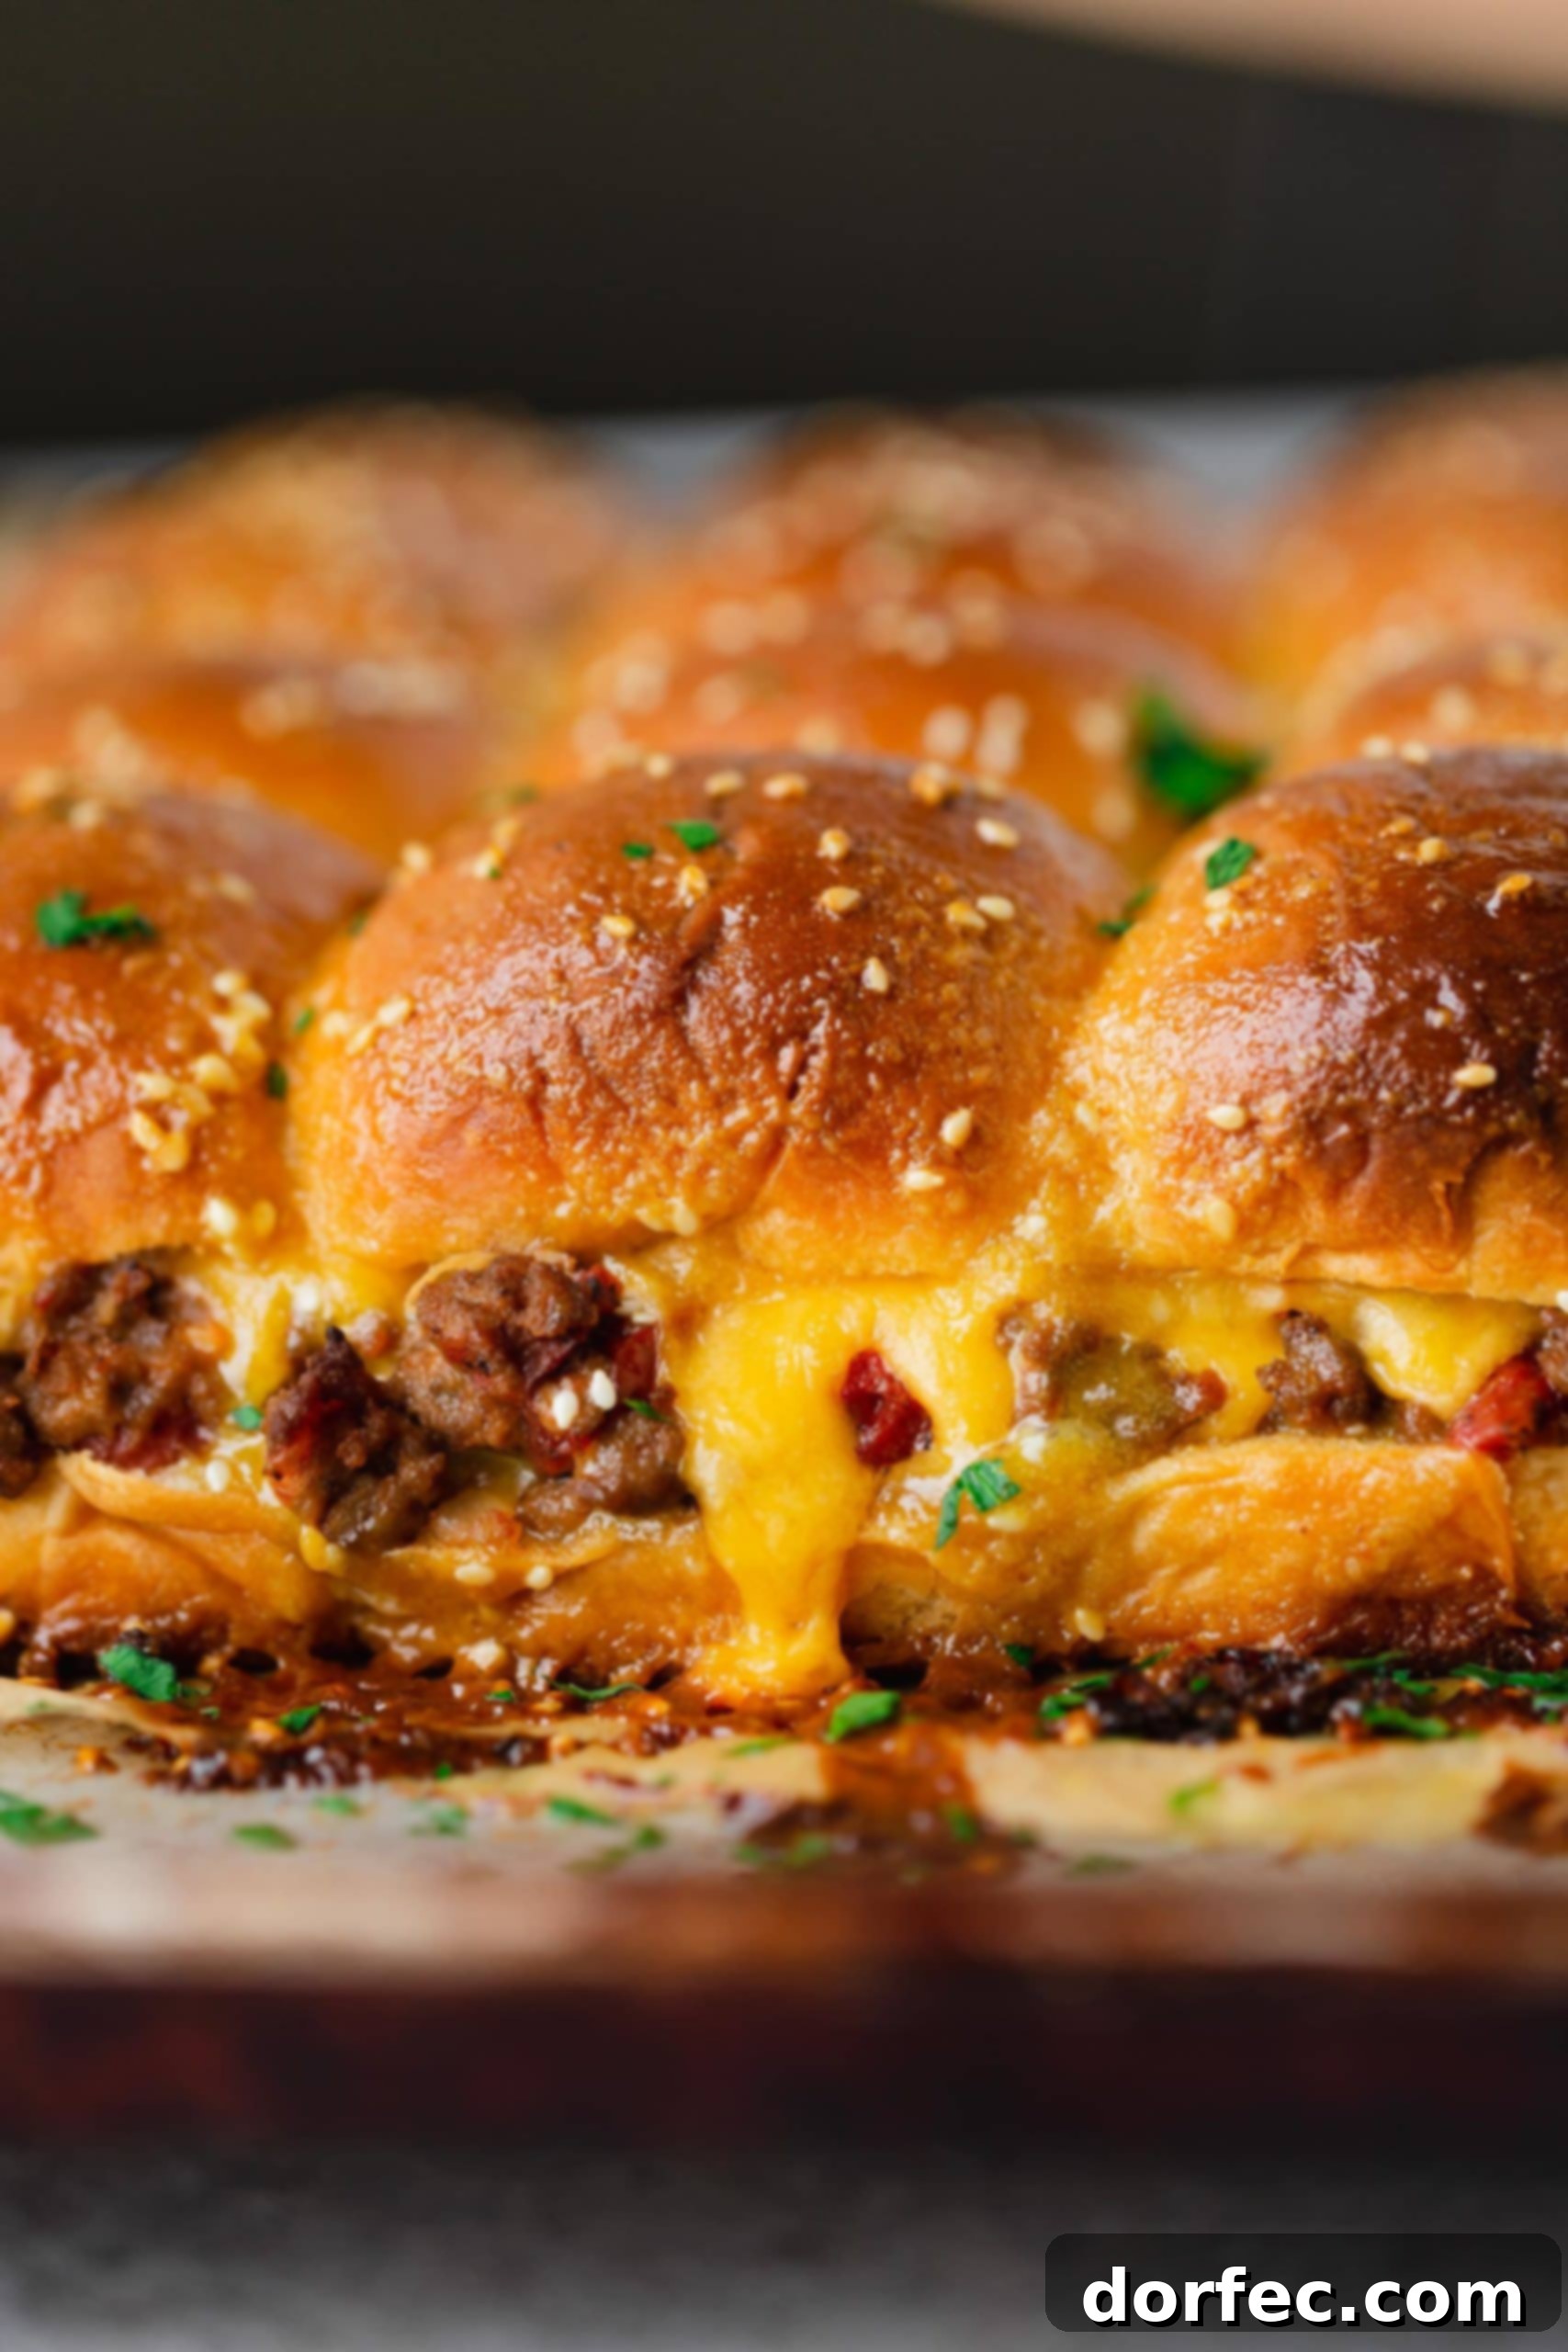
As the aroma fills your kitchen and you pull these golden-brown cheeseburger sliders from the oven, you’ll know you’ve created something truly special. They’re more than just a meal; they’re an experience – juicy, flavorful, and incredibly satisfying. Designed to come together in no time, these mini burgers are perfect for any occasion, from game day feasts to impromptu weeknight dinners. And trust us, once you take that first bite, you’ll understand why it’s impossible to stop at just one! Get ready for everyone to come back for more of these irresistible, cheesy, and beefy delights.
More Slider Recipes to Explore
If you’ve fallen in love with the ease and deliciousness of cheeseburger sliders, you’ll be thrilled to discover the vast world of other slider creations! From savory and hearty to sweet and tangy, there’s a slider for every craving and occasion. Expand your party food repertoire with these fantastic ideas:
- French Dip Sliders: Sliced roast beef and provolone cheese, dipped in rich au jus.
- Ham and Cheese Sliders: A timeless classic with savory ham, Swiss cheese, and a buttery poppy seed topping.
- Sloppy Joe Sliders: All the saucy, messy goodness of Sloppy Joes, miniaturized.
- Easy BBQ Meatball Sliders: Sweet and smoky meatballs nestled in soft buns, perfect for a quick snack.
- Hawaiian Turkey Burgers Sliders: A lighter twist with juicy turkey patties and tropical flavors.
- Chicken Cordon Bleu Sliders: Layers of chicken, ham, and Swiss cheese baked to perfection.
- Cheesy Irish Sliders: Inspired by reuben sandwiches, featuring corned beef and sauerkraut.
- Raspberry BBQ Sliders: A unique sweet and savory combination that will surprise and delight.
- Hawaiian Turkey Sliders: Another variation of turkey sliders with a sweet Hawaiian bun.
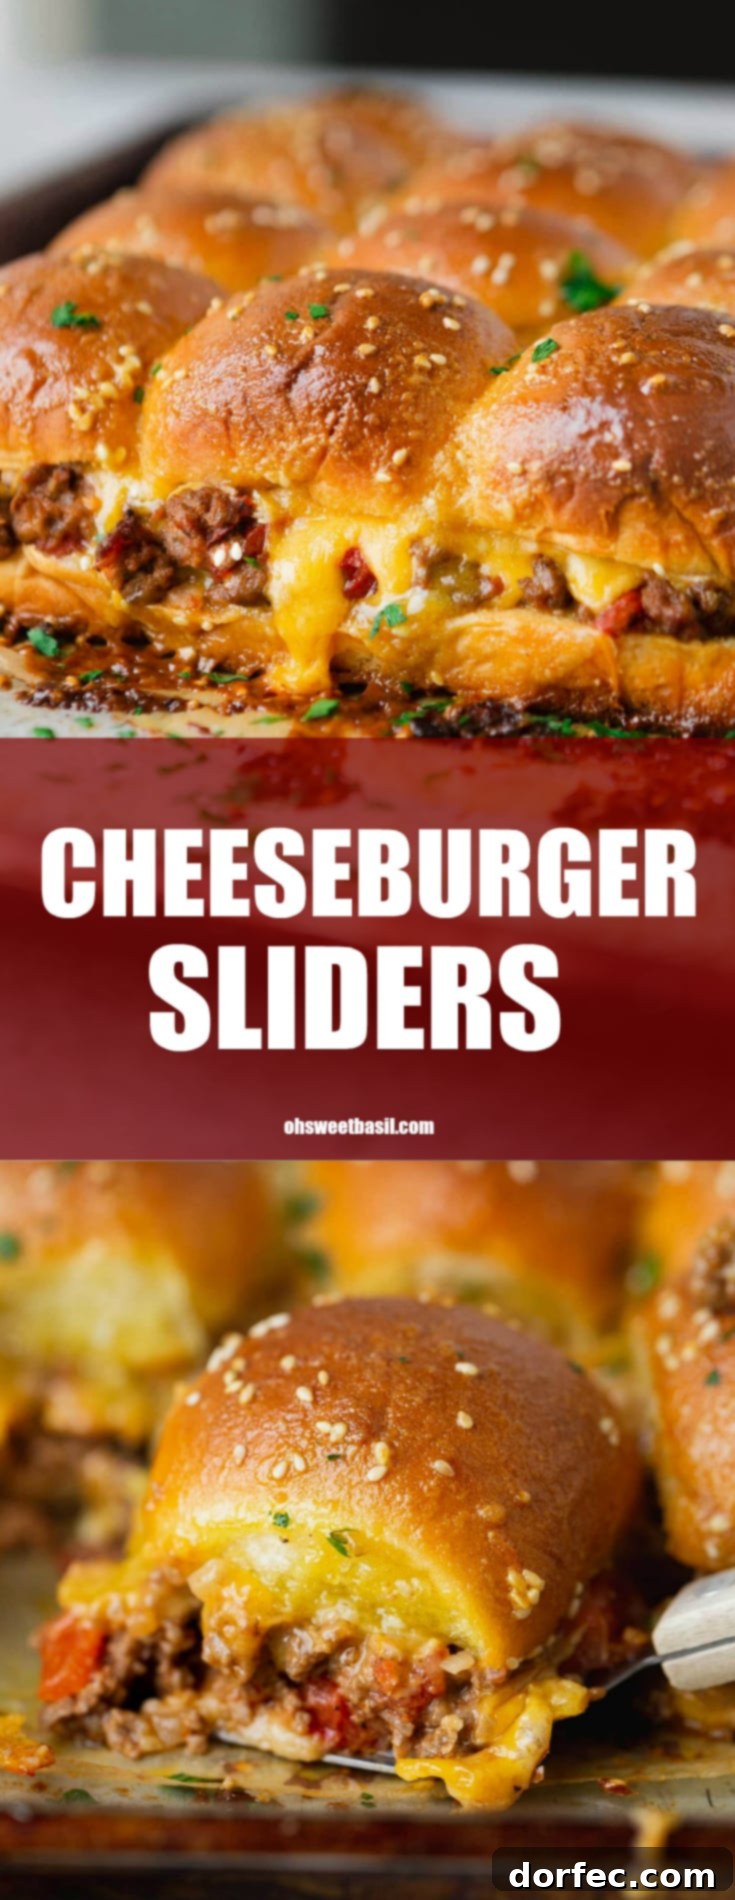
REMEMBER TO SUBSCRIBE TO our FREE Oh Sweet Basil NEWSLETTER AND RECEIVE EASY RECIPES DELIVERED INTO YOUR INBOX EVERY DAY!
When you try a recipe, please use the hashtag #ohsweetbasil on INSTAGRAM for a chance to be featured in our stories! FOLLOW OH, SWEET BASIL ON FACEBOOK | INSTAGRAM | PINTEREST | TWITTER FOR ALL OF OUR LATEST CONTENT, RECIPES AND STORIES.