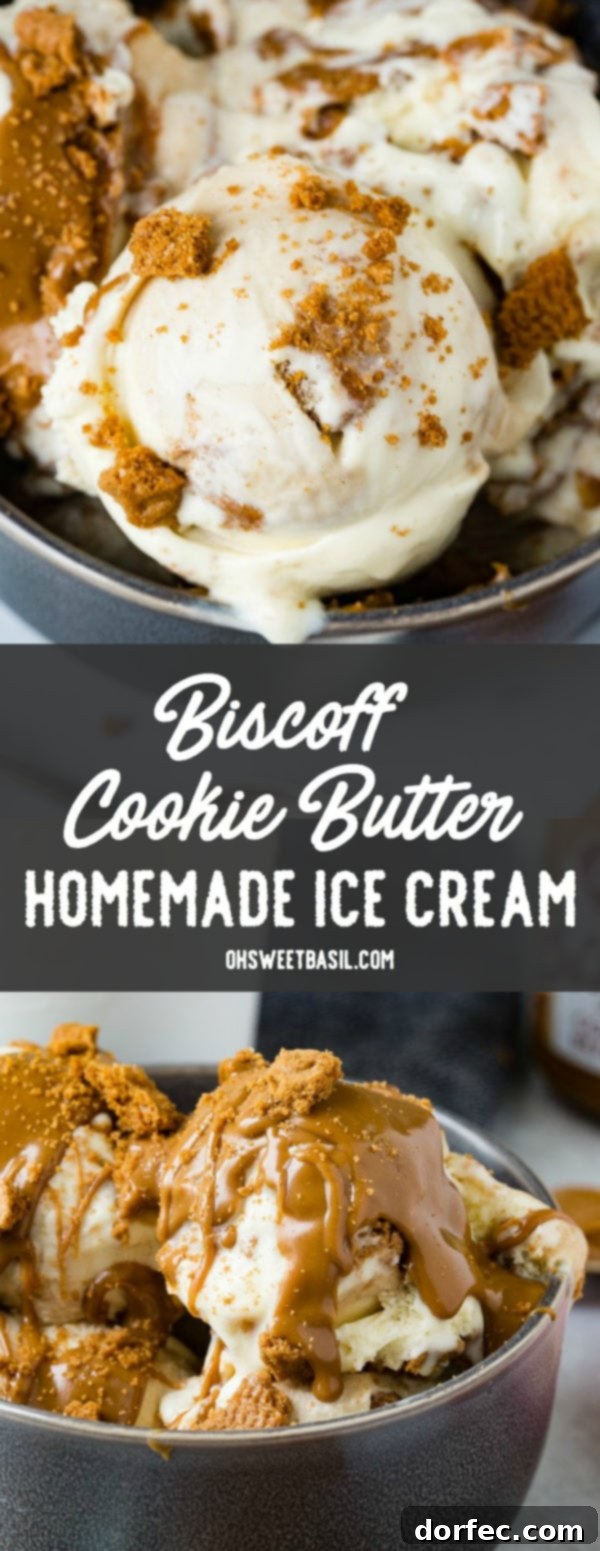
Indulge in Homemade Bliss: The Ultimate Biscoff Cookie Butter Ice Cream Recipe
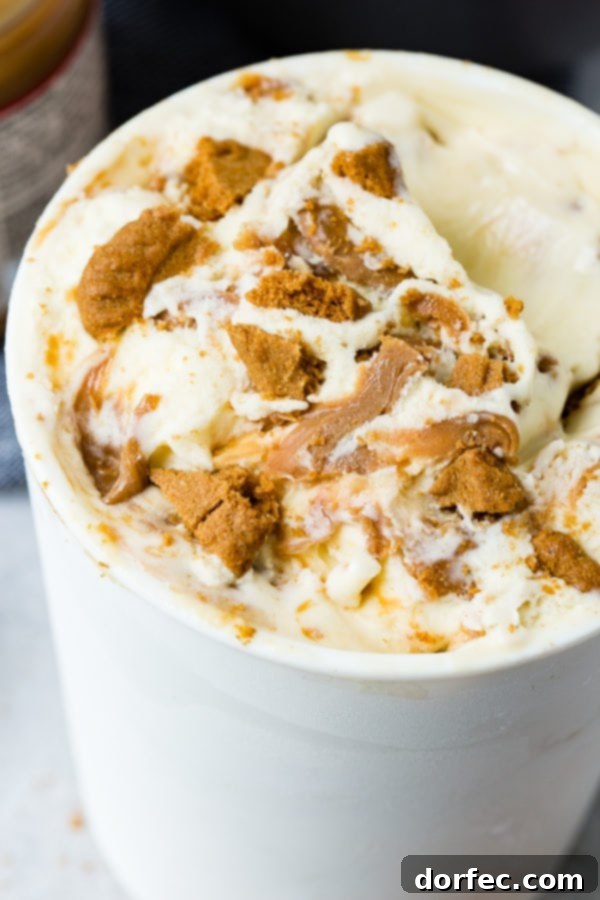
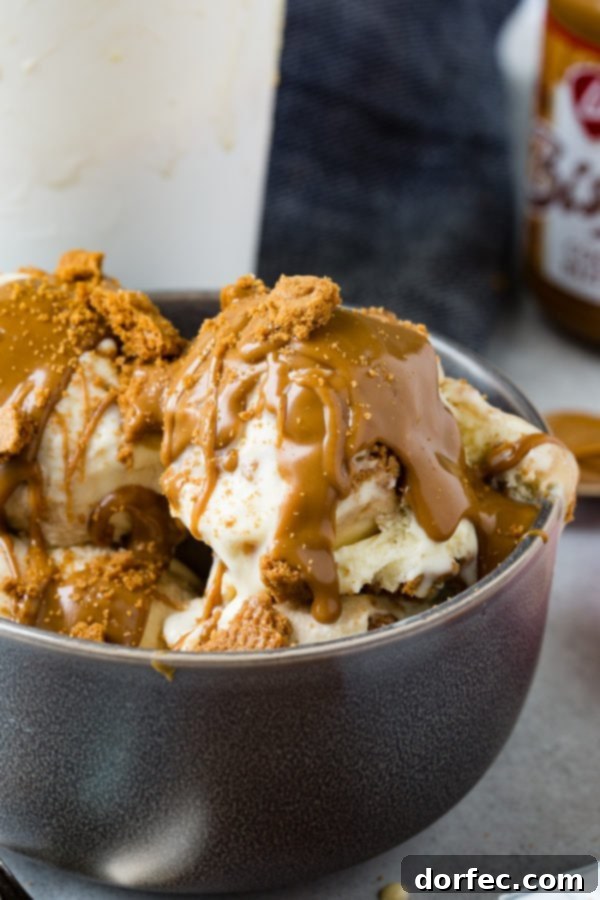
Prepare your taste buds for an extraordinary treat! Imagine the delightful fusion of sweet, caramelized cookie butter and crunchy Biscoff cookie crumbles, generously folded into a velvety, rich, and creamy vanilla ice cream. This isn’t just dessert; it’s an obsession waiting to happen. If you’re searching for a unique and utterly delicious homemade ice cream experience, you’ve stumbled upon a true gem. This Biscoff Cookie Butter Ice Cream recipe promises to elevate your dessert game and become a firm family favorite.
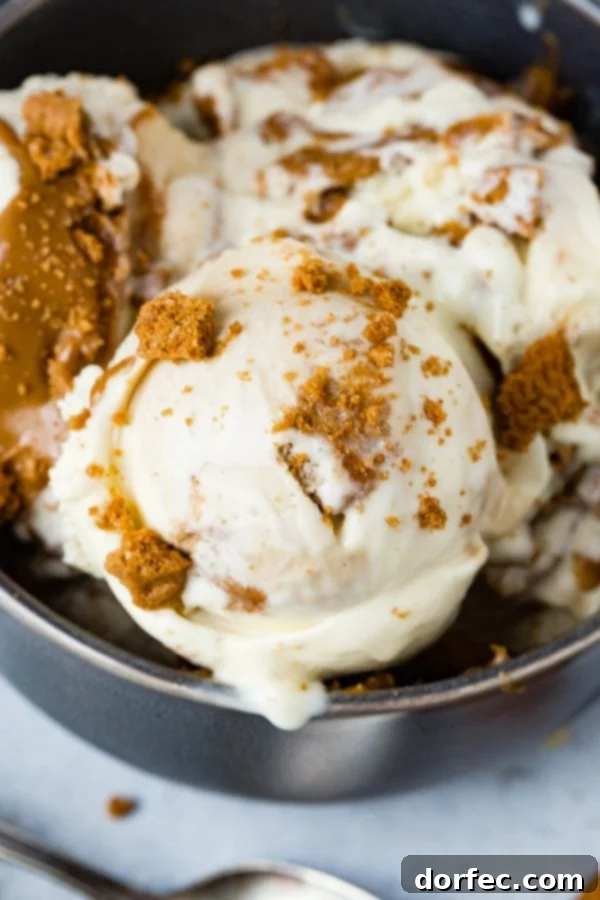
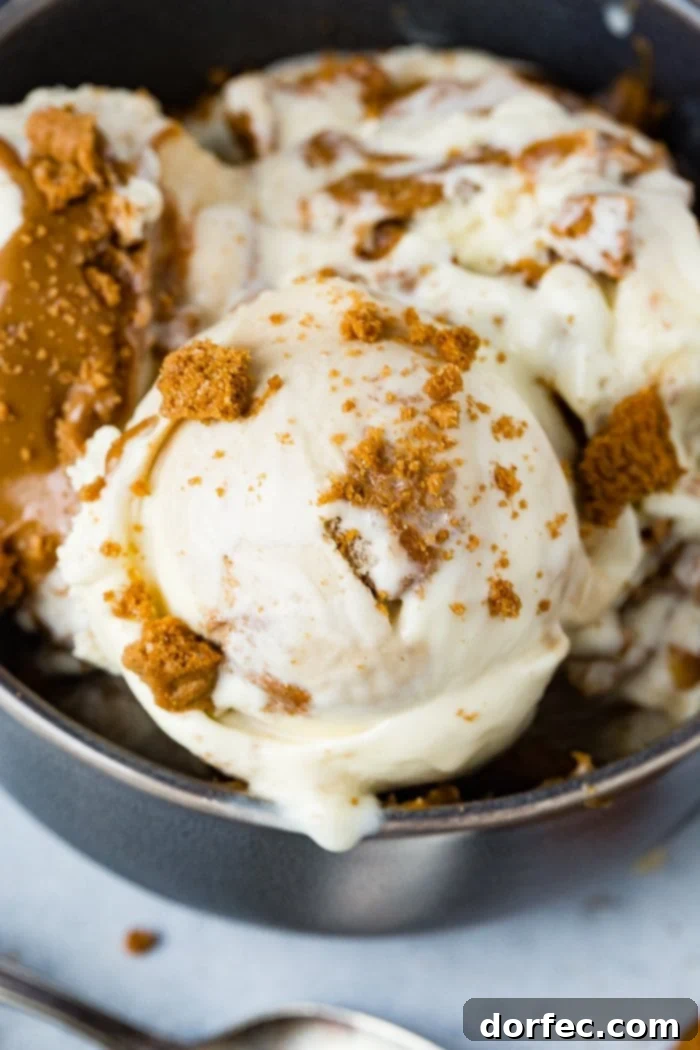
While we strive for a balanced and healthy lifestyle during the week, the weekend often calls for a special indulgence. And when it comes to sweet treats, homemade ice cream reigns supreme in our household. There’s something undeniably magical about crafting your own frozen dessert, especially when summer is in full swing. This recipe for Biscoff Cookie Butter Ice Cream perfectly captures that summery, joyous feeling, delivering an unparalleled taste and texture that store-bought versions simply can’t match. It’s a celebration of flavor, designed to bring smiles with every spoonful.
Our love affair with Biscoff runs deep. We’re always seeking new and creative ways to incorporate its distinctive flavor into our baking and desserts. Have you ever tried our Biscoff banana bread or our Biscoff Rice Krispies? They are absolutely divine! The idea of swirling Biscoff cookies and cookie butter into a batch of homemade ice cream felt not just logical, but almost destined. It’s one of those “why didn’t we think of this sooner?” moments. The combination creates a symphony of textures and flavors that will leave you craving more.
Unveiling the Unique Flavor of Biscoff Cookies
For those new to the delightful world of Biscoff, you’re in for a treat. Biscoff cookies, also known as Speculoos in many parts of Europe, boast a remarkably warm, comforting flavor profile. They are traditionally crafted with a rich blend of brown sugar and an aromatic medley of spices, most notably cinnamon, but often with hints of nutmeg, ginger, and cloves. This unique spice combination gives them their signature caramel-like taste, making them instantly recognizable and incredibly addictive.
These thin, crisp cookies are made from a relatively stiff dough, rolled out with precision, and then cut into their iconic shapes. Their delightful crispness is precisely what makes them an ideal candidate for crumbling into ice cream. Each bite offers a satisfying crunch that beautifully contrasts with the smooth, creamy ice cream, adding another layer of sensory pleasure to this already incredible dessert. Beyond just an ice cream inclusion, Biscoff cookies are fantastic on their own, with coffee, or as a base for various baked goods, showcasing their versatile and beloved flavor.
What Exactly is Cookie Butter?
If you’re wondering what cookie butter is, imagine your favorite nut butter, but instead of nuts, it’s made from finely ground cookies. That’s right! Cookie butter possesses a smooth, spreadable texture akin to peanut or almond butter, but it’s crafted from pulverized speculoos cookies (of which Biscoff cookies are a well-known type), blended with fats, flour, and sugar. The result is a creamy, sweet spread that captures the distinctive caramelized biscuit flavor in a versatile form.
Importantly, despite its similar texture, cookie butter is not a nut butter. It’s entirely nut-free, making it a wonderful alternative for those with nut allergies or simply looking for a different kind of sweet spread. In this recipe, we take full advantage of its luxurious texture and intense flavor. We generously dollop swirls of cookie butter throughout the finished vanilla ice cream, creating ribbons of decadent, spiced sweetness that elevate every scoop. It’s this indulgent addition that truly sets our Biscoff Cookie Butter Ice Cream apart, adding a depth of flavor that is simply irresistible.
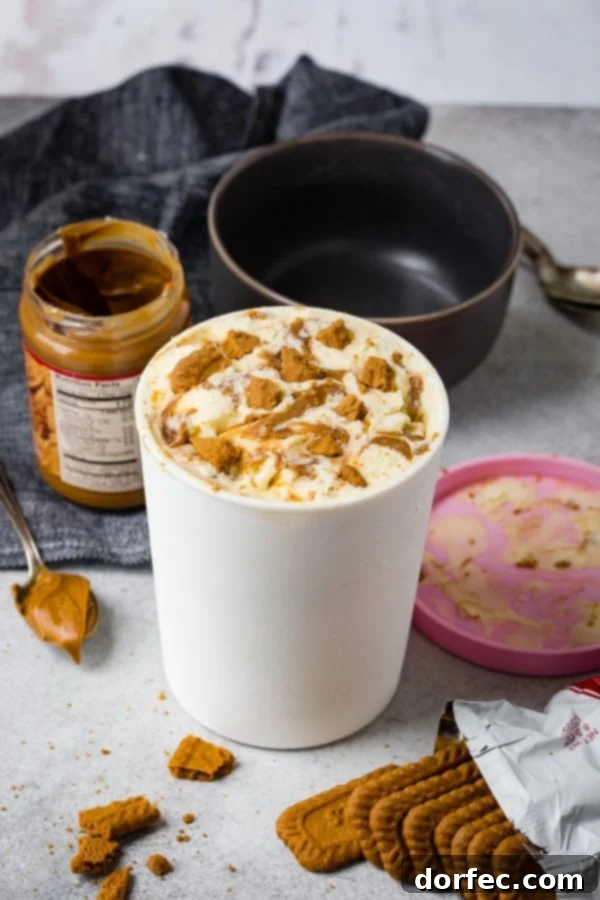
Finding Biscoff Cookies and Cookie Butter Near You
Good news for your sweet tooth! Locating Biscoff cookies and cookie butter is generally quite straightforward. These popular treats have become widely available in most major grocery stores across the country. You typically won’t need to embark on a scavenger hunt; simply head to your local supermarket. Stores like Target, Walmart, Smith’s, and Trader Joe’s almost always stock them.
You’ll usually find the Biscoff cookies in the cookie or biscuit aisle, often near other specialty or international cookies. The cookie butter, on the other hand, is generally located in the spreads aisle, alongside peanut butter, jams, and other sweet spreads like Nutella. So, next time you’re stocking up on groceries, keep an eye out for these distinctive red-packaged delights. With their growing popularity, they’re becoming easier to find than ever, ensuring you can whip up this amazing ice cream whenever the craving strikes!
Crafting the Perfect Biscoff Homemade Ice Cream Base
Making homemade ice cream is one of the most rewarding culinary experiences. While many of us grew up associating ice cream with store freezers, the truth is, homemade triumphs in flavor and creaminess almost every time. It’s like comparing freshly baked cookies to their packaged counterparts – the homemade version simply offers a superior experience, by far! (Unless, of course, we’re talking about Tillamook ice cream, which holds a special place in my heart and comes a very close second to homemade. But I digress, my Tillamook obsession could fill another article entirely!)
The secret to truly luscious homemade ice cream lies in a carefully prepared custard base. This rich, eggy foundation is what gives the ice cream its characteristic smooth texture and prevents it from becoming icy. Here are the essential steps to create the perfect Biscoff ice cream base:
- The Foundation of Creaminess (Fat Content): The key to incredibly creamy and delicious ice cream is its fat content. For this recipe, you’ll want to use heavy cream and half-and-half. The higher the fat content, the smoother and more luxurious your final ice cream will be. If half-and-half isn’t available, you can substitute it with whole milk, but avoid anything with a lower fat percentage, as it will compromise the texture.
- Sweetening and Infusion (Sugar & Vanilla): In a medium saucepan, combine the heavy cream, half-and-half, sugar, and vanilla extract. Gently warm this mixture over medium-low heat. Stir occasionally to ensure the sugar dissolves completely. It’s crucial not to let the mixture boil; you’re simply warming it to dissolve the sugar and infuse the vanilla flavor. Keep a close eye on it to prevent scorching.
- The Velvety Touch (Eggs): While your cream and sugar mixture is warming, get to work on your egg yolks. In a separate bowl, vigorously whisk the egg yolks until they become pale yellow and slightly thickened. This vigorous whisking incorporates air and helps create that soft, creamy texture in the finished ice cream. To prevent the eggs from scrambling when added to the hot cream, you must temper them. Slowly ladle a few tablespoons of the warm cream mixture into the whisked egg yolks, whisking continuously as you pour. This gradually raises the temperature of the eggs without cooking them. Once tempered, slowly whisk the egg yolk mixture back into the pot of warm cream.
Continue to heat the entire mixture over medium-low heat, stirring constantly, until it thickens sufficiently to coat the back of a wooden spoon. To test this, dip the spoon into the custard, lift it, and run your finger across the back of the spoon. If it leaves a clear trail that doesn’t immediately run back together, your custard is ready. Remember, do not let the mixture boil at any point during this process, as boiling will curdle the eggs and ruin the custard.
Pro Tip: For precise temperature control and to ensure your eggs don’t scramble, we highly recommend using a candy thermometer. Aim to keep the cream and egg mixture from exceeding 160 degrees Fahrenheit (approximately 71 degrees Celsius). This temperature is ideal for thickening the custard without overcooking the eggs, resulting in a perfectly smooth and safe base for your ice cream.
Bringing it All Together: The Final Steps for Biscoff Homemade Ice Cream
Once your custard base is perfectly cooked, it’s time for a crucial chilling period. This step is non-negotiable for achieving the best ice cream texture. Transfer the warm custard mixture to an airtight container and refrigerate it for several hours, or even better, overnight. Thorough chilling ensures the mixture is cold enough to churn properly, preventing large ice crystals from forming and resulting in a smoother, creamier final product.
When you’re ready to churn, give the chilled custard a good whisk one more time to ensure everything is well combined and smooth. Then, pour the custard into your ice cream maker and freeze it according to the manufacturer’s instructions. (If you’re in the market for an ice cream maker, our preferred model is linked in the recipe card below for your convenience.)
The magic truly happens after the churning process. Once the ice cream has reached a soft-serve consistency, it’s time to infuse it with the irresistible Biscoff elements. Transfer about a quarter of the churned ice cream to a freezer-safe container. Take generous dollops of cookie butter and gently swirl them into the ice cream using a knife or spoon. Don’t overmix; you want distinct ribbons of cookie butter throughout. Then, sprinkle a handful of crushed Biscoff cookie crumbles over the layer. Repeat this layering process with the remaining ice cream, cookie butter, and cookie crumbles until you’ve thoroughly “Biscoff’d” the entire batch. This layering technique ensures a perfect distribution of flavor and texture in every spoonful.
Finally, cover the container tightly and place it back in the freezer for at least another 4-6 hours, or ideally overnight, to allow the ice cream to firm up completely. This final hardening step is essential for achieving that ideal scoopable consistency and fully integrating all the incredible Biscoff flavors.
Optimizing Storage for Your Homemade Ice Cream
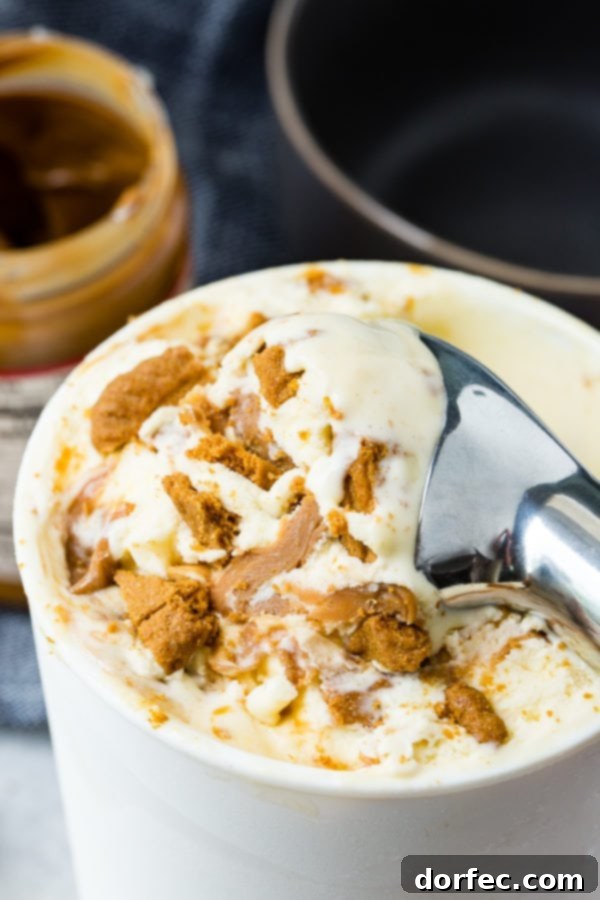
Proper storage is crucial to maintaining the quality and texture of your homemade ice cream. To keep your Biscoff Cookie Butter Ice Cream at its best, always store it in a freezer-safe, airtight container. The airtight seal prevents freezer burn and keeps unwanted odors from infiltrating your delicious dessert.
We’ve found that using a shallow and flat container works best. This type of container provides more “scooping real estate,” allowing you to get those perfect, even scoops. More importantly, it helps the ice cream freeze more consistently and evenly, which is key to preserving its smooth, creamy texture. For an extra layer of protection against ice crystals, press a piece of plastic wrap directly onto the surface of the ice cream before placing the lid on the container. This creates a barrier against air, which is the primary culprit behind icy textures.
How Long Does Homemade Ice Cream Last?
While homemade ice cream is undeniably superior in flavor, it typically has a shorter shelf life than its commercial counterparts due to the absence of stabilizers and preservatives. We’ve found that our Biscoff Cookie Butter Ice Cream is best enjoyed within 2 weeks of making it. Beyond this period, it will still be perfectly safe to eat, but you might notice a slight diminishing in its premium quality and a potential increase in ice crystal formation.
To ensure you experience it at its peak deliciousness, our recommendation is simple: enjoy a generous, heaping bowl every single night until it’s gloriously gone! This delightful dessert is simply too good to let linger in the freezer for too long.
This Biscoff cookie butter homemade ice cream has quickly become our new favorite way to get our Biscoff fix. Its rich flavors and satisfying textures make it an irresistible indulgence. If you’re looking for even more excuses to savor the unique taste of Biscoff, be sure to try our Oreo Biscoff spread or our Biscoff banana muffins! Get ready to shout, “I scream, you scream, we all scream for Biscoff cookie butter ice cream!”
Discover More Irresistible Ice Cream Recipes You’ll Adore:
- Homemade Strawberry Ice Cream
- Dulce De Leche Ice Cream
- Berries and Cream Ice Cream
- Lemon Curd Frozen Custard
- Key Lime Pie Milkshake
- Cookies and Cream Frozen Custard
- Copycat Pinkberry Chocolate Crunch Sauce
- Chocolate Chip Cookie Ice Cream Sandwiches dipped in Milk Chocolate
- Apple Pie Fried Ice Cream Cake
- Loaded Salted Pretzel Ice Cream Sundae
- Mint Chocolate Stracciatella Ice Cream
- Nutella Chocolate Chip Ice Cream
- Explore all our ICE CREAM RECIPES here!
Biscoff Cookie Butter Homemade Ice Cream Recipe
Sweet Basil
2
15
8
17
6
servings
Ingredients
-
2
Cups
Heavy Cream -
1
Cup
Half and Half -
1 1/4
Cup
Sugar -
1/2
teaspoon
Vanilla Extract -
6
Egg Yolks -
1/2
Cup
Cookie Butter (Biscoff spread) -
6
Biscoff Cookies, crushed
Instructions
-
In a saucepan over medium-low heat, combine the heavy cream, half and half, sugar, and vanilla. Stir occasionally, heating the mixture until bubbles form around the edges. Do not let it boil. Remove from heat.
-
Meanwhile, whisk the 6 egg yolks vigorously in a separate bowl until they become pale yellow.
-
To temper the egg yolks, slowly pour a few tablespoons of the warm cream mixture into the whisked egg yolks, whisking constantly. This gradually raises the temperature of the eggs without scrambling them.
-
Once tempered, return the saucepan with the cream mixture to medium-low heat. Slowly whisk the entire egg yolk mixture into the pot.
-
Heat, stirring constantly, until the mixture thickens and coats the back of a wooden spoon. You can test this by dragging your finger through the cream on the back of the spoon; if it leaves a trail, it’s done. Do not cook hotter than 160 degrees Fahrenheit (71°C).
-
Remove from heat and chill the custard mixture in the refrigerator for several hours or preferably overnight until thoroughly cold.
-
Once the mixture is chilled, whisk it to combine everything one last time and freeze according to your ice cream maker’s instructions (typically a 4-5 quart machine).
-
When the ice cream is done churning (soft-serve consistency), spoon about 1/4 of the ice cream into a freezer-safe container. Dot with dollops of cookie butter and gently swirl with a knife.
-
Add a layer of crushed Biscoff cookie bits over the swirled ice cream. Repeat layers until you reach the top of the container.
-
Freeze the ice cream overnight for the best results and firm, scoopable consistency.
Recipe Notes
Nutrition
Serving:
1
g
,
Calories:
521
kcal
,
Carbohydrates:
47
g
,
Protein:
5
g
,
Fat:
36
g
,
Saturated Fat:
18
g
,
Polyunsaturated Fat:
15
g
,
Trans Fat:
1
g
,
Cholesterol:
216
mg
,
Sodium:
102
mg
,
Sugar:
40
g
Nutrition information is automatically calculated and should be used as an approximation only.