
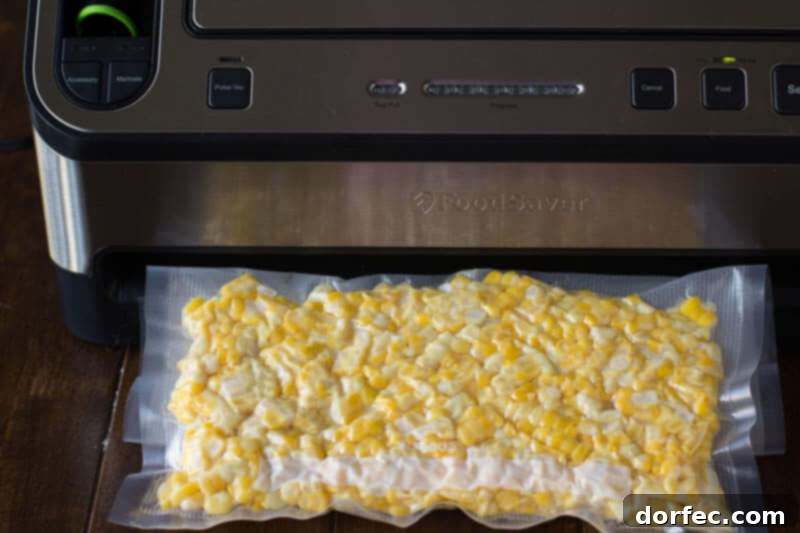
Unlock the secret to enjoying the sweet, vibrant flavor of summer corn all year long! Freezing fresh corn is the ultimate way to preserve its peak taste and tender texture, ensuring your pantry is stocked with this golden goodness for delicious meals throughout the colder months. Whether you’ve harvested a bountiful crop from your garden or capitalized on a fantastic farmer’s market deal, knowing how to properly freeze corn means you’ll never have to settle for bland, store-bought alternatives.
This comprehensive guide will walk you through every essential step, from selecting the perfect ears to expert storage techniques. Say goodbye to the common pitfalls of freezer-burned or mushy corn. Instead, prepare to savor crisp, flavorful kernels and cobs that bring a taste of sunshine to your soups, casseroles, salads, and countless other dishes, whenever you desire!
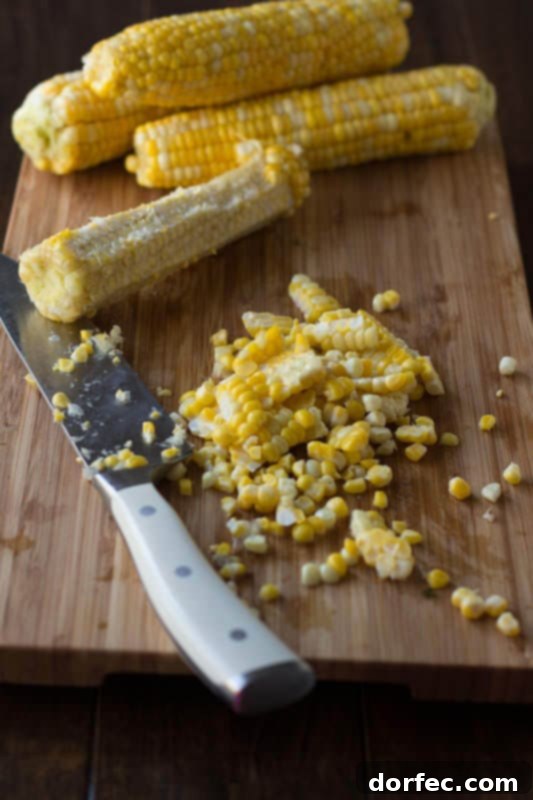
We’ll delve into the nuances of blanching corn on the cob, the best methods for slicing off kernels, and smart packing strategies that lock in flavor and prevent freezer burn. By following these simple yet effective steps, you’ll be able to enjoy the unparalleled taste of farm-fresh corn whenever the craving strikes, making meal prep a breeze and adding a burst of natural sweetness to your everyday cooking.
Embracing Seasonal Abundance: Why Freeze Your Fresh Corn?
As summer gently transitions, many of us feel that familiar twinge of nostalgia for longer days and abundant fresh produce. For me, the feeling that fall is just around the corner, especially with school starting soon, always kickstarts my winter preparation mode. While those carefree summer days might be winding down, it’s actually the perfect time to capture and preserve the season’s bounty – and freezing fresh corn is at the top of my list!
Growing up, we never started school quite so early, which meant more time to enjoy the last gasp of summer. Now, with a slightly earlier schedule, I’ve simply adapted my preservation efforts to ensure we still get to enjoy summer’s flavors well into winter. That’s precisely why mastering how to freeze corn properly is such a valuable skill. It’s not just about saving food; it’s about saving money, reducing waste, and having delicious, healthy ingredients on hand.
In our household, preparing for the colder months is a cherished tradition. We deep clean, organize, and, most importantly, preserve fresh foods. Freezing corn is a cornerstone of this ritual. It allows us to stock our freezer with the very best of summer, ensuring that even on the coldest winter day, we can enjoy the sweet, juicy burst of peak-season corn. This commitment to seasonal eating and preservation not only enhances our meals but also connects us to the rhythm of nature, making the most of every harvest.
Beyond preserving, maintaining a clean and safe kitchen environment is paramount during any food preparation, especially when dealing with large quantities of fresh produce. After a big day of canning or freezing, I make sure to give my kitchen a thorough scrub-down. Keeping surfaces hygienic prevents germ transfer and ensures that all our preserved foods are safe for consumption. I’ve become quite particular about my cleaning products, opting for ones that truly deliver on their promise of deep cleaning without leaving residue. This attention to detail from preparation to storage is key to successful and safe food preservation.
The Power of Vacuum Sealing for Long-Term Freshness
When it comes to preserving the delicate texture and incredible flavor of fresh sweet corn, regular freezer bags often fall short. There’s nothing quite like the taste of summer corn, and when winter arrives, canned versions simply don’t compare. That’s where advanced preservation methods, particularly vacuum sealing, become indispensable. Freezing fresh ingredients, especially sweet corn, using a vacuum sealer doesn’t just keep them edible; it locks in their peak texture, vibrant color, and sweet taste in a way traditional methods can’t.

Beyond preserving quality, vacuum sealing offers substantial economic benefits. Buying produce like corn at its seasonal peak means you’re getting it at its lowest price and best quality. By vacuum-sealing these ingredients for the colder months, you effectively extend their shelf life dramatically, allowing you to enjoy that fresh flavor all year long without the added expense of out-of-season produce. This smart strategy can lead to significant savings annually, making it a truly worthwhile investment for any home cook.
My personal discovery of the FoodSaver Vacuum Sealer has been a game-changer in my kitchen. While this isn’t a sponsored post, I genuinely wanted to share my positive experience after receiving one to review. This ingenious device works by removing air from specially designed bags, creating an airtight seal that keeps food fresh for up to five times longer than conventional storage methods. The absence of air is critical because it prevents oxidation and freezer burn, which are the main culprits behind flavor loss and textural degradation in frozen foods.
The financial impact of using a vacuum sealer is truly impressive. By effectively preserving leftovers and maximizing the shelf life of seasonal produce, households can save hundreds, if not thousands, of dollars each year by significantly reducing food waste. Operating the FoodSaver is incredibly straightforward: simply turn it on, place your food in the vacuum seal bag, insert the open end into the machine, and it handles the rest, automatically extracting the air and creating a strong, secure seal. It’s an incredibly efficient and user-friendly process.
For those looking for even more innovative uses for their vacuum sealer, I highly recommend checking out their Facebook Page. You’ll find a wealth of creative ideas, from marinating meats in minutes to crafting reusable ice packs, and much more. Or, consider hosting a “food prep party” with friends – it’s a fun and productive way to tackle a large batch of seasonal produce, like corn, and collectively stock up your freezers for winter. While it might sound like a demonstration from a shopping channel, I assure you, the FoodSaver is a genuinely transformative tool for any kitchen focused on freshness and efficiency.
Of course, if a vacuum sealer isn’t currently in your arsenal, don’t despair! You can still achieve good results by carefully removing as much air as possible from heavy-duty freezer-safe bags. While it won’t be as effective as a vacuum seal, it’s a perfectly viable alternative for preserving your fresh corn. However, for maximum freshness and extended storage, investing in a vacuum sealer is undeniably worth it.
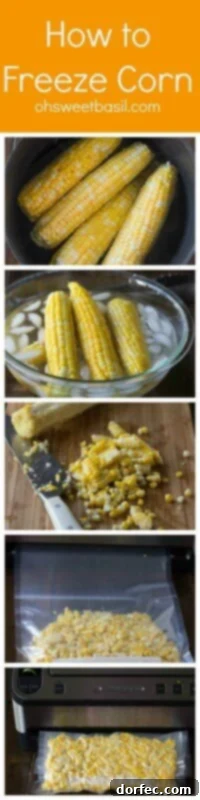
How to Freeze Corn for Up To 12 Months: A Step-by-Step Guide
Freezing corn is a straightforward process that yields fantastic results, ensuring you have access to sweet, flavorful kernels year-round. Follow these steps for perfectly preserved corn:
1. Prepare the Corn: Shuck and Clean
The first crucial step is to prepare your fresh corn. Begin by thoroughly removing the husks from each ear of corn. Next, meticulously remove all silk strands. This can be a bit tedious, but getting rid of as much silk as possible will improve the final product. A clean, stiff brush or even a damp paper towel can help. Once shucked and de-silked, rinse the ears under cold running water to wash away any lingering silk bits or debris.
2. Blanch the Corn for Optimal Preservation (Optional but Recommended)
Blanching is a short heat treatment that is highly recommended for most vegetables before freezing, and corn is no exception. This process serves several important purposes: it stops enzyme actions that can cause loss of flavor, color, and texture during freezing; it brightens the corn’s color; and it cleanses the surface of the corn. While you can technically freeze raw corn, blanching significantly improves its quality and extends its freezer life. If you choose to freeze raw corn, be sure to label your freezer bags clearly, as raw corn should ideally be used within 3-6 months for best quality, whereas blanched corn can last up to 12 months.
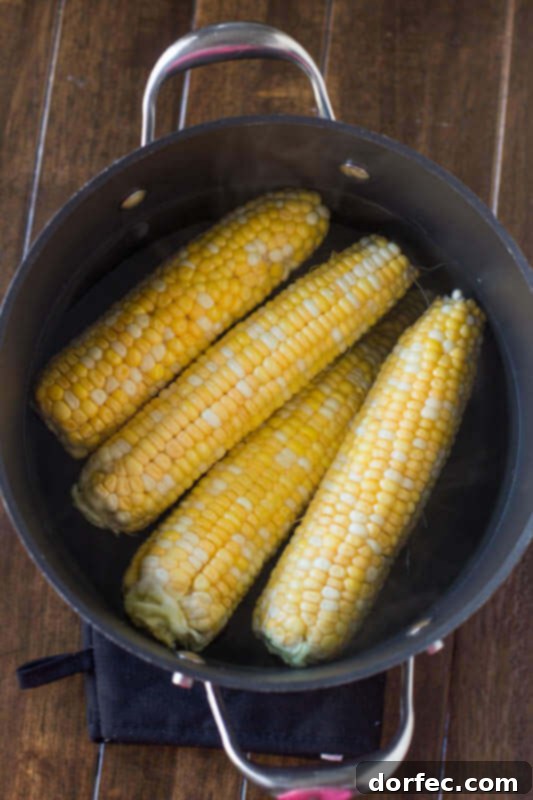
To blanch, bring a large pot of water to a rolling boil. Carefully add the shucked and cleaned corn cobs to the boiling water. Allow them to cook for 4-6 minutes, depending on the size of the ears. Immediately after blanching, use tongs to drain the corn and transfer the ears to a large bowl filled with ice water (an ice water bath). This quick chilling step is vital as it stops the cooking process instantly and locks in the corn’s crisp texture and vibrant color. Let the corn cool completely in the ice bath for at least as long as it was blanched. Once cooled, remove the corn and pat it thoroughly dry with a clean kitchen towel or paper towels. Excess moisture can lead to ice crystals and freezer burn.
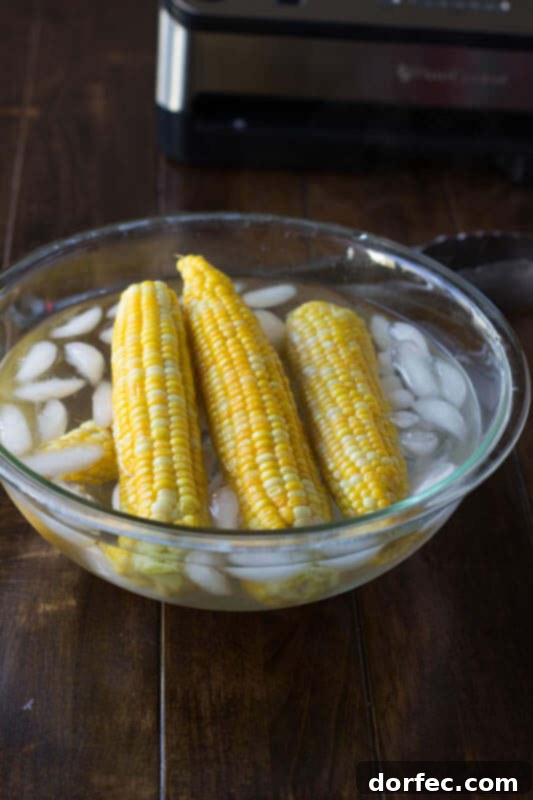
3. Remove Kernels from the Cob (If Not Freezing Whole)
Once your blanched corn has cooled and dried, you can choose to freeze it on the cob or as individual kernels. For versatility in cooking, freezing kernels is often preferred. To remove the kernels, stand a cob upright in the center of a shallow bowl or a bundt pan (the hole in the pan conveniently catches the kernels as they fall). Using a sharp knife, carefully slice downwards, stripping the kernels off the cob. Take care to cut close to the cob but not into it, to ensure you get full, plump kernels without bits of the tough cob. Repeat this process for all ears of corn.
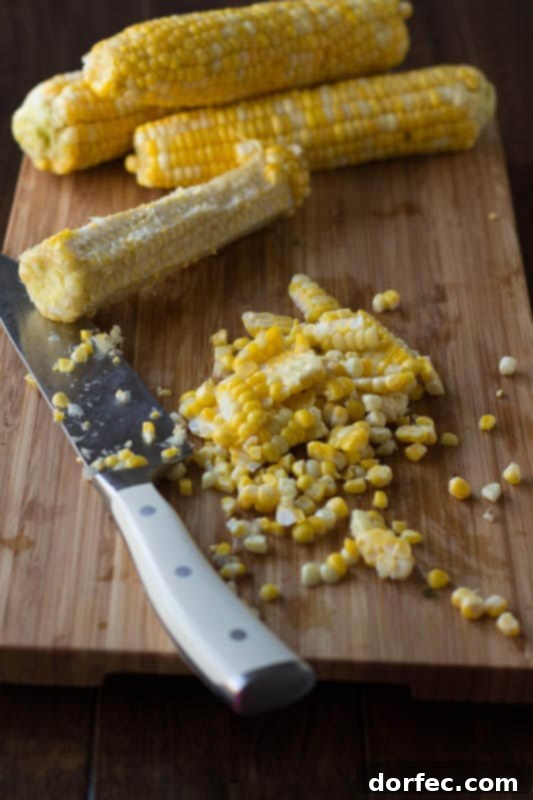
4. Pack and Seal for Freezer Storage
Proper packing is essential for preventing freezer burn and maintaining quality. If you’re freezing whole ears of corn, place them directly into freezer-safe bags or vacuum sealer bags. For corn kernels, it’s highly recommended to “flash freeze” them first. Spread the kernels in a single layer on a baking sheet lined with parchment paper. Place the baking sheet in the freezer for 1-2 hours, or until the kernels are individually frozen. This prevents them from clumping together in the bag, making it much easier to portion out later. Once flash-frozen, transfer the kernels to freezer-safe bags or vacuum sealer bags.
For the longest possible shelf life and superior protection against freezer burn, a vacuum sealer is unmatched. It removes virtually all air, creating an optimal storage environment. If you’re using regular freezer bags, press out as much air as possible before sealing. You can do this by submerging the bag (leaving the seal open just slightly) into a bowl of water, allowing the water pressure to push the air out, then sealing it before any water enters.
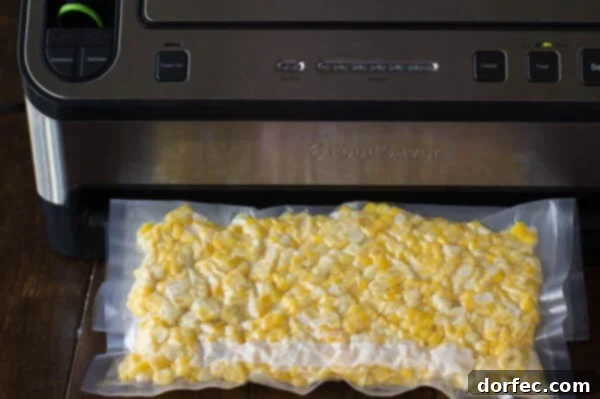
5. Label and Freeze Properly
The final, yet often overlooked, step is proper labeling. Use a permanent marker to clearly write the date on each bag of corn. You might also want to include whether it’s whole cobs or kernels, and if it was blanched or raw. This ensures you use the oldest corn first and know exactly what you’re grabbing from the freezer. Store the labeled bags in your freezer. When properly prepared and stored, frozen corn will maintain its high quality for up to 12 months, allowing you to enjoy that sweet summer flavor any time of the year!
The Versatility of Frozen Corn in Your Kitchen
With a freezer full of beautifully preserved corn, a world of culinary possibilities opens up! Frozen corn is incredibly versatile and can be added directly to many dishes from its frozen state, or quickly thawed for salads and salsas. Its natural sweetness and pleasant texture make it a delightful addition to an array of meals, bringing a burst of flavor that canned corn simply cannot replicate. From hearty comfort foods to light and refreshing sides, your frozen corn will elevate every dish.
Then you can make delicious meals like…
- The BEST Chicken Tortilla Soup I Ever Made
- My Best Homemade Chicken Pot Pie
- Taco Stir-Fry
- Cheesy BBQ Chicken Zucchini Nachos
- Quick Weeknight Taco Casserole
- Instant Pot Quick and Easy Ground Beef Burrito Bowls
More CORN RECIPES You Are Sure to Love:
- Mexican Street Corn
- Cheesy Jiffy Corn Casserole
- Mexican Street Corn Soup
- Grilled Corn Avocado Tomato Salad
- Bacon Ranch Corn Dip
- Ham and Potato Corn Chowder
- All our SIDE DISHES are here!
By following these steps, you’re not just freezing corn; you’re preserving the very essence of summer’s goodness. Enjoy the sweet rewards of your efforts with delicious, farm-fresh flavor in every meal, all year long!