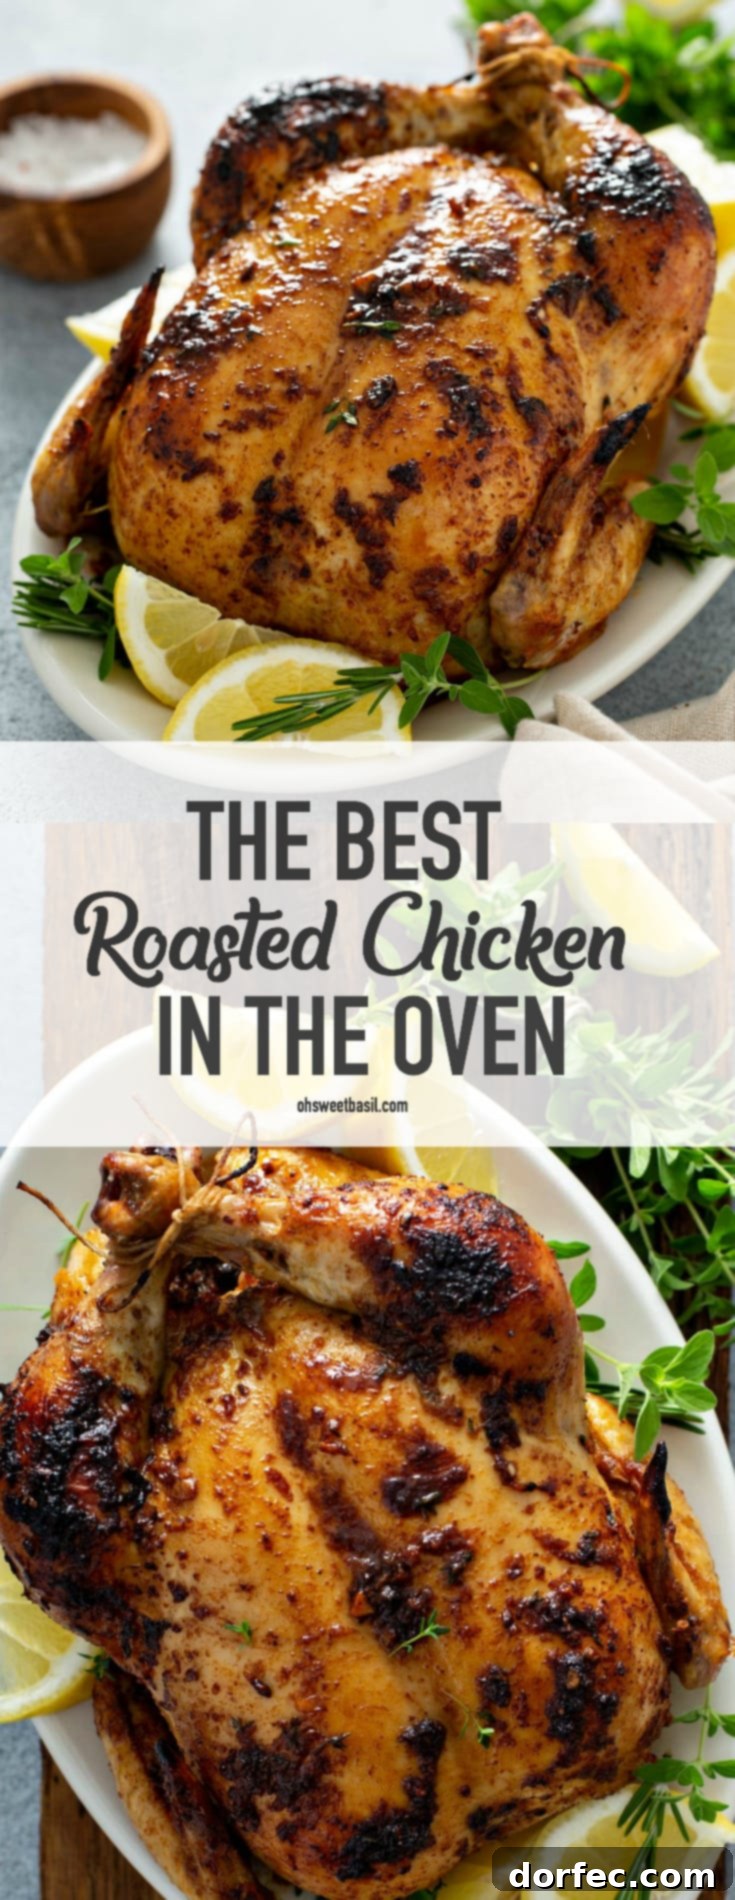
Unlock the secrets to preparing the best roasted chicken in the oven – a culinary masterpiece that promises crispy, golden skin, incredibly juicy meat, and a depth of flavor that will make it a new family favorite. Forget dry, bland chicken; this comprehensive guide will equip you with all the knowledge and techniques to achieve perfection every single time.
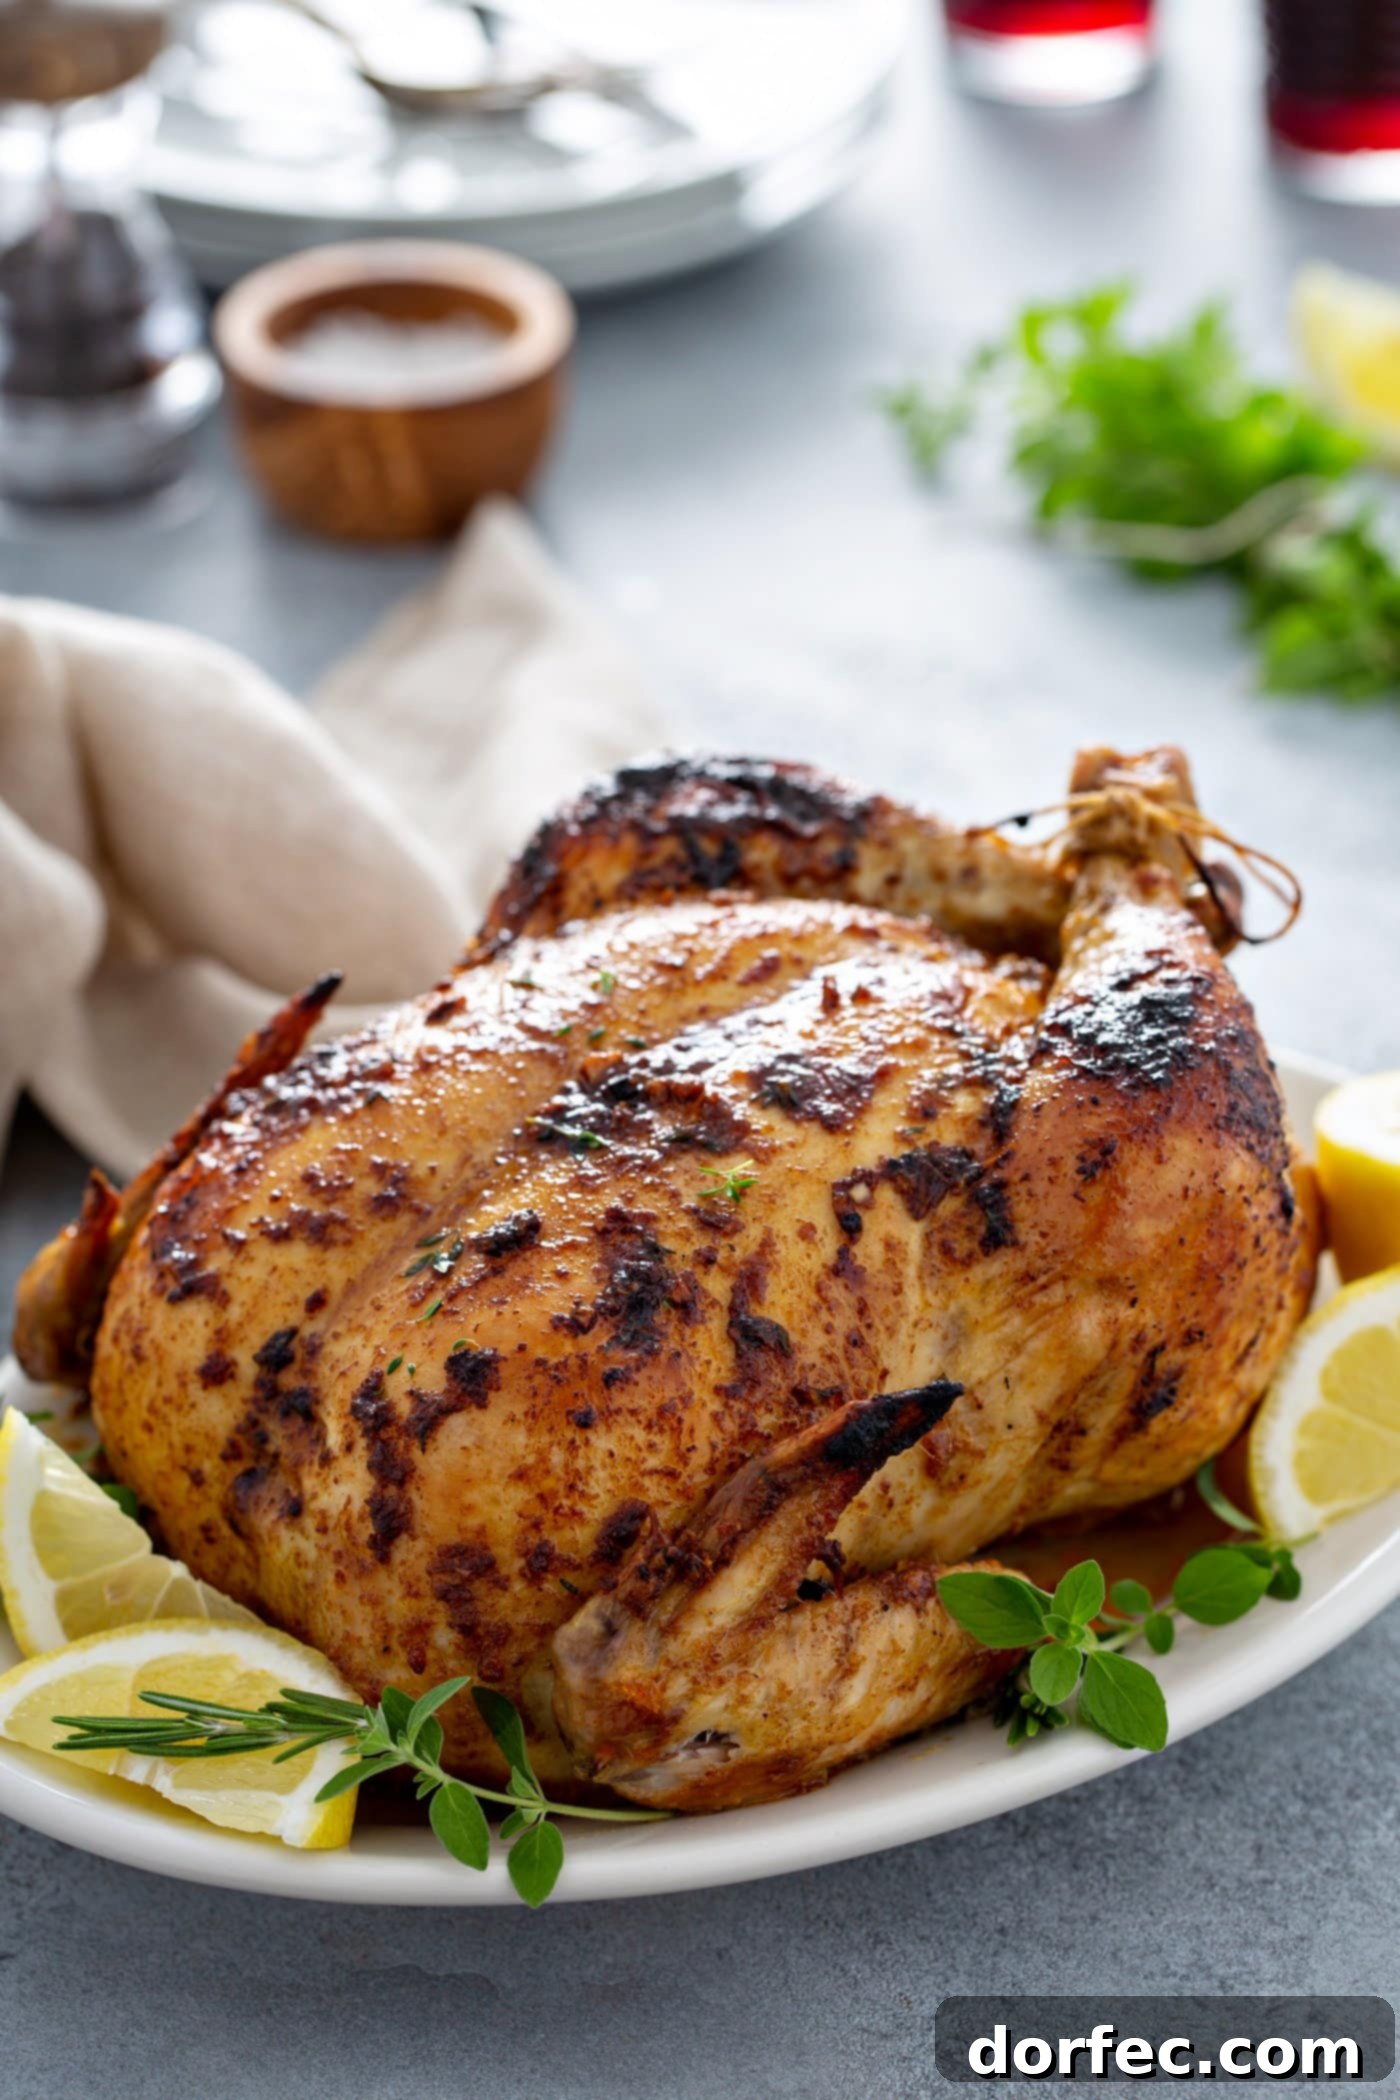
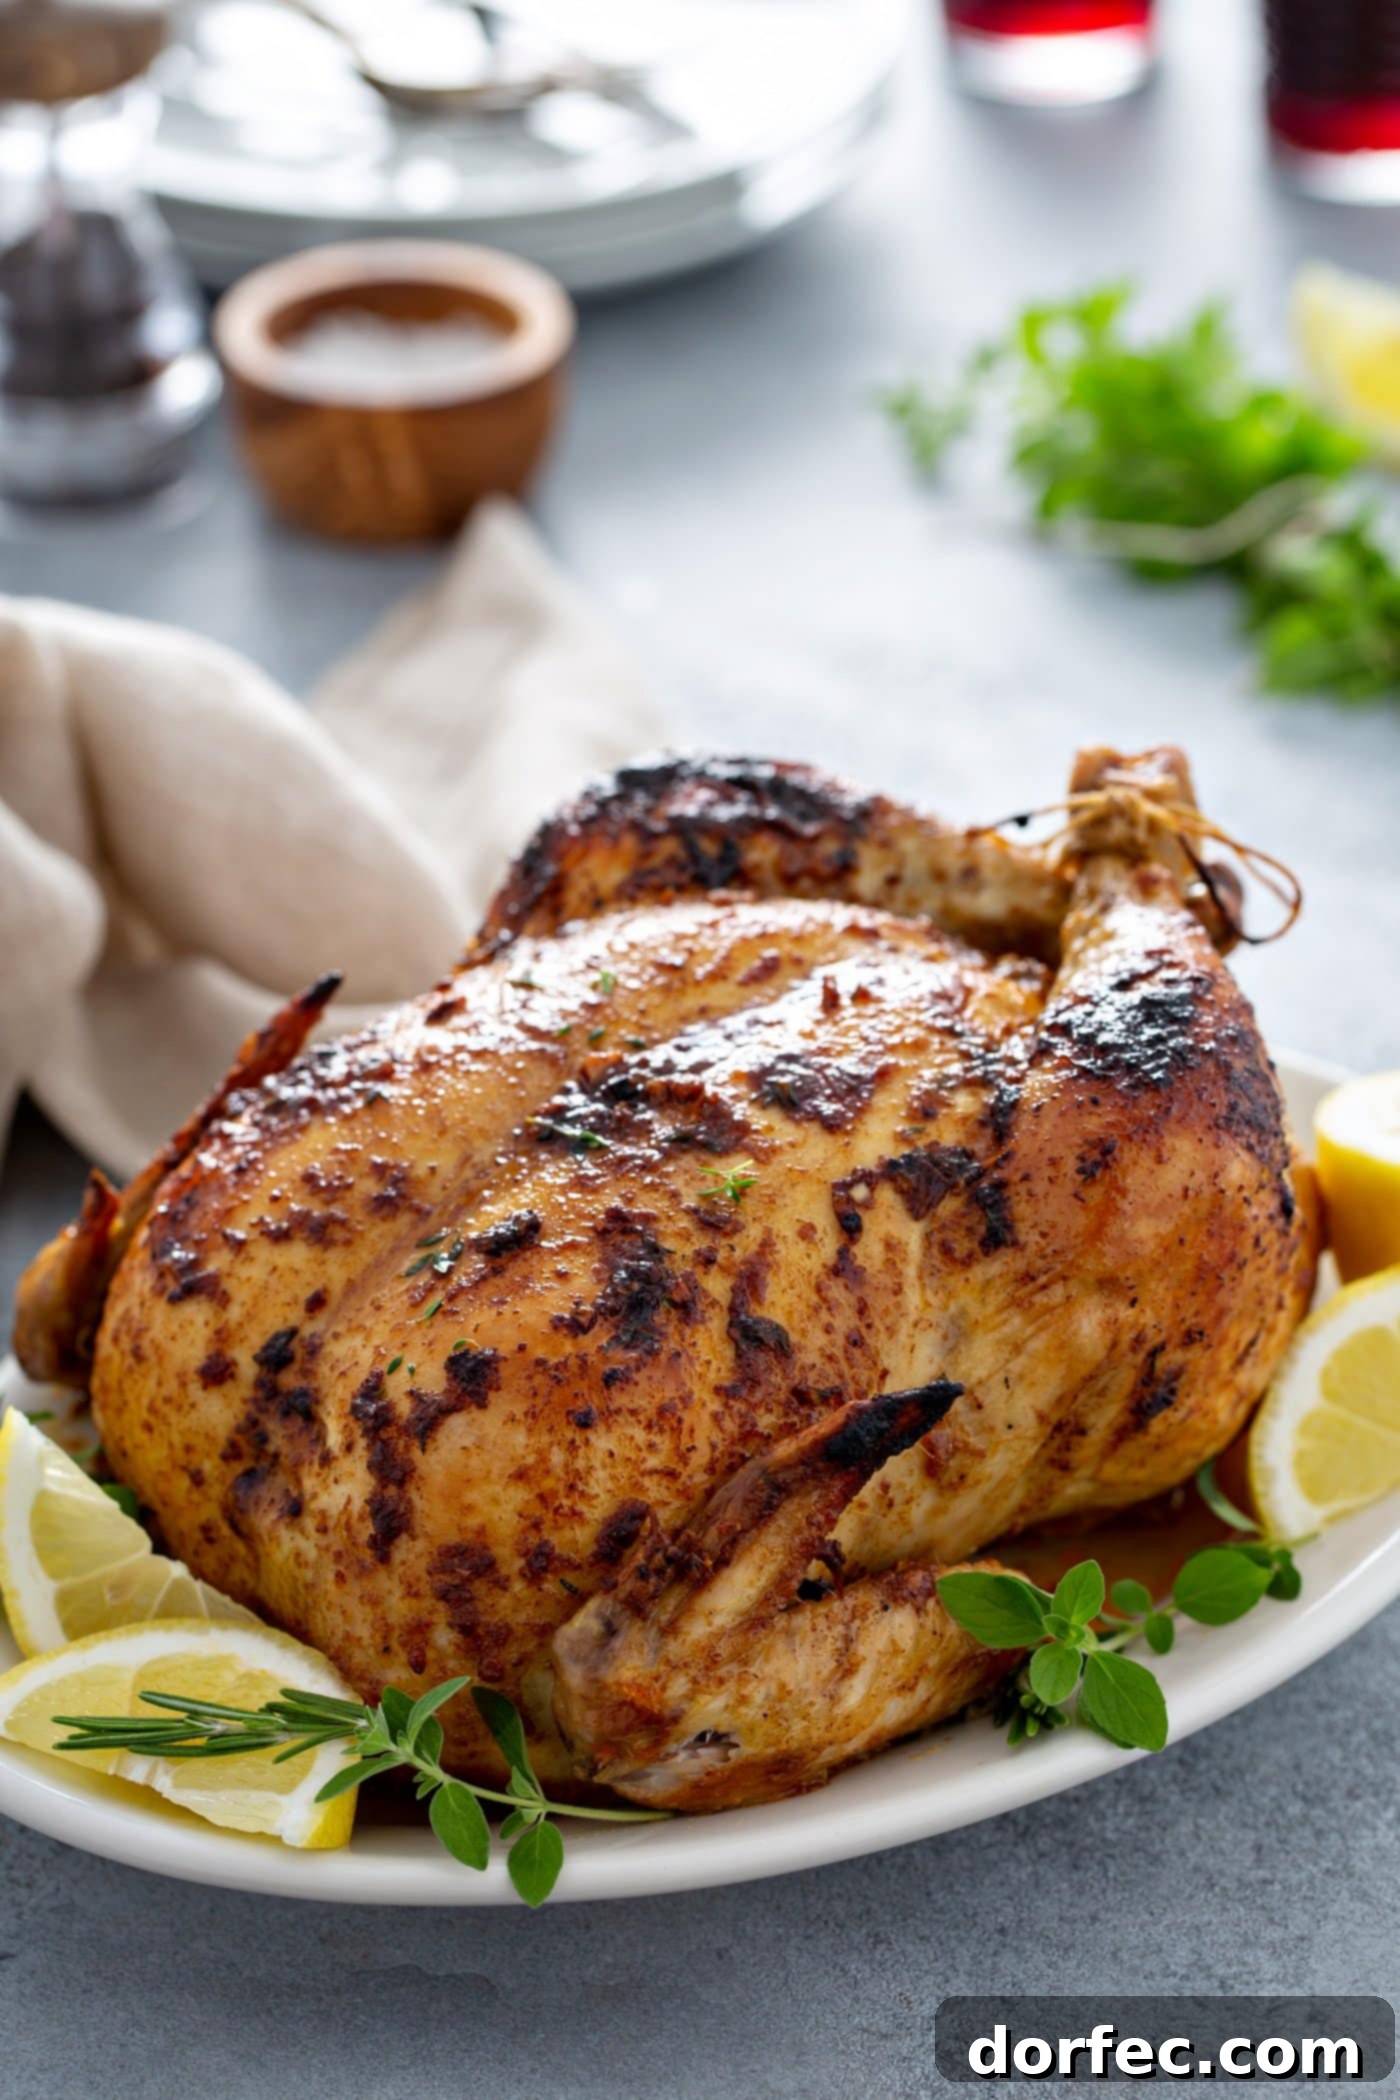
While the internet abounds with countless chicken recipes, many fall short of delivering a truly remarkable whole roasted chicken. For years, I believed that only supermarket rotisserie chickens could achieve that coveted tender and flavorful result, often finding my homemade attempts to be disappointingly dry and tasteless. However, I discovered that the key to mastering oven roasted chicken isn’t complicated; it simply requires a few crucial steps and the right approach to seasoning.
This recipe focuses on simplicity and effectiveness, bypassing unnecessary steps like brining in cumbersome liquid baths or stuffing the cavity, which can often lead to uneven cooking. Our method ensures that your whole bird is perfectly seasoned from the inside out, resulting in a succulent interior and irresistibly crispy exterior. Prepare to transform your perception of homemade roasted chicken!
The Secret to Juicily Baked Chicken with Crispy Skin
The foundation of an amazing baked chicken lies in one critical element: proper seasoning and preparation. The ultimate secret to our best roasted chicken recipe is a simple yet powerful technique: generously salting the bird and allowing it to rest in the refrigerator overnight. This seemingly small step is absolutely key to success and makes an extraordinary difference.
Meat, unlike many other ingredients, cannot absorb the full depth of a seasoning rub during the relatively short baking time. However, salt has a unique ability to penetrate deep into the meat fibers. When applied liberally and given sufficient time, kosher salt works its magic in two significant ways:
- Flavor Penetration: The salt travels beyond the surface, flavoring the meat from the inside out, ensuring every bite is delicious, not just the skin.
- Moisture Retention & Tenderness: Salt acts as a natural tenderizer by breaking down muscle fibers. Furthermore, it helps the meat retain its natural juices during cooking, preventing dryness. This process, known as dry brining, is a game-changer, yielding an incredibly juicy whole chicken without the fuss of a wet brine.
An entire day (or at least 12-24 hours) in the fridge allows this transformative process to occur, elevating your roasted chicken from good to absolutely phenomenal.
Ingredients for the Ultimate Oven Roasted Chicken
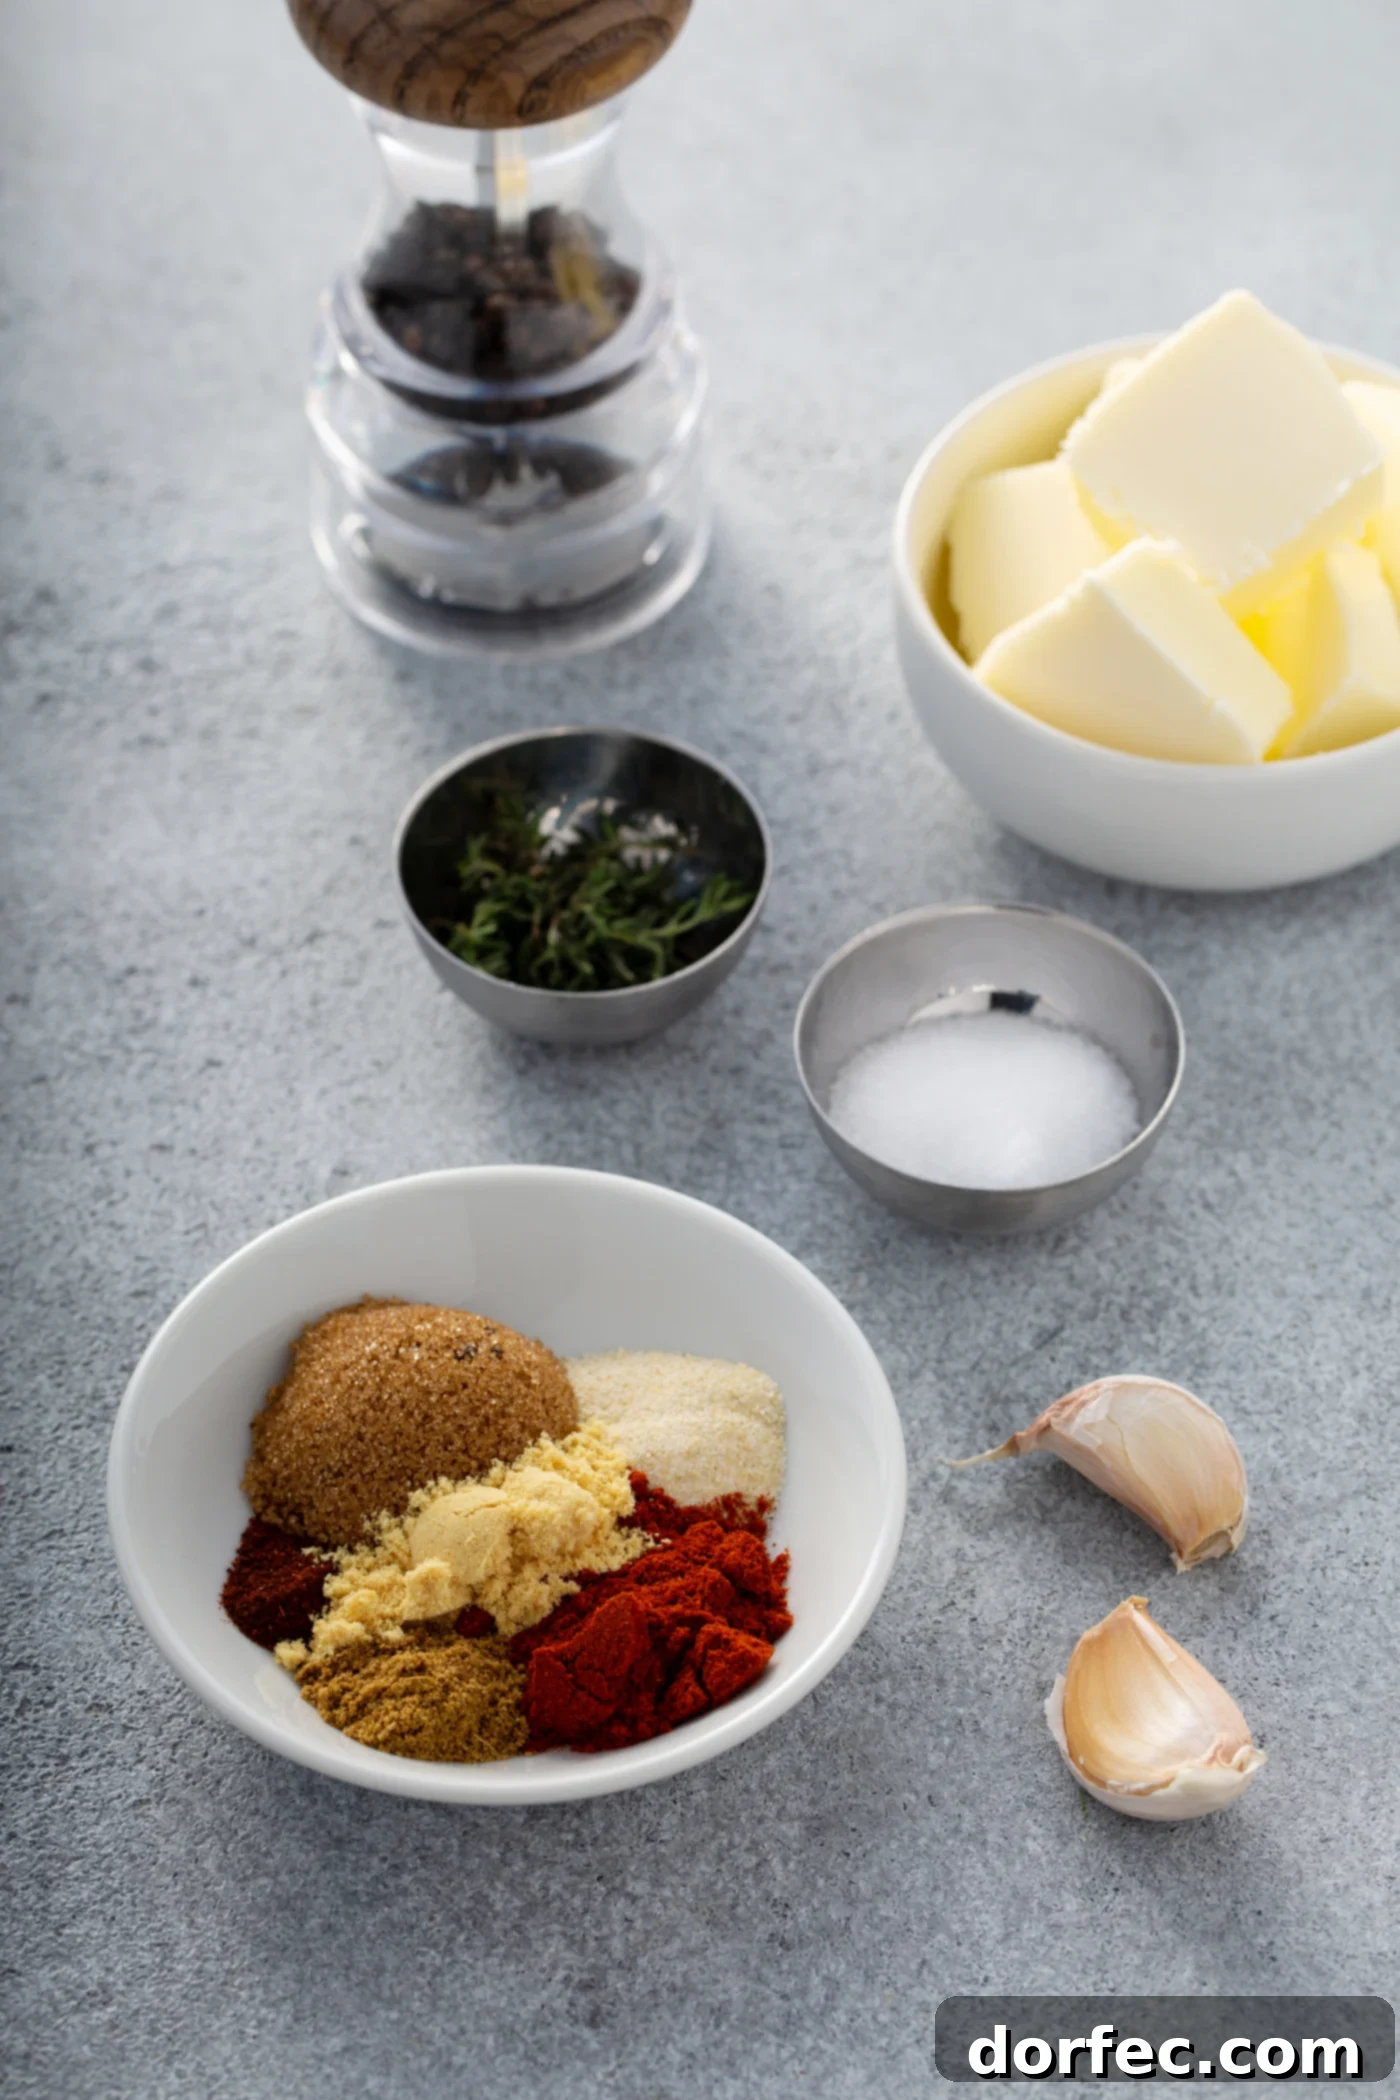
Crafting a truly flavorful whole roasted chicken requires a balanced blend of spices. Here’s what you’ll need to create our irresistible seasoning rub, ensuring every bite is bursting with taste:
- Whole Chicken: A 3-4 pound bird, giblets removed, rinsed, and patted thoroughly dry.
- Kosher Salt: Essential for the overnight dry brining process, enhancing flavor and tenderness.
- Fresh Thyme Leaves: Or dried thyme for an aromatic, earthy note.
- Onion Powder: Adds a savory, subtle onion flavor without the moisture of fresh onion.
- Minced Garlic: For a pungent, rich undertone that complements the chicken beautifully.
- Brown Sugar: A touch of sweetness helps achieve that gorgeous, caramelized crust.
- Smoked Paprika: Delivers a deep, smoky flavor and vibrant color.
- Black Pepper: A pinch for essential seasoning and a hint of warmth.
- Ground Mustard: Adds a sharp, tangy kick that brightens the overall flavor profile.
- Cayenne Pepper: For a very subtle hint of heat (adjust to your preference).
- Chili Powder: Contributes a complex, savory spice blend.
- Cumin: Earthy and warm, it deepens the flavor of the rub.
- Unsalted Butter: Softened, it acts as a binder for the spices and helps achieve an incredibly crispy skin.
This carefully curated blend ensures a harmonious flavor profile that penetrates the meat deeply, providing a robust and aromatic experience. Each ingredient plays a vital role in creating the signature taste of our best oven roasted chicken.
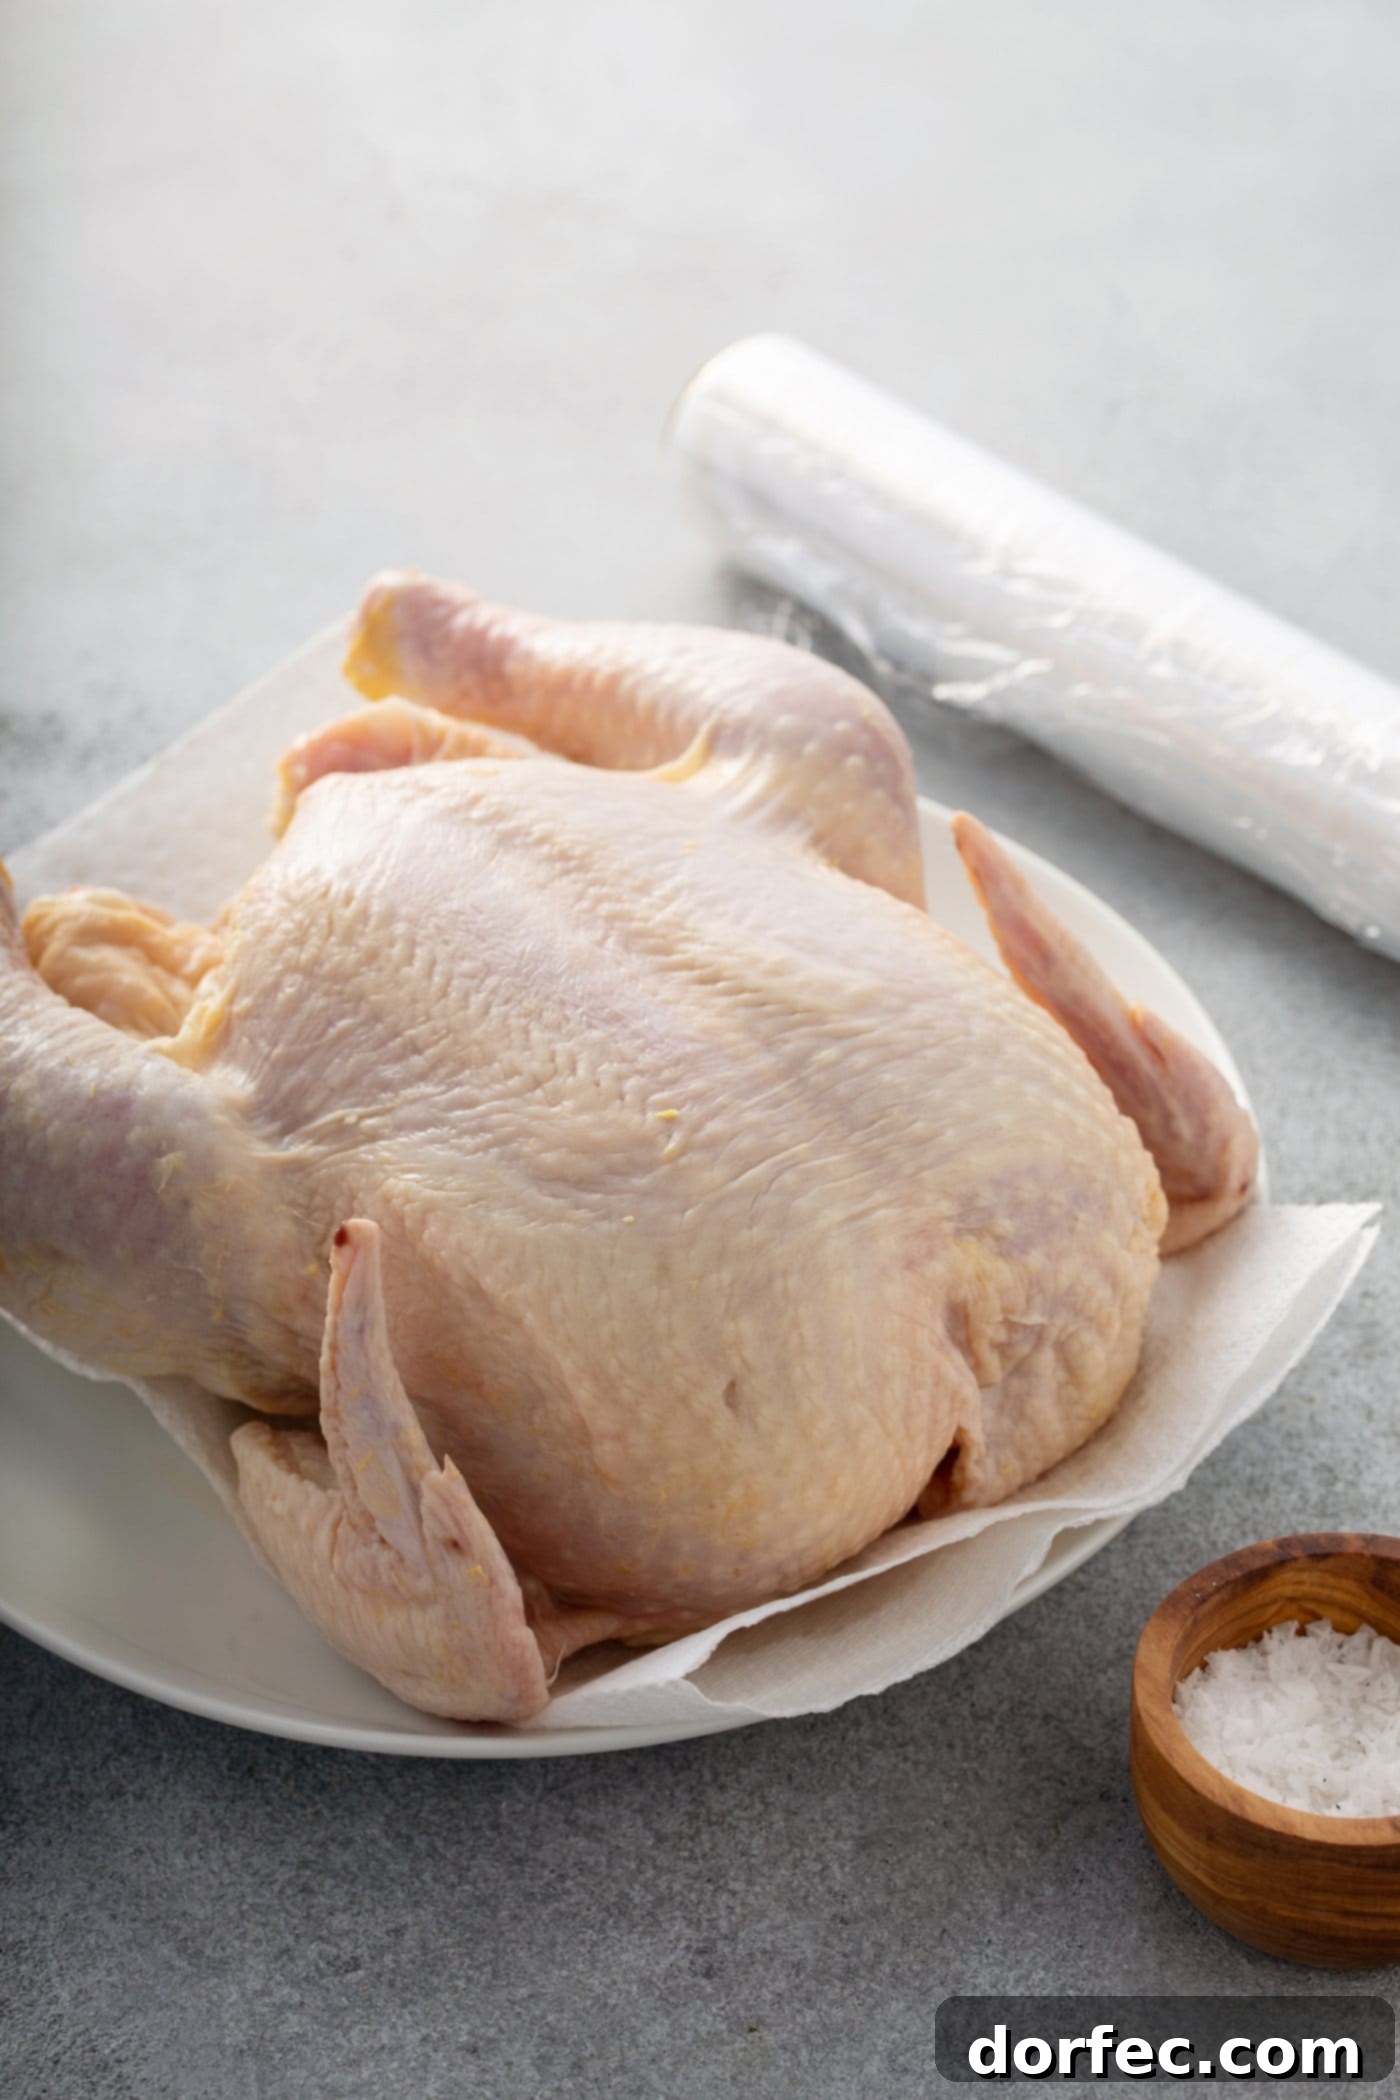
Pro Tip for Unbelievably Crispy Roasted Chicken Skin
Achieving that coveted, golden-brown, and crispy skin on your oven roasted chicken is paramount, and it hinges on one critical factor: a **dry bird is essential**. The presence of moisture on the chicken’s surface acts as a barrier, preventing the skin from reaching that desirable crispiness. Think about it this way: if you try to boil chicken, the skin remains soft and pliable. While we’re not boiling, any lingering liquid on the skin will have a similar softening effect, hindering the crisping process.
Here’s why a dry surface is so important:
- Moisture Evaporation: For skin to crisp, moisture must evaporate from its surface. If the skin is wet, the oven’s heat will first spend energy evaporating that water before it can even begin to crisp the skin.
- Fat Rendering: A dry surface encourages the chicken fat just under the skin to render out more effectively, which is key to a truly crispy texture.
- Seasoning Adhesion: When the skin is dry, your seasoning rub adheres much better, ensuring even flavor distribution and a beautiful crust.
While butter certainly aids in crisping, it works best when applied to an already dry surface. Mixing butter with water creates steam, which is the opposite of what we want for crispy skin. Therefore, after rinsing, pat your chicken thoroughly dry with paper towels – get into every crevice. You can even allow it to air-dry uncovered in the refrigerator for a few hours or overnight after salting, which further enhances dryness and contributes to a truly spectacular crust. This simple step will elevate your crispy-skinned roasted chicken to professional levels.
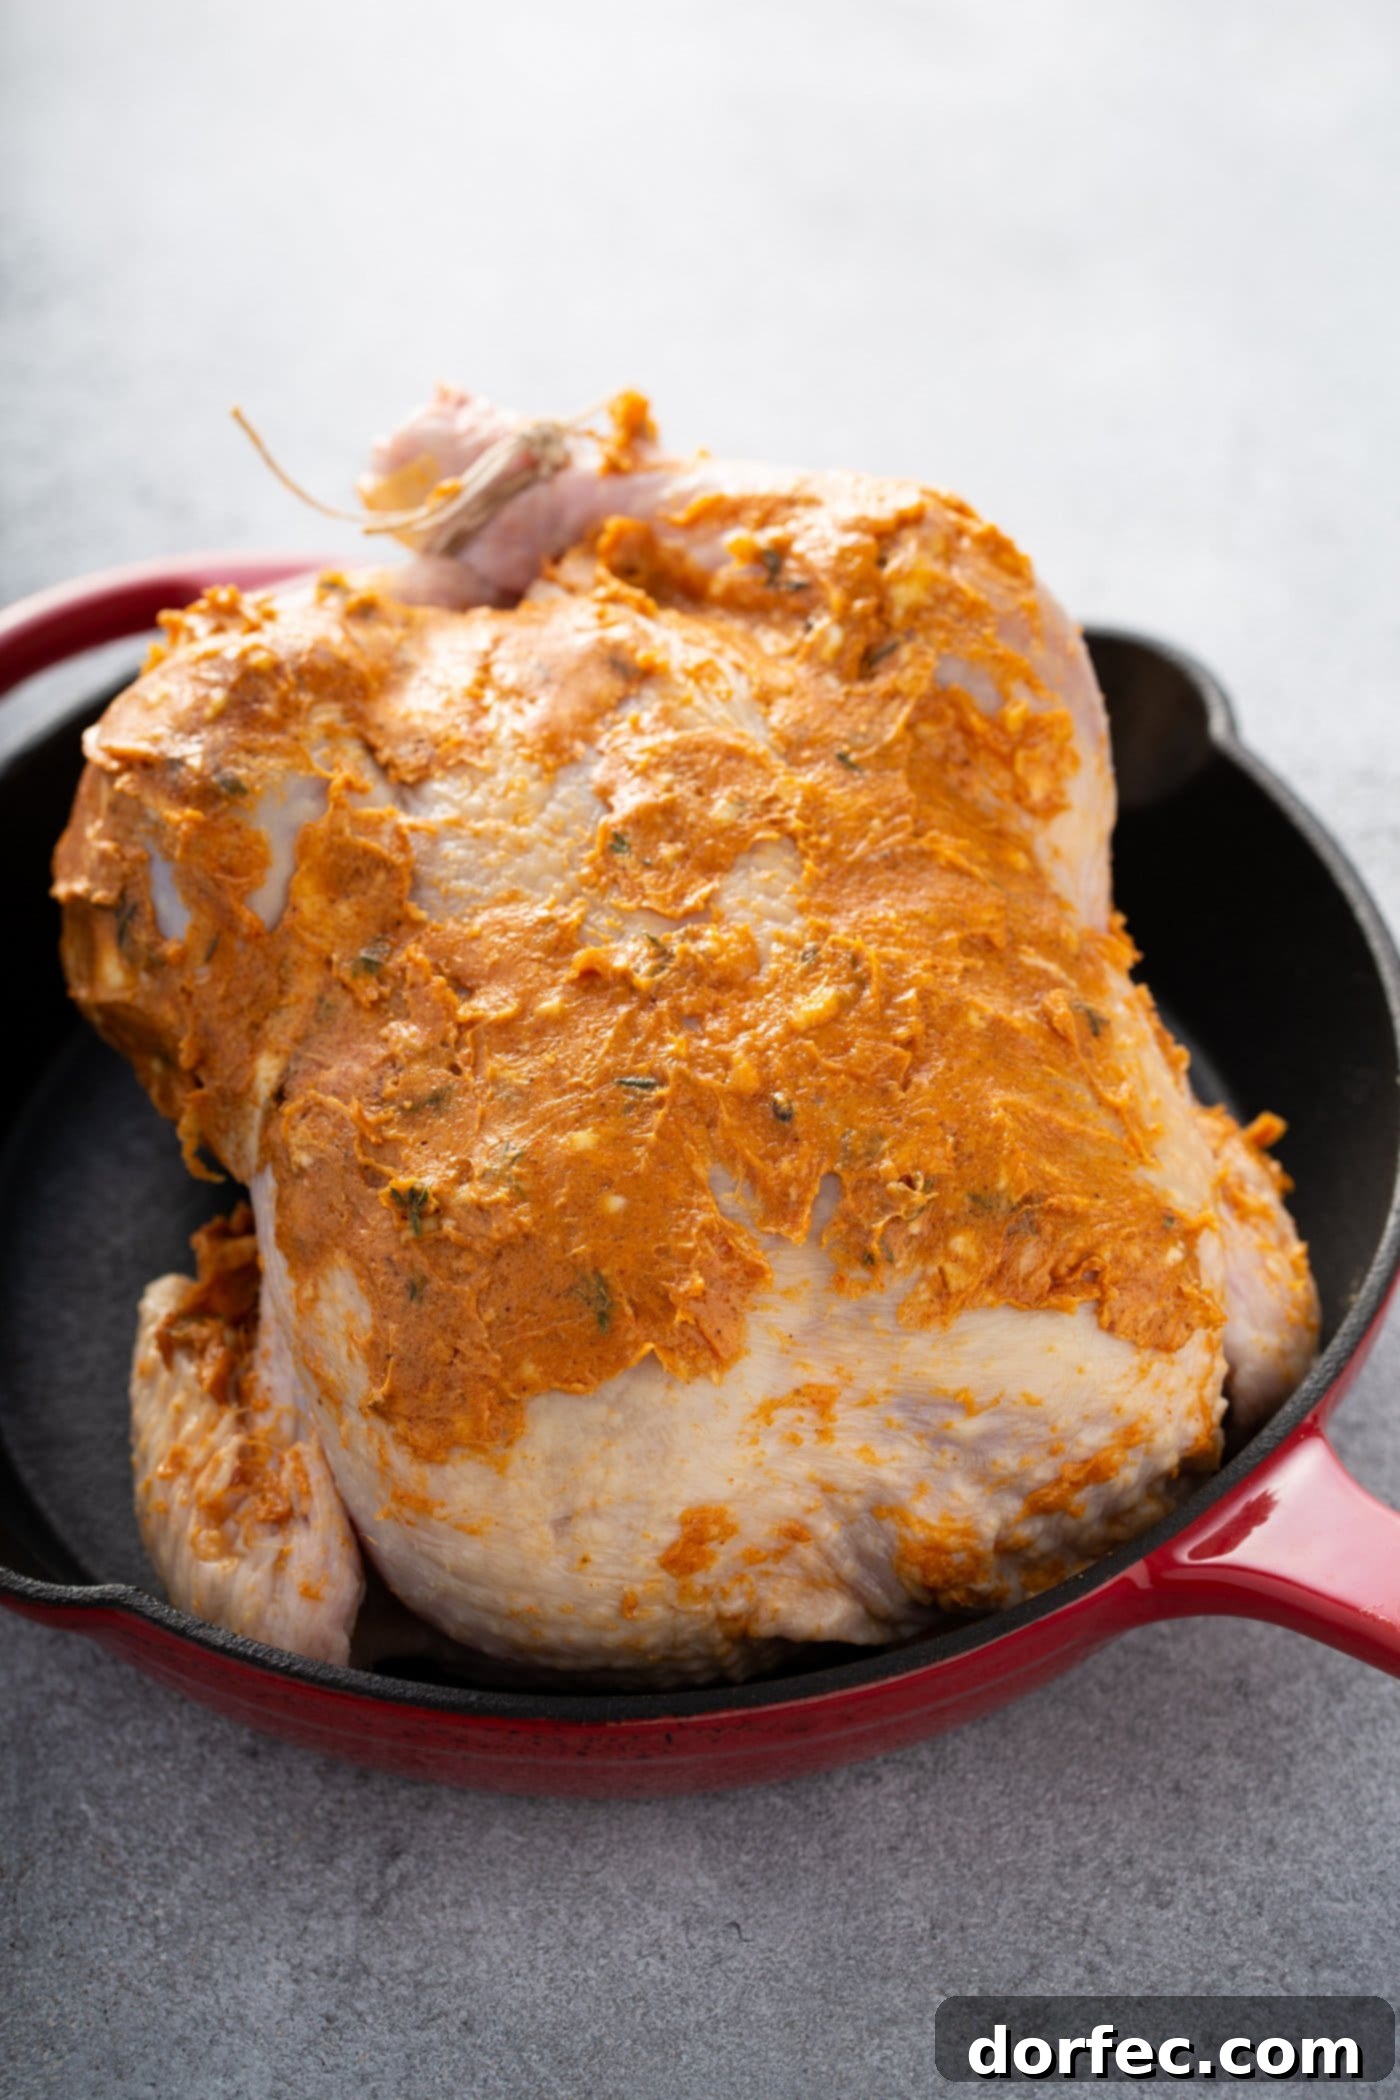
How to Prepare a Whole Chicken for Roasting: Step-by-Step
Proper preparation is key to a perfectly oven-roasted chicken. Follow these detailed steps to ensure your bird is ready to absorb all the delicious flavors and achieve that ideal crispy skin and juicy interior.
- The Day Before: Dry Brine (Essential Step)
Rinse your whole chicken thoroughly, ensuring all giblets are removed from the cavity. Pat the chicken exceptionally dry, inside and out, using paper towels. This step is crucial for crispy skin later. Generously season the chicken all over with kosher salt, making sure to get into all the nooks and crannies. Place the salted chicken on a plate or a rack-lined baking sheet in the refrigerator. Loosely cover it with plastic wrap (if there are other items in the fridge for cross-contamination prevention) or leave it uncovered to allow the skin to air dry further, enhancing crispiness. Let it rest in the fridge for at least 12-24 hours.
- A Few Hours Before Cooking: Remove Plastic
If you covered the chicken with plastic wrap, remove it a few hours before you plan to cook. This allows the skin to continue drying, which is a secret to achieving superior crispness.
- One Hour Before Cooking: Bring to Room Temperature
Take the chicken out of the refrigerator approximately 1 hour before you intend to cook it. This allows the bird to come closer to room temperature, promoting more even cooking. Preheat your oven to 425°F (220°C) with an oven rack positioned in the center.
- Trussing for Even Cooking
Using butcher’s twine, tightly tie the legs of the chicken together. Trussing helps the chicken cook more evenly by keeping the legs and wings tucked in, preventing them from drying out before the rest of the bird is done. It also creates a more compact shape for better presentation.
- Prepare the Spice Rub
In a small bowl, combine all the dry spices: fresh (or dried) thyme, salt, onion powder, minced garlic, brown sugar, smoked paprika, black pepper, ground mustard, cayenne, chili powder, and cumin. Mix thoroughly to ensure an even blend.
- Season the Cavity
Sprinkle about 1 tablespoon of your prepared spice rub inside the cavity of the chicken. This adds an incredible layer of flavor from the inside out.
- Create the Spiced Butter Mixture
Add the softened unsalted butter to the remaining spice rub in the bowl. Stir well until the butter and spices are fully combined, forming a fragrant, spreadable paste.
- Apply the Spiced Butter
Carefully lift the skin of the chicken, particularly over the breast, creating a pocket. Rub half of the spiced butter mixture directly onto the meat under the skin. This ensures the breast meat stays moist and absorbs maximum flavor. Then, generously rub the remaining spiced butter all over the exterior of the chicken skin. This coating not only adds flavor but also helps the skin crisp and turn a beautiful golden brown.
By following these detailed steps, you’ll ensure your chicken is perfectly prepped for roasting, setting the stage for an unforgettable meal.
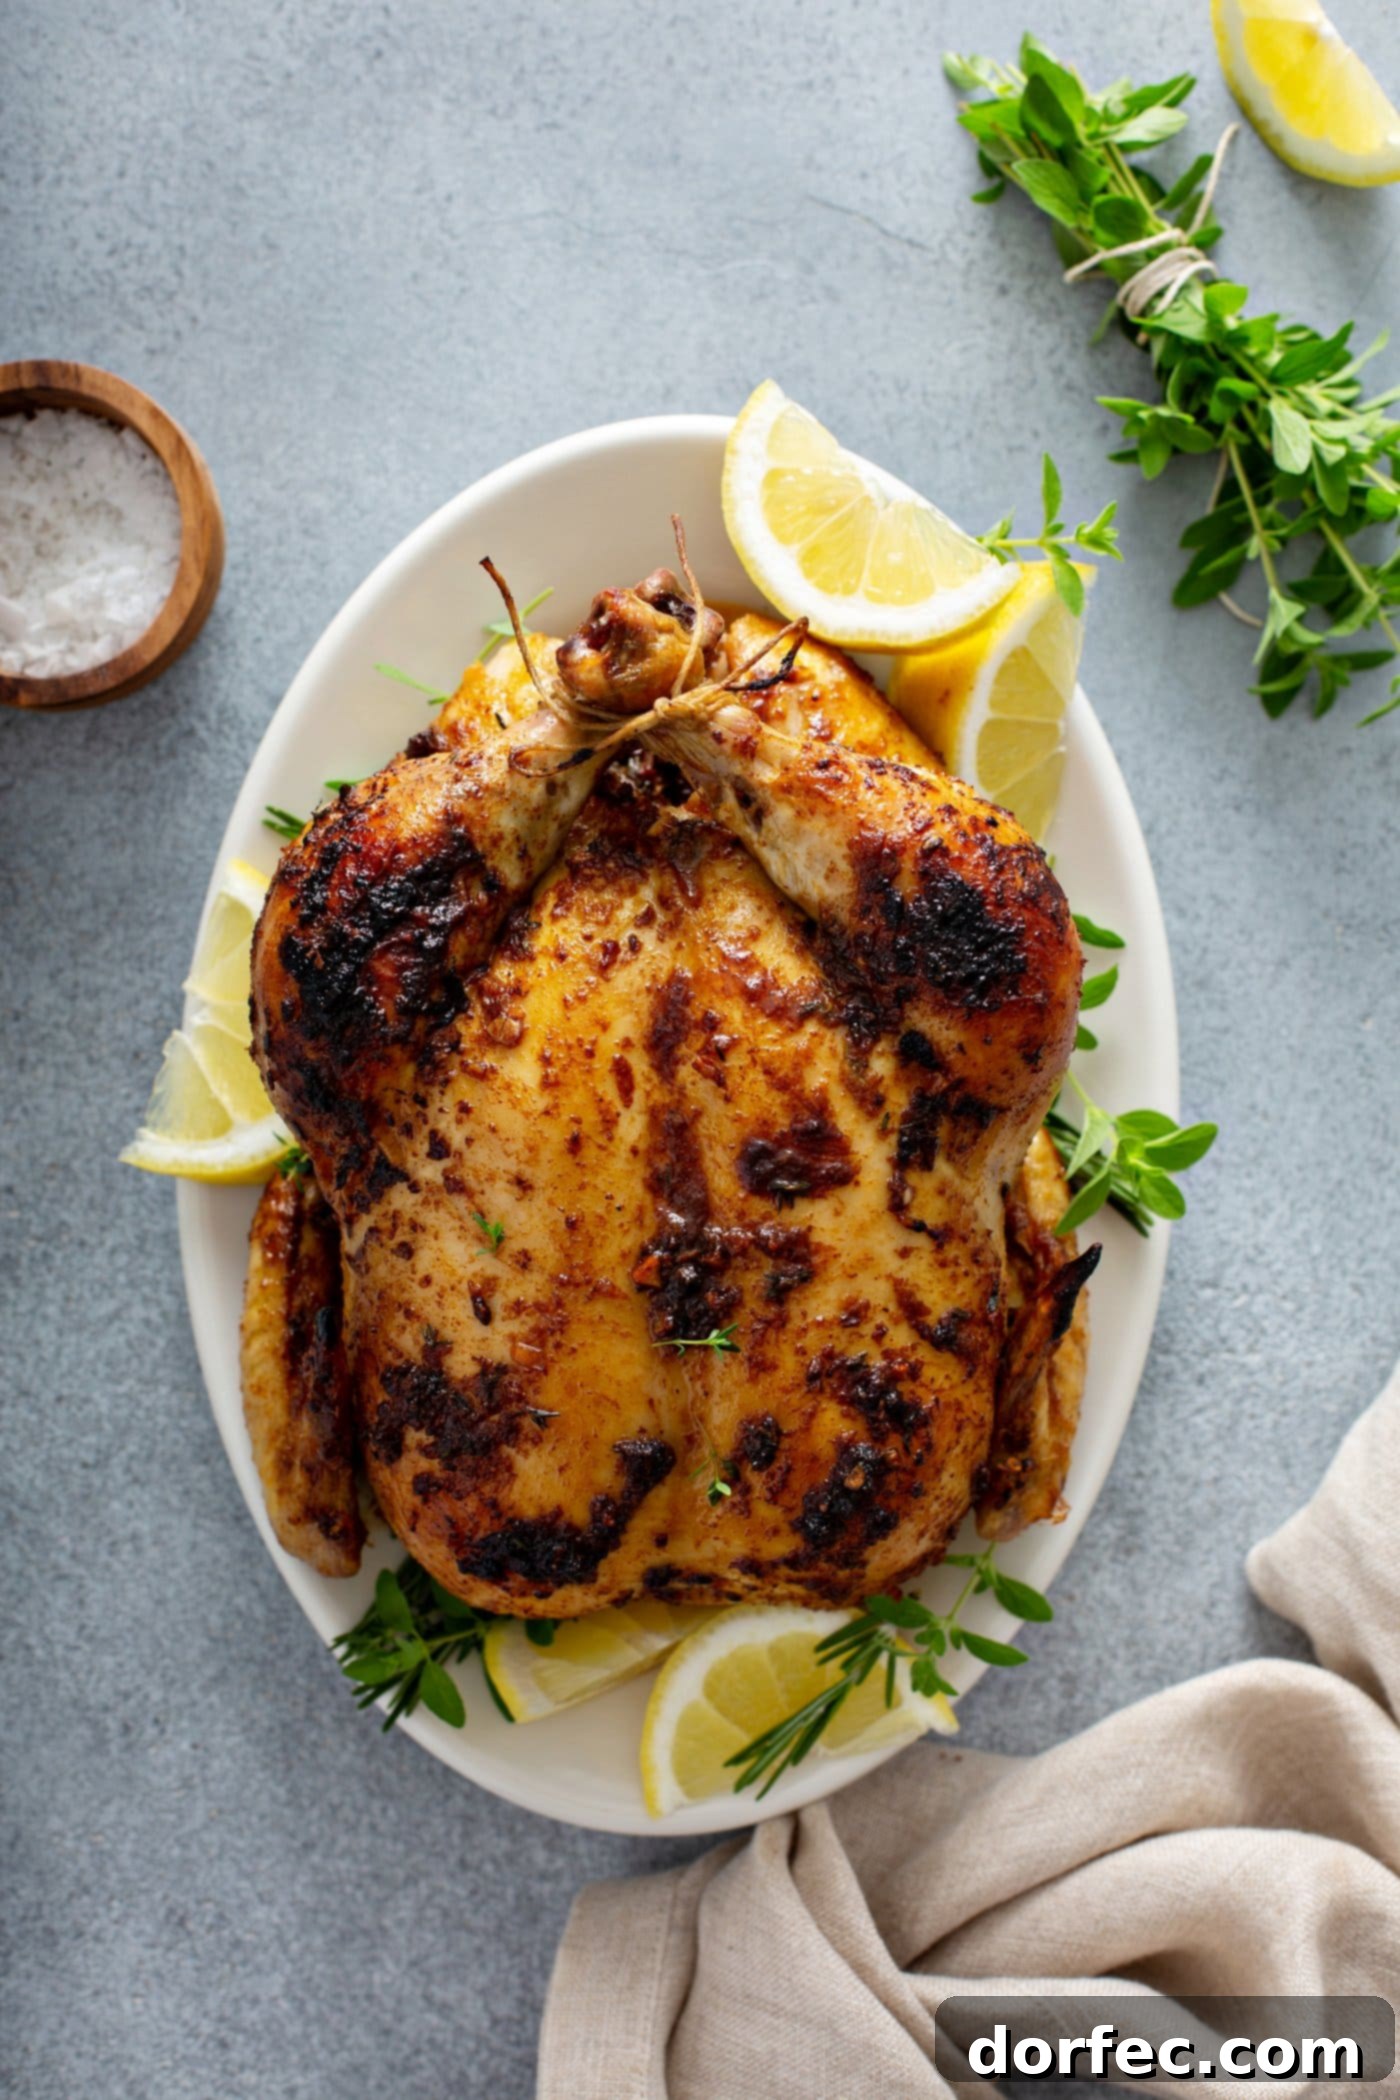
Should a Whole Chicken Rest on the Counter Before Cooking? Unpacking the Debate
A common question arises when preparing a whole roasted chicken: should raw poultry really sit out at room temperature before baking? There’s a slight debate among home cooks and even some professionals, with a few sources claiming no significant difference. However, I, along with many thousands of experienced chefs, strongly advocate for allowing your chicken to rest on the counter before cooking.
The primary reason for letting a whole chicken sit out for about an hour before it goes into the oven is to allow the meat to come to a more similar temperature throughout the entire bird. This practice is crucial for achieving truly even browning and cooking. Here’s why it makes such a difference:
Consider the analogy of thawing a Thanksgiving turkey. If the center of the bird is still icy cold when you put it in the oven, it will take significantly longer for that cold core to heat up and cook through. By the time the center is done, the outer layers and delicate breast meat are often overcooked and dry, while the skin may be burnt. It’s a messy and frustrating experience.
A whole chicken, much like a turkey, holds onto cold temperatures for a much longer time than smaller cuts like chicken breasts. When you place a very cold chicken directly into a hot oven, the exterior cooks rapidly, potentially drying out, before the heat can fully penetrate to the colder interior. This leads to:
- Uneven Cooking: Parts of the chicken (especially the breast) can overcook and dry out while the thighs and legs are still catching up.
- Inconsistent Browning: Different temperature zones within the bird can lead to patchy browning.
- Longer Cooking Time: A cold chicken will naturally take longer to cook through, increasing the risk of dryness.
By bringing the chicken closer to room temperature, you minimize the temperature differential between the exterior and interior, allowing for more uniform heat distribution throughout the cooking process. This results in a consistently juicy interior, perfectly cooked dark meat, and an evenly golden-brown, crispy skin. So, unless you desire unevenly cooked, potentially dry chicken, please let it sit and rest on the counter as recommended.
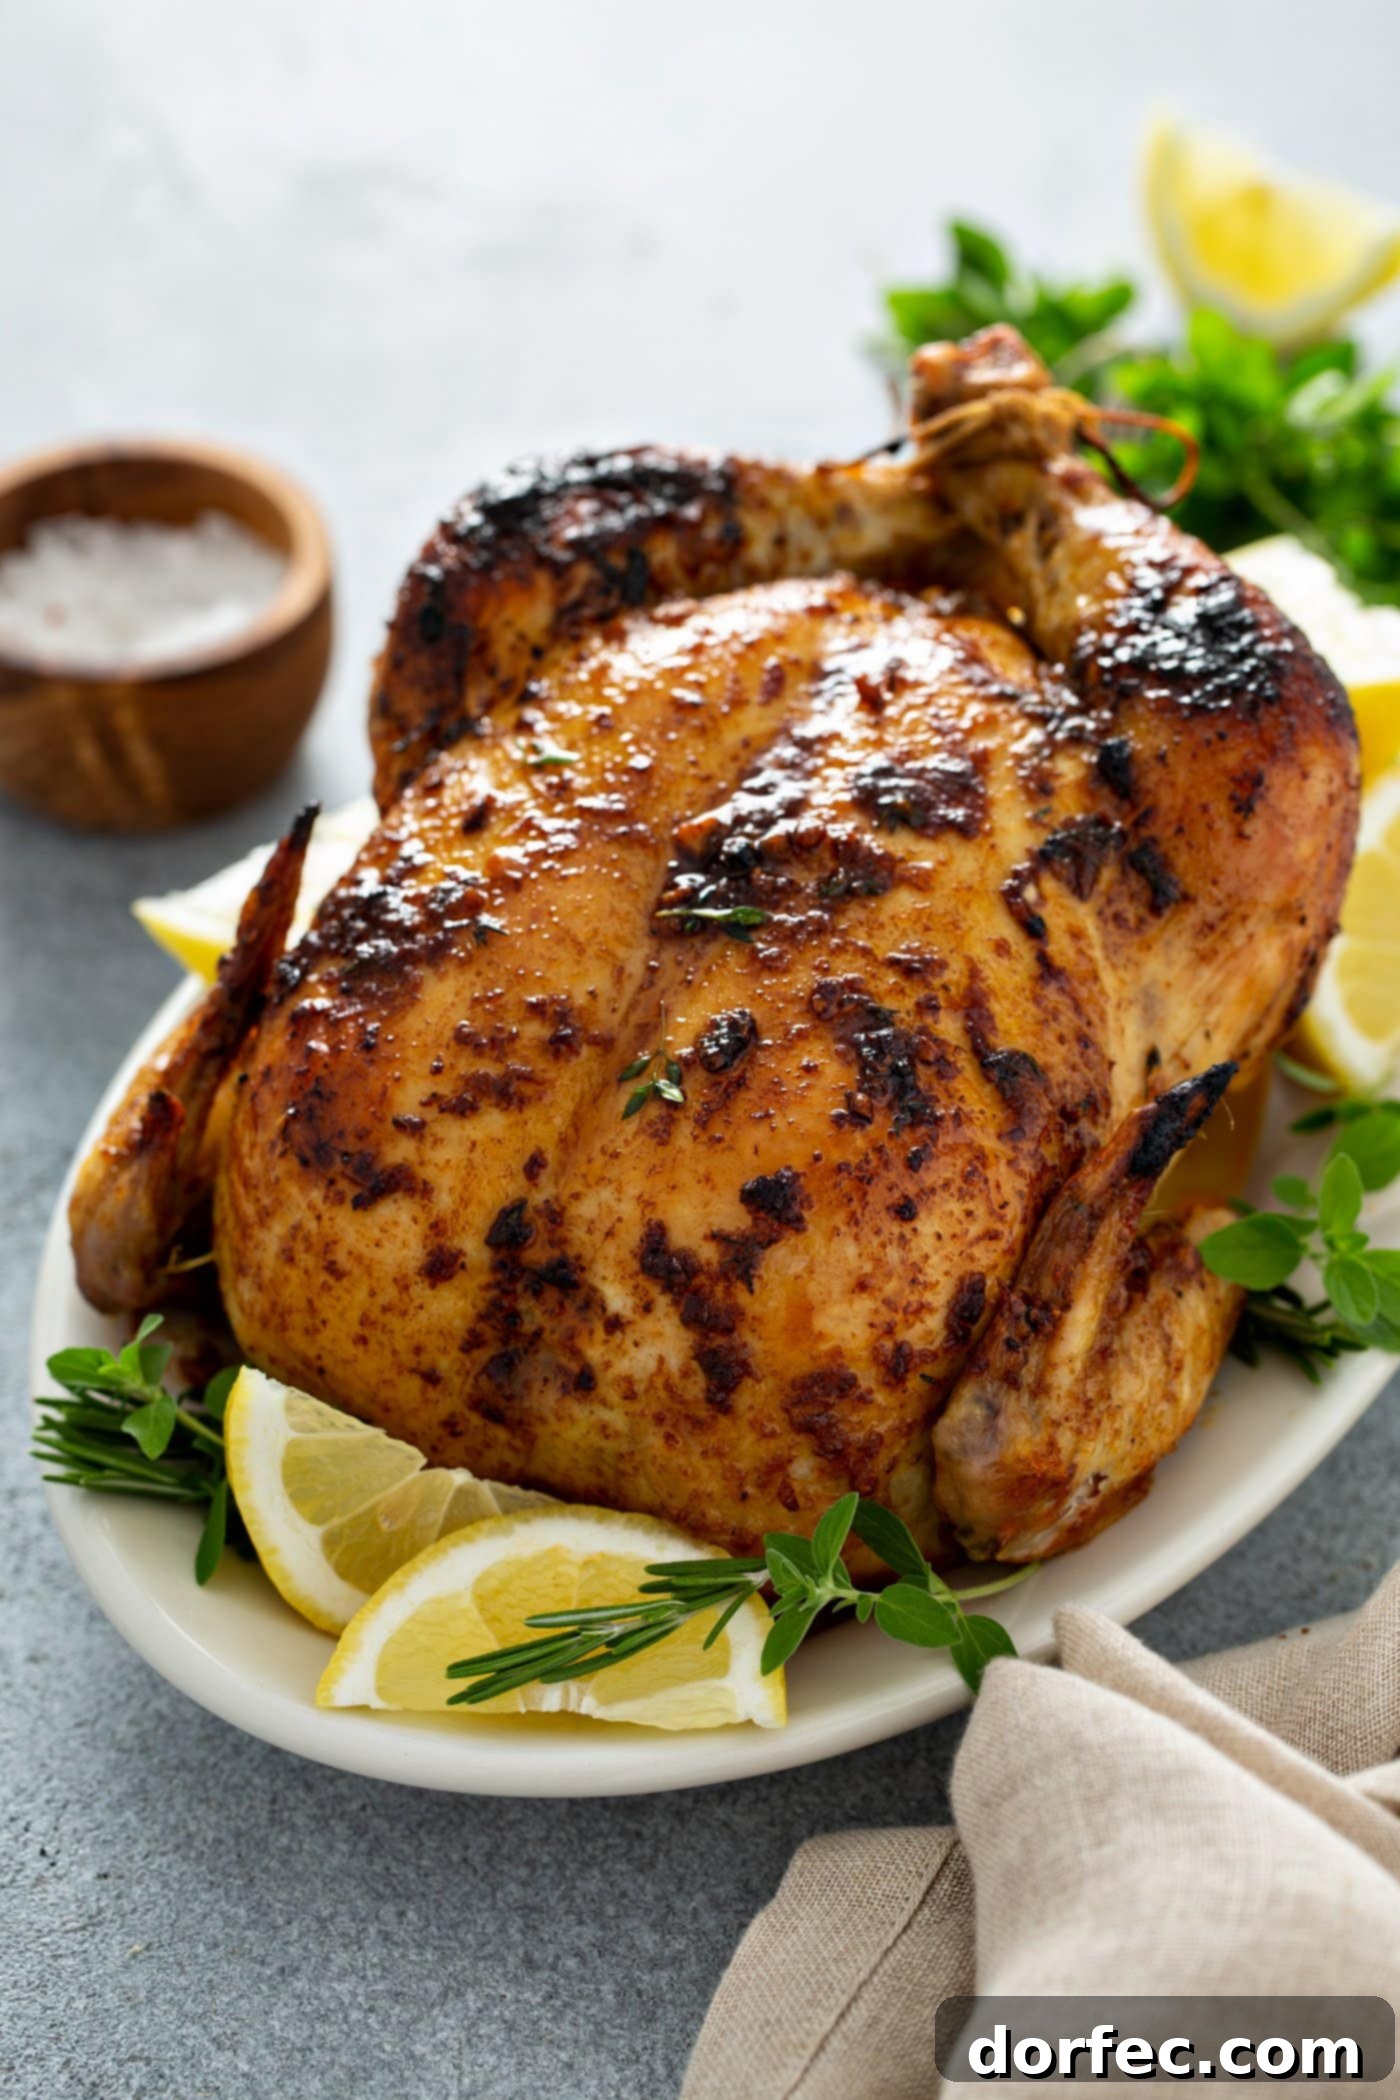
How to Make Roasted Chicken: Roasting Techniques
With your chicken perfectly prepped and seasoned, it’s time to roast it to golden, juicy perfection. Follow these techniques for the best oven roasted chicken:
- Choose Your Roasting Vessel: Place the chicken in a 10-inch cast-iron skillet or a shallow roasting pan. A cast-iron skillet provides excellent heat retention and distribution, which helps in achieving crispy skin and even cooking. A shallow roasting pan also works well, allowing for good airflow around the bird.
- Initial Oven Placement: Slide the pan all the way to the back of the oven on the center rack. Rotate the pan so that the legs of the chicken are pointing toward the rear left corner of the oven, and the breast is pointing toward the center. This strategic placement helps ensure the dark meat, which takes longer to cook, receives more direct heat initially.
- High Heat Start: Roast the chicken at 425°F (220°C) for about 20 minutes. This initial high heat blast is crucial for jump-starting the browning process and rendering the fat under the skin, which contributes significantly to crispy skin.
- Reduce Heat and Continue Roasting: After approximately 20 minutes, when you observe that the chicken has begun to brown nicely, reduce the oven temperature to 400°F (200°C). Continue roasting for another 10 minutes.
- Rotate for Even Browning: Open the oven door and carefully turn the pan so that the chicken is now facing the opposite direction (legs toward the rear right corner, breast still towards the center, or simply turn the bird 180 degrees). This rotation promotes even browning across the entire surface of the chicken.
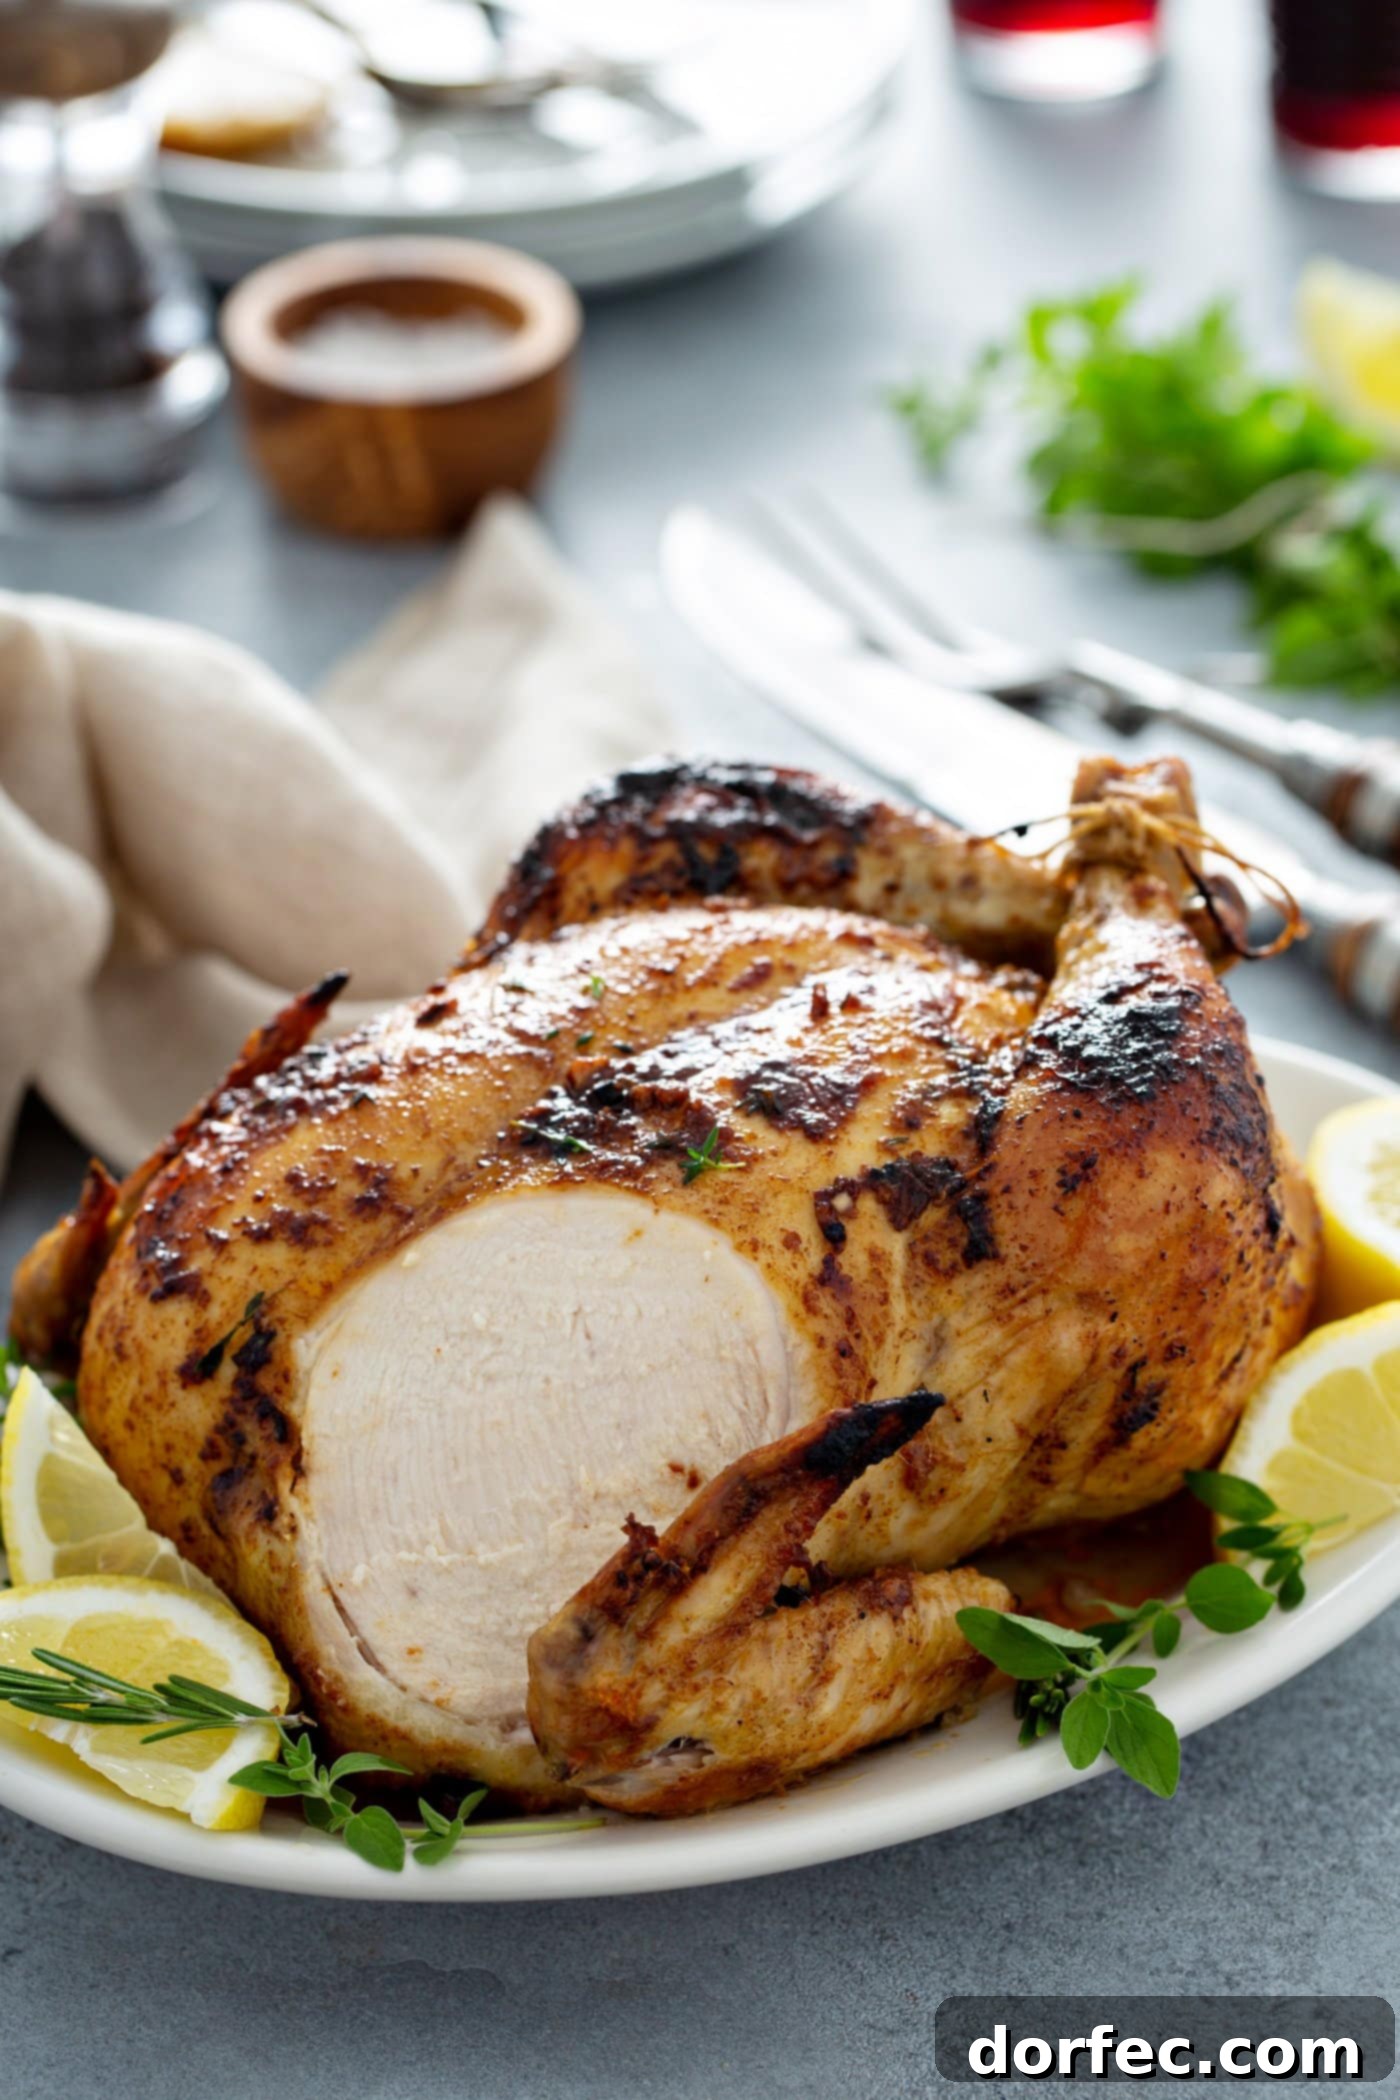
- Finish Roasting: Continue cooking for an additional 30 minutes or so. The total roasting time will vary depending on the size of your chicken and your oven’s calibration. Keep an eye on the chicken, checking for doneness. The chicken is perfectly cooked when it’s beautifully browned all over, and the juices run clear when you insert a knife down to the bone between the leg and the thigh.
- Prevent Over-Browning: If you notice the skin is getting too dark or crispy before the chicken is fully cooked through, you can loosely tent the chicken with aluminum foil. This will protect the skin from further browning while allowing the internal temperature to rise.
- Rest Before Carving: Once the chicken is done, carefully remove it from the oven to a clean carving board or platter. It’s crucial to let the chicken rest for at least 10-15 minutes before carving. Resting allows the juices to redistribute throughout the meat, ensuring every slice is incredibly moist and flavorful. Skipping this step often results in dry chicken, as all the juices will run out when you cut into it.
By following these detailed roasting instructions, you will consistently achieve a perfectly cooked, juicy, and flavorful oven roasted chicken that will impress everyone at your table.
How to Know When Your Roasted Chicken is Done
Ensuring your roasted chicken is cooked to perfection, both safely and deliciously, is paramount. There are several reliable indicators to tell when your chicken is ready:
- Internal Temperature (Most Accurate): The most precise way to determine doneness is by using an instant-read meat thermometer. Insert the thermometer into the thickest part of the thigh, avoiding the bone. The chicken is safely cooked when it reaches an internal temperature of 165°F (74°C).
- Clear Juices: When you insert a knife down to the bone between the leg and the thigh, the juices that run out should be completely clear, not pink or cloudy.
- Loose Joints: The wings and legs should wiggle loosely when gently moved, indicating that the connective tissues have broken down sufficiently.
- Meat and Bone Movement: When you insert a knife down to the bone between the leg and the thigh, the meat and bone should be easy to move back and forth.
While visual cues are helpful, relying on a meat thermometer is always the best practice for food safety and optimal texture.
Storage and Reheating Your Oven Roasted Chicken
How Long Will Roasted Chicken Last?
Properly stored, leftover roasted chicken will remain fresh and safe to eat for 3-4 days in the refrigerator. To maximize its freshness and prevent it from drying out, ensure the chicken is covered tightly in an airtight container or wrapped securely in plastic wrap or aluminum foil before placing it in the fridge.
Can You Freeze Roasted Chicken?
Yes, roasted chicken freezes exceptionally well, making it perfect for meal prepping or saving for another quick meal. To freeze, carve the chicken off the bone (or freeze whole if preferred, though carved is more convenient for thawing and reheating). Place the chicken pieces in freezer-safe bags or airtight containers. Press out as much air as possible from freezer bags before sealing to prevent freezer burn. You can keep roasted chicken in the freezer for up to 4 months. Thaw frozen chicken overnight in the refrigerator before reheating.
Can You Reheat Roasted Chicken?
Absolutely! You can reheat roasted chicken to bring it back to a warm and delicious state:
- Oven Reheating (Recommended): For best results and to help retain moisture, place the leftover chicken in an oven-safe dish with a splash of chicken broth or water at the bottom (this creates steam). Cover the dish loosely with foil to prevent drying. Reheat in a preheated 350°F (175°C) oven for about 20-25 minutes, or until warmed through.
- Microwave Reheating: For a quicker option, place chicken pieces on a microwave-safe plate. Cover lightly with a damp paper towel to help retain moisture. Reheat on medium power for 2-5 minutes, or until hot. Be careful not to overcook, as this can dry out the chicken.
Always ensure reheated chicken reaches an internal temperature of 165°F (74°C) for food safety.
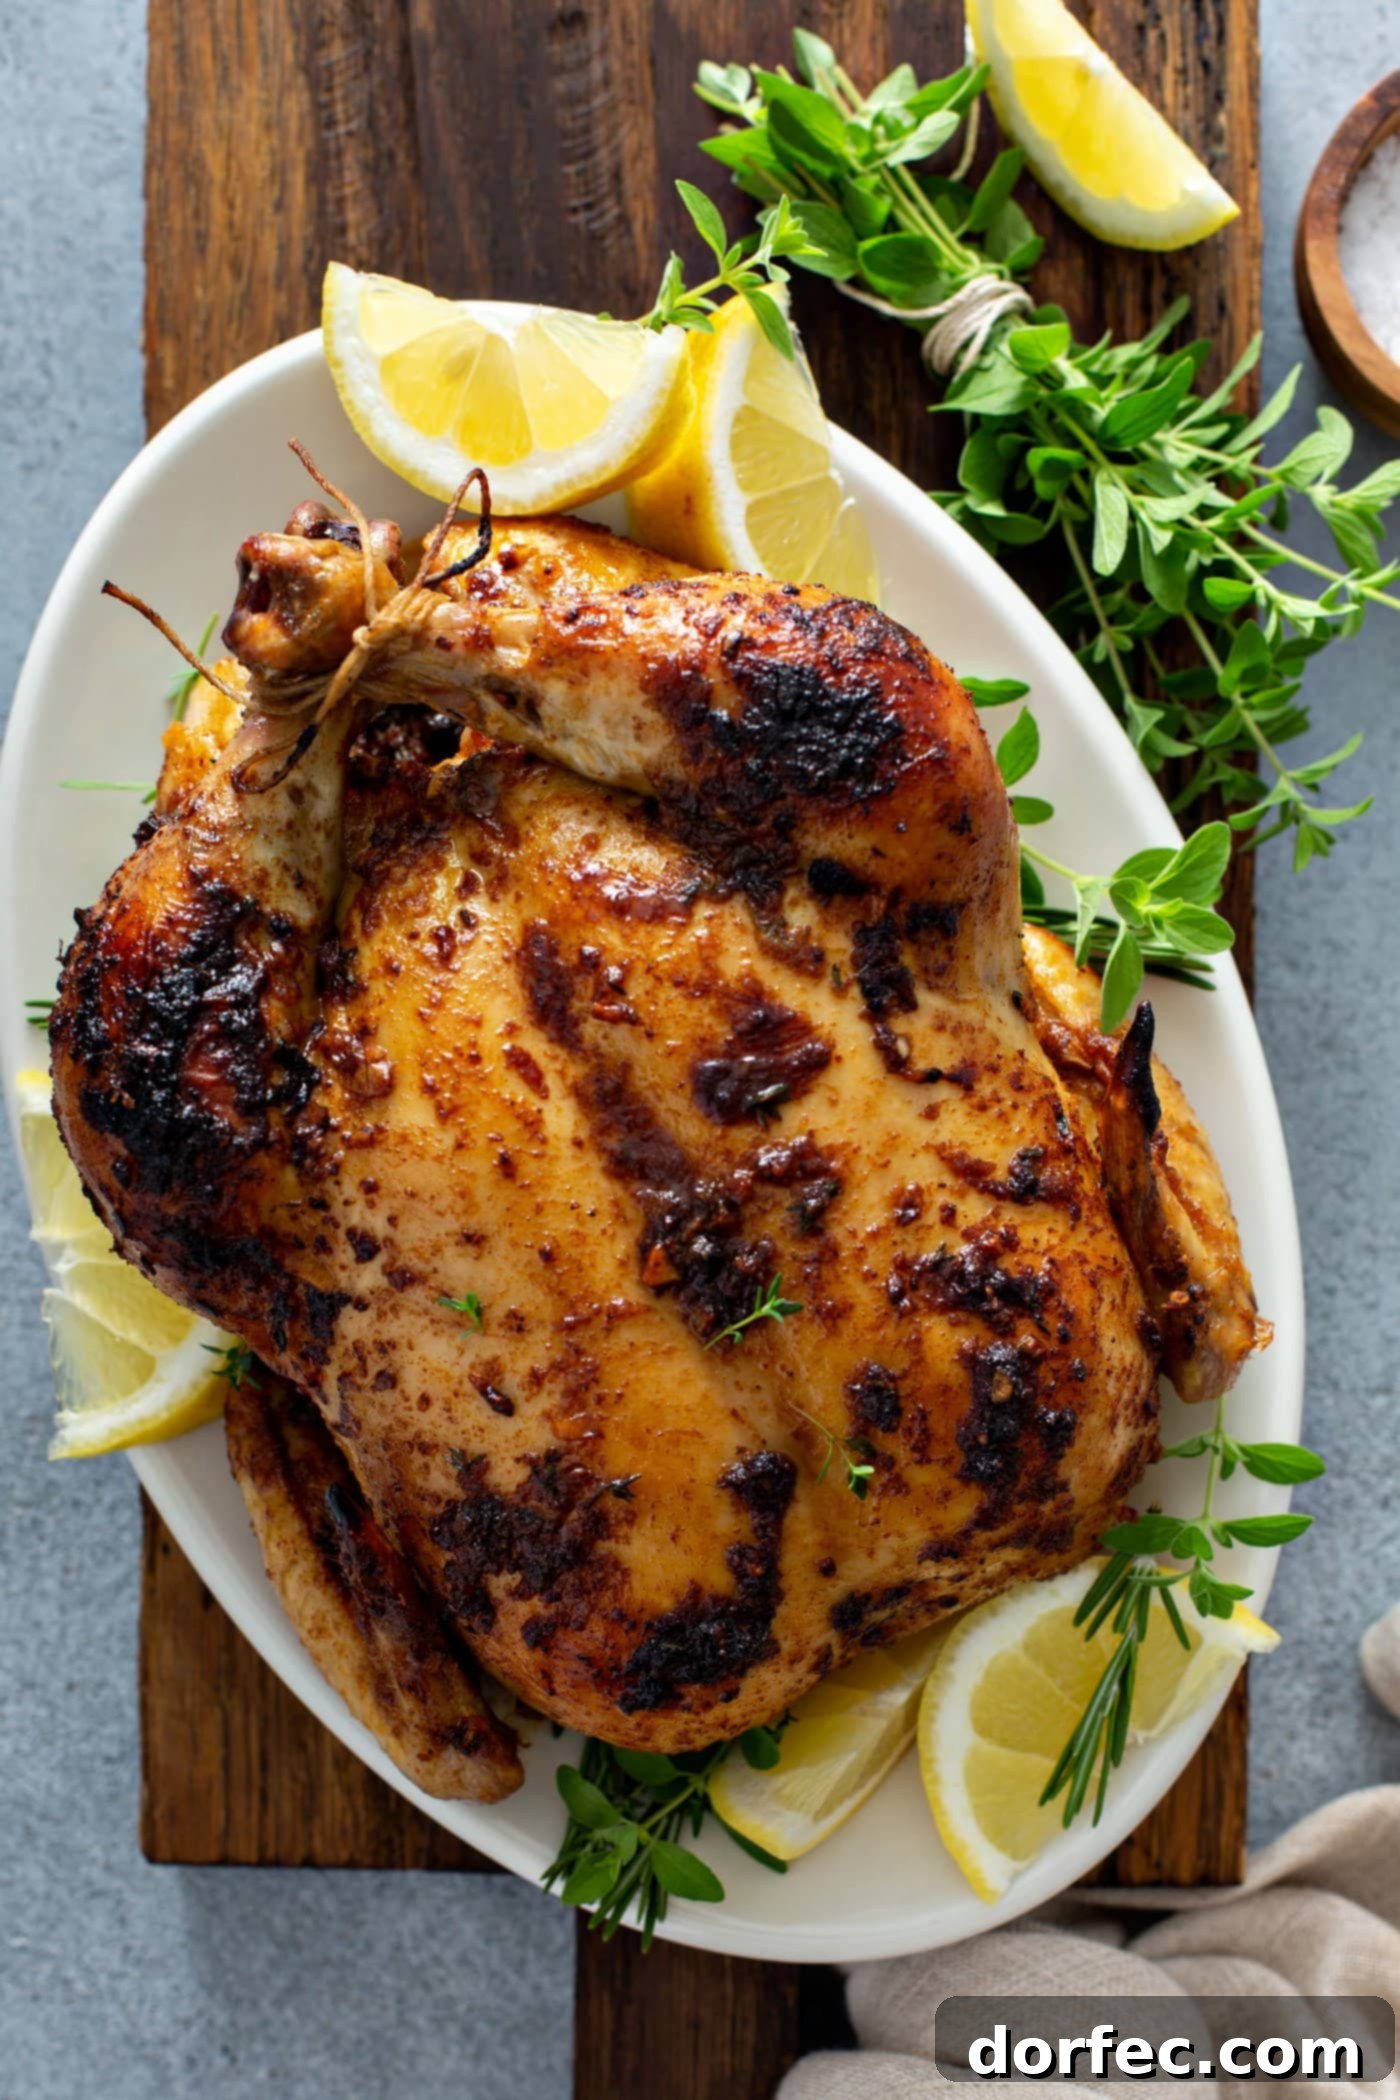
We’ve explored various methods for cooking a whole chicken, from smoked whole chicken to whole chicken in the Instant Pot, and even whole chicken in the slow cooker. But for an unmatched combination of crispy skin and juicy meat, it’s truly time to master this whole roasted chicken recipe in the oven!
More Chicken Main Dishes You Must Try:
If you love chicken, you’ll want to explore these other fantastic recipes to add variety to your meal rotation:
- Crispy Fried Chicken: A classic comfort food with an irresistible crunch.
- Chicken Pot Pie: A hearty and savory dish with a flaky crust.
- Slow Cooker Garlic Chicken: Effortless and packed with garlicky flavor.
- Huli Huli Grilled Chicken: Sweet and tangy Hawaiian-inspired grilled chicken.
- Honey Lemon Basil Grilled Chicken: A vibrant, fresh, and zesty grilled option.
- Garlic Parmesan Chicken: Rich, cheesy, and incredibly satisfying.
- Creamy Herb Chicken: A comforting dish bathed in a luscious herbed sauce.
- Balsamic Caprese Chicken: Fresh, bright, and inspired by Italian flavors.
- BBQ Chicken: Perfectly smoky and sweet, ideal for grilling season.
- All our Chicken Main Dishes here! Explore a wide range of chicken recipes for every occasion.
If you’re specifically looking to whip up some chicken legs, don’t miss this baked chicken legs recipe – it’s absolutely delicious and easy!
The Best Roasted Chicken
1 day 1 hr
1 hr
1 day 2 hrs
Ingredients
- 3-4 Pound Chicken, whole, giblets removed, rinsed and patted dry
- Kosher Salt, for day before
- 2 teaspoons Thyme leaves, fresh, or 1 teaspoon dried
- 2 teaspoons Salt, Kosher
- 1 teaspoon Onion Powder
- 2 Cloves Garlic, minced
- 1 Tablespoon Brown Sugar
- 2 teaspoons Paprika, smoked
- 1 Pinch Black Pepper
- 1/2 teaspoon Ground Mustard
- 1/8 teaspoon Cayenne
- 1/8 teaspoon Chili Powder
- 1/4 teaspoon Cumin
- 6 Tablespoons Butter, unsalted, softened
Instructions
-
The day before you want to cook the chicken, rinse and pat the chicken dry. Season chicken generously with kosher salt and place on a plate in the fridge, loosely cover with plastic or leave uncovered.
-
A few hours before it’s time to cook, remove any plastic wrap.
-
Take the chicken from the fridge 1 hour before you plan to cook it. Heat the oven to 425 degrees with a rack set in the center position.
-
Tightly tie together the legs with a piece of butcher’s twine.
-
Place all spices (Thyme, Salt, Onion Powder, Garlic, Brown Sugar, Paprika, Black Pepper, Ground Mustard, Cayenne, Chili Powder, Cumin) in a bowl and mix to combine.
-
Sprinkle 1 tablespoon of the mixed spices in the cavity of the chicken.
-
Add the softened butter to the remaining spices and stir to combine thoroughly.
-
Lift the skin of the chicken (especially over the breast) and rub 1/2 of the spiced butter all over the meat under the skin, then rub the remaining butter all over on top of the skin.
-
Place the chicken in a 10-inch cast-iron skillet or a shallow roasting pan.
-
Slide the pan all the way to the back of the oven on the center rack, rotating the pan so that the legs are pointing toward the rear left corner and the breast is pointing toward the center of the oven.
-
After about 20 minutes, when the chicken starts to brown, reduce the temperature to 400 degrees and continue roasting for 10 minutes.
-
Open the oven and turn the pan so the legs are facing the rear right corner of the oven to promote even browning. Continue cooking for another 30 minutes or so, until the chicken is brown all over and the juices run clear when you insert a knife down to the bone between the leg and the thigh. If the skin is getting too brown before it is cooked through, use a foil tent.
-
Remove chicken to a platter and let it rest for 10 minutes before carving.
Recipe Notes
Nutrition
Nutrition information is automatically calculated, so should only be used as an approximation.