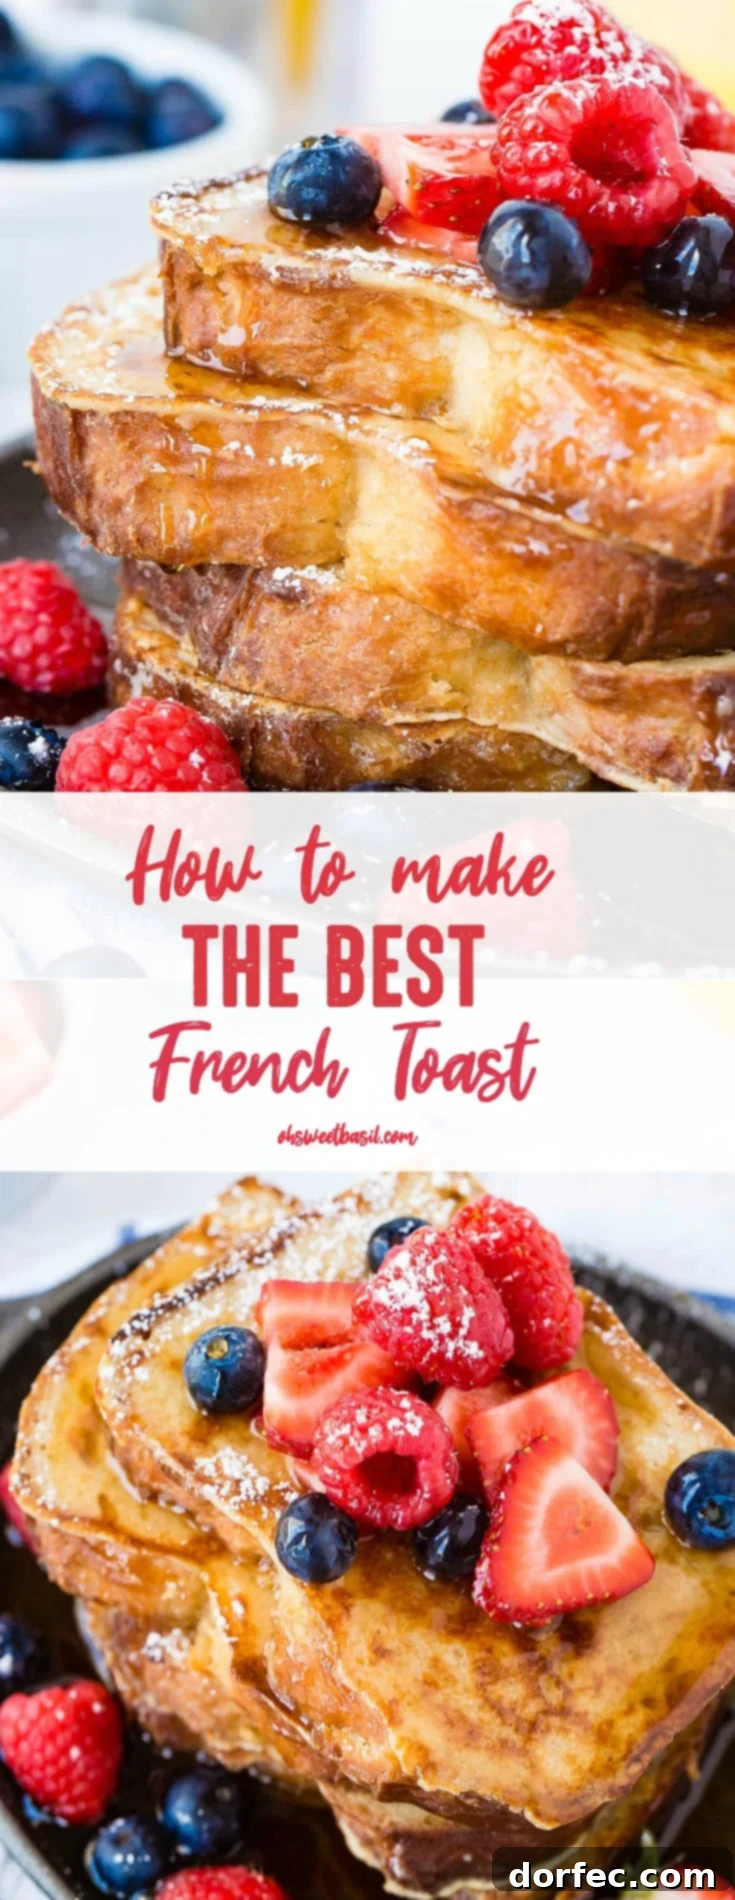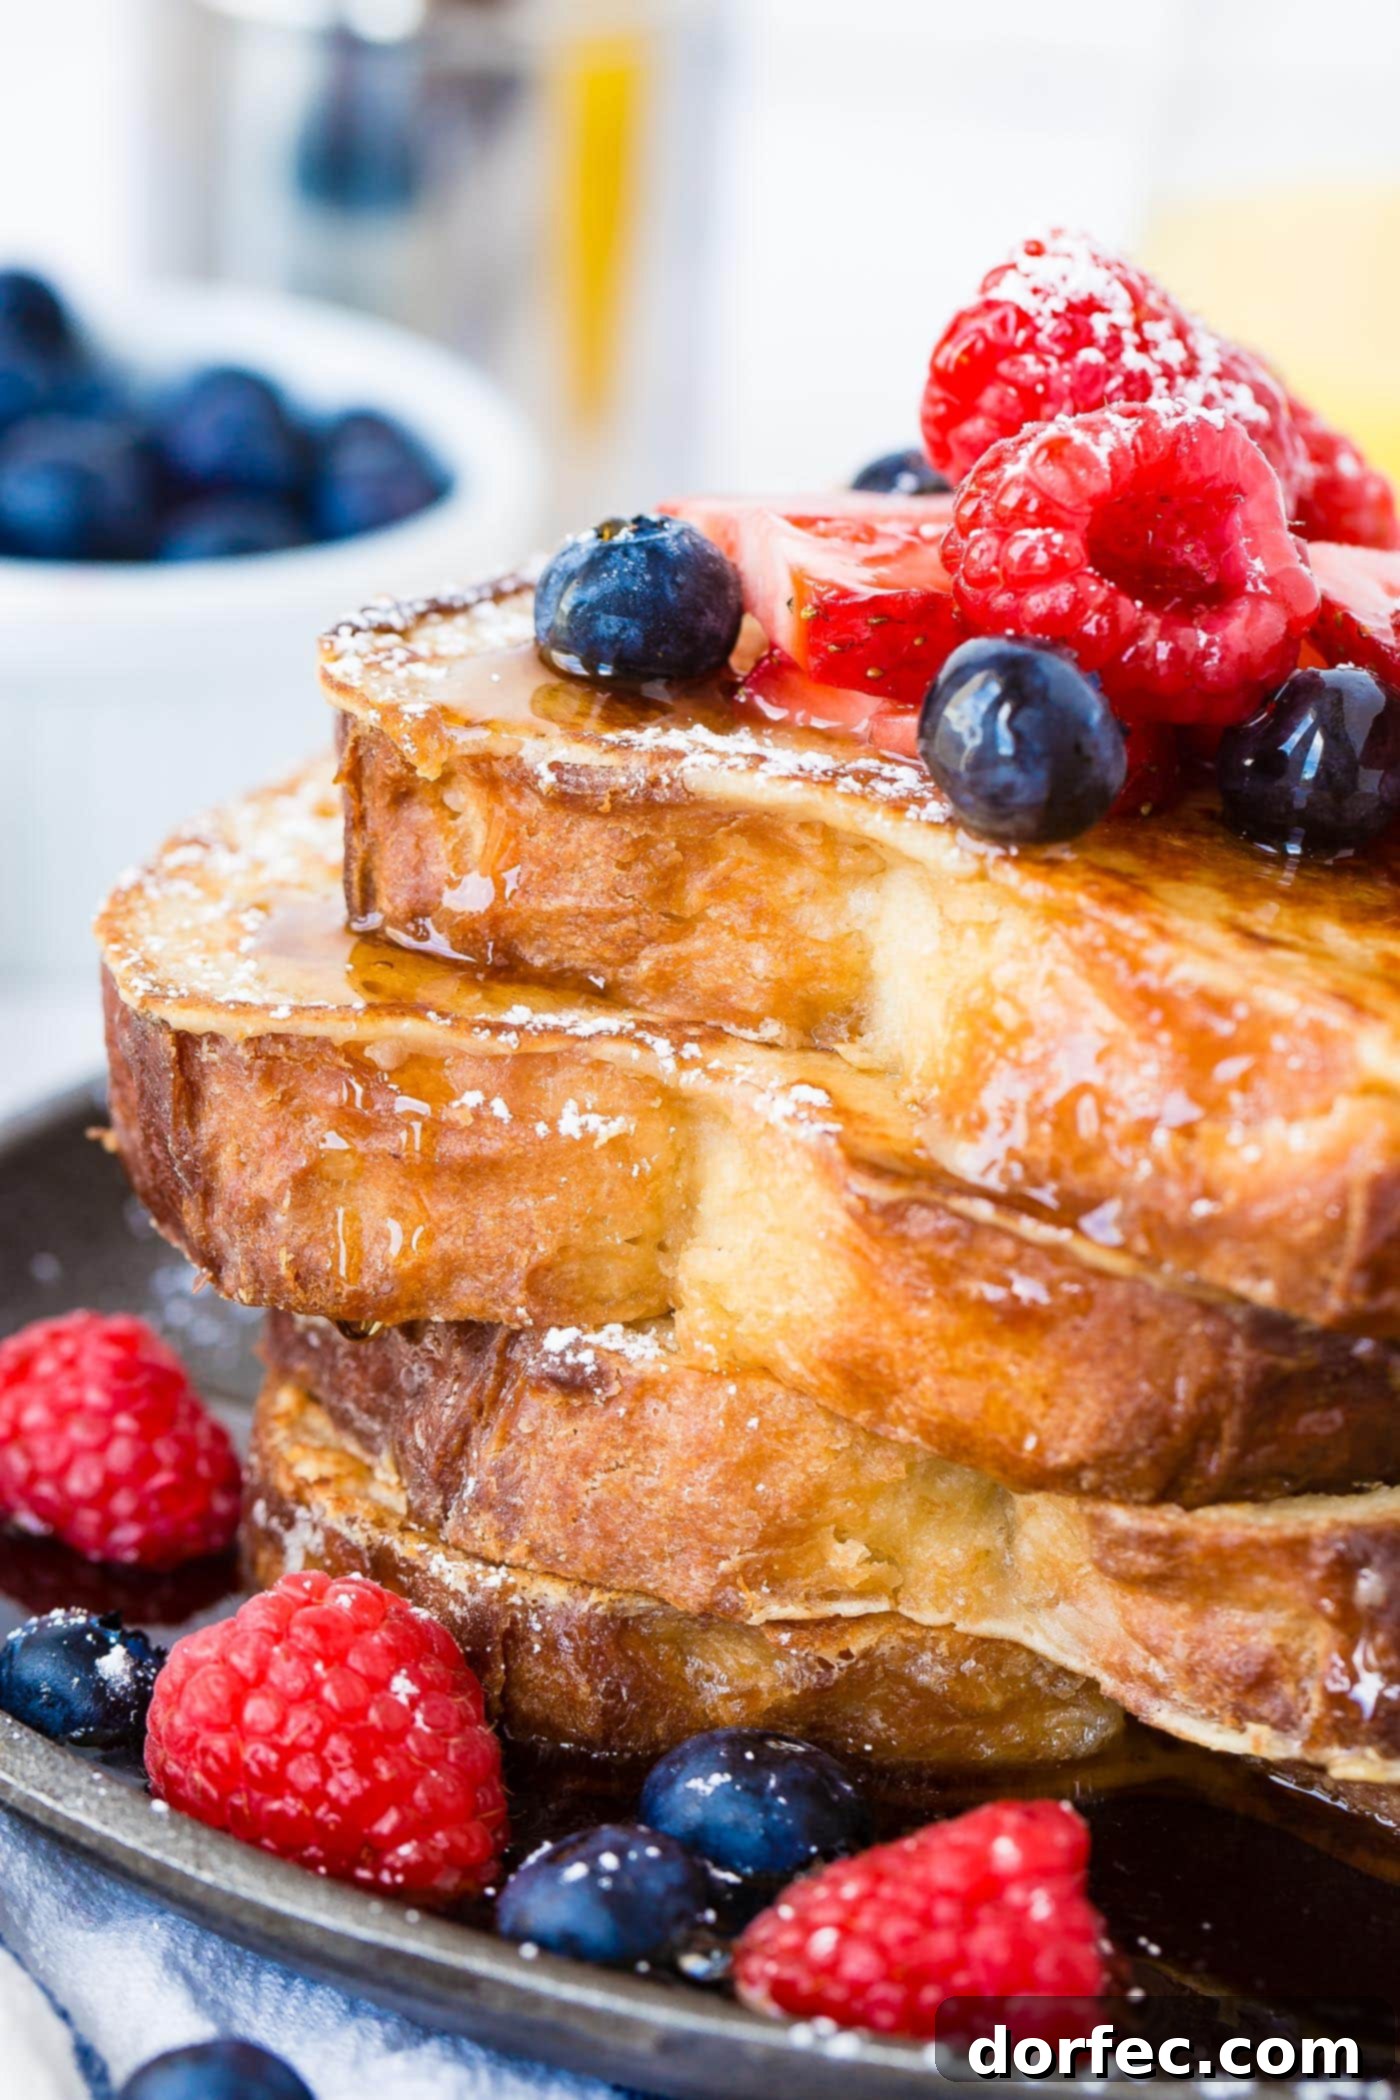
The Ultimate Guide to Making Perfect French Toast: Your New Favorite Breakfast Recipe
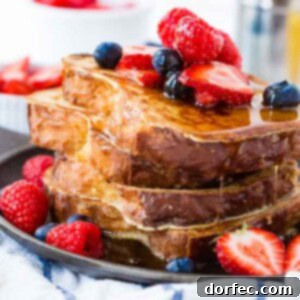
Prepare to transform your breakfast routine with this incredible Classic French Toast recipe. Featuring a surprising, yet simple, ingredient in its luxurious batter, this method guarantees a French toast experience unlike any you’ve had before. Say goodbye to soggy slices and hello to a perfectly golden, custardy interior with a delightfully crisp crust. Once you discover this technique, you’ll never prepare French toast any other way again!
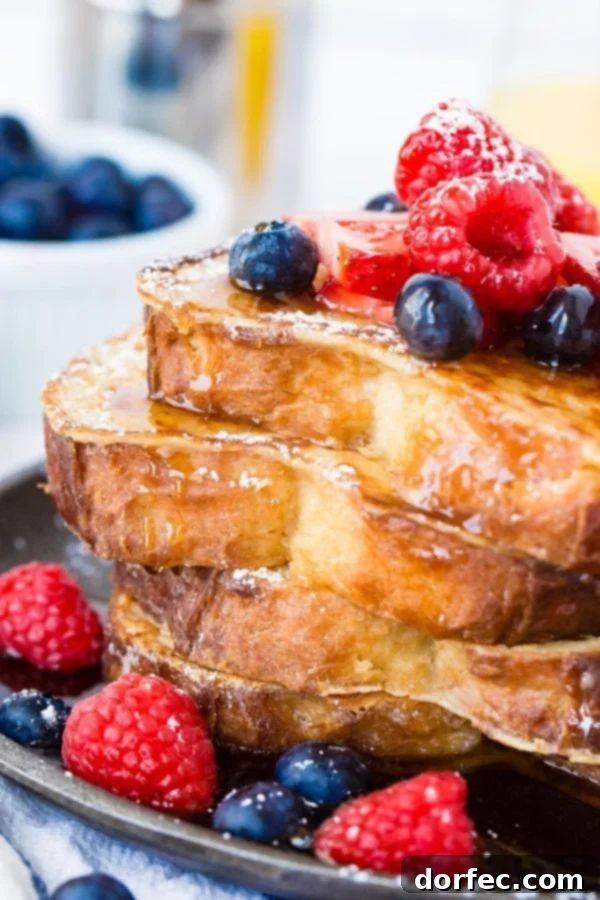
Easy French Toast Recipe: A Journey to Culinary Discovery
French toast holds a special place in many hearts, often evoking fond childhood memories. For me, the journey to mastering the best homemade French toast began at a young age, shaped by quirky family traditions and unexpected culinary experiments. I still vividly recall being a young 7 or 8-year-old, captivated by my Uncle Richard’s daring breakfast choices.
During one memorable visit, my mom served her classic French toast. Instead of the usual maple syrup, Uncle Richard reached for a vibrant homemade raspberry syrup, drizzling it generously over his slices before dusting them with an extravagant amount of powdered sugar. My young mind was utterly shocked! Such a sweet indulgence, and my mom didn’t bat an eye! Inspired (and perhaps a little rebellious), I mimicked his actions, piling powdered sugar onto my own plate. The result? Pure, unadulterated bliss. It was a revelation that cemented my love for French toast and hinted at the delightful possibilities of sweet enhancements.
Years later, my culinary horizons expanded even further, albeit with a momentary jolt of skepticism. Visiting a friend’s house in my early twenties, I was offered French toast, to which I enthusiastically agreed. However, my friend’s mom had a unique twist: she added cheese to hers! My stomach did a little flip. Cheese in scrambled eggs, yes. Cheese on a breakfast sandwich, absolutely. But cheese on French toast? That seemed, well, unorthodox. My mind immediately conjured images of a savory grilled cheese sandwich, not a sweet breakfast treat.
Despite my initial hesitation, the unspoken rule of trying new family traditions took over. I took a leap of faith, and to my utter surprise, that first cheesy bite sold me entirely. It defied all my preconceived notions, opening my palate to the wonders of sweet and salty flavor combinations. While I haven’t included cheesy French toast in the photographs here (primarily because I can never quite recall if the cheese was baked in or melted on top, and I’m a stickler for accuracy), that experience undeniably ignited my passion for blending contrasting tastes. It taught me that sometimes, the most unexpected additions can lead to the most delightful discoveries.
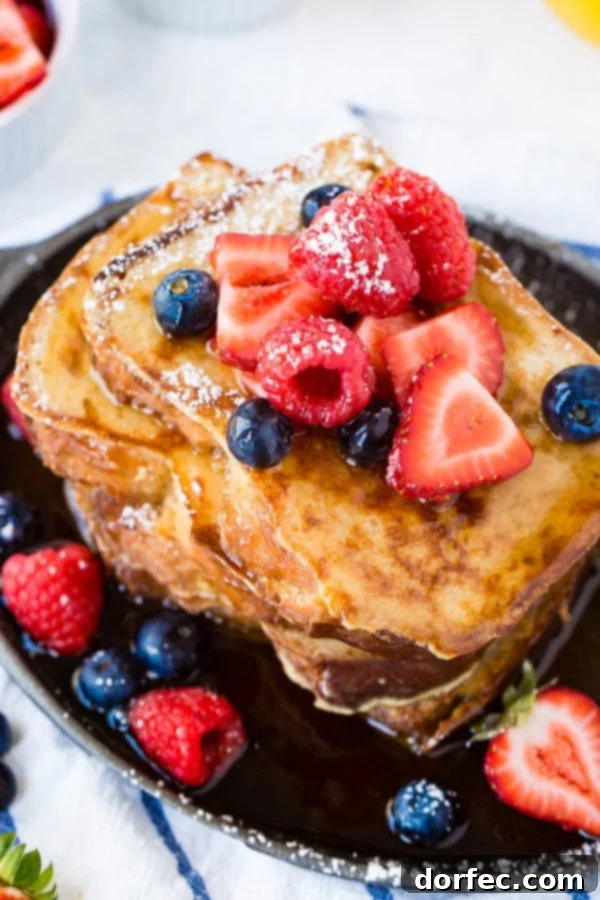
Essential Ingredients for the Best French Toast Batter
One of the many beauties of this easy French toast recipe is that you likely already have most, if not all, of the necessary ingredients in your kitchen. And yes, that includes our secret ingredient! This recipe emphasizes simplicity without compromising on flavor or texture, making it perfect for a spontaneous breakfast or a planned brunch. Here’s a breakdown of what you’ll need for this classic French toast batter:
- Large Egg: The foundation of any good French toast, providing richness and helping the batter adhere to the bread.
- Whole Milk: Contributes to the creamy texture of the custard and helps the bread absorb moisture evenly. For a richer taste, you can even experiment with half-and-half.
- Vanilla Extract: A non-negotiable flavor enhancer that adds warmth and depth to the sweet profile of the French toast. Always opt for good quality vanilla for the best aroma.
- Ground Cinnamon (optional, but highly recommended): Offers a comforting, aromatic spice that beautifully complements the sweetness.
- Ground Nutmeg (optional, but enhances flavor): A subtle hint of nutmeg elevates the overall spice blend, adding a layer of sophisticated warmth.
- Granulated Sugar: Sweetens the batter, contributing to the golden-brown caramelization during cooking.
- All-Purpose Flour: This is our surprising ingredient! A small amount of flour is key to achieving that perfect crispy exterior and custardy interior without the French toast tasting like a fried egg. It slightly thickens the batter, preventing sogginess.
- Salt: Just a pinch of salt balances the sweetness and enhances all the other flavors in the batter.
It’s incredibly satisfying to whip up a delicious meal using pantry staples! For an even more satisfying breakfast spread, consider pairing your French toast with a side of crispy bacon. The savory crunch creates a delightful contrast to the sweet, soft French toast. You’ll find the precise measurements for each ingredient in the detailed recipe card at the end of this post.
Choosing the Right Bread: The Foundation of Exceptional French Toast
The type of bread you select is paramount to creating truly outstanding French toast. While a standard white sandwich bread can certainly work in a pinch and still yield a tasty result, opting for a richer, sturdier loaf will elevate your French toast from good to extraordinary. The right bread absorbs the custardy batter without falling apart, providing a satisfying texture.
For a truly indulgent and authentic experience, we highly recommend brioche or challah. These breads are naturally enriched with eggs, butter, and sometimes sugar, giving them a tender crumb and a slightly sweet flavor that perfectly complements the French toast batter. They hold up beautifully to soaking and cook to a magnificent golden-brown hue.
Texas toast is another fantastic option. Its thicker slices offer a larger surface area to soak up more batter, resulting in a wonderfully fluffy and robust French toast that’s crispy on the outside and incredibly soft on the inside.
If you’re a fan of a more complex flavor profile, sourdough bread is an excellent choice. The characteristic tang of sourdough provides a delightful contrast to the sweet batter and toppings, adding an unexpected but utterly delicious dimension to your French toast. The slightly denser texture of sourdough also ensures it soaks up the custard without becoming mushy.
Regardless of your choice, aim for bread that is a day or two old. Slightly stale bread is ideal because it absorbs the liquid batter more effectively without becoming excessively soft or disintegrating during cooking. Fresh bread tends to absorb too much moisture too quickly, leading to a mushy texture.
The Secret to Superior French Toast: Why Flour Matters in the Batter
As mentioned, the secret ingredient that truly sets this recipe apart is a modest amount of all-purpose flour in the batter. Many traditional French toast recipes omit flour, relying solely on eggs and milk for the custard. While this can produce a decent result, it often leaves the French toast tasting like fried egg on bread, or worse, becoming excessively soggy in the center.
The addition of just a touch of flour makes a significant difference. It subtly thickens the batter, ensuring it coats the bread more effectively and evenly. This slight thickening prevents the bread from absorbing too much liquid too quickly, which is a common culprit for soggy French toast. Instead, the flour creates a delicate structure within the batter that, when cooked, forms a perfectly crispy, golden-brown crust on the outside.
Think of it as providing a gentle framework that allows the bread to maintain its integrity while still developing that coveted custardy texture in the middle. The flour ensures that each bite delivers a harmonious balance of crispness, tenderness, and rich flavor, elevating your homemade French toast to professional-level perfection. You won’t even notice the flour is there; you’ll only notice the superior texture it creates!
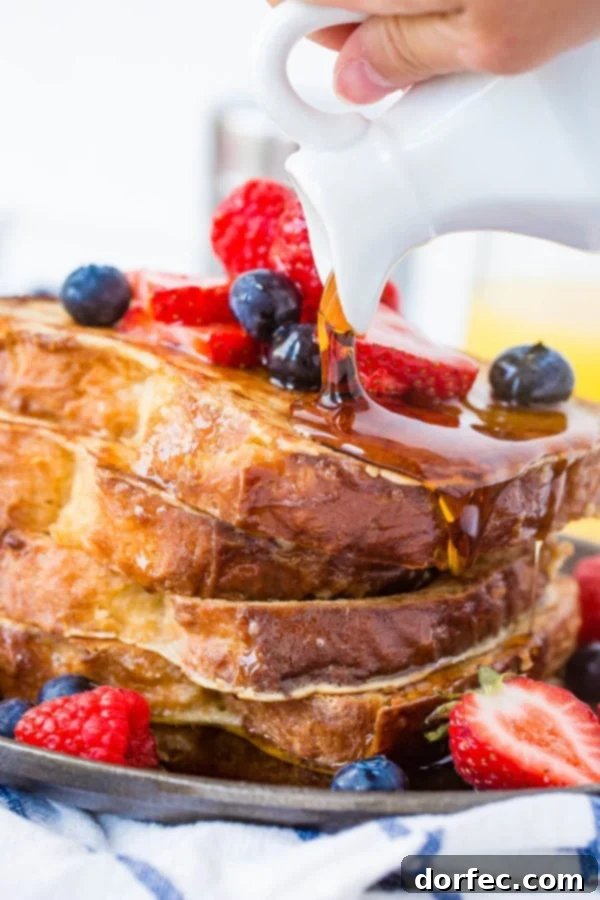
Step-by-Step Guide: How to Cook Flawless French Toast
Making the best French toast is surprisingly simple, especially with these straightforward steps and expert tips. You’ll be amazed at how easy it is to achieve that perfect golden crust and tender, custardy interior every time. Follow these instructions for French toast mastery:
- Prepare the Batter: Begin by whisking your egg vigorously in a shallow dish – a casserole dish or a pie plate works perfectly as it allows the bread to be fully coated easily. Then, gradually whisk in the melted butter until well combined. Slowly add the milk and vanilla extract, continuing to whisk until the mixture is smooth. Finally, incorporate the granulated sugar, salt, all-purpose flour, and optional cinnamon and nutmeg. Whisk thoroughly until the batter is completely smooth, with no lumps or separation. A well-whisked batter is crucial for even coating.
- Preheat Your Griddle: This is a critical step for achieving a beautifully golden-brown crust. Ensure your griddle or skillet is fully preheated to medium heat before you even think about adding the bread. A quick test: flick a few droplets of water onto the surface. If they sizzle and evaporate immediately, your griddle is ready. If not, give it a few more minutes to heat up; insufficient heat will lead to pale, greasy French toast.
- Butter the Griddle: Before cooking your first batch of French toast, lightly butter the hot griddle. A stick of butter can be rubbed directly on the surface for even coverage. This not only prevents sticking but also contributes to that irresistible golden hue and adds a lovely flavor.
- Dip the Bread: Working one slice at a time, gently immerse each piece of bread into the prepared batter. Allow each side of the bread to soak in the batter for about 15-20 seconds. This is the sweet spot: long enough for the bread to absorb the liquid and develop a custardy interior, but not so long that it becomes oversaturated and soggy. The flour in the batter helps prevent over-soaking.
- Cook to Perfection: Carefully place the dipped bread slices onto the preheated, buttered griddle. Cook each side for approximately 1 to 2 minutes, or until it reaches a beautiful golden-brown color and the edges appear set. The French toast cooks relatively quickly, so keep a close eye on it to prevent burning. Flip gently with a spatula and cook the other side until evenly golden and cooked through.
- Serve Immediately: French toast is best enjoyed fresh off the griddle! Serve hot with your favorite toppings.
With these steps, you’ll be well on your way to mastering the art of perfect French toast that will impress family and friends alike!
Dietary Adaptations: Making French Toast Dairy-Free
This delightful homemade French toast recipe is remarkably versatile and can easily be adapted to be dairy-free without sacrificing flavor or texture. Making a few simple substitutions ensures everyone can enjoy this classic breakfast treat.
For the milk component, you can substitute whole milk with an unsweetened dairy-free alternative such as coconut milk or almond milk. Full-fat coconut milk will provide a richer consistency, similar to whole milk, while almond milk offers a lighter option. Be aware that the batter’s consistency might be slightly different depending on the milk substitute you choose, but the end result will still be wonderfully tasty and satisfying.
When it comes to buttering the griddle, simply swap traditional butter for a dairy-free alternative. Coconut oil is an excellent choice, adding a subtle tropical note that can complement many toppings. Alternatively, a neutral cooking spray or a plant-based butter substitute can also work wonders to prevent sticking and achieve a golden crust. These simple changes ensure that those with dairy sensitivities or preferences can fully enjoy this fantastic French toast.
Storage Solutions: Keeping French Toast Warm & Freezing for Later
Whether you’re making a big batch for a crowd or preparing breakfast ahead of time, knowing how to properly store and reheat French toast is incredibly useful. Here’s how to keep your French toast warm and how to freeze it for delicious, quick breakfasts later:
How to Keep French Toast Warm
If you’re cooking multiple batches of French toast and want to serve them all warm at once, this trick is a lifesaver. As each batch finishes cooking, transfer the slices to a baking sheet. Place the baking sheet in an oven preheated to a low temperature, around 200 degrees Fahrenheit (93 degrees Celsius). This low heat will keep the French toast perfectly warm and slightly crisp without overcooking it, ensuring every piece is ready to enjoy at the same time.
Can French Toast Be Frozen? Absolutely!
French toast is an ideal candidate for freezer meal prep. It reheats beautifully and quickly, making it a fantastic grab-and-go breakfast option for busy mornings. To freeze homemade French toast:
- Cook as Directed: Prepare your French toast slices according to the recipe instructions.
- Cool Completely: This step is crucial! Once cooked, transfer the French toast to a wire cooling rack and allow it to cool completely to room temperature. Stacking warm French toast will create condensation and lead to ice crystals.
- Flash Freeze (Optional but Recommended): For best results and to prevent sticking, lay the cooled French toast slices in a single layer on a baking sheet lined with parchment paper. Place the baking sheet in the freezer for about 1-2 hours, or until the slices are solid.
- Store in Freezer Bags: Once solid, you can transfer the frozen French toast slices to freezer-safe bags or airtight containers. If stacking multiple layers, separate each layer with a piece of parchment paper to prevent them from sticking together.
- Label and Date: Don’t forget to label your bags with the date. Frozen French toast can be stored for up to 1 to 2 months for optimal quality.
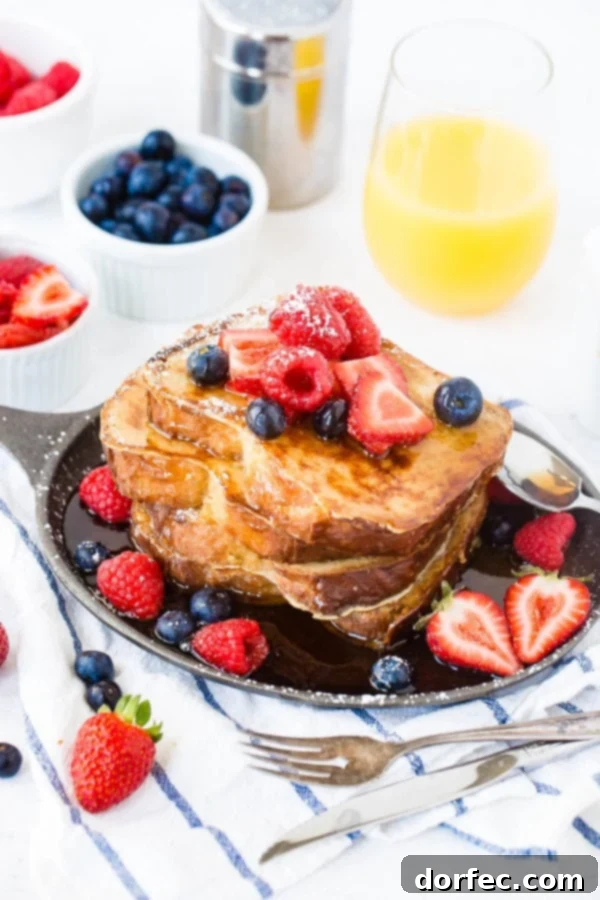
Reheating French Toast: Quick and Easy Methods
Whether you’re warming up French toast from the oven or reheating frozen slices, there are several convenient methods to get them hot and delicious again. The best method often depends on how much time you have and whether you prefer a crispy or softer texture.
- Toaster: This is by far the quickest method and excellent for achieving a crispy exterior. Simply pop a slice or two into your toaster, just as you would a piece of regular toast. Keep an eye on it to prevent burning. The outside will get wonderfully toasty and warm, making it perfect for a quick breakfast.
- Oven or Toaster Oven: For a batch of French toast or if you prefer a more evenly heated, slightly crisp exterior, the oven is your best bet. Place the French toast slices in a single layer on a baking sheet. Warm them up in a preheated oven at 300 degrees Fahrenheit (150 degrees Celsius) for about 5-7 minutes. If reheating from frozen, this time might increase to 10-15 minutes, flipping halfway through. This method provides a nice balance of crispness and warmth throughout.
- Microwave: If speed is your absolute top priority and a crispy exterior isn’t essential, the microwave works. Zap French toast slices for about 30 seconds to 1 minute, depending on your microwave’s power and the number of slices. Be aware that the microwave will make the French toast soft, not crispy, but it will be thoroughly heated.
Can French Toast Be Made Ahead? Yes, for Effortless Mornings!
Absolutely! French toast is a fantastic make-ahead breakfast, offering incredible convenience for busy mornings or when entertaining guests. There are a couple of ways you can prepare it in advance:
As mentioned earlier, cooked French toast can be completely prepared ahead of time. You can store cooked slices in the refrigerator for a few days, ready to be quickly reheated in the toaster, oven, or microwave. For even longer storage, freezing cooked French toast slices is an excellent option, allowing you to have delicious homemade breakfast ready in minutes for up to two months.
If you prefer to serve your French toast hot and fresh off the griddle, but want to cut down on morning prep time, you can prepare the batter in advance. Simply whisk together all the ingredients for the French toast batter and store it in an airtight container in the refrigerator for up to 2 days. When you’re ready to cook, just give the batter a quick whisk, dip your bread, and cook as usual. This way, you get the joy of fresh French toast with minimal fuss on the day of serving.
Beyond Syrup: Our Favorite Creative French Toast Toppings
While classic maple syrup and a pat of butter are undeniably delicious, French toast serves as a perfect canvas for a myriad of creative and exciting toppings. Experimenting with different additions can transform a simple breakfast into an extraordinary culinary experience. Here are some of our absolute favorite ways to dress up a stack of golden French toast:
- Buttermilk Syrup: A wonderfully rich and creamy syrup that adds a tangy sweetness.
- Coconut Buttermilk Syrup: Infused with tropical coconut flavor for an exotic twist.
- Meyer Lemon Syrup: Bright, zesty, and refreshing, perfect for cutting through the richness.
- Buttermilk Maple Syrup: A harmonious blend of classic maple and tangy buttermilk.
- Peanut Butter Maple Syrup: A nutty, rich, and deeply satisfying syrup that’s a fan favorite.
- Creamy Marionberry Syrup: A sweet and tart berry syrup with a luxurious creamy texture.
- Peanut Butter: Creamy or crunchy, it adds a delightful richness and protein.
- Mini Chocolate Chips: Melted slightly by the warm French toast, they create a gooey, sweet treat.
- Coconut Flakes: Toasted or raw, they add texture and a lovely tropical essence.
- Chopped Nuts: Pecans, walnuts, or almonds provide a satisfying crunch and nutty flavor.
- Fresh Fruit: Sliced strawberries, raspberries, blueberries, or bananas add natural sweetness, freshness, and a pop of color.
- Cinnamon Sugar: A simple yet effective blend for an extra layer of warm spice and sweetness.
- Whipped Cream: A dollop of fluffy whipped cream adds a touch of elegance and decadence.
- Caramel Sauce or Chocolate Sauce: For an extra indulgent, dessert-like experience.
Don’t be afraid to mix and match or create your own unique combinations! The possibilities are endless when it comes to customizing your perfect French toast.
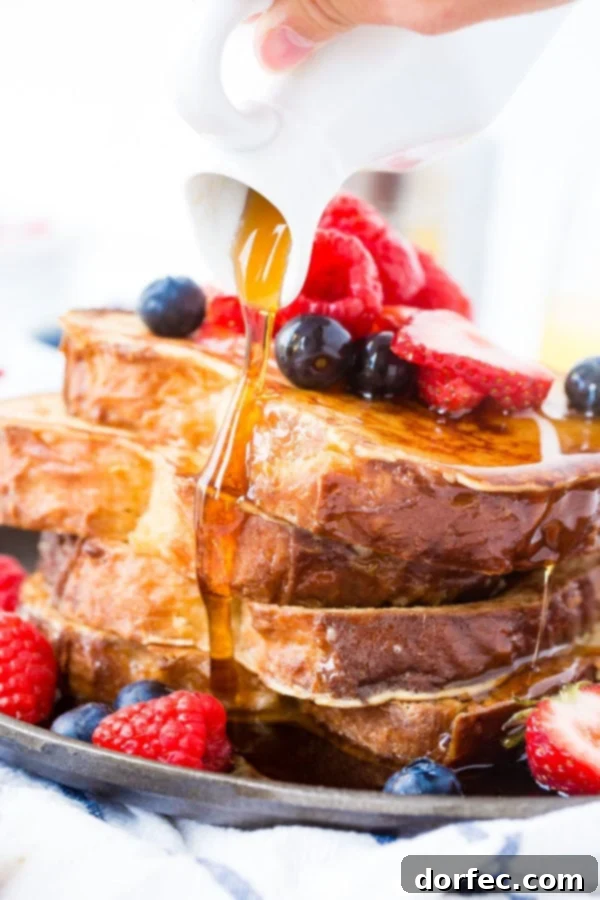
Expert Tips for French Toast Mastery
Achieving truly perfect French toast goes beyond just having the right ingredients; it’s also about mastering a few key techniques. These expert tips will help ensure your French toast is consistently delicious, with that ideal balance of crispy exterior and custardy interior:
- The Perfect Soak Time: When dipping your bread slices into the batter, resist the urge to rush. Allow each side to soak for a good 15 to 20 seconds. This extended soak time is crucial for the bread to properly absorb the egg mixture, ensuring the middle of your French toast develops that irresistible, tender, custard-like texture when cooked. However, be careful not to over-soak, especially with softer breads, as this can lead to soggy results. The flour in our batter helps manage this balance.
- Don’t Skip the Spices: While cinnamon and nutmeg are listed as optional ingredients in the batter, they are highly recommended. These warm spices impart a wonderful depth of flavor to your homemade French toast without overpowering the dish. They add a comforting aroma and taste that truly elevates the overall experience.
- Mastering Griddle Temperature: Proper griddle temperature is key to achieving that beautiful golden-brown crust without burning the outside or leaving the inside undercooked. Always ensure your griddle or pan is thoroughly preheated to medium heat before you start cooking. A simple test: flick a few droplets of water onto the surface. If they immediately sizzle and steam off, your griddle is ready. If the water just sits there or slowly evaporates, it needs more time to heat up. Cooking on a griddle that isn’t hot enough will result in pale, greasy French toast, while one that’s too hot will burn the outside before the inside can cook.
- Use Slightly Stale Bread: As discussed earlier, bread that is a day or two old is preferable to fresh bread. Stale bread has lost some of its moisture, making it more absorbent. This allows it to soak up the custard more effectively without becoming mushy, leading to a better texture in the final product.
- Melted Butter in the Batter: Incorporating melted butter directly into the batter adds richness and helps create an even more luxurious, flavorful custard. It also contributes to a tender crumb.
- Cook in Batches: Avoid overcrowding your griddle. Cook French toast in batches to maintain consistent griddle temperature and ensure each piece cooks evenly to a beautiful golden brown.
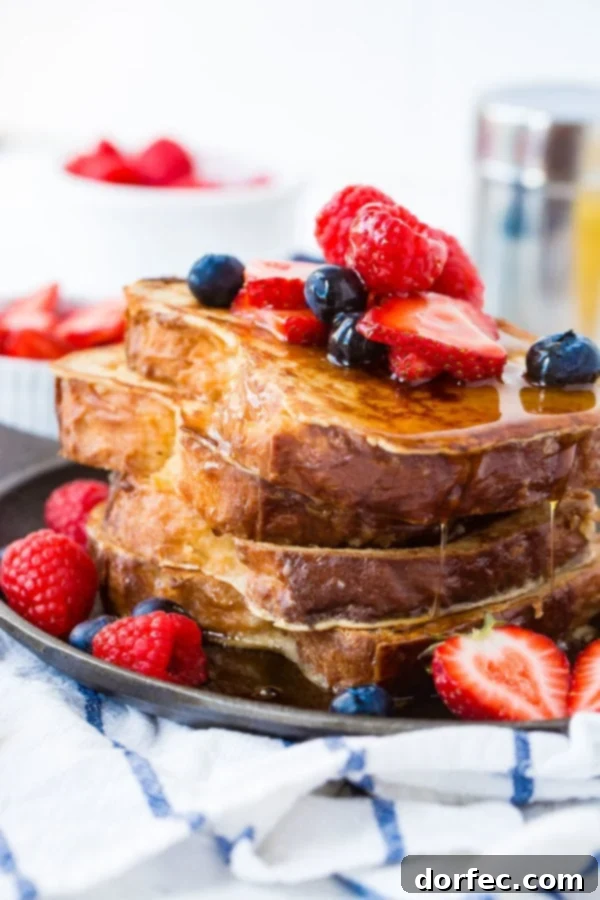
Your search for how to make the best French toast truly ends here! This recipe provides not only the best batter, complete with a secret ingredient for exceptional texture, but also all the insider tips for choosing the perfect bread and cooking it to absolute perfection. Top these glorious slices with our sensational buttermilk syrup, or any of your favorite creative toppings, and you’ll find yourself in breakfast heaven! Who’s ready to join me for the most delicious breakfast imaginable?
More Sweet Breakfast Recipes You’re Sure to Love:
- Buttermilk Pancakes From Scratch
- Liege Waffles
- Bananas Foster French Toast
- Dutch Baby Pancakes
- Orange Sweet Rolls
- Puffy French Toast
- Cinnamon Roll French Toast Casserole
- Peach Cobbler French Toast Casserole
- Ultimate Waffles
- Protein French Toast
- All Sweet Breakfast Recipes!
Recipe: How to Make Perfect French Toast
By Sweet Basil
Prep Time: 5 mins
Cook Time: 5 mins
Total Time: 10 mins
Servings: 6
This recipe delivers classic French toast with a surprising ingredient in the batter, ensuring you’ll never make French toast any other way!
Ingredients
- 1 large Egg
- 2 Tablespoons unsalted Butter, melted
- 3/4 Cup whole Milk
- 2 teaspoons Vanilla Extract
- 2 Tablespoons Granulated Sugar
- 1/4 teaspoon Salt
- 1/3 Cup All-Purpose Flour
- 1 Dash Ground Cinnamon (optional)
- 1 Dash Ground Nutmeg (optional)
- 1 Loaf Brioche or Challah Bread (Texas Toast can also be used)
Instructions
- Beat the large egg in a shallow baking dish or pie plate.
- Whisk in the melted butter, then slowly add the milk and vanilla extract, whisking until thoroughly combined.
- Add the sugar, salt, flour, and optional spices (cinnamon and nutmeg) while continuing to whisk until the batter is completely smooth and free of lumps.
- Soak each slice of bread in the batter for about 15-20 seconds per side, ensuring it’s fully coated and has time to absorb the custard.
- Heat a skillet or griddle over medium heat. Spread butter generously all over the cooking surface.
- Cook the bread for about 1 minute per side, or until each side is beautifully golden brown and cooked through.
- Serve immediately with buttermilk syrup or your favorite syrup and toppings!
Recipe Notes
How to reheat French toast:
- Toaster: Pop slices into a toaster for a quick reheat and crispy exterior.
- Oven: Place French toast in a single layer on a baking sheet and warm in a 300°F (150°C) oven for 5-7 minutes.
- Microwave: For a quick, non-crispy reheat, zap slices in the microwave for about a minute.
Nutrition Information (Approximation per 2 slices)
- Serving: 2 slices
- Calories: 351 kcal
- Carbohydrates: 37g
- Protein: 9g
- Fat: 19g
- Saturated Fat: 11g
- Polyunsaturated Fat: 0.3g
- Monounsaturated Fat: 1g
- Trans Fat: 0.2g
- Cholesterol: 138mg
- Sodium: 408mg
- Potassium: 68mg
- Fiber: 0.3g
- Sugar: 6g
- Vitamin A: 692 IU
- Vitamin C: 0.01mg
- Calcium: 78mg
- Iron: 1mg
Nutrition information is automatically calculated and should only be used as an approximation.
REMEMBER TO SUBSCRIBE TO our FREE Oh Sweet Basil NEWSLETTER AND RECEIVE EASY RECIPES DELIVERED INTO YOUR INBOX EVERY DAY!
When you try a recipe, please use the hashtag #ohsweetbasil on INSTAGRAM for a chance to be featured in our stories! FOLLOW OH, SWEET BASIL ON FACEBOOK | INSTAGRAM | PINTEREST | TWITTER FOR ALL OF OUR LATEST CONTENT, RECIPES AND STORIES.