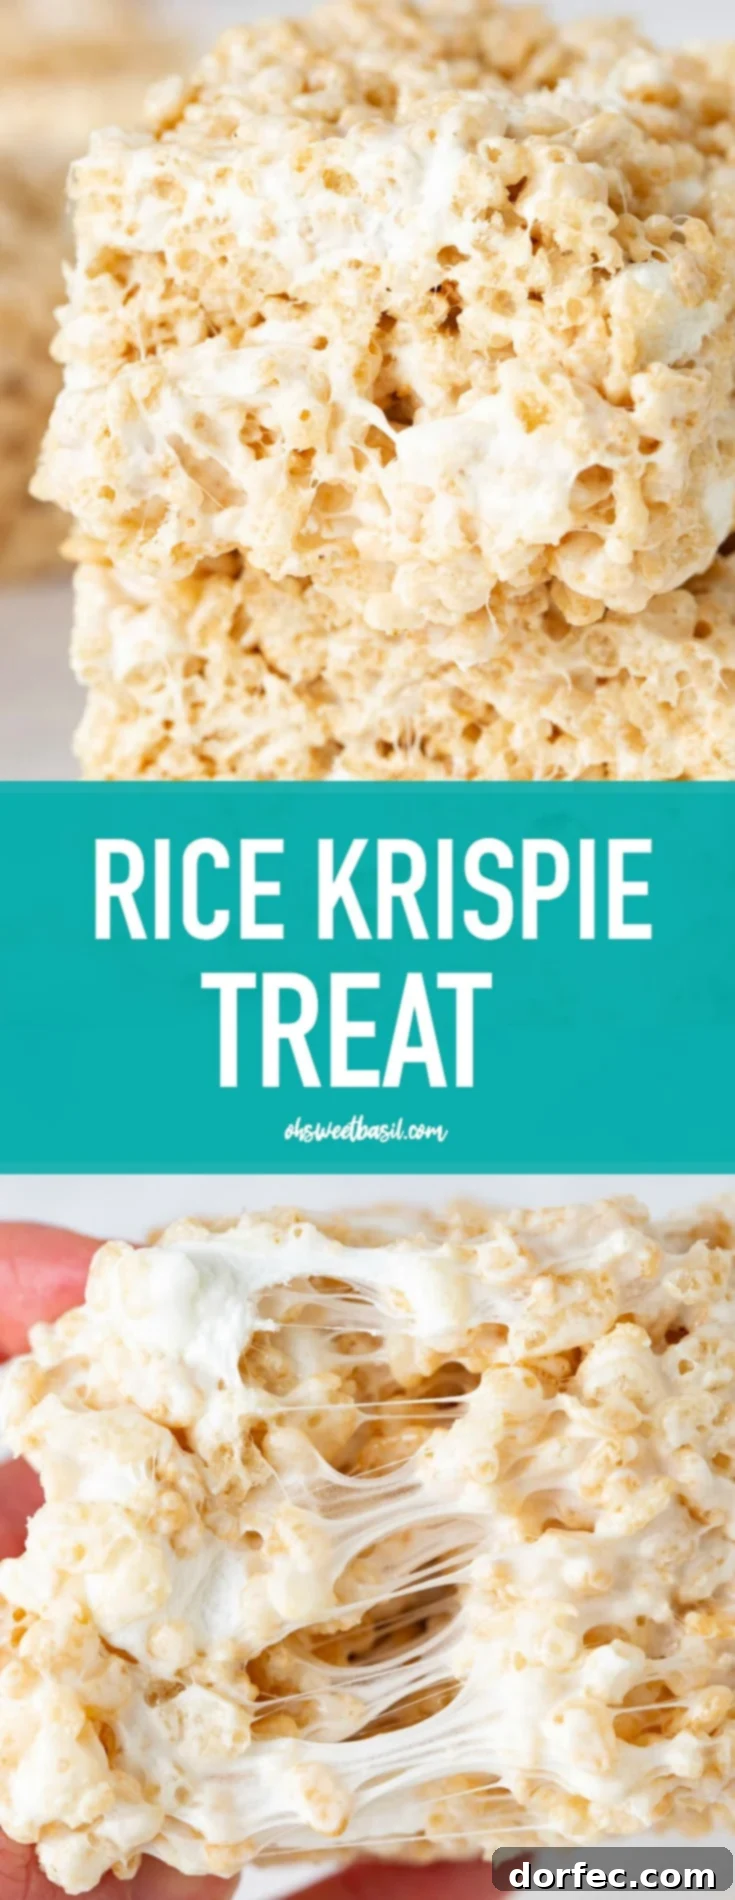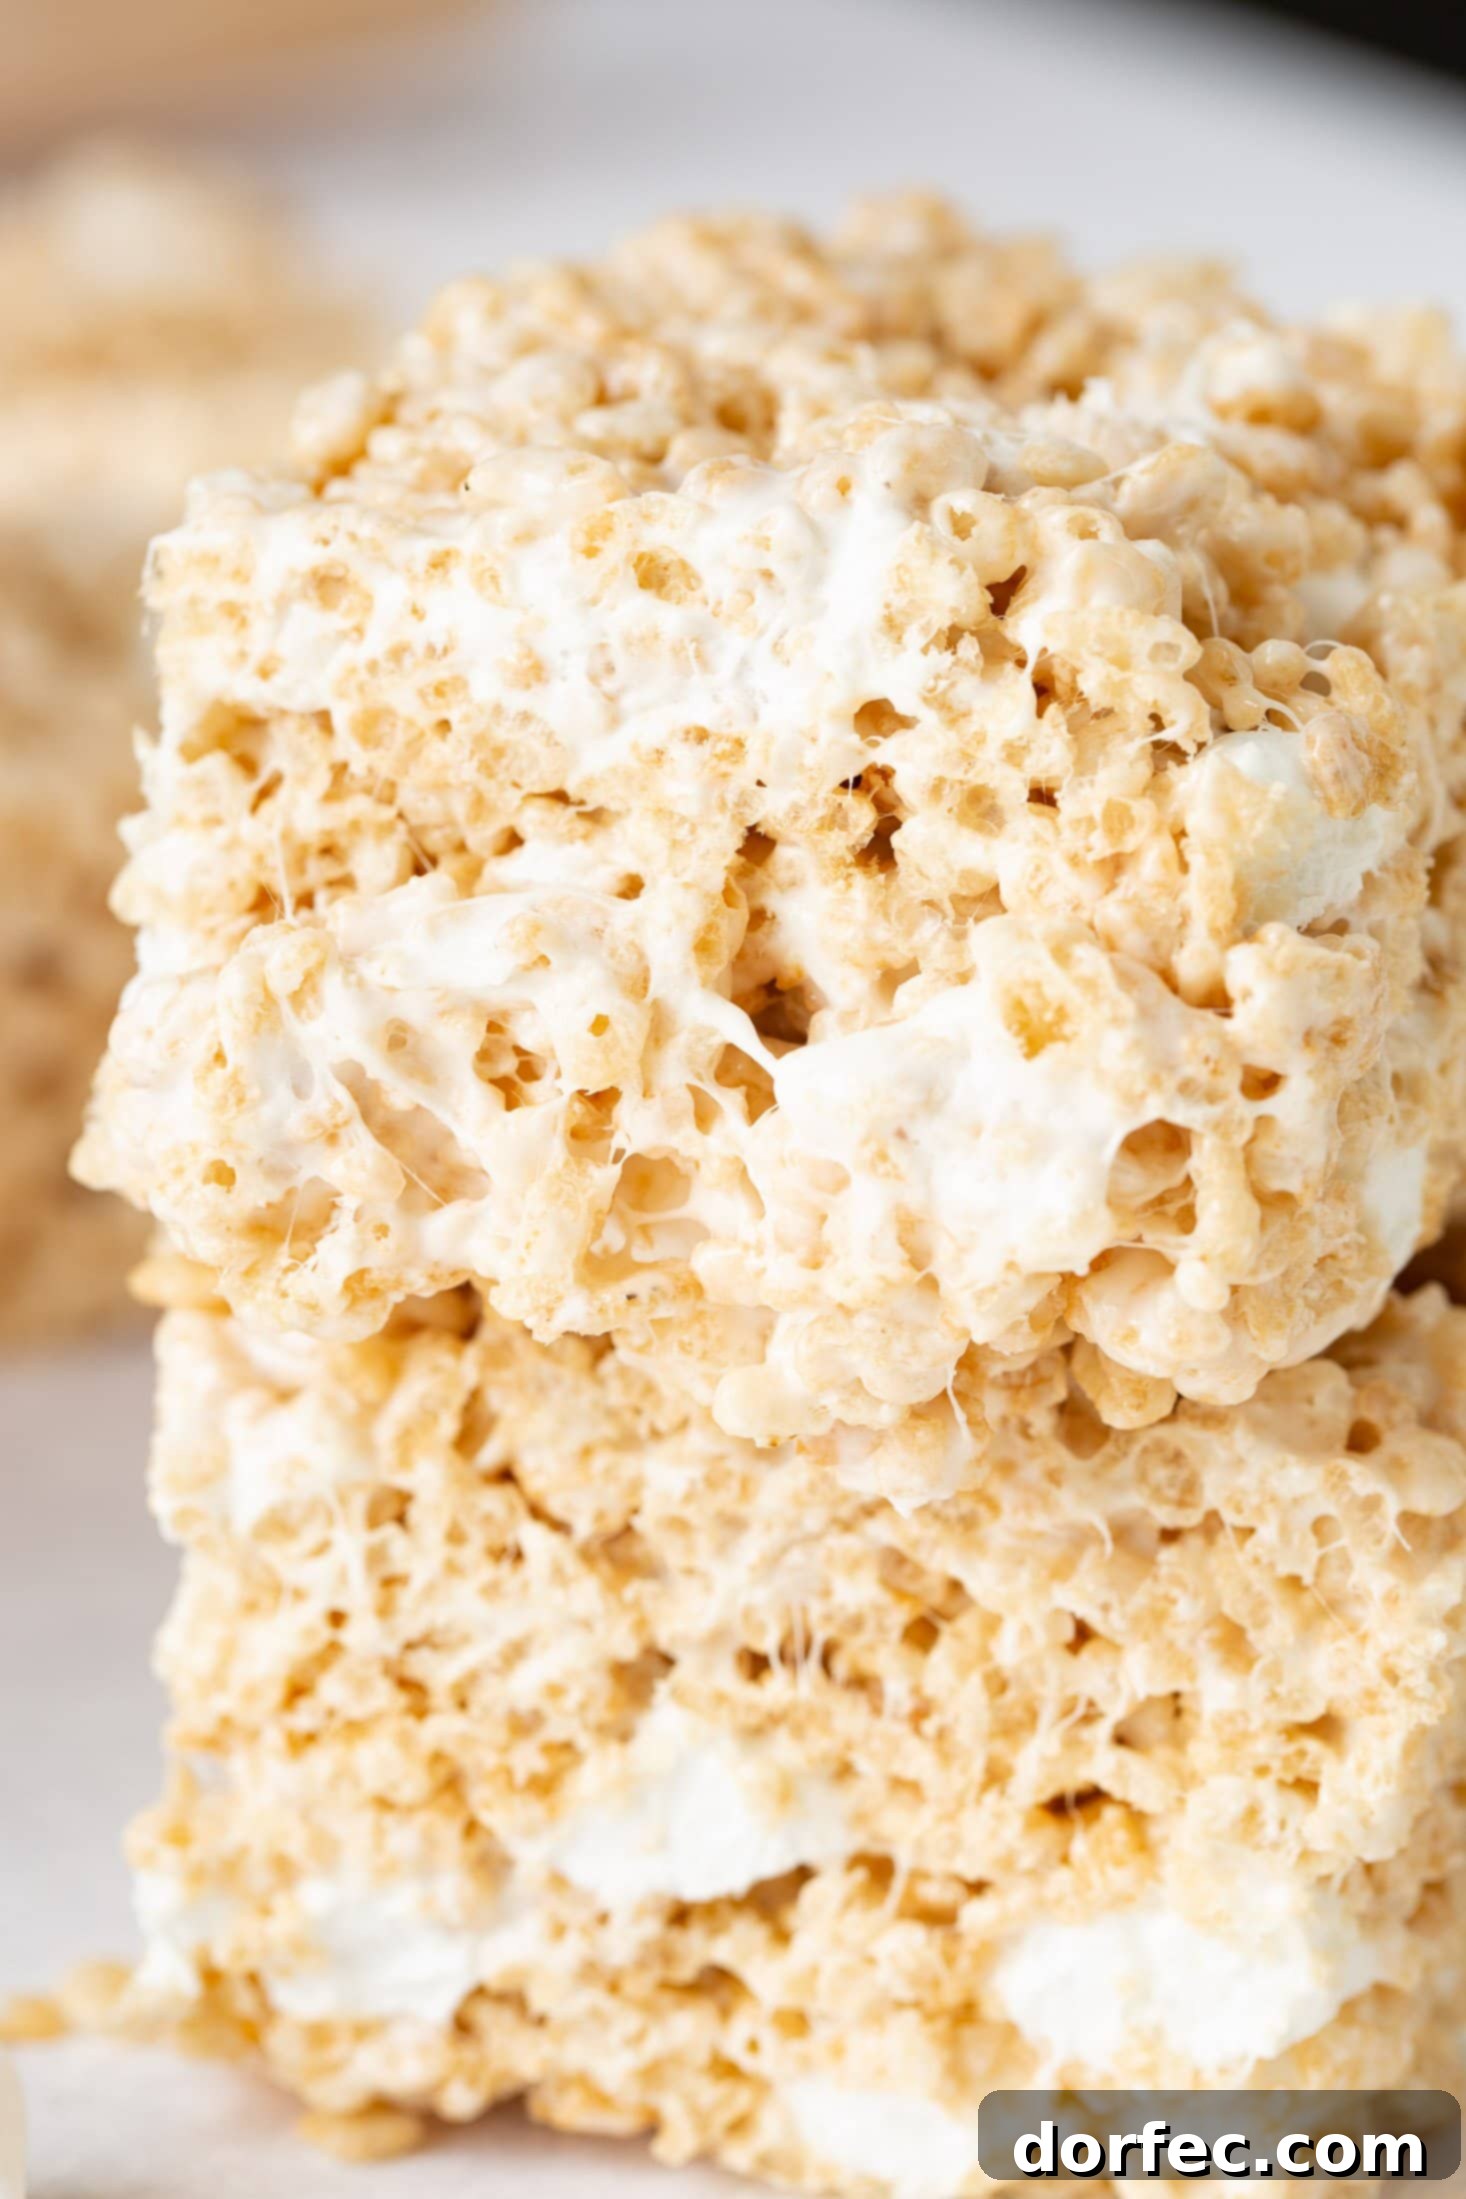
These homemade Rice Krispie Treats redefine what you expect from this classic no-bake dessert. Forget bland, crumbly squares – prepare for exceptionally big, remarkably fluffy, and ridiculously gooey bars, all thanks to our carefully crafted, marshmallow-loaded technique. Quick to whip up with no oven required, these treats are perfect for any occasion, from festive parties and elegant dessert platters to a spontaneous Tuesday craving. Using just a few essential pantry ingredients, our recipe elevates the traditional crispy rice treat to an unparalleled level of flavor and texture, truly blowing the classic version out of the water.
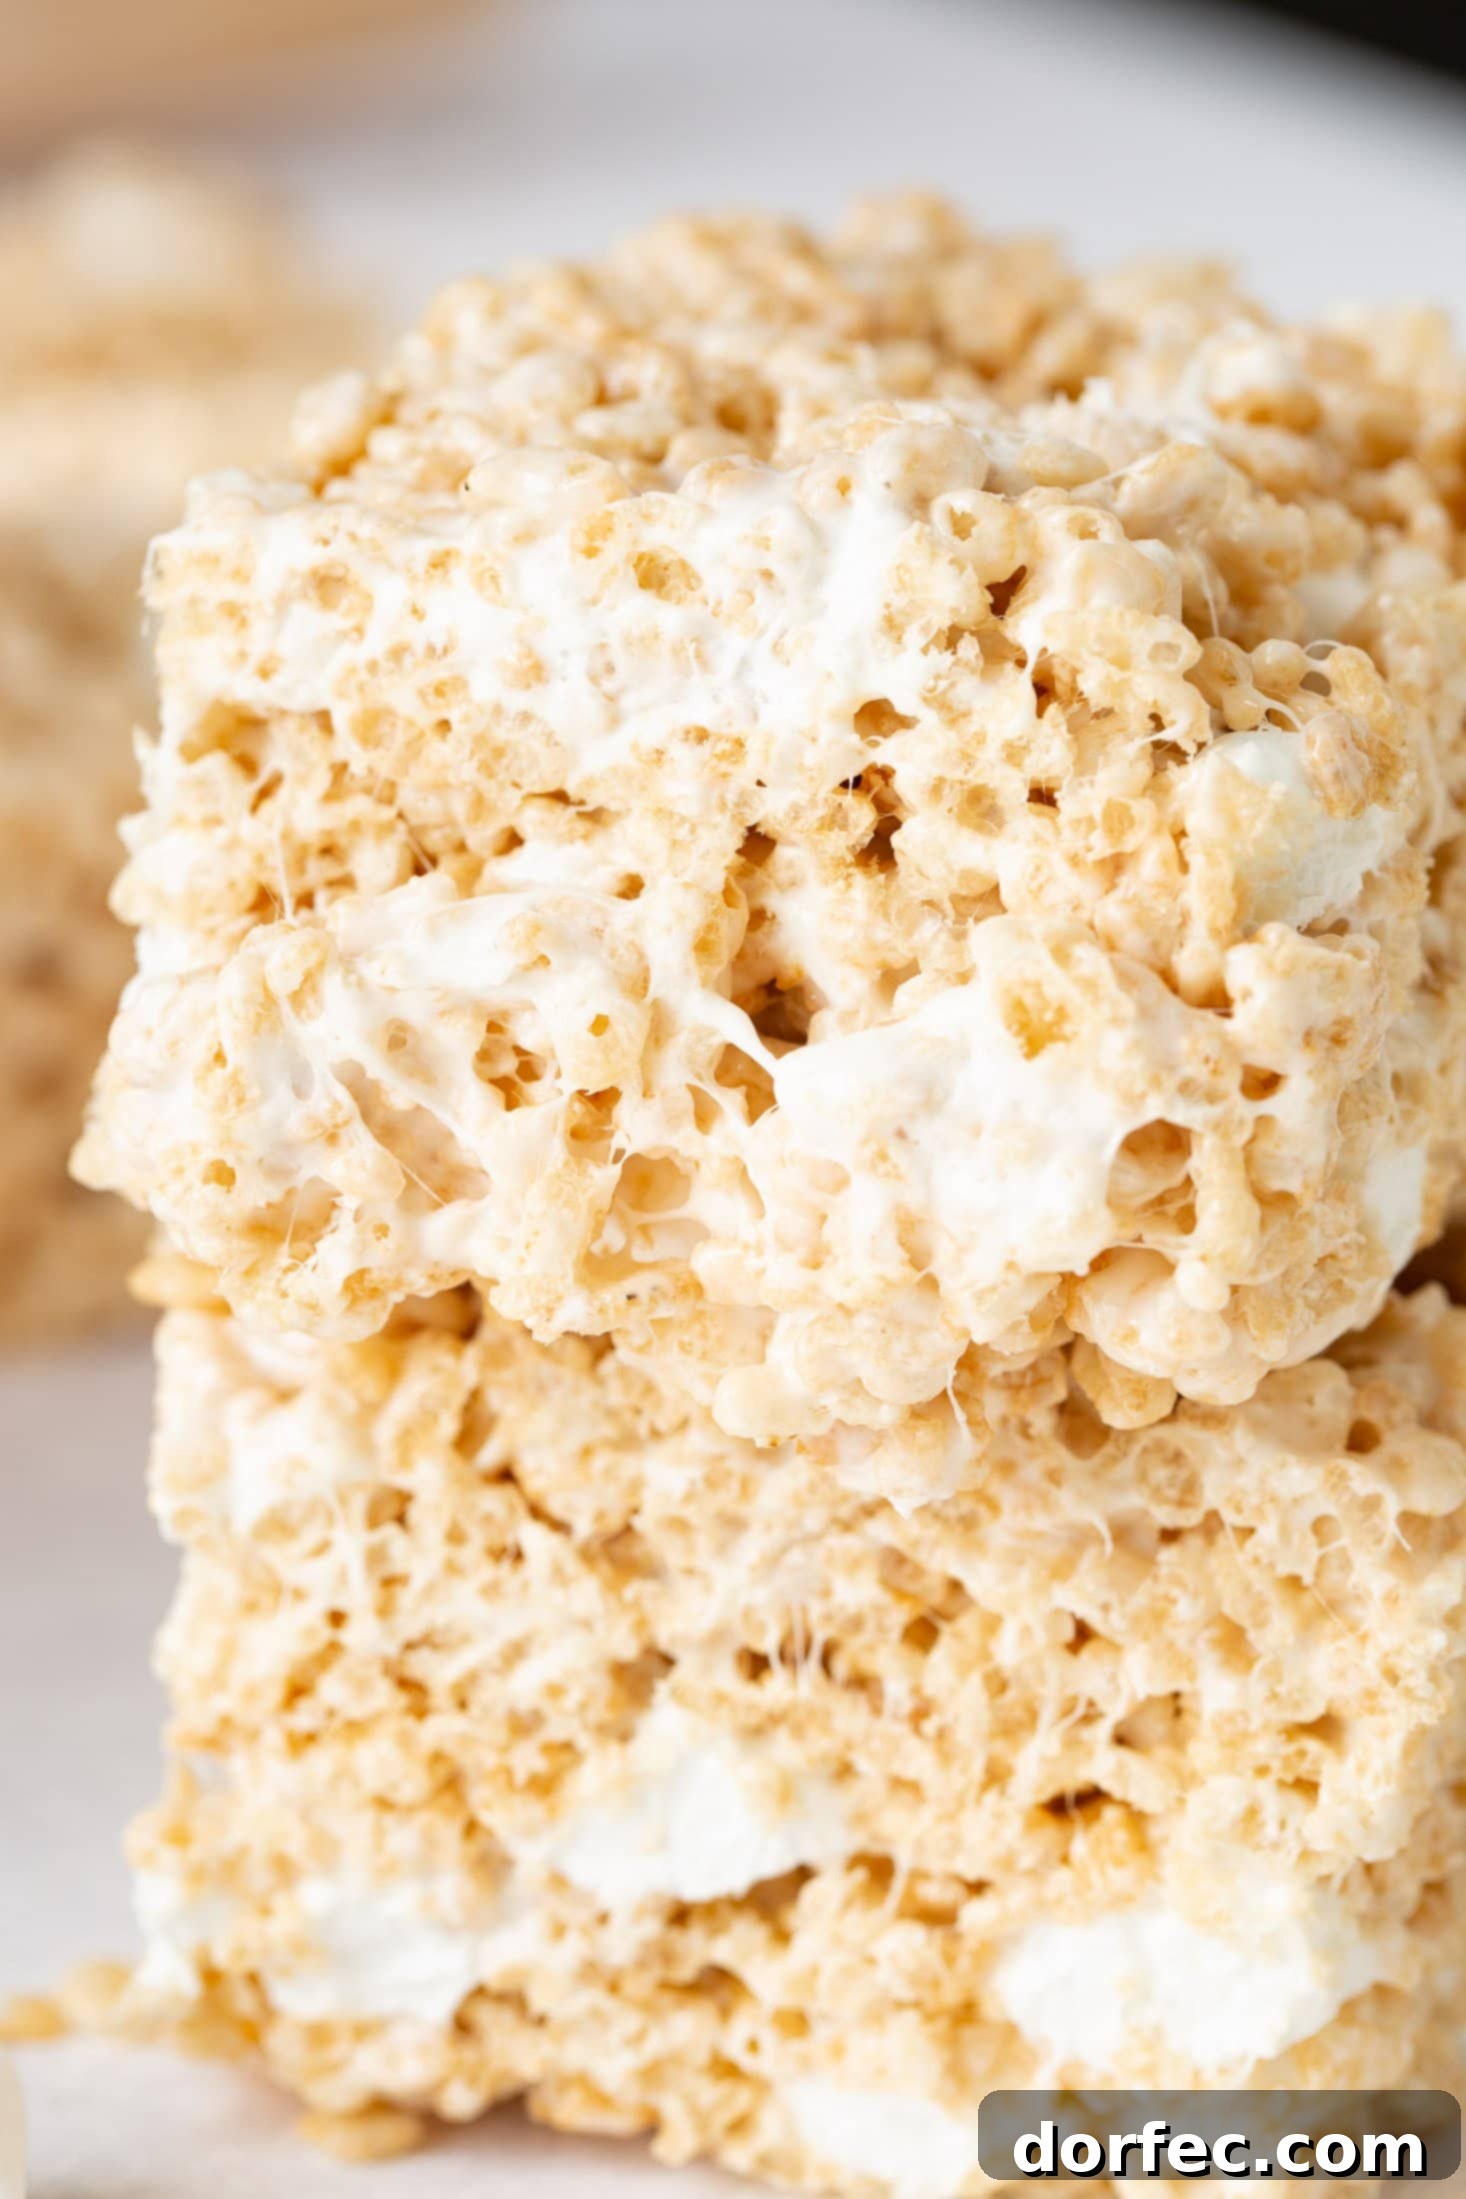
Our recipe for the best homemade Rice Krispie Treats takes everything you adore about the timeless classic and levels it up significantly. We achieve this superior quality with an abundance of extra marshmallows, a rich buttery base, and just the perfect pinch of sea salt to balance the sweetness. The result is a treat with an incredibly soft and chewy texture, punctuated by delightful pockets of gooey mini marshmallows in every single bite – a truly magical experience. We’ve dedicated countless hours in our kitchen, meticulously testing batch after batch to perfect the cereal-to-marshmallow ratio until it was absolutely spot-on. The flavor profile is rich, deeply nostalgic, and possesses just the right amount of sweetness, making it utterly impossible to resist reaching for a second, or even a third, serving.
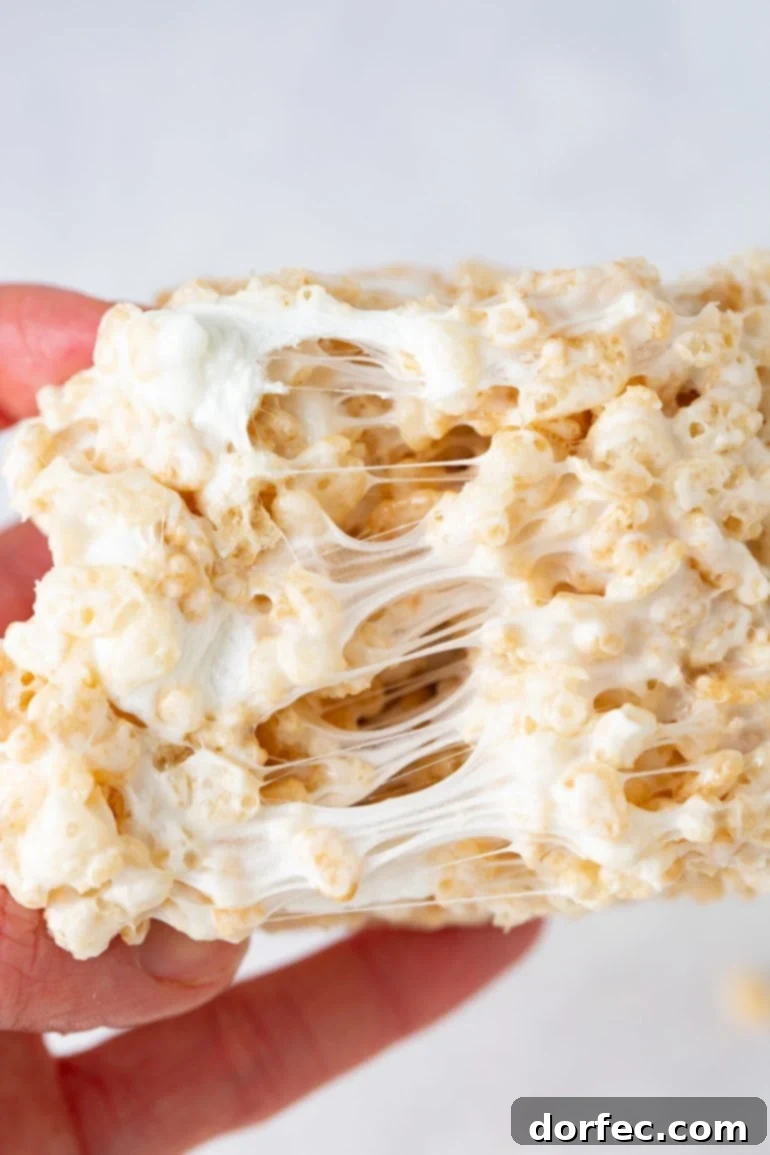
There’s an undeniable charm about simple, old-school desserts that never fades, especially when they’re crafted to perfection like these gooey marshmallow treats. The sweet, buttery aroma that fills your kitchen as they come together is nothing short of a warm, comforting embrace. And that moment when you lift a piece from the pan, witnessing the soft, stretchy marshmallow pull, is simply irresistible. To complement your dessert table with more effortless favorites that offer pure indulgence, consider pairing these with our Chewy M&M Chocolate Chip Cookies for a classic cookie delight, or the ultra-rich No-Bake Chocolate Peanut Butter Cookies for another easy, satisfying treat.
Why This Recipe Makes the Best Gooey Rice Krispie Treats
What sets our homemade Rice Krispie Treats apart from all others? It’s a combination of meticulous ingredient selection and a perfected method that ensures maximum gooeyness and flavor. Many recipes fall short, producing hard, crumbly, or overly sweet bars. Our secret lies in not just the quantity of marshmallows, but how they’re incorporated, alongside high-quality butter and a crucial touch of salt. This balance creates a rich, sweet, and perfectly chewy experience that will have everyone asking for your secret. Prepare to be amazed by the texture – they’re soft enough to melt in your mouth, yet hold together beautifully with that signature marshmallow stretch. This isn’t just a recipe; it’s a guide to creating the ultimate nostalgic indulgence.
Essential Ingredients for Truly Gooey Rice Krispie Treats
Every single ingredient in this recipe plays a vital role in crafting treats that are exceptionally gooey, bursting with flavor, and utterly drool-worthy. Let’s shine a spotlight on these pantry heroes that transform simple components into pure dessert magic.
- Unsalted Butter: This forms the foundational rich, buttery flavor that permeates every single crispy bite. While salted butter can be used in a pinch, we recommend unsalted so you can precisely control the salt content. If using salted, simply reduce the added sea salt slightly to maintain that perfect balance.
- Sea Salt, Fine Grain: A small amount goes an incredibly long way to cut through and perfectly balance all that sweetness. This is a non-negotiable ingredient; please don’t skip it! And for the best results, avoid substituting with regular table salt, as its flavor and texture differ.
- Mini Marshmallows: These are the magical glue, the very essence of all things gooey in our treats. We employ a two-stage marshmallow addition: a generous 8 cups are melted down to create the smooth, sticky binder, and then an additional 2 cups are stirred in later. These unmelted pockets of fluff provide those dreamy, soft, and stretchy bursts of marshmallow in every bite. Full-sized marshmallows just don’t create the same delicate texture, so stick to the mini variety for optimal results.
- Vanilla Extract: This essential flavoring agent adds a crucial layer of depth and complexity, amplifying that warm, sweet, and comforting aroma and taste we all crave. Unless you’re in a truly desperate situation with no vanilla on hand, do not omit it. It truly makes a significant difference.
- Rice Krispies Cereal: The crisp, crunchy backbone of these iconic treats. While you can opt for a store-brand crispy rice cereal, we highly recommend Kellogg’s Rice Krispies. They consistently deliver that unmistakable “snap, crackle, pop” sound and texture that is fundamental to the classic experience we’re aiming for.
For precise measurements of each ingredient, please refer to the detailed recipe card conveniently located at the end of this comprehensive guide.
How to Make the Ultimate Gooey Rice Krispie Treats: Step-by-Step
These incredibly gooey, wonderfully chewy, and generously marshmallow-packed treats come together with surprising speed – often faster than your excited kids can exclaim, “Can I have one?!” Let’s break down the simple steps to create this irresistible dessert in no time.
- Prepare Your Pan for Success: First, ensure easy removal and clean slices by thoroughly spraying a 9×9-inch baking dish with a non-stick cooking spray. For even greater convenience, line the pan with either foil or parchment paper, leaving an overhang on the sides to create a “sling.” This allows you to effortlessly lift the entire slab of treats out once cooled. Don’t forget to spray the foil or parchment paper again to prevent any sticking.
- Pro Tip: A parchment paper sling is truly your best friend here, guaranteeing a completely clean and frustration-free lift-out of your finished treats.
- Melt Butter and Marshmallows Gently: In a generously sized pot set over medium heat, or in a large microwave-safe bowl, combine the unsalted butter, fine grain sea salt, and 8 cups of mini marshmallows. If using the stovetop, melt everything slowly, stirring continuously until the mixture is completely smooth and glossy. If using a microwave, heat in short 30-second bursts, stirring thoroughly between each interval, until fully melted.
- Critical Tip: Avoid overheating! Melting marshmallows too quickly or at too high a temperature can cause the sugar to crystallize and toughen, resulting in hard, brittle treats instead of soft, chewy ones. Low and slow heat is the absolute key to achieving that perfect gooey consistency.
- Stir in the Vanilla Essence: Once your butter and marshmallow mixture is perfectly melted and shimmering with a glossy sheen, immediately remove it from the heat. Quickly stir in the vanilla extract. Its aromatic warmth will beautifully enhance the overall flavor profile.
- Incorporate the Crispy Cereal: Now, add your Rice Krispies cereal to the warm, melted marshmallow mixture. Gently but swiftly stir until every single grain of cereal is evenly coated with the sweet, sticky marshmallow goodness. A sturdy rubber spatula or a lightly buttered spoon will make this mixing process significantly easier and prevent excessive sticking.
- Add the Signature Gooey Marshmallow Pockets: While the mixture is still warm and pliable, stir in the remaining 2 cups of mini marshmallows. These will not fully melt but rather create those delightful, soft pockets of unmelted fluff that are characteristic of truly exceptional and gooey Rice Krispie Treats. This step is crucial for that sought-after stretchy texture.
- Press into the Prepared Pan: Carefully pour the entire mixture into your previously prepared pan. Using a buttered spatula or lightly buttered hands, gently press the mixture down to form an even layer. Resist the urge to press too hard or compact the treats too firmly; you want them to remain light and fluffy, not dense, hard bricks!
- Handy Tip: Lightly buttering your hands or spatula, or even running your fingers under cold water, will prevent the sticky mixture from clinging to them during this pressing stage.
- Finish with a Flaked Sea Salt Sprinkle: For that ultimate gourmet touch, while the treats are still warm and slightly sticky, sprinkle a light dusting of flaked sea salt over the top. This provides a delightful sweet-salty contrast that enhances the rich buttery and vanilla flavors, making each bite even more irresistible.
You can find all these detailed steps, along with precise ingredient quantities, in the comprehensive recipe card located at the conclusion of this article.
Frequently Asked Questions About Rice Krispie Treats
Can I Use Regular Marshmallows Instead of Mini Marshmallows?
While you certainly can use regular-sized marshmallows, mini marshmallows are highly recommended for this recipe. The smaller size allows them to melt much more evenly and quickly, which is key to achieving that perfectly silky, smooth, and consistently gooey marshmallow mixture. If you do opt for regular-sized marshmallows, make sure to chop them into smaller pieces beforehand to facilitate more even melting, and be prepared to give them a little extra time on the heat to ensure they melt down completely without scorching. The goal is a smooth base, which minis achieve effortlessly.
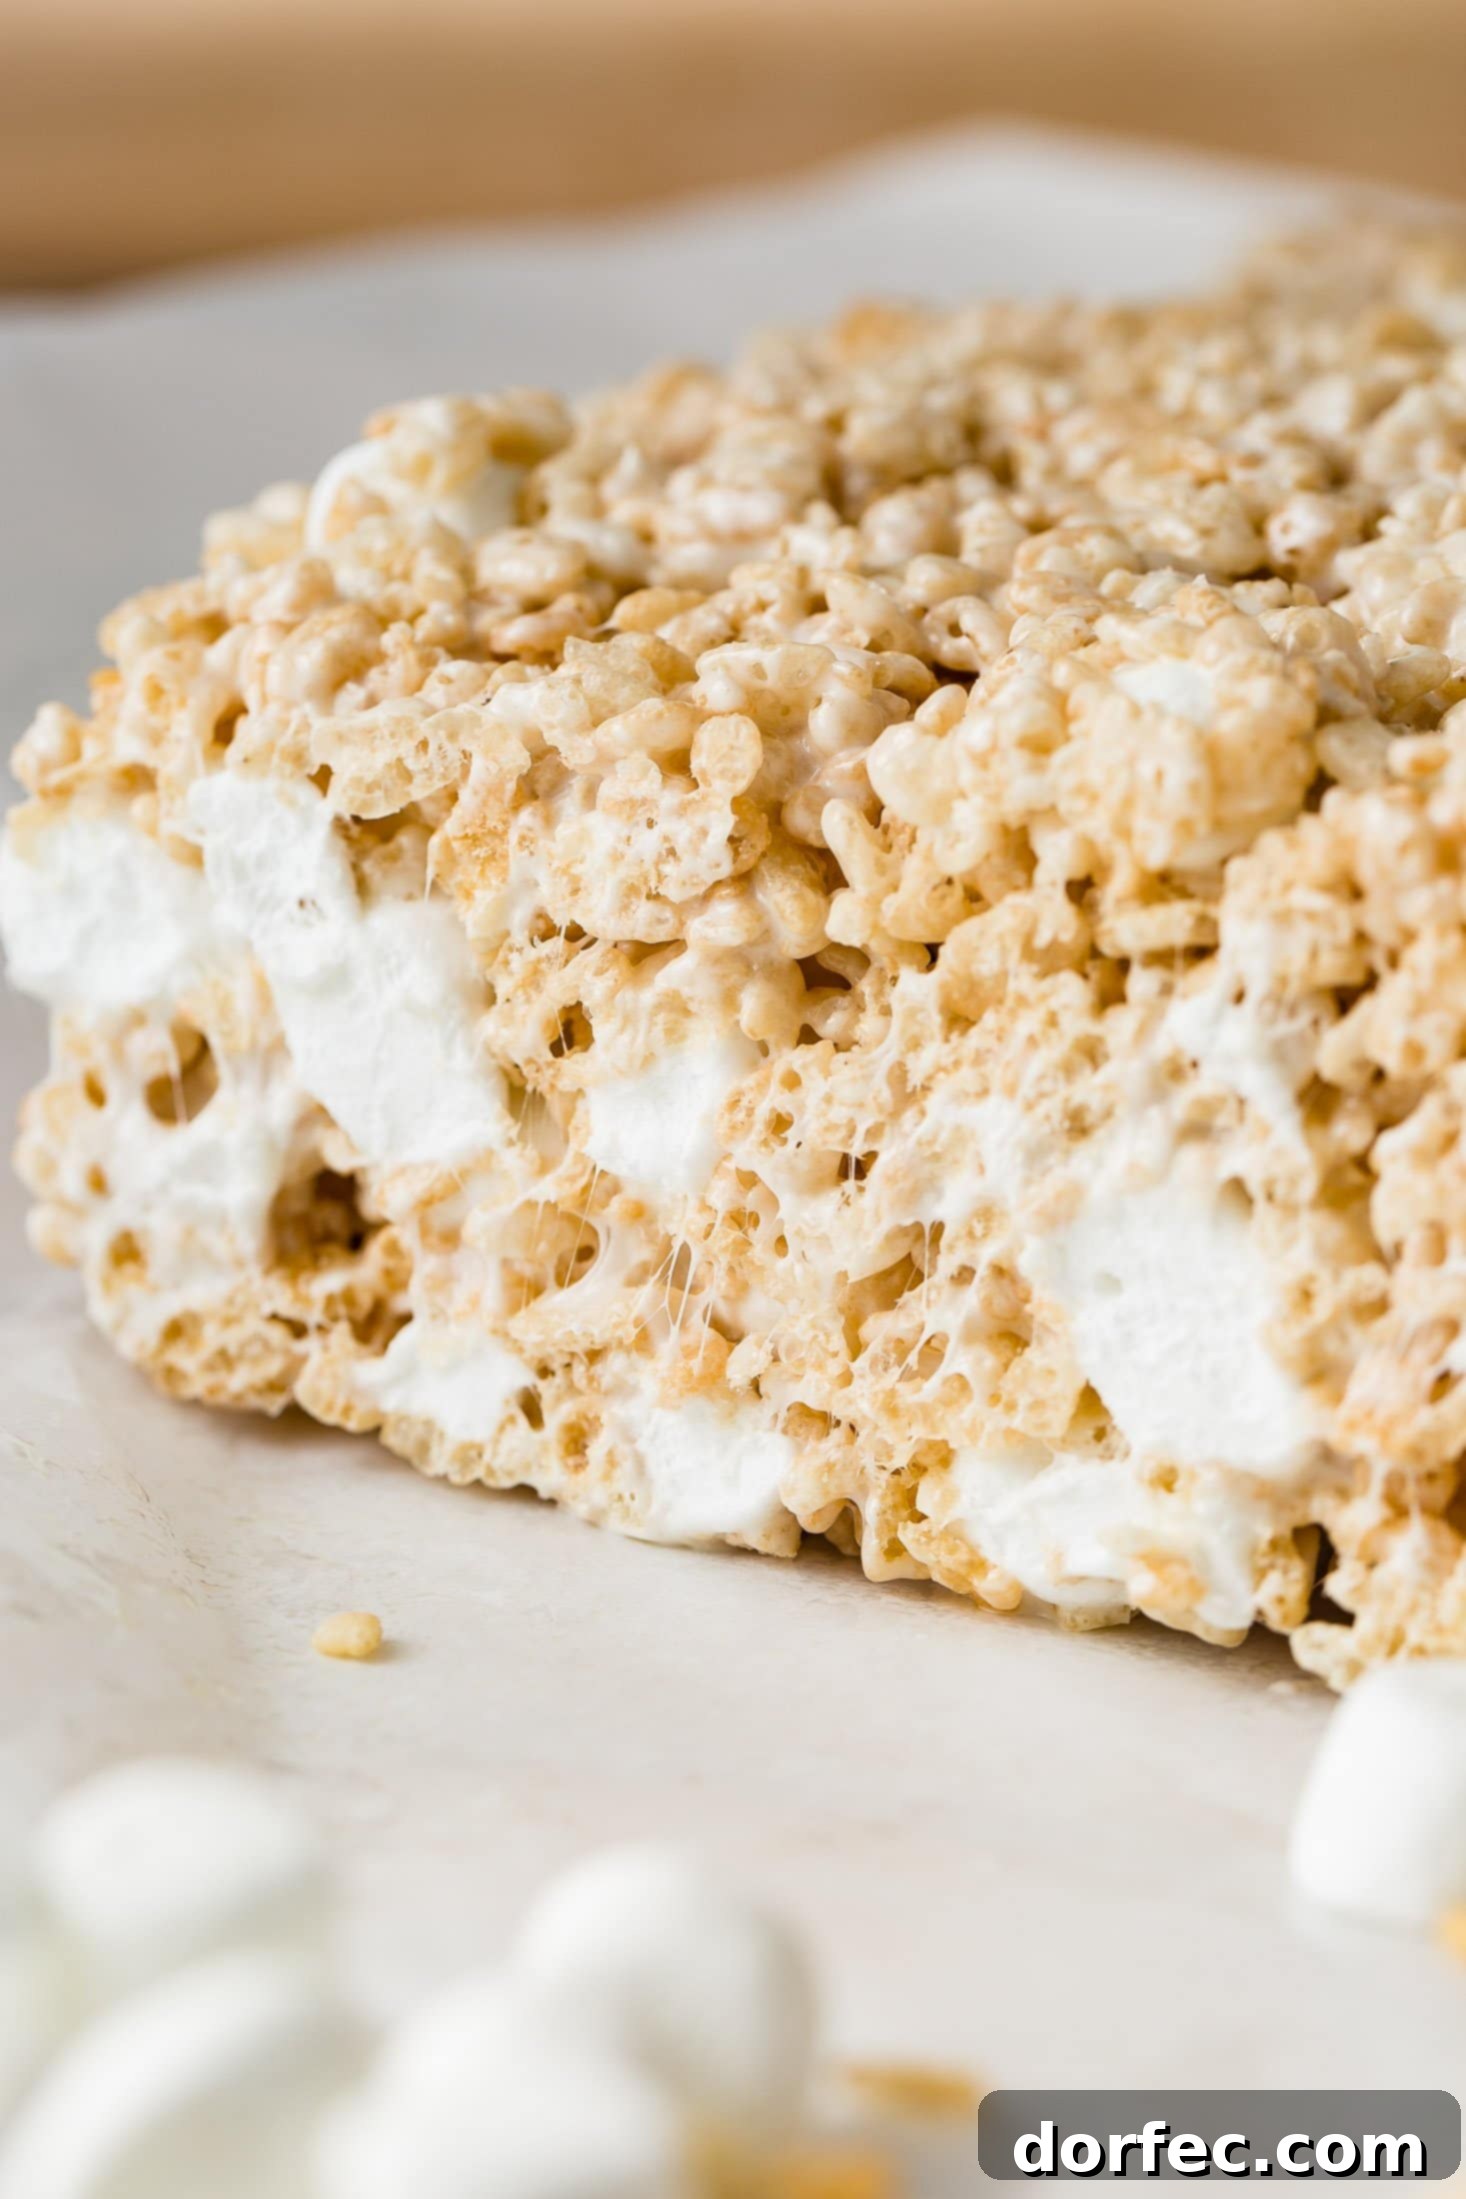
Why are My Rice Krispie Treats Hard and Not Gooey?
The most common culprit for hard Rice Krispie Treats is overheating the butter and marshmallows. When the sugar in the marshmallows gets too hot, it firms up excessively, transforming your desired soft, chewy dessert into something unpleasantly tough. To prevent this, always melt your butter and marshmallows over low to medium heat, stirring constantly, and remove from heat as soon as they’re smooth. Another factor can be pressing the mixture too firmly into the pan; a light hand ensures fluffy, airy treats.
Can I Add Peanut Butter to These Rice Krispie Treats?
Absolutely, and it’s a delicious addition! To infuse your treats with a rich, nutty flavor, simply stir about half a cup of creamy peanut butter into the melted butter and marshmallow mixture before you add the cereal. The peanut butter adds an extra layer of flavor and a wonderfully smooth, dense chewiness. It also adds a touch of protein – because balance, right?
What Pan Size Should I Use for Thinner or Thicker Treats?
Our recipe, as written, uses a 9×9-inch baking dish, which yields delightfully thick, bakery-style bars. If you prefer thinner squares that can stretch further (great for sharing or for portion control!), you can use a 9×13-inch pan. Simply adjust how firmly you press the mixture based on your chosen pan size and your desired thickness. Remember, the less you compress, the fluffier they will be. You can also double this recipe into a 9×13-inch pan for an even larger batch of thick and chewy treats perfect for a crowd.
Exciting Rice Krispie Treat Variations to Try
While our classic gooey Rice Krispie Treat recipe is perfect on its own, it also serves as a fantastic canvas for culinary creativity. Feel free to experiment with other crispy cereals or fun mix-ins to create unique and personalized treats. Here are a few delectable variations you can easily try:
- Chocolatey Twist: Swap out the traditional Rice Krispies for cocoa-flavored crispy rice cereal, such as Cocoa Pebbles, to create a rich chocolatey version that kids (and devoted chocolate-loving adults) will absolutely adore.
- White Chocolate Bliss: For creamy pockets of sweetness, stir in a handful of white chocolate chips with the cereal while the marshmallow mixture is still warm. The residual heat will slightly soften them, creating a delightful texture.
- Fruity & Fun: Experiment with fruity cereals like Fruity Pebbles or Fruit Loops. This colorful, candy-like version is an instant hit and perfect for brightening up any birthday party or celebration.
- Seasonal Spice: Introduce a pinch of warm cinnamon or a splash of maple extract to transform these into cozy, fall-inspired crispy rice treats. They pair perfectly with a steaming mug of cider on a crisp autumn day.
- Vegan-Friendly: For those with dietary restrictions, simply use vegan marshmallows and a high-quality plant-based butter. This ensures a dairy-free, gelatin-free version that still retains all the beloved gooey texture.
- Layered Decadence: Create an impressive layered dessert bar by pressing half of the cereal mixture into the pan, then adding a thin layer of chocolate chips or peanut butter, and finally topping with the remaining cereal mix.
- Colorful Mini Marshmallows: For an extra burst of visual appeal and sweetness, mix in colorful miniature marshmallows at the very end of the process. They’ll retain their vibrant hues and soft texture.
- Salty Crunch: If you crave a little extra crunch and a sweet-and-salty dynamic, stir in finely chopped pretzels or crushed graham crackers along with the cereal. This adds a delightful twist to the classic texture.
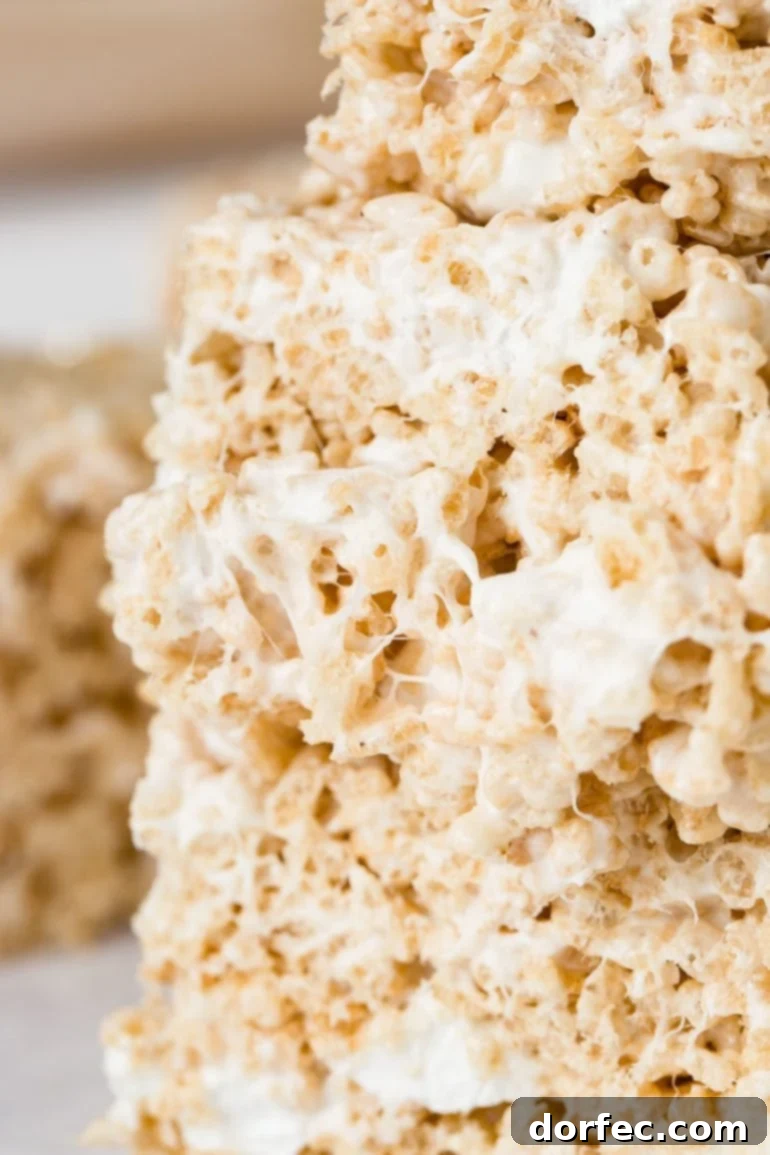
Top Tips for Making the Best Rice Krispie Treats Every Time
Achieving perfectly gooey, fluffy Rice Krispie Treats is simple when you follow a few key tips. These pointers will help you avoid common pitfalls and guarantee a batch that everyone raves about:
- Always Use Fresh Marshmallows: This is a non-negotiable step for truly spectacular treats. Seriously, fresh marshmallows make an enormous difference in the final texture. Don’t be tempted to grab that half-used, hardened bag that’s been lingering in your pantry for months, thinking it will be okay since you’re melting them. Stale marshmallows will result in a tougher, less pliable, and less gooey texture. Fresh ones melt into a smooth, elastic dream.
- “Mise en Place” is Your Best Friend: Before you even think about turning on the heat, I strongly recommend getting everything ready and measured out ahead of time. This culinary practice, known as “mise en place” (French for “everything in its place”), is crucial here because once you start melting, everything comes together very, very quickly. Having your pan prepped, butter measured, salt ready, vanilla open, and cereal waiting will ensure a smooth, stress-free process and prevent anything from scorching or becoming stiff. Trust me on this – speed and organization are key!
- The Secret to Non-Stick Pressing: The trick to effortlessly pressing these sticky, easy Rice Krispie Treats into your prepared pan without them clinging stubbornly to your hands is remarkably simple: lightly butter your hands or spatula, or quickly run your fingers under cold water and shake off the excess. Voilà! No more sticky fingers, just a perfectly even and fluffy layer of deliciousness.
Storing and Freezing Homemade Rice Krispie Treats
Once your irresistible Rice Krispie Treats have cooled and fully set (which is often the longest and most agonizing 30 minutes of your life!), they are ready to be sliced into individual portions and stored. The absolute best way to keep them wonderfully fresh, soft, and gooey is to store them in an airtight container at room temperature. If you need to stack them, place sheets of wax paper or parchment paper between the layers to prevent them from merging into one giant, delicious marshmallow blob.
While freezing is technically possible, I’ll be completely transparent with you: it’s generally not my preferred method for these treats. The delicate texture of marshmallows tends to get a little peculiar in the freezer, and they never quite regain that exact same soft, chewy, and stretchy quality upon thawing. However, if you absolutely must freeze them, here’s how to do it properly: wrap each individual treat tightly in plastic wrap, then place the wrapped treats into a freezer-safe, airtight container. They can be frozen for up to 6 weeks. When you’re ready to enjoy them, simply let them thaw completely at room temperature before serving.
A crucial piece of advice: you do not need to refrigerate these treats, and in fact, you absolutely should not! Placing them in the fridge will cause them to dry out significantly and become unpleasantly hard. Nobody wants a crispy rice treat that could double as a hockey puck! Room temperature is the sweet spot for maintaining their signature gooey, chewy texture.
These treats are undeniably at their absolute best when made fresh. However, you can certainly prepare them a day ahead if you’re planning for a party, a potluck, or that inevitable, last-minute “Mom, I need a snack for school tomorrow!” moment. Just remember to keep them tightly wrapped and stored at room temperature to lock in all that delightful gooey goodness. When stored correctly, they will remain wonderfully fresh and delicious for up to 3 days.
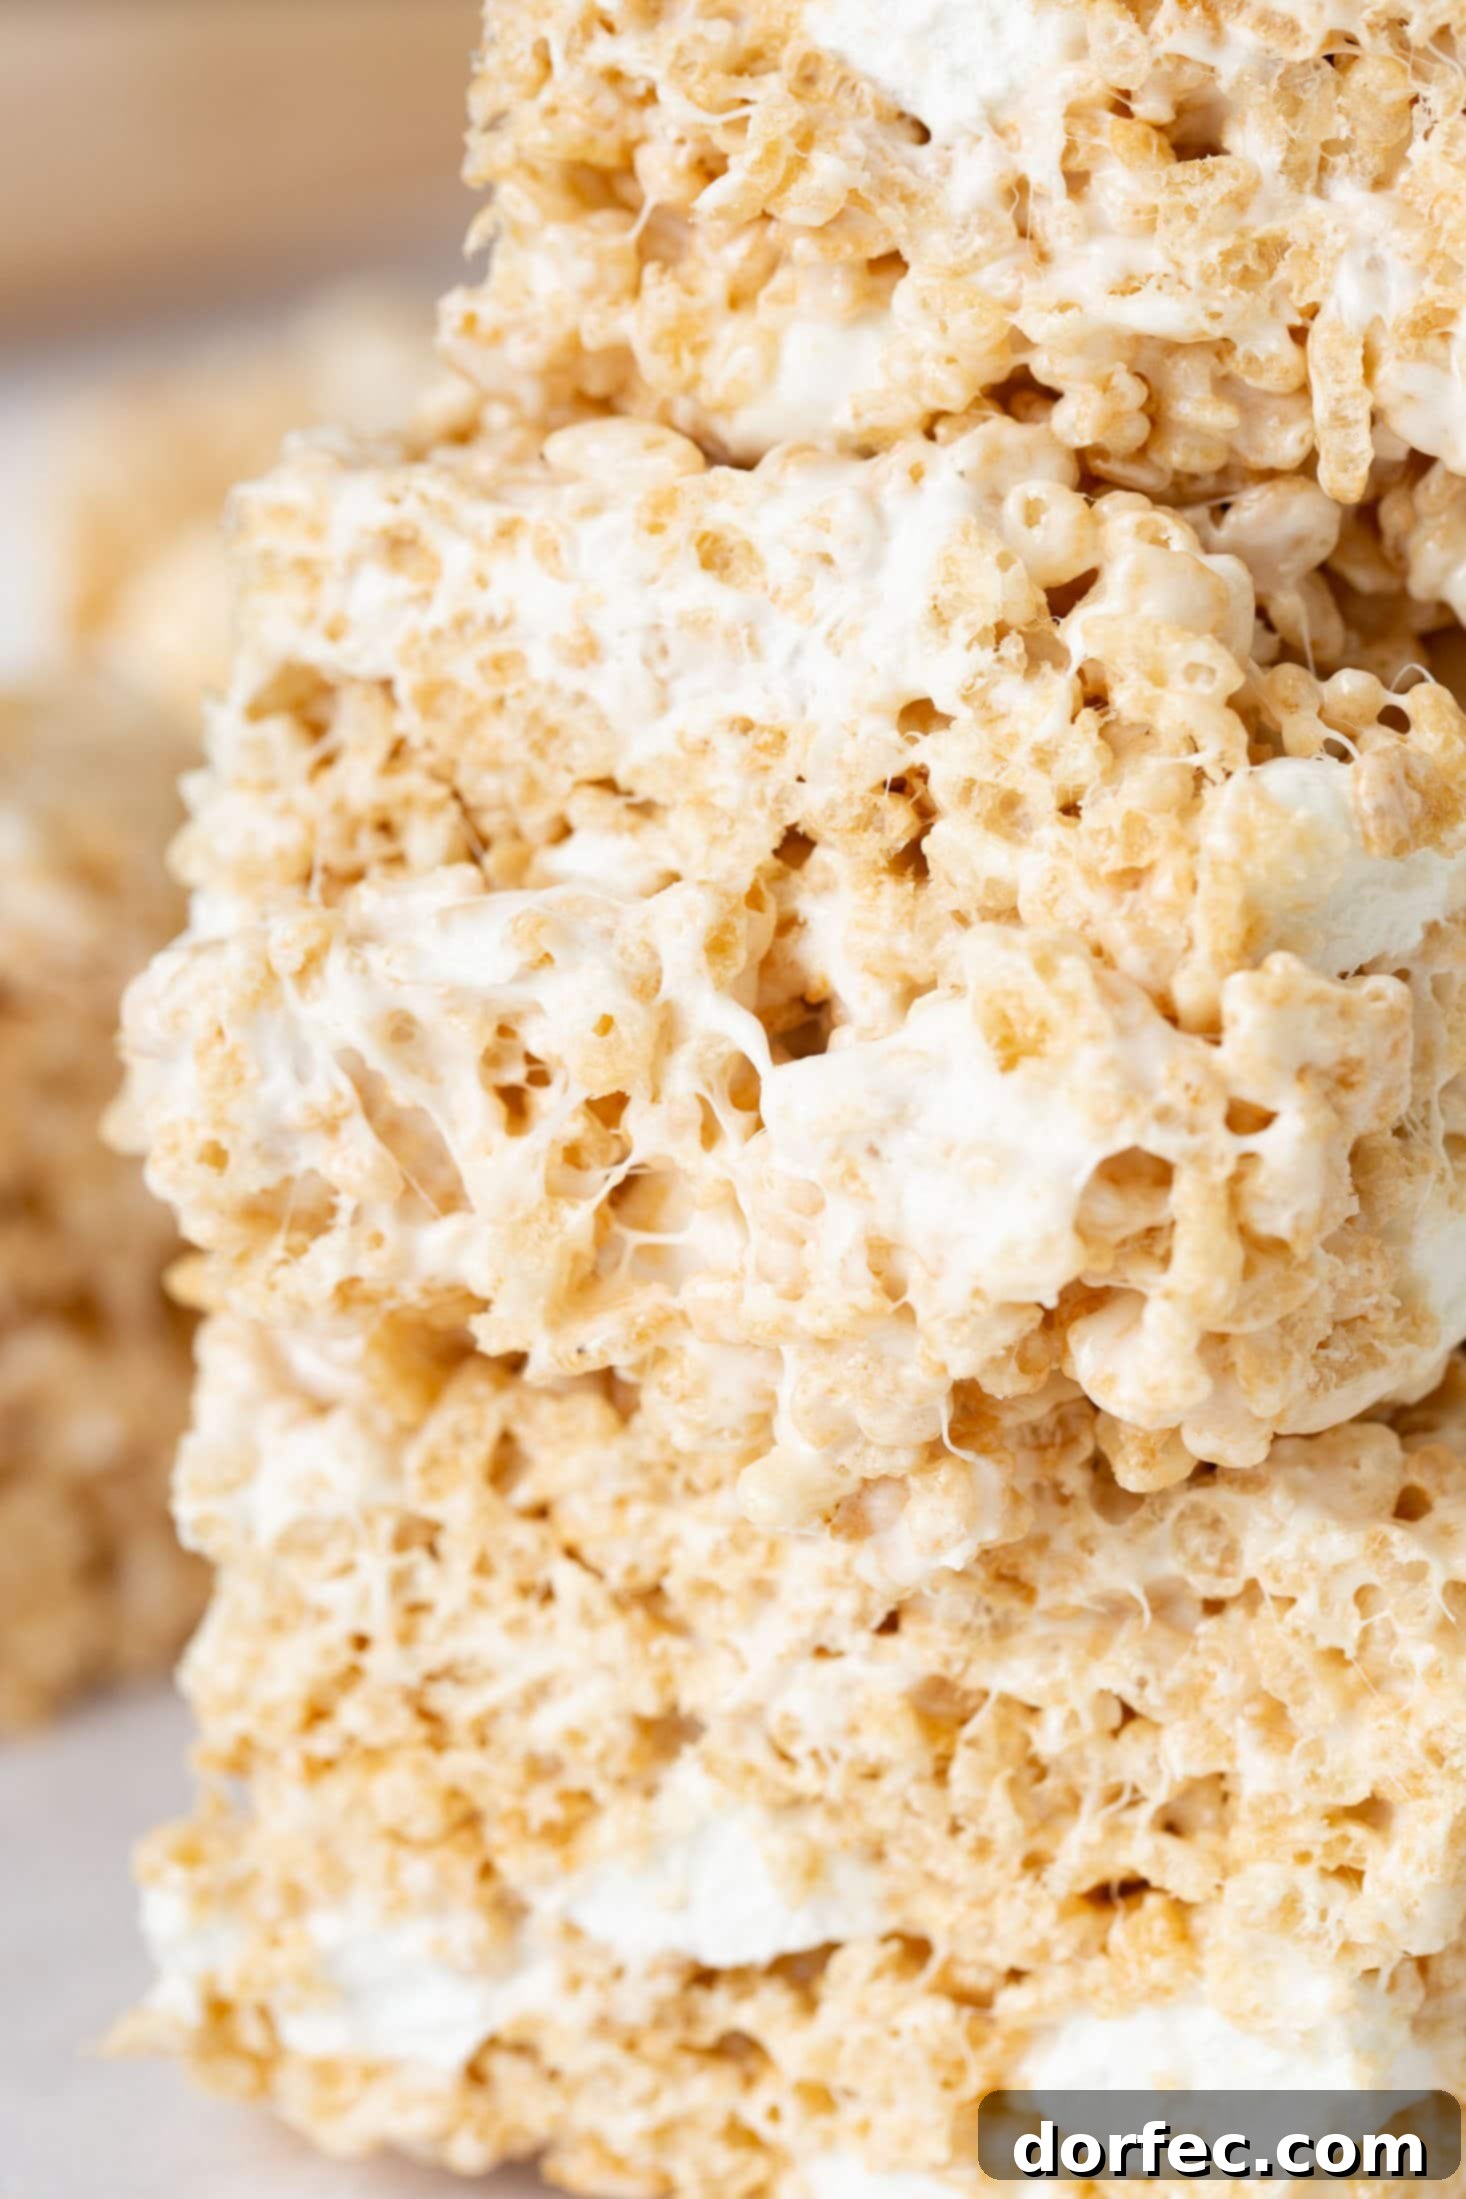
These homemade Rice Krispie Treats truly embody everything we cherish in a perfect dessert: they’re incredibly quick to make, require absolutely no baking, offer that irresistible sweet and salty flavor combination, and are guaranteed to be a crowd-pleaser for all ages. One single bite, and you’ll immediately understand why they never seem to last long in our home!
More Delicious Rice Krispie Treat Recipes to Explore:
- Golden Oreo Funfetti Rice Krispy Treats
- Single-Serving Rice Krispies Treat in a Mug
- Cookie Butter Rice Krispies Treats
- Reese’s Peanut Butter Chocolate Rice Krispies Treats
- Milky Way Treats (Crispy Rice Version)
- Gooey Fluffernutter Rice Krispies
- Scotcheroos (Peanut Butter Chocolate Rice Krispies Bars)
The Gooiest Homemade Rice Krispie Treats
Carrian Cheney
10 minutes
10 minutes
8 servings
Print Recipe
Ingredients
- 5 Tablespoons Unsalted Butter
- 1/2 teaspoon Fine Grain Sea Salt
- 10 Cups Mini Marshmallows, divided (8 cups for melting, 2 cups for mixing in)
- 1/4 teaspoon Vanilla Extract
- 6 Cups Rice Krispies Cereal
- Optional: Flaked Sea Salt, for sprinkling
Instructions
-
Spray a 9×9-inch pan with non-stick cooking spray and line it with a foil or parchment paper sling for easy removal. Spray the lining again for extra non-stick insurance.
-
In a very large microwave-safe bowl or a large pot on the stove over medium-low heat, combine the butter, fine grain sea salt, and 8 cups of mini marshmallows. Melt everything gradually, stirring frequently, until the mixture is completely smooth and free of lumps. If microwaving, do so in 30-second increments, stirring well after each. Avoid overheating to prevent tough treats.5 Tablespoons Unsalted Butter,
1/2 teaspoon Fine Grain Sea Salt,
8 Cups Mini Marshmallows -
Remove the melted mixture from the heat and quickly stir in the vanilla extract until fully incorporated.1/4 teaspoon Vanilla Extract
-
Add the 6 cups of Rice Krispies cereal to the marshmallow mixture. Mix gently but quickly with a buttered spatula or spoon until all the cereal is evenly coated.6 Cups Rice Krispies Cereal
-
While the mixture is still warm, stir in the remaining 2 cups of mini marshmallows. These will create delightful pockets of gooey, unmelted marshmallow. Lightly press the mixture into your prepared pan using buttered hands or a buttered spatula. Do not press too firmly.2 Cups Mini Marshmallows
-
Optionally, sprinkle a little flaked sea salt over the top while the treats are still warm for an extra burst of sweet and salty flavor. Allow to cool completely (about 30 minutes) before slicing and serving.
Recipe Notes
- Using a spoon with a little butter on it will help you press the rice krispies into the pan without it sticking all over your hands. Alternatively, lightly dampen your hands with water.
Rice Krispie treats can be stored in an airtight container, at room temperature, for 2-3 days. They are not ideal for freezing as the texture can change, but if necessary, wrap individually and freeze for up to 6 weeks. Thaw at room temperature before serving. Do NOT refrigerate.
Nutrition Information (per serving)
Serving:
1
bar
,
Calories:
318
kcal
,
Carbohydrates:
65
g
,
Protein:
4
g
,
Fat:
8
g
,
Saturated Fat:
5
g
,
Cholesterol:
19
mg
,
Sodium:
428
mg
,
Potassium:
170
mg
,
Fiber:
5
g
,
Sugar:
34
g
,
Vitamin A:
969
IU
,
Calcium:
20
mg
,
Iron:
8
mg
Nutrition information is automatically calculated, so should only be used as an approximation.