
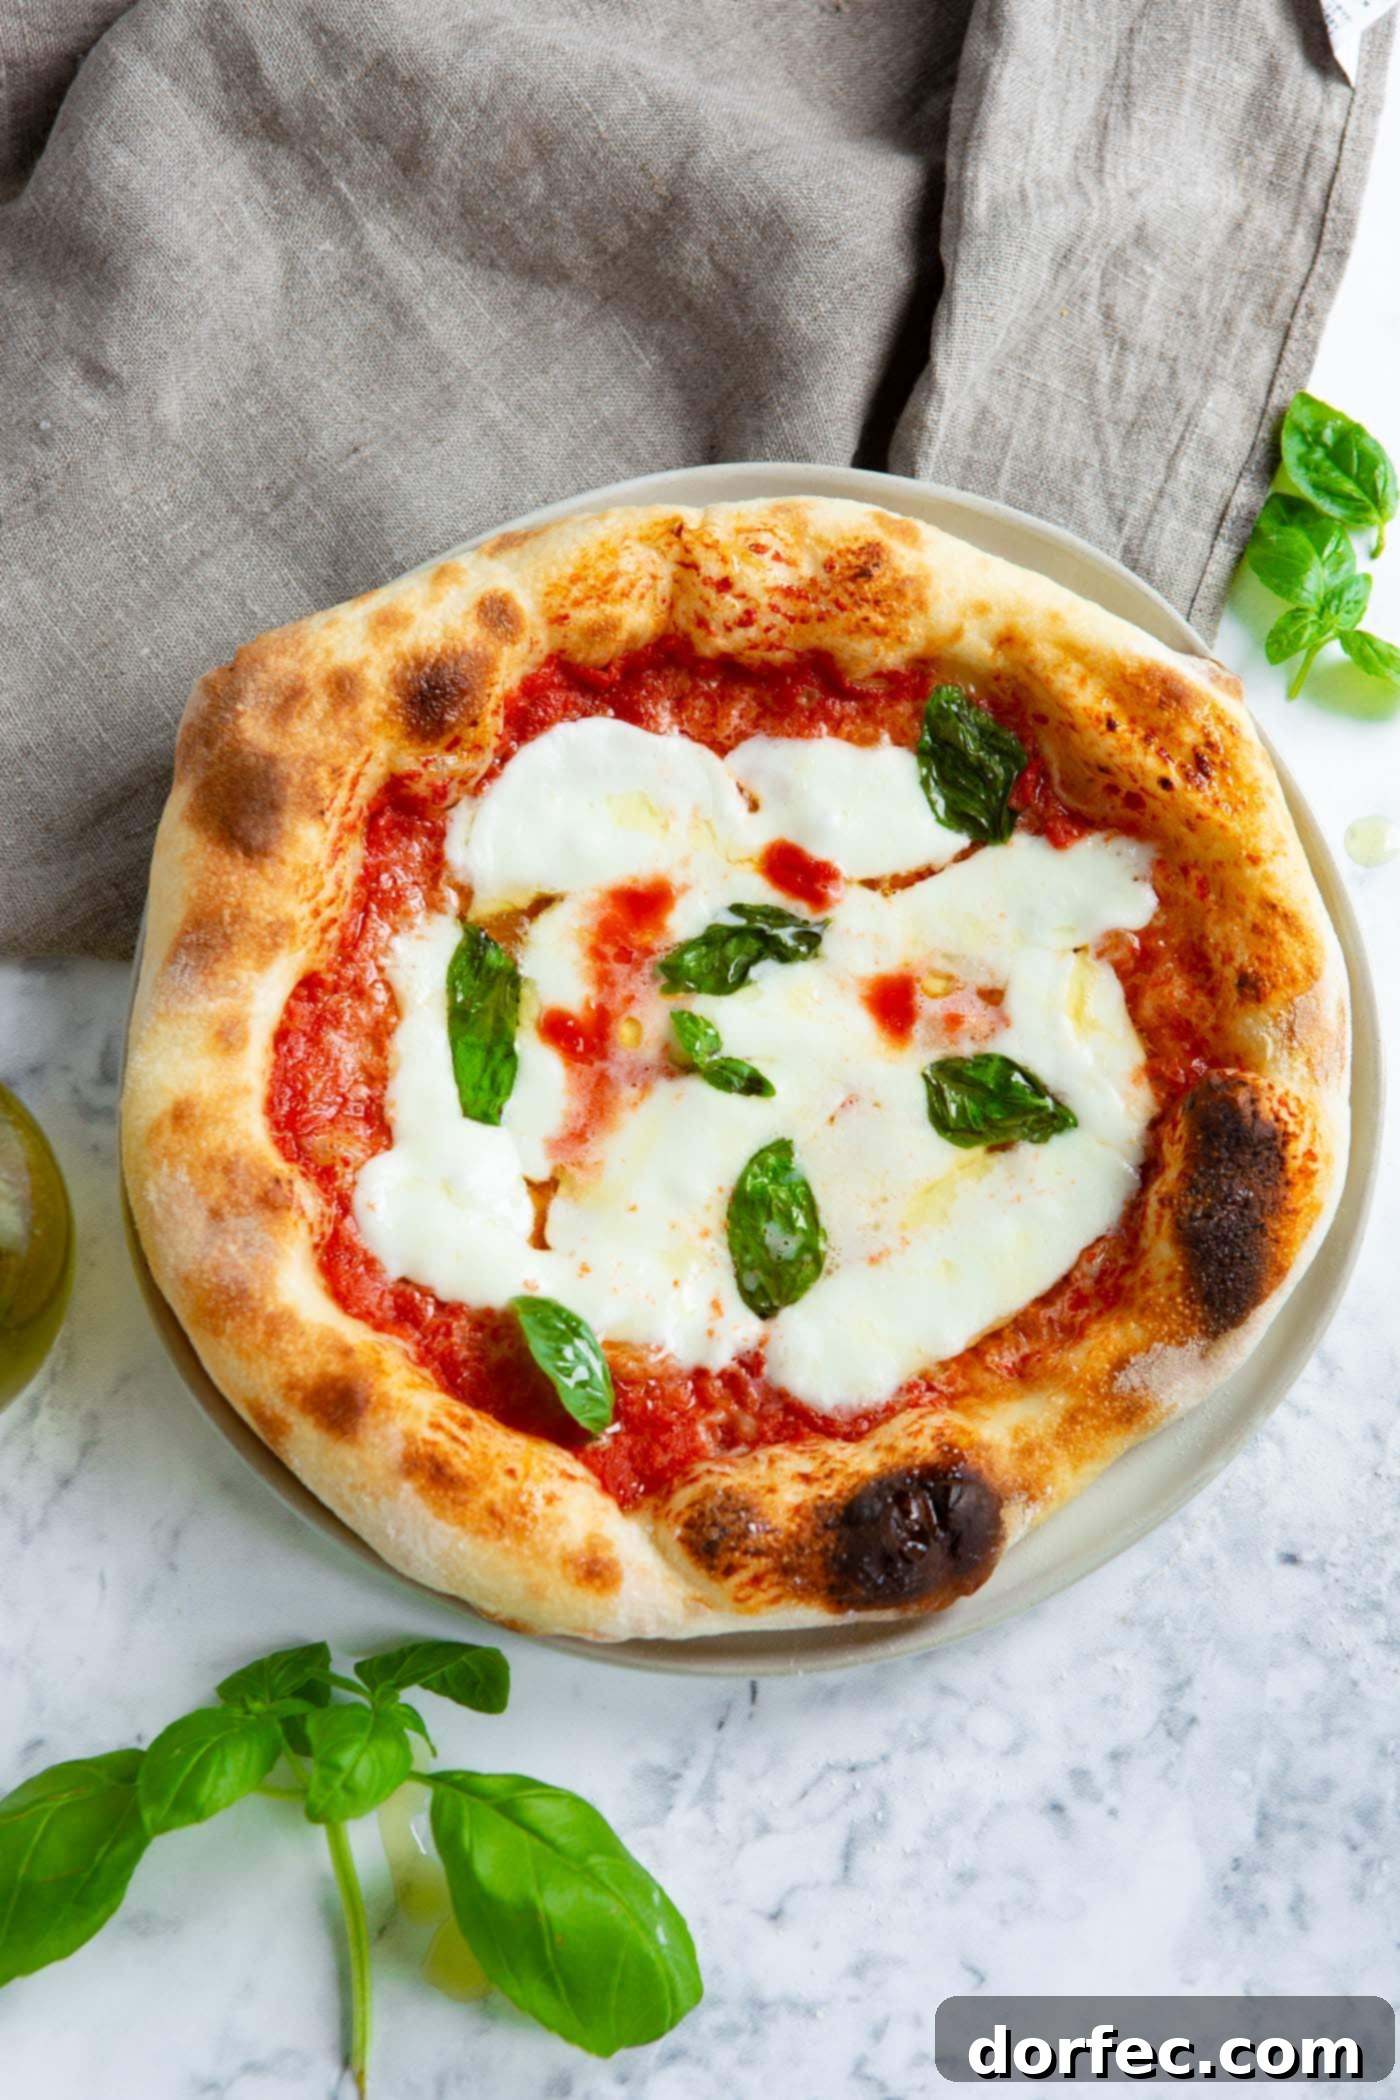
Unlock the secrets to crafting the perfect **pizzeria-quality pizza dough** right in your own kitchen! Forget flimsy, store-bought crusts – this recipe delivers a sublime balance of a crisp bottom, a delightfully chewy interior, and those irresistible airy bubbles that are the hallmark of authentic Italian pizza. It’s a game-changer for homemade pizza, and we promise, it’s worth every step.
One of the initial keys to achieving that coveted, artisanal texture is understanding crust thickness. **The thicker you make the crust edge, the more wonderfully bubbly it will be**, creating pockets of air that perfectly char and crisp in the high heat of your oven. This isn’t just about taste; it’s about a sensory experience that transports you straight to Italy.
The Secrets to Perfect Pizza Dough
There are two fundamental secrets to achieving truly exceptional **homemade pizza dough**: intense heat and prolonged fermentation. First, you must preheat your **pizza steel** or **pizza stone** for at least 30-45 minutes at the highest possible temperature your oven can reach, ideally 550°F (288°C). This extreme heat is crucial for shocking the dough, creating an immediate crispness on the bottom crust while allowing the interior to expand rapidly. Second, and perhaps even more transformative, is **allowing the pizza dough to ferment for 12-24 hours**. This extended fermentation process is where the magic truly happens, developing complex flavors and a superior texture that simple, quick-rise doughs can never achieve.
The Art and Science of Fermenting Pizza Dough
When yeast is given ample time to interact with the dough, it undergoes a process called fermentation. During this time, the yeast consumes sugars and releases carbon dioxide gas, which creates myriad tiny air bubbles within the dough. These bubbles are absolutely essential for a chewy, airy pizza crust – the very characteristic that makes a pizzeria-style pie so satisfying. Think of it this way: for a light and airy pizza, you want those glorious bubbles, whereas for something like dense sandwich bread, you’d aim for a softer, more uniform crumb without prolonged fermentation.
Imagine a freshly baked pizza arriving at your table, its crust boasting large, irregular bubbles, lightly kissed with char, and invitingly fragrant. This isn’t just good luck; it’s the result of perfect fermentation combined with optimal baking heat. The extended fermentation not only creates these desirable air pockets but also develops a profound depth of flavor, transforming simple flour and water into a rich, nuanced base for your favorite toppings. This is how you elevate **homemade pizza** from good to absolutely extraordinary.
The Inspiring Origin of Oh Sweet Basil: A Pizza’s Legacy
It might sound surprising, but the entire foundation of this blog, “Oh Sweet Basil,” and even its very name, was born from a single, unforgettable pizza experience! This humble dish held more influence over my life than I could have ever imagined. It truly embodies how a seemingly small moment or encounter can dramatically alter your path, transforming ordinary routines into extraordinary passions.
The San Francisco Pizza That Changed Everything
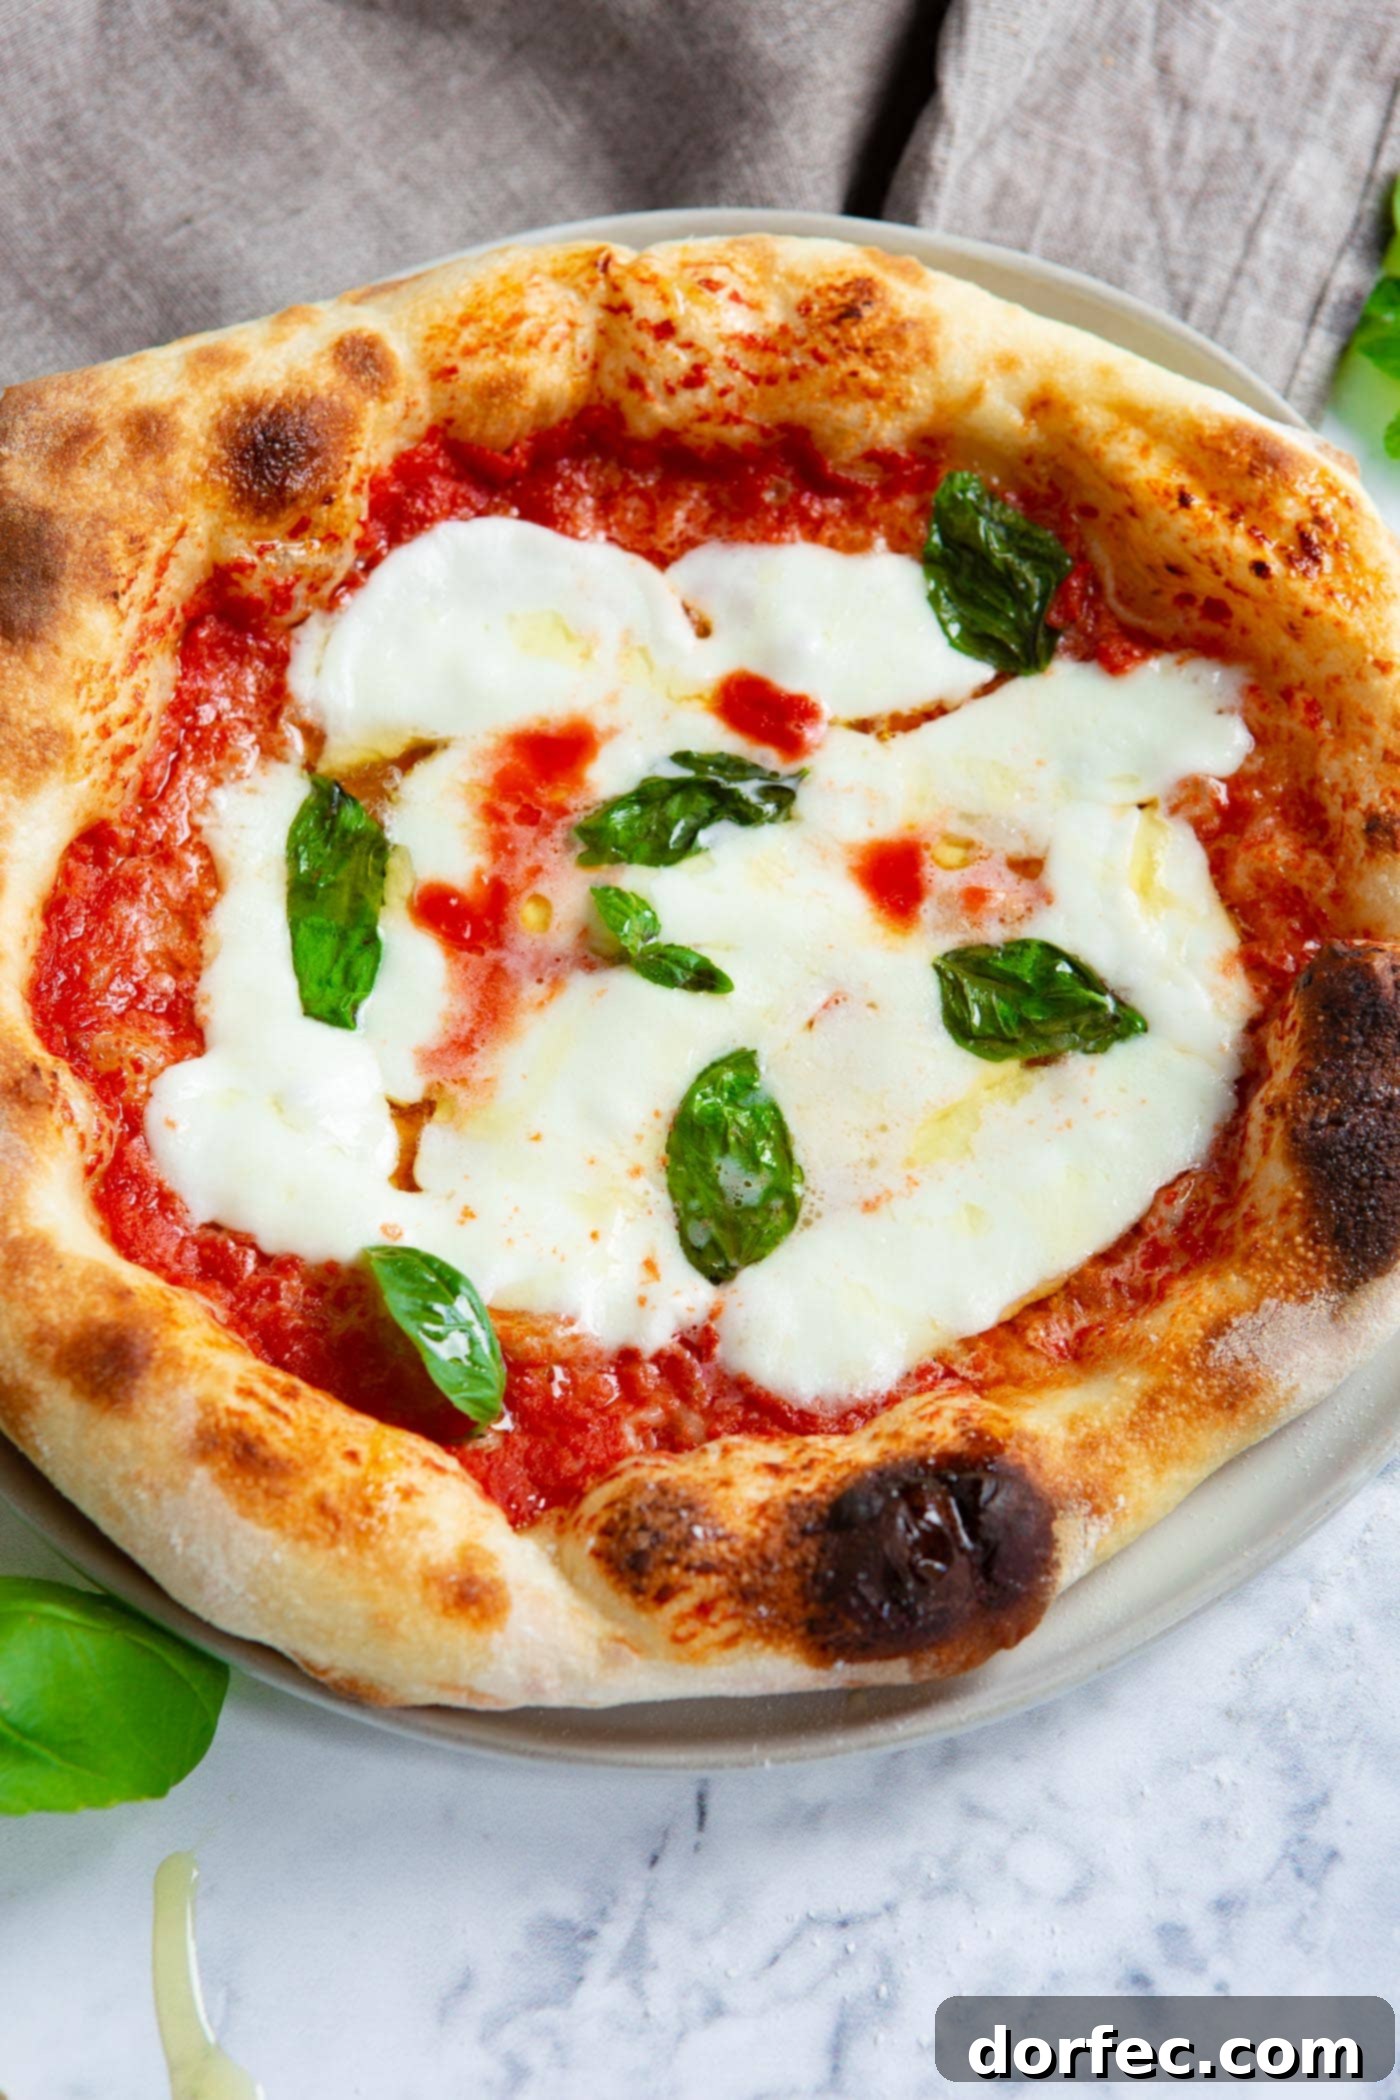
Our journey began years ago at “The Steps of Rome” in California. I vividly recall the exquisite margherita pizza served there. It wasn’t just delicious; the vibrant freshness and exceptional quality of every ingredient left an indelible mark on me. Returning home, I was seized by an intense, laser-focused urgency to dive deeper into the world of cooking. I yearned to learn more, create more, and share more from my own kitchen. That single pizza ignited a passion that would eventually blossom into Oh Sweet Basil, a platform dedicated to exploring and sharing culinary delights.
A Venetian Dream and the Ultimate Pizza Lesson
Fast forward many years, and a lifelong dream came true: a trip to Italy. On our final day in Venice, my husband Cade and I decided to unwind at our beautiful hotel in Venice, soaking in the pool, the stunning sights, and the precious moments. It was late afternoon, and feeling the lingering warmth of the day, we descended from the rooftop pool, ready to refresh for dinner.

As we relaxed in the lobby, a wonderfully kind staff member inquired about our trip. During our conversation, it somehow came out that, despite being in Italy, we hadn’t yet experienced that truly *incredible* pizza we craved. Pizza, after all, had been the initial spark for our culinary adventures, influencing our marriage and our home life. We felt a slight pang of disappointment.
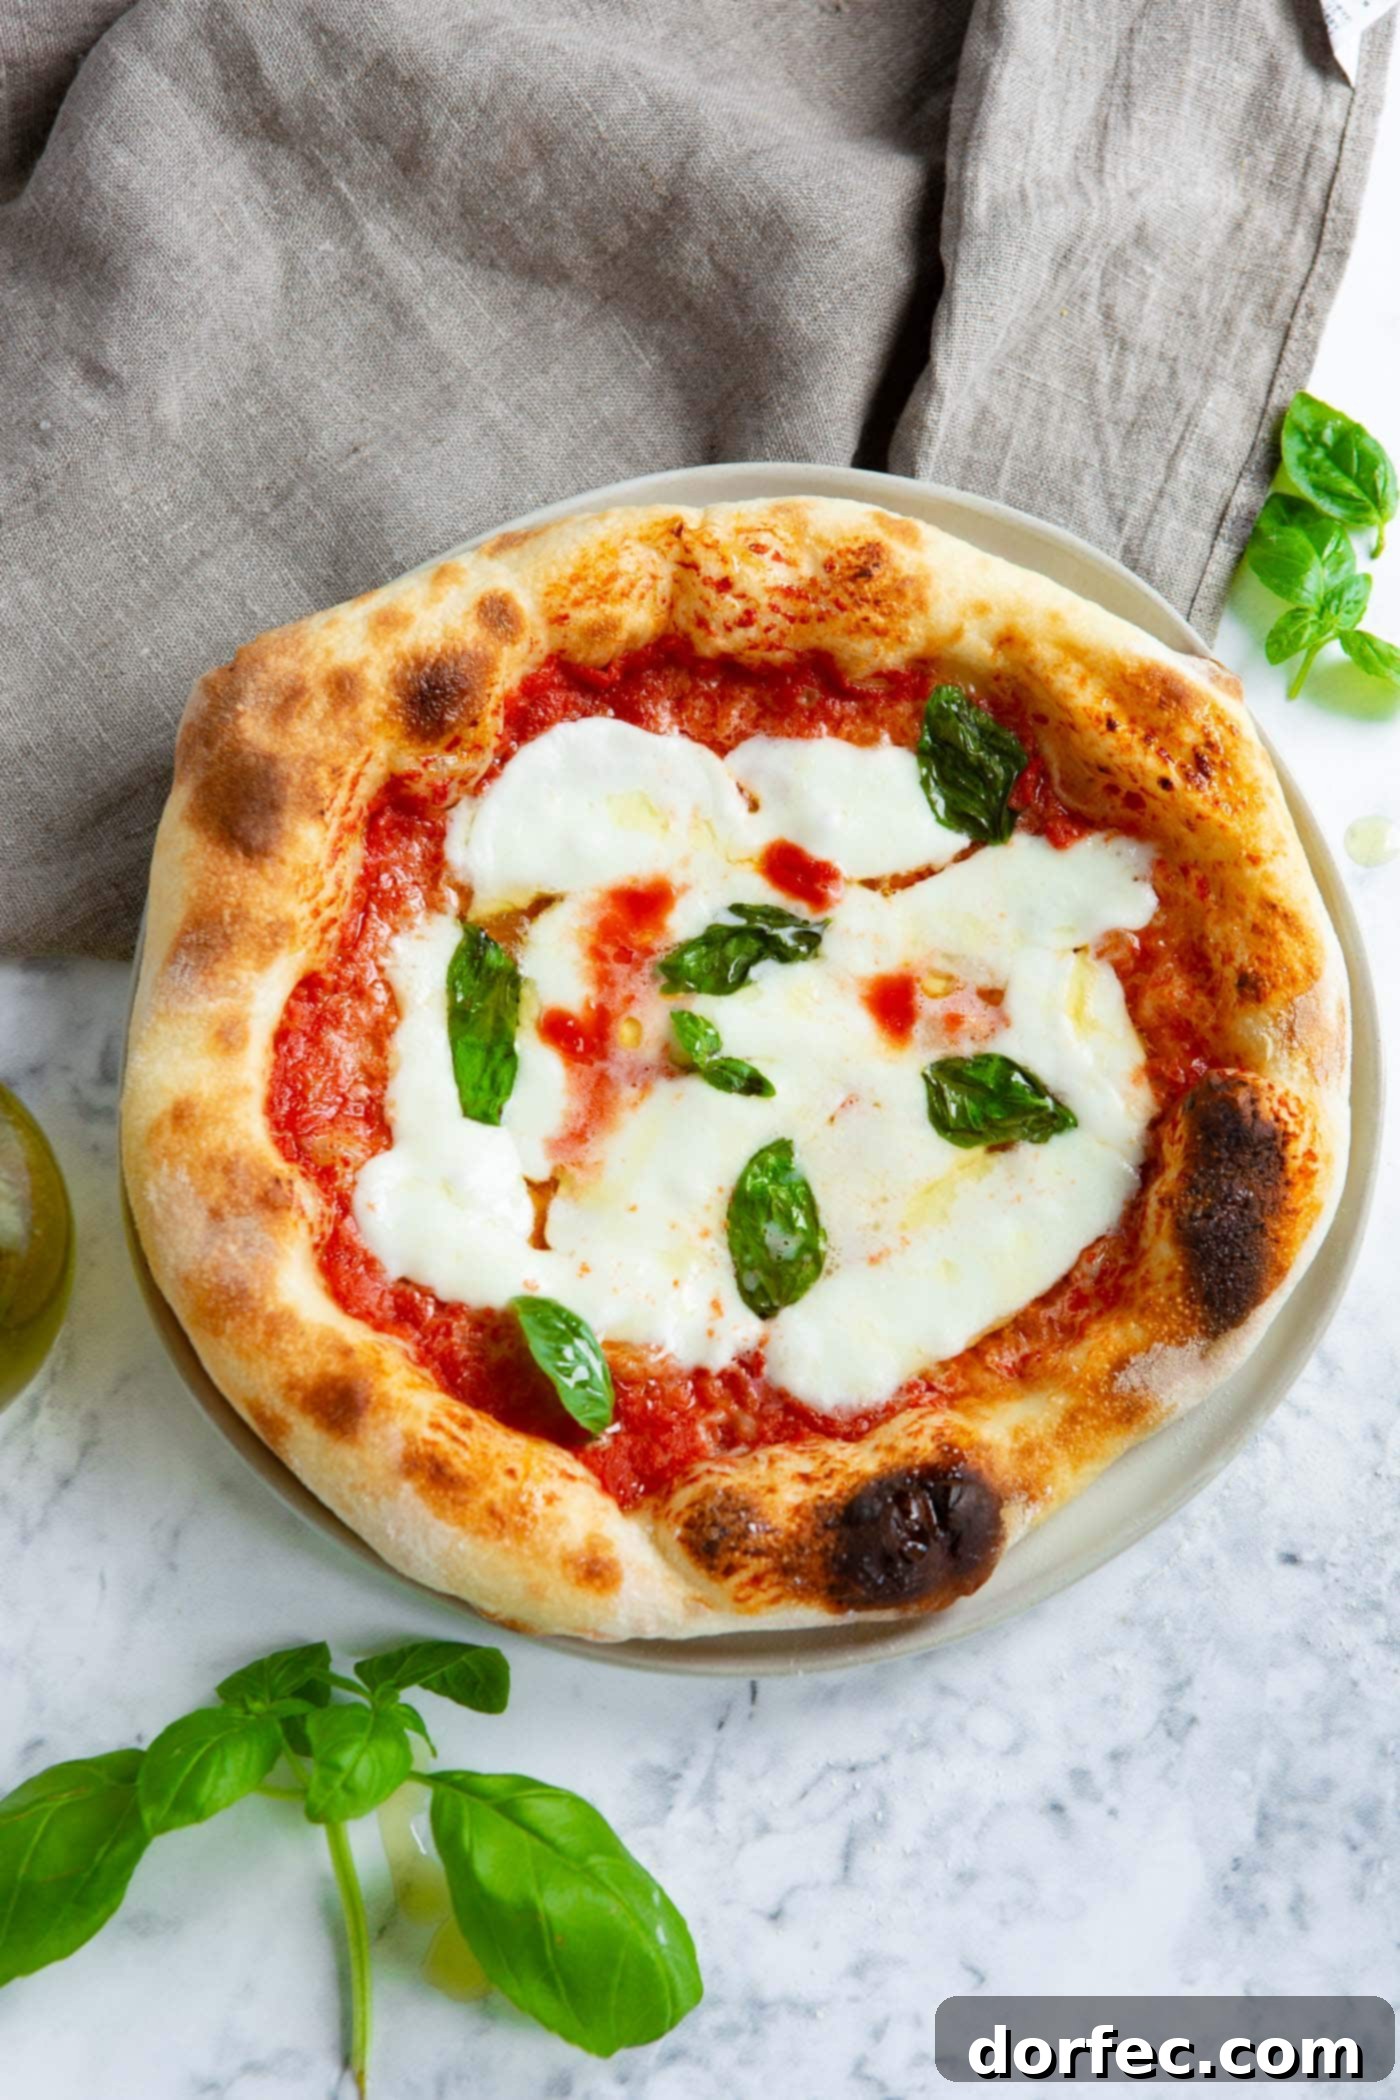
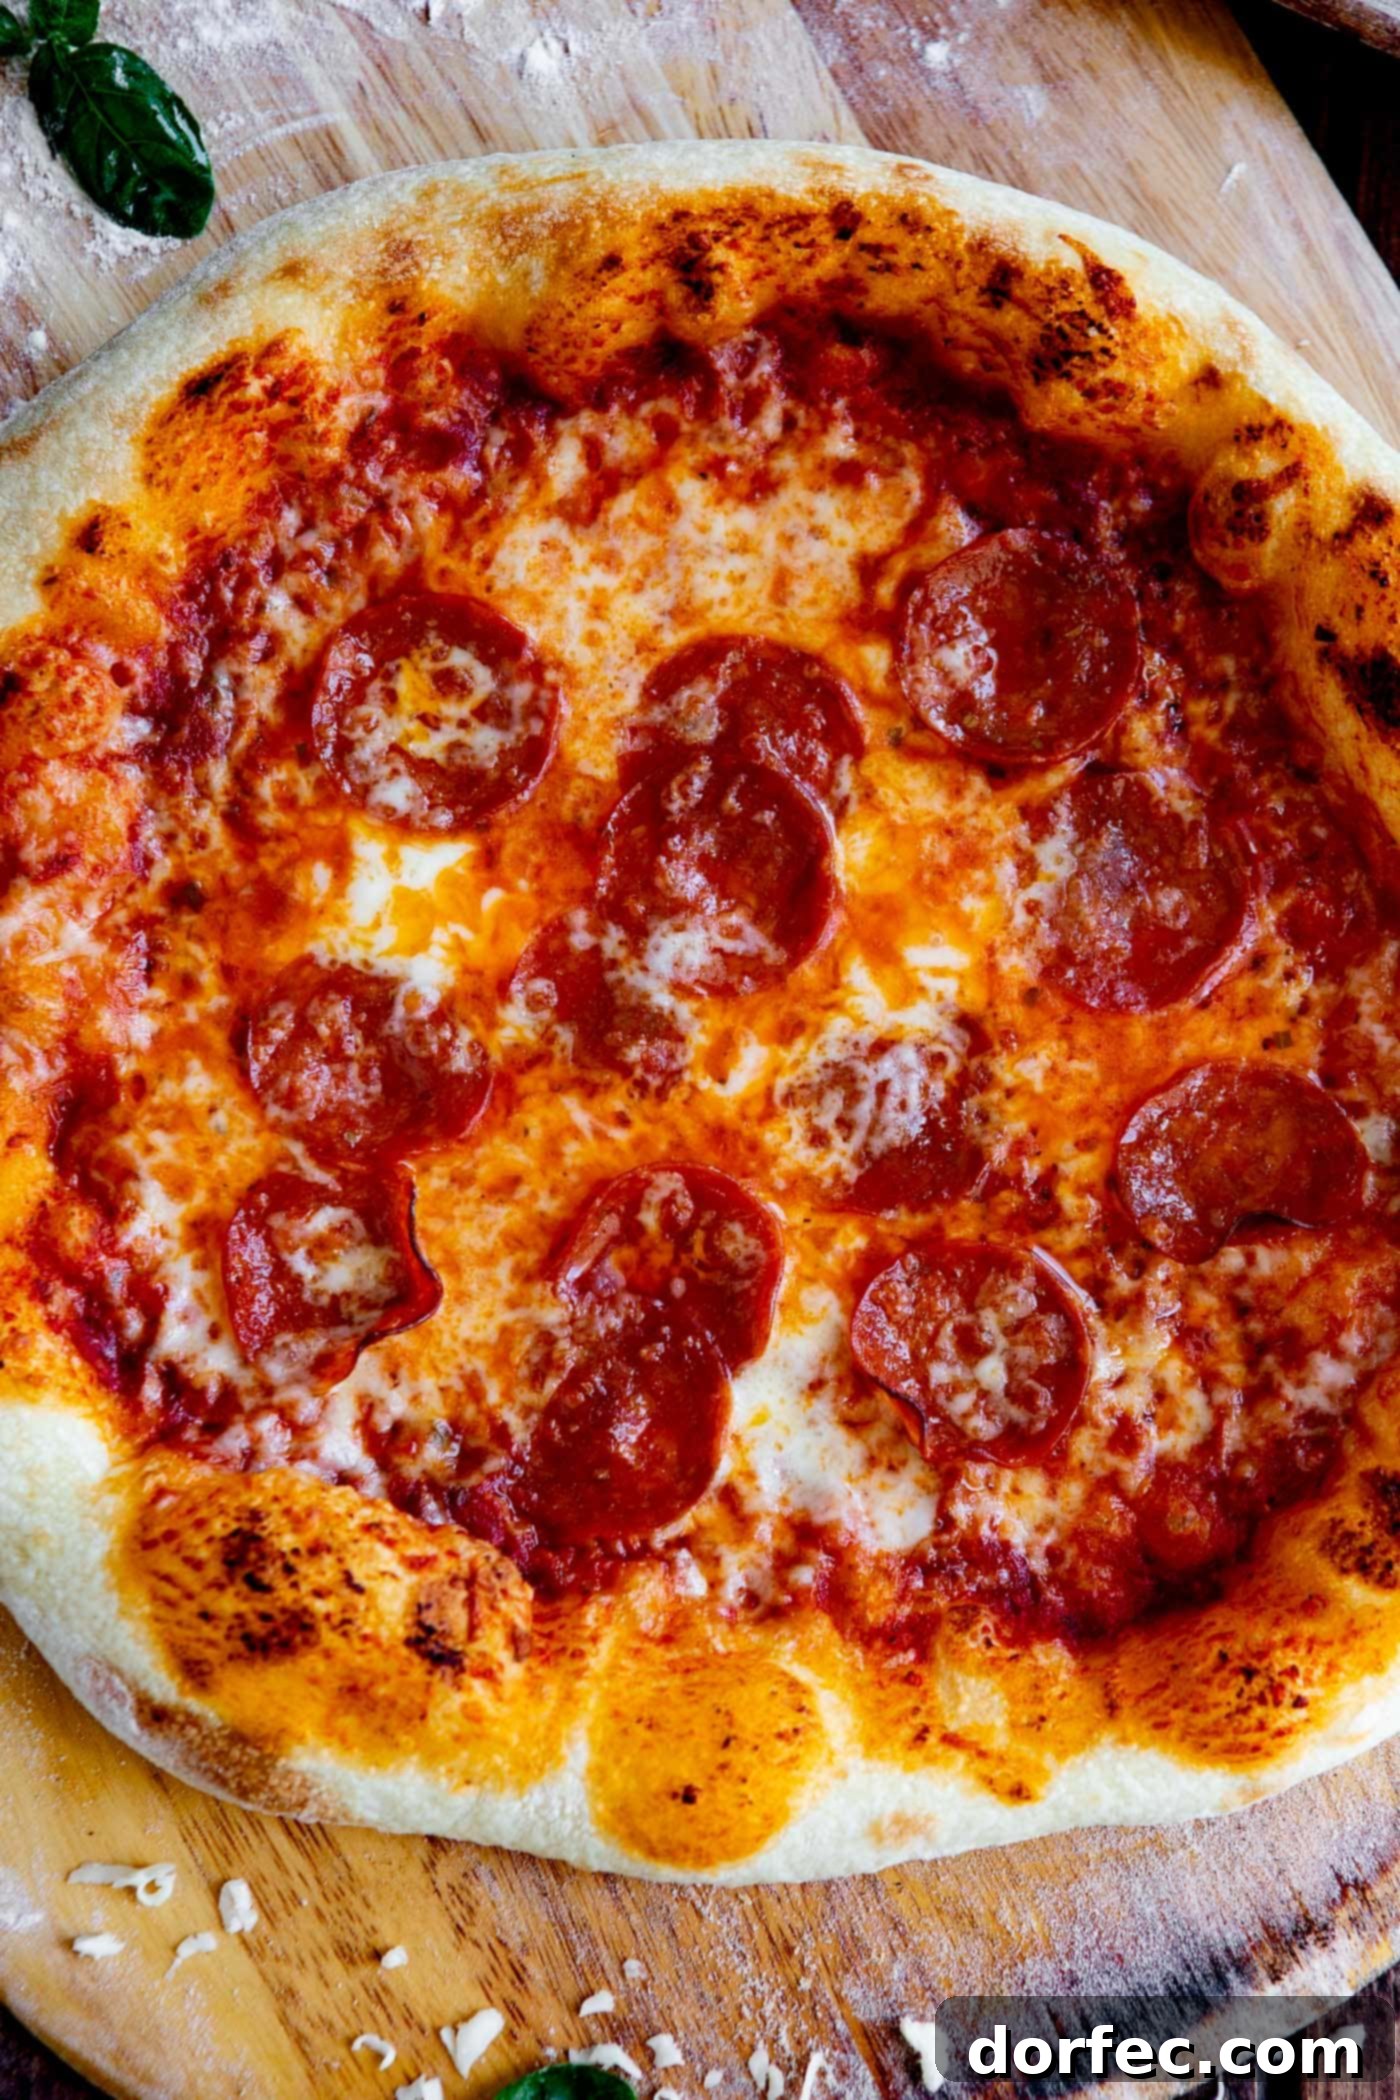
With a knowing smile, the young man asked us to wait. Just a few minutes later, he returned with the most perfect margherita and pepperoni pizzas I had ever laid eyes on. It was pure magic. The aroma alone was intoxicating, a prelude to the extraordinary taste that awaited.
The Best Pizza Crust Recipe: A Divine Intervention
The crust of those Venetian pizzas, my goodness! It was flawlessly crisp yet wonderfully chewy, delivering a symphony of textures and flavors. Even now, recounting it gives me goosebumps – yes, goosebumps over pizza! To this day, it remains the absolute **best pizza** I have ever tasted. In my excitement, I completely forgot to capture a picture. However, the pizzas we later crafted to practice this very recipe come incredibly close.
But the story wasn’t over. Life was about to reveal a truly loving and generous God, one who knows us intimately and delights in blessing us. And no, I’m not being cheesy, pun absolutely intended!

Shortly after our magical pizza experience, the hotel chef, a true Florentine Pizzaiolo, sauntered over and extended an incredible invitation: a private pizza-making lesson in his kitchen. I will forever cherish that hour. It was one of those moments that etches itself onto your heart: the fine dust of flour on the counter, the radiating heat from colossal ovens, and the thick, melodic Italian accents of the Pizzaiolos as they effortlessly stretched and tossed dough. It was an authentic, immersive experience, and then, he generously shared his invaluable **authentic Italian pizza dough recipe** with us.
Crafting Authentic Italian Pizza Dough at Home
Recreating that exact **authentic Italian pizza recipe** in a home kitchen can be a bit challenging, as we lack those massive, specialized ovens and direct access to certain traditional Italian ingredients. However, over countless attempts and meticulous adjustments, we’ve adapted the chef’s original recipe to perfectly suit a home setting. This modified version allows you to achieve that classic, pizzeria-style pizza without needing to wait for days or source obscure ingredients. When you embark on this culinary adventure, we encourage you to embrace the joy of it—laugh, attempt a few Italian accents, and get creative with your toppings. This is more than just a recipe; it’s an experience!
Before you begin your journey to **mastering homemade pizza dough**, here are a few critical tips that will ensure your success:
The Importance of a Thermometer
Precision is paramount when working with yeast. Invest in a reliable kitchen thermometer and diligently test the temperature of your water. Yeast is a living organism, and its activity is highly sensitive to temperature. Water that is too hot can kill the yeast, preventing your dough from rising, while water that is too cold can inhibit its activation. A simple, quick check can make all the difference in the world.
Hands Over Mixers: The Gentle Approach
During our Italian pizza lessons, we observed chefs using incredibly slow mixers, far gentler than anything typically found in a home kitchen. The traditional method, and the one we were taught, is to mix the dough by hand. This hands-on approach allows you to truly feel the dough’s development, ensuring it’s worked just enough without overworking the gluten. Resist the urge to use a stand mixer; your hands are your best tools for this **pizza dough recipe**.
Weighing Versus Measuring: The Path to Consistency
Before my trip to Italy, my cousin Michelle taught me a valuable lesson: **pizza dough** ingredients should always be weighed, not measured by volume. This wisdom was powerfully reinforced as I witnessed ingredients being meticulously weighed in two separate Italian cooking classes. Weighing ingredients provides unparalleled accuracy, eliminating discrepancies caused by how flour is packed or liquids are poured. To achieve consistently perfect **pizza dough**, invest in a reliable digital kitchen scale. Our preferred model allows you to easily zero out the scale after placing the bowl, ensuring each ingredient is measured precisely.
Alright, enough talk already, I’m ready to bake! 🍕
Essential Pizza Dough Ingredients
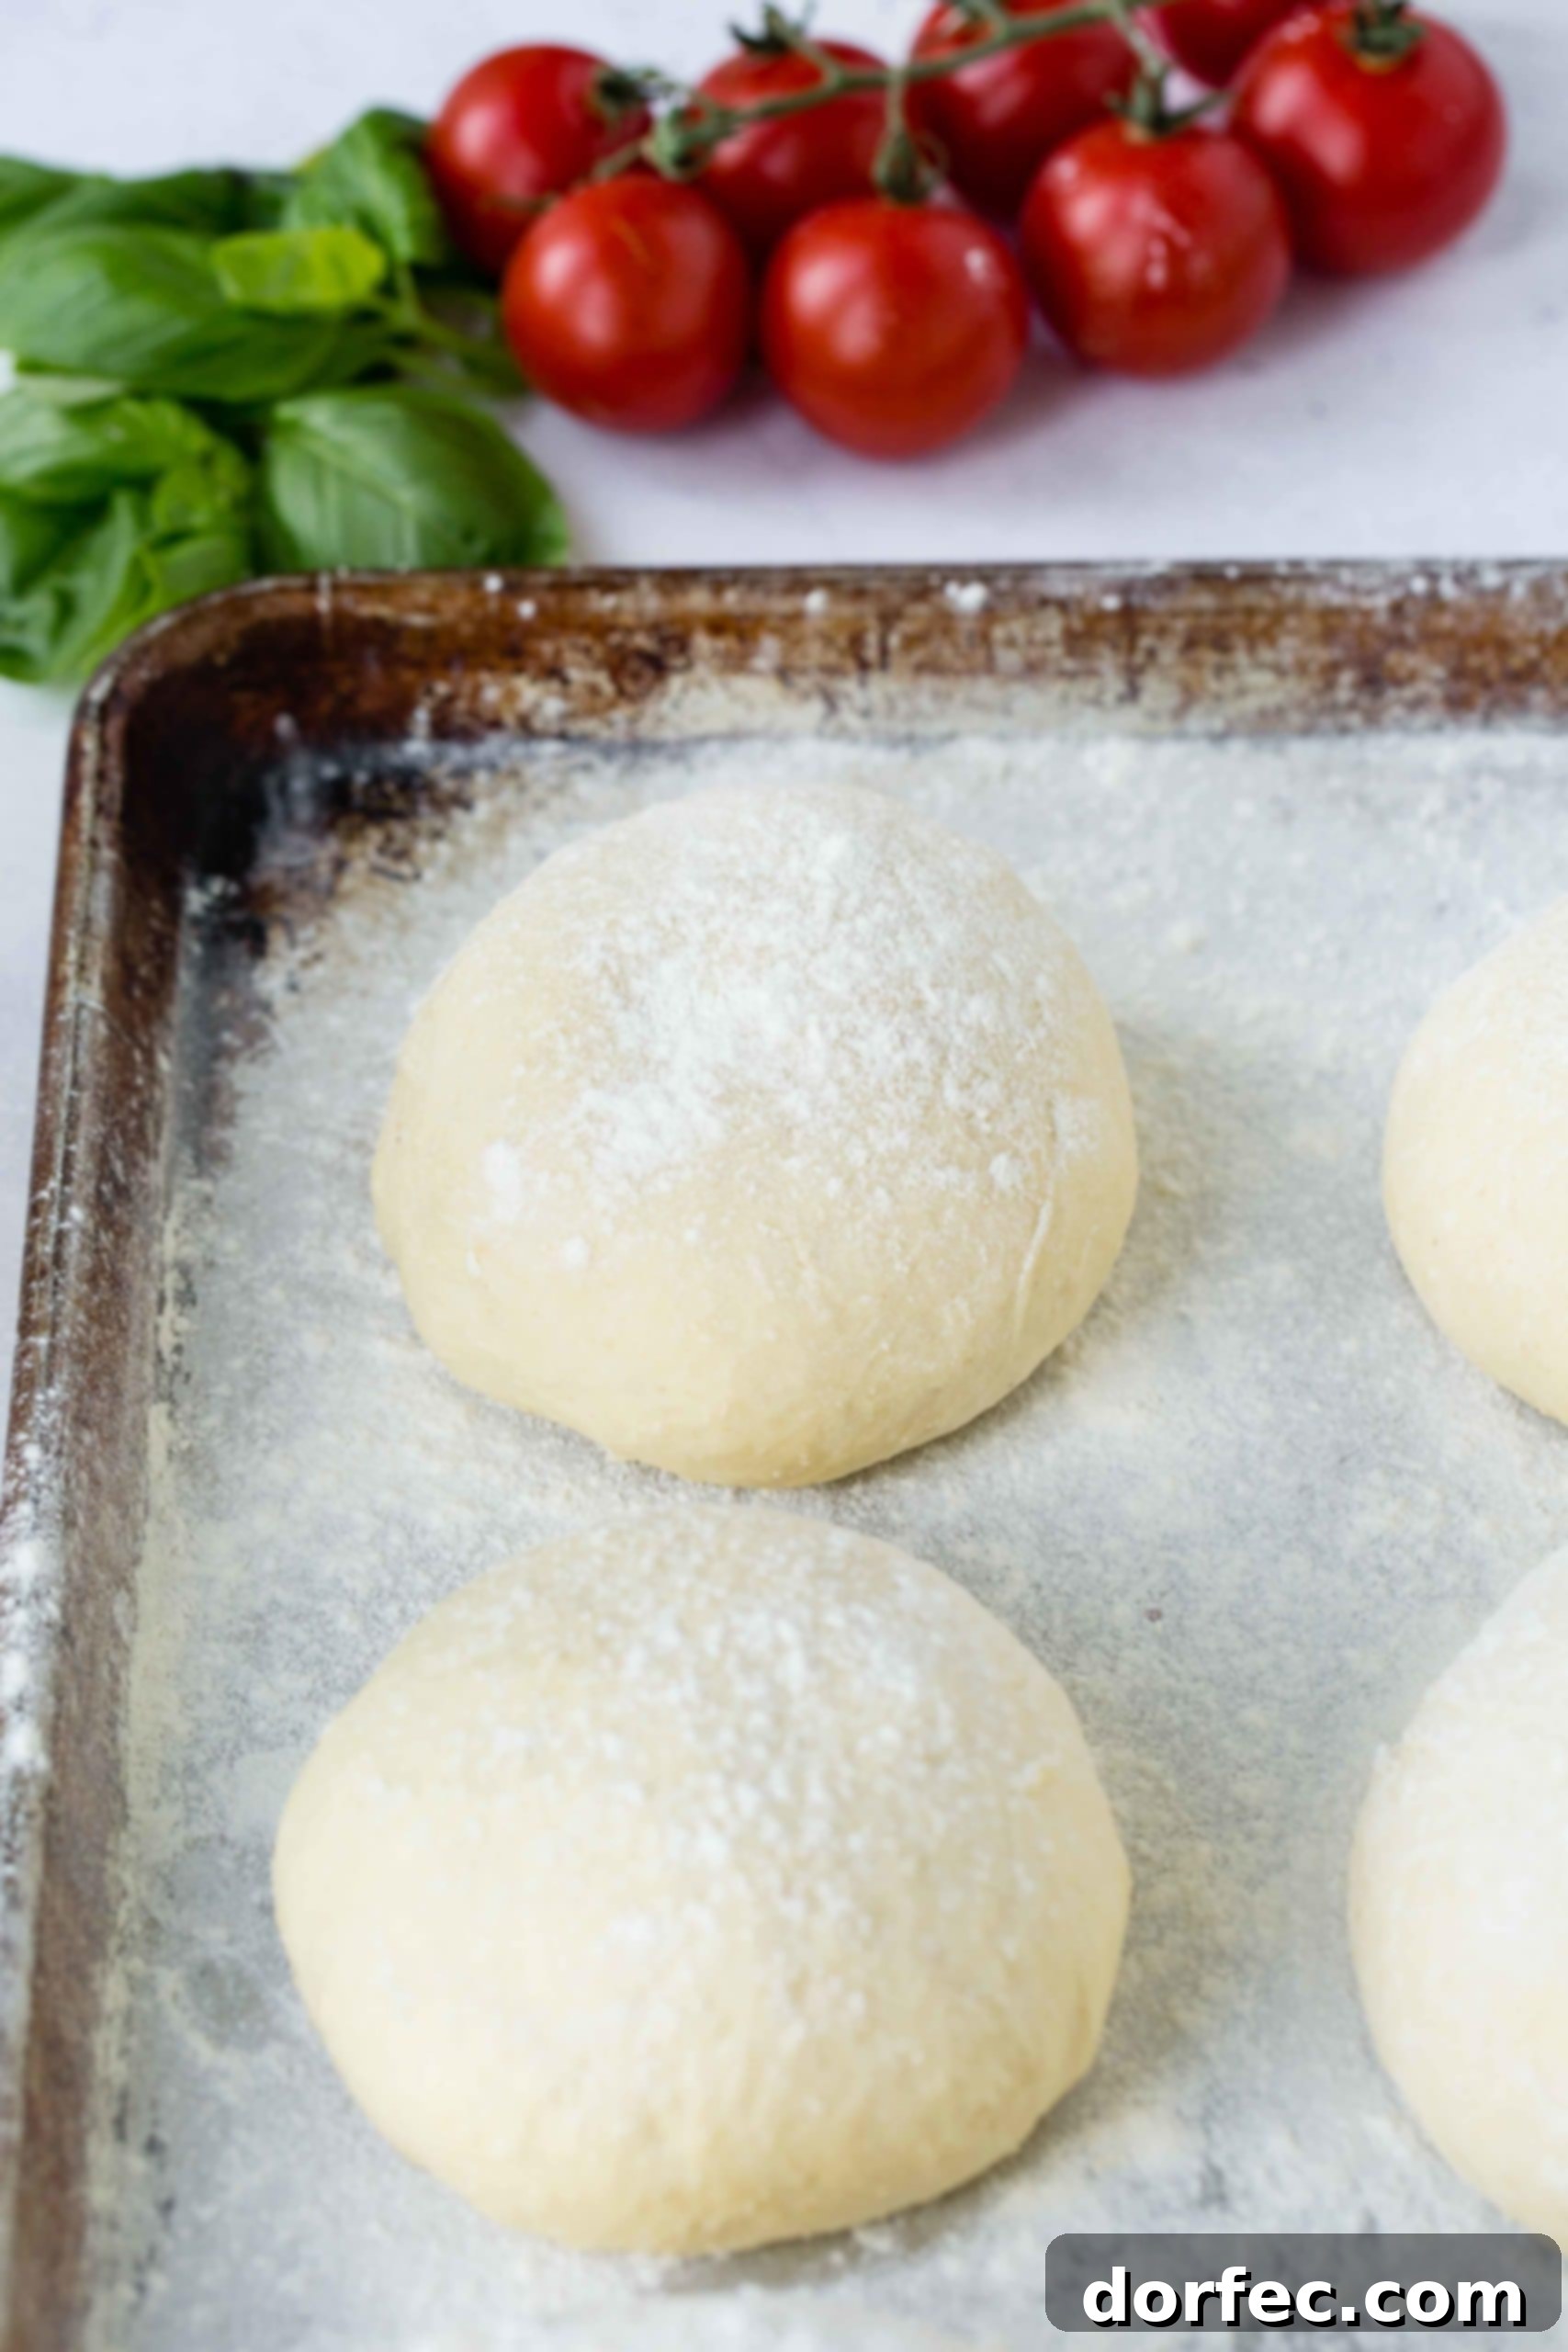
The beauty of a truly **great pizza dough recipe** lies in the simplicity of its core ingredients. While few, their quality and precise ratios are paramount to the final outcome. Here’s what you’ll need:
- Water: The lifeblood of your dough, activating the yeast.
- Salt: Essential for flavor, strengthening gluten, and controlling yeast activity.
- Sugar: A small pinch to kickstart yeast fermentation and aid in crust browning.
- Instant Yeast: Our preferred choice for its reliable and consistent performance.
- Flour: The foundation, and the most critical choice for optimal texture.
Choosing the Best Flour for Pizza Dough
While you can certainly use all-purpose flour in a pinch, our extensive conversations with Italian chefs and years of rigorous testing have unequivocally shown that **00 flour is vastly superior for authentic pizza dough**. This finely milled Italian flour creates a silky, extensible dough that cooks beautifully in high heat, yielding that perfect crisp-chewy crust.
**A crucial note: Do NOT use Bread Flour!** Bread flour has a higher protein content designed for dense, chewy loaves, which will result in a tough, unyielding pizza crust, far from the desired light and airy texture.
Here are some excellent 00 flour options to seek out:
- J Mill Baker’s Flour (often found at specialty grocery stores like Kroger or Harmons in Utah)
- Caputo 00 Flour (a widely recognized and highly recommended brand for authentic Italian pizza)
- Cento Anna Napoletana 00 Flour (another excellent choice, also commonly available at stores like Harmons)
How to Make the Best Pizza Dough
Crafting the perfect **homemade pizza dough** doesn’t have to be complicated, but it does require patience and adherence to a few key steps. After 15 years of testing and refining, this method consistently produces the best results:
- Using a **digital kitchen scale**, place a mixing bowl on it and zero out the weight. Carefully measure out the specified amount of flour.
- Next, place a glass measuring cup on the scale and zero it out. Add the water and use your thermometer to ensure its temperature is around 100°F (38°C) – ideal for yeast activation.
- Zero the scale once more, then add the salt, stirring to dissolve it completely.
- Add the sugar to the water, zero the scale again, measure out the instant yeast, and stir everything together gently. Allow this mixture to sit for 5-10 minutes until it becomes foamy, indicating the yeast is active and proofing. This process means the yeast is “waking up” by consuming the sugar, ready to make your dough rise.
- Pour the activated yeast mixture into the bowl with the flour. Using your hand, begin mixing the ingredients until they just come together. As it starts to form a rough dough, gently squeeze and knead it in the bowl. It will be sticky at this stage, but that’s perfectly normal and a sign you’re on the right track.
- Let the dough rest for a brief 30 seconds. Then, continue to gently fold and pinch the dough for one more minute. This initial mixing helps to start developing the gluten structure without overworking it.
- Cover the bowl and set the dough aside to rest for 20-30 minutes. This short rest, known as autolyse, allows the flour to fully hydrate and the gluten to relax, making subsequent kneading much easier.
- Lightly dust your clean work surface with flour. Turn the rested dough out and knead it for another 30-45 seconds. By now, the dough should feel more relaxed and have a smoother skin. Lightly drizzle a clean bowl with a little oil, transfer the kneaded dough into it, turning it once to ensure the seam is on the bottom and the entire ball is lightly coated. Cover the bowl tightly with a lid or plastic wrap.
- Allow the dough to rise in a warm spot for 1.5 to 2 hours. A bowl without oil will grab the dough as it rises, inhibiting its growth. If your home is cool, you can create a warm environment by heating your oven to 250°F (120°C) for 10 minutes, then turning it off, opening the door slightly, and placing the dough bowl on the door or inside the oven while it cools.
- Once risen, carefully turn the bowl onto its side and gently use your hand to coax the dough out onto the counter. **Crucially, do NOT grab and lift the dough**, as this will stretch and deflate the precious air bubbles you’ve worked so hard to create.
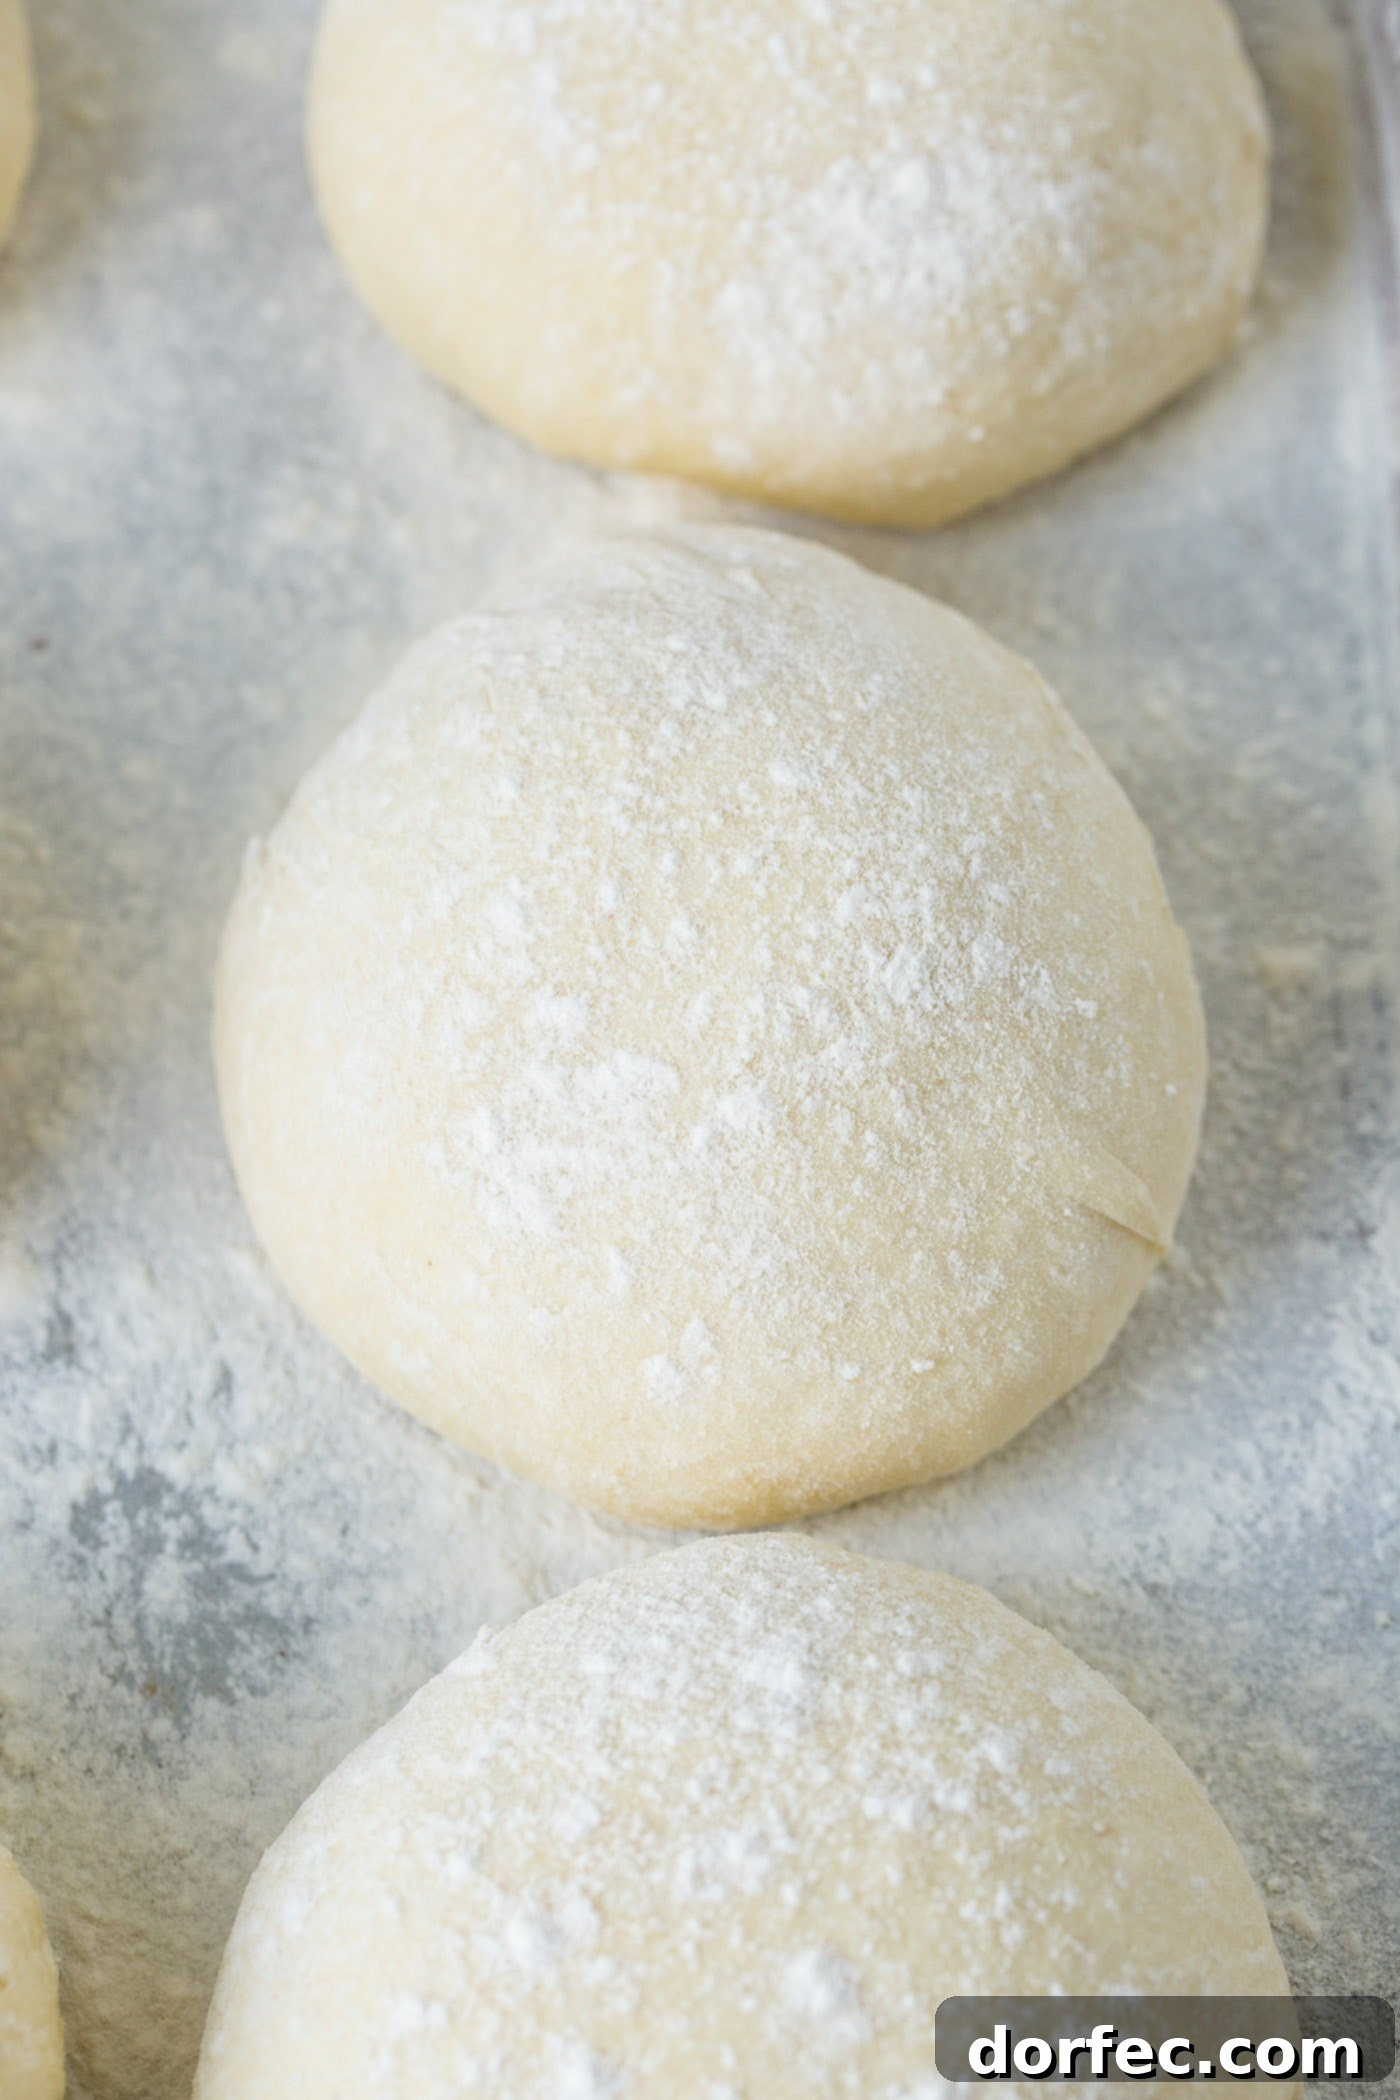
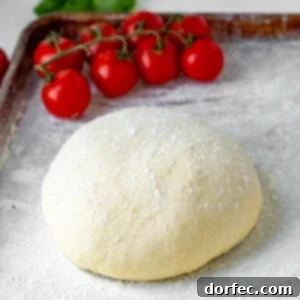
- Divide the dough into 2-3 equal portions, depending on the size of pizzas you desire (this recipe yields two 12-inch pizzas). Shape each portion into a round ball by pinching the bottom edges together, much like closing a small purse. Flip the dough ball over onto a lightly floured pan or parchment paper, and dust the tops with a little more flour.
- Cover the individual dough balls tightly with plastic wrap. Allow them to expand and relax into flatter discs for another 4-6 hours at room temperature. This crucial second rise, or bulk fermentation, further develops flavor and extensibility.
- Finally, your **pizza dough** is ready! It’s time to make your delicious homemade pizza.
- Place your **pizza stone** or heavy cast iron pizza pan in the center of your oven. Preheat the oven to its maximum temperature, ideally 550°F (288°C), and allow the stone/pan to heat for a full 30-45 minutes. This intense preheating is vital for achieving a crisp crust before your cheese begins to burn. If your oven cannot reach 550°F, set it to its highest temperature, then switch to the broiler for 10 minutes just before baking your pizza.
- To shape the dough: Lightly flour your work surface and gently lay one dough ball down.
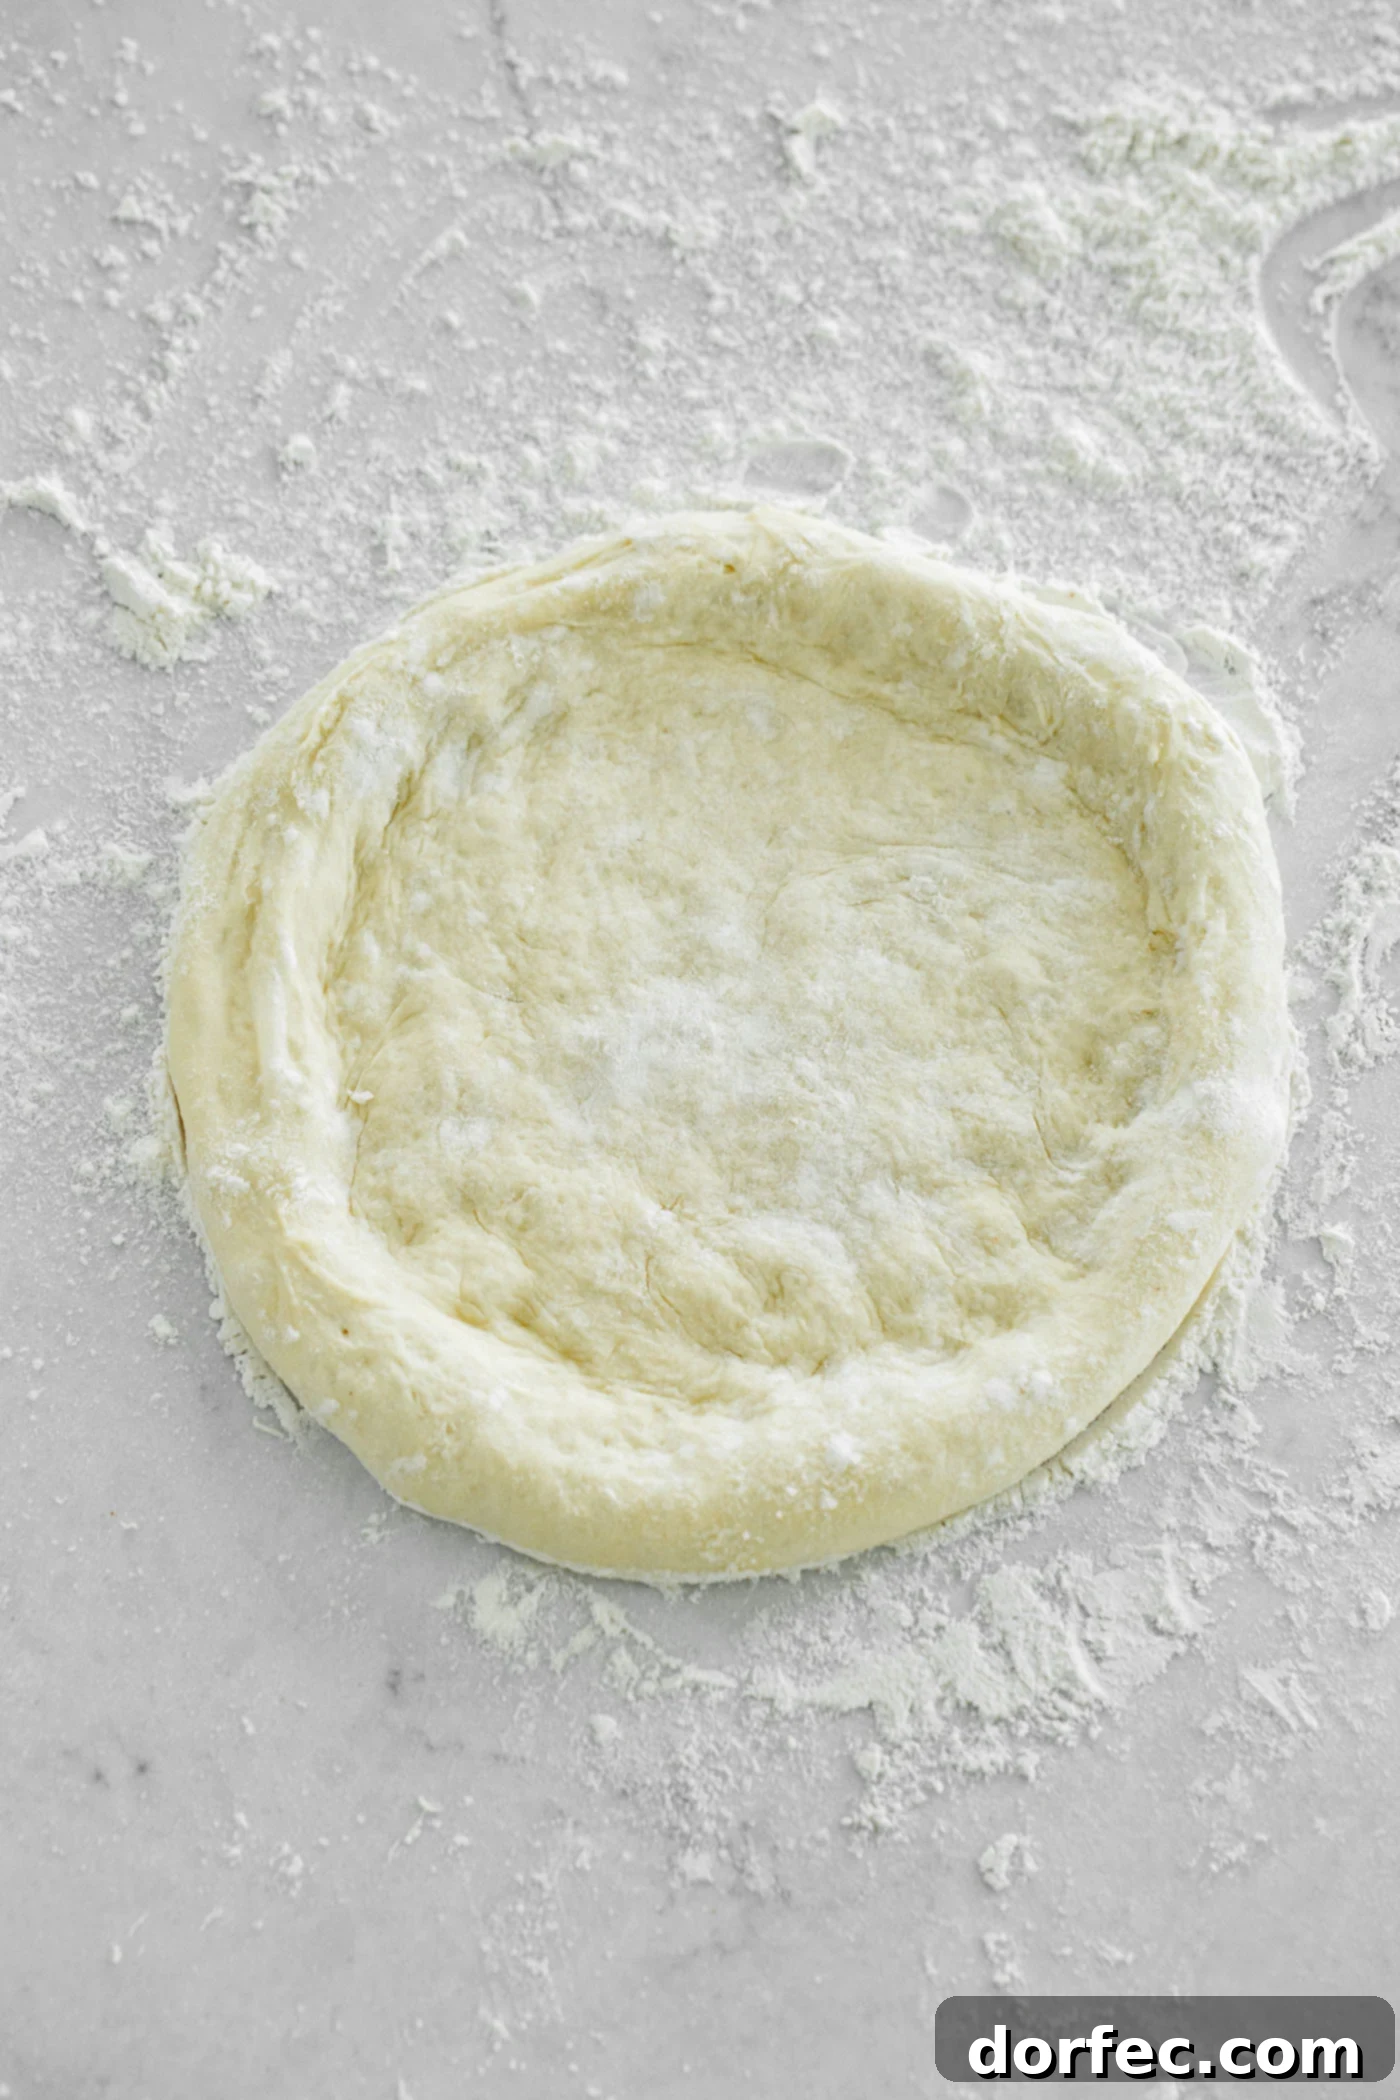
- Using your fingertips, gently ‘pounce’ (press down) from the outer edge inwards, leaving a distinct, thick rim for your crust. Avoid pressing down on the very edges, as this creates the signature bubbly crust.
- Once you have your desired shape, gently pick up the dough as if holding a steering wheel. Keep your thumbs under the lip of the crust to prevent flattening it.
- Begin turning your pizza dough like a wheel, allowing the dough to hang down slightly and gently brush the countertop. This helps to stretch it naturally and evenly.
- As the dough thins and expands, place your fists inside the dough (without poking through!) and continue working it in a circular motion until it reaches your desired size and thickness. **We were explicitly taught to NEVER use a rolling pin for pizza dough**, as it compresses the air out and results in a tough, dense crust.
- Generously flour a pizza peel and carefully transfer your shaped dough onto it.
- Top your pizza with your favorite sauce, cheese, and any desired toppings. Be swift, as you want the pizza to go into the hot oven as quickly as possible.
- To launch: Lift the pizza peel and position its tip at the very back of your preheated pizza stone or pan in the oven. With a gentle, confident motion, slightly jiggle the peel back and forth as you pull it out of the oven, allowing the pizza to smoothly slide off onto the hot surface.
- Bake until the crust is golden brown and beautifully crisp, and the cheese is bubbly and lightly charred in spots. Cooking time will vary depending on your oven and toppings, but typically ranges from 8-15 minutes.
- Allow your dough to complete its full rising cycles as instructed, then divide it into individual portions for single pizzas.
- Lightly oil each dough ball, wrap it tightly in plastic wrap, then place it in a freezer-safe bag or container.
- You can freeze pizza dough for up to **three months** without compromising its quality.
- To use, transfer the frozen dough to the refrigerator to thaw overnight. Once thawed, bring it to room temperature on the counter for at least an hour before you plan to shape and bake, ensuring optimal elasticity and rise.
- Classic Pepperoni Pizza
- Flavorful Pesto Pepperoni Pizza
- Hearty Meat Lovers Pizza
- Homemade Pizza Sauce
- Healthy Zucchini Crust Pizza
- Easy Pepperoni Pizza Crescents
- Homemade Bagel Bites
- Fun Pepperoni Pinwheels
- Decadent 4 Cheese Margherita Pizza
- 4 Cups Flour (500 Grams), we prefer baker’s flour or 00 flour
- 1 1/2 Cups Water (350 Grams), Warm (100 degrees Fahrenheit)
- 1 Pinch Sugar
- 1/4 teaspoon Instant Yeast (1.5 Grams), Not Active Dry
- 2 teaspoons Sea salt (13 Grams), fine grain
- Using a digital scale, place a bowl on the scale and zero it out so it doesn’t count the bowl weight. Measure out the flour. (4 Cups Flour)
- Using a glass measuring cup, place it on the scale and zero it out. Add the water and test to be sure the temperature is correct (100°F/38°C). (1 1/2 Cups Water)
- Add the sugar and zero the scale again, measure out the yeast and stir it together. Allow to sit and proof, or become all foamy. The yeast is basically eating the sugar and going from being asleep to awake which will make your dough rise. (1 Pinch Sugar, 1/4 teaspoon Instant Yeast)
- Zero the scale and add the salt, stirring to combine. (2 teaspoons Sea salt)
- Add the water to the flour, using your hand, mix the dough and as it comes together start to squeeze the dough. It will be slightly sticky, but you’re right on track.
- Allow the dough to rest for 30 seconds and then start folding and pinching the dough for one more minute.
- Set the dough aside to rest for 20-30 minutes.
- Dust your work surface with flour and knead for another 30-45 seconds. The dough will have relaxed and have a smooth skin. At this point, lightly drizzle a little oil in a clean bowl and add the dough, turning once so the seam is on the bottom and cover tightly with a lid or plastic wrap.
- A bowl without oil will grab the dough as it rises and hold it back from growing as much as it can. Allow to rise for 1 1/2-2 hours. If your house is cold, warm the oven for 10 minutes at 250°F (120°C), turn it off, open the door and place the dough bowl on the door.
- Carefully turn the bowl on its side and use your hand to help the dough gently fall to the counter. Do not grab and lift out the dough which will stretch it.
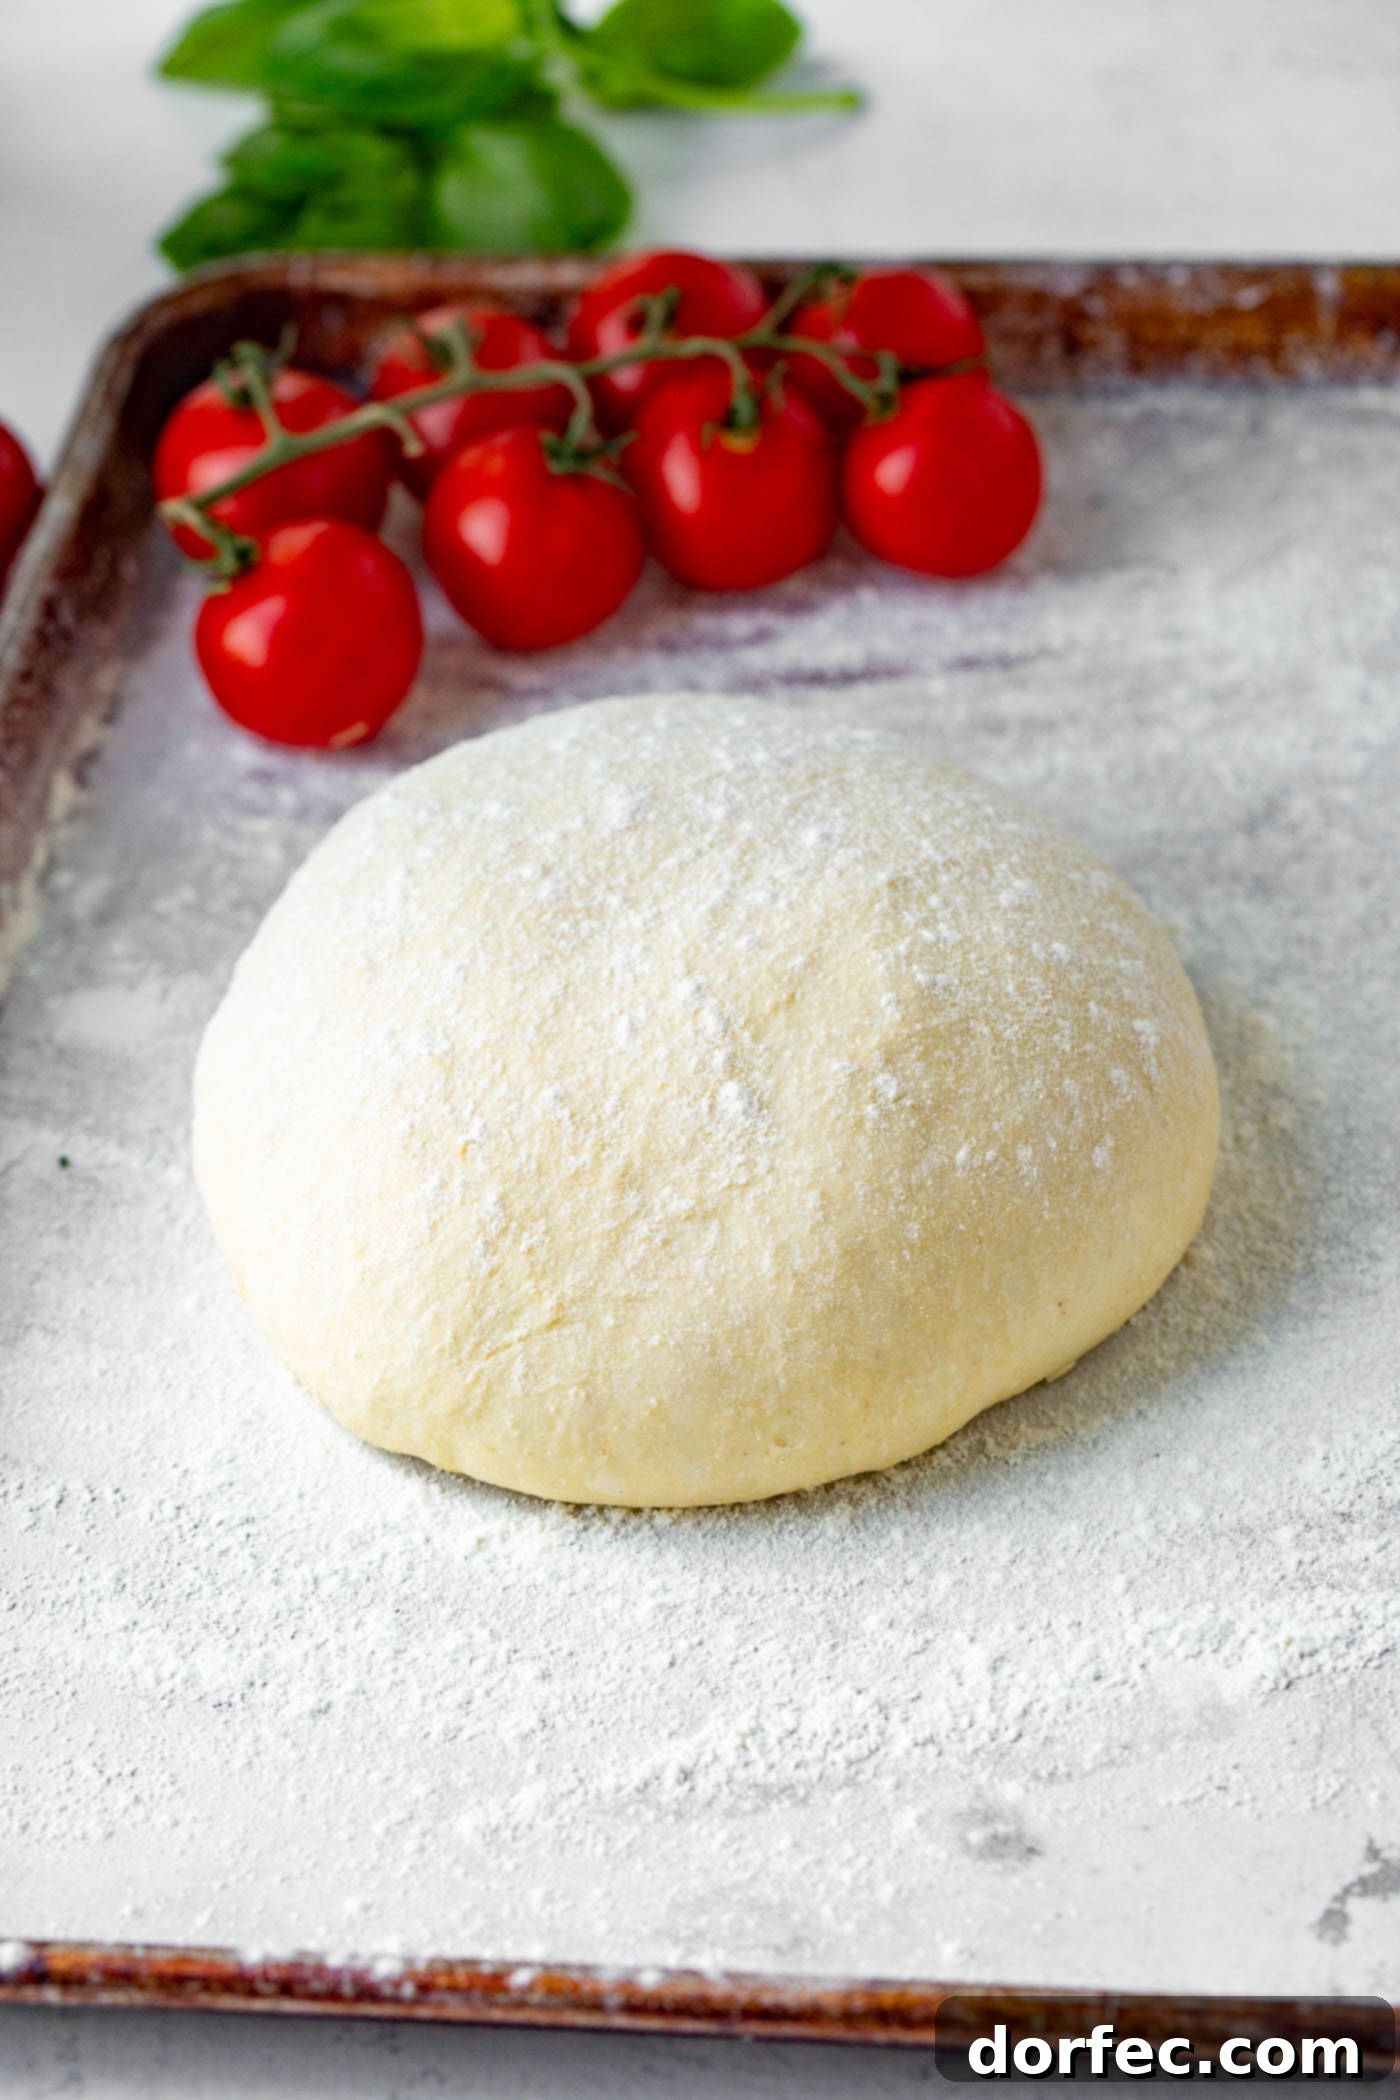
- Divide the dough into 2-3 balls and shape into round balls by pinching the bottom like you’re closing a purse, turn over onto a floured pan and dust the tops with more flour.
- Cover tightly with plastic wrap and the doughs will expand like flatter discs for 4-6 hours.
- Prepare your pizza or place in the fridge if you need to wait, just be sure to bring them back to room temperature before using.
- Place a pizza stone or cast iron pizza pan in the center of your oven and heat it to 550°F (288°C). The pan needs to heat for 30-45 minutes. This will allow the crust to start cooking before that cheese burns. If your oven doesn’t get that hot, turn it as hot as it goes, but then turn it to broil for 10 minutes before you cook your pizza.
- To shape the dough: flour the surface you’re working on and gently lay the dough down.
- Using your finger tips, start pouncing them up and down from the outer edge in, leaving a nice, thick rim for the crust.
- Once you have your shape, gently pick up the dough like a steering wheel, leaving your thumbs under the lip of the crust so you don’t press it thin.
- Start turning your pizza like a wheel and allowing the dough to hang down and brush the counter top.
- As it gets thin, place your fists in the dough so you don’t break through it and keep working it in a circle.
- We were taught to NEVER use a rolling pin which makes for a tough pizza dough.
- Heavily flour a pizza peel and place the dough down.
- Top with sauce and cheese, and any of your desired toppings.
- Lift the peel and put it clear in the oven with the tip at the back of your pizza pan. Gently jiggle the pizza peel back and forth as you bring it out of the oven and allow the dough to come off and onto the pan.
- Bake until golden and browning is occurring on the crust.
To Bake Your Pizzeria-Style Pizza:
Can Pizza Dough Be Made Ahead?
Absolutely! This **homemade pizza dough recipe** is ideal for meal planning. You can prepare the dough up to 2 days in advance. After the initial rise and shaping into individual balls, simply place them in an oiled, airtight container in the refrigerator. The cold temperature will slow down the yeast’s activity, allowing the dough to double in volume slowly and develop even more flavor, rather than rising too quickly at room temperature. Remember to bring the dough to room temperature for about an hour before you plan to bake, ensuring it’s relaxed and easy to shape.
Can Pizza Dough Be Frozen?
Yes, **pizza dough** freezes beautifully! This is a fantastic way to always have dough on hand for impromptu pizza nights:
Are Pizza Dough and Bread Dough the Same?
Absolutely not! This is a common misconception that I, too, held for a long time. After countless hours of research, reading, watching videos, and asking innumerable questions, I can confidently say that **PIZZA DOUGH IS NOT BREAD DOUGH!** While they share core ingredients like flour, water, yeast, and salt, that’s where their similarities end.
The key differences lie in hydration levels, fermentation times, and the desired gluten development. Pizza dough typically has a higher hydration level and undergoes a much longer, slower fermentation process than most bread doughs. This extended fermentation is critical for developing the complex flavors and unique elastic-yet-airy texture that defines great pizza crust. Bread dough, on the other hand, is often designed for a denser, more uniform crumb. So, if you’ve been using a standard bread recipe for your pizza, it’s time to **throw away your old pizza dough recipe** because this one is poised to become your new favorite!
Now, the only question that remains is… what delicious toppings will you choose for your perfect **homemade pizzeria pizza**?
Watch How to Make Pizzeria Style Pizza at Home
For a visual guide to mastering this recipe and seeing the shaping techniques in action, keep an eye out for our instructional video. It breaks down each step, making it even easier to achieve perfect results every time!
Best Pizza Recipes to Try
Once you’ve mastered this incredible pizza dough, the possibilities are endless! Here are some of our favorite **pizza recipes** to inspire your next homemade creation:
Pizza Dough
By Sweet Basil
Prep Time: 20 mins | Cook Time: 10 mins | Total Time: 1 day
Servings: 10
Print Recipe
Ingredients
US Customary – Metric
Instructions
To Bake
Recipe Notes
This recipe makes two 12″ pizzas.
Pizza dough can be made up to 2 days ahead. Refrigerate the dough to allow it to double in volume slowly, rather than rise quickly at room temperature.
Nutrition
Serving: 1g, Calories: 183kcal, Carbohydrates: 38g, Protein: 5g, Fat: 1g, Saturated Fat: 1g, Sodium: 468mg, Potassium: 54mg, Fiber: 1g, Sugar: 1g, Calcium: 9mg, Iron: 2mg
Nutrition information is automatically calculated, so should only be used as an approximation.
REMEMBER TO SUBSCRIBE TO our FREE Oh Sweet Basil NEWSLETTER AND RECEIVE EASY RECIPES DELIVERED INTO YOUR INBOX EVERY DAY!
When you try a recipe, please use the hashtag #ohsweetbasil on INSTAGRAM for a chance to be featured in our stories! FOLLOW OH, SWEET BASIL ON FACEBOOK | INSTAGRAM | PINTEREST | TWITTER FOR ALL OF OUR LATEST CONTENT, RECIPES AND STORIES.