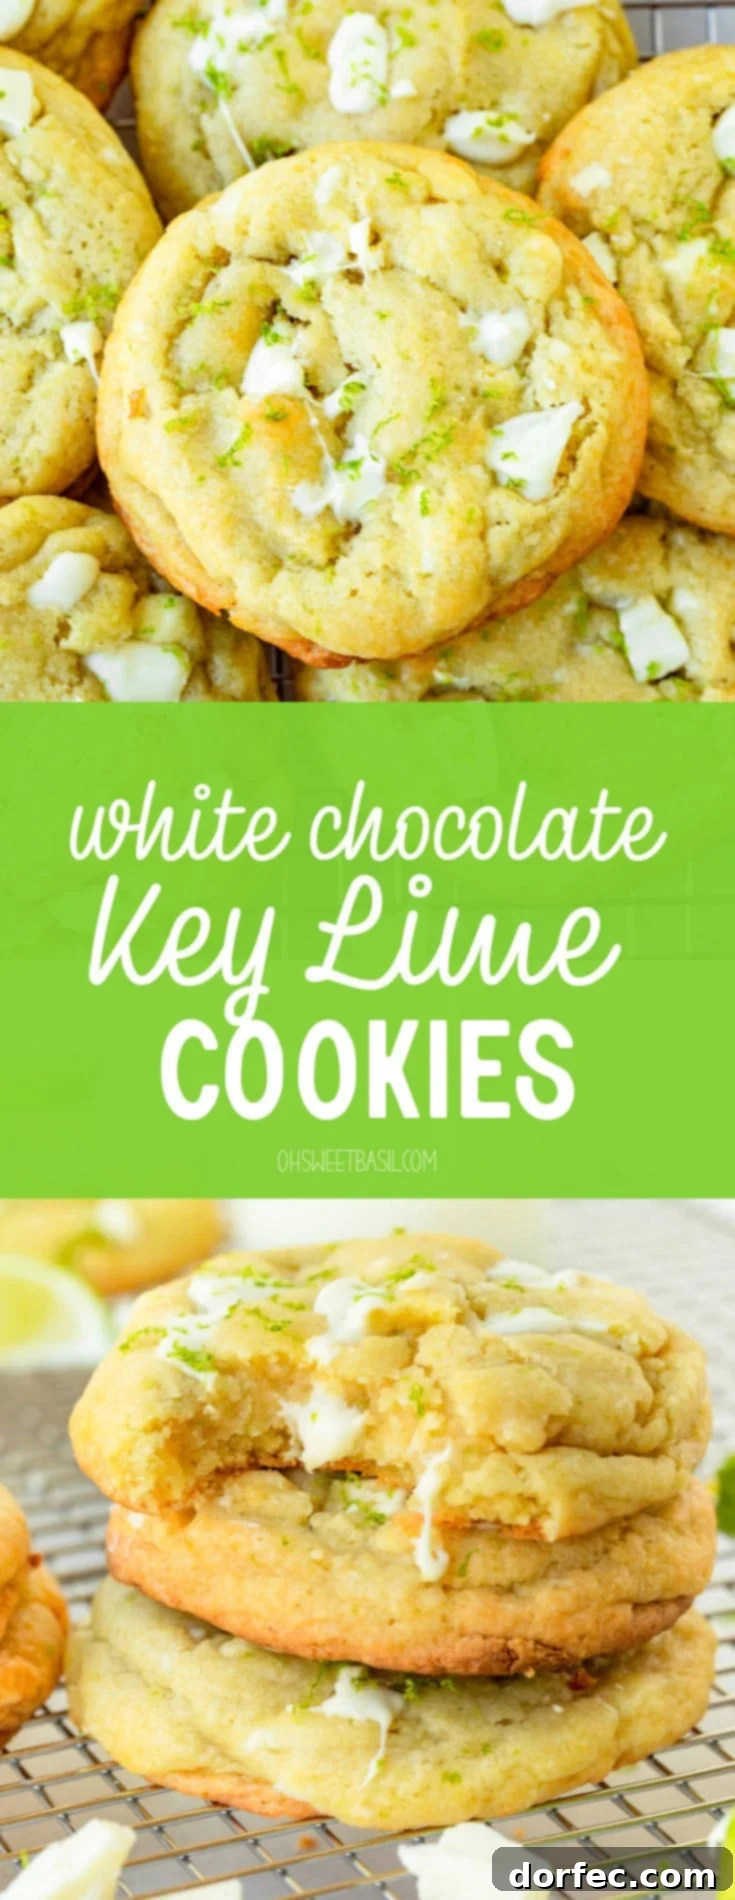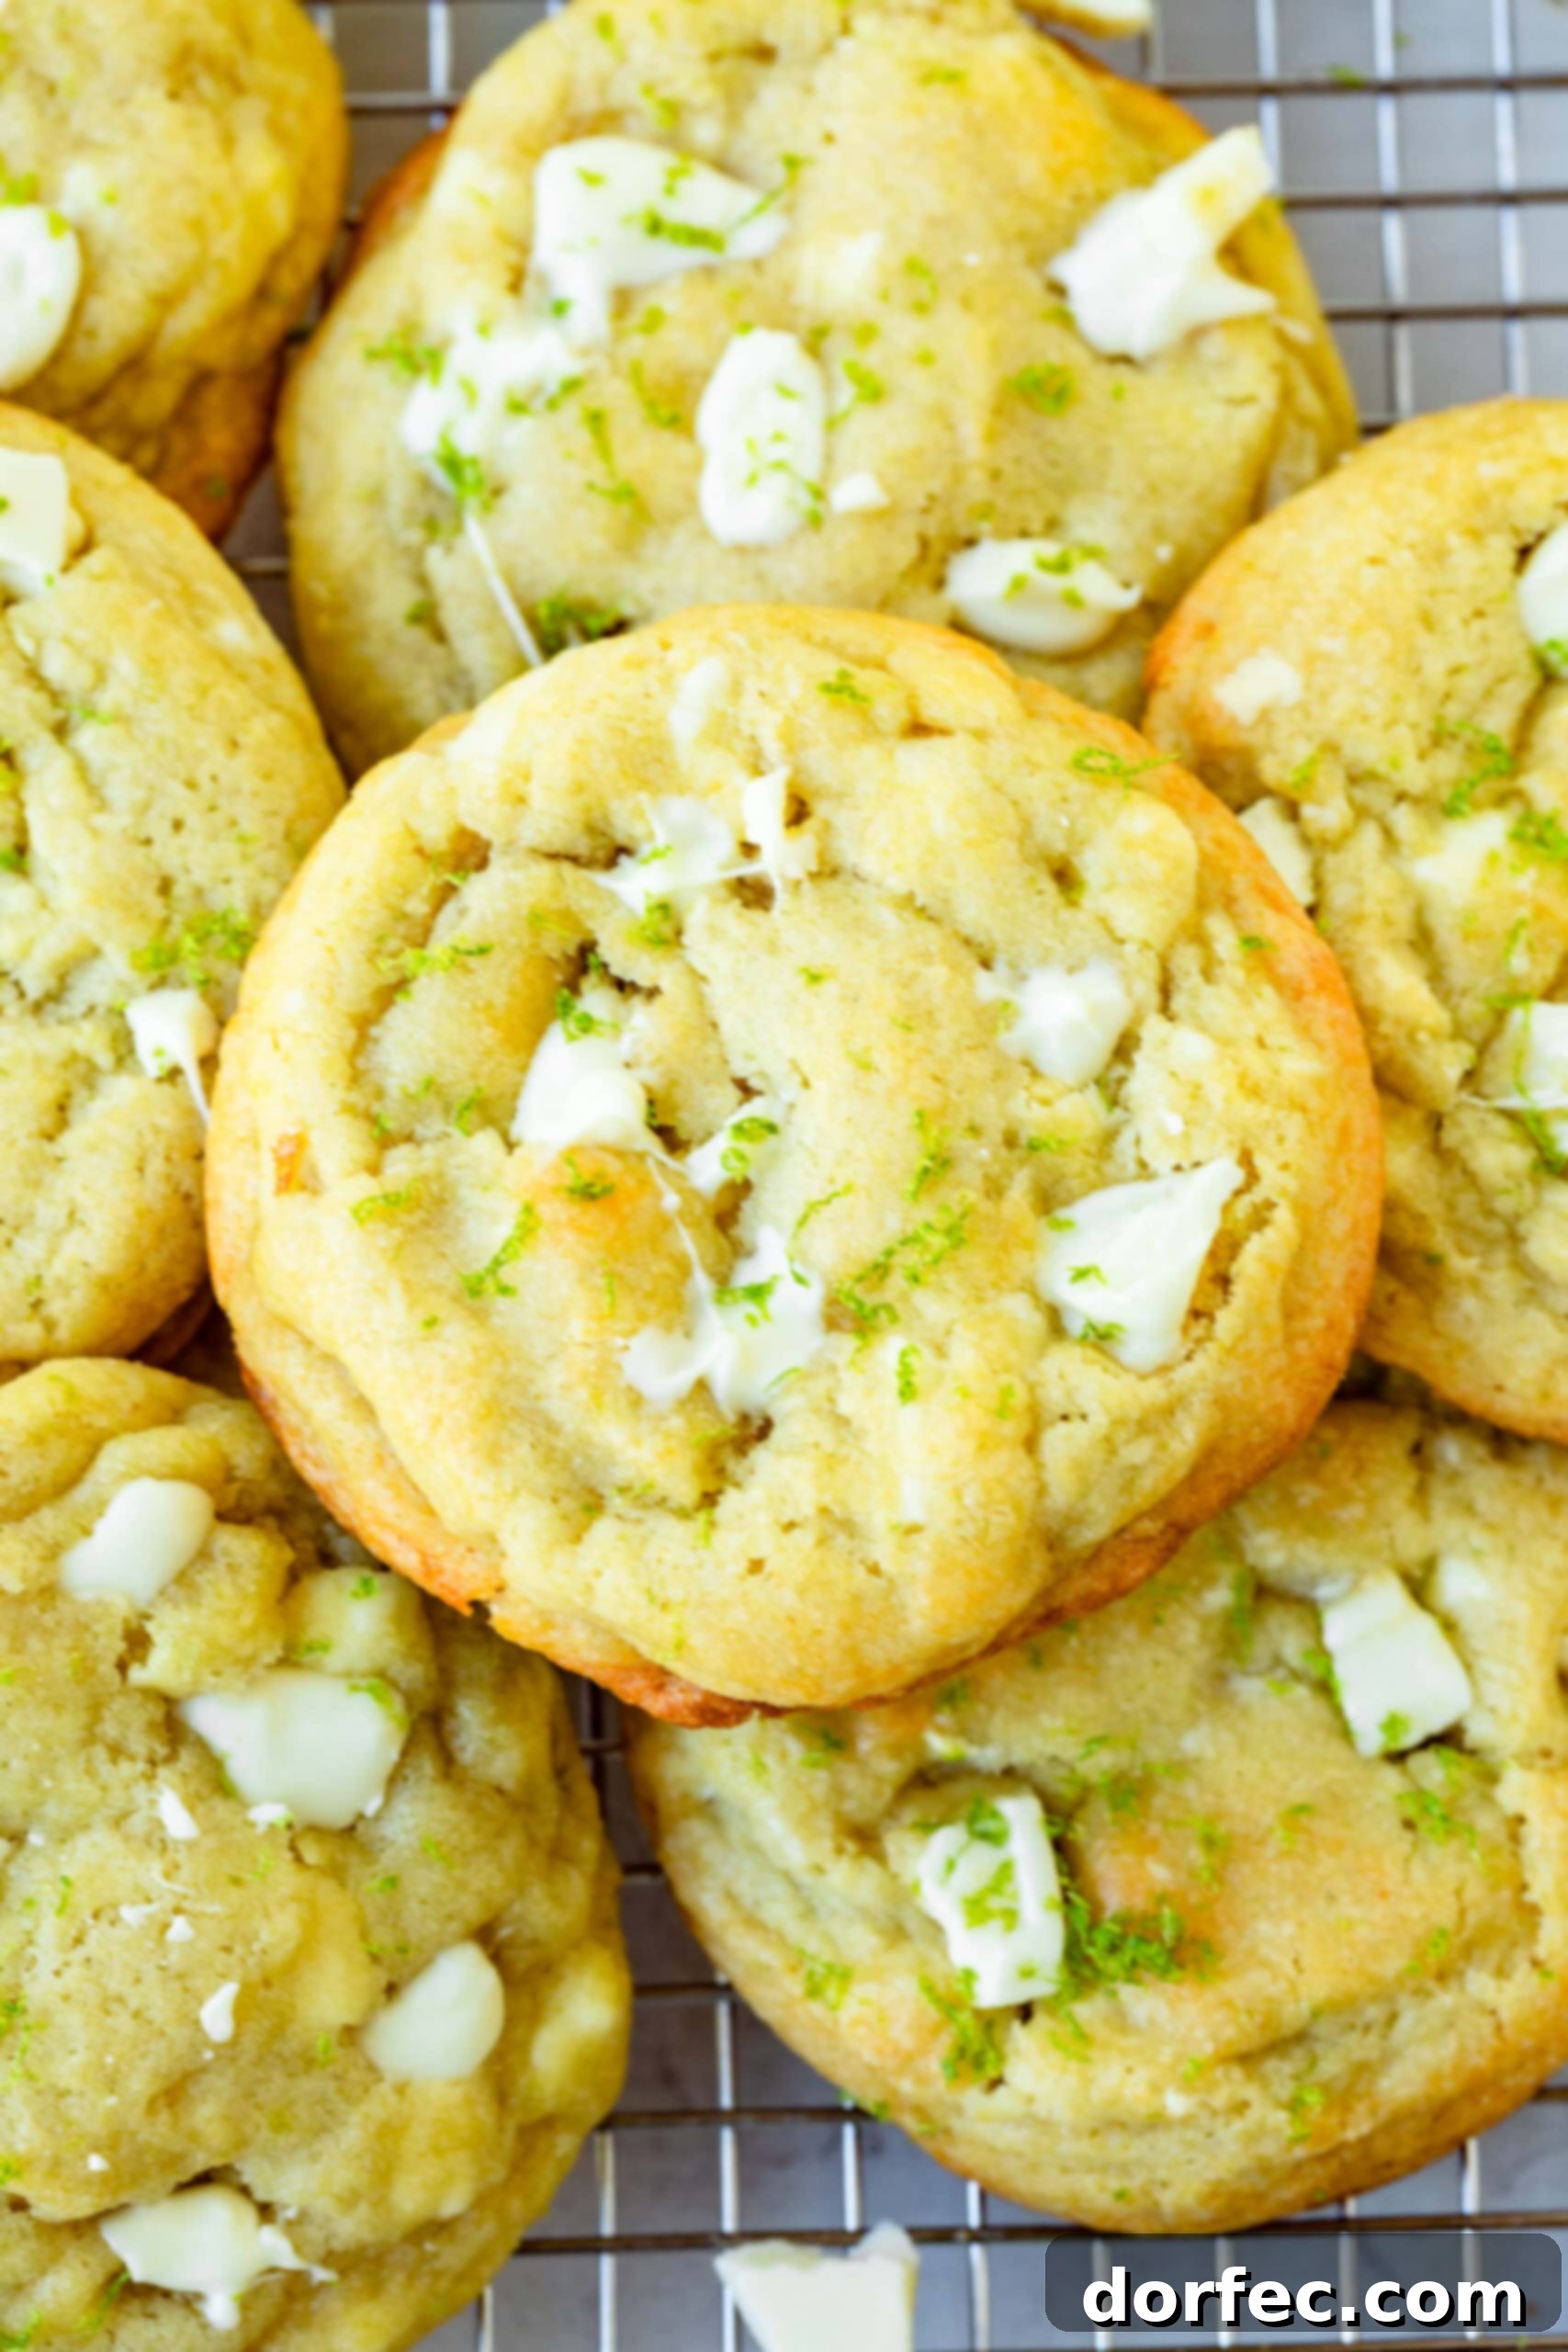
White Chocolate Key Lime Cookies: A Zesty Tropical Treat for Any Occasion
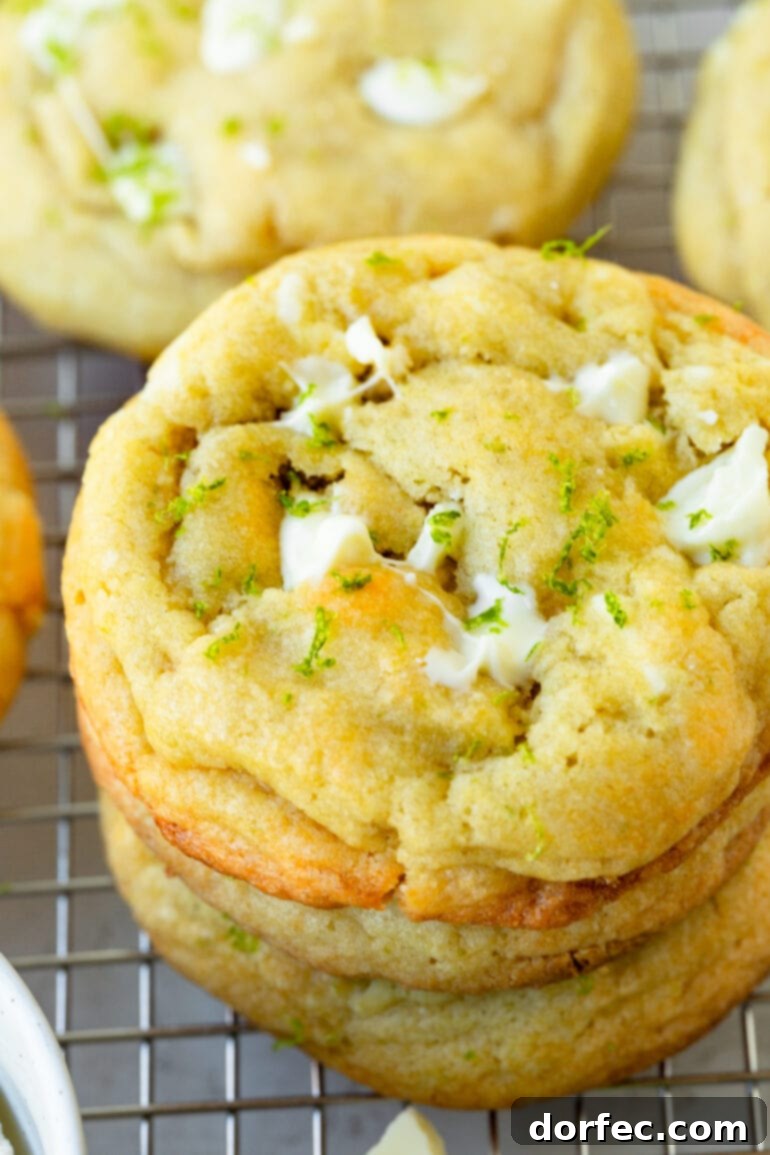
Indulge your senses with these exquisite White Chocolate Key Lime Cookies, a delightful fusion of vibrant citrus and creamy sweetness. Each bite offers a burst of zesty lime flavor, perfectly complemented by the rich, mellow notes of white chocolate chips. These cookies aren’t just a dessert; they’re a mini-vacation for your taste buds, bringing sunshine and joy to any gathering, celebration, or simply a quiet afternoon craving. Forget the ordinary and prepare to discover a truly unforgettable cookie experience that will leave everyone asking for the recipe. Their bright flavor profile and melt-in-your-mouth texture make them an instant classic and a must-try for both lime lovers and cookie enthusiasts alike.
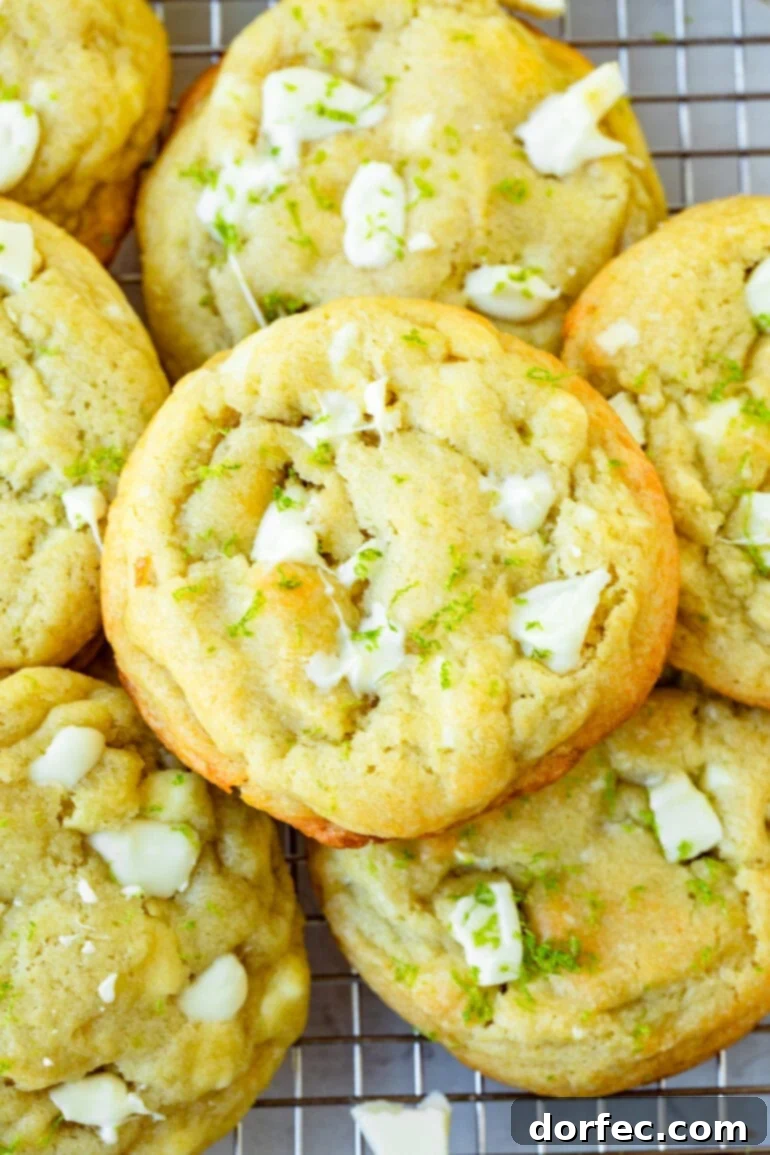
The Inspiration Behind the Zesty Treat
Not long ago, my spouse and I found ourselves in that familiar predicament: what delightful dessert should we conjure up for the evening? Our culinary musings bounced back and forth, from classic favorites to experimental new concepts, without settling on a clear winner. Just as indecision threatened to prevail, our wonderful friends dropped by, inadvertently casting their vote for a daring new adventure: a Key Lime Cookie. Intrigued by the suggestion, we decided to give it a whirl. The initial batch was undeniably good, a pleasant surprise that brightened our evening. However, being the perfectionist I am when it comes to flavor, I quietly wished for just a touch more of that unmistakable lime tang in my portion. While everyone else seemed perfectly content with the existing balance, I made a mental note to revisit and refine.
Why This is Your New Favorite Key Lime Cookie Recipe
True to my word, I’ve since circled back to this promising cookie recipe, determined to elevate it to its fullest potential. This latest iteration proudly boasts an intensified lime presence, precisely what my palate craved. The result is a truly superior batch of cookies, brimming with an invigorating citrus punch that stands out beautifully against the sweet white chocolate. However, I understand that taste is a deeply personal journey. So, if your preference leans towards a more subtle hint of lime, please feel empowered to adjust the amount of fresh lime zest and juice accordingly. But for those seeking the ultimate citrusy kick, I confidently declare this to be the best key lime cookies recipe you’ll ever encounter! This carefully perfected recipe ensures that every cookie is a symphony of contrasting yet harmonious flavors, a truly exceptional treat that balances tang with indulgence.
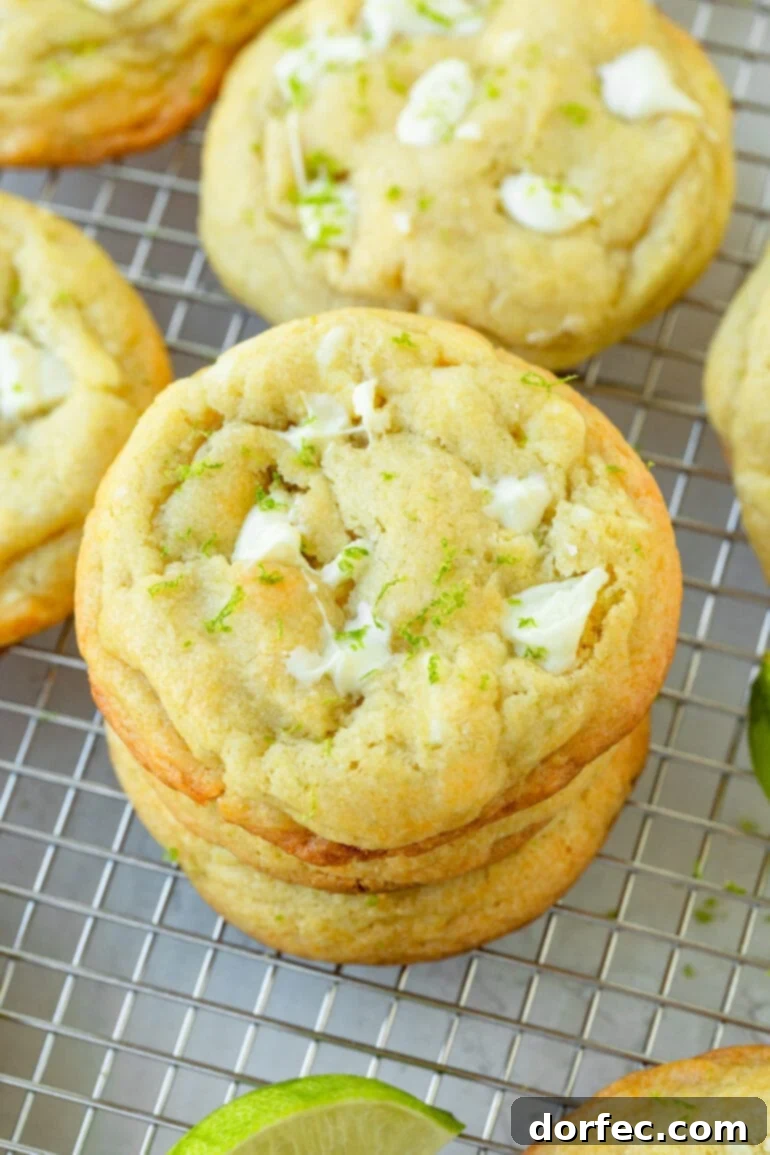
Essential Ingredients for Perfect Key Lime Cookies
Crafting these exceptional White Chocolate Key Lime Cookies requires no exotic or hard-to-find components. Instead, it relies on a harmonious blend of standard cookie-making staples, elevated by the vibrant addition of fresh lime juice and zest, and, of course, the creamy luxury of white chocolate. This straightforward ingredient list ensures that even novice bakers can achieve spectacular results. Here’s a closer look at the key elements that contribute to the irresistible texture and flavor of these cookies:
- All-Purpose Flour: The foundational dry ingredient, providing the necessary structure for our chewy cookies.
- Baking Soda: A crucial leavening agent that helps the cookies achieve their perfect rise and a wonderfully tender crumb.
- Salt: Essential for balancing and enhancing all the other flavors, making the citrus brighter and the chocolate richer.
- Unsalted Butter: Softened to room temperature, unsalted butter is preferred to allow precise control over the overall saltiness of the cookies. Its creamy texture is vital for creating a rich dough.
- Granulated Sugar: Contributes to the cookies’ sweetness and helps achieve that desirable crispness around the edges.
- Light Brown Sugar: Adds a deeper, more complex sweetness and contributes to the cookies’ moist, chewy texture, thanks to its molasses content.
- Large Egg: Acts as a binder, holding all the ingredients together and providing essential structure and richness to the dough.
- Vanilla Extract: A classic flavor enhancer that complements both the white chocolate and the lime, adding a subtle warmth to the overall profile.
- Fresh Limes (Key Limes or Regular Limes): Absolutely indispensable for both their vibrant zest and tangy juice. The fresh citrus brightens the entire cookie, offering that signature zesty punch. While key limes are traditional, regular limes work beautifully and are often more readily available.
- White Chocolate Chips (or Chunks): The creamy counterpoint to the zesty lime. High-quality white chocolate chips or chopped white chocolate chunks melt beautifully, creating pockets of smooth, sweet indulgence throughout the cookie.
You’ll find the precise measurements for each of these ingredients conveniently listed in the comprehensive recipe card located further down this post, ready for you to get baking!
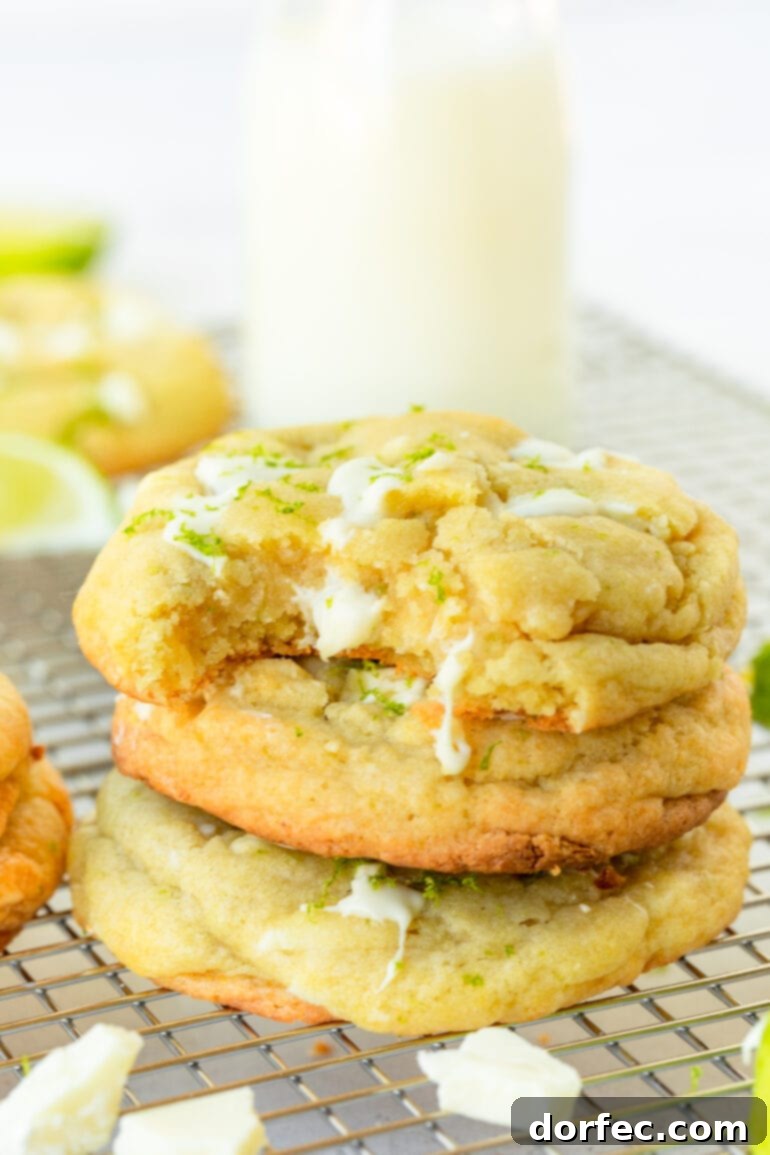
Crafting Perfection: A Step-by-Step Guide to Baking Your Key Lime Cookies
Creating these delectable White Chocolate Key Lime Cookies is a straightforward process, even for those new to baking. By following these simple steps, you’ll achieve perfectly baked, irresistibly zesty, and delightfully chewy cookies every time. Precision and care at each stage ensure the best possible outcome for this fantastic recipe.
- Prepare Your Workspace: Begin by preheating your oven to 375 degrees Fahrenheit (190°C). Then, line two baking sheets with parchment paper or silicone baking mats (like Silpats) to prevent sticking and promote even baking. This crucial first step ensures you’re ready to go as soon as your dough is mixed.
- Combine Dry Ingredients: In a medium-sized bowl, whisk together the all-purpose flour, baking soda, and salt. Make sure these dry components are thoroughly combined to ensure uniform leavening and flavor distribution throughout the cookie dough. Set this bowl aside for later use.
- Cream Wet Ingredients: In the bowl of a stand mixer fitted with the paddle attachment (or using a large bowl and a hand mixer), cream together the softened unsalted butter, granulated sugar, and brown sugar. Beat on medium speed until the mixture becomes light, fluffy, and pale in color, typically taking 2-3 minutes. This aeration step is key to a tender cookie.
- Incorporate Egg and Liquids: To the creamed butter and sugar mixture, add the large egg, fresh key lime juice, and vanilla extract. Continue to beat on medium speed until all these wet ingredients are fully incorporated and the mixture is smooth and emulsified. Scrape down the sides of the bowl as needed to ensure everything is mixed evenly.
- Gradually Add Dry to Wet: With the mixer on low speed, slowly add the reserved flour mixture to the wet ingredients. Mix until just combined. It’s crucial not to overmix at this stage, as overworking the gluten in the flour can lead to tough, dense cookies. Stop as soon as no dry streaks remain.
- Fold in Flavorful Additions: Remove the bowl from the mixer. Gently stir in the white chocolate chips (or chunks) and the fresh key lime zest using a wooden spoon or spatula. Distribute them evenly throughout the dough, ensuring every cookie gets a generous portion of both creamy chocolate and bright lime.
- Scoop and Space: Using a cookie scoop (about 1.5 to 2 tablespoons) or two spoons, drop rounded spoonfuls of dough onto the prepared baking sheets. Leave adequate space between each cookie (about 2 inches) to allow for spreading during baking. Resist the urge to flatten the cookie dough mounds; they will naturally spread and bake to a perfect thickness.
- Bake to Golden Perfection: Place the baking sheets in the preheated oven and bake for 8-9 minutes. The exact baking time may vary slightly depending on your oven. The cookies are done when their edges are lightly golden brown, but the centers still look slightly soft and puffy. Avoid overbaking, as this can lead to dry cookies.
- Cool and Enjoy: Once baked, remove the cookies from the oven. Allow them to cool on the baking sheets for a few minutes to set up before carefully transferring them to a wire cooling rack to cool completely. This prevents them from breaking and allows them to finish baking gently from residual heat. Once cooled, they’re ready to be devoured!
For detailed ingredient quantities and any specific notes, please refer to the complete recipe card found at the end of this post. It contains all the essential information to guide you through this delightful baking process.
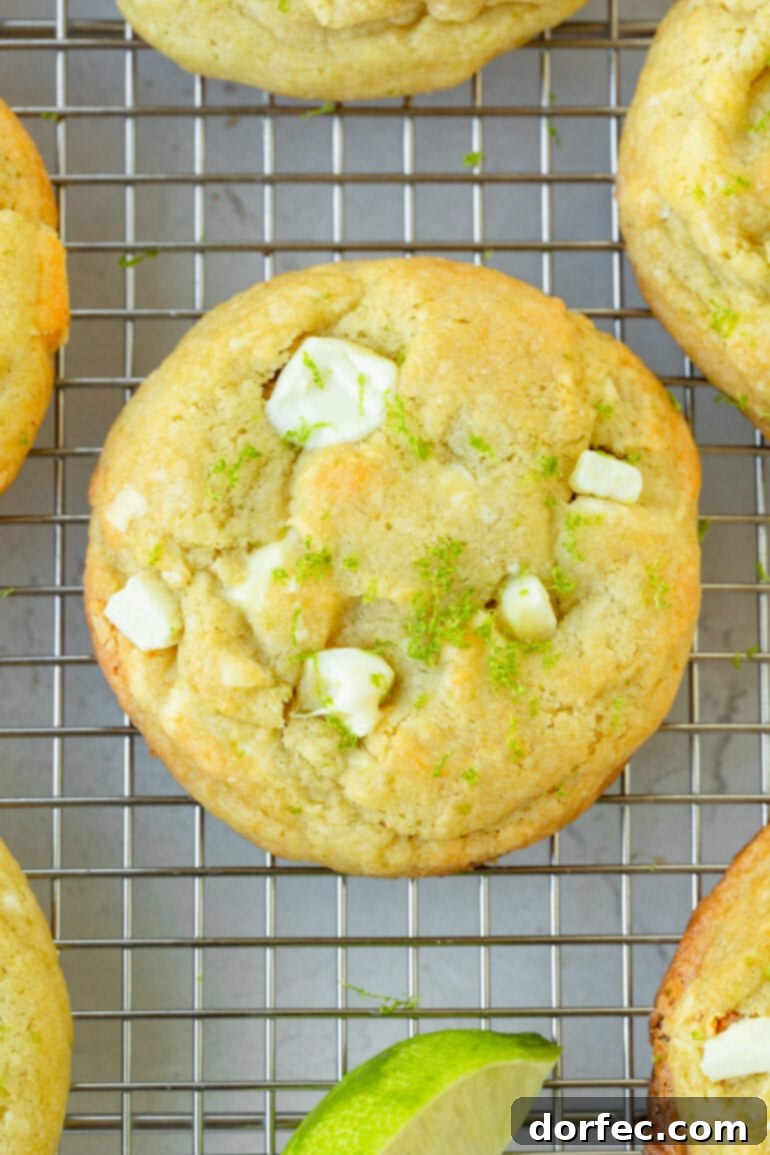
Key Limes vs. Regular Limes: What’s the Difference and Which to Use?
This is a common and excellent question for any recipe calling for specific citrus varieties! While key limes are indeed a star in many desserts, particularly for their intense, aromatic, and slightly more tart flavor profile, it’s absolutely fine to use regular (Persian) limes for these White Chocolate Key Lime Cookies. Key limes are generally smaller, possess a thinner skin, and offer a more floral, sometimes slightly bitter, acidic punch compared to their larger Persian counterparts. However, regular limes are more widely available, easier to juice, and still provide a fantastic, bright citrus note.
If you opt for regular limes, you might find yourself needing a bit more zest and juice to achieve the same pronounced lime flavor as key limes, simply because their essence can be slightly milder. Feel free to adjust to your personal preference, adding a little extra zest for maximum aroma. The beauty of this recipe is its flexibility; whether you choose the distinctive tang of key limes or the bright, familiar flavor of regular limes, your cookies will still be incredibly delicious and refreshing. Don’t let the search for specific limes deter you from trying this wonderful recipe!
Expert Baking Tips for Irresistible Cookies
Achieving the ultimate White Chocolate Key Lime Cookies isn’t just about following the steps; it’s also about understanding the nuances of cookie baking. These expert tips will help ensure your cookies turn out perfectly moist, chewy, and bursting with flavor every single time.
- Do Not Overmix the Dough: This is perhaps the most crucial rule for tender cookies. Once you add the dry ingredients to the wet, mix only until they are just combined and no dry streaks of flour remain. Overmixing develops the gluten in the flour, resulting in tough, dense, and less tender cookies.
- Resist Flattening the Dough: When you scoop the dough onto the baking sheets, leave the mounds as they are. There’s no need to press them down. These cookies are designed to be wonderfully thick and delightfully chewy, and flattening them will interfere with their intended texture, potentially leading to a thinner, crispier cookie.
- Avoid Overbaking at All Costs: Pay close attention to your oven and the baking time. These cookies are perfectly done when their edges are just beginning to turn a light golden brown, and the centers still appear slightly soft. They will continue to set and firm up as they cool on the hot baking sheet. Overbaking is the quickest way to dry out your cookies, making them less enjoyable.
- Room Temperature Ingredients are Key: Ensure your butter and egg are at room temperature. This allows them to cream together more smoothly with the sugars, creating a uniform emulsion that traps air, leading to a lighter, more tender cookie texture.
- Use Fresh Zest and Juice: The quality of your lime flavor heavily depends on the freshness of your limes. Always opt for fresh limes and zest them just before mixing for the most potent and aromatic citrus burst. Bottled juice simply won’t yield the same vibrant results.
- Chill the Dough (Optional but Recommended): For an even chewier cookie and less spread, consider chilling your dough for at least 30 minutes, or even up to an hour, before baking. This allows the flavors to meld and the fats to firm up, contributing to a richer taste and better texture.
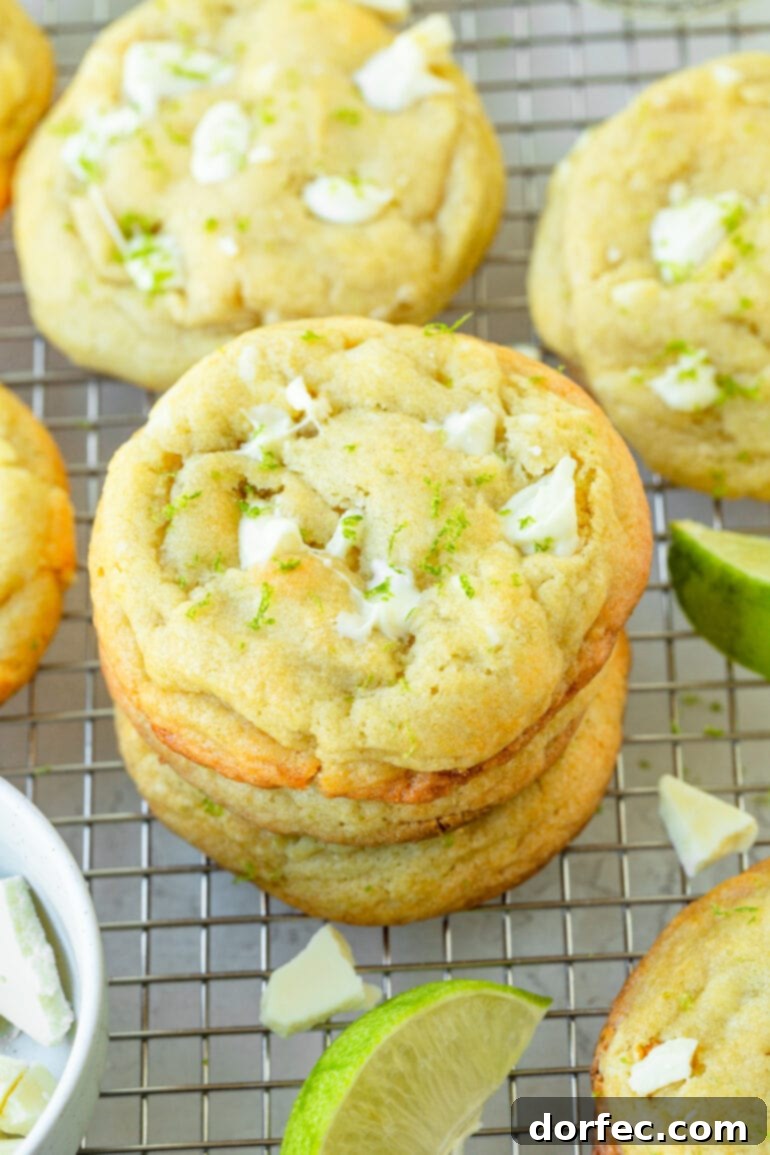
Exciting Variations to Explore with Your White Chocolate Key Lime Cookies
While the classic White Chocolate Key Lime Cookie is utterly delightful on its own, its versatile flavor profile makes it an excellent canvas for creative culinary experimentation. I’m particularly obsessed with the magical interplay between creamy white chocolate and bright citrus notes. This harmonious combination is what makes these cookies so special! If you’re ready to embark on a flavor adventure, here are some fantastic ideas to customize your next batch:
- Coconut Key Lime Cookies: For all my coconut lovers out there, this variation is an absolute must-try! Simply add 1/2 teaspoon of coconut extract to the wet ingredients and fold in 1/2 cup of unsweetened shredded coconut flakes along with the white chocolate chips and lime zest. The tropical aroma and subtle texture of coconut perfectly complement the lime and white chocolate, transporting you straight to a beach paradise.
- Other Citrus Delights: If you adore the citrus and white chocolate pairing, don’t stop at lime! I’ve experimented with similar successful combinations. You might love our Orange Creamsicle Cookies, which evoke the nostalgic taste of the classic frozen treat, or our bright and zesty Glazed Lemon Cookies, which offer a different kind of tang. Feel free to substitute lime juice and zest for lemon or orange to create your own unique citrus cookie.
- Add a Glaze: For an extra touch of sweetness and visual appeal, consider drizzling a simple lime glaze over the cooled cookies. Mix powdered sugar with a tablespoon or two of fresh lime juice until you achieve a smooth, pourable consistency. A little extra lime zest sprinkled on top of the wet glaze adds a beautiful finish.
- Macadamia Nut Crunch: Introduce a delightful crunch and buttery richness by folding in 1/2 cup of chopped macadamia nuts with the white chocolate chips. Their tropical notes marry beautifully with the lime.
- Ginger Twist: For a subtle warmth and spicy kick, add 1/2 teaspoon of ground ginger to your dry ingredients. Ginger pairs surprisingly well with lime and white chocolate, adding another layer of complexity.
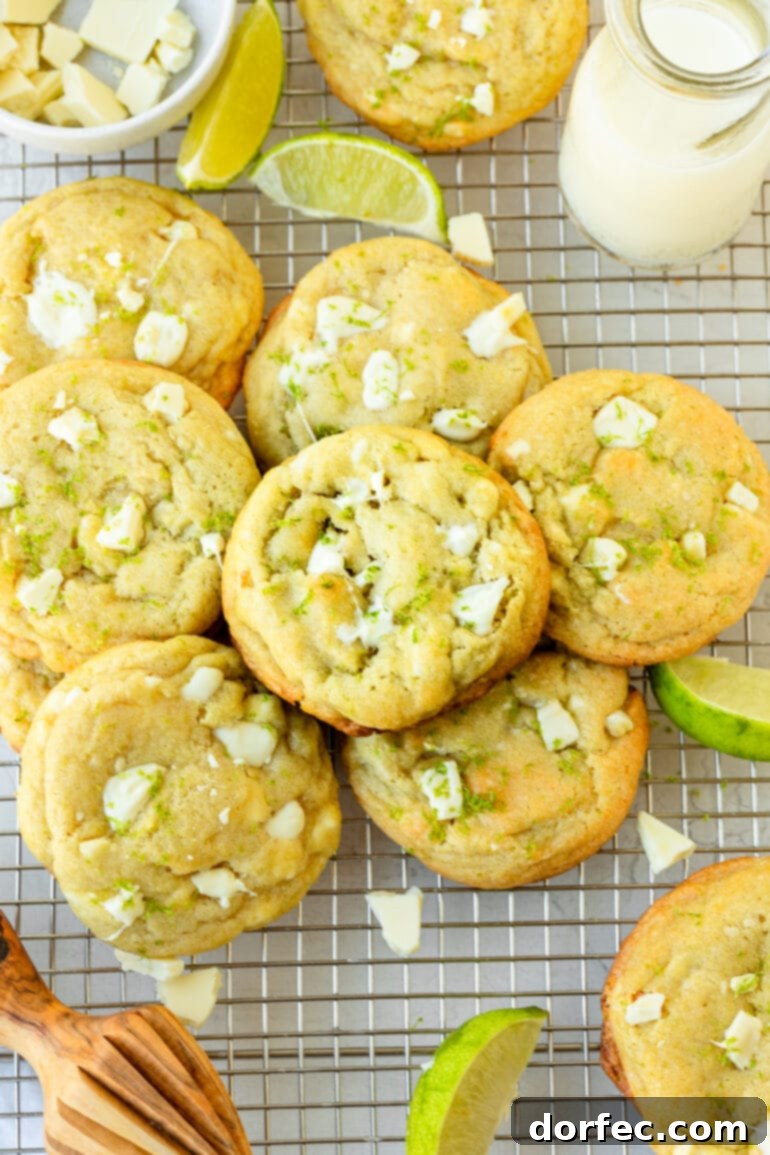
Storing Your White Chocolate Key Lime Cookies for Lasting Freshness
Once you’ve baked a batch of these irresistible White Chocolate Key Lime Cookies, you’ll want to ensure they stay fresh and delicious for as long as possible. Proper storage is key to maintaining their perfect texture and vibrant flavor.
Room Temperature Storage
For freshly baked cookies, store them at normal room temperature for about 2 to 3 weeks. The type of container you use depends on your desired cookie texture:
- Crisp Cookies: If you prefer your cookies on the crispier side, store them in a container with a loosely fitting lid. This allows a bit of air circulation, helping to maintain their crunch.
- Soft, Chewy Cookies: To keep your cookies wonderfully soft and chewy, store them in an airtight container. A bread heel or a slice of apple placed in the container can also help maintain moisture and softness for several days.
Freezing for Extended Enjoyment
Planning ahead or simply want to savor your Key Lime Cookies for longer? Freezing is an excellent option! When stored correctly, most baked cookies will maintain their quality in the freezer for up to 3 months.
- Pre-Freeze: Once your cookies have cooled completely, arrange them in a single layer on a baking sheet. Place the baking sheet in the freezer for 1-2 hours, or until the cookies are firm. This step prevents them from sticking together.
- Pack for Storage: After the cookies are individually frozen, transfer them to heavy-duty freezer bags or an airtight freezer-safe container. Remove as much air as possible from the bags to prevent freezer burn.
- Thawing: When you’re ready to enjoy them, simply take out the desired number of cookies and let them thaw at room temperature for about 15-30 minutes. They’ll taste almost as fresh as the day they were baked!
The Perfect Zesty Indulgence: A Concluding Thought
To all my fellow lime lovers, let us unite in appreciation for this fantastic citrus! Whether it’s the creamy tang of a lime cheesecake, the iconic sweetness of a classic key lime pie, or the exotic allure of a Torta de Limão, I am unequivocally there for it! And these White Chocolate Key Lime Cookies are no exception; in fact, they might just be my new favorite! They represent the quintessential combination of vibrant, electrifying lime and luxuriously smooth, creamy white chocolate. The flavors are simply incredible, and the texture is pure perfection—a harmonious blend of chewy and tender. These cookies are a resounding “Yummmmmmm!” and a testament to the fact that some flavor pairings are simply meant to be. Prepare to fall head over heels for this zesty, sweet, and utterly irresistible treat!
Discover More Irresistible Cookie Recipes
- White Chocolate Raspberry Cookies
- Biscoff Stuffed Snickerdoodle Cookies
- Nutella and Dulce de Leche Stuffed Chocolate Chip Cookies
- Bakery Style Chocolate Cookies
- Glazed Lemon Cookies
- Strawberries and Cream Pudding Cookies
- Lemon Drop Cookies
White Chocolate Key Lime Cookies
By Sweet Basil
These cookies have just the right amount of lime, and the white chocolate makes them perfect!
Prep Time: 15 mins | Cook Time: 9 mins | Total Time: 24 mins
Servings: 24 cookies
Ingredients
- 2 1/2 Cups All-Purpose Flour
- 3/4 teaspoon Baking Soda
- 1/2 teaspoon Salt
- 1 Cup Unsalted Butter, softened
- 1/2 Cup Granulated Sugar
- 1/2 Cup Light Brown Sugar
- 1 Large Egg
- Juice of 2 Limes (Key Limes or Regular Limes)
- 1/4 teaspoon Vanilla Extract
- Zest of 2 Limes (Key Limes or Regular Limes)
- 6 Ounces White Chocolate Baking Chips (or Chunks)
Instructions
- Preheat oven to 375 degrees F (190°C). Line two baking sheets with parchment paper or silicone baking mats.
- In a medium bowl, combine flour, baking soda, and salt; whisk well and set aside.
- In a large bowl of a stand mixer, cream together the softened butter, granulated sugar, and brown sugar until light and fluffy (2-3 minutes).
- Beat in the egg, fresh lime juice, and vanilla extract until the mixture is smooth. Scrape down the sides of the bowl as needed.
- Slowly add the prepared flour mixture to the wet ingredients, mixing on low speed until just combined. Be careful not to overmix.
- Stir in the fresh lime zest and white chocolate chips (or vanilla chips/chunks) using a wooden spoon or spatula, ensuring they are evenly distributed.
- Drop rounded spoonfuls of dough (about 1.5-2 tablespoons each) onto the prepared cookie sheets, leaving about 2 inches between them. Do not flatten the cookies; they will be thick and chewy.
- Bake for 8-9 minutes, or until the edges are lightly golden brown and the centers still look slightly soft. Do not overcook! Cookies will be plump and will continue to set as they cool.
- Cool the cookies on the baking sheets for several minutes before carefully transferring them to a wire cooling rack to cool completely.
Recipe Notes
Store cooled cookies in an airtight container to maintain freshness. For crisp cookies, use a loosely fitting lid. For soft cookies, ensure the container is airtight.
Nutrition Information (Approximate)
- Serving: 1 cookie
- Calories: 193kcal
- Carbohydrates: 24g
- Protein: 2g
- Fat: 10g
- Saturated Fat: 6g
- Polyunsaturated Fat: 0.5g
- Monounsaturated Fat: 3g
- Trans Fat: 0.3g
- Cholesterol: 29mg
- Sodium: 154mg
- Potassium: 57mg
- Fiber: 1g
- Sugar: 13g
- Vitamin A: 254IU
- Vitamin C: 3mg
- Calcium: 27mg
- Iron: 1mg
Nutrition information is automatically calculated and should be used as an approximation. Individual results may vary based on specific ingredients and preparation methods.
Enjoyed baking these delightful cookies? We’d absolutely love to hear about your experience! Share your thoughts, tips, or any creative variations you tried in the comments section below. Happy baking!