
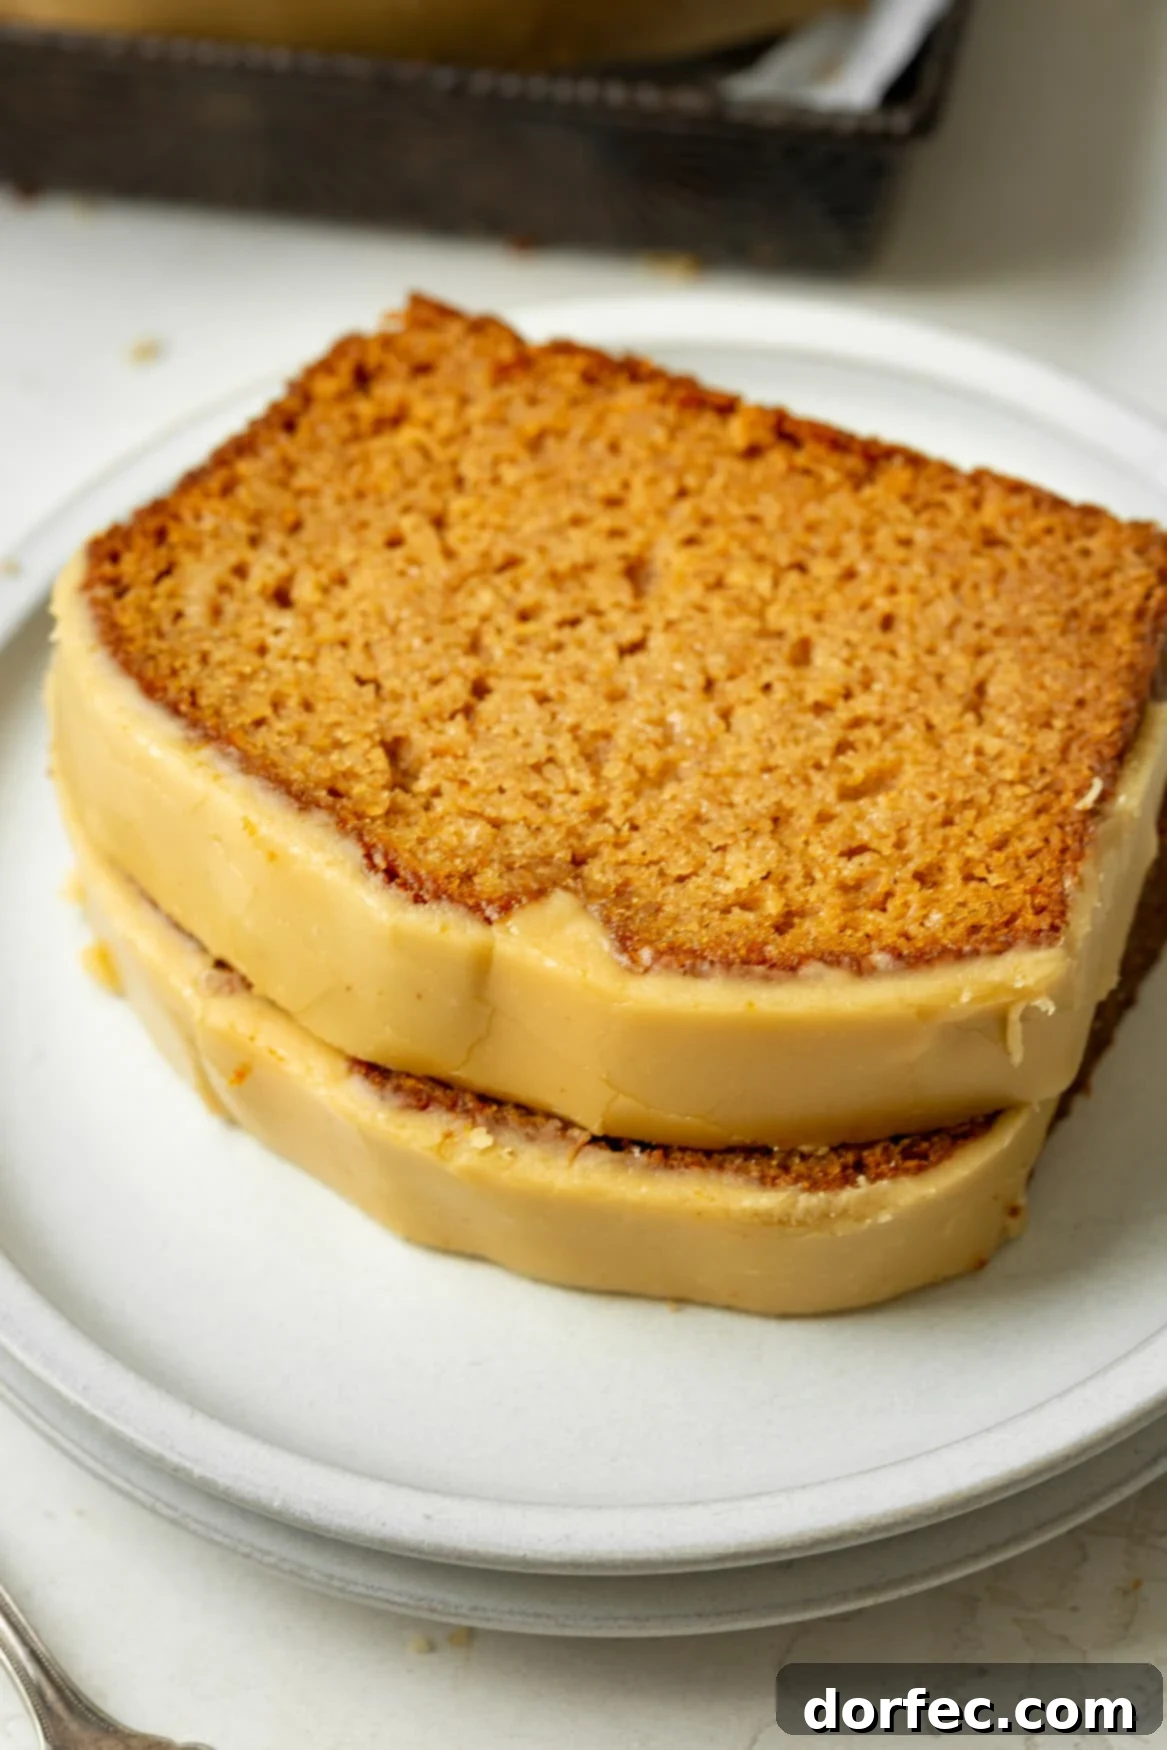
As autumn leaves begin to fall and a crisp coolness fills the air, my heart invariably turns to the comforting embrace of apple desserts. Among them, this exceptional apple bread recipe holds a special place. It’s a symphony of warm spices and rich, authentic apple flavor that evokes pure coziness. But what truly elevates this loaf from delightful to irresistible is the luscious, pourable brown sugar icing – a sweet, caramelized dream that promises to keep you reaching for another slice.
I’ve yearned to perfect this apple quick bread for years, and now, it’s finally here! While anything apple-infused captures my affection, the real star of this recipe, for me, is undeniably the sublime brown sugar icing. It’s not just an accompaniment; it’s a nostalgic journey in every bite, adding a depth of flavor that makes this bread truly unforgettable.
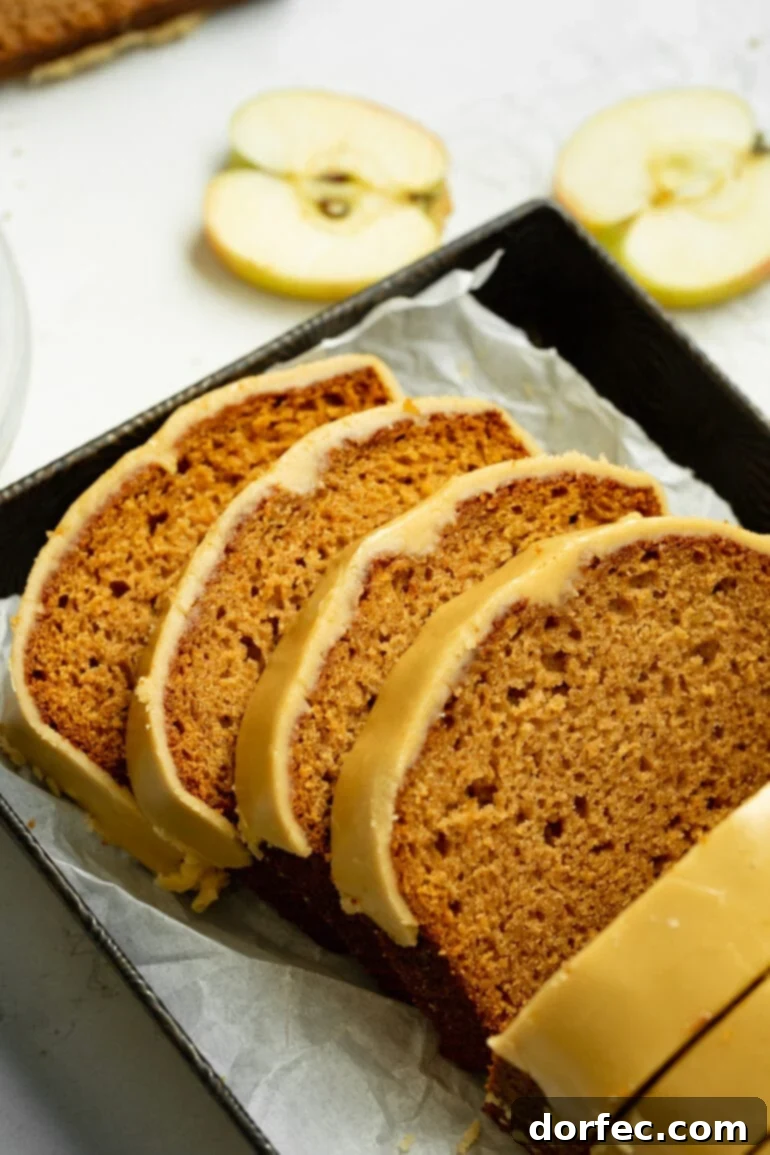
Growing up, my father would often request a spice cake for his birthday, and my mother, with her baking magic, would always crown it with a homemade cooked frosting. That frosting, thick and reminiscent of rich caramel, left a lasting impression. For some wonderful reason, the blend of cozy spices in baked goods and that deeply flavorful brown sugar icing became a powerful symbol of warmth and nostalgia for me. Although my mom isn’t typically a fan of cooked apples in desserts, I was confident I could create a version that would make her swoon. And so, the concept of this incredible apple bread with brown sugar icing was born.
This isn’t just another quick bread; it’s a labor of love designed to be utterly foolproof. I’ve compiled a selection of essential tips for success when preparing this delicious quick bread recipe, so be sure to read on to ensure your baking experience is as perfect as the bread itself!
Recommended Equipment for Baking Success:
Having the right tools can make all the difference in your baking journey. For this particular recipe, these items will ensure a smooth process and perfect results:
- Bread Loaf Pans (8.5×4 inches): Essential for shaping your beautiful loaves.
- Light-Colored Pot (for browning butter): A lighter interior allows you to easily monitor the color changes as the butter browns, preventing accidental burning.
- Large Mixing Bowls: For combining your dry and wet ingredients separately.
- Whisk and Wooden Spoon: Fundamental tools for mixing and incorporating ingredients.
Before You Begin: Essential Preparations
To ensure a seamless baking experience and maximize flavor, there are a couple of crucial steps you’ll want to take before diving into the main recipe. These preparatory actions set the stage for the rich, nutty notes that define this apple bread.
Firstly, you’ll want to start by browning the butter needed for this recipe. This simple step adds an incredible depth of nutty, toasted flavor that makes a world of difference. There’s a dedicated section below detailing exactly how to brown butter to perfection. You will use a portion of this delightful browned butter in both the bread batter and, crucially, in the luxurious brown sugar icing. Ensure you have a whole stick of butter browned and ready. Once prepared, remove three tablespoons of the browned butter for the icing and reserve the remainder for the bread itself. This division ensures both components benefit from its rich flavor.
Secondly, make sure you have your apple butter readily available. Whether you opt for a homemade batch, bursting with concentrated apple flavor, or a high-quality store-bought variety, having it prepared in advance will keep your baking process flowing smoothly.
What Do I Need to Make This Delicious Apple Bread?
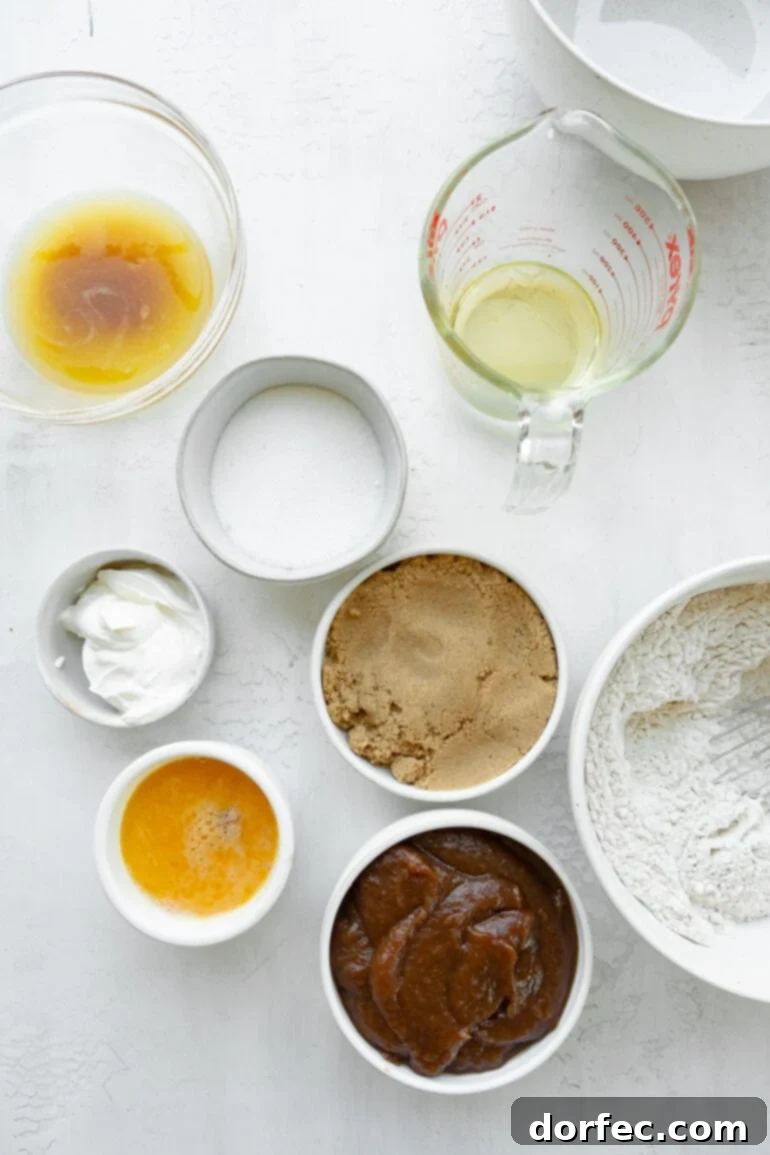
Crafting this flavorful apple bread and its irresistible brown sugar icing requires a harmonious blend of simple, readily available ingredients. I’ve categorized them to make your preparation even easier:
For the Perfectly Spiced Apple Bread:
- All-Purpose Flour: The foundational structure for our bread, providing a tender crumb. Just regular unbleached all-purpose flour is all you need.
- Baking Soda: This crucial leavening agent reacts with the acidic ingredients to give our bread its beautiful rise and airy, fluffy texture.
- Salt: A pinch of salt is essential not just for seasoning, but for enhancing and balancing all the sweet and spiced flavors in the loaf.
- Warm Fall Spices (Cinnamon, Nutmeg, Ground Cloves): These fragrant spices are the heart of our apple bread, infusing it with those classic, comforting autumn flavors we all adore. They create a wonderfully aromatic experience.
- Browned Butter: This special ingredient, prepared in advance, adds an incredible richness and a distinct, nutty undertone that deepens the overall flavor profile of the bread. It’s a game-changer!
- Vegetable Oil: Beyond adding moisture, vegetable oil contributes to the bread’s incredibly soft and tender texture, ensuring it stays moist for days.
- Brown Sugar: Offers a rich, molasses-like sweetness and adds to the bread’s moistness and depth of flavor.
- Granulated Sugar: Provides a clean sweetness that balances the richer notes of brown sugar and apple.
- Eggs: These act as binders, providing essential structure to the bread loaves and contributing to their tender texture.
- Apple Butter: The star of the show for apple flavor! Apple butter delivers a concentrated, natural apple essence. If unavailable, unsweetened applesauce can be used, though the apple flavor will be less intense.
- Sour Cream: A secret weapon for moist quick breads! Sour cream adds both acid and fat, resulting in an exceptionally tender and moist loaf. Buttermilk can be used as an excellent substitute.
For the Irresistible Brown Sugar Icing:
- Light Brown Sugar: The primary sweetener for the icing, providing its signature caramel-like sweetness and rich, warm flavor. Make sure it’s packed for accurate measurement.
- Whole Milk: Used to achieve the perfect pourable consistency for the icing, ensuring it drapes beautifully over the warm bread.
- Browned Butter: The same glorious browned butter used in the bread gives the icing its characteristic warm, comforting, and irresistibly nutty flavor. It’s truly what makes this icing stand out.
- Vanilla Extract: A splash of pure vanilla extract enhances all the sweet and buttery notes, adding a layer of aromatic complexity.
- Powdered Sugar (Confectioners’ Sugar): Provides additional sweetness and, crucially, gives the icing its smooth texture and structure as it sets.
Specific measurements for each of these ingredients are thoughtfully detailed in the comprehensive recipe card located at the very end of this post, ready for your convenience.
How to Make Flavorful Apple Bread from Scratch
Creating this delightful easy apple bread recipe from scratch is a straightforward and rewarding process, easily broken down into four manageable steps. Each step is designed to build layers of flavor and ensure a perfectly baked loaf:
- Initial Preparation & Preheat: Begin by setting your oven to the precise temperature of 350°F (175°C) to ensure it’s perfectly preheated when your batter is ready. Simultaneously, prepare your two 8.5×4-inch loaf pans by generously spraying them with a nonstick baking spray or buttering and flouring them. This crucial step prevents sticking and ensures your beautiful loaves release effortlessly after baking.
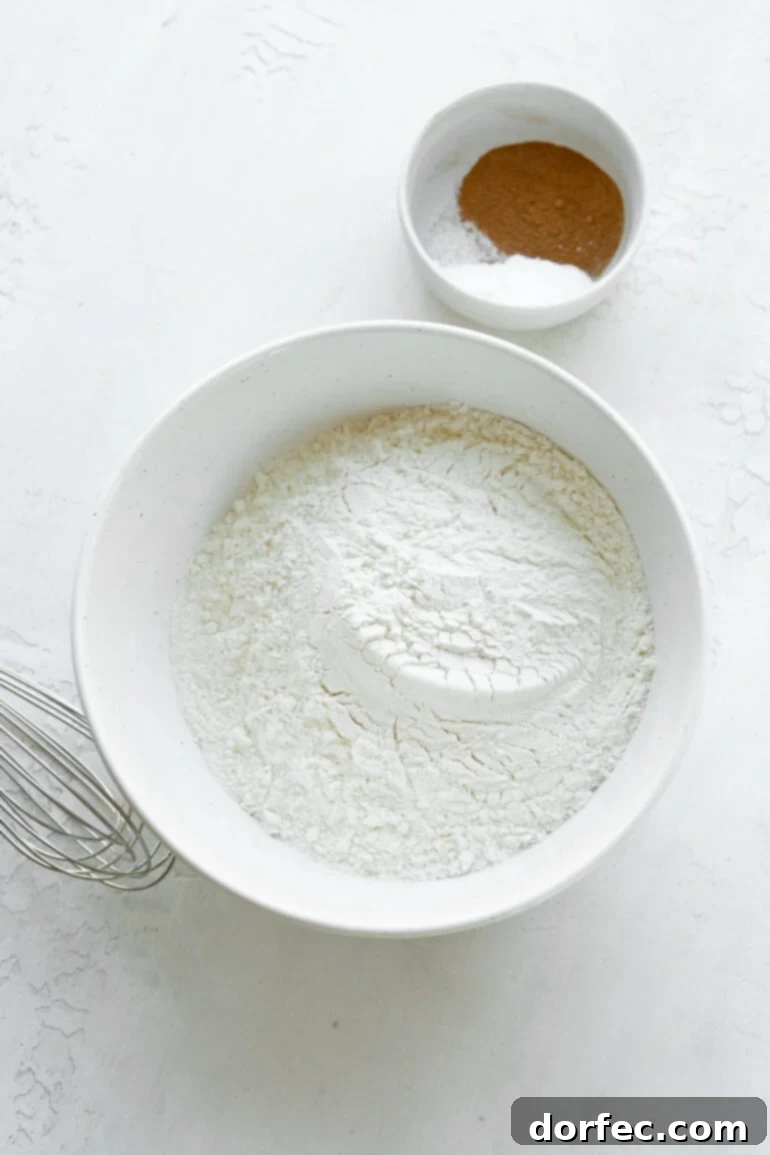
- Combine Dry Ingredients: In a large mixing bowl, meticulously whisk together all your dry ingredients. This includes the flour, baking soda, salt, and the aromatic blend of cinnamon, nutmeg, and ground cloves. Whisking them thoroughly ensures that the leavening agents and spices are evenly distributed throughout the mixture, which is key for a consistent rise and flavor. Set this bowl aside.
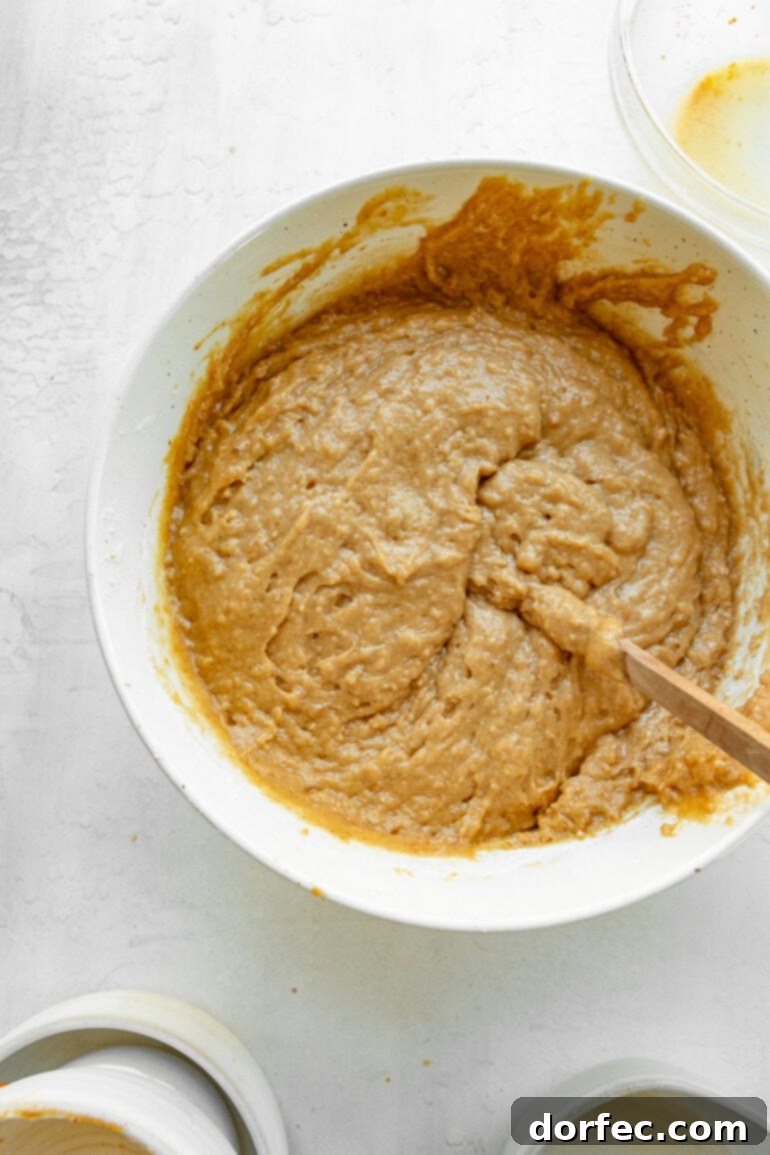
- Mix Wet Ingredients & Combine: In a separate bowl, whisk together all the wet ingredients and sugars: the browned butter, vegetable oil, both brown and granulated sugars, whisked eggs, apple butter, and sour cream. Once thoroughly combined, gently add this wet mixture to your dry ingredients. Using a wooden spoon or spatula, stir *just* until the ingredients are moistened and barely combined. It’s absolutely essential not to overmix, as this can lead to a dense, tough bread. A few streaks of flour are perfectly acceptable.
- Rest & Bake to Golden Perfection: Allow your prepared batter to rest on the countertop for about 15-20 minutes. This resting period gives the leavening agents a head start, contributing to a better rise and a more tender crumb. After resting, carefully pour the batter evenly into your two prepared bread pans. Transfer the pans to your preheated oven and bake for approximately 60-70 minutes, or until a toothpick inserted into the center of a loaf comes out clean or with a few moist crumbs attached. The bread should be beautifully golden brown and fragrant.
Crafting the Perfect Cooked Brown Sugar Icing
There’s something uniquely special about a cooked icing – its distinct flavor and velvety texture are simply unparalleled, much like the famous frosting we use on our Texas sheet cake. This brown sugar icing is no exception; it transforms the apple bread into an extraordinary treat. Here are the steps to achieve this culinary masterpiece:
- Boil to Perfection: In a small, heavy-bottomed saucepan, combine all the ingredients for the icing, *except* for the powdered sugar. This includes the light brown sugar, whole milk, the reserved three tablespoons of browned butter, and vanilla extract. Place the saucepan over medium heat and bring the mixture to a gentle boil, whisking continuously. Continue to whisk for 1-2 minutes once boiling to ensure everything is thoroughly combined and the sugars are fully dissolved.
- Sift & Smooth: Immediately remove the saucepan from the heat. Carefully sift the powdered sugar directly into the hot mixture. Sifting is crucial here as it prevents lumps, ensuring a silky-smooth icing. Whisk vigorously until all the powdered sugar is fully incorporated and the icing is completely smooth. The heat from the boiled mixture will help the powdered sugar dissolve beautifully.
- Cool to the Ideal Consistency: Allow the icing to cool for a few minutes. As it cools, it will begin to thicken. Stir it occasionally during this cooling period. The goal is for the icing to reach a consistency that generously coats the back of a spoon. It should be thick enough to cling to the bread but still pourable.
- PRO TIP: This icing sets up quite quickly as it cools, so be attentive! You want it warm enough to pour easily but cool enough to start thickening. Don’t let it cool too much, or it will become difficult to work with.
- Pour with Grace: Once the icing reaches the desired pourable, yet thick, consistency, it’s time to drizzle it over your apple bread loaves. You have a couple of options here: you can pour the warm icing directly over the bread while it’s still in the pan, or carefully transfer the loaves to a wire cooling rack set over parchment paper (to catch drips) before icing. Alternatively, you can wait until the bread has completely cooled before applying the icing. Pour the warm icing evenly over the top of each loaf, moving swiftly to ensure full coverage and doing your best to avoid any uneven layering, which can lead to a less polished finish.
- Patience is a Virtue (Wait to Set): This is arguably the hardest part! Allow the icing to set completely before attempting to slice into your beautiful apple bread. This usually takes about 15-20 minutes, depending on the warmth of the bread and the room temperature. Letting it set ensures the icing firms up slightly, providing a lovely crust and preventing it from running off when sliced.
These detailed instructions, along with precise ingredient measurements, are also conveniently laid out in the printable recipe card at the conclusion of this post. You can easily print or save the recipe there for future baking endeavors.
Mastering the Art of Browning Butter
Browning butter is a simple technique that yields a complex, nutty flavor, adding a gourmet touch to both your apple bread and its icing. Here’s how to do it perfectly:
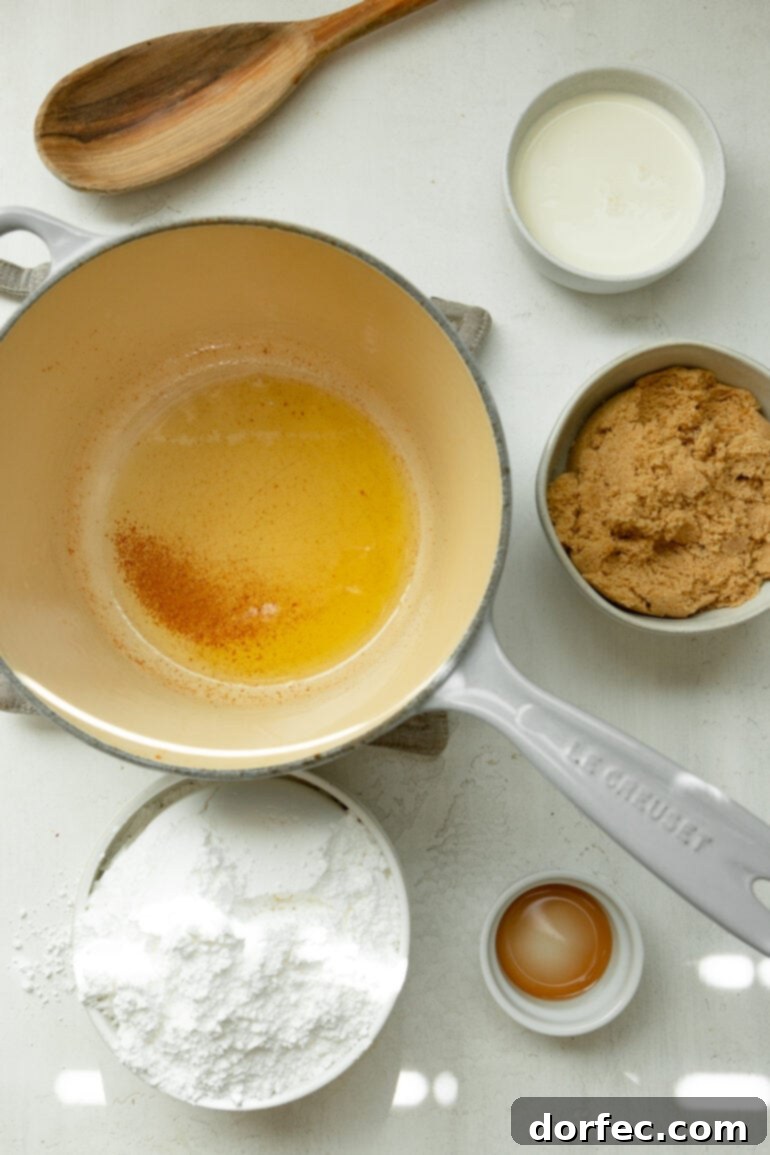
Start by cutting your room-temperature butter into evenly sized pieces. This ensures the butter melts uniformly, preventing some parts from burning while others are still melting. Place the butter pieces in a light-colored saucepan. A light-colored pan is a baker’s best friend for this task, as it allows you to clearly see the subtle color changes in the butter, making it easier to monitor the browning process and avoid burning.
Place the pan over medium heat. As the butter begins to melt, stir it constantly. Keeping the butter moving helps it melt evenly and prevents solids from sticking to the bottom and scorching. You’ll notice the butter will first melt into a clear, golden liquid, then it will begin to foam. This foam is normal. Continue stirring. Soon, you’ll start to see tiny, golden-brown flecks forming at the bottom of the pan beneath the foam. This is your cue! The butter will also start to emit a rich, nutty, almost caramel-like aroma.
As soon as you see those golden-brown flecks and smell that intoxicating fragrance, remove the pan from the heat immediately. The residual heat in the pan will continue to cook the butter for a few more seconds, so acting quickly is key. Pour the browned butter, including the flecks, into a heatproof bowl to stop the cooking process. Congratulations, you have successfully made incredibly fragrant and flavorful browned butter!
Recipe Secrets for the Ultimate Quick Bread
While this easy quick bread recipe might seem straightforward, there are a few nuanced techniques and “secrets” that elevate it from good to truly exceptional. These insights make a significant difference in the final texture, flavor, and overall success of your apple bread:
- Choosing the Right Apples: The foundation of any great apple dessert lies in the quality of its apples. While you can certainly use any apple variety you fancy, I’ve discovered that a sturdy, naturally sweet apple with a satisfying crunch truly transforms this dish. Varieties like Honeycrisp, Pink Lady, or Braeburn are fantastic choices. Their firm texture holds up well during baking, and their balanced sweetness complements the spices beautifully. We specifically use our homemade apple butter to impart concentrated apple flavor into the bread, allowing us to forgo adding apple chunks directly into the batter for a smoother texture. However, if you prefer the delightful chew of apple pieces, instructions for incorporating them are included in the recipe card, along with tips for even distribution.
- The Golden Rule: Never Over-Stir!: I understand the allure of thoroughly mixing, it can be quite satisfying and almost therapeutic. However, with quick breads, over-mixing is the enemy of a tender crumb. Seriously, if you continue to stir past the point where the wet and dry ingredients are just combined, you will develop the gluten too much, resulting in a dense, tough, and chewy bread. Stop mixing as soon as no dry streaks of flour are visible. A few small lumps are perfectly fine!
- The Power of Resting the Batter: This simple step is often overlooked but is a true game-changer. Allowing the batter to rest on the countertop for 15-20 minutes before baking serves a crucial purpose: it gives the leavening agents (like baking soda) time to activate and begin their work. This initial activation contributes to a more consistent and even rise, ensuring your bread stands tall and proud, rather than sinking in the middle. It also allows the flour to fully hydrate, leading to a more tender and moist texture.
What Apple Varieties are Best for Apple Bread?
When selecting apples for this bread, you want varieties that offer a good balance of sweetness and acidity, along with a firm texture that won’t turn mushy during baking. Our top recommendations include:
- Honeycrisp: Known for its crisp texture and perfectly balanced sweet-tart flavor.
- Pink Lady (Cripps Pink): Offers a distinct sweet-tart taste and a firm, crunchy flesh.
- Braeburn: A wonderfully aromatic apple with a rich, complex sweet-tart flavor.
- Granny Smith: If you prefer a more tart apple flavor to cut through the sweetness of the bread and icing, Granny Smith is an excellent choice. It also maintains its shape beautifully.
Can I Add Apple Chunks to the Bread?
Heck yes, you absolutely can! While our base recipe focuses on the intense flavor from apple butter for a smooth texture, adding apple chunks introduces a delightful textural element and burst of fresh apple. Here’s how to do it right:
After peeling and coring your chosen apples, cut them into relatively small, uniform chunks. Aim for pieces that are about 1/4 to 1/2 inch in size. This ensures they cook through evenly and are distributed nicely throughout the loaf. Toss these apple chunks with a tablespoon of cinnamon sugar and then a tablespoon of the flour mixture from the dry ingredients. This coating helps prevent the apple pieces from sinking to the bottom of the pan during baking. Gently fold the coated apple chunks into the batter as the very last ingredient, stirring only until just combined. Remember, gently, gently! Over-mixing at this stage can also deflate the batter.
Why Does My Apple Bread Fall in the Middle?
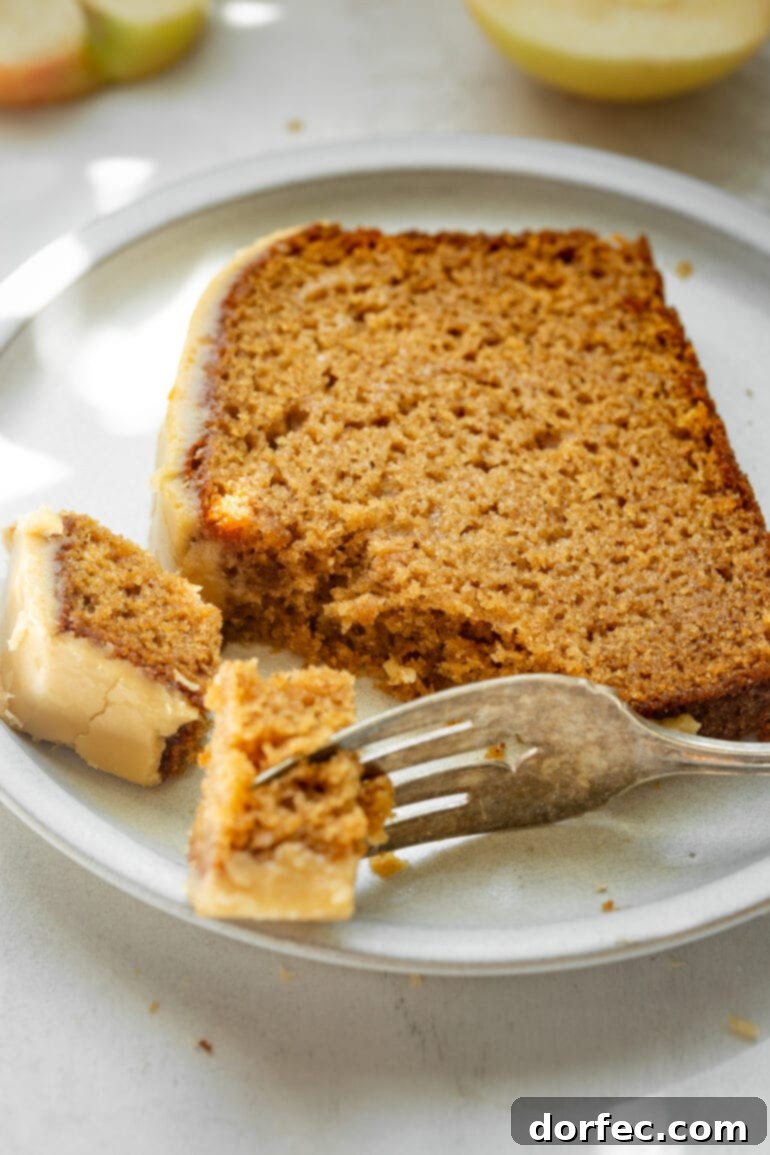
If you find your beautiful apple bread sinking in the middle, creating a crater-like appearance, it’s almost always a sign that the bread is underbaked. The center hasn’t had enough time to fully cook and set its structure, leading to a collapse as it cools.
To prevent this, always bake for the recommended time, and perhaps even a few minutes longer if necessary. The most reliable test is to insert a wooden skewer or toothpick into the very center of the loaf. It should come out clean, or with just a few moist crumbs clinging to it – but no wet batter. If it comes out wet, return the bread to the oven for an additional 5-10 minutes, then test again. Remember, oven temperatures can vary, so your baking time might differ slightly from the recipe’s recommendation.
Why is My Apple Bread Dense?
A dense quick bread can be disappointing, but the culprit is usually one of two common baking mistakes: overmixing or overbaking.
- Overmixing: This is the most frequent cause of dense quick breads. When you combine the wet and dry ingredients, you want to stir them *just enough* until they are moistened. It’s perfectly okay if a few small streaks of flour remain; these will disappear during baking. Over-mixing develops the gluten in the flour, which leads to a tough, chewy, and dense texture. Quick breads thrive on minimal mixing.
- Overbaking: Baking the bread for too long can also dry it out and make it dense. While underbaking causes it to sink, overbaking robs it of moisture and tenderness. Keep a keen eye and nose on your loaf as it bakes. Often, you can tell a loaf is nearing completion by the fragrant aromas wafting from your oven. Always test for doneness with a toothpick and remove the bread once it’s just cooked through.
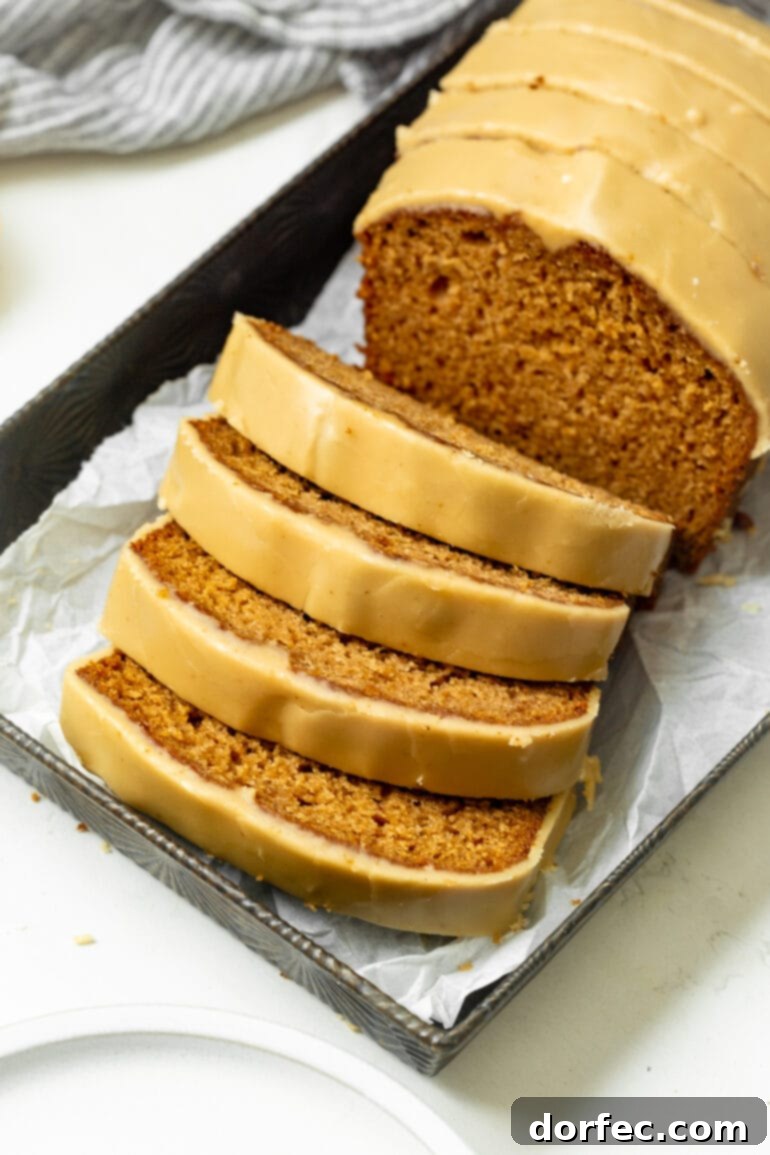
Storage Tips for Freshness and Convenience
Proper storage ensures your delicious apple cinnamon bread remains fresh and moist for as long as possible. Whether you plan to enjoy it over a few days or save it for later, here’s how to store it:
For short-term storage, keep your apple bread at room temperature. Once the icing has fully set, place the cooled loaf in an airtight container or wrap it snugly with plastic wrap. Stored this way, it will retain its freshness and delightful flavor for 4-5 days, making it perfect for daily enjoyment.
This bread also freezes exceptionally well, making it ideal for meal prep or unexpected cravings. To freeze, first ensure the bread is completely cooled and the icing is fully set. Wrap each loaf tightly in plastic wrap, then wrap it again in aluminum foil to prevent freezer burn. Finally, place the double-wrapped loaf into a large freezer-safe ziploc bag. It will keep beautifully in the freezer for up to 3 months. When you’re ready to indulge, simply pull it out of the freezer and let it thaw at room temperature. Once thawed, you can slice and serve it as if it were freshly baked, offering that same warm, comforting experience.
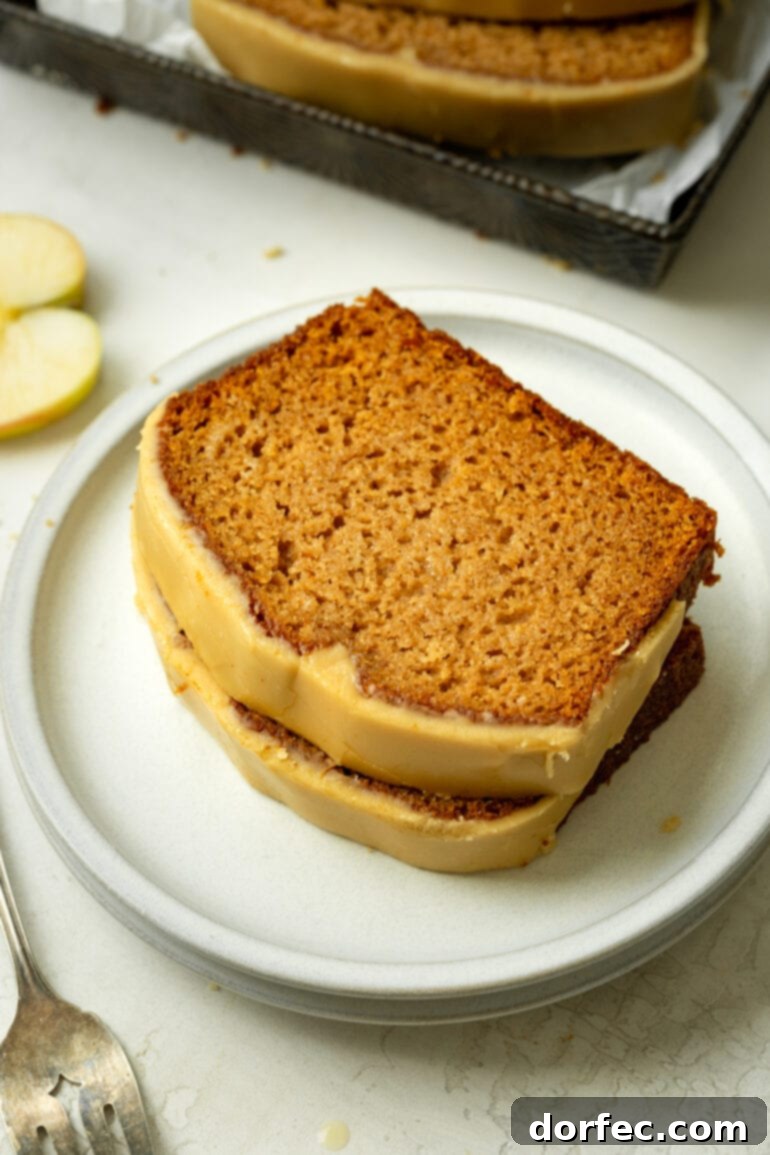
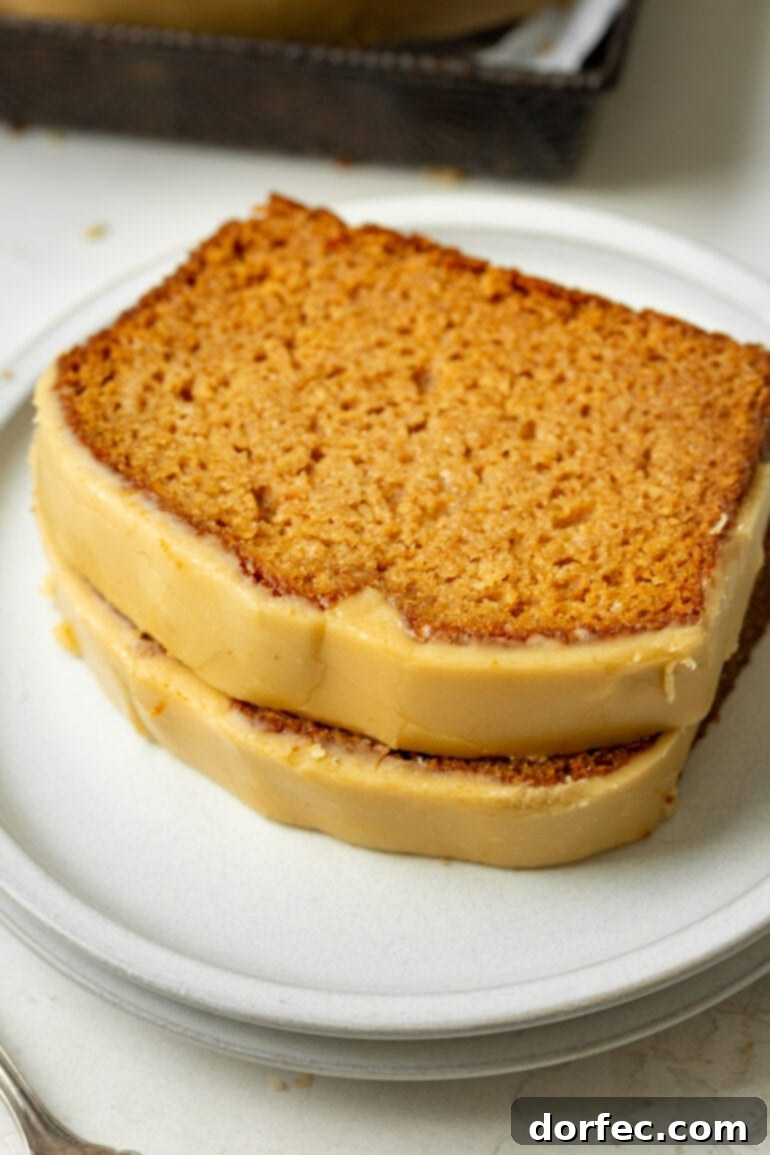
There’s very little in the world of baking that rivals the sheer delight of a fragrant, sweet homemade apple bread loaf. But when that warm, incredibly moist apple bread is lavishly topped with a quick, easy, and utterly delicious brown sugar icing, it transforms into an experience that truly transcends the ordinary. This delightful creation is versatile enough to grace your brunch table, serve as a comforting after-school snack, or shine as a truly tasty and impressive fall dessert. It’s a guaranteed crowd-pleaser that embodies the essence of autumn.
More Easy Quick Breads to Satisfy Your Cravings:
If you’ve fallen in love with the simplicity and deliciousness of quick breads, you’re in for a treat! Here are some more beloved recipes that are just as easy to make and equally satisfying:
- The Very Best Banana Bread: A classic for a reason – moist, flavorful, and perfect for ripe bananas.
- Glazed Poppy Seed Bread: A delicate and tender loaf with a bright, lemony glaze.
- Classic Zucchini Bread: A wonderfully moist bread, perfect for using up garden zucchini, subtly spiced and always a favorite.
- Peanut Butter Banana Bread: A fantastic twist on two classics, combining nutty peanut butter with sweet banana.
- Pumpkin Bread: Another fall essential, bursting with pumpkin flavor and warm autumn spices.
- Snickerdoodle Bread: All the cinnamon-sugar goodness of the beloved cookie, in a tender loaf format.
- Amish Friendship Bread: A unique, sourdough-style quick bread that’s fun to make and share.
Apple Bread with Brown Sugar Icing
Pin
Ingredients
- 3 Cups Flour
- 1 1/2 teaspoon Baking Soda
- 3/4 teaspoon Salt
- 2 teaspoons Cinnamon
- 1/4 teaspoon Nutmeg
- 1/8 teaspoon Ground Cloves
- 1/2 Cup Browned Butter, (see section “How to Brown Butter” above), reserve 3 Tablespoons for the icing and add the rest to the bread
- 1/4 Cup Vegetable Oil
- 1 Cup Brown Sugar
- 1/2 Cup Sugar
- 3 Large Eggs, lightly whisked
- 1 3/4 Cups Apple Butter, or unsweetened applesauce for a less intense apple flavor
- 1/2 Cup Sour Cream, or buttermilk for similar moist results
Brown Sugar Icing
- 3/4 Cup Light Brown Sugar, firmly packed
- 6 Tablespoons Whole Milk
- 3 Tablespoons Browned Butter, (reserved from above, see section “How to Brown Butter”)
- 1/2 teaspoon Vanilla Extract
- 2 Cups Powdered Sugar
Instructions
For the Bread
-
Preheat your oven to 350°F (175°C). Prepare two 8.5×4-inch bread loaf pans by spraying them generously with nonstick baking spray, or by buttering and flouring them.
-
In a large mixing bowl, whisk together the flour, baking soda, salt, cinnamon, nutmeg, and ground cloves until thoroughly combined. Set this dry mixture aside.3 Cups Flour, 1 1/2 teaspoon Baking Soda, 3/4 teaspoon Salt, 2 teaspoons Cinnamon, 1/4 teaspoon Nutmeg, 1/8 teaspoon Ground Cloves
-
In a separate medium bowl, whisk together the browned butter (remaining after reserving 3 tablespoons for icing), vegetable oil, brown sugar, granulated sugar, whisked large eggs, apple butter, and sour cream until well combined. Pour these wet ingredients into the large bowl with the dry ingredients. Using a wooden spoon or spatula, stir *just* until the flour streaks disappear and the batter is moistened. Be careful not to overmix.1/2 Cup Browned Butter, 1/4 Cup Vegetable Oil, 1 Cup Brown Sugar, 1/2 Cup Sugar, 3 Large Eggs, 1 3/4 Cups Apple Butter, 1/2 Cup Sour Cream
-
Let the batter rest for 15-20 minutes on the countertop. Then, pour the batter evenly into the two prepared bread pans. Bake in the preheated oven at 350°F (175°C) for 60-70 minutes, or until a wooden skewer inserted into the center comes out clean or with a few moist crumbs.
For the Icing
-
In a small saucepan, combine the light brown sugar, whole milk, the 3 tablespoons of reserved browned butter, and vanilla extract. Bring the mixture to a boil over medium heat, whisking continuously to ensure all ingredients are combined and the sugar is dissolved. Remove from heat immediately once boiling.3/4 Cup Light Brown Sugar, 6 Tablespoons Whole Milk, 3 Tablespoons Browned Butter, 1/2 teaspoon Vanilla Extract, 2 Cups Powdered Sugar
-
Sift the powdered sugar into the hot mixture and whisk until completely smooth. Allow the icing to cool for 3-5 minutes, stirring occasionally, until it has thickened to a pourable consistency that coats the back of a spoon.
-
The icing will set quickly as it cools, so work swiftly to evenly ice your loaves. Pour the warm icing over the top of the baked apple bread, ensuring full coverage while trying to avoid layering for a smooth finish. (See notes on pouring options.)
-
Allow the icing to set for approximately 15-20 minutes before slicing and serving. This allows the icing to firm up to a delightful crust.
Recipe Notes
Dividing the Butter: For optimal flavor in both the bread and icing, brown all of the butter together first. Once browned, remove three tablespoons and set it aside specifically for the frosting. The remaining browned butter will be incorporated into the bread batter.
Pouring the Frosting: You have flexibility when icing! You can pour the warm icing over warm bread loaves while they are still in their pans, or once they have been transferred to a wire cooling rack. Alternatively, for a firmer set, you can wait until the bread is completely cooled before applying the icing. Choose the method that best suits your preference for presentation and texture.
Nutrition
Nutrition information is automatically calculated, so should only be used as an approximation.