
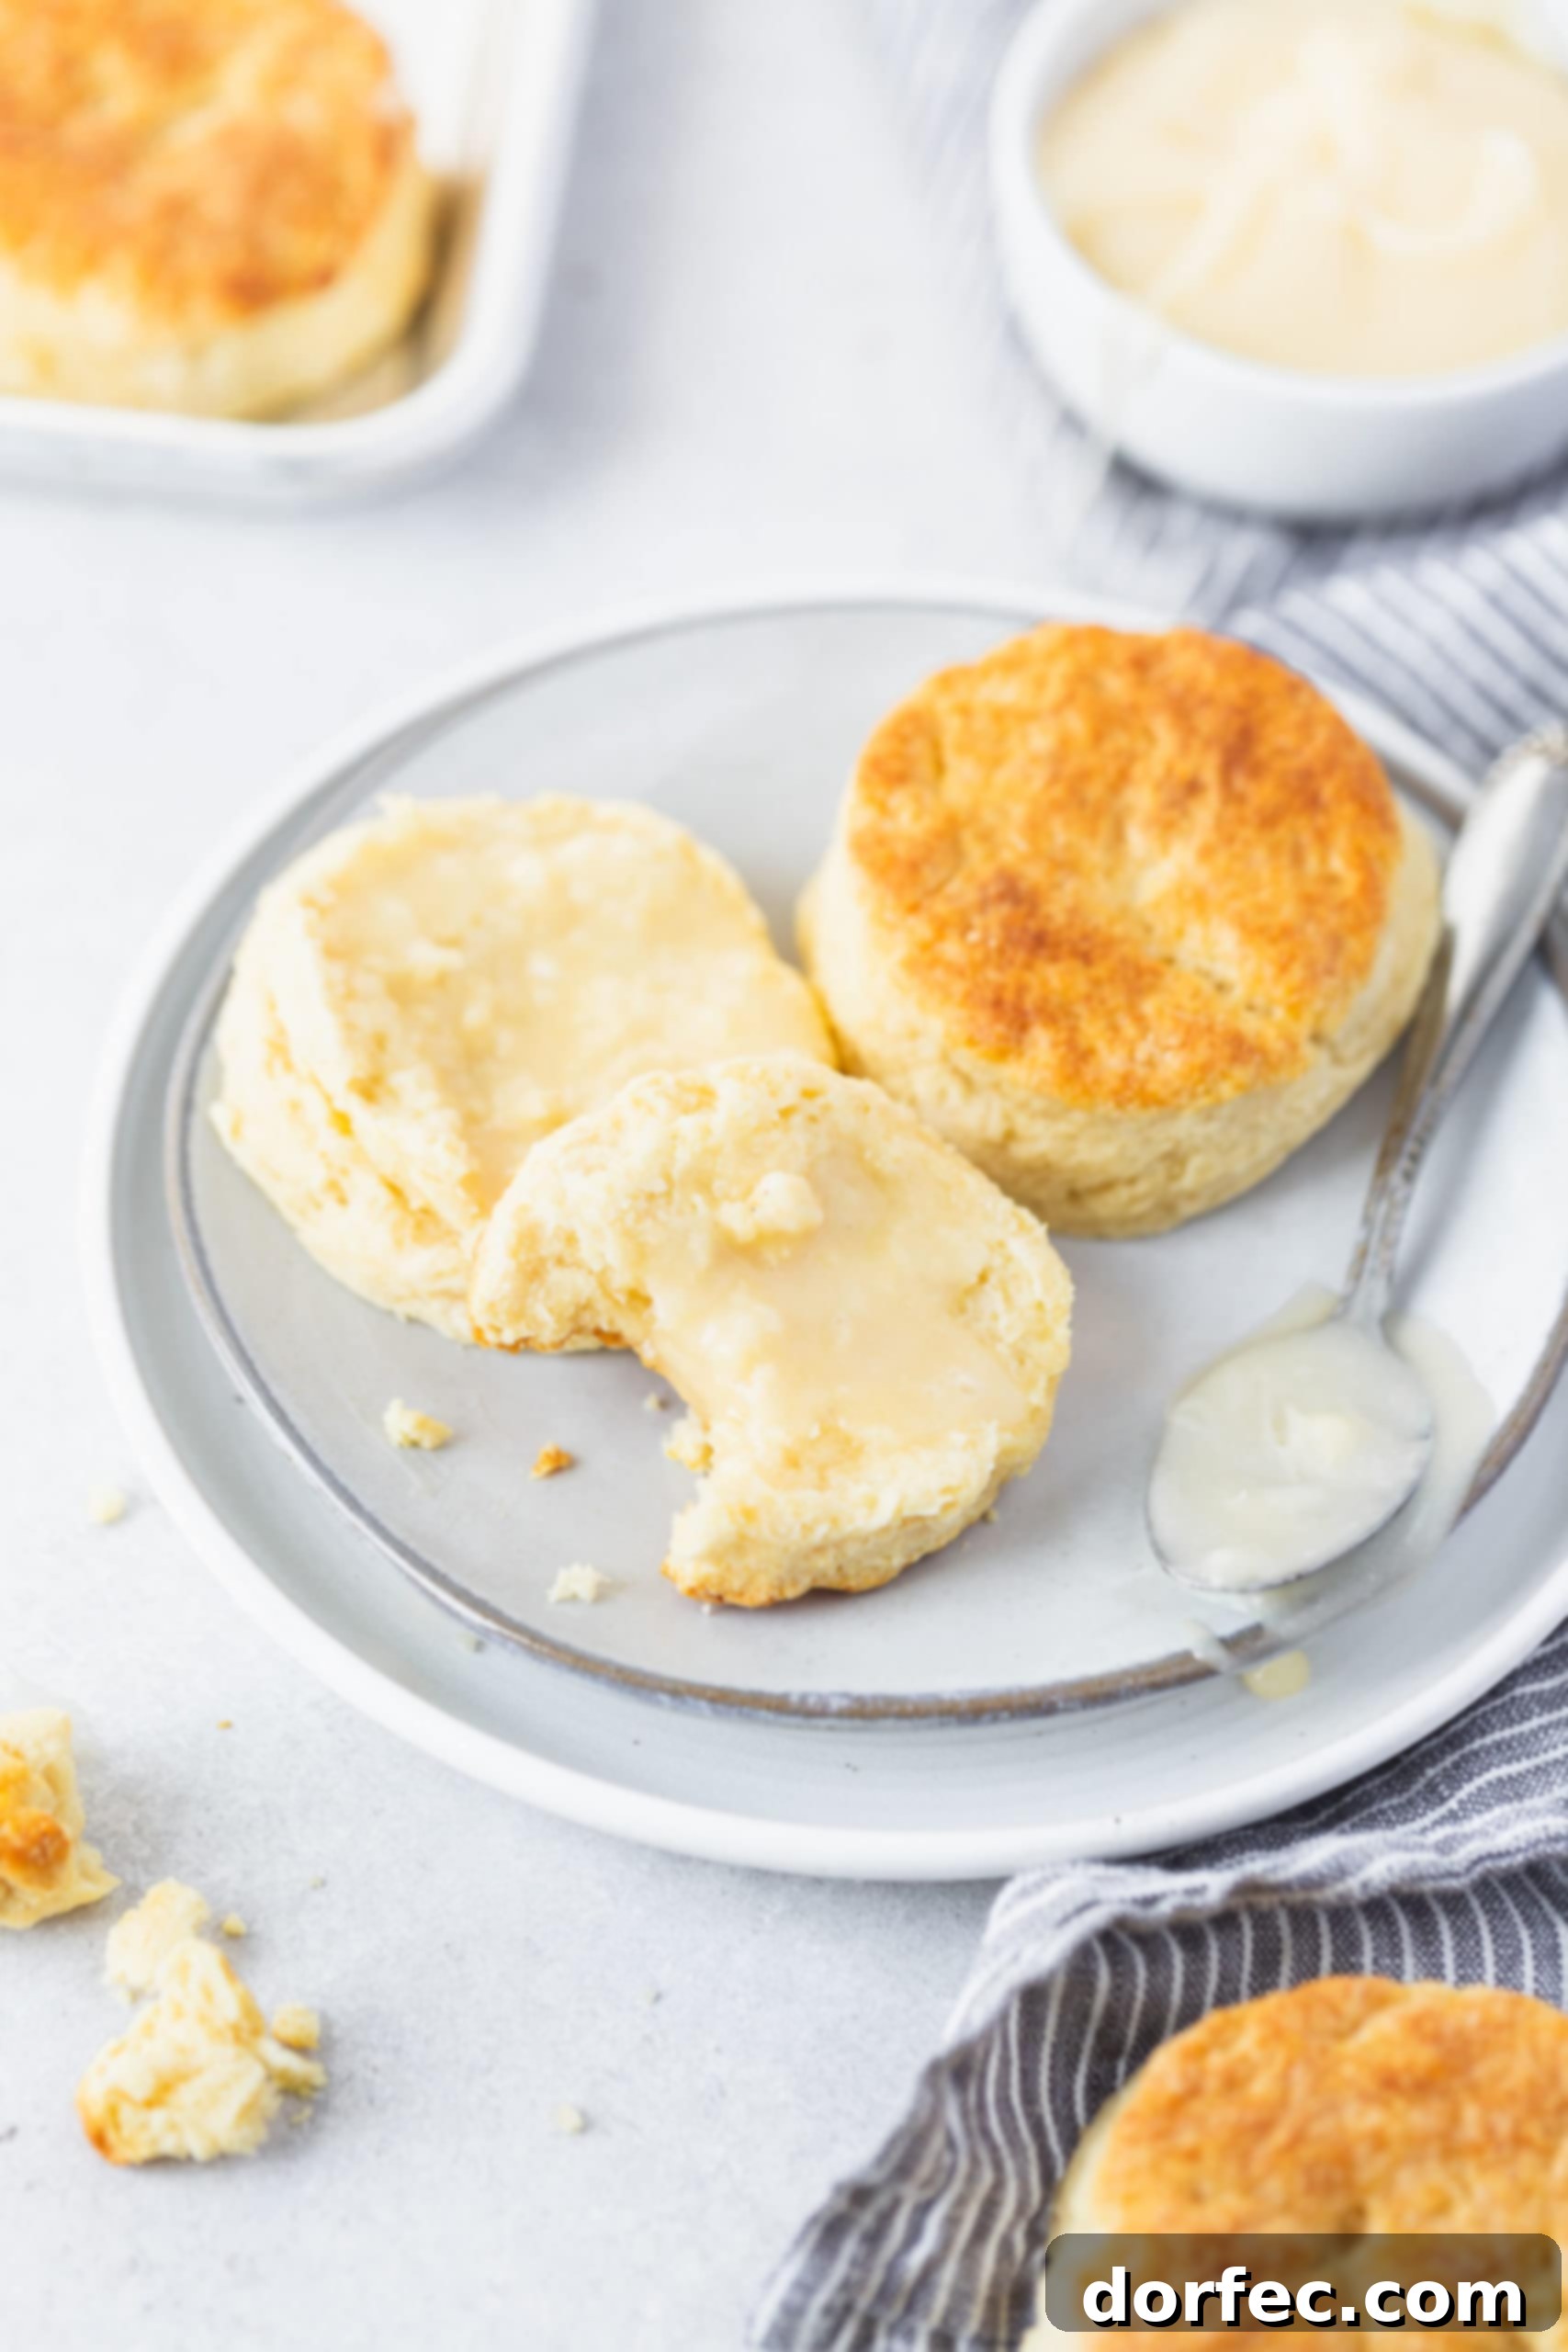
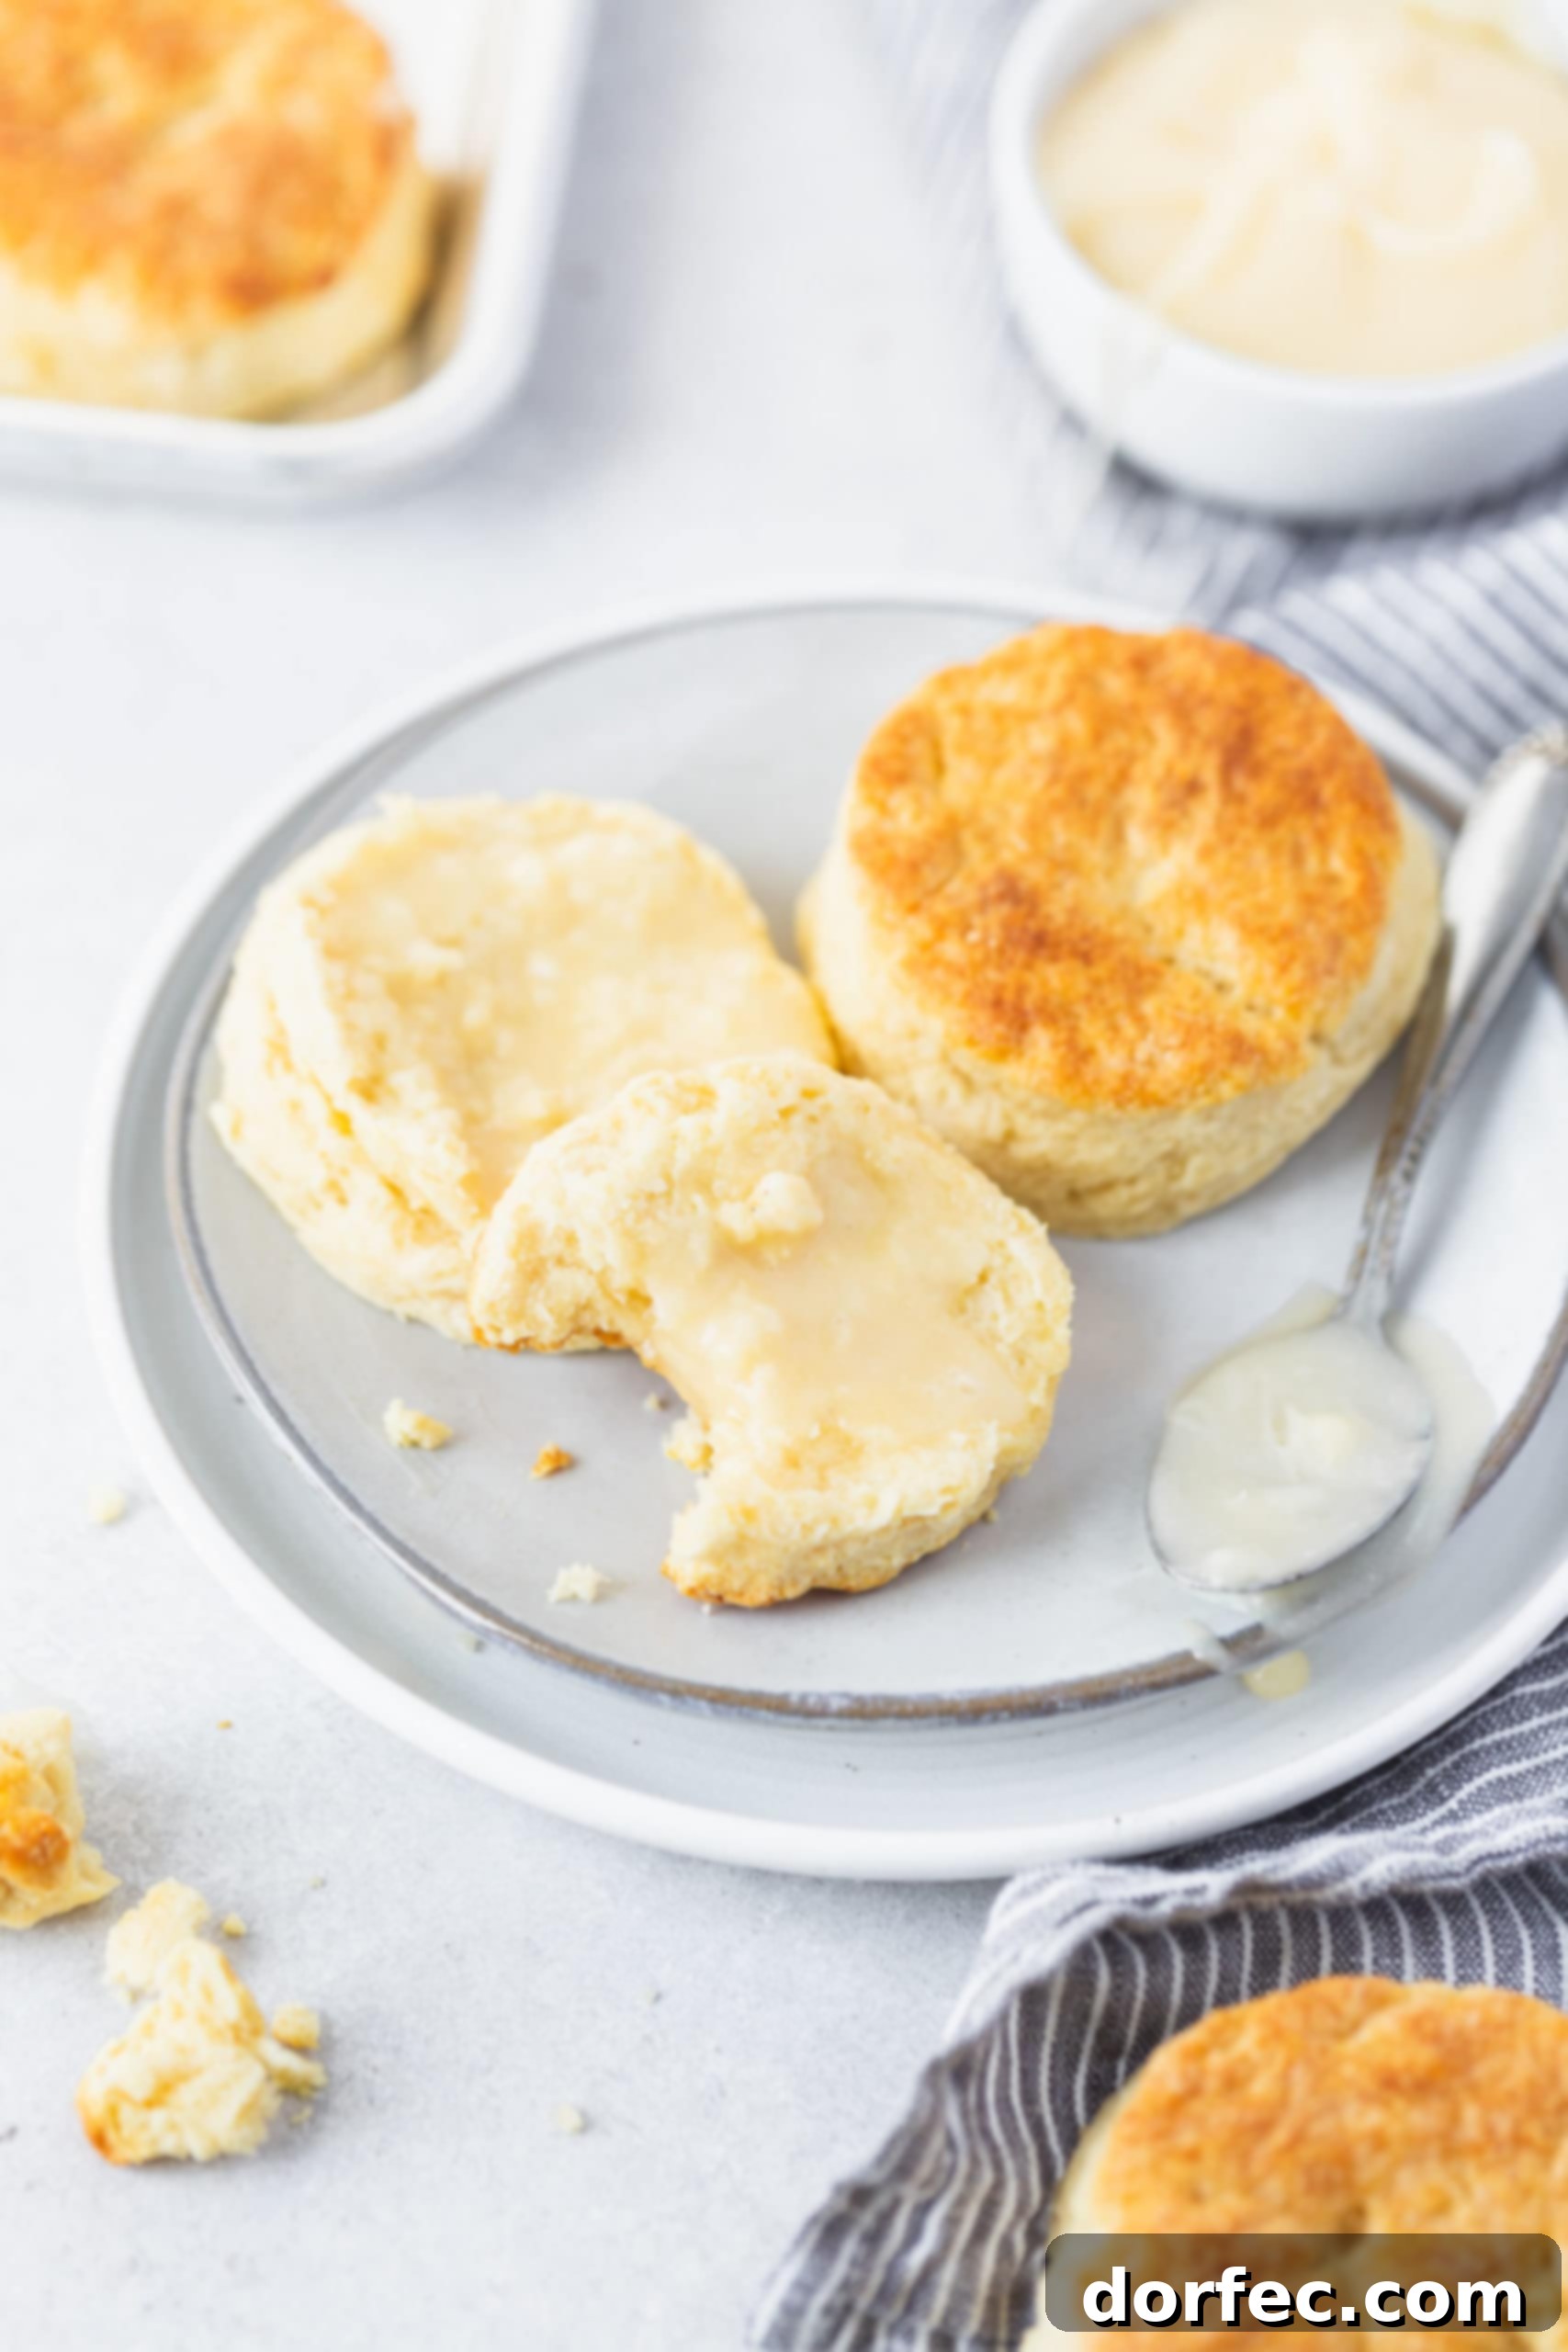
Welcome to the ultimate guide for crafting the most heavenly, melt-in-your-mouth Buttermilk Biscuits you’ve ever tasted! Forget everything you thought you knew about baking biscuits – this recipe is designed to deliver perfection every single time. Whether you’re planning a hearty breakfast, a comforting lunch, or an elegant dinner, these light, fluffy, and incredibly flaky biscuits are the ideal accompaniment. They are surprisingly simple to master, and once you try them, you’ll wonder how you ever lived without them.
Are you still on a quest for that elusive “perfect” biscuit? Your search ends here. These are, hands down, one of the finest buttermilk biscuit recipes out there. Imagine biting into a warm, tender biscuit, its layers gently separating, then melting in your mouth, especially when paired with a generous dollop of homemade honey butter. It’s an experience that transcends a mere meal – it’s pure culinary bliss!
Our buttermilk biscuits are renowned for their impressive size, remarkable softness, and that coveted perfect crumb. Each biscuit boasts multiple, distinct layers that contribute to an unparalleled flaky texture. Many find the idea of making homemade biscuits intimidating, but we’re here to debunk that myth. In reality, biscuits are often much simpler and quicker to prepare than yeast-leavened rolls. We understand the apprehension that comes from past experiences with hard or dry biscuits. That’s why we’ve meticulously tested and perfected this recipe over countless iterations, ensuring consistently perfect results. So, cast aside your fears, roll up your sleeves, and prepare to create biscuit masterpieces!
Essential Ingredients for Truly Perfect Buttermilk Biscuits
Creating these divine biscuits doesn’t require a pantry full of exotic ingredients. In fact, you likely already have most, if not all, of what you need right in your kitchen. We’ll keep our fingers crossed for you! The magic of these biscuits lies in the quality of these basic components and how they are handled. By using simple, fresh ingredients, you unlock a world of flavor and texture that is truly unmatched.
- All-Purpose Flour: The foundation of our biscuits, providing structure.
- Baking Powder: A primary leavening agent, crucial for a light and airy texture.
- Baking Soda: Works in conjunction with buttermilk to create rise and tenderness.
- Granulated Sugar: A touch of sweetness to balance the flavors.
- Salt: Essential for enhancing all the other ingredients.
- Cold Unsalted Butter: This is a non-negotiable for flaky layers.
- Buttermilk: The star ingredient, contributing tang and softness while activating leavening.
Did you check your cupboards? Perhaps buttermilk is the one item you’re missing. For avid bakers, buttermilk is often a staple. Its unique acidity is key to the chemical reaction that gives these biscuits their signature rise and tender crumb. But don’t worry if it’s not readily available; we’ll share some fantastic substitutes below!
You’ll find the precise measurements for each ingredient, along with detailed step-by-step instructions, in the comprehensive recipe card towards the end of this article.
Mastering the Art: How to Make Homemade Buttermilk Biscuits
Have you been hesitant to try making homemade biscuits? Many home cooks find the idea daunting, believing them to be difficult or requiring advanced baking skills. Let us assure you, nothing could be further from the truth! This recipe breaks down the process into easy-to-follow steps, proving just how accessible and rewarding biscuit baking can be. Prepare to be amazed by your own baking prowess!
- Prepare Your Workspace: Begin by preheating your oven to 425°F (220°C) with the oven rack positioned in the middle. This ensures even heat distribution and a perfect golden-brown crust. Line a baking sheet with parchment paper for easy cleanup and to prevent sticking.
- Combine Dry Ingredients: In a large mixing bowl (or the bowl of a food processor fitted with a metal blade), thoroughly whisk together the flour, baking powder, baking soda, sugar, and salt. Ensure these ingredients are well-combined to distribute the leavening agents evenly.
- Incorporate Cold Butter: Add the cold, unsalted butter (cut into small 1/4-inch cubes) to the dry ingredients. Using a pastry blender, your fingertips, or the food processor, cut the butter into the flour mixture until it resembles coarse meal with a few pea-sized pieces of butter remaining. The goal is to keep the butter as cold as possible.
- Add Buttermilk: Create a small well in the center of your dry ingredients. Pour in the specified amount of cold buttermilk.
- Mix Just Until Combined: Using a rubber spatula or a fork, gently stir the ingredients until they just come together. The dough should still look shaggy and a bit lumpy – avoid overmixing at all costs!
- Light Kneading: Turn the dough out onto a lightly floured counter or work surface. Gently knead the dough 3-4 times. This short kneading helps bring the dough together without developing too much gluten, which would lead to tough biscuits.
- Roll and Cut: Roll the dough out to an even thickness of about 1 inch. Dip a 3.5-inch biscuit cutter into flour, then press it straight down through the dough. Do not twist the cutter, as this can seal the edges and inhibit the biscuits from rising properly.
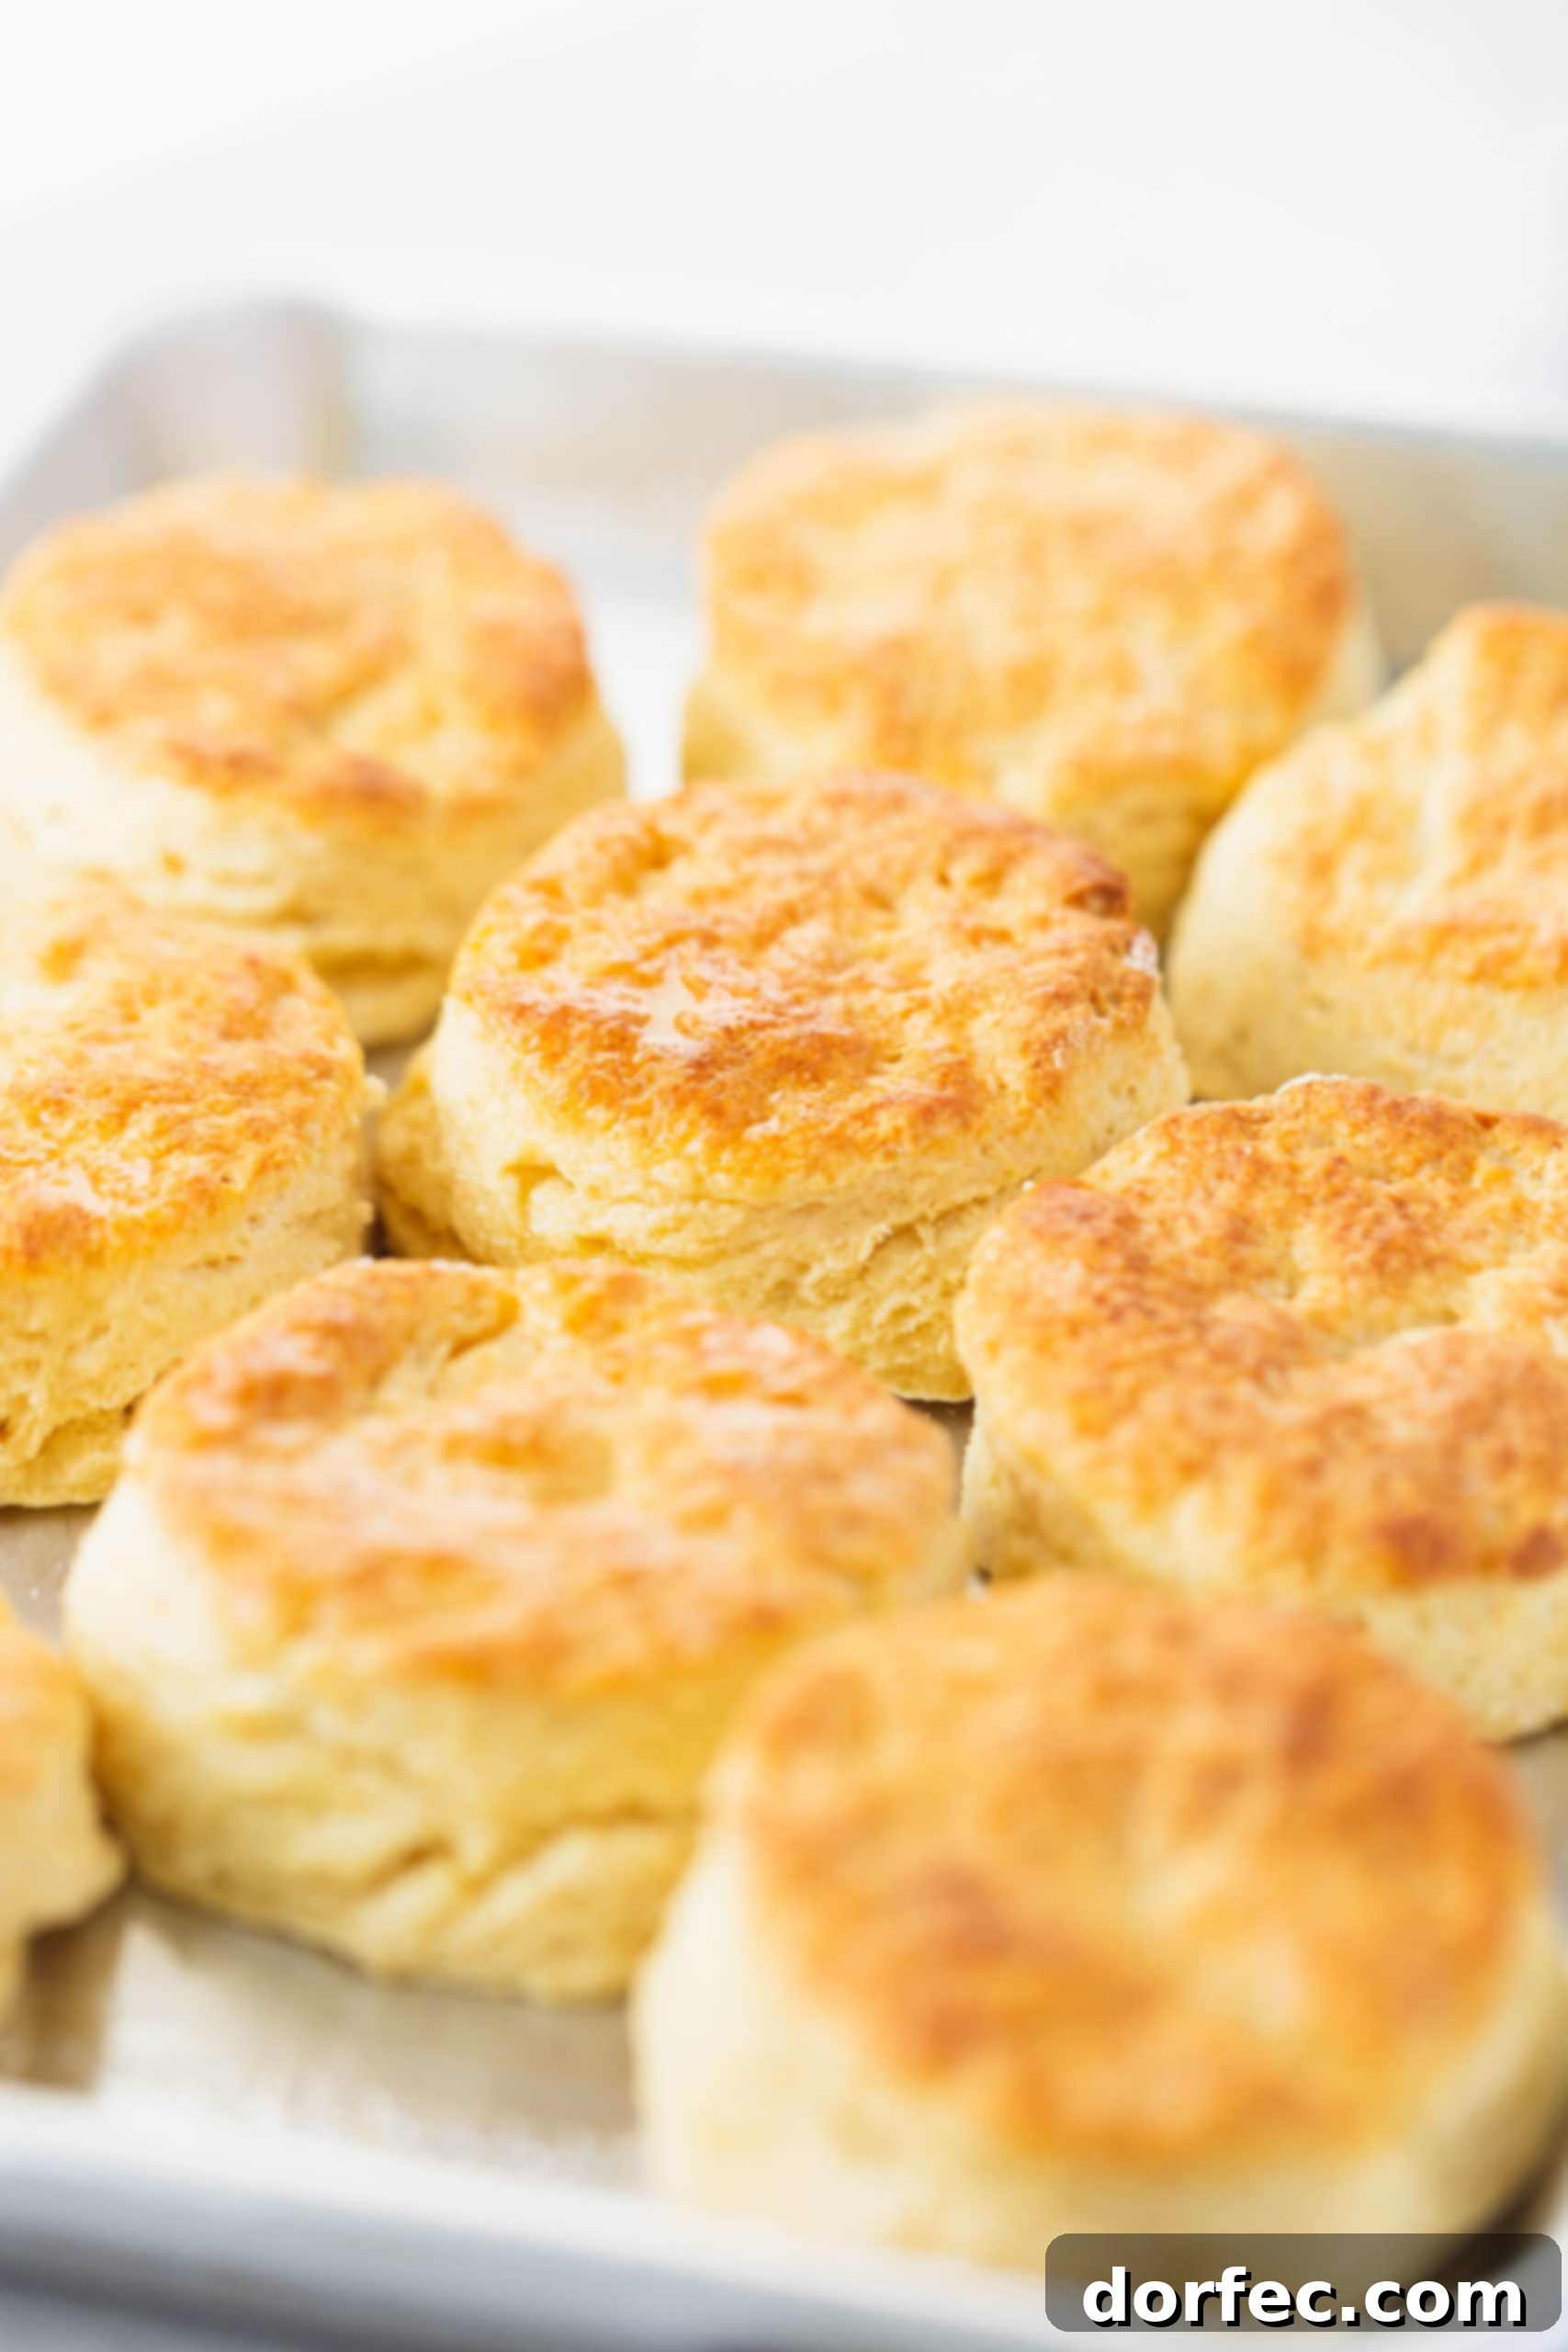
- Arrange and Bake: Carefully transfer the cut biscuits to your prepared baking sheet, arranging them so their sides are just touching. This helps them rise taller and stay soft. Brush the tops of the biscuits with a little extra buttermilk (or melted butter for extra richness). Bake for 8-10 minutes, or until golden brown and puffed.
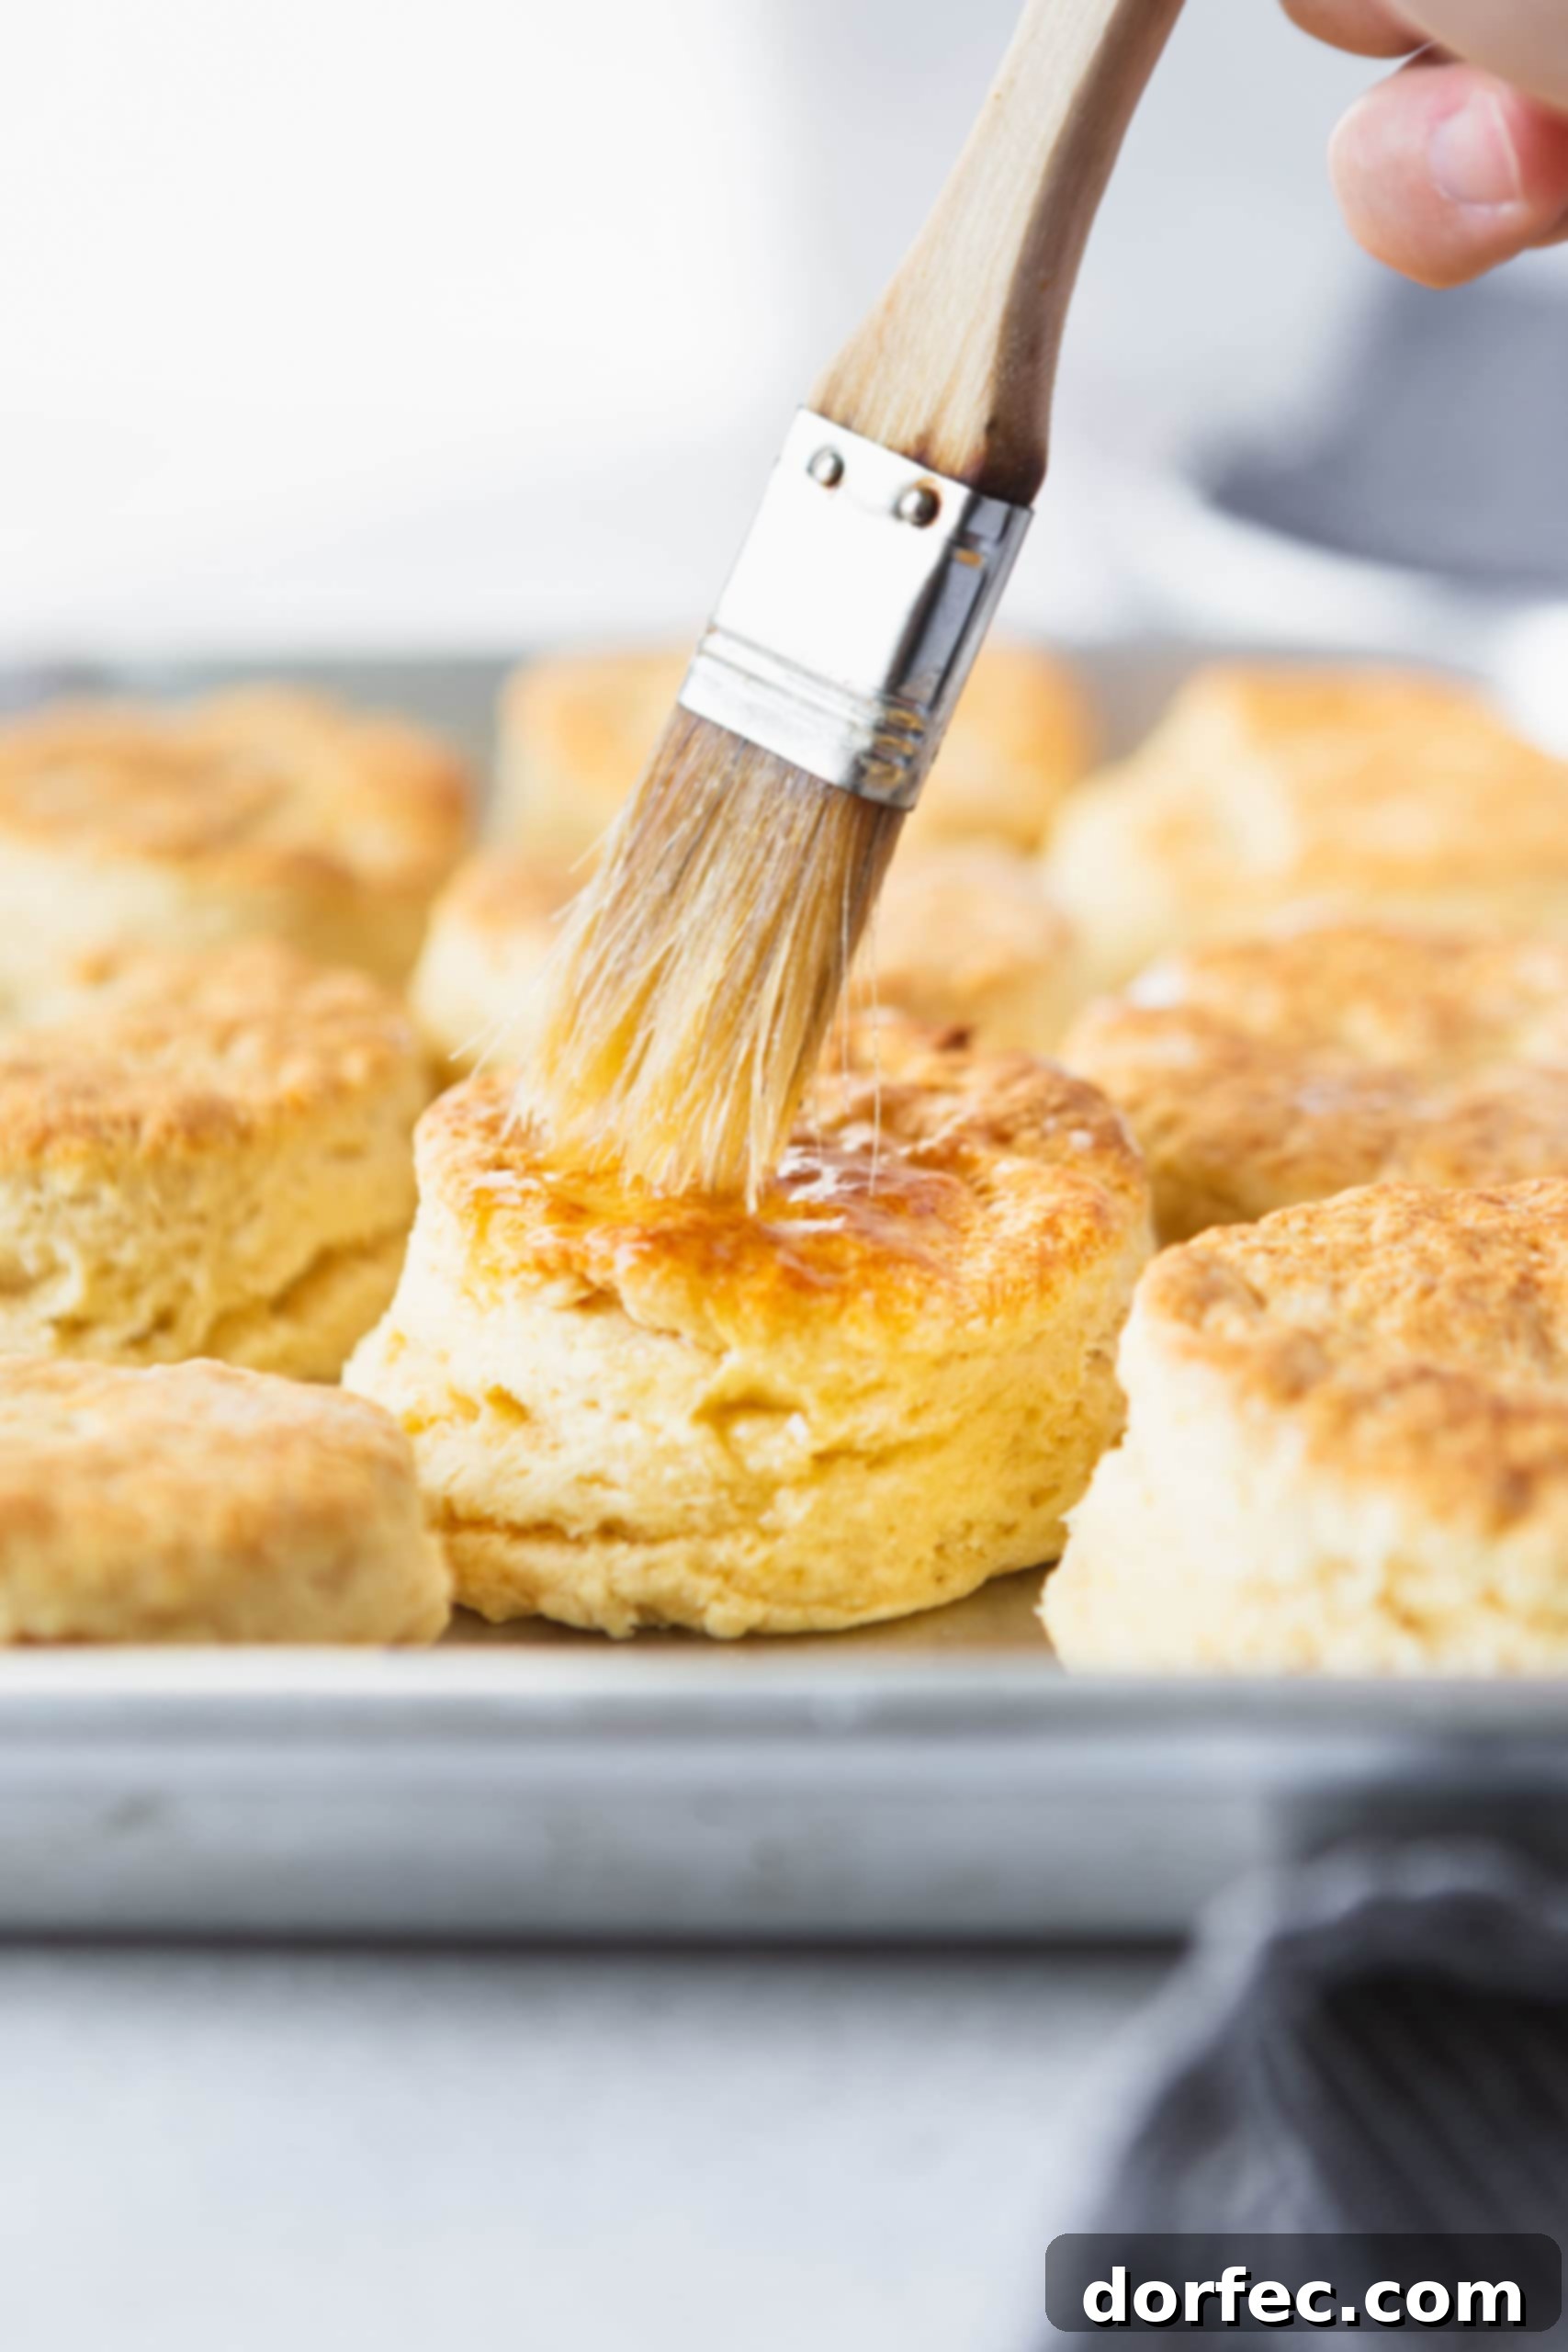
- Finish with Butter: As soon as the biscuits come out of the oven, brush their warm tops generously with melted butter. This adds a beautiful sheen, enhances flavor, and keeps them soft.
For even more precise details and expert tips to guarantee success, refer to the complete recipe card below. You’ll be a biscuit master in no time!
What Exactly Are Biscuits? A Cultural Culinary Dive
The term “biscuit” can mean very different things depending on where you are in the world! In the United States, particularly in the Southern states, biscuits are a beloved staple. They are a type of quick bread, similar in form to a dinner roll, but distinct in their composition and texture. American biscuits are typically more dense, yet incredibly tender and flaky, characterized by their buttery, layered interior.
Crucially, American biscuits are almost never made with yeast. Instead, their rapid rise is attributed to chemical leavening agents like baking powder or baking soda, often used in combination. This makes them a “quick bread,” alongside other favorites such as soda bread, banana bread, and muffins. Their appeal lies in their versatility, serving equally well with sweet jams or savory gravies.
In many other countries, especially in the United Kingdom and Commonwealth nations, the word “biscuits” refers to what Americans would call cookies or sometimes scones. So, if you’re traveling abroad and crave a flaky pastry, be sure to specify “American biscuits” or you might end up with a plate of shortbread!
No Buttermilk? No Problem! Simple Substitutions
Don’t let a lack of buttermilk deter you from making these incredible biscuits! Buttermilk’s acidity is vital for activating the baking soda and tenderizing the dough, but you can easily create a suitable substitute with common household ingredients. Here are a few reliable methods:
- Milk + Acid Method: For every cup of buttermilk required, simply combine 1 tablespoon of white vinegar or lemon juice with enough regular milk (dairy or non-dairy works) to measure 1 cup. Stir it gently and let it sit for 5-10 minutes until it slightly curdles. The milk will look slightly thicker and develop small curds, indicating it’s ready to use. This is the most common and effective substitute.
- Plain Yogurt or Sour Cream Method: You can also use 1 cup of plain yogurt or sour cream (thinned slightly with a tablespoon or two of milk or water) as a direct substitute for 1 cup of buttermilk. The acidity in yogurt and sour cream mimics that of buttermilk.
- Cream of Tartar Method: Another option is to combine 1¾ teaspoons of cream of tartar with 1 cup of milk. Stir well until the cream of tartar is dissolved. This provides the necessary acidity.
Choose the method that works best with what you have on hand. The goal is to introduce an acidic component that will react with the baking soda to create those beautiful, fluffy layers!
Storing Your Buttermilk Biscuits for Maximum Freshness
While fresh-from-the-oven biscuits are undoubtedly the best, you can certainly enjoy their deliciousness for several days after baking. Proper storage is key to maintaining their softness and flavor.
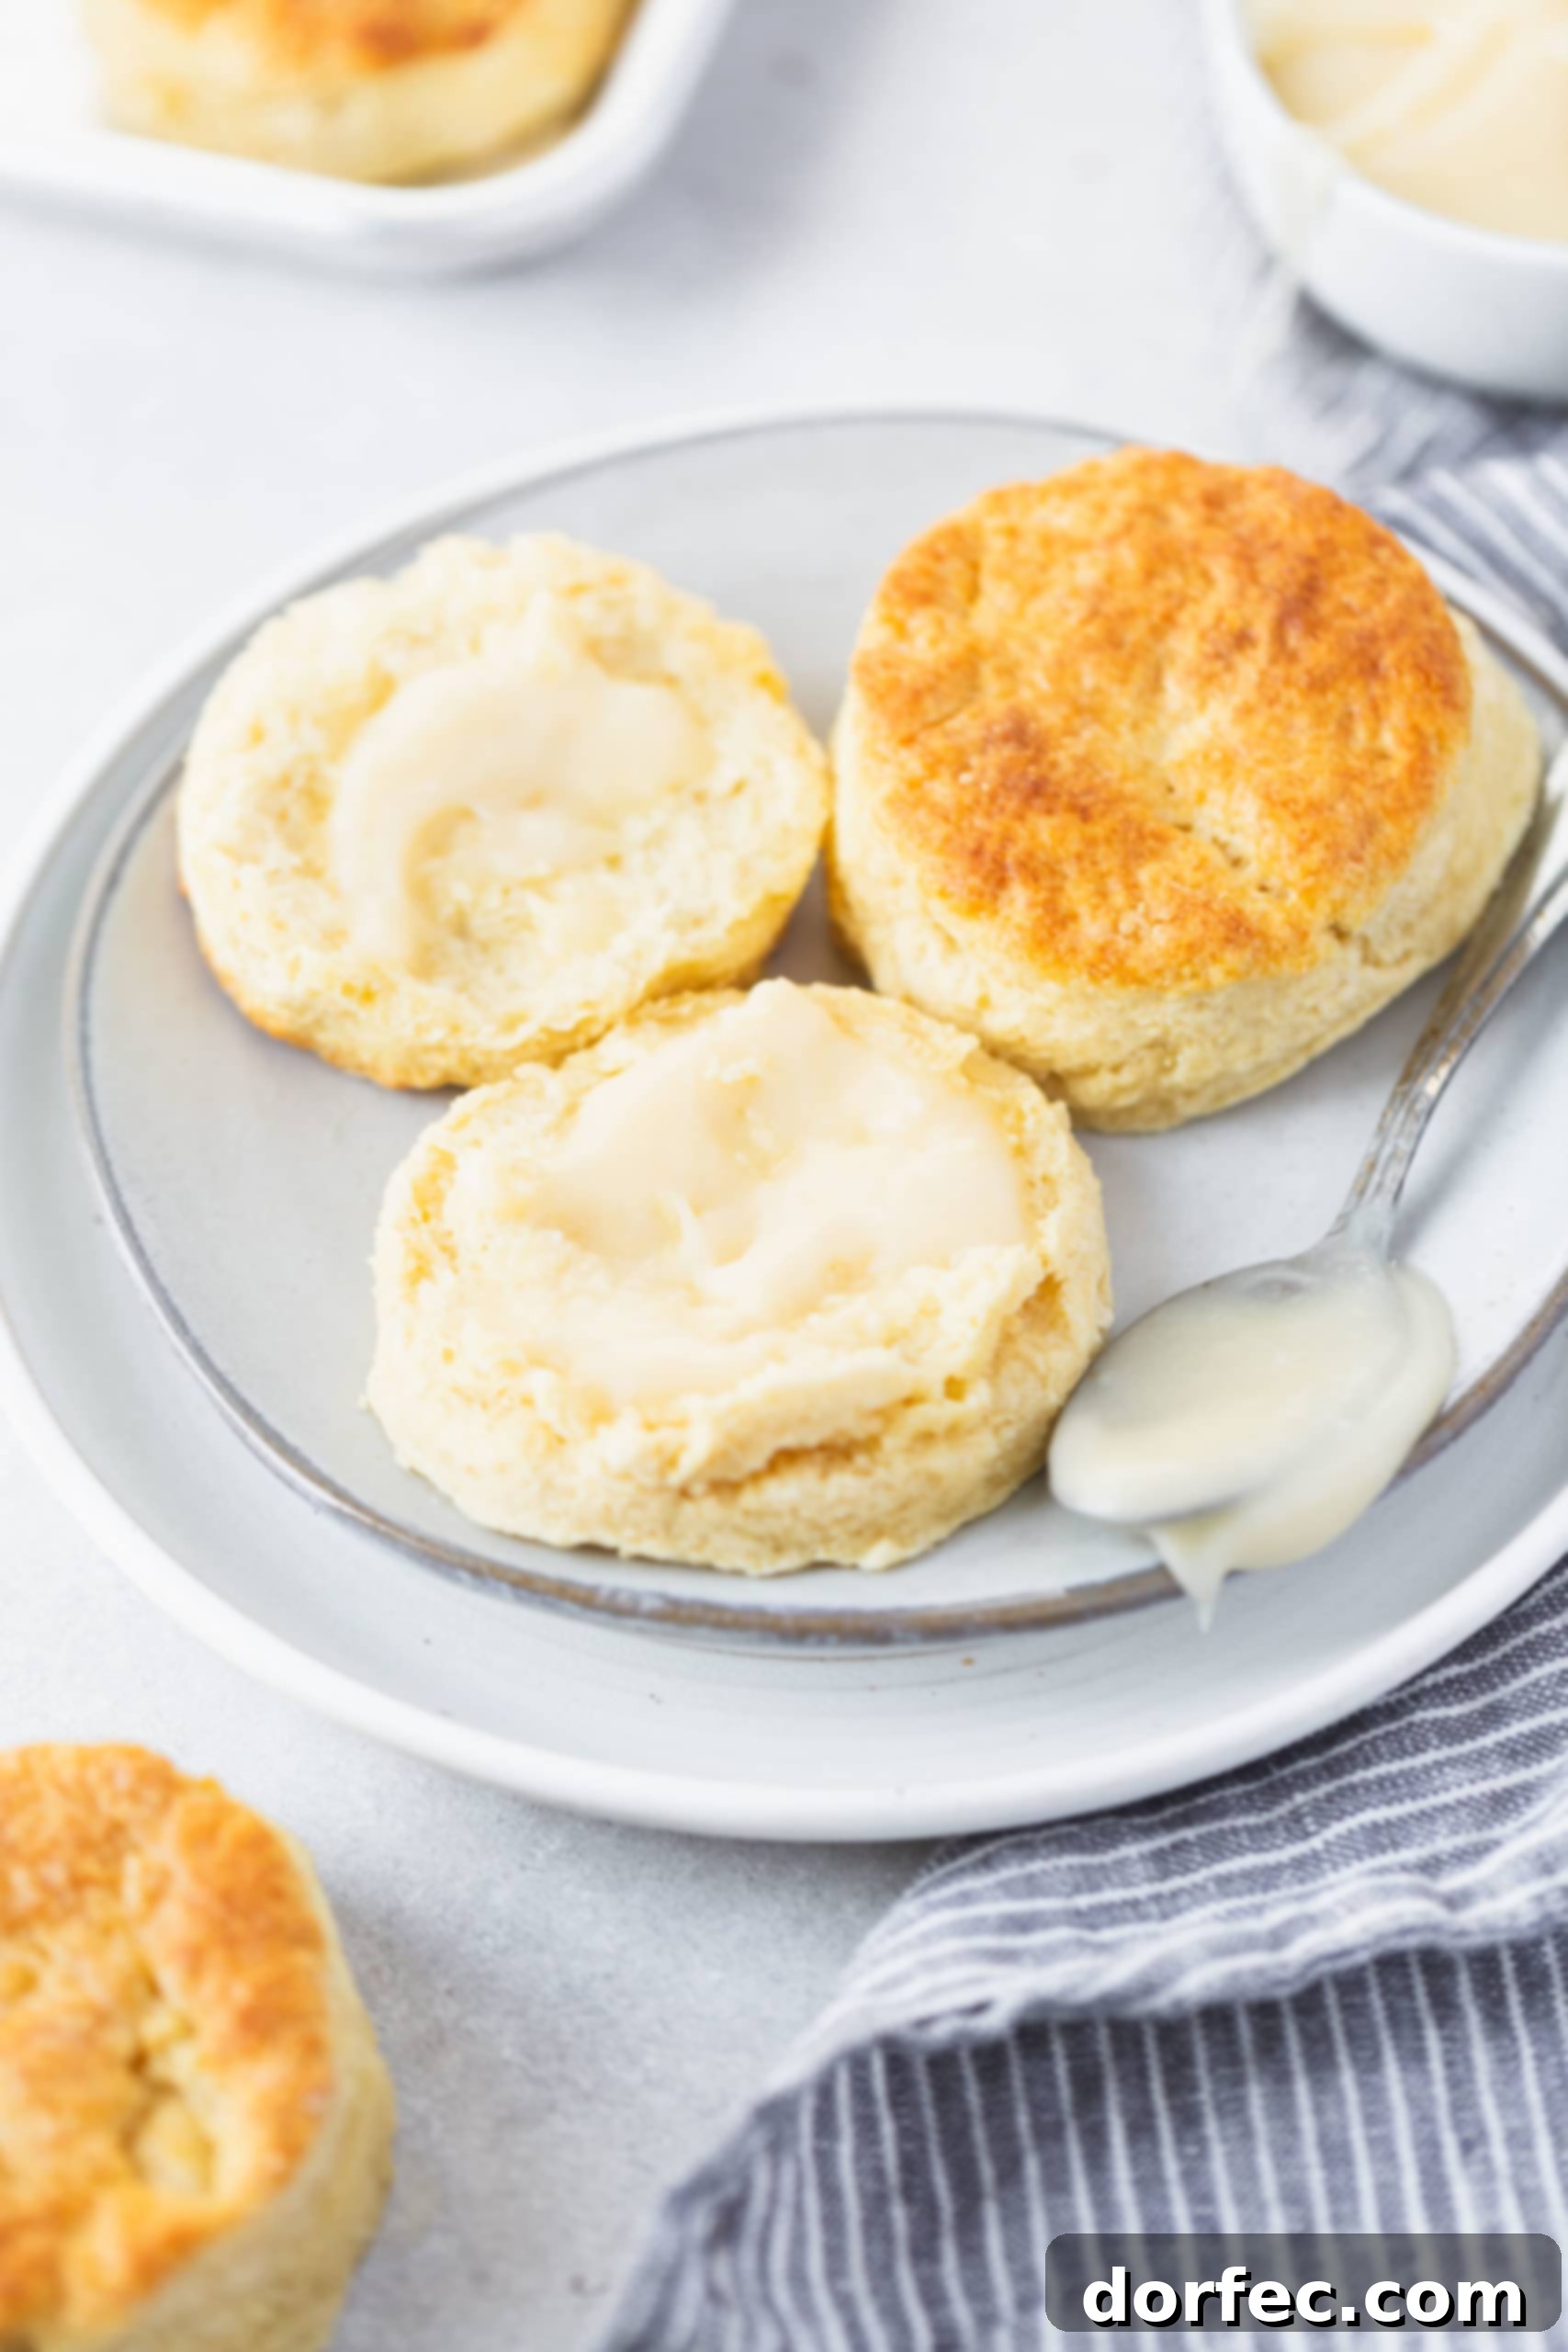
Buttermilk biscuits will keep wonderfully at room temperature for up to 2-3 days. To keep them fresh, store them in an airtight container or a plastic storage bag. This prevents them from drying out and becoming stale. For the best experience when reheating, a quick warm-up in the oven (around 300°F/150°C for 5-10 minutes) or a few seconds in the microwave will bring back their tenderness.
Freezing Buttermilk Biscuits: Your Secret to Convenience
Absolutely! Biscuits are fantastic candidates for freezing, making them an excellent make-ahead option for busy mornings or unexpected guests. You can freeze them either before or after baking, offering great flexibility.
Freezing Unbaked Biscuits:
Prepare the dough, roll it out, and cut the biscuits as directed in the recipe. Place the raw biscuits on a baking sheet lined with parchment paper, ensuring they don’t touch. Cover the baking sheet tightly with plastic wrap, then transfer it to the freezer. Once the biscuits are completely frozen solid (this usually takes a few hours), you can transfer them to a freezer-safe ziplock bag or airtight container. They will keep beautifully in the freezer for up to 3 months.
When you’re ready to bake them, simply place the frozen biscuits on a parchment-lined baking sheet. You can bake them from frozen, adding a few extra minutes to the baking time, or let them thaw in the refrigerator for a few hours before baking as directed in the recipe. This method is fantastic for fresh-baked biscuits on demand!
Freezing Baked Biscuits:
Allow freshly baked biscuits to cool completely before freezing. Once cool, place them in a single layer on a baking sheet and flash freeze them for about an hour until solid. Then, transfer them to a freezer-safe bag or container, removing as much air as possible. They can be stored in the freezer for up to 3 months.
To enjoy frozen baked biscuits, let them thaw in the refrigerator overnight or at room temperature for an hour or two. Reheat them in a preheated oven at 350°F (175°C) for about 5-10 minutes, or until warmed through and soft again. This is perfect for a quick and comforting side dish anytime!
Expert Tips for Making Tall, Fluffy, and Flaky Buttermilk Biscuits Every Time
Achieving those coveted tall, fluffy, and flaky biscuits isn’t just about the ingredients; it’s also about technique. Follow these essential tips to guarantee perfect results with every batch:
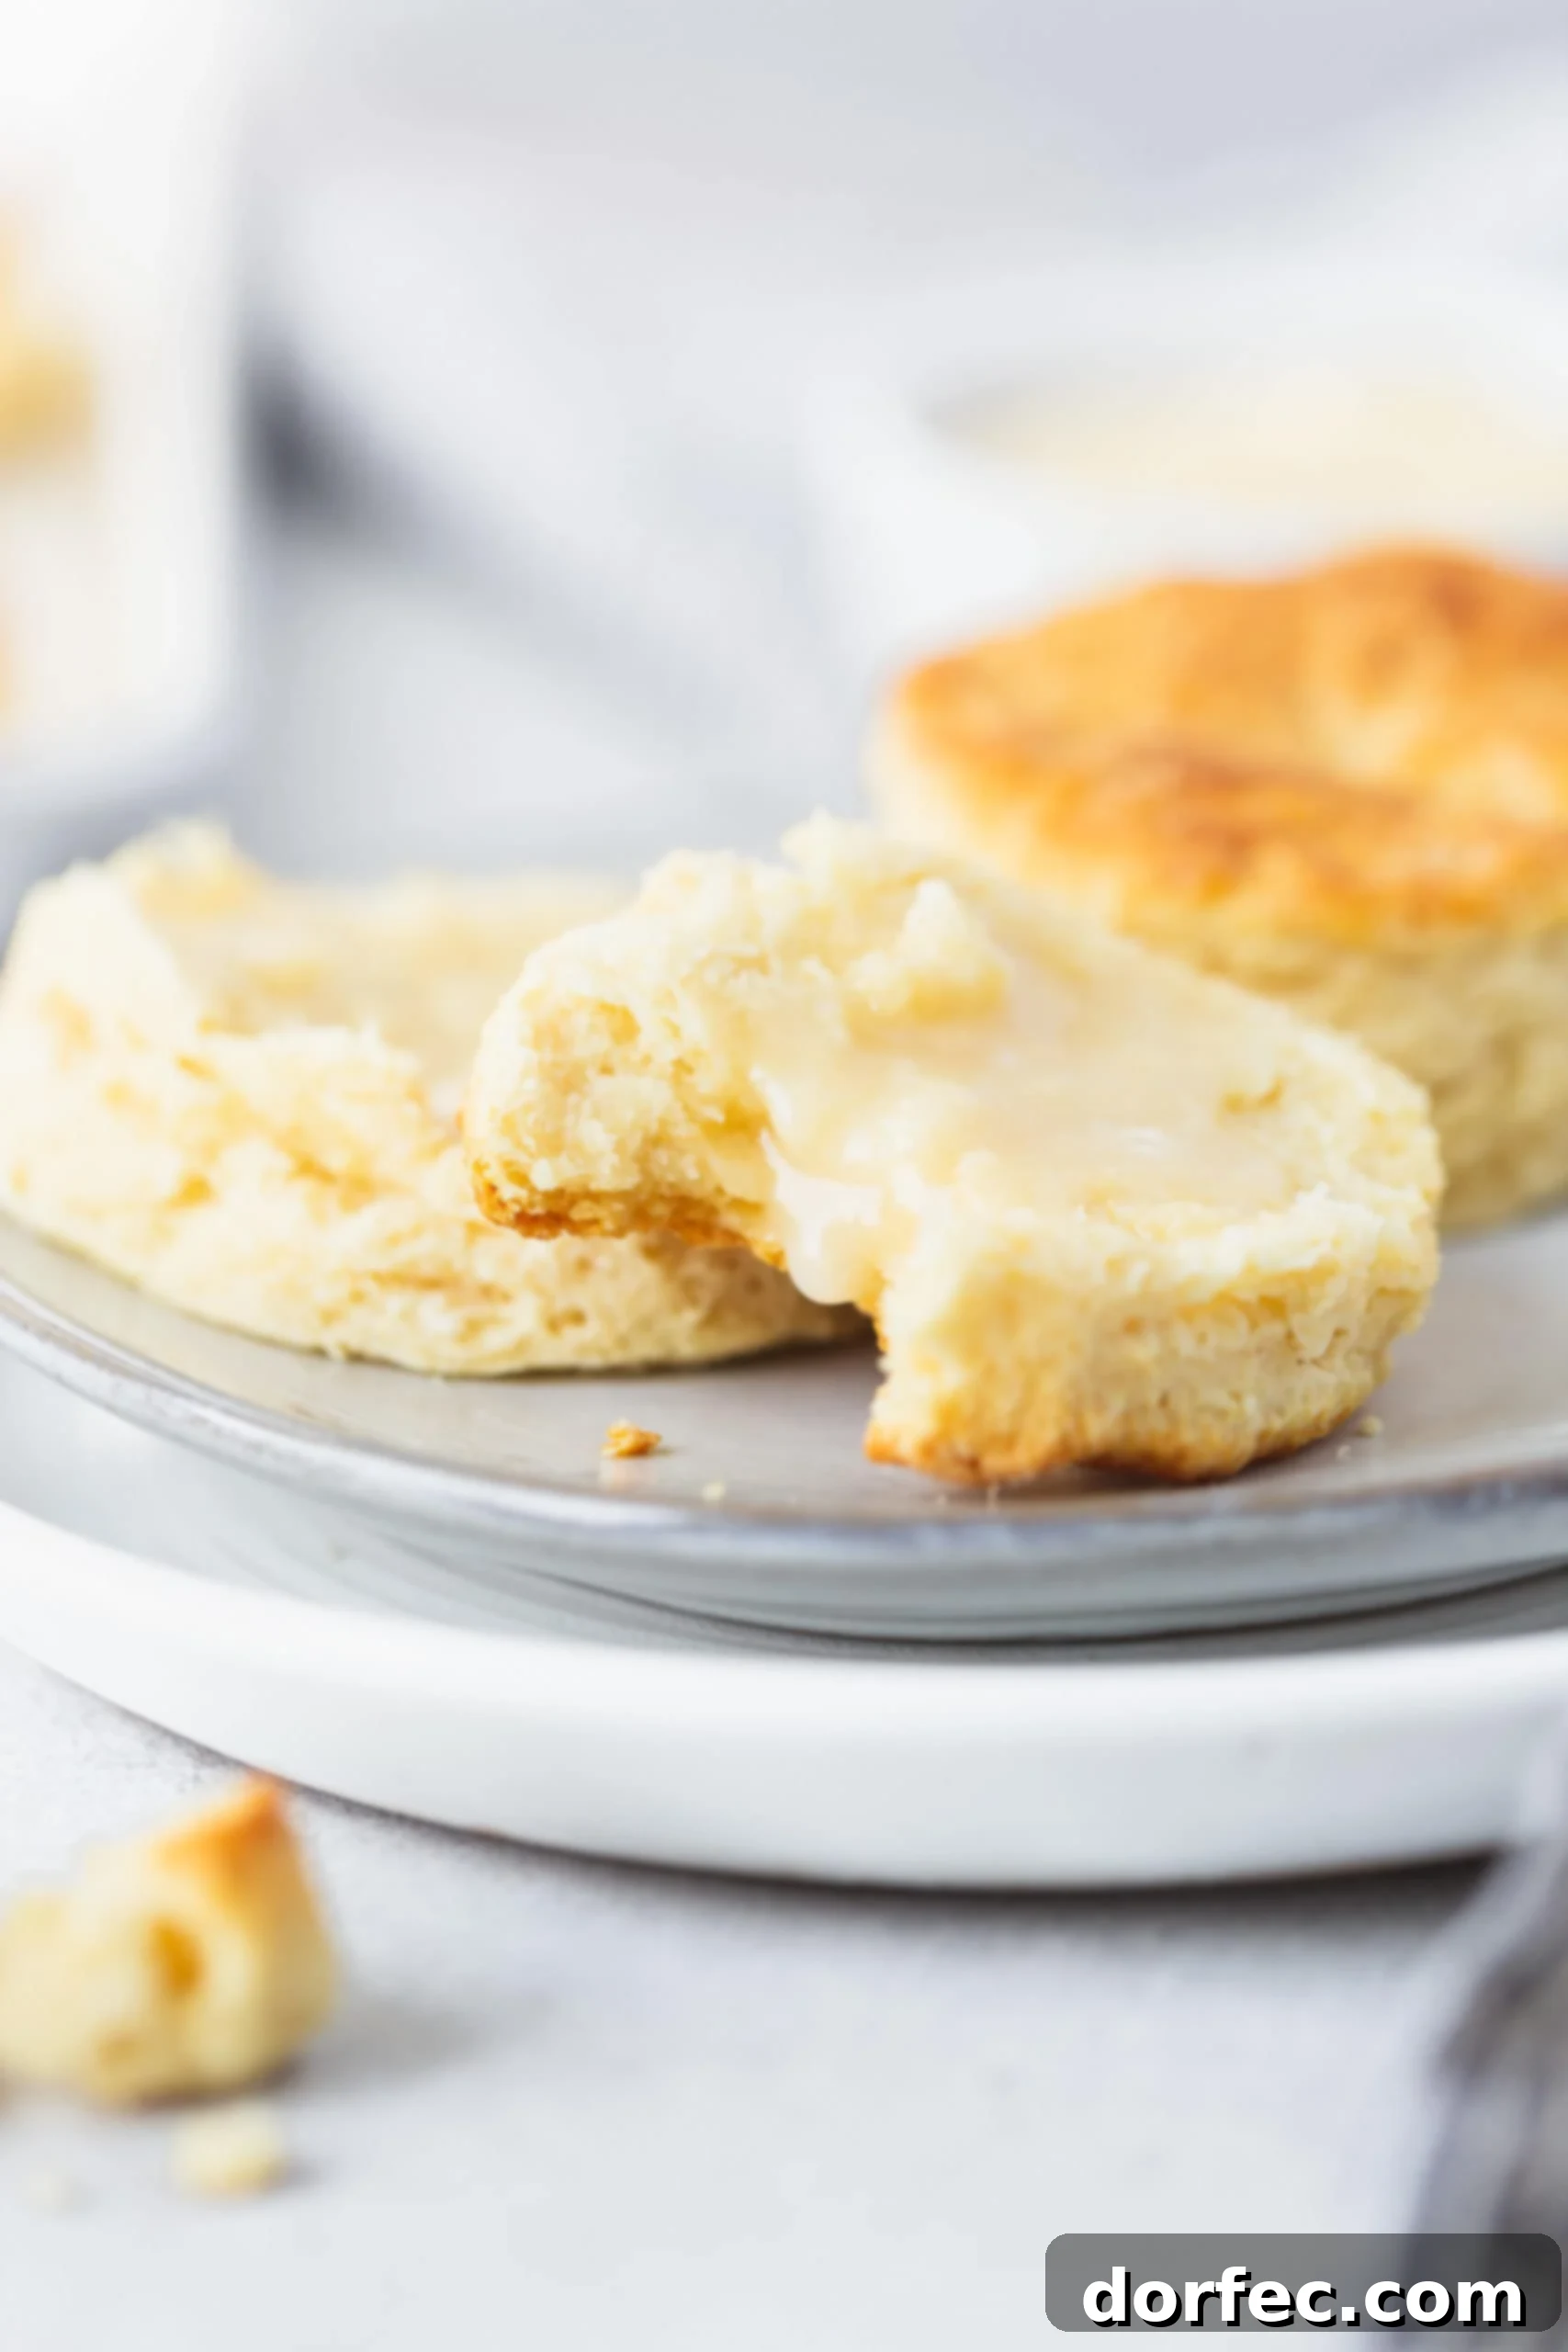
- Embrace Cold Butter: This is arguably the most critical tip! Your butter must be straight from the fridge, intensely cold, and cut into small pieces. When you cut the cold butter into the flour, it creates tiny pockets of butter throughout the dough. As the biscuits bake, these butter pieces melt, releasing steam and creating those magnificent, distinct flaky layers. Work quickly to prevent the butter from getting too soft.
- Ensure Fresh Rising Agents: Baking powder and baking soda are your secret weapons for lift. If they are old or expired, they won’t react properly, leading to flat, dense biscuits. Always check the expiration dates! To test baking powder, add a teaspoon to half a cup of hot water; it should fizz vigorously. For baking soda, add a quarter teaspoon to two tablespoons of vinegar; it should also bubble immediately.
- Do Not Overmix the Dough: This is a common pitfall. Once you add the buttermilk, mix the wet and dry ingredients just until they are barely combined and the dough looks shaggy and lumpy. Overmixing develops gluten, which makes the biscuits tough and chewy, instead of tender and soft. Less is truly more here!
- Push the Biscuit Cutter Straight Down: When cutting out your biscuits, press the cutter straight down into the dough with a firm, even motion. Resist the urge to twist the cutter. Twisting seals off the edges of the biscuit layers, preventing the steam from escaping and pushing the biscuit upwards, which is essential for that beautiful rise and flakiness.
- Fold the Dough for Extra Layers (Optional but Recommended): For even more flakiness, after the initial gentle kneading, you can perform a simple “laminate” technique. Gently pat the dough into a rectangle, fold it into thirds (like a letter), then gently pat it down again. Repeat this folding process 1-2 more times. This creates additional layers of butter and flour, resulting in super flaky biscuits.
- Use a Heavy Baking Sheet: A heavy-gauge aluminum baking sheet will conduct heat more evenly, preventing the bottoms of your biscuits from browning too quickly while the tops remain undone. Avoid dark-colored baking sheets, which can lead to over-browning.
- Sides Touching on the Baking Sheet: Arrange your cut biscuits so their sides are just touching on the baking sheet. This close proximity helps them support each other as they rise, encouraging them to grow taller and creating softer, more tender sides.
What to Eat with Buttermilk Biscuits: Versatility at its Finest
The beauty of a perfectly baked buttermilk biscuit is its incredible versatility. We firmly believe that a perfect biscuit doesn’t need to wait for a specific mealtime; it’s a delight on its own! Slather a warm biscuit with a spoonful of homemade strawberry jam, and you’ll find pure happiness. However, if you’re looking for fantastic main dish ideas or savory pairings, these biscuits rise to every occasion. Here are some of our favorite ways to enjoy them:
Breakfast Pairings:
- Classic Breakfast Staples: Serve them alongside fluffy scrambled eggs and crispy bacon for a timeless breakfast.
- Hearty Frittata: They’re perfect with a flavorful Hash Browns and Ham Frittata, soaking up all the delicious juices.
- Southwestern Twist: For a more adventurous start, pair them with savory Breakfast Enchiladas.
- Southern Comfort: Of course, they are essential for a classic Biscuits and Gravy breakfast!
- Sweet Toppings: Beyond honey butter and jam, try them with maple syrup, fruit compotes, or even a drizzle of chocolate sauce for a decadent treat.
Dinner Accompaniments:
- Holiday Ham: These biscuits are an absolute must with a succulent Brown Sugar Ham, perfect for sopping up the glaze.
- Comforting Roast: They beautifully complement a tender Pot Roast, ideal for absorbing rich gravies.
- BBQ Perfection: Serve them with smoky Smoked Brisket for a truly satisfying meal.
- Hearty Stew: Dip them into a warm bowl of Beef Stew to complete a cozy dinner.
- Chicken Dishes: Excellent with fried chicken, roast chicken, or creamy chicken pot pie filling.
We’d love to hear your favorite ways to enjoy these fluffy delights! Tell us what meals you love to eat biscuits with in the comments below!
Can’t you almost smell the warm, buttery aroma and taste the tender flakiness now?! Stop dreaming and run to your kitchen to make these little pillows of buttery deliciousness! Truly, Buttermilk Biscuits are on the menu tonight!
More Delicious Bread Sides You’ll Love:
If you’re a fan of freshly baked bread, be sure to explore these other fantastic recipes from our collection:
- Homemade Baguette
- Easy French Bread
- Perfectly Moist Skillet Cornbread
- Easy Homemade Naan
- Garlic Cheddar Herb Irish Soda Bread
- Best Potato Rolls
- Easy No Knead Artisan Bread
- Quick and Easy Feta Muffins
- One Hour Rolls
- Crazy Easy 7-Up Biscuits
- Whole Wheat Potato Rolls
- Homemade Sweet Potato Rolls
- The Easiest Herbed Focaccia Bread
- Cheesy Ranch Rolls
- All our BREAD RECIPES here!
Buttermilk Biscuits
Sweet Basil
10 minutes mins
10 minutes mins
12
Pin
Want to save this recipe? Get this sent to your inbox, plus get new recipes from us every week!
Ingredients
- 4 Cups All-Purpose Flour, Unbleached
- 2 Tablespoons Baking Powder
- 1/2 teaspoon Baking Soda
- 1 teaspoon Sugar
- 1 1/2 teaspoons Salt
- 1 Cup Butter, Cold Unsalted, cut into 1/4 inch cubes
- 1 1/2 Cups Buttermilk
- 2 Tablespoons Buttermilk (for brushing)
- 1/4 Cup Melted Butter (for brushing)
Instructions
-
Adjust oven rack to middle and preheat oven to 425°F (220°C).
-
Place the flour, baking powder, baking soda, sugar, and salt in a large bowl or food processor and whisk to combine.4 Cups All-Purpose Flour, 2 Tablespoons Baking Powder, 1/2 teaspoon Baking Soda, 1 teaspoon Sugar, 1 1/2 teaspoons Salt
-
Cut in the cold butter until it resembles coarse meal with a few slightly larger bumps. Make a well in the center of the flour mixture.1 Cup Butter
-
Stir in 1 1/2 cups buttermilk with a rubber spatula or fork until the dough just starts to come together. Turn the dough out onto a lightly floured countertop. Knead gently 3-4 times; the dough should still look lumpy.1 1/2 Cups Buttermilk
-
Roll the dough out to about 1 inch thick. Dip a 3.5-inch biscuit cutter in flour, then cut straight up and down through the dough. Do not twist the cutter.
-
Arrange the biscuits on a parchment-lined baking sheet with their sides touching. Brush the tops with the remaining 2 tablespoons buttermilk. Bake for 8-10 minutes, or until golden brown.
Remove from the oven and immediately brush with melted butter.2 Tablespoons Buttermilk, 1/4 Cup Melted Butter
Nutrition
Nutrition information is automatically calculated, so should only be used as an approximation.
Like this? Leave a comment below!
REMEMBER TO SUBSCRIBE TO our FREE Oh Sweet Basil NEWSLETTER AND RECEIVE EASY RECIPES DELIVERED INTO YOUR INBOX EVERY DAY!
When you try a recipe, please use the hashtag #ohsweetbasil on INSTAGRAM for a chance to be featured in our stories! FOLLOW OH, SWEET BASIL ON FACEBOOK | INSTAGRAM | PINTEREST | TWITTER FOR ALL OF OUR LATEST CONTENT, RECIPES AND STORIES.