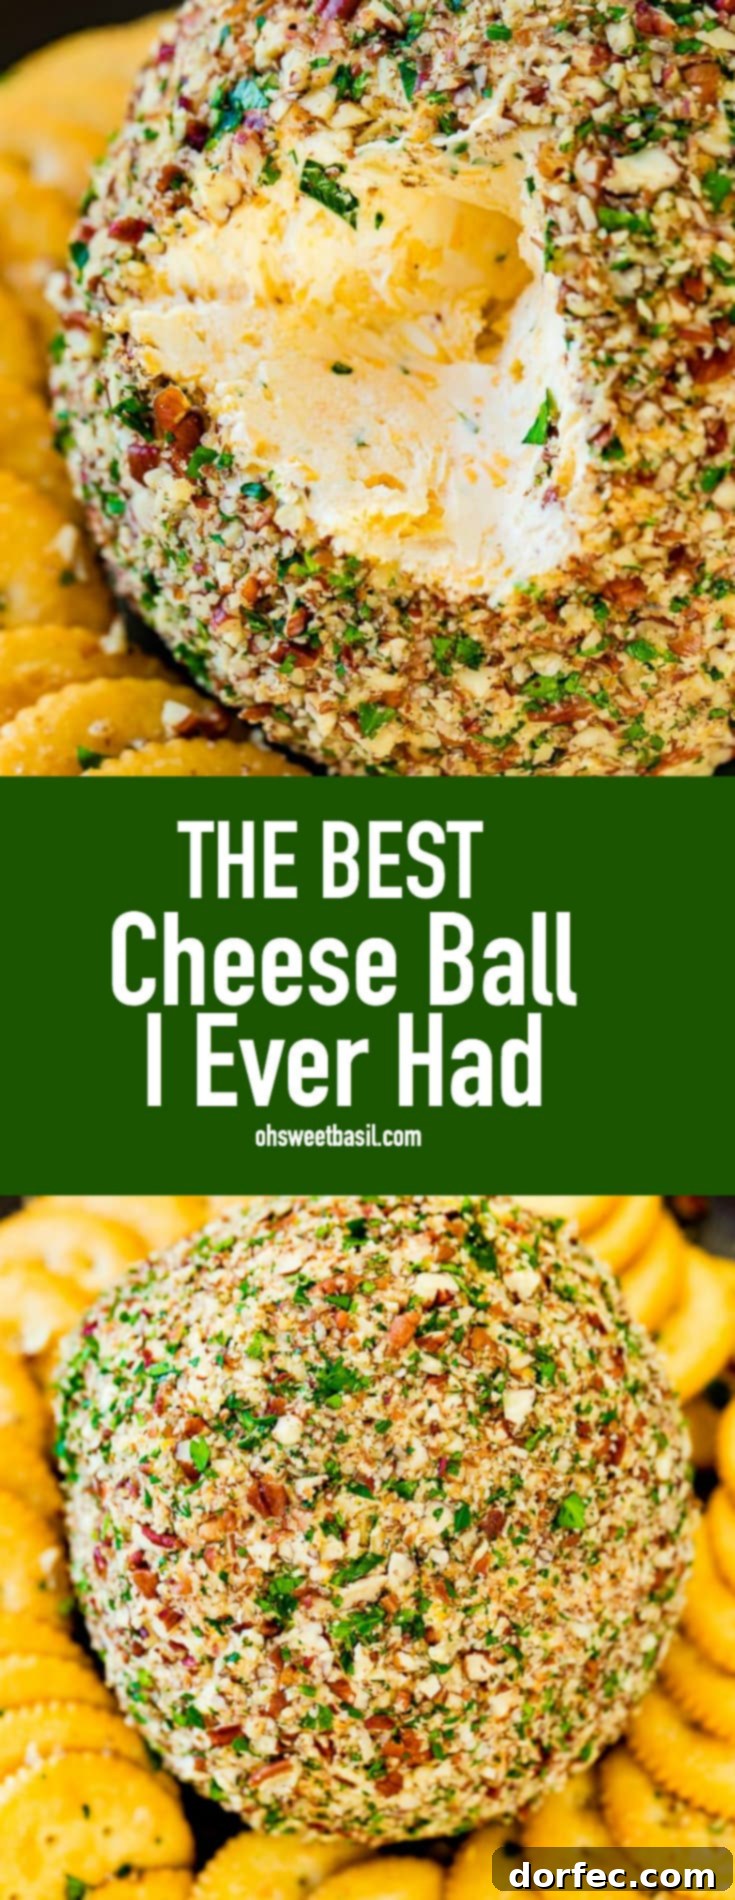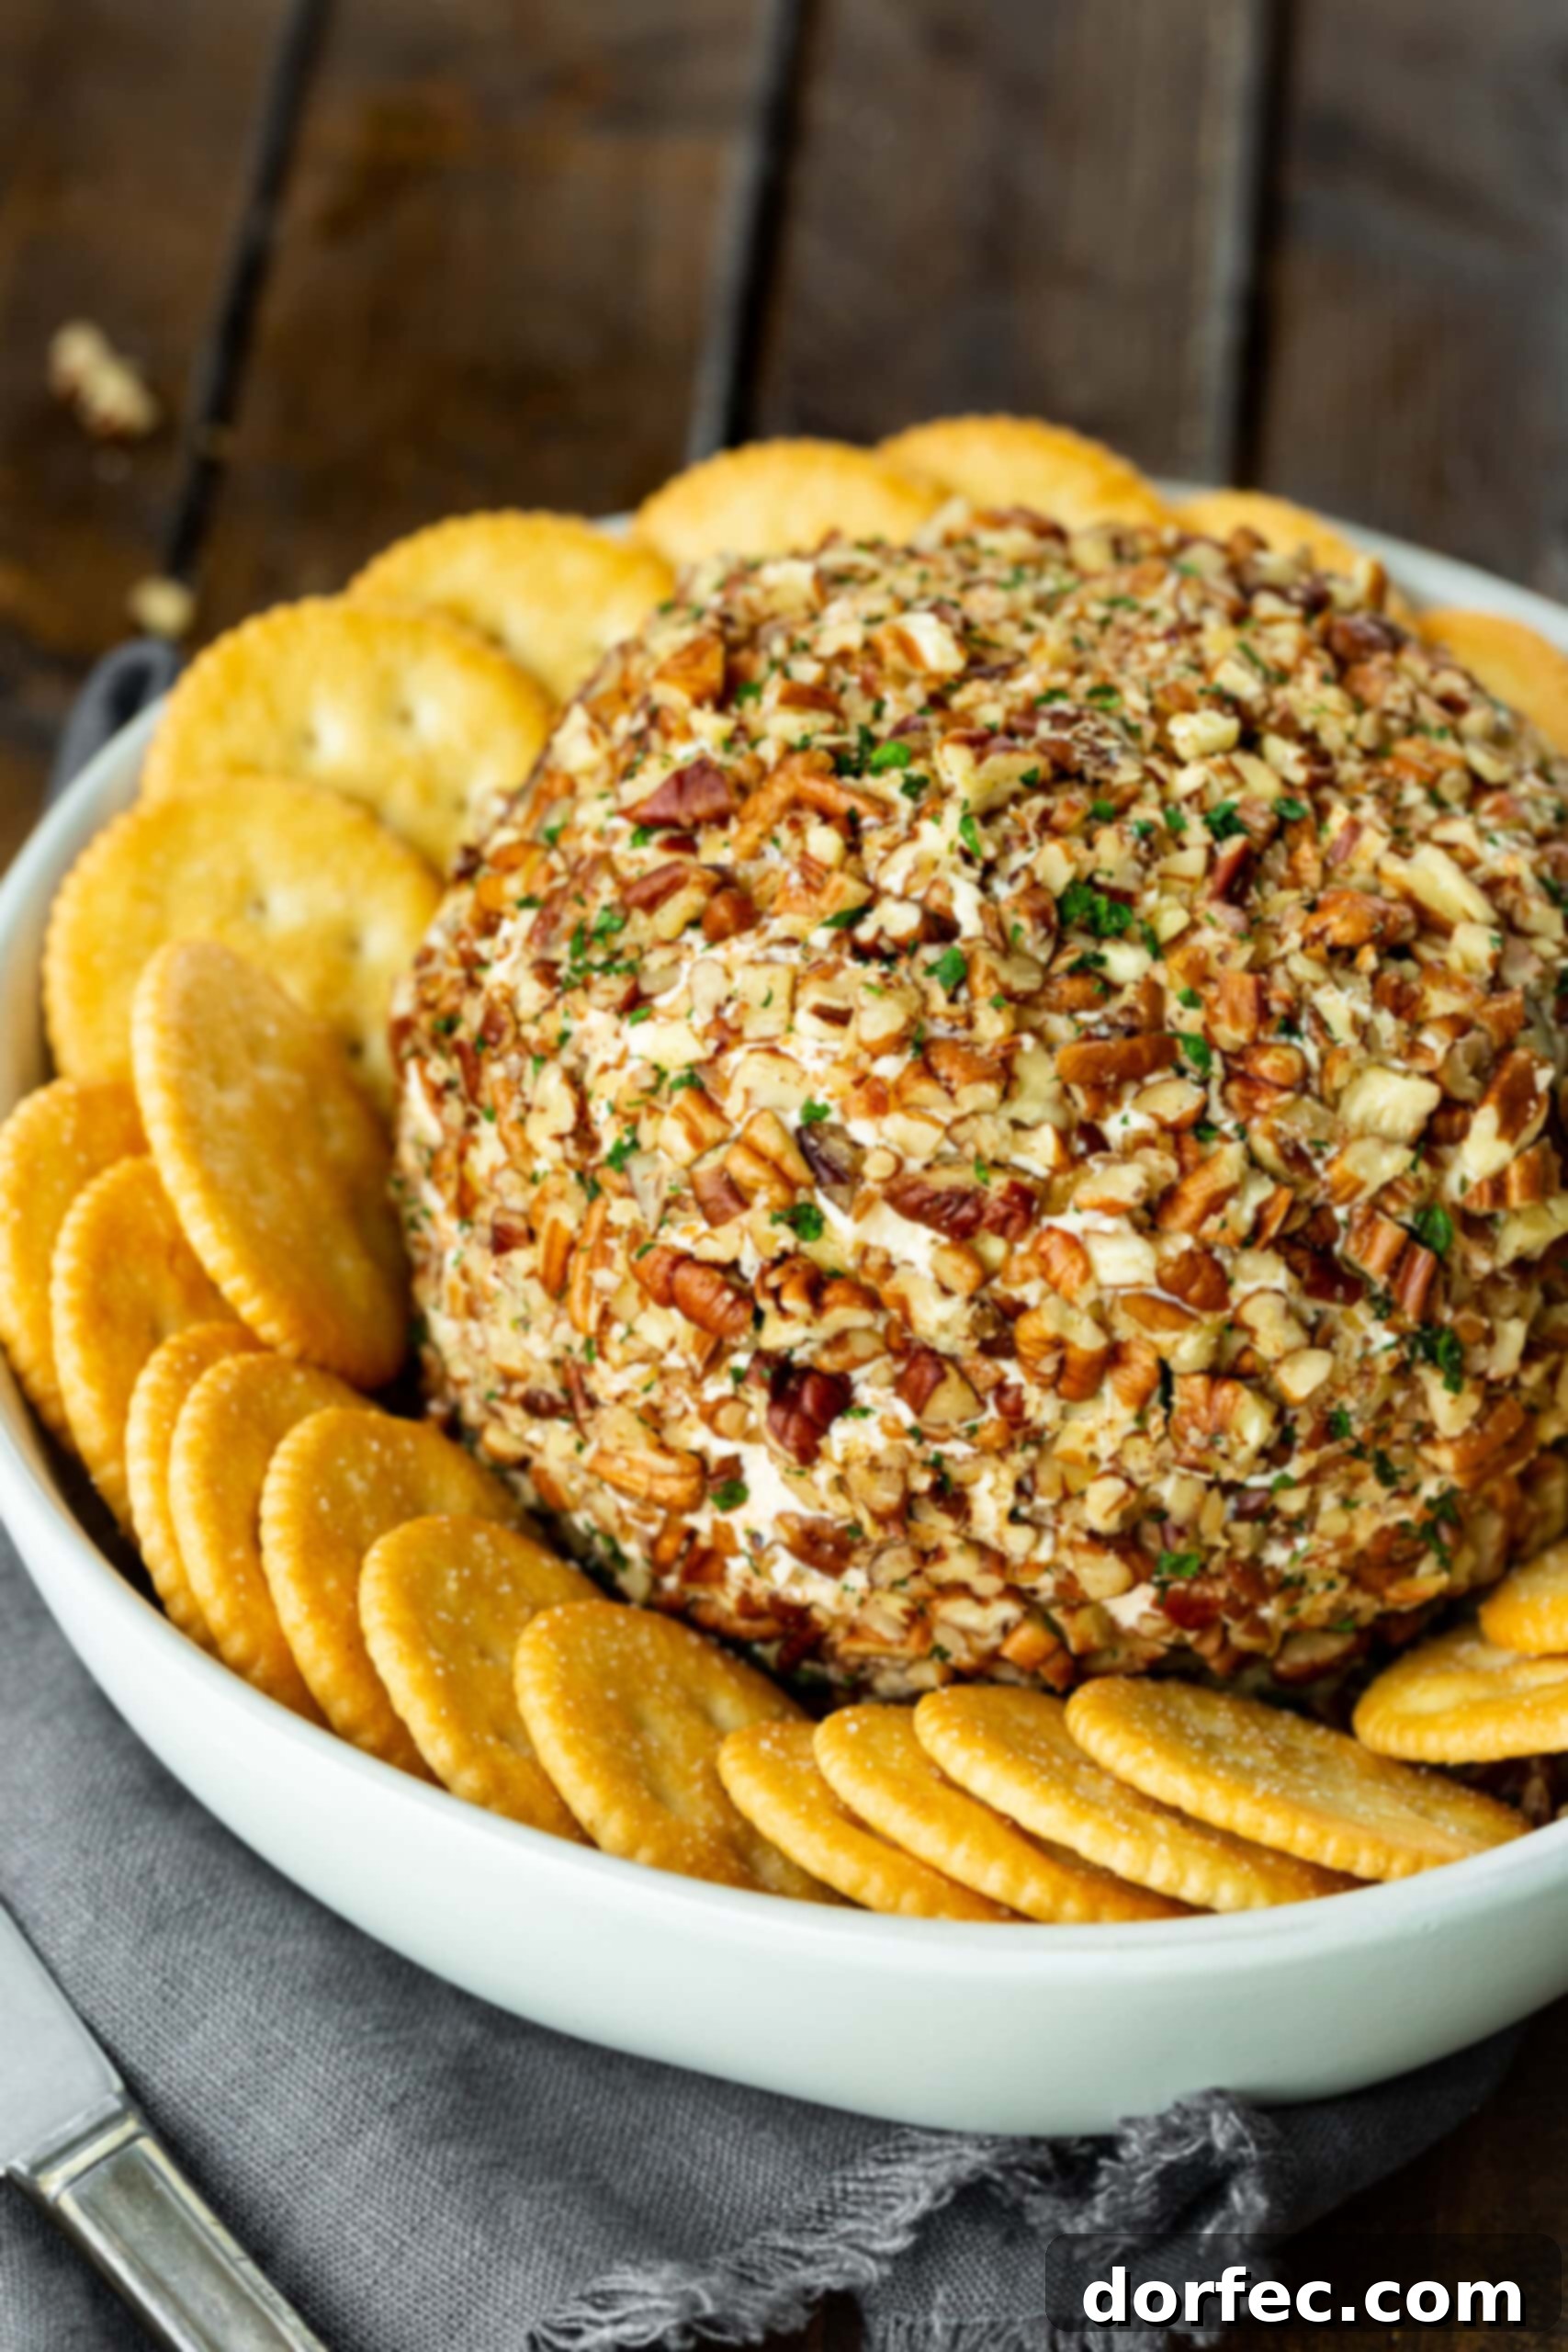
Prepare to discover a culinary revelation! This isn’t just an easy cheese ball recipe; it’s quite possibly the best cheese ball you will ever taste. Last year, I experienced this incredible appetizer, and now I’m thrilled to share the surprisingly simple secrets behind this irresistible party favorite.
The story of this extraordinary cheese ball begins with our wonderful neighbor, Michelle. She had the most ingenious idea that truly transformed our holiday season. Michelle decided to cancel the traditional exchange of neighbor gifts at Christmas. Can we all take a moment to applaud Michelle for this brilliant initiative? While I appreciate the sentiment behind neighbor gifts, I sometimes question if the added stress of baking and delivering a multitude of cookies, which often go uneaten or are tossed away, truly embodies the holiday spirit. Don’t worry, I promise this delightful anecdote will soon tie directly into how I stumbled upon what I now consider The Best Cheese Ball Recipe Ever.
We were all so impressed, not just with Michelle’s foresight, but with how enthusiastically the entire neighborhood responded. Michelle sent out a heartfelt letter, proposing that instead of exchanging gifts, we could collectively donate to a meaningful cause. Everyone was invited to a relaxed Christmas gathering at her home, where they could bring a donation for a family in need or a reputable charity. This approach allowed us to truly connect, share good company, and give back—which, for many of us, felt like a much deeper way to celebrate the true meaning of Christmas.
And what a success it was! So much money was raised for charity, and the atmosphere was simply joyous. We all indulged in delicious food, shared laughter, and truly immersed ourselves in the Christmas spirit. It was amidst this wonderful festive occasion that I encountered the most incredible appetizer that would forever change my perception of what a cheese ball could be.
A Culinary Revelation: Discovering the Ultimate Cheese Ball
During Michelle’s heartwarming holiday party, another dear friend, Angie, was also present. As I made my way to the food table, my eyes scanned the delectable spread. I casually remarked to Angie, “Oh, what’s a really good cheese ball recipe? I always want to love them more than I do, but I can never find one that truly wows me.” And there we were, standing at the table, eagerly scooping crackers piled high with what immediately struck me as an exceptional cheese ball into our mouths. After several delighted bites, I finally exclaimed, “My goodness, who made this? This is absolutely amazing!” Angie, with a calm smile, simply replied, “Oh, I did.”
What?! How had I gone all these years without tasting this incredible creation? And how could she stand there so nonchalantly, as if she hadn’t just created a masterpiece? It truly looked like a classic cheese ball recipe on the surface, but there was an unmistakable depth and richness to its flavor that set it apart from any other I had ever encountered.
Believe me, I’ve had my share of excellent cheese balls over the years. Our BBQ Bacon Cheese Ball and German Chocolate Cheese Ball are undeniably fantastic in their own right. But after experiencing Angie’s version, I find myself in a humbled position, ready to admit that her recipe for a classic cheese ball is truly unparalleled. It’s simply in a league of its own.
The Secret Ingredient in the Ultimate Cheese Ball
You might be wondering what gives this particular cheese ball its exceptional flavor. I believe it’s largely due to one “secret” ingredient, which some might consider a guilty pleasure, but trust me, you won’t complain once you taste the results. This ingredient elevates the entire profile of the cheese ball, adding a depth and tang that’s simply addictive.
The magic touch comes from Kraft Old English Jarred Cheese.
Yes, you read that correctly – it’s cheese in a jar! I’ve included a link so you know exactly what to look for on your grocery store shelves. It’s often found near other jarred cheeses or even crackers. Some might raise an eyebrow and question if it’s “real” cheese, and honestly, I won’t argue that point. But for the sake of an unbelievably delicious cheese ball, can we just pretend it is, just this once? The rich, sharp, and slightly tangy flavor it imparts is absolutely crucial to this recipe’s success.
The rest of the ingredients are fairly standard for a classic cheese ball, but I always find it helpful to have a quick overview. So, let’s dive into the simple yet impactful components that make this appetizer so extraordinary.
Essential Ingredients for Your Perfect Cheese Ball
The beauty of this cheese ball lies in its simplicity. You don’t need a long list of exotic items, but a couple of key additions truly elevate the flavor beyond expectation. Here’s a breakdown of what you’ll need, along with why each ingredient is important for creating that perfect taste and texture:
- Cream Cheese: Always use full-fat cream cheese, and ensure it’s at room temperature. This is crucial for a smooth, easily blendable mixture and a rich, creamy final product. Low-fat or fat-free versions simply won’t yield the same luscious texture.
- Cheddar Cheese: I highly recommend using medium or sharp cheddar cheese, and for the best flavor and texture, grate it yourself. Pre-shredded cheese often contains anti-caking agents that can affect the creaminess. Tillamook is a personal favorite for its exceptional quality and robust flavor.
- Onion and Garlic Powder: These pantry staples add a foundational layer of savory flavor and a subtle hint of saltiness without overpowering the cheeses. They contribute to the overall umami.
- Old English Cheese Spread: This is the secret weapon! Just trust me on this one. It provides an unparalleled rich, sharp, and slightly tangy dimension that sets this cheese ball apart. Its unique flavor profile is what makes this recipe truly unforgettable.
- Mayonnaise: Don’t skip the mayo! It’s not just for binding; it adds a wonderful richness and helps soften the cheese mixture, making it incredibly smooth and easily scoopable once chilled. It contributes to the luxurious mouthfeel.
- Lemon Juice: Another unexpected but essential secret! A touch of fresh lemon juice brightens all the flavors, cutting through the richness of the cheeses and adding a subtle, refreshing tang that you’d never quite guess was there. It’s a game-changer for balancing the profile.
- Chopped Pecans: These provide a delightful crunch and a nutty, earthy flavor that complements the cheese perfectly. If you’re not a fan of pecans, you can certainly omit them or substitute them with another nut like walnuts.
- Fresh Parsley: Finely minced fresh parsley adds a vibrant pop of color, a hint of fresh, herbaceous flavor, and an inviting visual appeal to the finished cheese ball. It’s the perfect garnish for both taste and presentation.
You’ll find the exact measurements for all these ingredients conveniently listed in the comprehensive recipe card located at the very end of this post.
Mastering the Art of Cheese Ball Formation
When I first attempted to make a cheese ball years ago, I must confess to a rather humorous, if slightly embarrassing, moment: I found myself trying to shape the mixture into a perfect sphere using only a spatula. Looking back, it’s quite comical, and as you can imagine, it was utterly ineffective. There’s a much simpler, more efficient way to achieve that perfectly rounded shape.
The secret to forming a beautifully smooth and symmetrical cheese ball lies in a clever two-part process that leverages the properties of the cream cheese mixture.
The first crucial step happens when you transfer the freshly mixed cheese blend onto a large piece of plastic wrap. Gently gather the edges of the plastic wrap around the cheese mixture, roughly shaping it into a ball. Don’t strive for perfection at this stage; just get it into a general spherical form, then twist the top of the plastic wrap to seal it tightly. Once secured, you can give it a little more gentle shaping with your hands through the plastic, encouraging a rounder contour. After this initial shaping, place the entire wrapped cheese ball into the refrigerator to chill.
The chilling period is essential. As the cream cheese mixture firms up and solidifies slightly, it becomes much easier to work with. This stability is key to achieving that ideal round shape. Once removed from the fridge, carefully unwrap the chilled cheese ball. At this point, the cheese is significantly more solid, and the exterior will no longer stick to your hands. This is when you can easily roll it in your chosen coating, whether that’s chopped nuts, crispy bread crumbs, or a flavorful herb mix, and truly give it that perfectly smooth, round, and professional-looking finish with minimal effort.
Creative Coatings: What to Roll Your Cheese Ball In?
The outer coating of a cheese ball is more than just a garnish; it adds crucial texture, flavor, and visual appeal. While classic pecans are always a hit, there are many exciting options to consider, allowing you to customize your cheese ball for any occasion or preference. Here are some fantastic choices:
Different Options for Rolling a Cheese Ball in (Nuts):
- Chopped Pecans: The traditional favorite, offering a buttery, slightly sweet crunch that pairs wonderfully with cheese.
- Chopped Walnuts: A more robust, earthy flavor and a good textural contrast.
- Sliced Almonds: A milder, delicate crunch, perfect if you prefer a subtle nutty note.
- Chopped Peanuts: For a more assertive, savory nut flavor, especially good with spicier cheese balls.
What to Roll a Cheese Ball in Besides Nuts:
- Crispy Bacon Bits: Adds an irresistible smoky, salty crunch. Always a crowd-pleaser!
- Dried Fruits (finely chopped): Think cranberries, apricots, or cherries for a touch of sweetness and chewiness, pairing beautifully with sharp cheeses.
- Plain Bread Crumbs or Panko Bread Crumbs: For a simple, crispy exterior without a strong flavor, allowing the cheese to shine. Panko offers a lighter, airier crunch.
- Finely Sliced Green Onions or Chives: Adds a fresh, mild oniony bite and a beautiful green color.
Of course, the real fun begins when you start combining these options! Imagine a mix of chopped pecans, crispy bacon, and fresh chives for a truly dynamic coating. You can tailor the coating to match the season, your guests’ preferences, or the specific theme of your gathering, ensuring your cheese ball always stands out.
Is This Cheese Ball Recipe Gluten-Free?
Funnily enough, when I was typing this section, my brain had a moment and I accidentally wrote “Glue Balls Free” four times. What on earth has happened to my concentration?! But to answer the actual question:
Generally speaking, a cheese ball itself is almost always entirely gluten-free. The core ingredients—cream cheese, various cheeses, and common seasonings like onion and garlic powder, mayonnaise, and lemon juice—do not contain gluten. If you add nuts or fresh herbs as a coating, these are also naturally gluten-free.
The only potential source of gluten would typically be the accompaniments served alongside the cheese ball. Crackers, for instance, are very often made with wheat flour and are therefore not gluten-free. If you’re serving guests with gluten sensitivities or dietary restrictions, simply check the ingredients list of your crackers or opt for readily available gluten-free cracker varieties. Alternatively, offer fresh vegetables (crudités), apple slices, or gluten-free pita chips as serving options. With these simple considerations, you can ensure everyone can safely enjoy this delicious appetizer.
What to Serve with Your Perfect Cheese Ball
The right accompaniments can truly enhance the experience of enjoying a delicious cheese ball. And I certainly have some strong opinions on the matter! Here are some fantastic options to ensure every scoop is a delight:
- Crackers: A classic choice! But elevate your selection. Favorites include buttery Ritz Crackers, wholesome Wheat Thins, or multi-grain varieties from brands like Milton’s. The contrast of the crispy cracker with the creamy cheese is unbeatable.
- Pretzels or Pretzel Crisps: For a salty, crunchy alternative. Pretzel crisps offer a lighter, more delicate vehicle for the cheese.
- Crudités with Veggies: A healthy and refreshing option. Think crisp carrot sticks, cool celery stalks, vibrant bell pepper strips (red, yellow, or orange), or even cucumber slices. They add a fresh counterpoint to the rich cheese.
- Crostini or Toast Points: Thinly sliced baguette, lightly toasted or grilled, provides a sophisticated and sturdy base for your cheese ball.
- Mini Bagels: Perfect for a brunch spread or a heartier bite.
- Pita Chips: Offer a robust crunch and a slightly earthy flavor that complements many cheese balls.
- Pear and Apple Slices: Seriously, don’t knock it ’til you try it! The sweet and crisp freshness of fruit slices, especially pears and apples, provides an absolutely fantastic sweet-and-salty contrast that is incredibly addictive and a personal favorite.
That’s quite a spectrum of choices! My personal go-to will always be the simple, classic cracker. However, I often find myself reaching for a veggie stick or an apple wedge because I adore the freshness it brings. Plus, with the refreshing crunch of fruit or vegetables, I almost feel like I can justify eating a few more generous scoops! Calories? What calories?
Presentation Matters: How to Serve a Cheese Ball
Every household truly benefits from owning a beautiful serving board or platter, especially when you’re aiming to impress guests. If you’re presenting this phenomenal cheese ball to a hungry crowd, a perfect presentation is key! I personally love serving mine on a large, attractive plate that features a slightly raised rim. This design is incredibly practical, as it helps keep all the accompanying crackers or crudités neatly contained around the cheese ball, preventing them from scattering across the table. For instance, this plate from Threshold is an excellent choice for that purpose. Alternatively, you can always opt for a classic cheese board. I particularly admire this Arcadia wood paddle board which has a convenient handle, making it easy to carry and serve.
Make-Ahead Magic: Prepare Your Cheese Ball in Advance
This cheese ball recipe is quickly becoming the ultimate stress-free option for parties and holidays, largely because of its incredible make-ahead convenience. You can effortlessly prepare it an entire day ahead of your event without any concerns about the flavor diminishing or the ingredients spoiling. In fact, making it in advance often allows the flavors to meld and deepen, resulting in an even more delicious appetizer.
The key to successfully preparing this cheese ball recipe ahead of time is to hold off on removing it from the plastic wrap and rolling it in its coating until just before you’re ready to serve. Keeping the cheese ball tightly wrapped in plastic in the refrigerator ensures that any nuts or other crunchy coatings you plan to use remain perfectly crisp. If you coat it too early, the moisture from the cheese ball can soften the coating, making it less appealing. So, mix, shape, chill, and then coat right before the party!
Optimal Serving & Storage: Keeping Your Cheese Ball Fresh
Ensuring food safety and optimal enjoyment means knowing how to properly serve and store your cheese ball. Here are some essential guidelines:
How Long Can a Cheese Ball Safely Sit Out?
A cheese ball, due to its dairy content, should ideally only sit out at room temperature for about 1-2 hours. I understand that most parties last much longer than that, but it’s crucial to resist the urge to leave a large cheese ball on the counter all evening. The best strategy is to prepare several smaller cheese balls. Once one is completely devoured, you can simply bring out the next fresh, perfectly chilled one from the refrigerator.
You’d be surprised at how effectively this method manages your food supply! Think of it in terms of supply and demand: when people know there’s a limited supply of the current cheese ball, they tend to finish it quickly. And when they see you bringing out a fresh one, the excitement builds. This approach ensures your guests always enjoy a fresh, safe appetizer, and you’ll likely find yourself with far fewer leftovers to worry about storing for weeks on end.
How Long Will a Cheese Ball Last in the Fridge?
When properly stored in an airtight container, a basic cheese ball (without added meats or fresh fruits) can last surprisingly long in the refrigerator—up to two weeks. The combination of cream cheese and other cheeses, along with the tight seal, helps preserve its freshness. However, if you’ve incorporated fresh meats (like cooked bacon) or fruits into your cheese ball, it’s best to shorten that refrigeration time significantly, aiming for more like 48 hours for optimal safety and quality.
Can You Freeze a Homemade Cheese Ball?
Absolutely! Freezing a homemade cheese ball is an excellent way to prepare for future gatherings or to extend its shelf life. However, there’s one extra step you should take to prevent ice crystals from forming and to keep those delicious flavors intact:
Prepare your cheese ball mixture as usual, and form it into a ball, wrapping it tightly in plastic wrap. Crucially, before freezing, place the plastic-wrapped cheese ball into a freezer-safe bag. Press out as much air as possible from the bag before sealing it tightly. This double-layer of protection helps prevent freezer burn and maintains the cheese ball’s texture. Always store it deep within the freezer, not in the freezer door, as the temperature fluctuations in the door can affect its quality.
When you’re ready to serve, simply transfer the frozen cheese ball from the freezer to the refrigerator and allow it to defrost for about a day or so. Once thawed, proceed with the recipe as normal: unwrap it, roll it in its chosen coating, and then serve. For the best taste and texture, aim to serve the defrosted cheese ball within a day.
Seriously, forget every other cheese ball recipe you’ve ever encountered. This one is a game-changer! It will undoubtedly be the best, most satisfyingly simple cheese ball recipe you’ve ever had the pleasure of making and devouring. With its harmonious blend of three distinct types of cheese and the perfect touch of carefully chosen seasonings, this recipe creates an appetizer that is truly irresistible. The rich, savory taste is absolutely outrageous, guaranteed to be the star of any gathering and leave everyone asking for the recipe!
More Irresistible Dip RECIPES
- Baked Cheesy Onion Dip
- Spinach Artichoke Dip
- Cowboy Caviar
- Buffalo Chicken Football Dip
- Bacon Ranch Corn Dip
- Artichoke Dip
- 3 ingredient Jarlsberg Cheese Dip
- Creamy Cilantro Crab Dip
- All our Dip Recipes!
The Best Cheese Ball
Ingredients
- 16 Ounces Cream Cheese, softened (2 of the 8 ounce cream cheese boxes)
- 1 Jar Old English Cheese Spread, found by the crackers
- 1 1/2 Cups Cheddar Cheese, sharp or medium, grated
- 1 teaspoon Garlic Powder, scant
- 1 teaspoon Onion Powder, scant
- 2 teaspoons Lemon Juice
- 2 Tablespoons Mayonnaise, heaping
- 2 Cups Pecans, chopped fine
- 1 Tablespoons Parsley, fresh, chopped
- Crackers, for serving
Instructions
-
Finely chop the pecans and set aside.2 Cups Pecans
-
In a large bowl, combine all of the ingredients and stir together until smooth.16 Ounces Cream Cheese, 1 Jar Old English Cheese Spread, 1 1/2 Cups Cheddar Cheese, 1 teaspoon Garlic Powder, 1 teaspoon Onion Powder, 2 teaspoons Lemon Juice, 2 Tablespoons Mayonnaise
-
Form the cheese mixture into a ball and place on a large piece of saran wrap.
-
Place the cheese in the fridge for 10-15 minutes to firm it back up. You can prepare this up to 48 hours ahead of time and leave it like this until you’re ready to serve.
-
Meanwhile, mix the chopped pecans and parsley together and place on a plate.1 Tablespoons Parsley
-
Unroll the cheese ball and place in the nuts. Roll to cover and shape with your hands if necessary to keep the shape.
-
Serve immediately or store for a few hours in the fridge. Serve with crackers (or whatever your heart’s desire).Crackers
Recipe Notes
Nutrition
Nutrition information is automatically calculated, so should only be used as an approximation.
REMEMBER TO SUBSCRIBE TO our FREE Oh Sweet Basil NEWSLETTER AND RECEIVE EASY RECIPES DELIVERED INTO YOUR INBOX EVERY DAY!
When you try a recipe, please use the hashtag #ohsweetbasil on INSTAGRAM for a chance to be featured in our stories! FOLLOW OH, SWEET BASIL ON FACEBOOK | INSTAGRAM | PINTEREST | TWITTER FOR ALL OF OUR LATEST CONTENT, RECIPES AND STORIES.