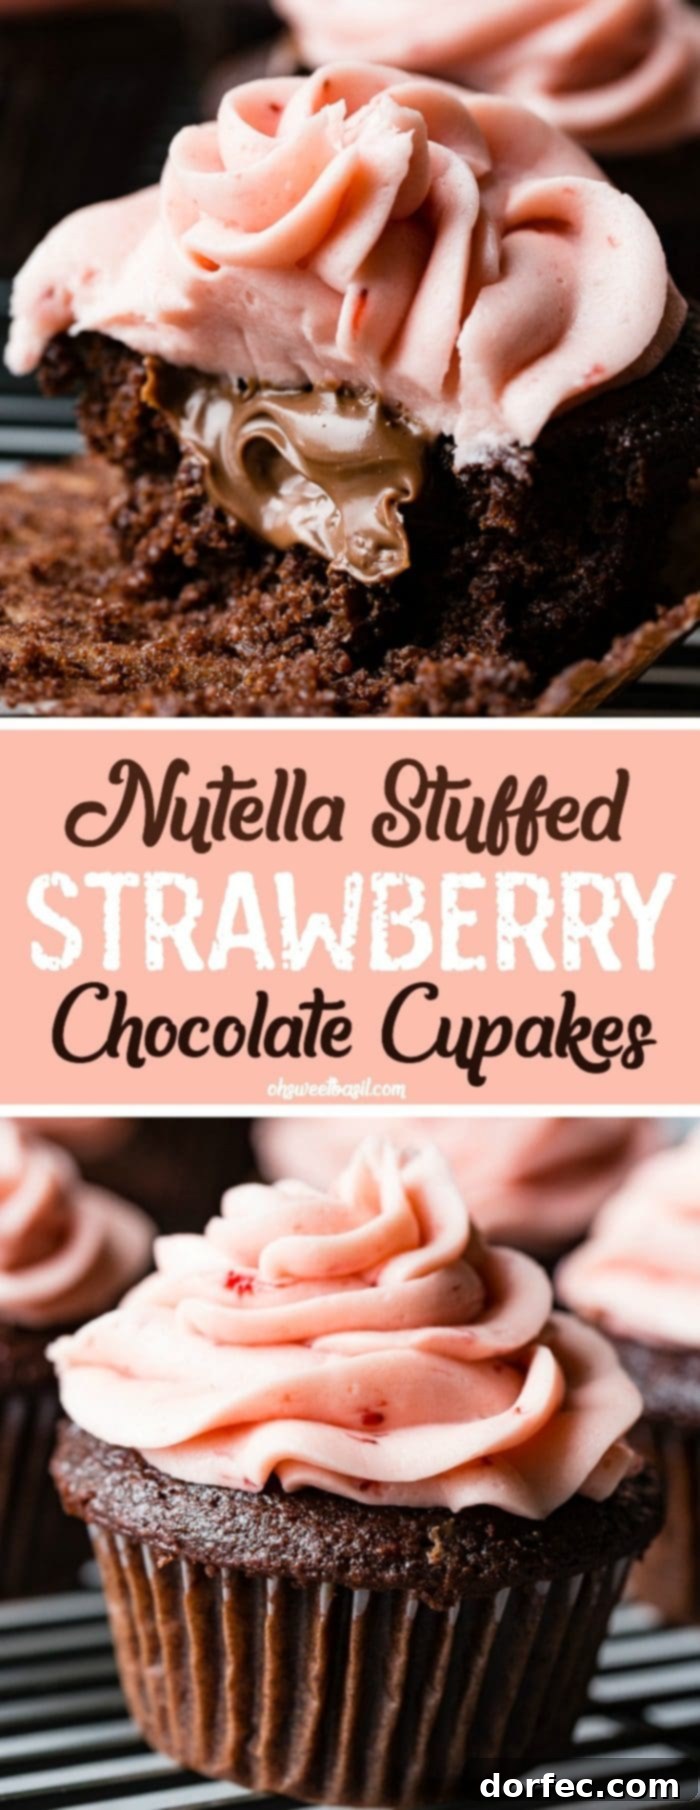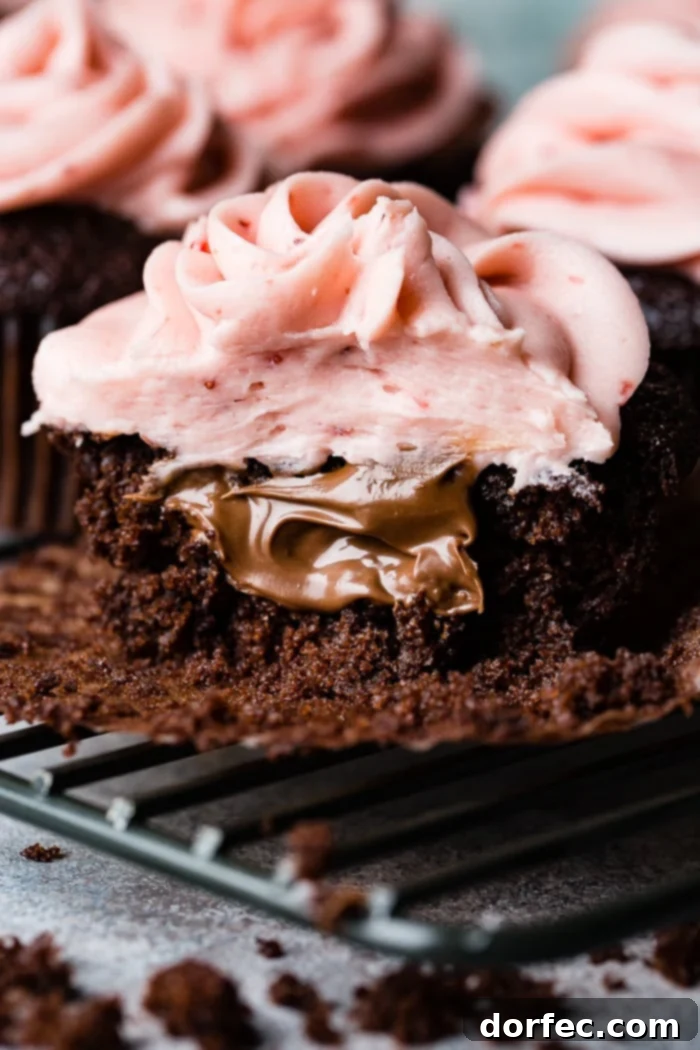
Unlock your inner baker and create something truly magical with these incredible Nutella Stuffed Strawberry Chocolate Cupcakes. If an 8-year-old can master this delightful recipe, imagine what sweet masterpieces you can achieve! These moist, decadent chocolate cupcakes, brimming with creamy Nutella and crowned with a luscious strawberry buttercream, are an absolute showstopper. Perfect for Valentine’s Day, Galentine’s Day, or any occasion that calls for a touch of chocolatey romance and fruity sweetness.
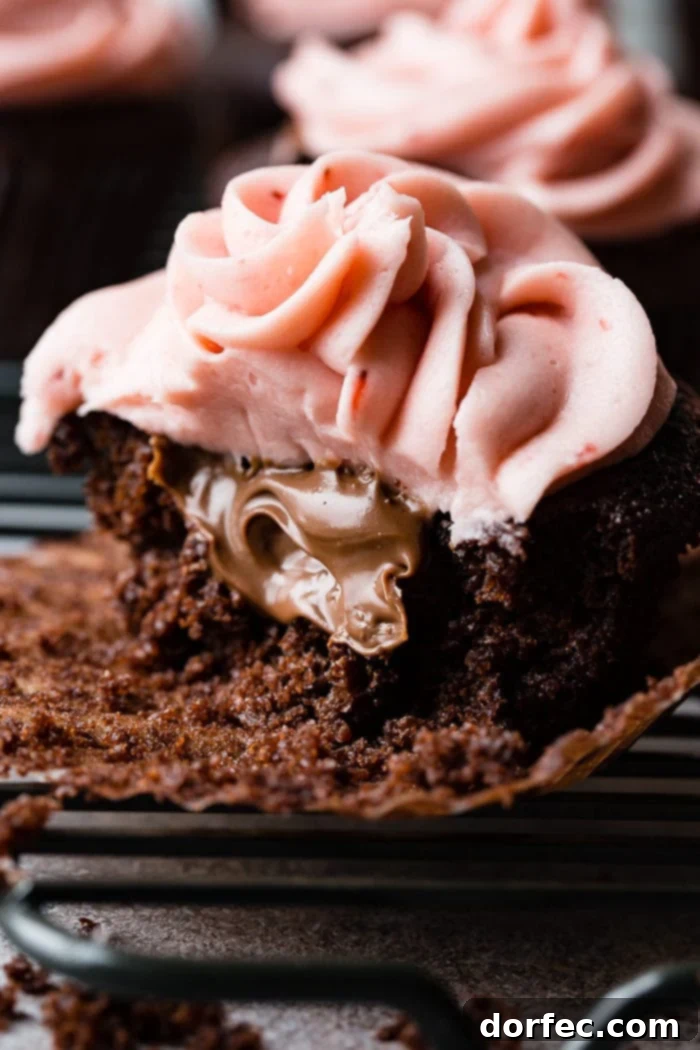
Cooking in our home is a true family affair, a joyful tradition where everyone, regardless of age, gets involved. We believe that getting kids in the kitchen isn’t just about making delicious food; it’s about fostering creativity, teaching valuable life skills, and creating lasting memories. While I’ll share some tips on how we cultivate this delightful tradition in our home, let’s first dive into the star of today’s culinary adventure: these irresistible Nutella Stuffed Strawberry Chocolate Cupcakes. These treats are wonderfully similar to our beloved Milk Chocolate Cupcakes, but with an extra layer of hazelnut-chocolate indulgence and vibrant berry flavor that makes them truly unique.
The Allure of Nutella Stuffed Strawberry Chocolate Cupcakes
There’s something inherently captivating about the combination of deep, rich chocolate and anything light, fluffy, and pink. It’s a visual and culinary delight, much like my unexpected fondness for pink pancakes. While I might not be a “pink girl” in my fashion choices, the pairing of chocolate and a vibrant rosy hue on a dessert simply calls to me. It evokes a feeling of playful elegance and pure joy, making me want to take a big, satisfying bite.
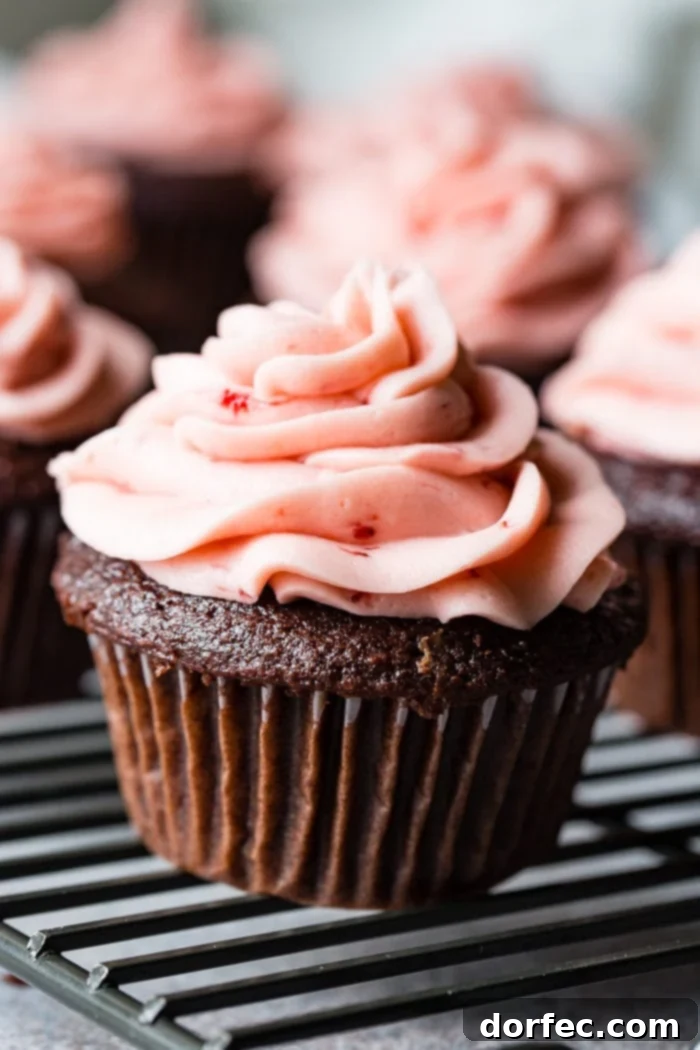
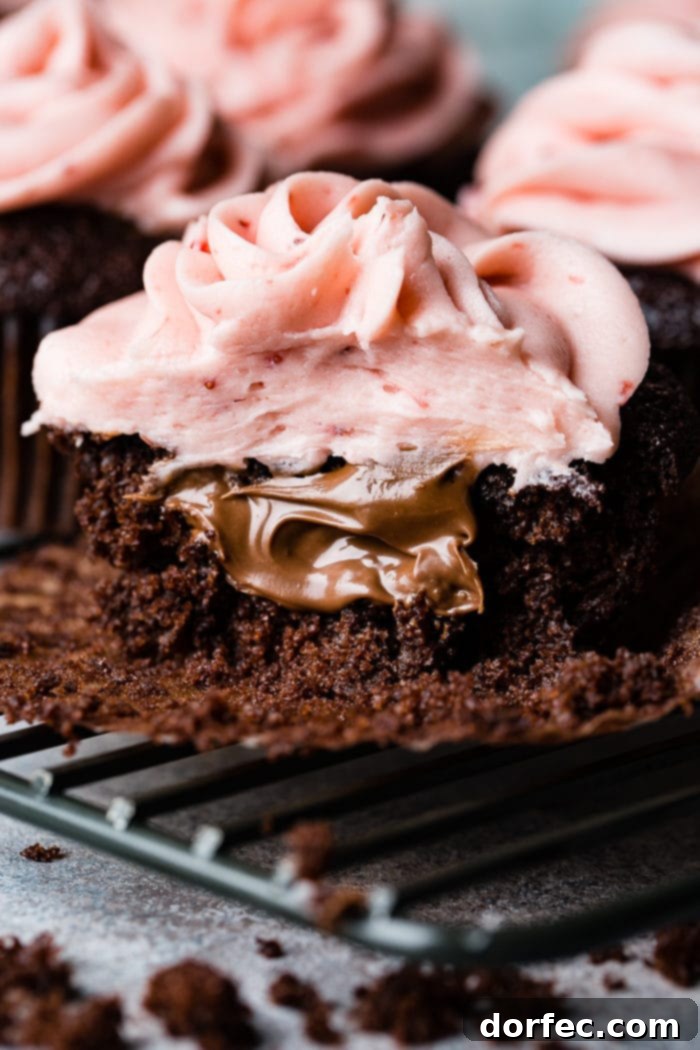
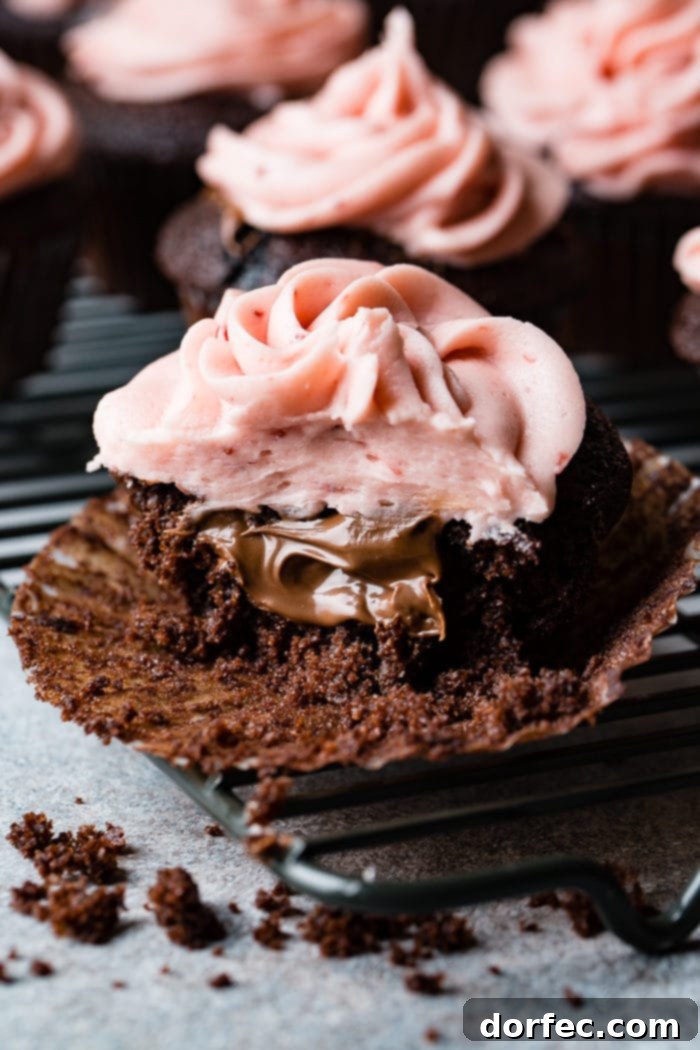
And these Nutella Stuffed Strawberry Chocolate Cupcakes are the epitome of that irresistible charm. Each cupcake begins with a flawlessly moist chocolate base, the kind that melts in your mouth. Tucked inside is a generous dollop of velvety, utterly lickable Nutella, adding a rich, nutty, and chocolatey surprise with every forkful. Crowning this masterpiece is a swirl of strawberry buttercream frosting so silky smooth, it’s reminiscent of luxurious silk pajamas. The bright, fresh strawberry flavor cuts through the richness of the chocolate and Nutella, creating a harmonious balance that’s nothing short of a dream come true for any dessert enthusiast.
The Secret Ingredient: Why Coffee Enhances Chocolate Cake
You might know by now that our family generally avoids alcohol, coffee, and tea. While alcohol typically cooks out of dishes, we simply don’t keep it in our pantry. However, when it comes to crafting the perfect chocolate cake, I’ve learned to embrace the unexpected power of one particular ingredient: coffee. Specifically, a touch of espresso powder can make all the difference.
I always keep espresso powder on hand for baking. Adding just a small amount to any liquid ingredient in a chocolate recipe, especially cupcakes or cakes, magically intensifies the chocolate flavor without imparting any distinct coffee taste. It’s a trick used by professional bakers and found in many store-bought chocolate desserts because it truly amplifies the cocoa notes, making the chocolate taste richer and more profound. While I often find myself skipping it out of habit, I can genuinely attest that it elevates the chocolate experience to another level, transforming a good chocolate cupcake into an extraordinary one.
The Magic of Boiling Water in Chocolate Baking
Have you ever noticed how many chocolate cake and cupcake recipes call for boiling water? It seems counter-intuitive to add hot water to a cake batter, but there’s a fascinating scientific reason behind this common baking technique. While you might assume it’s simply to make the cake more moist or tender, the real secret lies in how hot water interacts with cocoa powder.
When you mix cocoa powder with hot water (or another hot liquid), you are performing a process known as “blooming” the chocolate. This heat helps the cocoa solids dissolve more fully, releasing their flavor particles and intensifying the chocolate’s aroma and taste. Just a few minutes of blooming can lead to a significantly richer, more powerful chocolate flavor in your final baked good. For chocolate brownies, the method is slightly different; you’ll want to bloom the cocoa in warm oil instead of water. The key is applying gentle heat to activate those wonderful flavor compounds and unlock the full potential of your chocolate.
Celebrating Sweet Moments: National Chocolate Cupcake Day
As I was preparing this article, I found myself momentarily sidetracked, wondering if there was a special day dedicated to chocolate cupcakes, given that it seems almost everything has a national day! And lo and behold, October 18th is indeed National Chocolate Cupcake Day! This delightful discovery holds a special place in my heart, as it’s also my little sister’s birthday. I’m already planning to send her a box of chocolate cupcakes that day, perhaps with a cheeky note like, “Hey, here’s a cupcake in the mail, happy blasted birthday, xoxo! 😉” It’s these small, sweet moments that make baking, and life, even more enjoyable.
Troubleshooting Dry Chocolate Cake: Common Pitfalls and Solutions
Chocolate cake, despite its universal appeal, often presents a unique challenge: achieving that perfect balance of moistness and tenderness. Many bakers experience frustration when their white cakes turn out beautifully, yet their chocolate creations end up dry and crumbly, even after meticulously following the recipe. Understanding the common culprits behind a dry chocolate cake is the first step toward baking consistently delightful desserts.
Here are a few key reasons why your chocolate cake might be lacking moisture:
- Evaporation from Hot Liquids: Recipes often call for hot liquids like boiling water or coffee. If these liquids are allowed to cool back down to room temperature uncovered before being added to the batter, a significant amount of moisture can evaporate. You could lose up to 2 ounces of liquid through evaporation, directly impacting the final cake’s moisture content. Always cover hot liquids as they cool.
- Improper Flour Measurement: Baking is a science, and precise measurements are paramount. One of the most common mistakes is improperly measuring flour. Scooping flour directly from the bag with a measuring cup can pack it too tightly, resulting in far more flour than needed. This extra flour absorbs too much liquid, leading to a dry cake. Always properly measure your flour by spooning it into the measuring cup and then leveling it off with a straight edge. This simple tip can be a game-changer for your baking.
- Over-Mixing the Batter: Cakes and quick breads require a gentle touch. Over-mixing develops the gluten in the flour too much, creating a tough, dense texture with too many air holes. These holes allow moisture to escape during baking, resulting in a dry, crumbly cake. Unlike cookies, which can handle more mixing, cake batters should be mixed just until the ingredients are combined and no dry streaks remain.
- Over-Baking: This is a huge culprit for dry cakes. We often worry about an undercooked, gooey middle and end up pushing the baking time too far. An over-baked cake quickly loses its moisture and becomes dry. To check for doneness, look for these signs: the cake should begin to pull away slightly from the edges of the pan, the center should spring back when lightly tapped, and a cake tester or toothpick inserted into the very center should come out clean. Trust these indicators, and resist the urge to bake “just a little longer.”
Unlocking the Secrets to a Perfectly Moist Chocolate Cake
Now that we’ve explored the common pitfalls that can lead to a dry, crumbly chocolate cake, let’s turn our attention to the techniques and ingredients that ensure a wonderfully moist and tender crumb. Achieving a truly luscious chocolate cake is entirely possible with a few careful considerations.
Here’s what makes chocolate cake beautifully moist:
- Butter vs. Margarine: Opt for real butter over margarine. Margarine often contains a higher water content, which can evaporate during baking and lead to a drier cake. Butter, with its rich fat content, contributes significantly to both flavor and moisture.
- Room Temperature Butter: The temperature of your butter plays a crucial role. Butter that is too cold won’t cream properly with sugar, resulting in a dense cake, while butter that is too warm can lead to a greasy texture. Perfectly softened, room-temperature butter (indentable with a finger but not greasy) ensures ingredients combine smoothly, creating a uniform batter that bakes up moist and tender.
- Incorporating Oil: While butter offers unparalleled flavor, oil is superior at retaining moisture. Consider substituting part or all of the butter with oil in your chocolate cake recipes. Oil, being 100% fat, doesn’t evaporate like the water content in butter, allowing it to keep the cake moist for longer. Vegetable oil or canola oil are excellent neutral-flavored choices.
- Covering Hot Liquids: As mentioned, hot liquids contribute to blooming cocoa. To prevent moisture loss through evaporation, always place plastic wrap directly over the surface of any hot liquid as it cools before incorporating it into your cake batter. This simple step traps steam and ensures that all that precious moisture makes it into your cake.
The Perfect Pairing: Frosting for Chocolate Cake
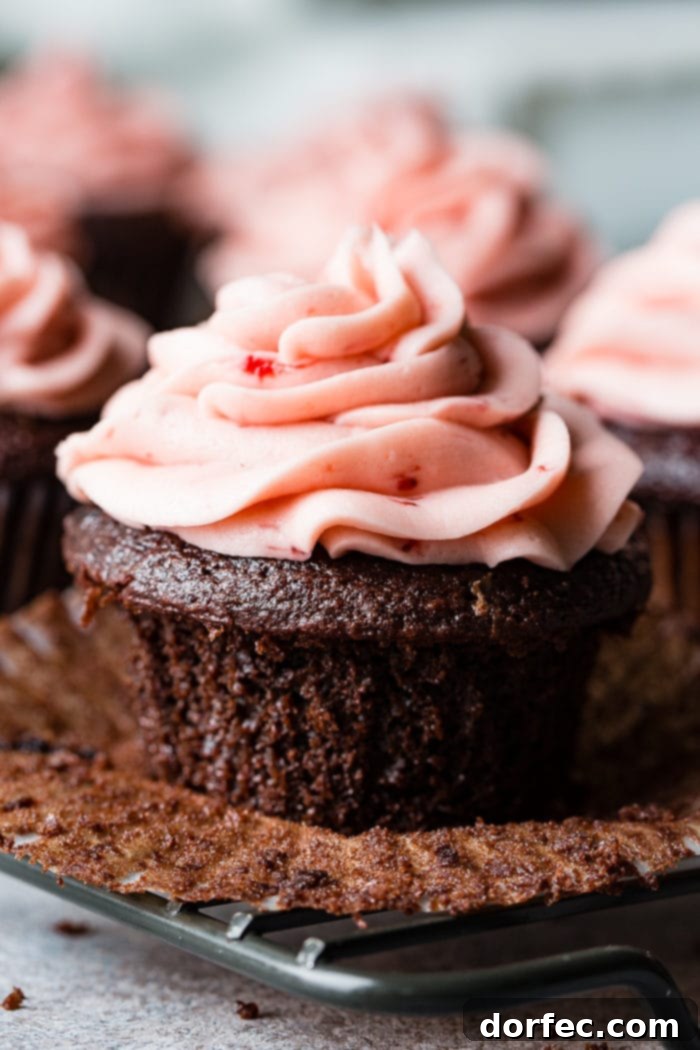
Chocolate cake is a beloved classic, offering a versatile canvas for a wide array of frosting flavors. Its rich, deep notes pair beautifully with so many different options, allowing for endless creativity. If you, like me, adore the vibrant, fresh taste of berries, then a buttercream infused with your favorite fruit or jam is an exquisite choice. That’s precisely why these indulgent chocolate cupcakes are generously topped with a bright and airy strawberry buttercream!
Crafting Luscious Strawberry Buttercream
A truly delightful strawberry buttercream is one of those essential frosting recipes every home baker should have in their repertoire. It’s incredibly versatile, perfect for any season or celebration, and brings a burst of fresh flavor and beautiful color to brighten any day or holiday dessert.
How to Make Strawberry Buttercream with Jam
The question often arises: how do you achieve that perfect strawberry flavor and smooth texture without spending hours making your own preserves? The answer lies in using high-quality strawberry jam. It’s much simpler and yields consistently delicious results. However, not all strawberry jam buttercream recipes are created equal.
When preparing any fruit buttercream using jam, the key is to select a high-quality, seedless variety. Seeds not only create an unpleasant texture in your otherwise silky frosting but can also interfere with the mixing process, potentially causing the frosting to separate. Investing in a good-quality jam ensures a smooth, flavorful, and visually appealing buttercream.
Ultimately, the “best” jam comes down to personal taste. I recommend experimenting by purchasing a few different brands of seedless strawberry jam from your local store and sampling them at home. This way, you can find the perfect flavor profile that you adore for your next batch of homemade strawberry buttercream.
Storing Your Chocolate Cupcakes and Frosting for Lasting Freshness
Ensuring your delectable chocolate cake (have you tried our recipe for the legendary Matilda Chocolate Cake?!) and cupcakes remain fresh and delicious is key to enjoying them for longer. Proper storage can preserve their moistness and flavor, allowing you to savor every last bite.
For optimal freshness, store chocolate cake or cupcakes at room temperature in an airtight container for up to 24 hours. If you need to keep them longer, transfer them to an airtight container and refrigerate for up to 3 days. Always bring them back to room temperature before serving for the best taste and texture.
- Can You Freeze Cupcakes? Absolutely! Cupcakes freeze beautifully. To freeze, individually wrap each cooled cupcake tightly in plastic wrap, then place them in a freezer-safe bag or airtight container. They can be stored in the freezer for up to 3 months. Thaw them overnight in the refrigerator or at room temperature for a few hours before frosting or serving.
- Can Frosting be Frozen? Yes, most buttercreams and frostings can be frozen! Store leftover buttercream in an airtight container in the refrigerator for up to 4-5 days, or in the freezer for up to 3 months. When ready to use, thaw the frosting slowly in the refrigerator (avoid thawing at room temperature, as it can separate). Once thawed, re-whip it briefly in an electric mixer until it regains its smooth, fluffy consistency.
The Art of Stuffing Cupcakes with Nutella or Other Fillings
Achieving a perfectly stuffed cupcake, whether with creamy Nutella or another delightful filling, is simpler than you might think, but it requires the right technique. I’ve often seen people attempt to inject filling into a cupcake using a piping tip, essentially trying to force it into a sealed space. This approach, while seemingly convenient, usually leads to a messy and unsatisfactory result. Forcing the filling creates stress on the cupcake’s structure, often causing it to break apart and resulting in an unevenly, and generally under-filled, treat.
The best and most effective way to stuff a cupcake is to create a dedicated space for your filling. This can be easily done using an apple corer or a serrated steak knife to carefully cut a small core out of the center of the cooled cupcake. Once the hole is created, you can then generously fill it with your chosen filling, such as Nutella, using a small spoon or a piping bag. For an extra touch of deliciousness and to seal in the moisture, I prefer to take the removed piece of cake, carefully slice off the top “lid,” and gently place it back on top of the filled cupcake. This not only keeps the filling moist but also ensures you get more of that wonderful cake, which, if I’m being honest, is often my favorite part!
The Great Cupcake Debate: Frosting or Cake?
Speaking of favorite parts, I’m genuinely curious: when you’re presented with a tempting cupcake, what do you savor more – the rich, moist cake or the luscious, sweet frosting? And how do you enjoy your cupcake? Are you a traditionalist who takes a big, satisfying bite, or do you prefer to get creative and create a “cupcake sandwich” by pulling off the bottom half and placing it on top of the frosting? Or perhaps you’re one of those elegant fork people? Share your cupcake eating philosophy!
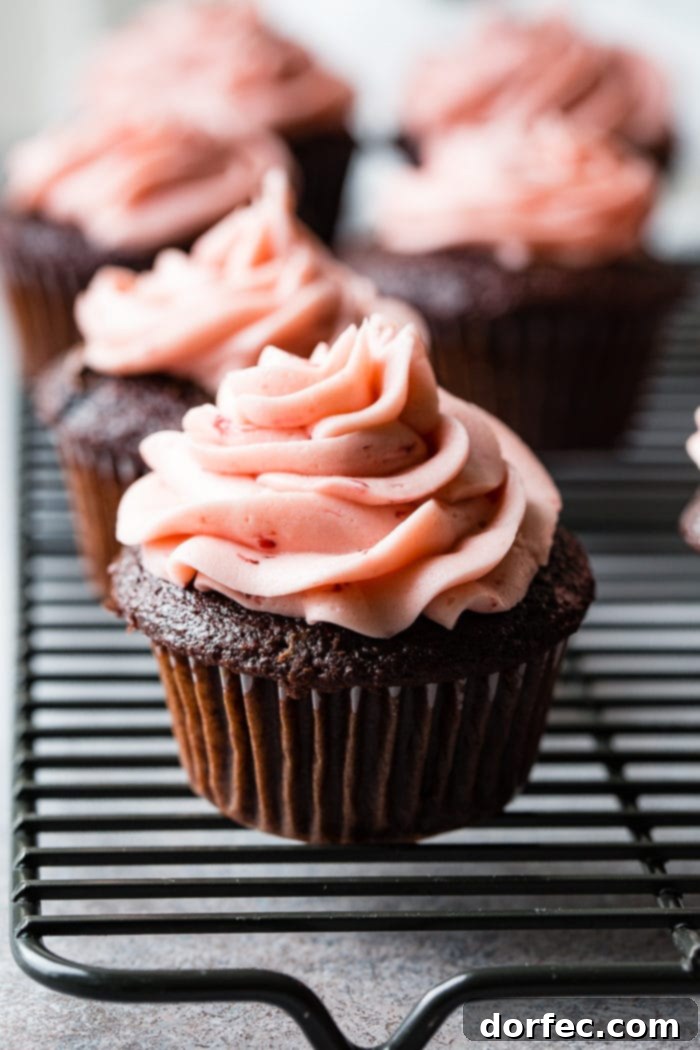
Nutella Stuffed Strawberry Chocolate Cupcakes Recipe
By Sweet Basil
Prep Time: 10 minutes
Cook Time: 20 minutes
Total Time: 50 minutes
Yields: 17 cupcakes
Ingredients for the Chocolate Cupcakes:
- 8 Ounces Chocolate, semisweet, finely chopped
- 2/3 Cup Dutch-process Cocoa Powder
- 1 1/2 Cups Hot Water
- 4 teaspoons Espresso Powder
- 1 1/2 Cups Cake Flour
- 1 1/2 Cups Granulated Sugar
- 1 teaspoon Salt
- 1 teaspoon Baking Soda
- 3/4 Cup Canola Oil, or other vegetable oil
- 4 Large Eggs, at room temperature
- 4 teaspoons White Vinegar
- 1 teaspoon Vanilla Extract
- 2/3 Cup Nutella
Ingredients for the Strawberry Buttercream:
- 2 Cups Unsalted Butter, at room temperature
- 1 teaspoon Vanilla Extract
- 2/3 Cup Seedless Strawberry Jam
- 6 Cups Powdered Sugar, sifted
Instructions:
- Prepare Chocolate Mixture: Place the finely chopped semisweet chocolate and Dutch-process cocoa powder in a medium glass bowl.
- Bloom Cocoa: In a separate measuring cup, combine the hot water and espresso powder, stirring until the powder dissolves and the mixture is well combined. This process blooms the cocoa, intensifying the chocolate flavor.
- Combine and Cool: Pour the hot coffee mixture over the chocolate and cocoa powder. Whisk gently until the chocolate is completely melted and the mixture is smooth. Cover the bowl tightly with plastic wrap to prevent evaporation and set aside to cool completely to room temperature.
- Preheat Oven: Meanwhile, preheat your oven to 350°F (175°C).
- Prepare Muffin Tins: Line two standard 12-cup muffin tins with paper or foil cupcake liners.
- Whisk Dry Ingredients: In a small bowl, whisk together the cake flour, granulated sugar, salt, and baking soda until thoroughly combined.
- Combine Wet Ingredients: Once the chocolate mixture has cooled, whisk in the canola oil (or vegetable oil), large eggs, white vinegar, and vanilla extract until the mixture is smooth and well incorporated.
- Form Batter: Pour the wet chocolate mixture into the dry flour mixture. Stir gently until just combined and smooth, being careful not to over-mix. Using a spring-loaded scoop, divide the batter evenly among the prepared muffin cups, filling each approximately 3/4 full.
- Bake Cupcakes: Bake for about 17 to 19 minutes, or until the cupcakes are set and firm to the touch when gently pressed on top. A wooden skewer or toothpick inserted into the center should come out clean.
- Cool and Core: Remove the cupcakes from the oven and let them cool completely on a wire rack. Once cooled, use an apple corer or a small paring knife to carefully cut a small section out of the center of each cupcake. Ensure you do not pierce through to the bottom.
- Stuff with Nutella: Fill each cored hole with approximately 1 heaping tablespoon of Nutella.
- Optional Lid: For an added touch, you can carefully slice off the very top portion of the removed cake core and gently place it back onto the filled cupcake before frosting. This helps seal in the Nutella and adds more cake goodness!
Strawberry Buttercream Instructions:
- Make Buttercream: In the bowl of an electric mixer fitted with a paddle attachment, beat the softened unsalted butter on medium speed until it is light, fluffy, and pale in color. Add the vanilla extract and seedless strawberry jam. Gradually add the sifted powdered sugar, one cup at a time, beating well on medium speed after each addition until the frosting is smooth, creamy, and lump-free.
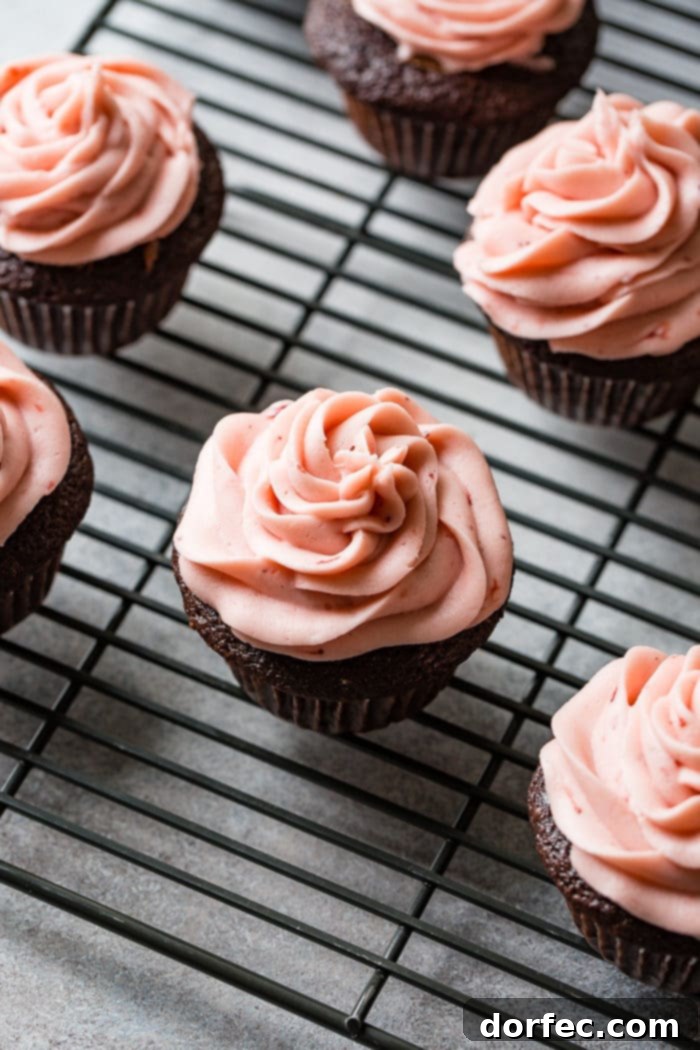
- Frost and Serve: Transfer the finished strawberry buttercream to a piping bag fitted with your favorite decorative piping tip (we recommend this one for beautiful swirls). Frost the cooled Nutella-stuffed chocolate cupcakes generously and serve immediately.
Recipe Notes:
- Storage: These delicious cupcakes will stay fresh for 2-3 days when stored in an airtight container at room temperature, or up to 3 days in the refrigerator.
- Cake Flour Substitute: If you don’t have cake flour on hand, you can easily make a substitute. For every 1 cup of all-purpose flour required, remove 2 tablespoons of the all-purpose flour, then add back 2 tablespoons of cornstarch. Whisk this mixture thoroughly to combine before using.
Nutrition Information (Approximate):
Please note that nutrition information is automatically calculated and should only be used as an approximation.
- Serving Size: 1 cupcake
- Calories: 894 kcal
- Carbohydrates: 135 g
- Protein: 6 g
- Fat: 41 g
- Saturated Fat: 21 g
- Cholesterol: 96 mg
- Sodium: 411 mg
- Potassium: 265 mg
- Fiber: 5 g
- Sugar: 116 g
- Vitamin A: 723 IU
- Vitamin C: 1 mg
- Calcium: 42 mg
- Iron: 2 mg
More Delicious Cupcake Recipes to Try
Craving more delightful cupcake creations? Explore these other fantastic recipes from our collection:
- Raspberry Lime Cupcakes
- Classic Milk Chocolate Cupcakes
- Apple Cider Cupcakes with Cinnamon Cream Cheese Frosting
- Carrot Cake Cupcakes with Cream Cheese Frosting
- Spice Cupcakes with Cinnamon Cream Cheese Frosting
Sweet Treats for Valentine’s Day and Beyond
Looking for more romantic and delectable recipes to share with your loved ones this Valentine’s Day or any special occasion? We’ve got you covered with these charming desserts:
- 5 Minute Valentine’s Snack Mix
- Strawberry Pink Ombre Cake
- White Chocolate Cheesecake Bars with Raspberry Sauce
- No-Bake Mini Cheesecakes with Raspberry Sauce
- Red Velvet Churros
- Copycat Lofthouse Sugar Cookies
- No Bake Mini Chocolate Cheesecakes
- Reese’s Peanut Butter Marshmallow Cookie Pie
- Chocolate Rose Red Velvet Cupcakes
- Cookies and Cream Red Velvet Molten Lava Cakes
REMEMBER TO SUBSCRIBE TO our FREE Oh Sweet Basil NEWSLETTER AND RECEIVE EASY RECIPES DELIVERED INTO YOUR INBOX EVERY DAY!
When you try a recipe, please use the hashtag #ohsweetbasil on INSTAGRAM for a chance to be featured in our stories! FOLLOW OH, SWEET BASIL ON FACEBOOK | INSTAGRAM | PINTEREST | TWITTER FOR ALL OF OUR LATEST CONTENT, RECIPES AND STORIES.