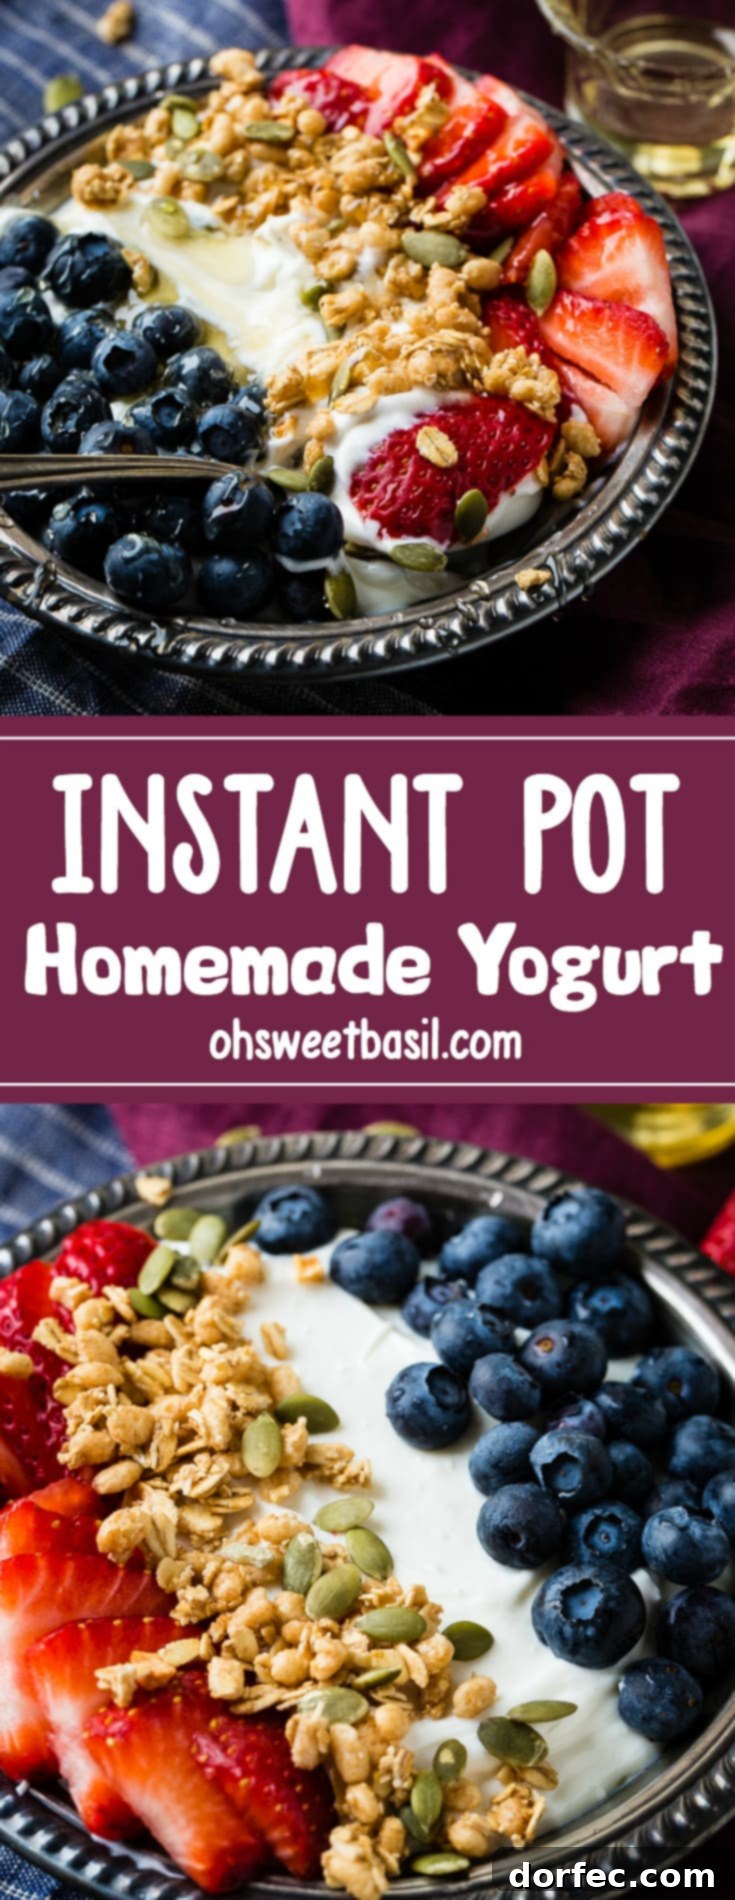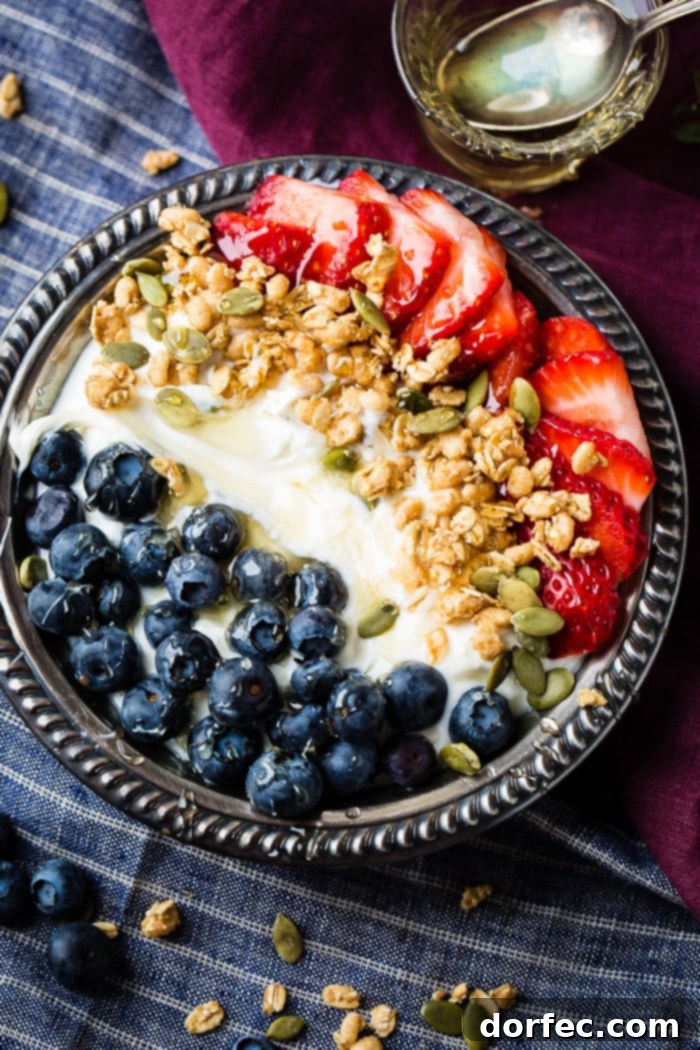
Unlock the secret to effortlessly creamy and naturally delicious dairy with this simple Instant Pot yogurt recipe. Requiring less than 5 minutes of active preparation and just a handful of ingredients, you’ll soon wonder why you ever bought yogurt from the store!
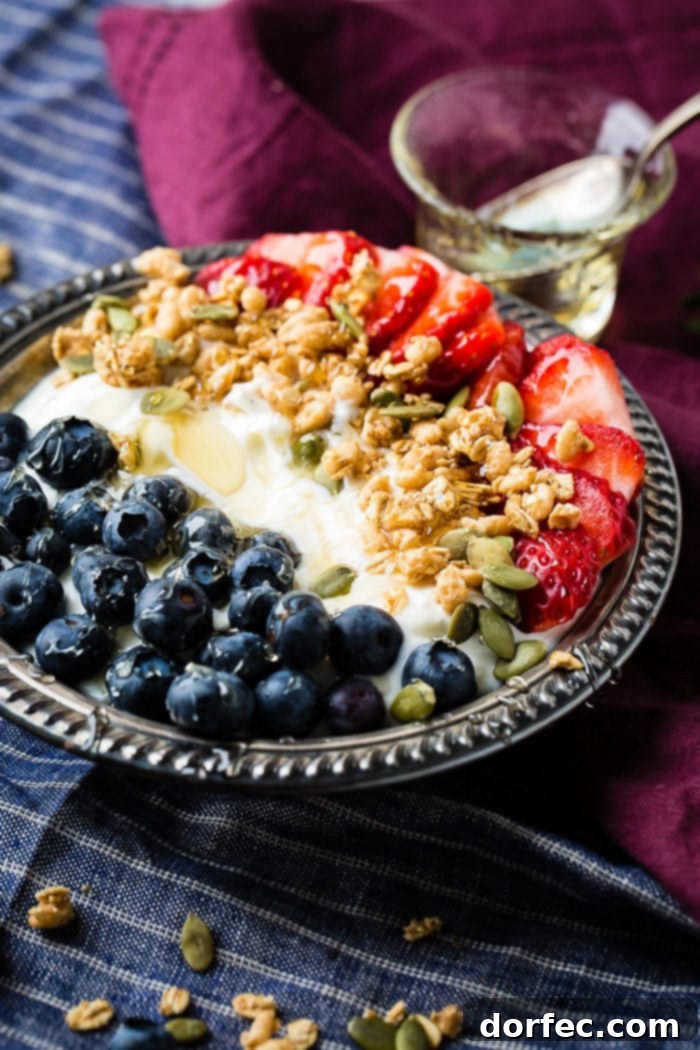
Mastering Homemade Instant Pot Yogurt: A Creamy Delight
For many, yogurt is a staple breakfast, a quick snack, or a versatile ingredient in countless dishes. There’s something particularly satisfying about a thick, creamy serving of Greek yogurt, whether it’s topped with fresh fruit, granola, or a drizzle of honey. The journey to making homemade yogurt in an Instant Pot began for me with a friend who owned a local coffee shop, La Barba, here in Utah. Her revelation that they were making yogurt for their shop using an Instant Pot was a game-changer. Intrigued, I tried her method, and the results were nothing short of amazing. It quickly became clear: store-bought yogurt was a thing of the past!
Thinking back to my college days, juggling studies and a shoestring budget, I recall how even yogurt felt like a luxury. Granola was out of the question, so I’d crumble discounted granola bars over my yogurt to stretch my meager grocery budget. Life in college was a whirlwind of new experiences and challenges, learning to live independently and manage finances. I loved the sense of accomplishment from excelling in my classes, but cooking for just one person often felt like a chore. Oh, how I wish I’d had an Instant Pot back then!
The Instant Pot truly is a revolutionary appliance. It’s not just for stews or pressure cooking; its multi-functionality makes it an ideal gift for graduates heading to their first apartment or newlyweds setting up their home. Imagine college students in dorm rooms, preparing wholesome meals like a pot roast with their roommates, all without needing a traditional stove. This single device empowers anyone to create delicious, healthy food with incredible ease and efficiency, making it perfect for budget-conscious individuals and busy families alike. It simplifies meal preparation and opens up a world of culinary possibilities, including this fantastic homemade yogurt.
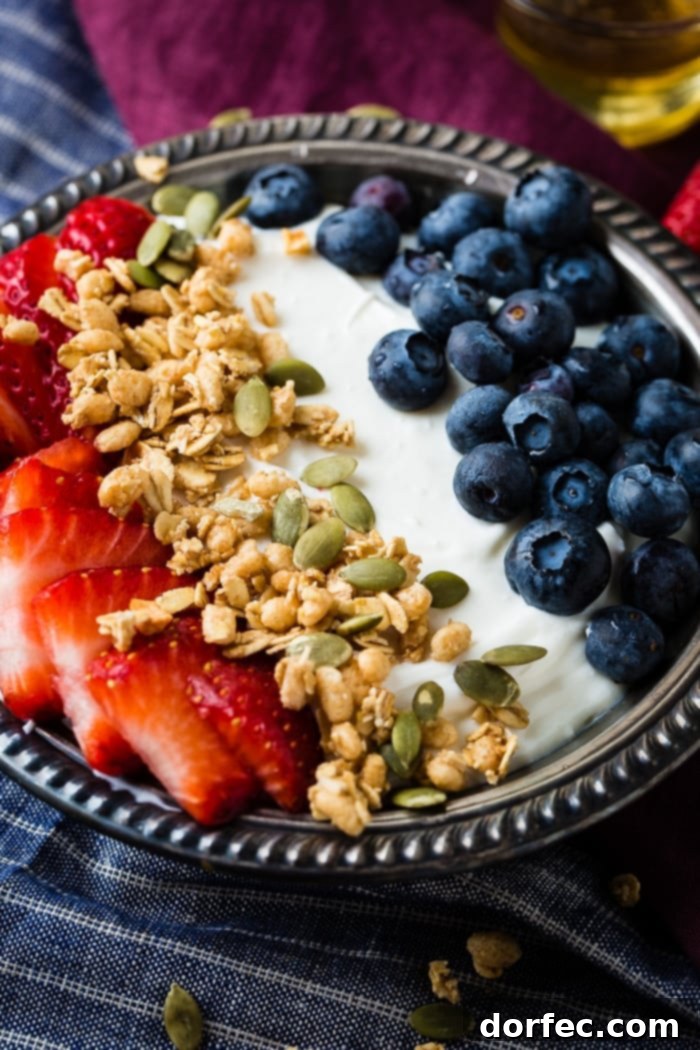
Essential Ingredients for Your Instant Pot Yogurt
Crafting your own creamy yogurt, whether regular or thick Greek style, requires surprisingly few ingredients: primarily, milk and a starter culture. For an extra layer of flavor and a touch of sweetness, we also recommend adding a splash of vanilla extract. The magic of your Instant Pot (or even a slow cooker with a yogurt function) handles the precise heating and fermentation, especially if you’re using a model like the Instant Pot 6-quart, 9-function (our top pick) that features a dedicated yogurt button, streamlining the entire process.
What’s the Best Milk for Homemade Yogurt?
For the richest, creamiest homemade yogurt, 2% or whole milk yields the best results. The fat content in these milks contributes significantly to the yogurt’s luxurious texture and body. While we don’t always keep these types of milk on hand, we opt for whichever is on sale that week, proving that delicious homemade yogurt doesn’t have to break the bank. You might be tempted to use skim milk, but be warned that the resulting yogurt will be significantly thinner. For those exploring alternatives, ultra-pasteurized milk can also work, but some find it produces a slightly different texture.
Which Yogurt Starter is Best for Homemade Yogurt?
The easiest and most effective yogurt starter is plain, store-bought Greek yogurt. The absolute most crucial detail here is that the yogurt must contain **active cultures**. Be sure to scrutinize the ingredient list for specific bacteria like Lactobacillus bulgaricus and Streptococcus thermophilus. Many yogurts proudly state “contains active cultures” on their packaging, which is a good indicator. Once you’ve successfully made your first batch of homemade yogurt, you can then use a portion of that fresh yogurt as the starter for your next batch, creating a self-sustaining cycle of deliciousness! This clever technique not only saves money but ensures a consistent, high-quality product every time. It’s a true win-win for any home cook.
Tip: If you find this homemade yogurt recipe incredibly easy, you’ll absolutely love our Instant Pot Cheat Sheet, designed to simplify cooking all your basic Instant Pot meals!
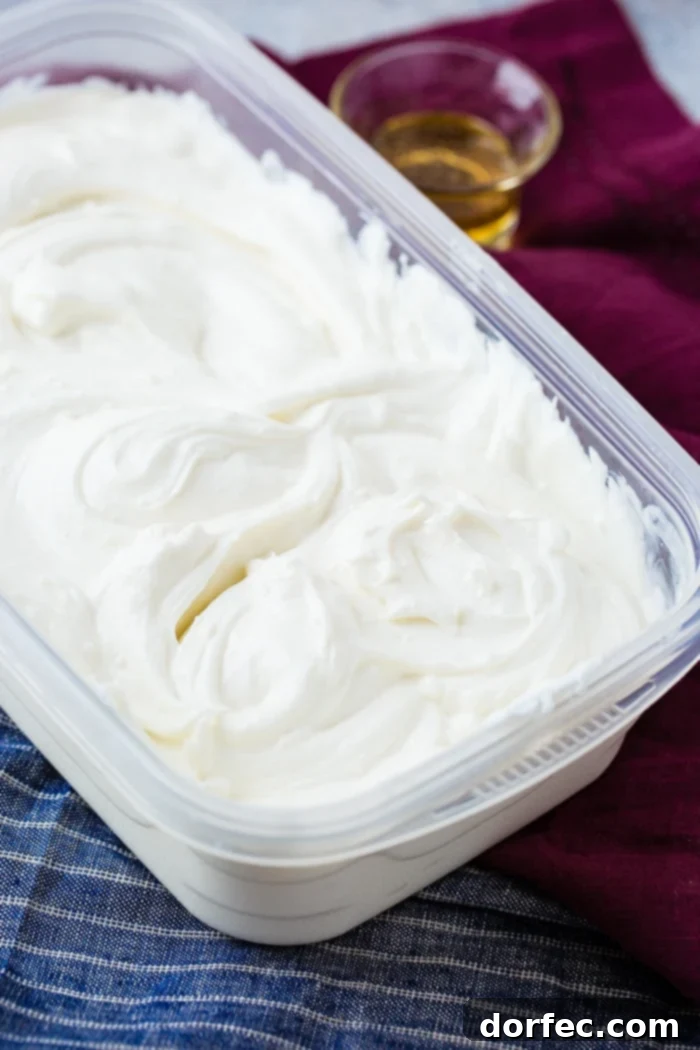
Indispensable Tools for Instant Pot Yogurt Success
Whether you’re aiming for traditional yogurt or a thicker Greek-style variant, having the right equipment on hand will ensure a smooth and successful process. Here’s a breakdown of the essential items you’ll need, along with why each one is important:
- 6-Quart, 9-Function Instant Pot: This is the star of our show, allowing for precise temperature control during the boiling and fermentation stages, especially with its dedicated yogurt function. While other multi-cookers might work, an Instant Pot with a yogurt setting simplifies the process immensely.
- Weck 1/2 Liter Jars: Ideal for portioning and storing your freshly made yogurt. Their attractive design makes them perfect for serving, and their reliable seals ensure your yogurt stays fresh in the refrigerator. Any airtight containers will work, but these provide convenience and charm.
- Reliable Thermometer: This isn’t an optional tool; it’s absolutely crucial. Accurately monitoring your milk’s temperature is critical to activate the starter cultures and achieve the desired yogurt consistency. We highly recommend a fast and accurate thermometer like the Lavatools Javelin for precision. If budget is a concern, a more affordable option like the ThermoPro can still get the job done effectively. Proper temperature control prevents spoilage and ensures successful fermentation.
- Nut Milk Bag or Cheesecloth: If you plan to make Greek yogurt – and we highly encourage it for its rich, thick texture – a straining device is essential. A nut milk bag is fantastic for this purpose, providing efficient straining. Alternatively, a good quality cheesecloth, like the one I use, can achieve the same results, separating the thick yogurt from the liquid whey.
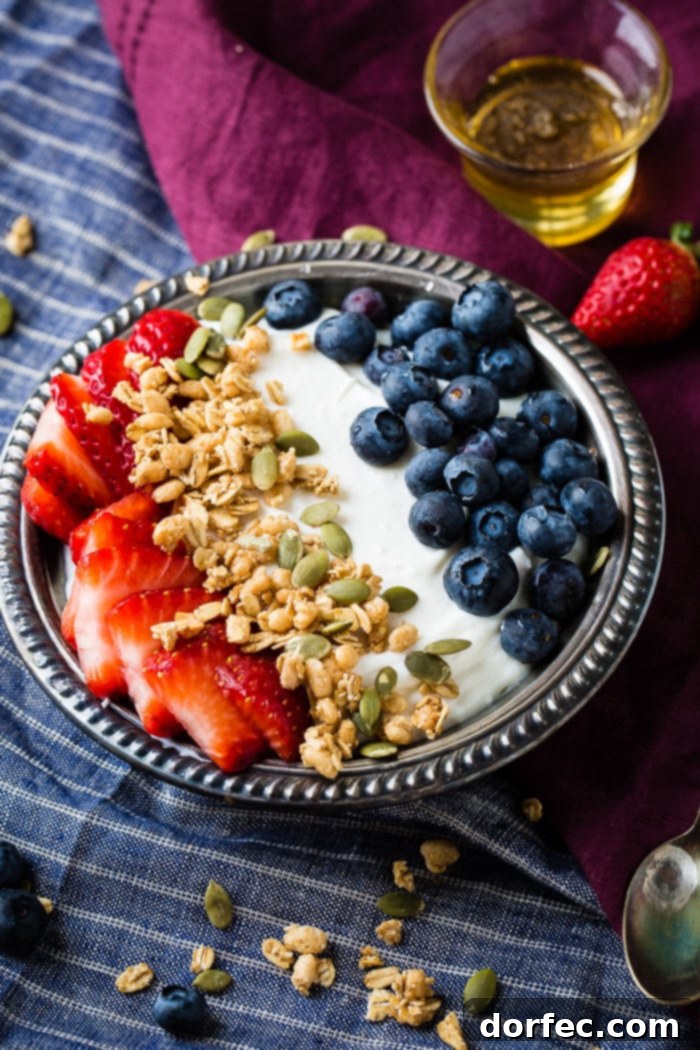
Step-by-Step Guide: Crafting Yogurt in Your Instant Pot
Making yogurt in your Instant Pot requires a bit of foresight regarding the fermentation time, but the hands-on preparation is remarkably straightforward. Follow these steps to create creamy, delicious yogurt:
- Heat the Milk (Boil Cycle): Pour a full gallon of milk into the Instant Pot’s inner pot. Secure the lid (the venting knob position doesn’t matter for this stage) and lock it. Select the “Yogurt” function, then press it repeatedly until the display reads “Boil.” Allow the milk to heat for approximately 1 hour, or until it reaches a temperature of 180°F-200°F. This pasteurization step is crucial as it denatures milk proteins, making the yogurt thicker, and eliminates unwanted bacteria. The Instant Pot typically signals when the boiling cycle is complete; a quick whisk will confirm, or if it hasn’t reached 180°F, you can briefly use the sauté function to bring it up to temperature.
- Cool the Milk: Carefully remove the hot inner pot from the Instant Pot and place it on your kitchen counter to cool. This cooling process is critical. You must wait until the milk’s temperature drops to precisely 110°F. Any skin that forms on top during cooling should be removed. This specific temperature is ideal for introducing the starter culture, as temperatures too high will kill the active bacteria, preventing fermentation.
- Add the Starter: Once the milk reaches 110°F, gently whisk in 3 tablespoons of your plain Greek yogurt starter with active cultures. Ensure it’s thoroughly combined. This step introduces the beneficial bacteria that will transform the milk into yogurt.
- Consider Vanilla (Optional): At this point, you can stir in 1 teaspoon of vanilla extract for added flavor. Alternatively, many prefer to add vanilla after fermentation and straining (if making Greek yogurt) to preserve its delicate aroma and prevent it from being strained out.
- Ferment the Yogurt: Return the inner pot to the Instant Pot base. Press the “Yogurt” button again. Adjust the timer to 7 or 8 hours. The longer you let it ferment, the tangier and often thicker your yogurt will be. Some prefer up to 10 hours for a very pronounced tang. The Instant Pot maintains the optimal temperature for the cultures to thrive.
- Final Vanilla Addition (If Not Added Earlier): After the fermentation cycle is complete, if you chose not to add vanilla earlier, now is the perfect time to stir in your desired amount of vanilla extract for enhanced flavor.
- Refrigerate: Once flavored (or left plain), transfer the yogurt to airtight containers and refrigerate. Chilling the yogurt halts the fermentation process and allows it to thicken further, achieving its final consistency.
How to Make Homemade Greek Yogurt
To transform your plain yogurt into luxurious Greek yogurt, simply follow these additional steps after completing the instructions above:
Drape a large piece of cheesecloth (or a clean nut milk bag) over a fine-mesh strainer, ensuring the cloth extends well beyond the edges. Place the strainer over a deep bowl to catch the whey. Carefully pour the freshly made yogurt into the cheesecloth-lined strainer. Gather the edges of the cheesecloth over the yogurt and twist gently, applying light pressure to squeeze out some of the initial liquid. Place the entire setup (strainer with yogurt in cheesecloth over the bowl) in the refrigerator overnight. This allows the liquid whey to slowly drain, leaving behind a much thicker, richer Greek yogurt. In the morning, you’ll be left with wonderfully thick Greek yogurt. Transfer it to a plastic container with a lid for storage. Don’t discard the whey! It’s rich in nutrients and can be used in smoothies, baking, or even to water plants.
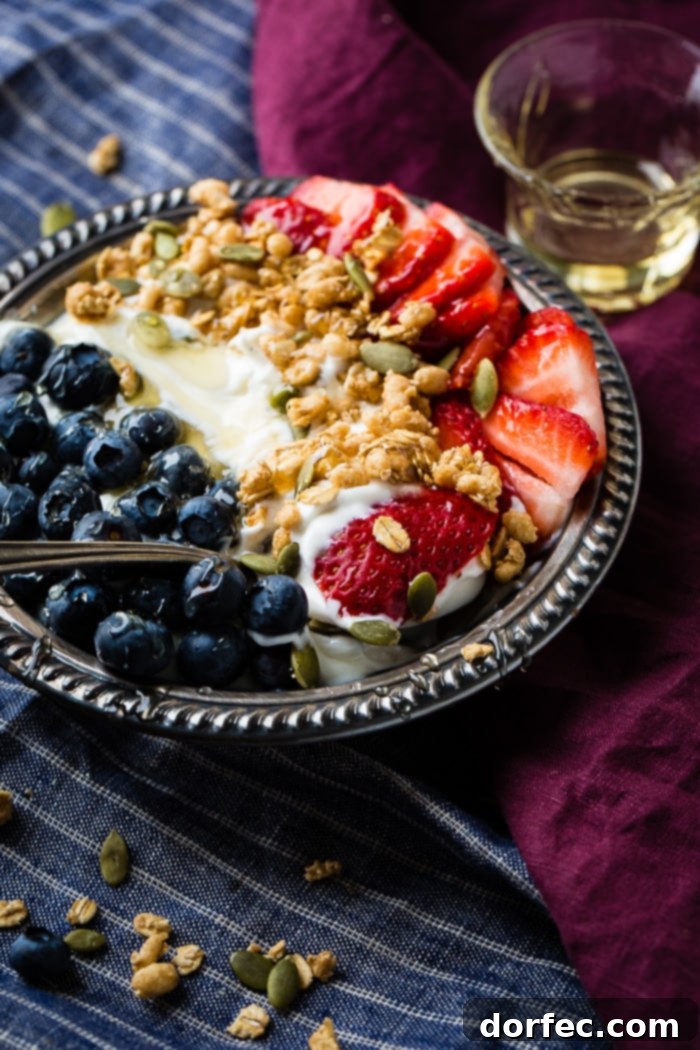
Storing Your Homemade Instant Pot Yogurt
Homemade yogurt, when stored properly in an airtight container in the refrigerator, will typically remain fresh for about 2 weeks. However, to ensure optimal flavor and texture, and to maintain a fresh starter for future batches, we recommend consuming your yogurt within a week. This also allows you to use a small amount from your current batch to kickstart a new one, ensuring a continuous supply of fresh, delicious yogurt.
Freezing Homemade Yogurt: What You Need to Know
While it is technically possible to freeze homemade yogurt, we generally advise against it for textural and flavor reasons. Freezing, whether homemade or store-bought, can cause the yogurt to develop an unpleasantly harsh, acidic flavor. More significantly, its once creamy texture tends to become runny and grainy upon thawing. Although frozen yogurt remains perfectly healthy to eat, the compromised texture and taste often make it a less enjoyable experience. If you must freeze, consider using it in recipes where texture is less critical, such as smoothies or baked goods, rather than enjoying it plain.
Troubleshooting: Why Your Homemade Yogurt Might Not Set
If your homemade yogurt fails to set, don’t despair! This is a common issue, and it’s usually easily remedied. The most frequent culprit is insufficient warmth during the incubation period. This highlights why an Instant Pot is such a valuable tool for yogurt making; it precisely maintains the ideal fermentation temperature for you. If your yogurt hasn’t set, you can often salvage it by gently re-heating it over low heat until it reaches 110°F again, then re-incubating it in the Instant Pot for a second round of fermentation. Always ensure your Instant Pot is functioning correctly and maintaining temperature.
Other factors can also contribute to yogurt not setting or developing an undesirable texture. Culturing your homemade yogurt for too long, at a temperature that’s too high, or using a starter culture that lacks active and viable bacteria can all cause the yogurt to separate or become lumpy. If you find your yogurt has turned lumpy, strain it through a cheesecloth or nut milk bag to remove the excess whey. Then, vigorously whisk or beat the remaining yogurt solids in a bowl until it regains a smooth, creamy consistency. A successful batch depends on precise temperature control and a robust starter.
Expert Tips for Perfect Instant Pot Yogurt Every Time
Making yogurt at home offers incredible flexibility. Here are some expert tips to ensure your Instant Pot yogurt is always a success:
- Sweetening is Optional: You don’t have to sweeten your homemade Instant Pot yogurt at all! The natural tang intensifies with longer fermentation. If you prefer a milder taste, simply stick to the 6-8 hour fermentation window.
- Natural Sweeteners are Best: If you do wish to sweeten your yogurt, opt for natural sweeteners like honey or vanilla extract. These add flavor without excessive sugar or fat, and they blend seamlessly into the creamy texture. Avoid adding large amounts of sugar before fermentation, as it can interfere with the bacterial activity.
- When to Sweeten: For optimal results and flavor integration, sweeten your homemade yogurt *after* the initial heating phase, just before you set it to ferment, or even better, after it has completely chilled in the refrigerator. This preserves the vanilla flavor, especially if you plan to strain it.
- Dairy-Free Alternatives: While this specific recipe focuses on dairy milk, the Instant Pot can also be used to make dairy-free yogurts (e.g., coconut milk yogurt, almond milk yogurt). However, these require different starter cultures and specific techniques, so results may vary and are not covered by this particular recipe.
- Flavoring Your Yogurt: This recipe provides instructions for plain Instant Pot yogurt, which is incredibly versatile. For flavored yogurts like strawberry or blueberry, it’s best to add pureed fruit or fruit preserves *after* the yogurt has been made and chilled. Adding fruit during fermentation can sometimes interfere with the cultures.
- Hygiene is Key: Always ensure your Instant Pot inner pot and any utensils coming into contact with the milk are meticulously clean. Contamination can lead to off-flavors or prevent the yogurt from setting.
- Batch Consistency: Using a small amount of your previous homemade batch as a starter is an excellent way to maintain consistency in your yogurt’s flavor and texture. Ensure your starter is fresh and active.
More INSTANT POT RECIPES:
- Better Than Grandma’s Instant Pot Chicken Noodle Soup
- BBQ Instant Pot Whole Chicken
- Easy Instant Pot Beef Stroganoff
- Healthy Instant Pot Turkey Chili
- Instant Pot Taco Soup
- 2-Ingredient Instant Pot Applesauce
- Instant Pot Blueberry French Toast 3 Ways
- …All of Our Instant Pot Recipes!
Instant Pot Yogurt Recipe
Instant Pot Yogurt
Ingredients
- 1 Gallon Milk, (preferably whole or 2%)
- 3 Tablespoons Plain Greek Yogurt with active cultures, (we use Fage Plain)
- 1 teaspoon Vanilla Extract, or to taste
- Honey, for serving
Units: US Customary (Metric conversion available through online tools or manual calculation)
Instructions
-
Begin by heating the milk to 180°F – 200°F by placing the entire gallon of milk in the inner pot. Close lid (venting knob position doesn’t matter) and lock it.1 Gallon Milk
-
Use the “Yogurt” function button, and press it repeatedly until it says, boil. Or use the adjust button to reach “boil.” Allow the milk to heat for 1 hour to get the milk to at least 180°F. The Instant Pot screen will usually change to “Yogurt” when the boiling is done, depending on your model. Giving the milk a whisk usually does the trick, but if it hasn’t reached 180, press sauté and continue to heat until it reaches 180.
-
Remove the inner pot and place it on the counter to cool until it has reached 110 degrees F. Remove any of the skin that forms off of the top and whisk in the 3 tablespoons of yogurt starter.3 Tablespoons Plain Greek Yogurt with active cultures
-
Stir in the vanilla now OR we like to do it later so it doesn’t get strained out.1 teaspoon Vanilla Extract
-
Place the pot back in the instant pot and hit “Yogurt” again. Adjust the time to 7 or 8 hours, or up to 10 hours (it just depends on how tangy you want the yogurt).
-
Stir in the vanilla at this stage if you want more flavor.1 teaspoon Vanilla Extract
-
Remove the yogurt into a container to refrigerate. Or, if you want Greek yogurt, place a nut bag or cheesecloth over a strainer and allow the liquid to be strained out in the fridge over night.
-
Stir in honey to taste before serving.Honey
Recipe Notes
Nutrition
Calories: 144kcal,
Carbohydrates: 11g,
Protein: 7g,
Fat: 8g,
Saturated Fat: 4g,
Cholesterol: 24mg,
Sodium: 102mg,
Potassium: 312mg,
Sugar: 12g,
Vitamin A: 383IU,
Calcium: 267mg,
Iron: 1mg
Nutrition information is automatically calculated, so should only be used as an approximation.
Like this? Leave a comment below!