
Perfectly Crispy Air Fryer Teriyaki Chicken Wings: Your New Favorite Recipe
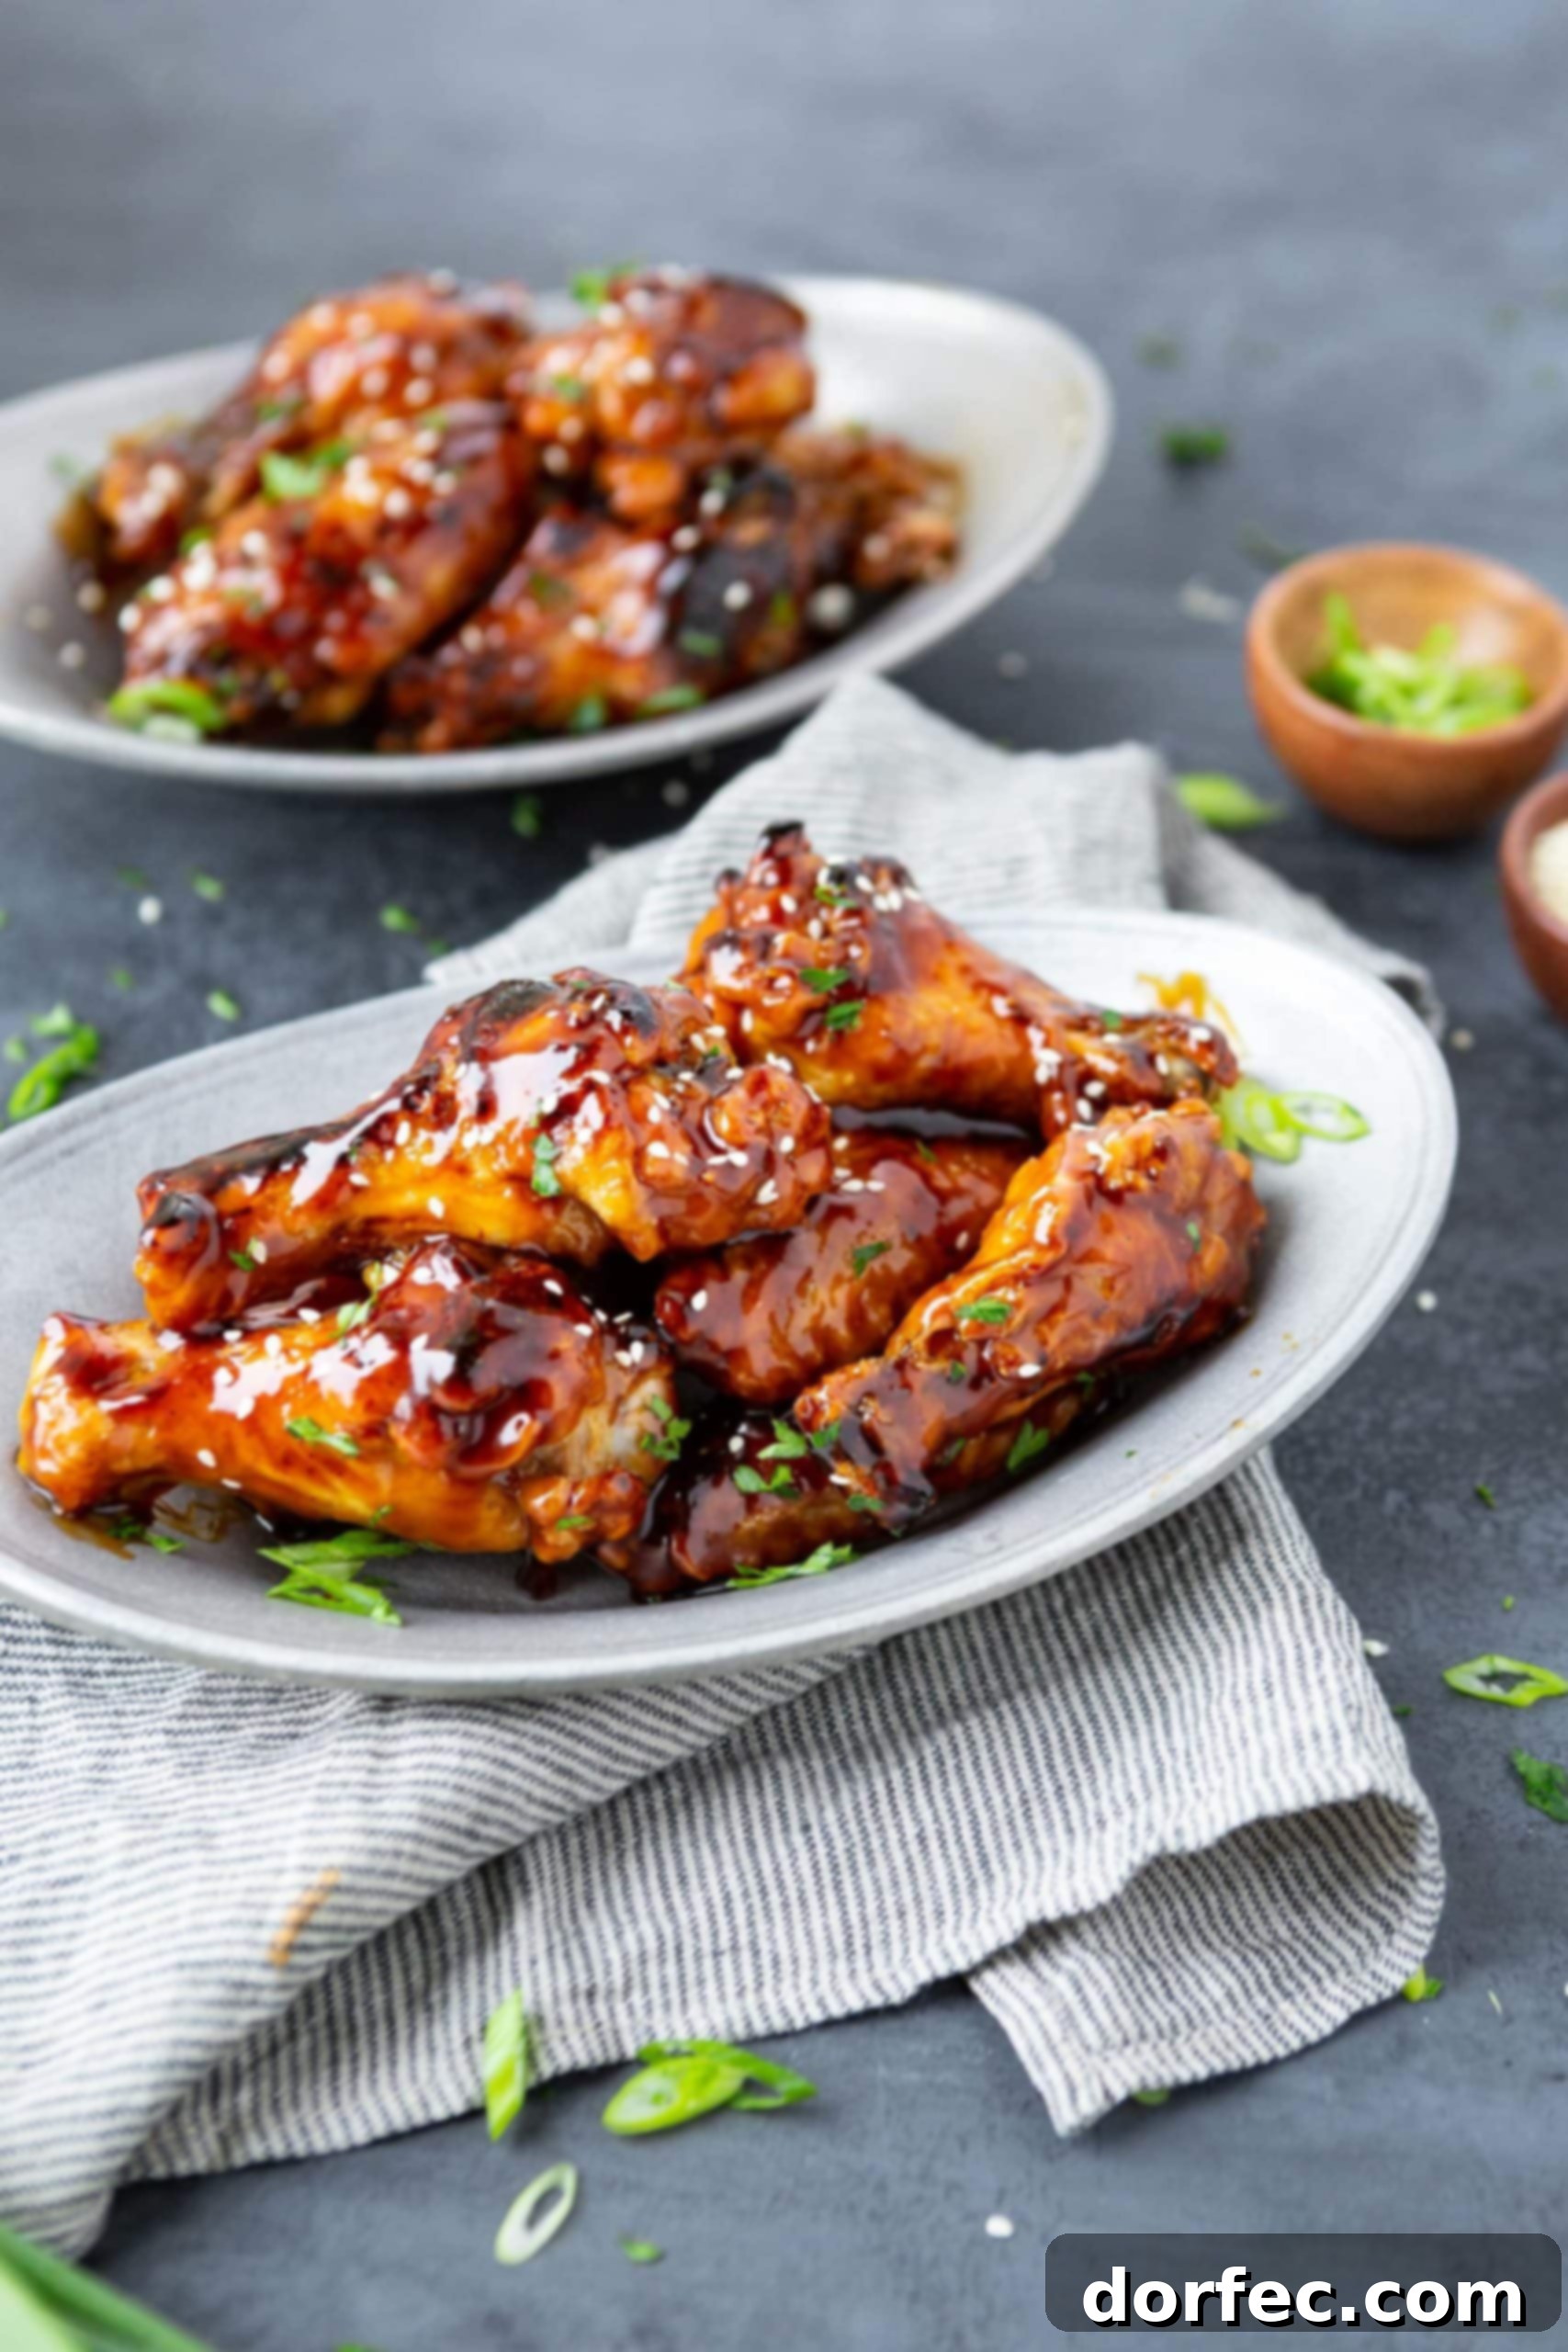
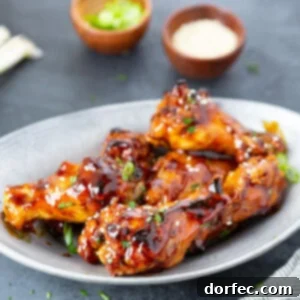
Prepare to elevate your appetizer game with these incredible Air Fryer Teriyaki Chicken Wings! Imagine wings that boast an irresistible crunch on the outside, giving way to incredibly juicy and tender meat on the inside, all generously coated in a rich, savory, and slightly sweet homemade teriyaki sauce. This isn’t just a recipe; it’s an experience that promises to transform your perception of chicken wings forever.
For years, I was a skeptic. My husband, Cade, would rave about chicken wings, declaring their rightful place in culinary heaven. I, however, remained unconvinced. The thought of tiny bits of meat on a bone, often drowning in fiery hot sauce (I’m a self-proclaimed spice wimp!), held little appeal. I preferred my culinary journey to be a safe, non-spicy adventure. Yet, Cade’s persistence, much like his unwavering belief in the magic of wings, was relentless.
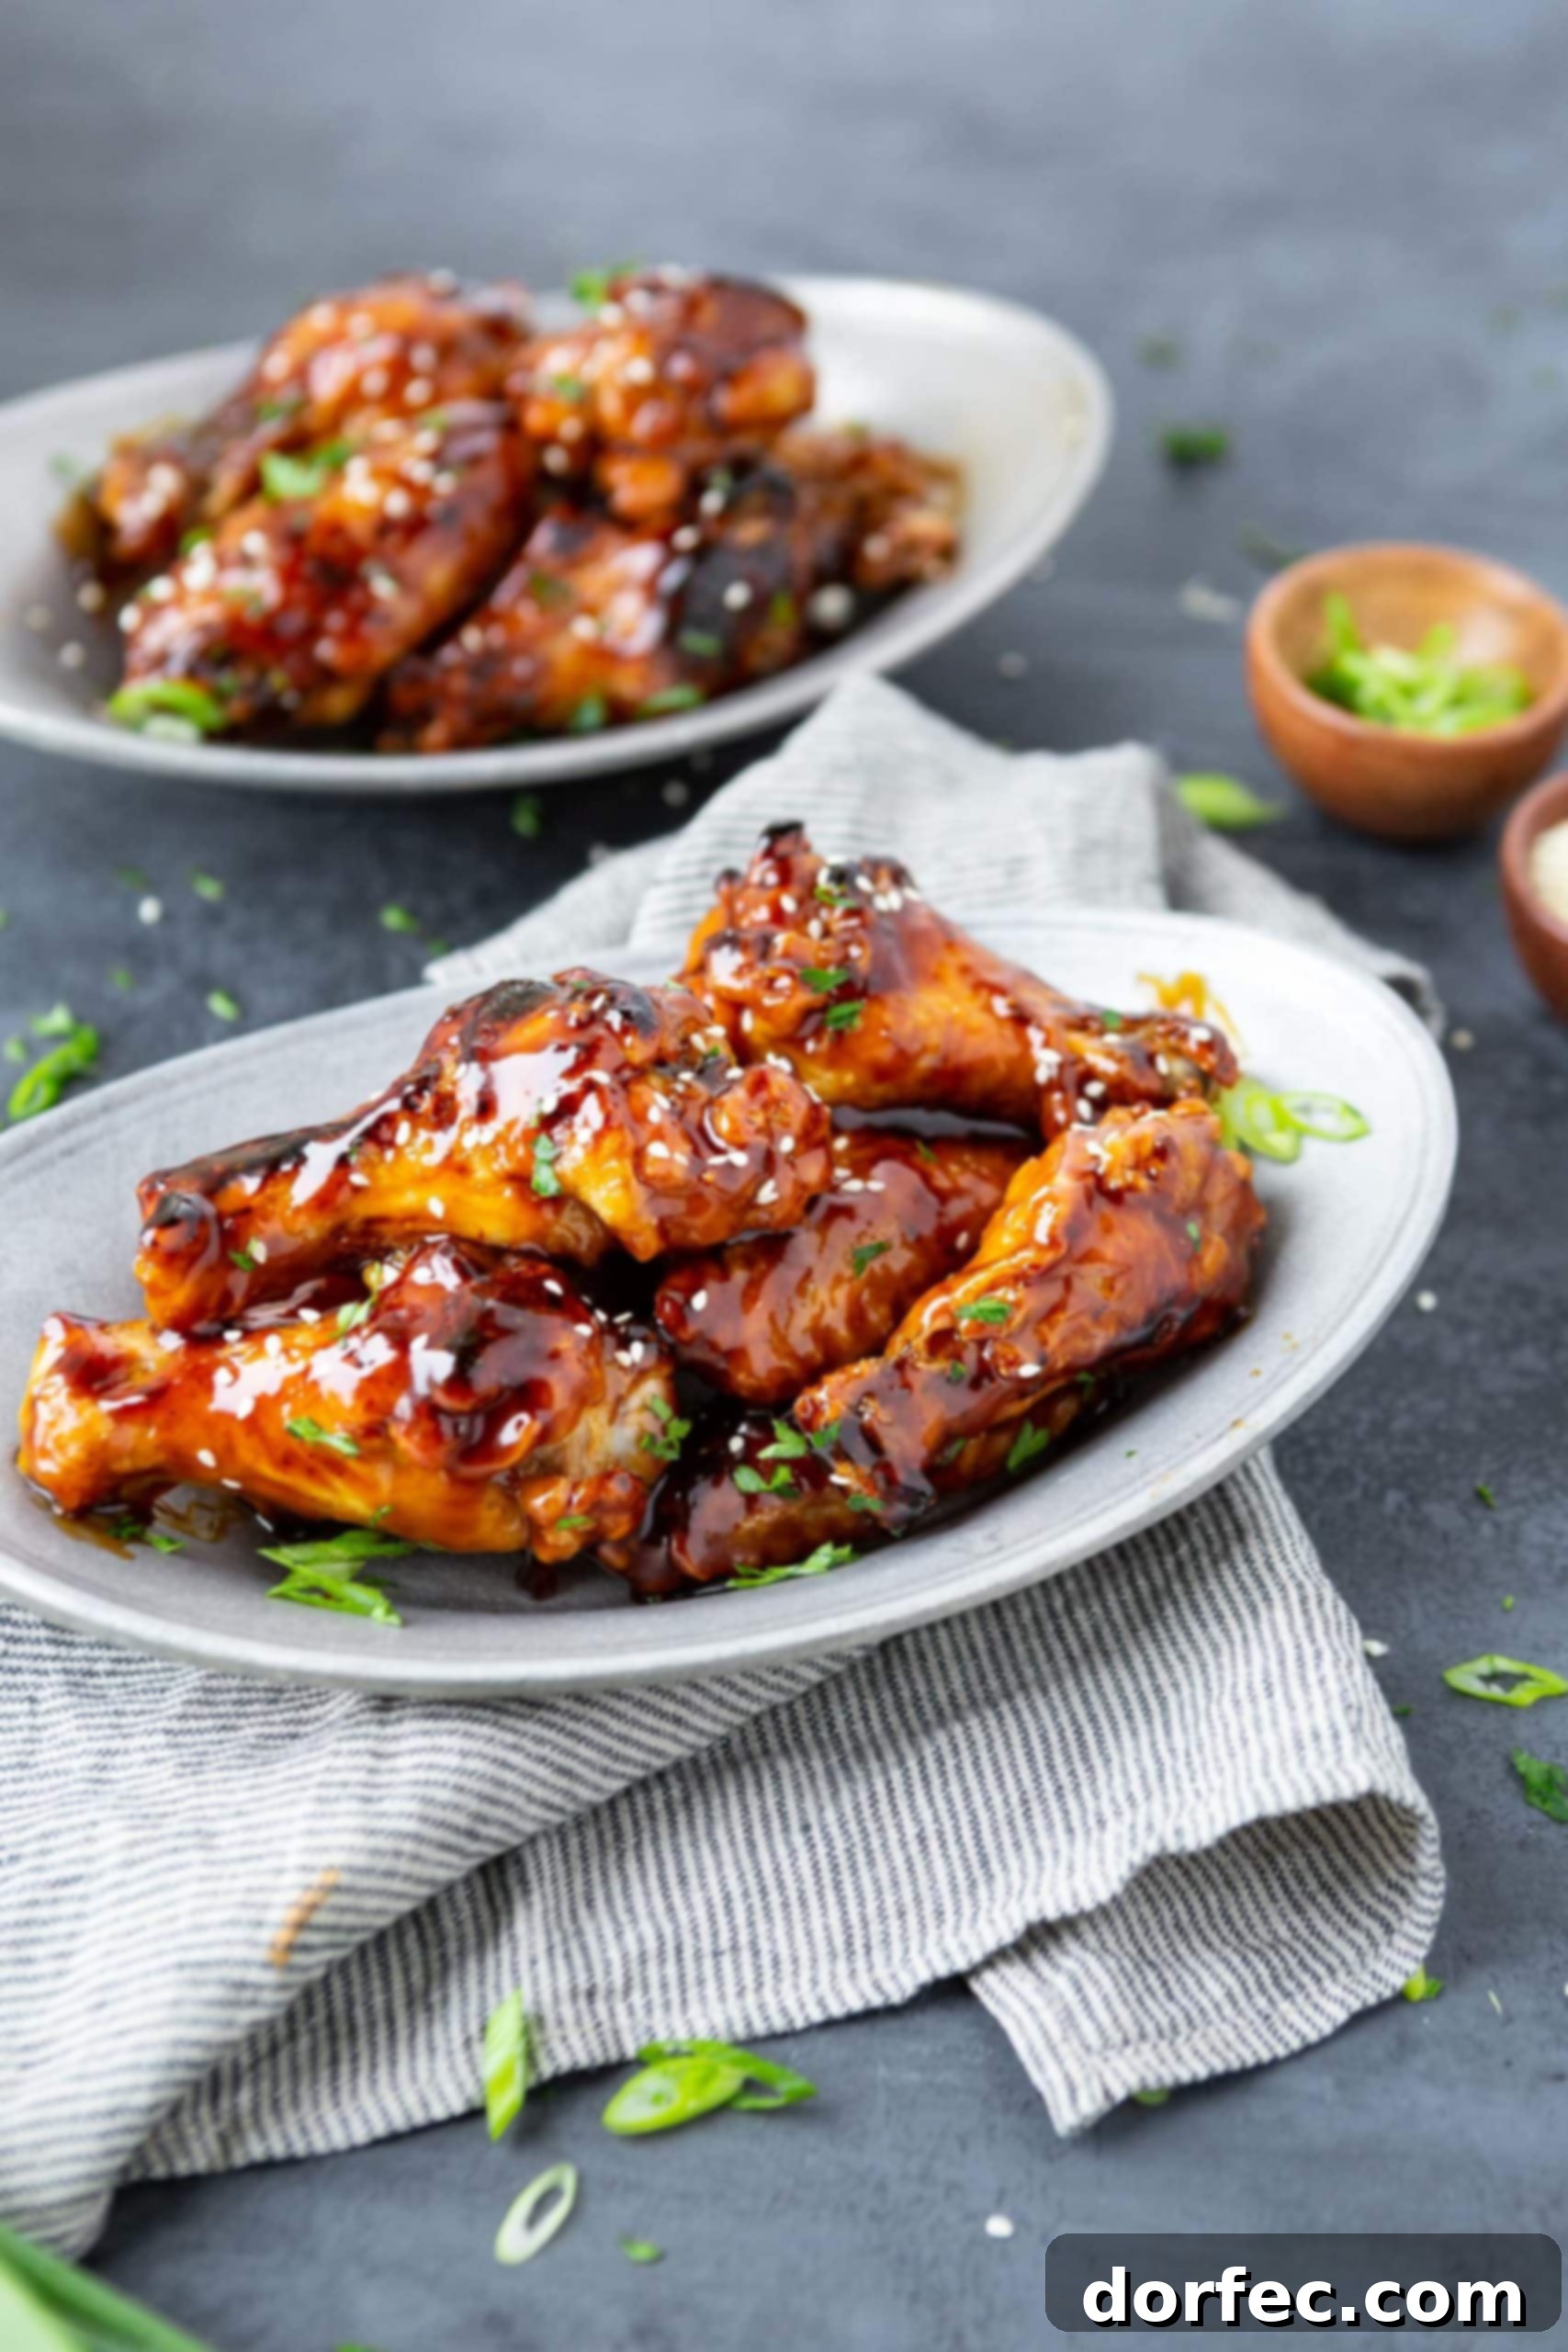
While he still hasn’t managed to convert me to sushi (some battles are just unwinnable!), his consistent efforts with wings eventually paid off. He’d order various versions with different sauces, and I’d cautiously nibble, often turning up my nose. But then, he introduced me to the glorious world of Teriyaki Chicken Wings. It was a revelation! I’m instantly transported back to the high school cafeteria, craving our favorite Teriyaki Chicken Quesadilla, a memory that still makes my mouth water.
That moment marked the birth of my deep affection for chicken wings. And now, discovering how to make them in the air fryer has only deepened this love affair! The air fryer delivers unparalleled crispiness without the mess and greasiness of deep-frying, making these teriyaki wings a guilt-free indulgence.
Essential Ingredients for Your Teriyaki Wings Masterpiece
Creating these remarkably flavorful teriyaki wings requires just a handful of staple ingredients for both the chicken and the luscious homemade sauce. If you truly want to unlock the full potential of this dish, I highly recommend making the teriyaki sauce from scratch – it makes all the difference! Here’s a detailed look at what you’ll need:
For the Crispy Chicken Wings
- Party Wings: Pre-cut into “wingettes” and “drumettes” for convenience. These are ideal for quick cooking and easier handling.
- Baking Powder (NOT Baking Soda): This is your secret weapon for extra crispy skin! Baking powder raises the pH level of the chicken skin, which helps break down proteins and creates tiny bubbles on the surface, resulting in a super-crisp exterior when cooked. Make sure it’s aluminum-free baking powder for the best flavor.
- Paprika: Adds a beautiful reddish hue and a subtle, earthy flavor to the wings, enhancing their visual appeal and taste.
- Salt: Essential for seasoning the chicken and drawing out moisture, contributing to that desirable crispy skin and ensuring well-balanced flavor throughout.
For the Irresistible Homemade Teriyaki Sauce
- Water: Forms the base of the sauce, helping to dissolve the sugars and spices.
- Soy Sauce: The cornerstone of teriyaki, providing a rich, salty, and umami foundation. Use a good quality soy sauce for the best flavor.
- Garlic (Minced): Infuses the sauce with pungent, aromatic depth, a classic complement to Asian-inspired dishes.
- Brown Sugar: Adds sweetness and a molasses-like richness that balances the saltiness of the soy sauce, contributing to the signature teriyaki glaze.
- Honey: Enhances the sweetness with floral notes and helps create a beautiful, sticky glaze on the wings.
- Ground Ginger: Offers a warm, slightly spicy, and aromatic kick that is quintessential in teriyaki flavors.
- Cornstarch: Used as a thickening agent, it gives the sauce its characteristic glossy, coats-the-wings consistency.
- Additional Water (for cornstarch slurry): Mixed with cornstarch to create a slurry that prevents lumps when added to the hot sauce, ensuring a smooth, thick texture.
You’ll find the precise measurements for each ingredient in the comprehensive recipe card located at the end of this article, ensuring you have everything you need to recreate this dish perfectly.
Mastering Air Fryer Teriyaki Chicken Wings: Step-by-Step Guide
Making crispy, succulent chicken wings in an air fryer is not only a healthier alternative to traditional deep-frying but also incredibly easy and far less messy. The air fryer works wonders, circulating hot air to achieve that coveted crispy skin without excessive oil. For those who haven’t yet joined the air fryer revolution, I’ve also included detailed instructions for baking these wings in a conventional oven. Let’s dive into the simple steps to achieve perfect teriyaki wings every time:
Prepping Your Chicken Wings for Ultimate Crispiness
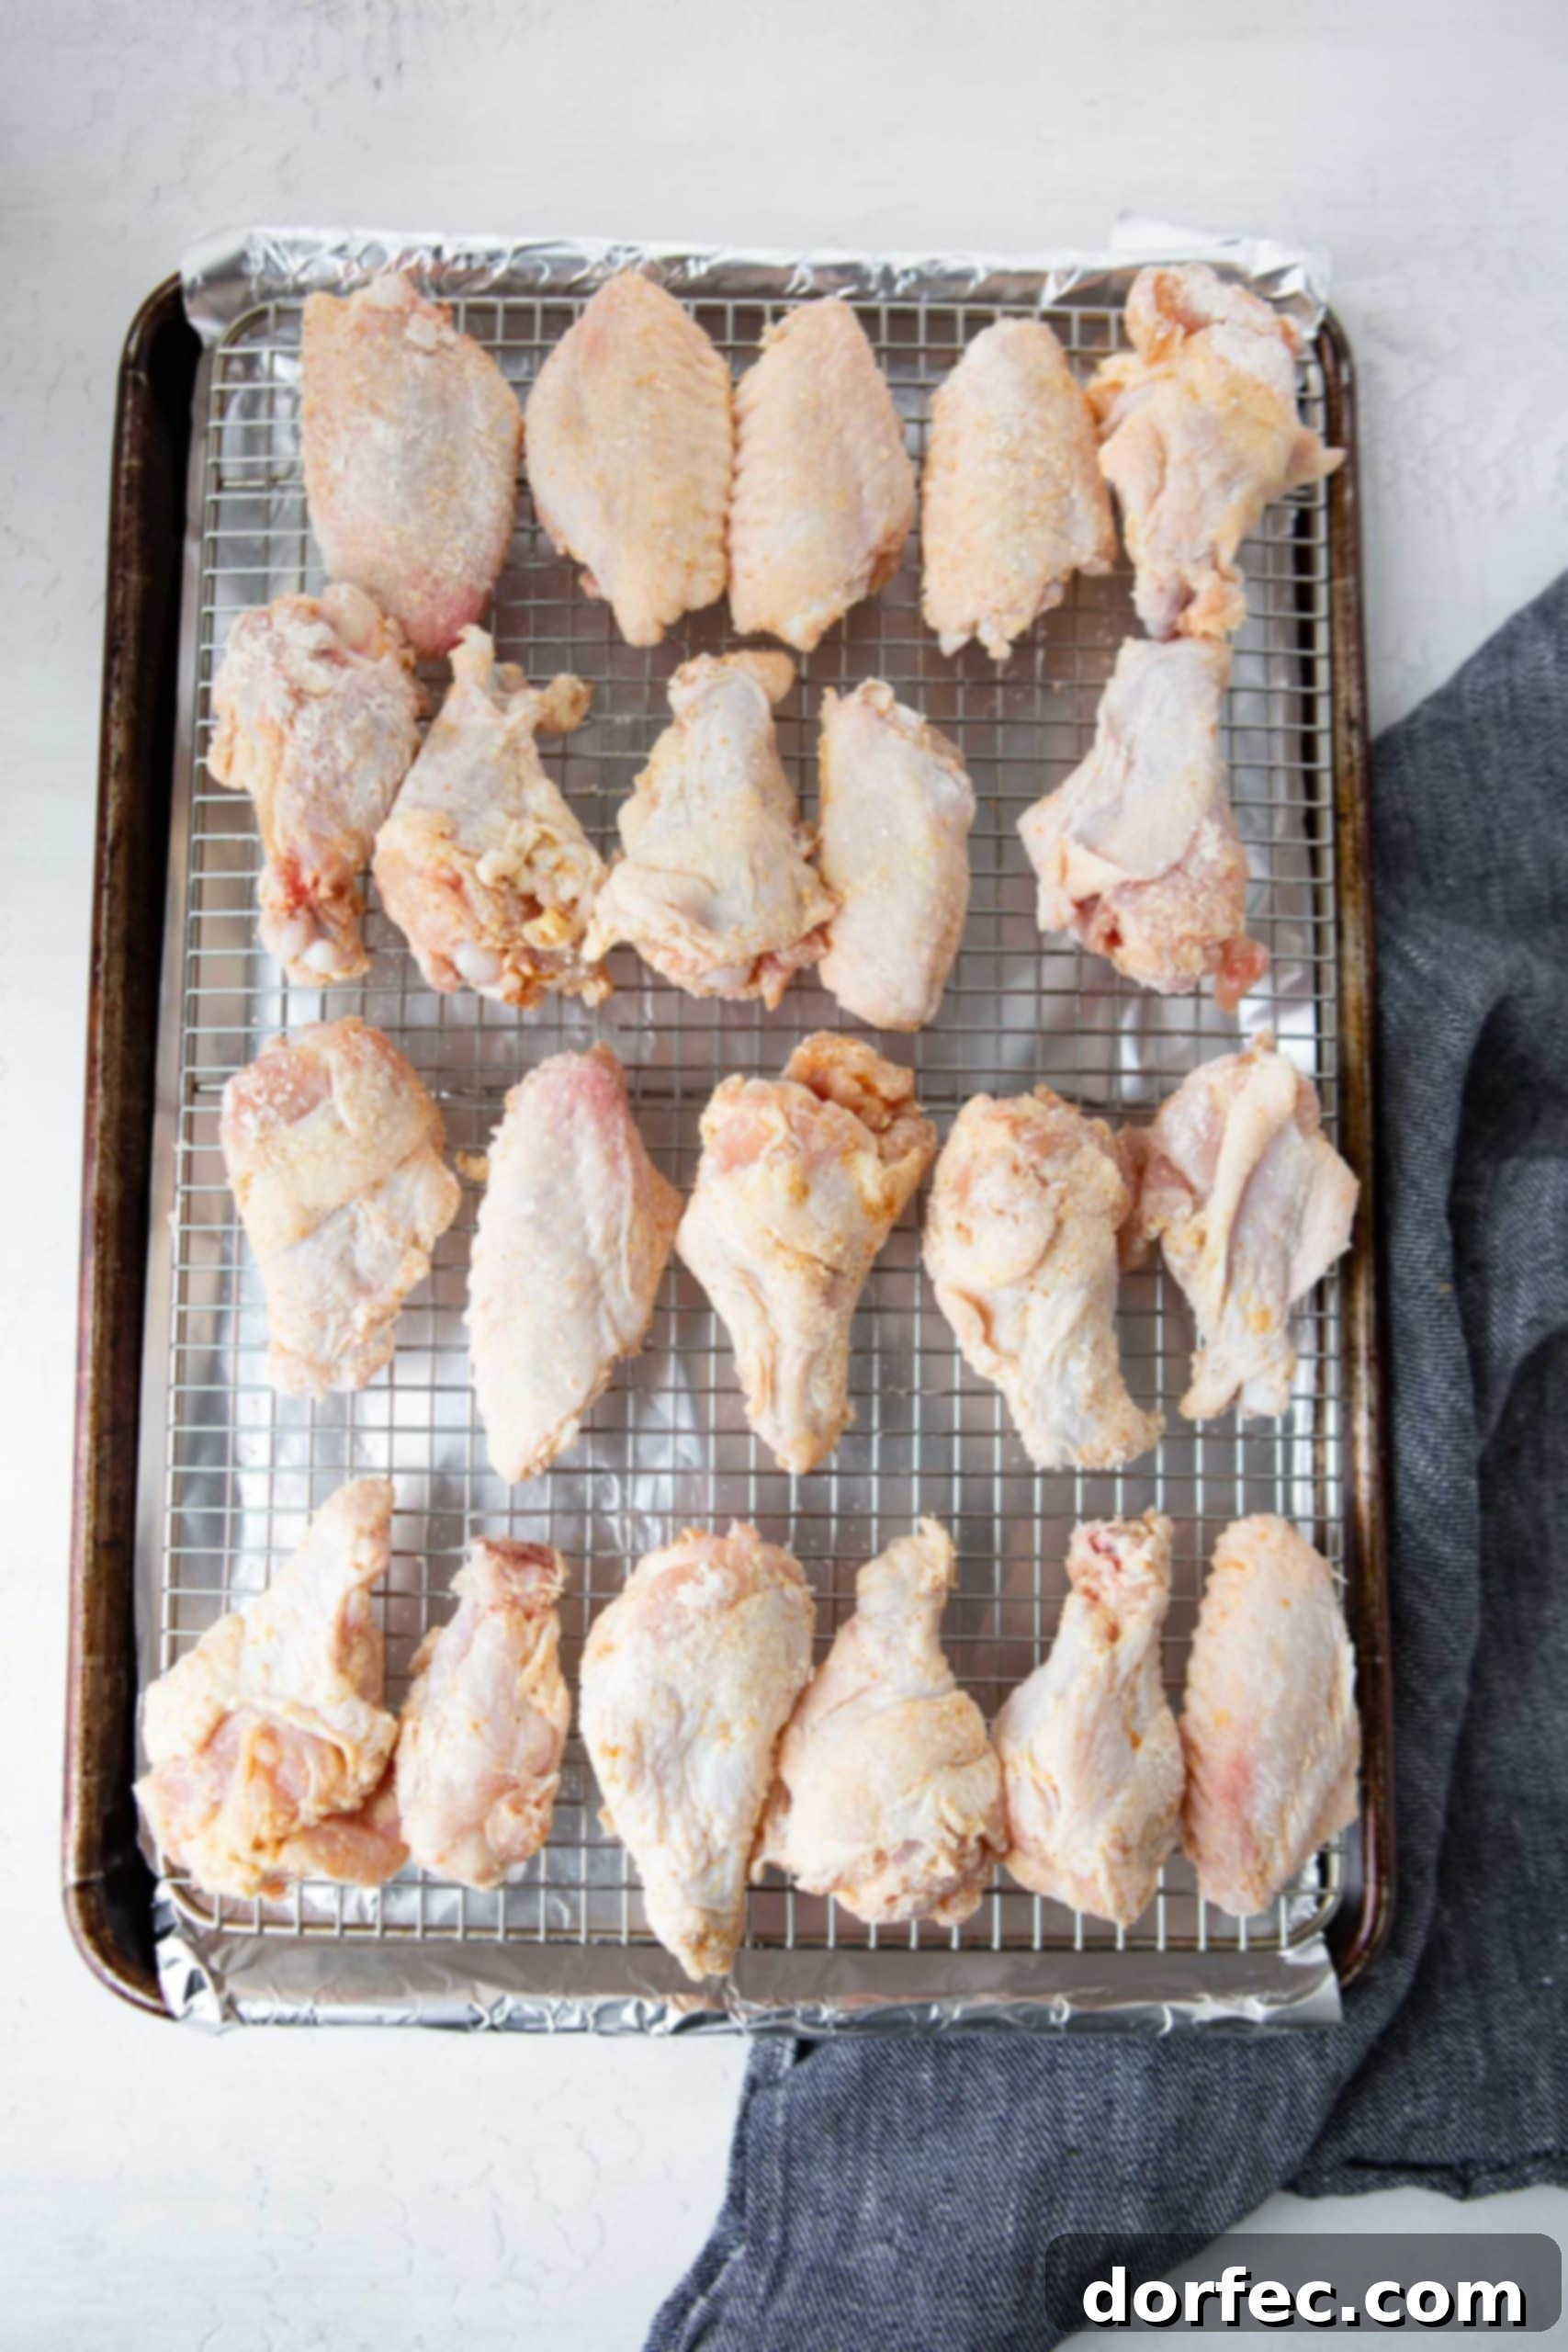
- The Day Before (or at least a few hours): This crucial step makes all the difference for achieving truly crispy skin. Line a large baking sheet with foil, then arrange your chicken wings in a single layer on the pan. Place the uncovered wings in the refrigerator overnight. This exposure to cold air effectively dries out the skin, which is paramount for crispiness during cooking.
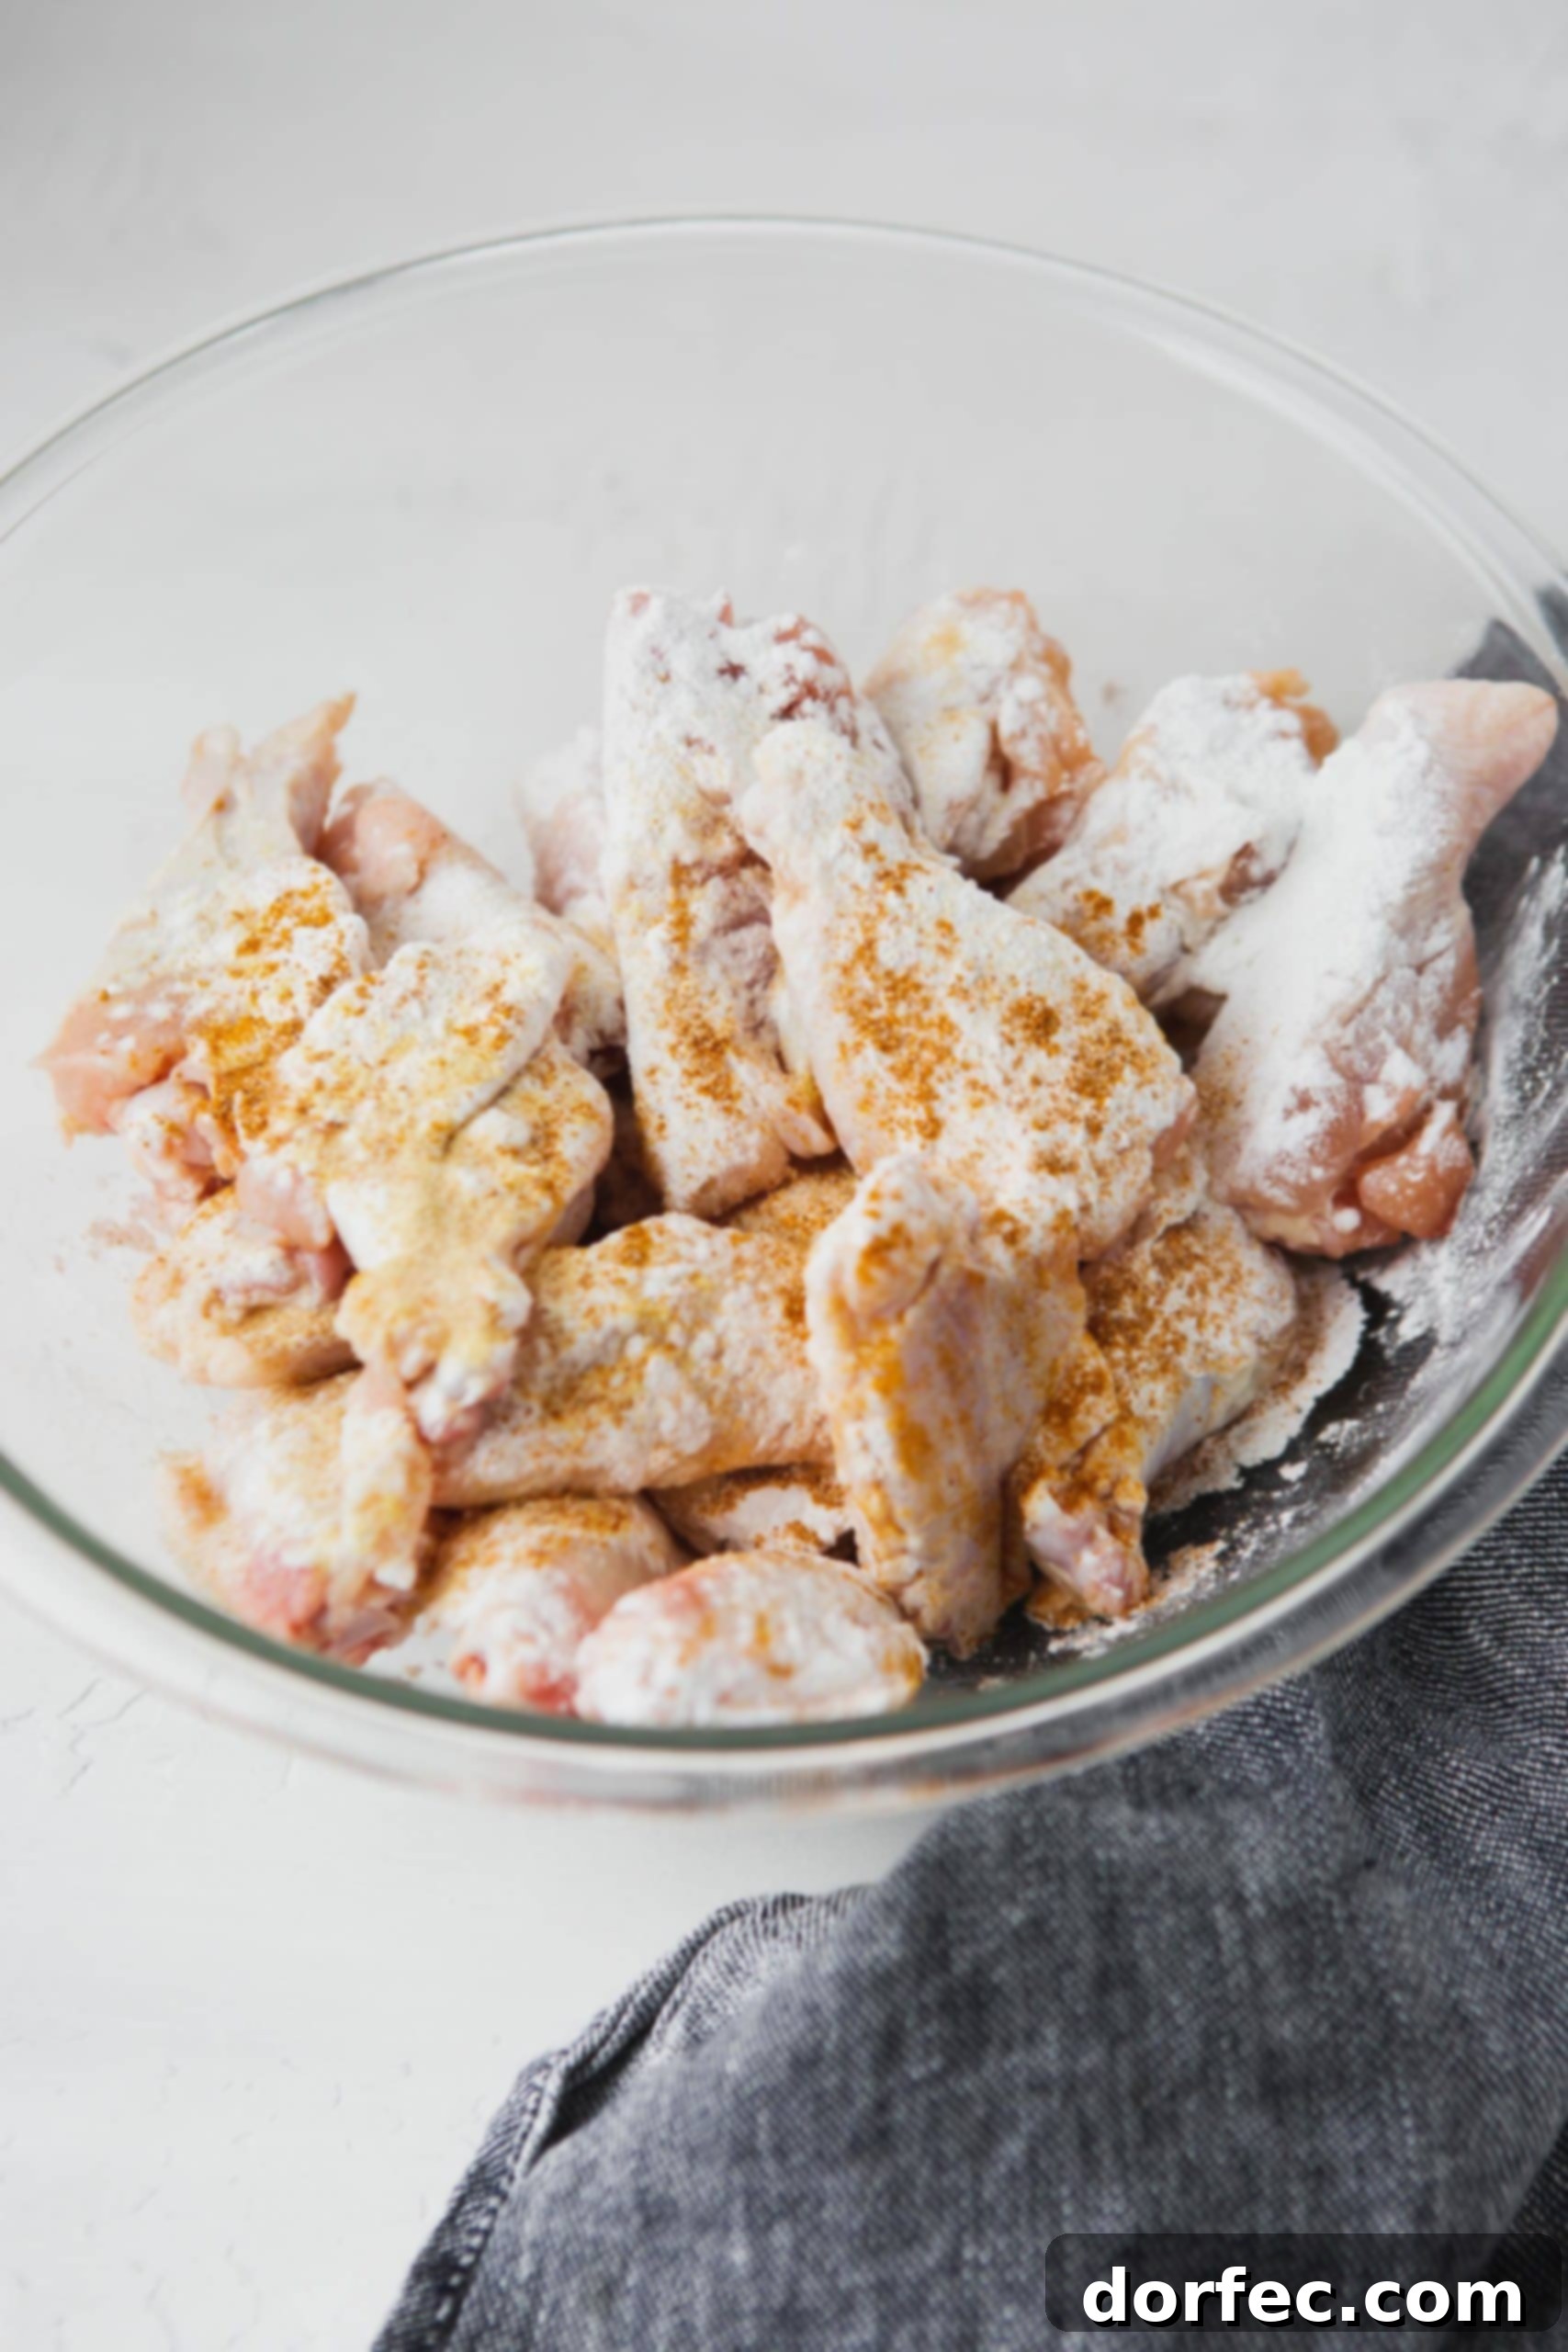
- Seasoning the Wings: In a large mixing bowl, combine the party wings with the baking powder, paprika, and salt. Toss thoroughly to ensure every wing is evenly coated. The baking powder not only aids in drying but also promotes browning, giving your wings a beautiful golden finish.
Air Frying Instructions
- Arrange and Cook: Place the seasoned wings in a single layer in your air fryer basket, ensuring not to overcrowd it. Cook in batches if necessary to allow proper air circulation.
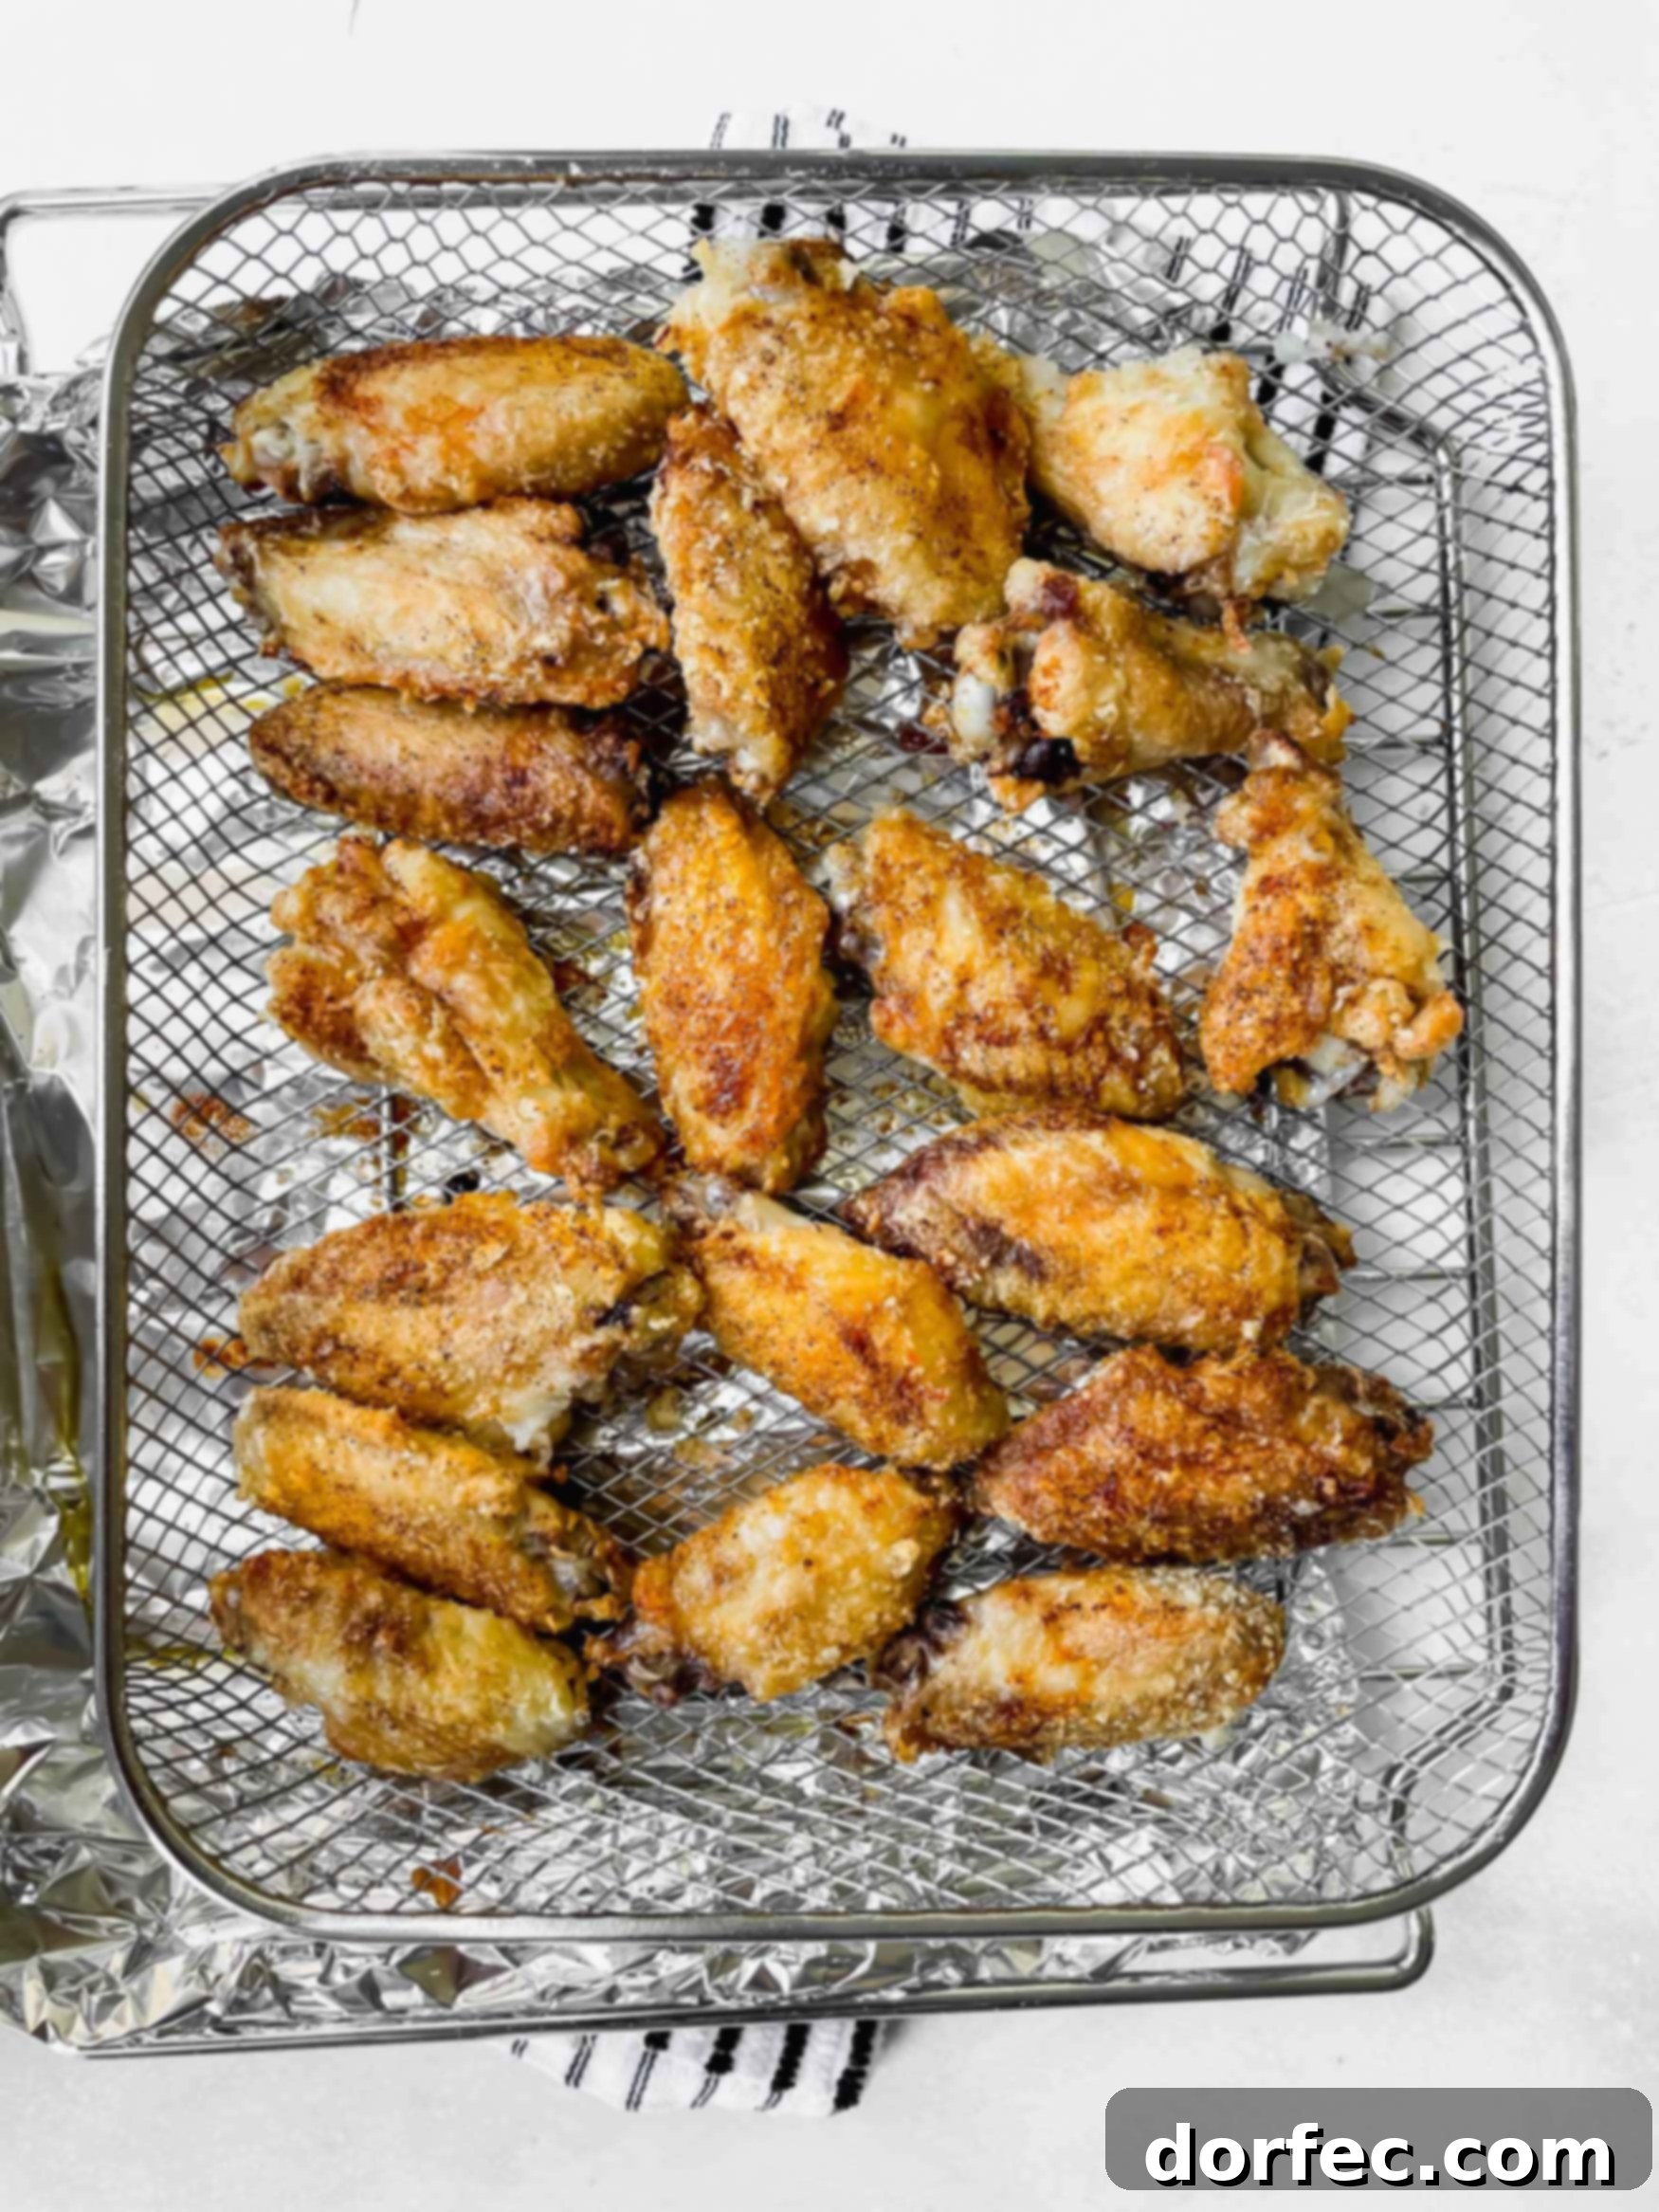
- Initial Cook: Turn on your air fryer and set it to 380°F (195°C). Air fry for 18 minutes, flipping the wings halfway through to ensure even cooking and crisping on all sides.
- Final Crisp: Increase the temperature to 400°F (200°C) and cook for an additional 10 minutes. This blast of higher heat will render any remaining fat and achieve that ultimate golden, crispy skin.
Oven Baked Instructions (No Air Fryer? No Problem!)
- Preheat: Preheat your oven to 250°F (120°C). Line a new baking sheet with foil and place a wire cooling rack on top.
- PRO TIP: Using a cooling rack is essential for oven-baked wings, as it allows hot air to circulate completely around each wing, crisping them on all sides. If you don’t have a cooling rack, you’ll need to manually flip the wings every 30 minutes during cooking to ensure even crispiness.
- Low and Slow Bake: Arrange the seasoned wings on the cooling rack in a single layer. Bake the wings at 250°F (120°C) for 30 minutes. This low-temperature initial bake helps to render the fat slowly, leading to tender meat and priming the skin for crisping.
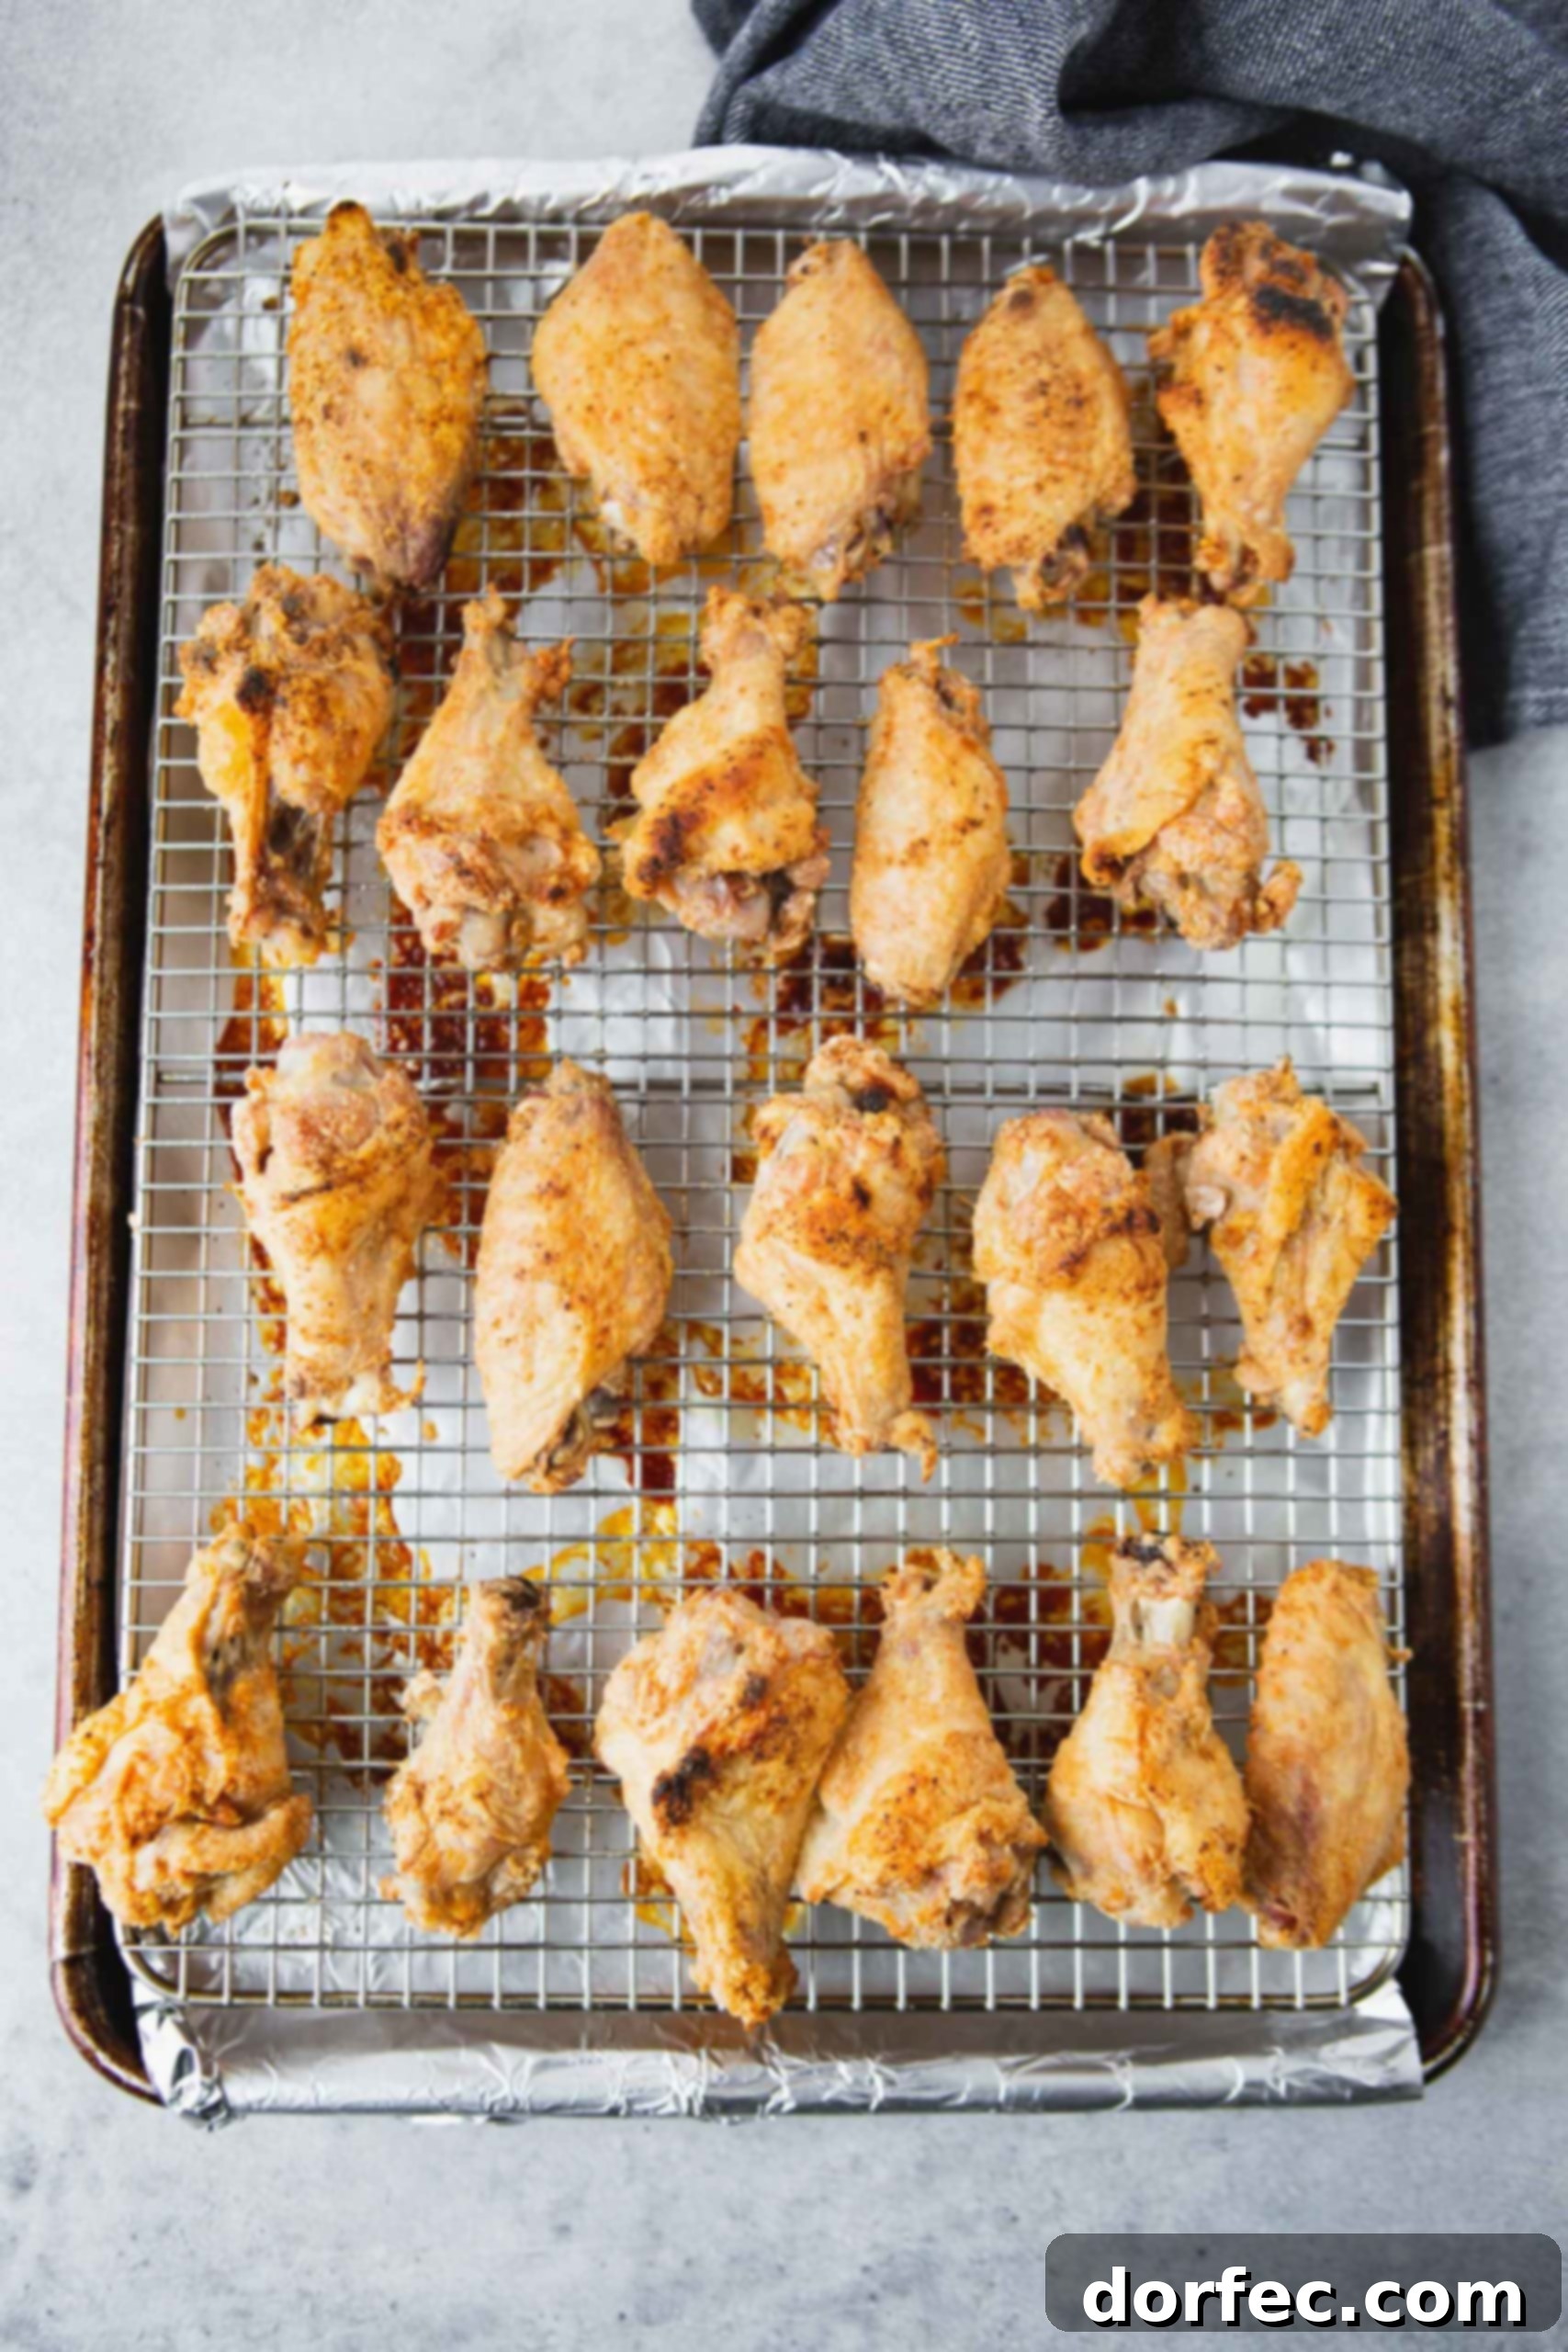
- High Heat Finish: After 30 minutes, increase the oven temperature to 425°F (220°C) and bake for an additional 40 minutes, or until the wings are deeply golden brown and incredibly crispy.
Crafting the Perfect Teriyaki Sauce (While Wings Cook!)
While your wings are cooking to perfection, you’ll have ample time to prepare the luscious homemade teriyaki sauce:
- Combine Ingredients: Place a saucepan on your stove over medium heat. Add the water, soy sauce, minced garlic, brown sugar, honey, and ground ginger. Bring the mixture to a gentle boil, stirring occasionally until the sugars are fully dissolved.
- Thicken the Sauce: In a small separate bowl, whisk together the cornstarch with 2 tablespoons of cold water until a smooth slurry forms. Slowly whisk this cornstarch slurry into the boiling sauce in the saucepan.
- Simmer to Perfection: Let the sauce continue to cook at a soft boil for a few more minutes, stirring constantly, until it thickens to your desired consistency – a glossy, rich glaze that will beautifully coat the wings. Once thick, remove from heat and set aside until your wings are ready.
The Grand Finale: Tossing and Serving
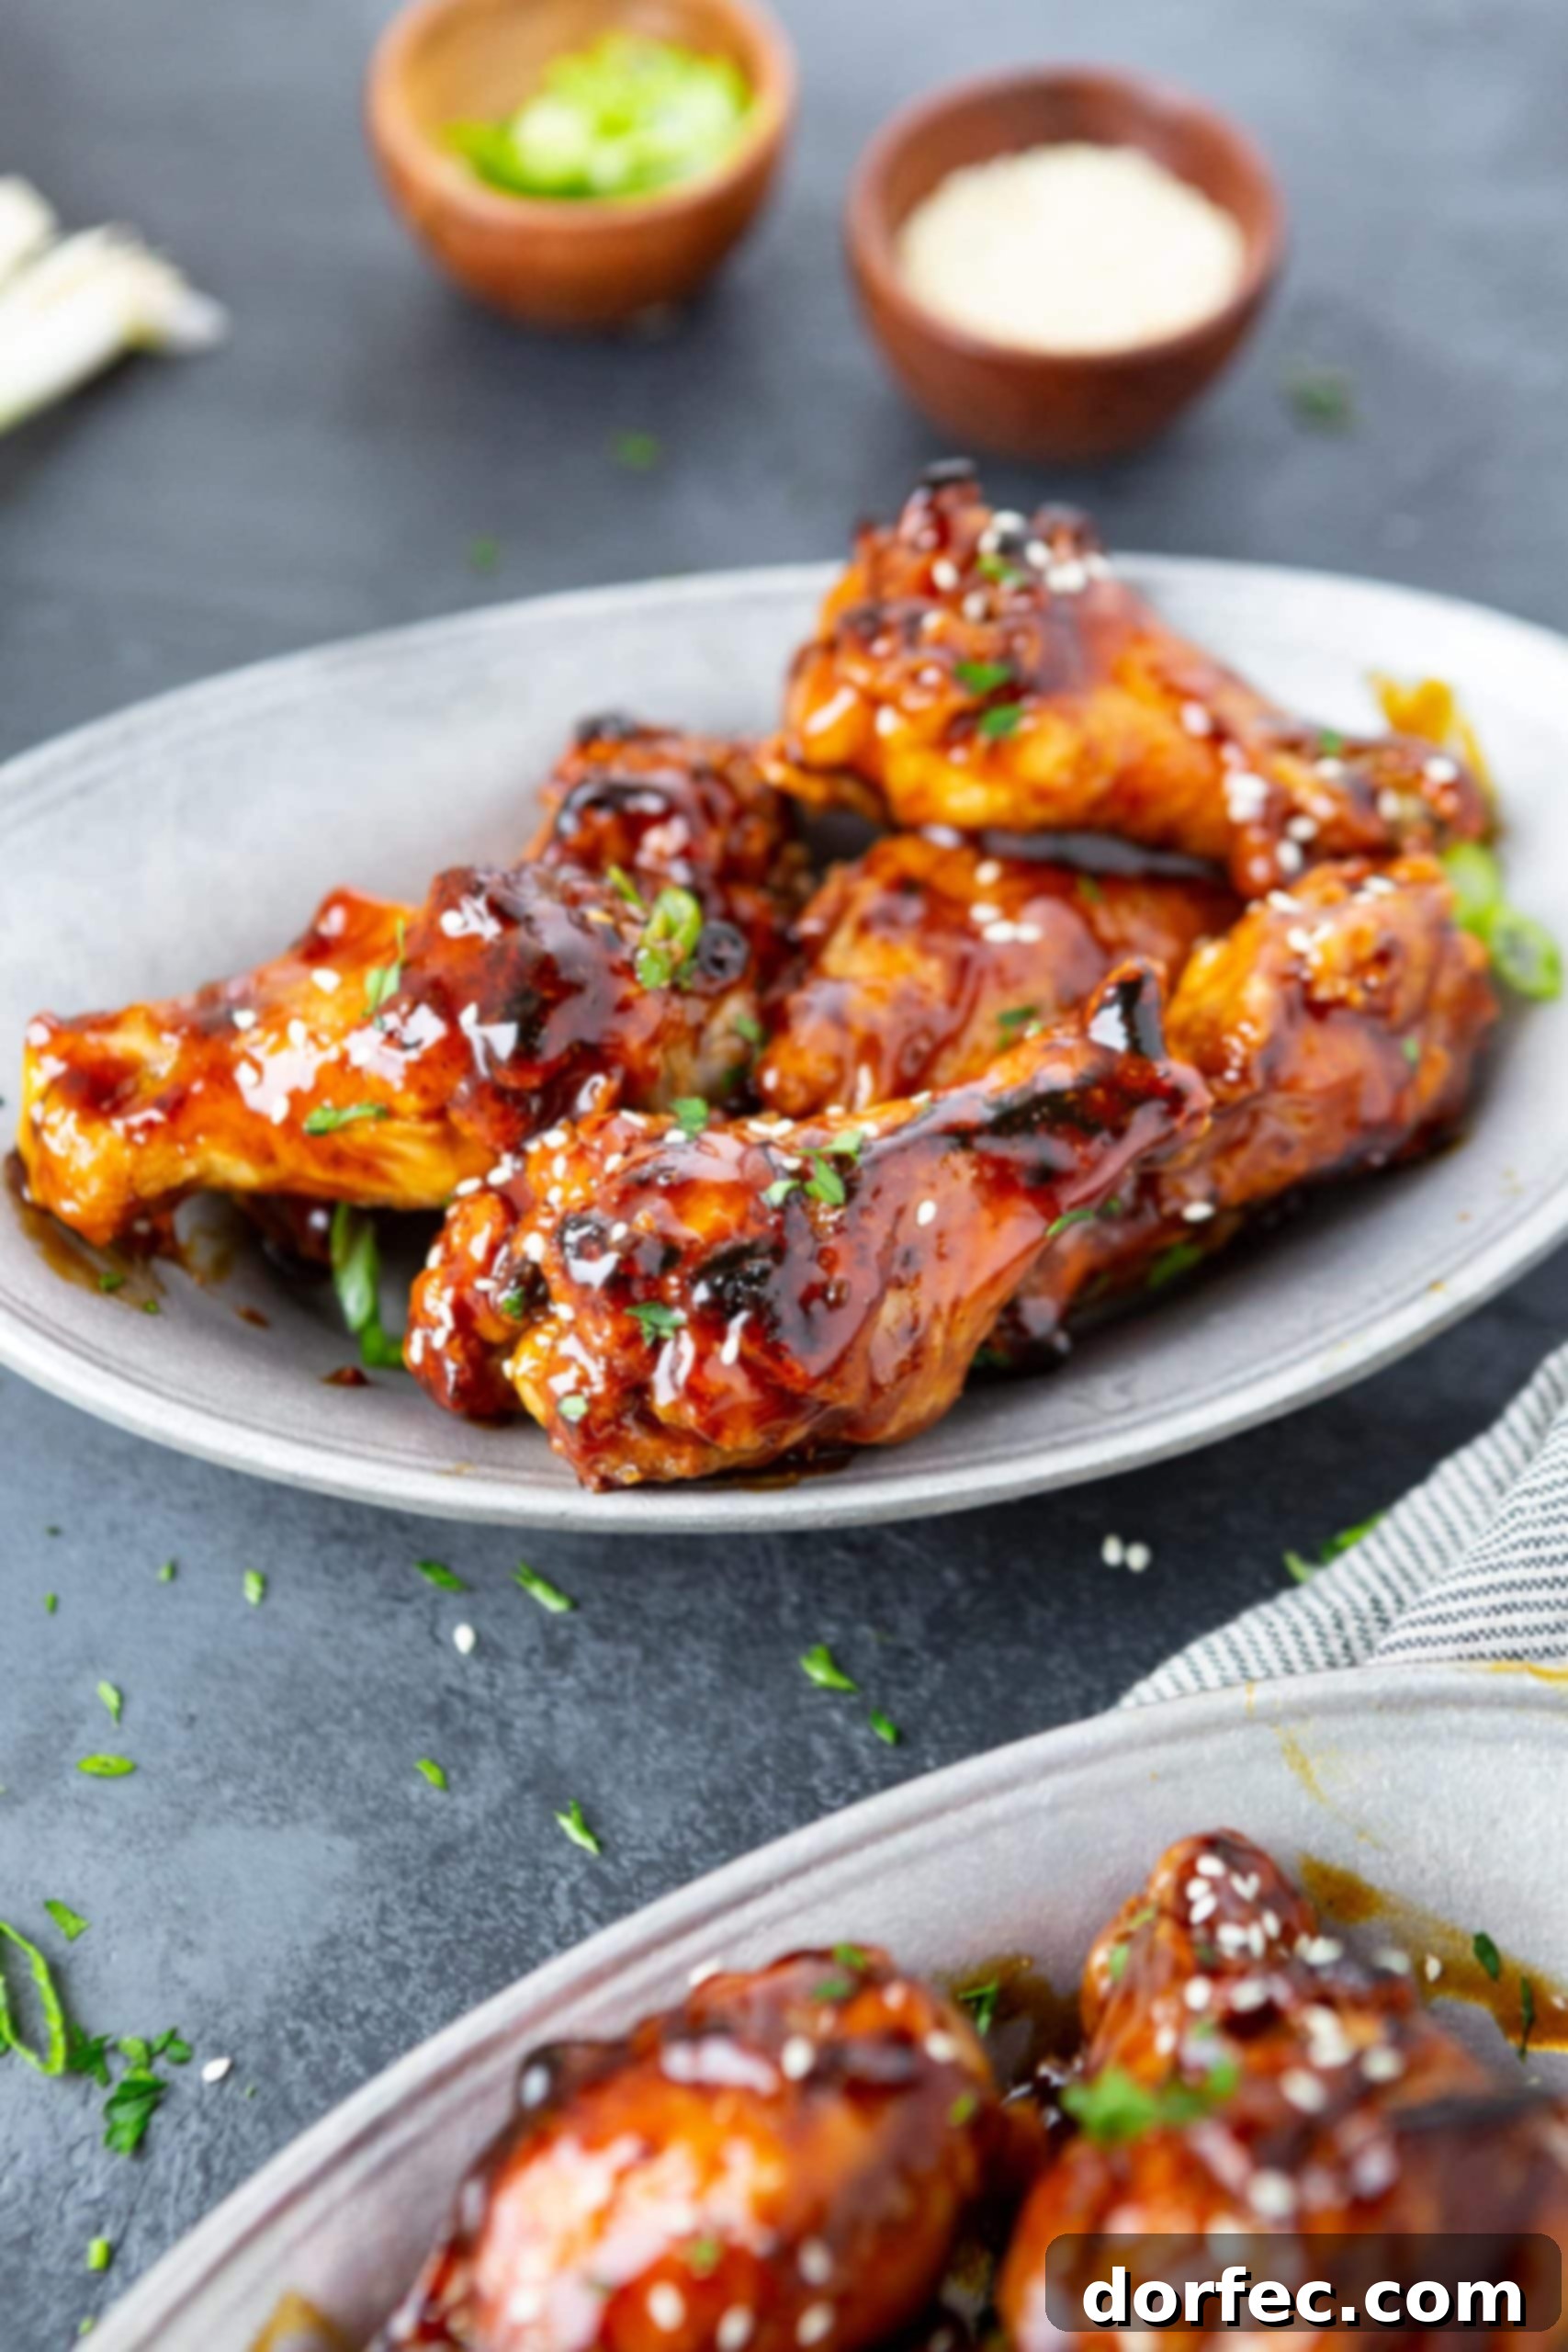
- Toss with Sauce: As soon as the wings are removed from the air fryer or oven, transfer them to a large bowl and immediately toss them with the warm homemade teriyaki sauce. Ensure every wing is thoroughly coated in the delicious glaze.
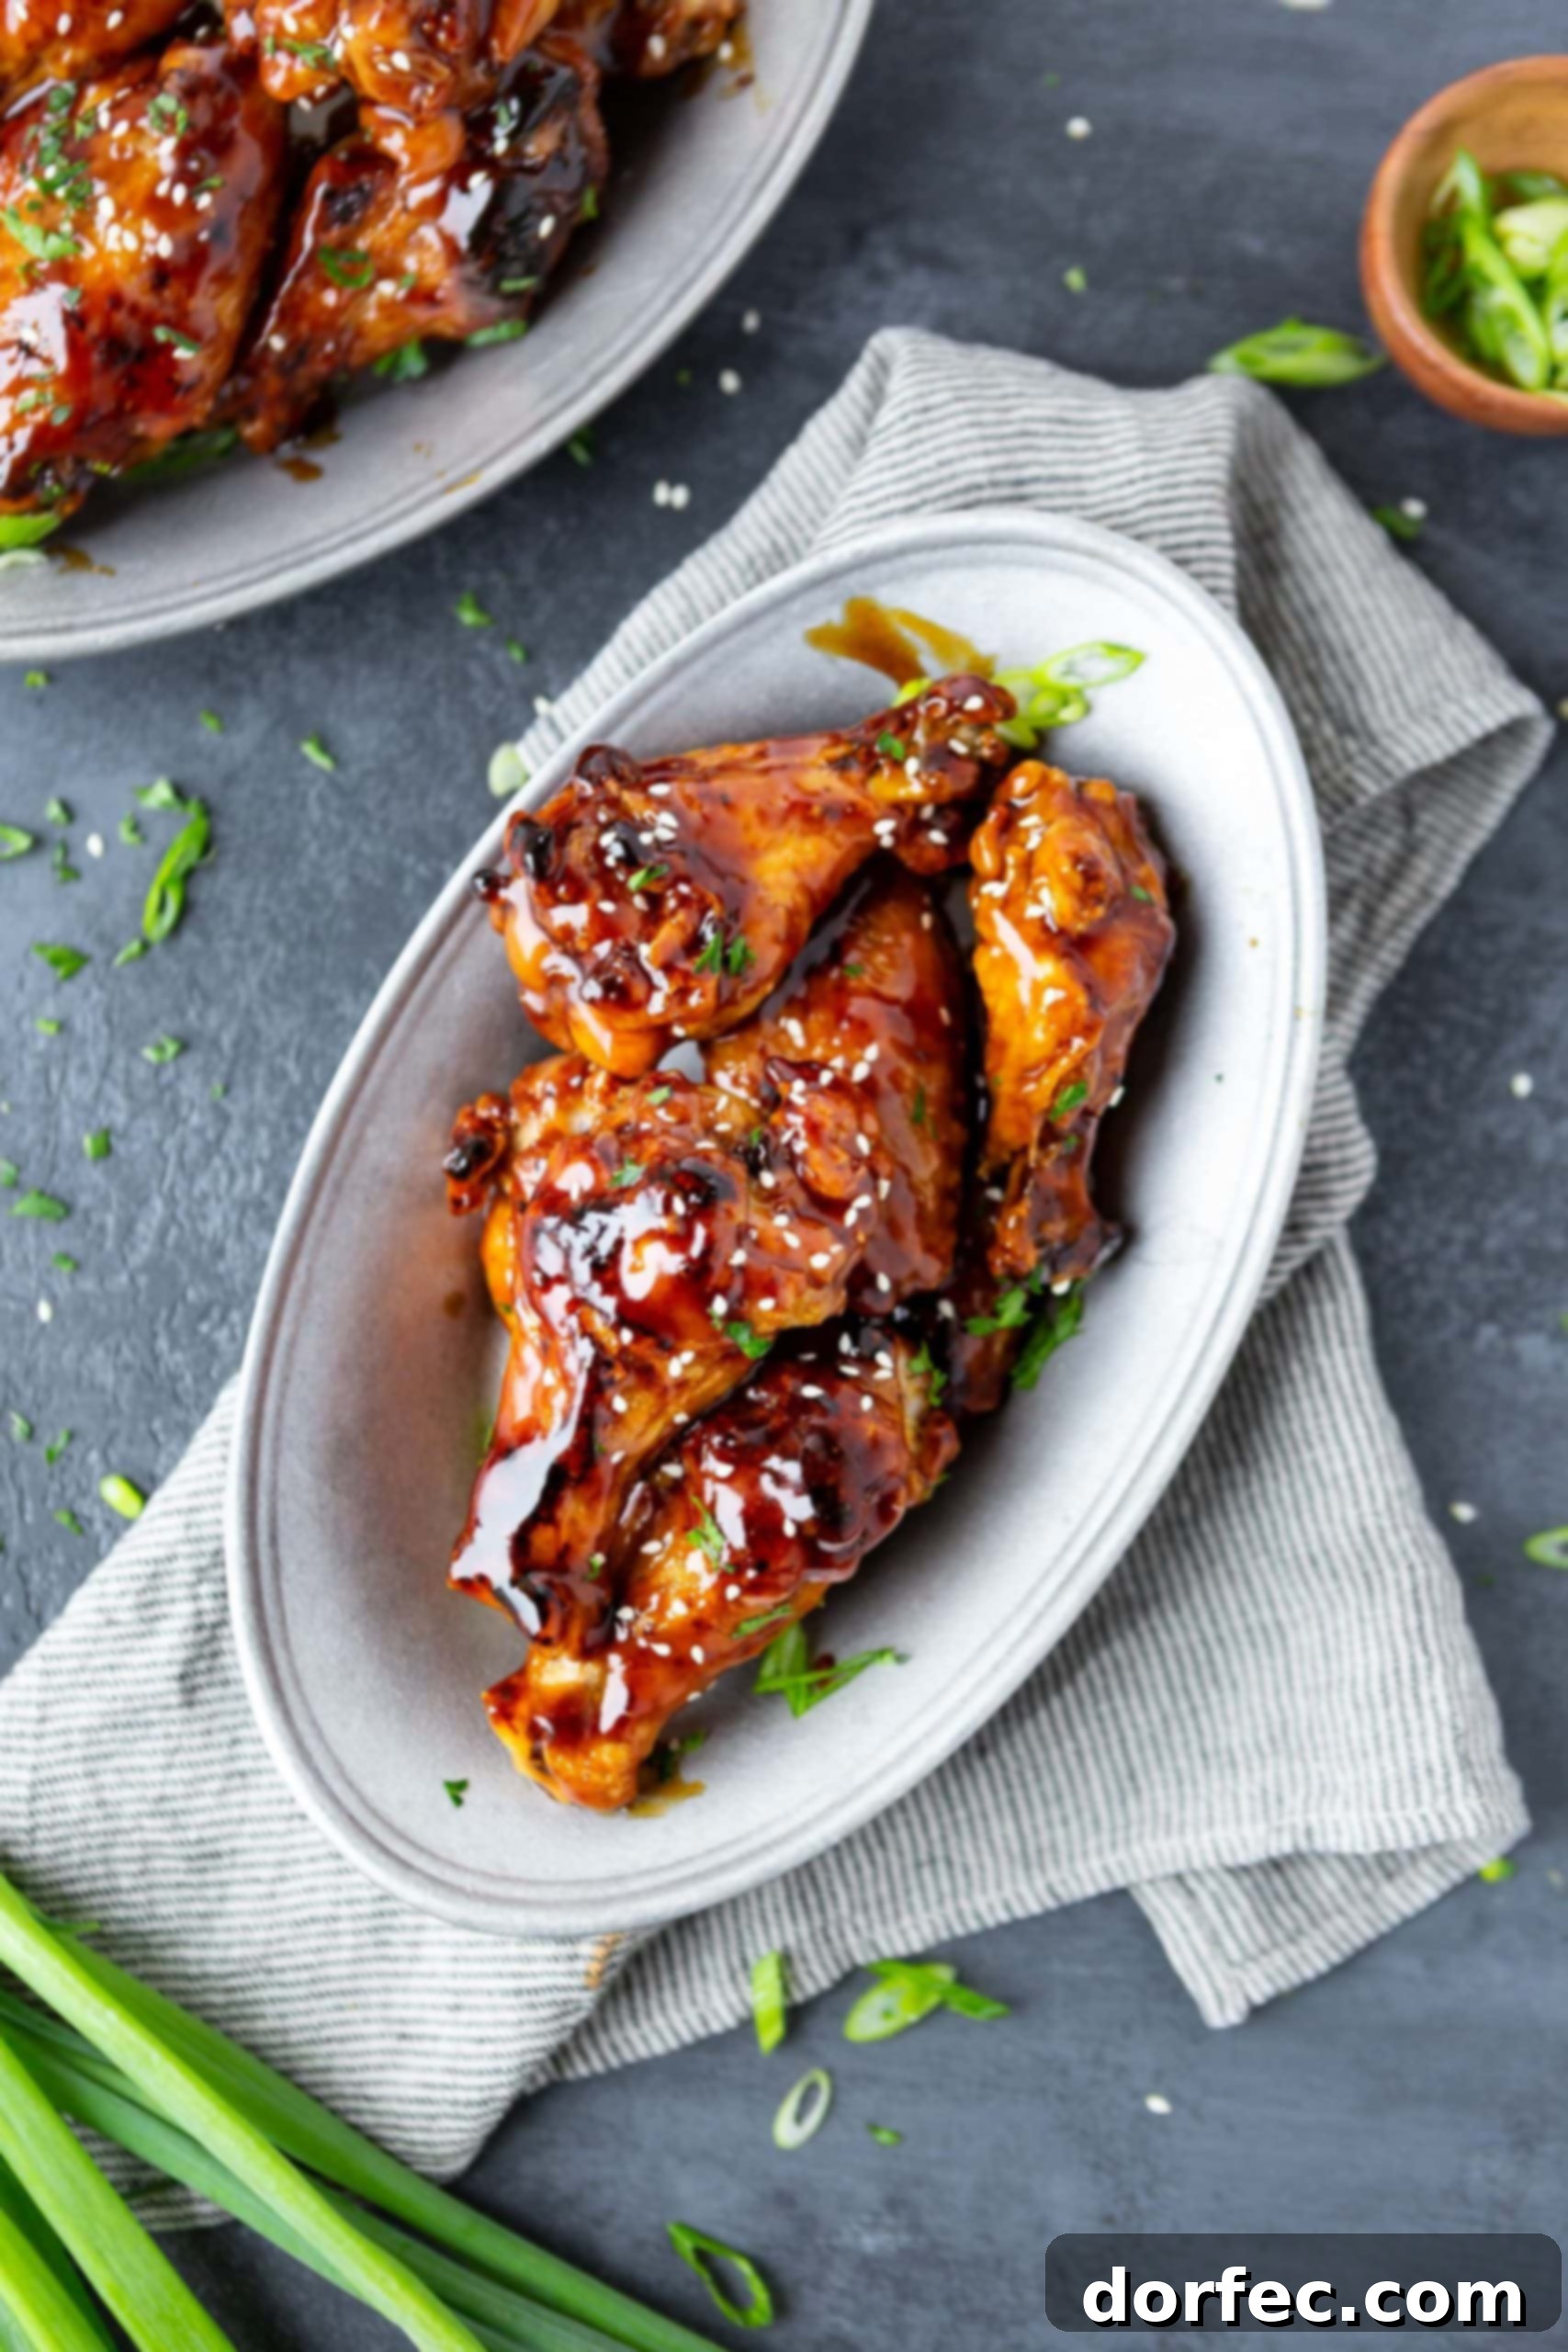
- Serve Hot: Garnish with sesame seeds and chopped green onions if desired, and serve these amazing Air Fryer Teriyaki Chicken Wings immediately for the best crispy and juicy experience!
All of these detailed instructions, along with ingredient measurements, are conveniently compiled in the comprehensive recipe card at the very end of this post, making it easy to follow along.
Understanding “Party Wings”
You might be wondering what exactly “party wings” are. Simply put, party wings are whole chicken wings that have been conveniently pre-cut into two smaller, more manageable sections: the “wingette” (the flat middle section) and the “drumette” (the part that resembles a tiny drumstick). I often buy them this way from the store because it saves a lot of time and effort in the kitchen. If you purchase whole chicken wings, you’ll want to separate them at the joint yourself before proceeding with the seasoning and cooking steps to ensure even cooking and easier serving.
Why Chicken Wings Are Always a Winning Choice
Despite my initial hesitation, the truth is that chicken wings are universally loved for a reason. They are the ultimate crowd-pleaser and make for a perfect finger food **appetizer** at almost any gathering. Think game day parties, New Year’s Eve celebrations, casual get-togethers with friends, or even a fun family dinner – wings fit every occasion. Beyond their deliciousness, they’re also quite inexpensive, allowing you to feed a hungry crowd without breaking the bank.
The real magic of wings, however, lies in their incredible versatility when it comes to sauces! You can bake or air fry a large batch of plain seasoned wings and then customize them with an array of different sauces to suit everyone’s taste. So, if you’re like me and prefer to steer clear of anything too spicy, you can easily skip the traditional Buffalo wings and dive headfirst into these gloriously sweet and savory Teriyaki Chicken Wings. We’ve even curated a fantastic list of other wing and appetizer recipes at the end of this post, just before the full recipe card, so you can explore endless flavor possibilities!
Choosing the Best Air Fryer for Your Kitchen
Are you the type of person who researches obsessively before making a purchase? Me too! I’ve spent countless hours sifting through reviews and testing various air fryers to find the absolute best option. You’re welcome for all that legwork!
Ultimately, the Instant Pot Omni Plus emerged as our top recommendation, and here’s why it’s a game-changer for dishes like these **Air Fryer Teriyaki Chicken Wings**:
- Multi-functional Powerhouse: It’s more than just an air fryer! This versatile appliance combines the capabilities of a toaster oven, an air fryer, and even a rotisserie all in one sleek unit, saving you counter space and expanding your cooking options.
- Spacious Interior: The generous interior design is better suited for larger food items, making it perfect for cooking bigger batches of wings or even a whole chicken.
- User-Friendly & Consistent Results: Despite its multiple functions, it’s incredibly easy to operate. More importantly, it consistently delivers perfectly crisp results every single time, ensuring your wings are always golden and delicious.
- Convenient Basket: The included air fryer basket is specifically designed for items like chicken wings, making them much easier to cook and ensuring optimal air circulation for maximum crispiness.
Investing in a good air fryer like the Instant Pot Omni Plus will undoubtedly elevate your home cooking, especially when it comes to achieving restaurant-quality crispy wings with minimal effort.
The Ultimate Guide to Achieving Extra Crispy Chicken Wings
Since we’re focusing on air frying or baking rather than deep-frying, mastering the art of crispiness is key. Achieving that satisfying crunch without submerging your wings in oil is surprisingly simple with a few smart techniques. Follow these proven tips to ensure your Air Fryer Teriyaki Chicken Wings (or any wings!) are perfectly crispy:
- Dry Brining in the Refrigerator: This is arguably the most crucial step. Arrange your raw chicken wings on a baking sheet lined with foil and refrigerate them uncovered overnight (or for at least 3-4 hours). The circulating cold air in the refrigerator works wonders to dry out the chicken skin. Less moisture on the surface means more direct contact with the hot air during cooking, leading to a crispier exterior. Think of it as giving the skin a head start on dehydration!
- The Magical Touch of Baking Powder: Don’t skip this ingredient! Coating the wings in a thin layer of baking powder (and definitely NOT baking soda, as it will leave a metallic taste) before cooking is a game-changer. Baking powder, particularly aluminum-free varieties, helps raise the pH level on the chicken skin. This reaction breaks down the proteins in the skin, creating tiny, crispier air pockets when heated. It also significantly aids in achieving that beautiful golden-brown color.
- Temperature Progression: Low Heat Followed by High Heat: This two-stage cooking method is essential for both tender meat and crispy skin. Start by cooking the wings at a lower temperature (e.g., 250°F in the oven or 380°F in the air fryer). This allows the fat under the skin to slowly render and melt away, preventing the skin from becoming chewy. Once the fat has rendered sufficiently, crank up the heat significantly (e.g., 425°F in the oven or 400°F in the air fryer) for the final 10-20 minutes. This high-heat blast will quickly crisp up the already rendered skin, giving you that perfect crunch.
By consistently applying these tips, you’ll discover that you won’t miss deep-frying one bit. Your homemade wings will be so irresistibly crispy that you’ll wonder why you ever did it any other way!
So, what are you waiting for? Come join me on the air fryer chicken wings bandwagon! These teriyaki wings are not just crispy but perfectly juicy, beautifully sweet, and wonderfully saucy. You’ll be licking your fingers clean and heading straight back to the appetizer table for more. Get ready to impress your taste buds and your guests!
More Delicious Wings and Appetizer Recipes to Explore:
- Buffalo Chicken Wings
- Smoked Chicken Wings
- Glazed Smoked Chicken Wings
- Garlic Parmesan Grilled Chicken Wings
- Sweet Hot Mustard Chicken Wings
- Mango Bacon Guacamole
- Bacon Wrapped Avocados
- Best Deviled Eggs
- BBQ Bacon Cheese Ball
- Classic Bruschetta
- All our APPETIZER RECIPES here!
Teriyaki Chicken Wings
By Carrian Cheney
10 mins
1 hr 10 mins
5
Ingredients
Chicken Wings
- 4 Pounds Party Wings
- 2 Tablespoons Baking Powder
- 1 teaspoon Paprika
- 1 teaspoon Salt
Teriyaki Sauce
- 1 Cup Water
- 1/3 Cup Soy Sauce
- 1/2 Cup Brown Sugar
- 1 Clove Garlic, minced
- 1 Tablespoon Honey
- 1/2 teaspoon Ground Ginger
- 2 Tablespoons Water
- 2 Tablespoons Cornstarch
Instructions
Chicken Wings
- One day ahead, line a baking sheet with foil and arrange the 4 Pounds Party Wings on the pan. Place in the fridge overnight (or at least for a few hours) uncovered to dry out the skin for more crispy wings.
- In a large bowl, toss the chicken with 2 Tablespoons Baking Powder, 1 teaspoon Paprika, and 1 teaspoon Salt together. Arrange in the air fryer basket in a single layer.
- Press air fry, then set the temperature to 380°F (195°C) for 18 minutes. Flip the wings halfway through. Increase the heat to 400°F (200°C) for an additional 10 minutes for extra crispiness. *See notes for oven baking directions.
- Remove the wings from the air fryer or oven and toss immediately in the prepared teriyaki sauce.
Teriyaki Sauce
- Heat a saucepan over medium heat and add 1 Cup Water, 1/3 Cup Soy Sauce, 1 Clove minced Garlic, 1/2 Cup Brown Sugar, 1 Tablespoon Honey, and 1/2 teaspoon Ground Ginger. Bring to a boil, stirring to dissolve sugars.
- Meanwhile, whisk 2 Tablespoons Water and 2 Tablespoons Cornstarch together to form a smooth slurry, then slowly whisk into the sauce in the saucepan.
- Allow the sauce to continue cooking at a soft boil for 1-3 minutes or until thick and glossy. Set aside until the wings are ready.
Recipe Notes
- For oven-baked wings, place the seasoned wings on a baking sheet lined with foil, with a cooling rack on top. Preheat the oven to 250°F (120°C).
- PRO TIP: The cooling rack is vital for allowing air to circulate around all sides of the chicken. If you don’t have a cooling rack, you’ll need to flip the wings every 30 minutes during the cook time to ensure even crisping.
- Bake the wings for 30 minutes at 250°F (120°C). Then, increase the heat to 425°F (220°C) and bake for another 40 minutes, or until golden and crispy.
- Remove the wings from the oven and toss them in the warm sauce immediately for best results.
Nutrition
Calories: 560 kcal
Carbohydrates: 32g
Protein: 38g
Fat: 31g
Saturated Fat: 9g
Trans Fat: 1g
Cholesterol: 151mg
Sodium: 1486mg
Potassium: 869mg
Fiber: 1g
Sugar: 25g
Vitamin A: 485IU
Vitamin C: 2mg
Calcium: 257mg
Iron: 3mg
Nutrition information is automatically calculated, so should only be used as an approximation.
REMEMBER TO SUBSCRIBE TO our FREE Oh Sweet Basil NEWSLETTER AND RECEIVE EASY RECIPES DELIVERED INTO YOUR INBOX EVERY DAY!
When you try a recipe, please use the hashtag #ohsweetbasil on INSTAGRAM for a chance to be featured in our stories! FOLLOW OH, SWEET BASIL ON FACEBOOK | INSTAGRAM | PINTEREST | TWITTER FOR ALL OF OUR LATEST CONTENT, RECIPES AND STORIES.