
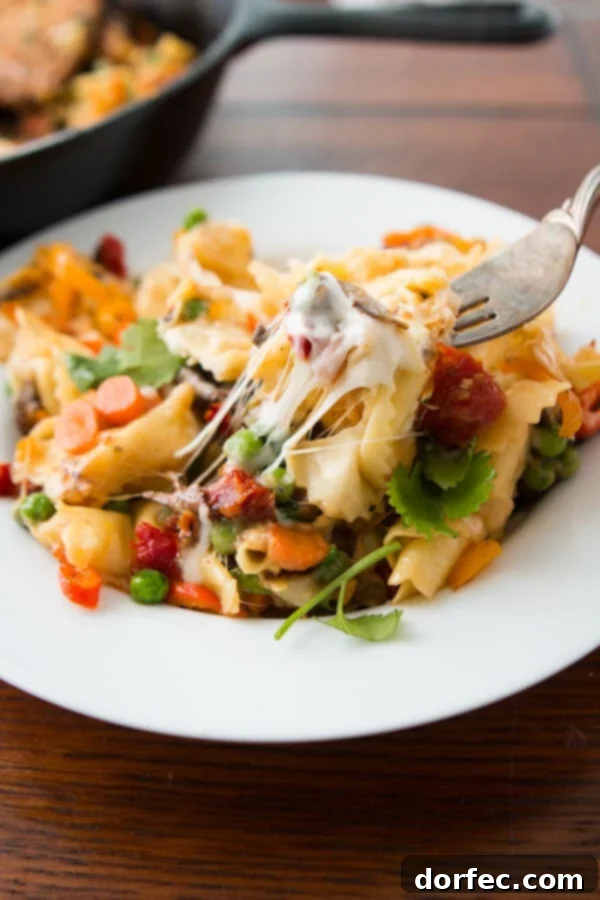
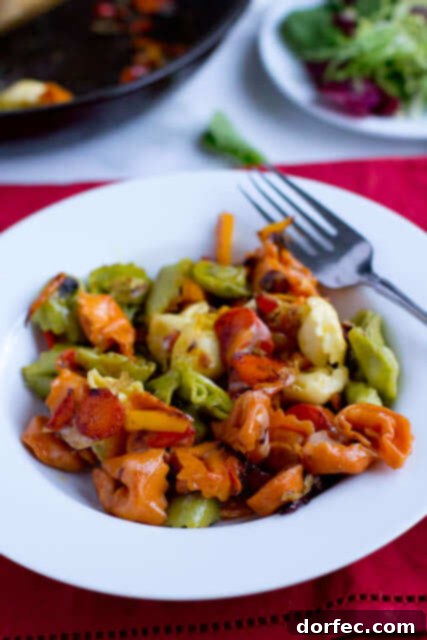
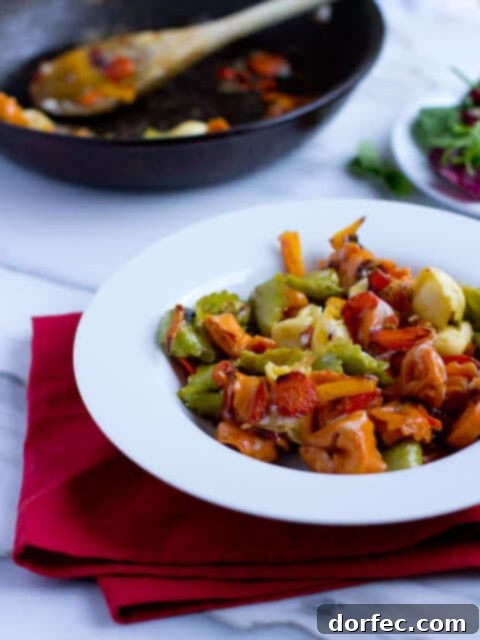
Welcome to one of our most beloved dinner ideas: Cheesy Pan-Fried Tortellini. This delightful recipe, initially conjured up by my husband, might seem almost too straightforward at first glance, but its simplicity belies a truly exceptional taste that has made it a staple in our home.
Cheesy Pan-Fried Tortellini: Your New Go-To Weeknight Meal
Are you searching for a dinner that’s both quick to prepare and bursting with flavor? Look no further than this incredible Cheesy Pan-Fried Tortellini. It’s a testament to the fact that you don’t need a complicated recipe or exotic ingredients to create something truly delicious and satisfying. This dish brings together tender tortellini, perfectly sautéed vegetables, and gooey mozzarella cheese for a meal that’s ready in under 30 minutes. It’s not just a meal; it’s an experience of comfort and joy in every cheesy bite.
What is Tortellini? A Brief Culinary Introduction
Before we dive into the cooking process, let’s appreciate the star of our dish: tortellini. Originating from the Emilia-Romagna region of Italy, particularly Bologna and Modena, tortellini are small ring-shaped pasta. They are typically made from squares of egg pasta dough, carefully stuffed with a savory filling, which can range from various meats (like pork loin, prosciutto, or mortadella) to an assortment of cheeses (such as ricotta, Parmesan, or mascarpone), often blended with spinach or other herbs. Once filled, these small pasta squares are rolled and formed into distinctive rings, resembling small navels, hence their nickname “belly button pasta.” Their versatility and ability to hold rich fillings make them a fantastic foundation for a wide array of dishes, from broths to creamy sauces and, of course, our signature pan-fried creation.
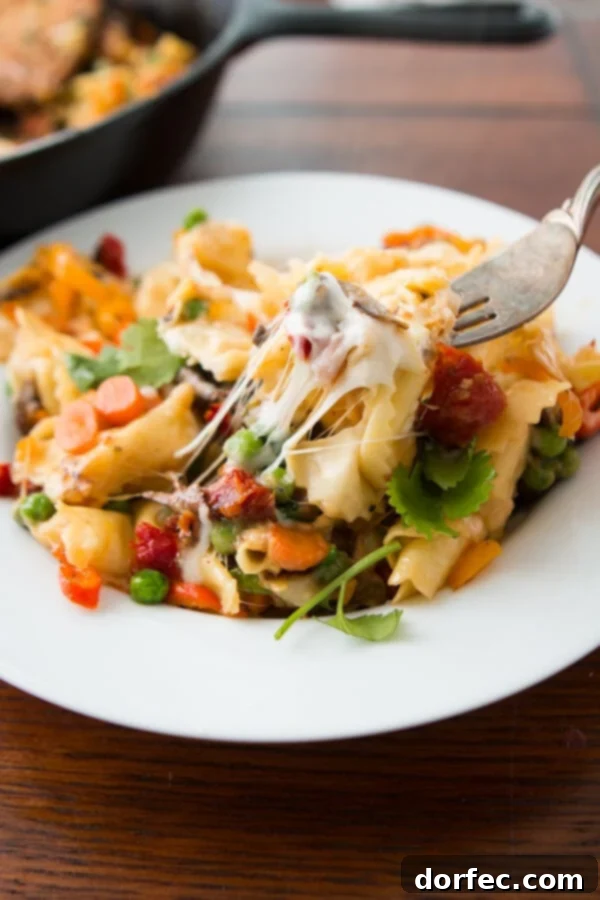
My husband introduced me to this incredible Cheesy Pan-Fried Tortellini shortly after we were married, and it quickly became one of our cherished quick meals. Over time, we’ve refined the recipe a bit, perfecting the balance of flavors and textures. However, I must confess, there are two non-negotiable requirements I have when my husband prepares this dish:
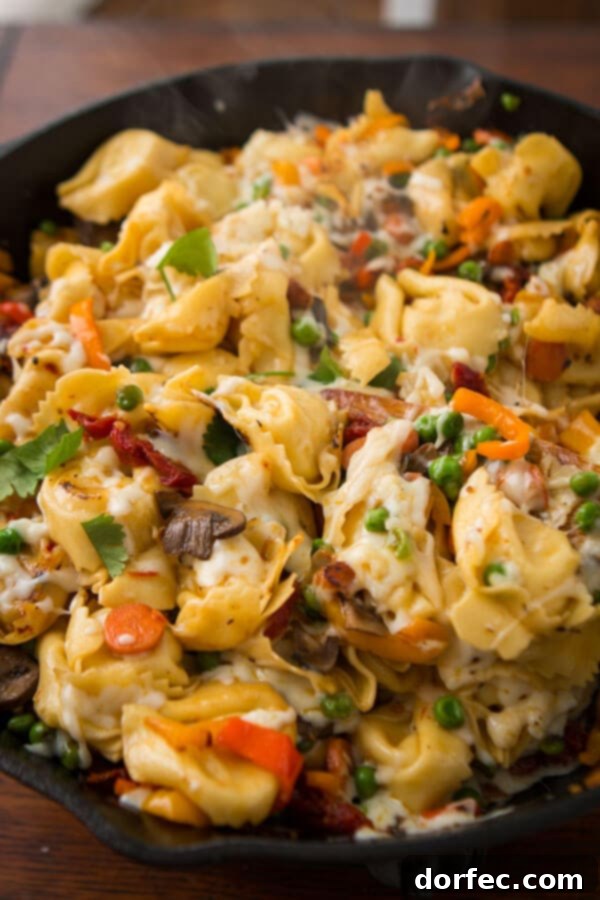
Firstly, Cade tends to prefer his pasta very soft. In my humble opinion, it’s often too soft; he tends to overcook it. Please, don’t misunderstand—we’ve never had a serious argument over pasta doneness! But I promise you, ensuring your pasta is cooked to perfection, specifically al dente, makes an enormous difference in the overall texture and enjoyment of this pan-fried tortellini. Sorry, Cade, but mushy pasta is one culinary point on which we must respectfully disagree! While you might have introduced me to the magic of cheesy pan-fried tortellini, I am determined to master the pasta to that ideal al dente bite.
How Do You Know When Pasta is Perfectly Al Dente?
Achieving the perfect al dente texture for your pasta is crucial for this Cheesy Pan-Fried Tortellini. Al dente, an Italian phrase meaning “to the tooth,” describes pasta that is cooked through but still firm when bitten, offering a slight resistance. This texture prevents the pasta from becoming mushy and allows it to better absorb the flavors of the accompanying ingredients. So, how do you nail it every time?
- Taste is Key: The most reliable method is to taste the pasta a minute or two before the package instructions suggest it might be done. Every brand and type of pasta can vary slightly, so your taste buds are your best guide.
- Look for Firmness: When you bite into it, the pasta should offer a pleasant chewiness, not a soft, yielding mush. It should feel firm to the bite, yet cooked, with no raw, starchy taste in the center.
- Avoid the “Wall Test”: You might have heard the old adage about throwing pasta at a wall to see if it sticks. While it’s a fun party trick, it’s generally not an accurate indicator of al dente doneness. Pasta that sticks to the wall is often overcooked and gummy, which is precisely what we’re trying to avoid for our delightful pan-fried tortellini.
- Check for a White Dot (for dried pasta): For dried pasta, some cooks look for a tiny, barely visible white dot in the very center of the pasta strand or shape when cut. This indicates the pasta is cooked but still has that desirable firmness. However, for fresh tortellini, this might be less apparent due to the difference in texture and cooking time.
Remember, the more pasta cooks beyond al dente, the gummier and less appealing it becomes. For a dish like Cheesy Pan-Fried Tortellini, where the pasta will continue to cook slightly in the pan with the vegetables, pulling it just before it reaches peak al dente can be a good strategy.
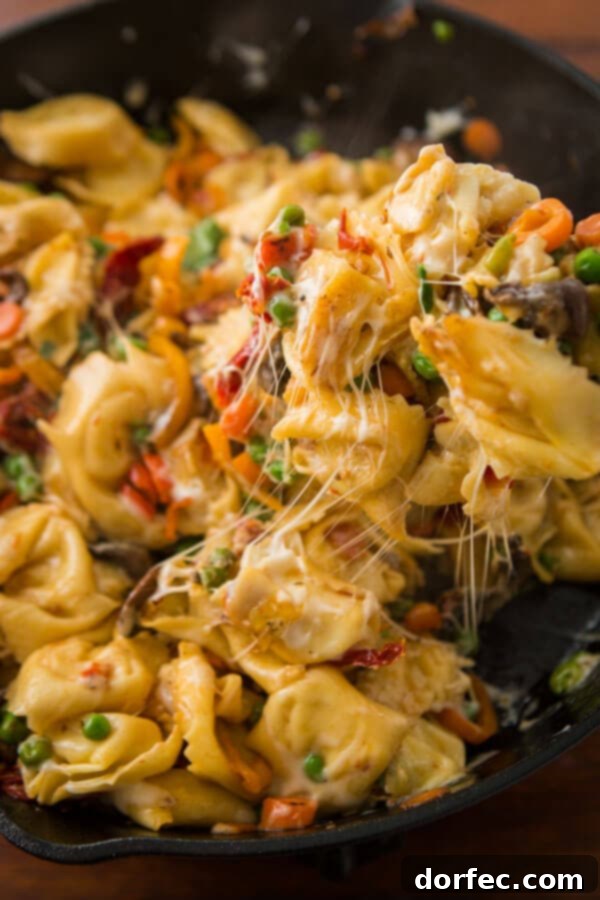
Secondly, once the perfectly cooked pasta is added to our sautéed vegetables, it’s crucial to keep the heat on medium-high. This step is where the “pan-fried” magic truly happens, allowing the tortellini to develop beautifully crisp, golden-brown edges. That little bit of browning action on the pasta adds an incredible depth of flavor and texture that you simply won’t get from just mixing everything together. You’ll thank me later for this tip!
This is precisely why we strongly advocate for using our trusty Lodge Cast Iron Pan for this Cheesy Pan-Fried Tortellini recipe. While nonstick pans are convenient for many tasks, a cast iron or quality stainless steel pan excels at promoting caramelization. This browning process, known as the Maillard reaction, creates a far more complex and robust flavor profile on the surface of your food, elevating this simple dish from good to absolutely unforgettable. The superior heat retention of cast iron also ensures even cooking and consistent browning, making it an indispensable tool for achieving the best results with this recipe.
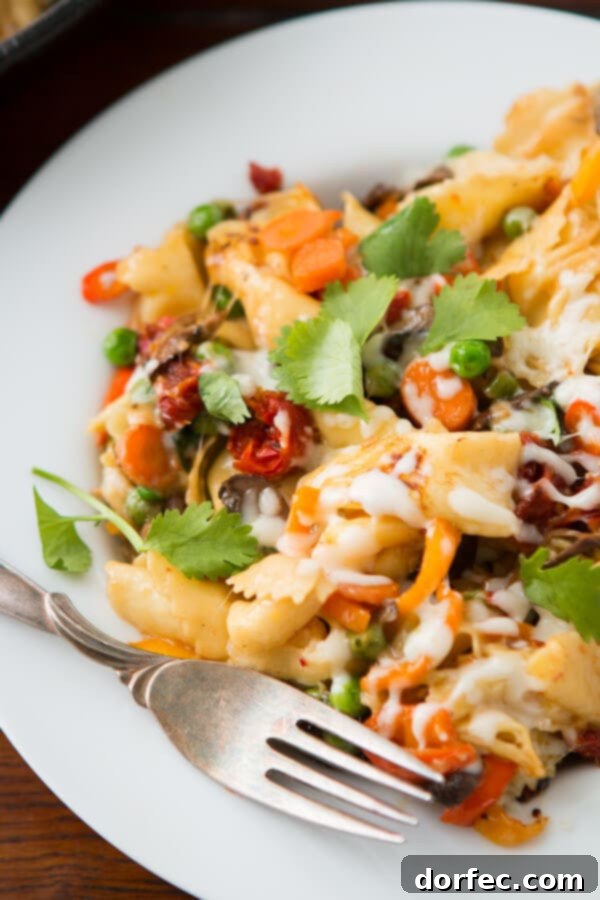
Perhaps my absolute favorite aspect of this Cheesy Pan-Fried Tortellini dish is its remarkable adaptability. You can effortlessly customize it to suit your current cravings, dietary preferences, or simply to utilize whatever fresh ingredients you happen to have on hand. This recipe is a canvas for culinary creativity!
When you’re sautéing your vegetables, remember to be mindful of each ingredient’s cooking time. Vegetables vary widely in density and moisture content, meaning some will soften and brown much faster than others. For instance, harder vegetables like carrots and bell peppers will require significantly more time in the pan than delicate sun-dried tomatoes or thawed peas. The key to evenly cooked, flavorful vegetables is to add them in stages. Always start with the vegetables that need the longest cooking time first, allowing them to tenderize and begin caramelizing before incorporating quicker-cooking ingredients.
How Do You Sauté Vegetables Like a Pro?
Sautéing vegetables is a fundamental cooking technique that adds incredible flavor and texture to many dishes, including our Cheesy Pan-Fried Tortellini. Here’s a detailed guide to master the art of sautéing:
- Prepare Your Vegetables: Wash and chop all your vegetables before you start cooking. Ensure they are cut into relatively uniform sizes to promote even cooking.
- Preheat the Pan: Place a large skillet (preferably cast iron or stainless steel) over medium-high heat. Allow the pan to heat up for a minute or two before adding oil. This ensures a consistent cooking surface and helps prevent sticking.
- Add the Oil: Once the pan is hot, add your preferred cooking oil, such as olive oil. Swirl it around to coat the bottom of the pan evenly. You should see a slight shimmer on the oil’s surface, indicating it’s ready.
- Introduce Harder Vegetables First: Add the vegetables that require the longest cooking time, like carrots, potatoes, or bell peppers, to the hot oil first. Spread them in a single layer to ensure good contact with the pan. Avoid overcrowding the pan, as this can steam the vegetables instead of sautéing them, preventing that desirable browning. If necessary, work in batches.
- Season and Stir: Season the vegetables with salt, pepper, and garlic powder (or other desired spices) as they cook. Stir them occasionally to ensure even cooking and browning on all sides.
- Add Softer Vegetables: Once the initial batch of vegetables has started to tenderize and brown around the edges (typically 5-7 minutes), add quicker-cooking vegetables like mushrooms, zucchini, or sun-dried tomatoes. Continue to stir and sauté.
- Cook to Perfection: Continue cooking until all the vegetables are tender-crisp and have developed a beautiful golden-brown color, which indicates optimal flavor development. This usually takes approximately 8-10 minutes in total, depending on the vegetables used and the heat level.
- Finish with Fresh Herbs (Optional): For an extra burst of freshness, you can stir in fresh herbs like parsley or basil during the last minute of cooking.
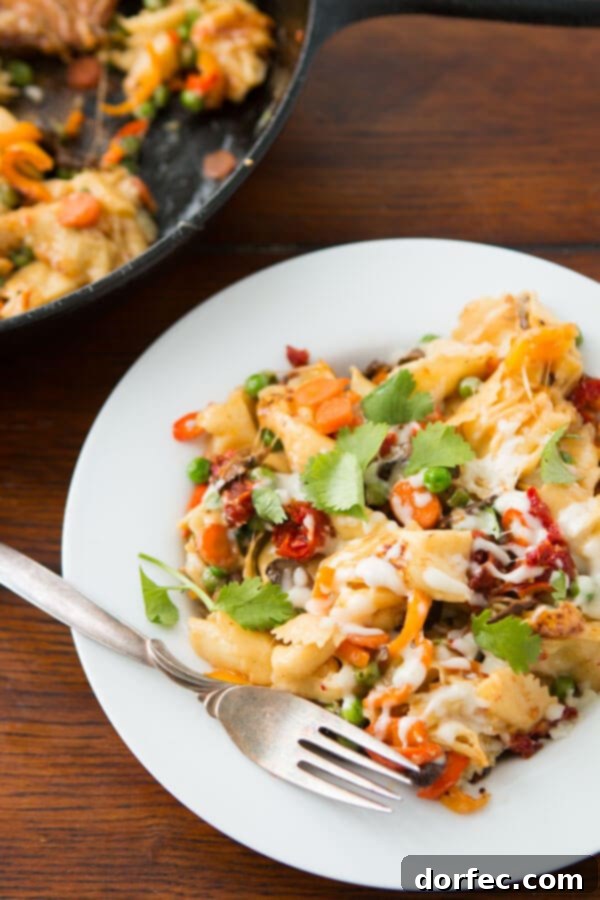
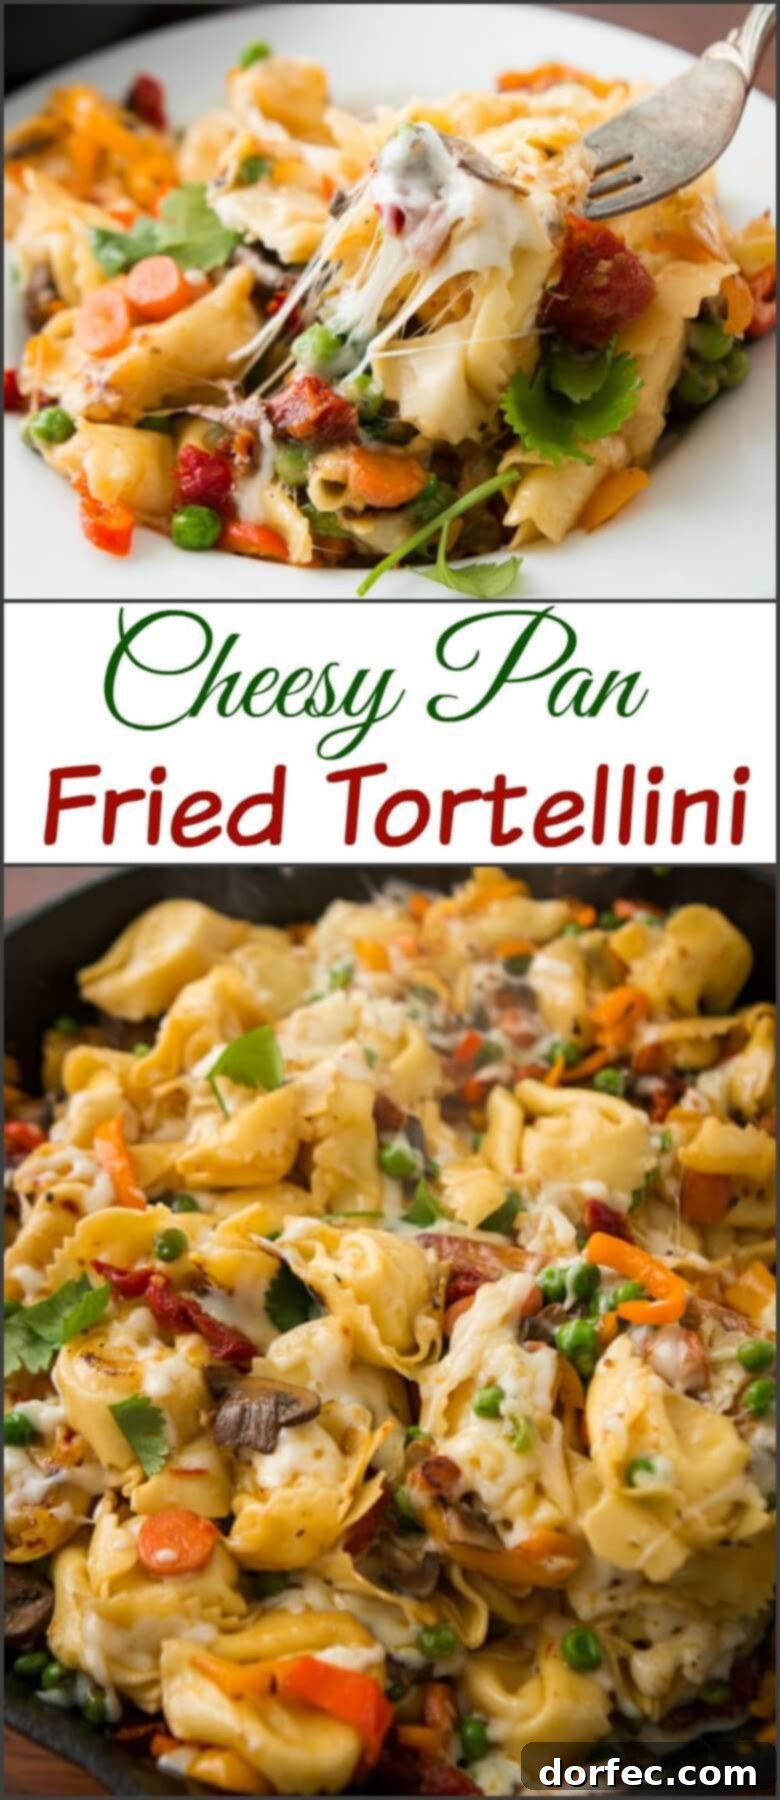
Once your vibrant vegetables are cooked to tender-crisp perfection and your tortellini is perfectly al dente, it’s time for the grand finale. Combine everything in your large pan, adding a little more olive oil if needed to facilitate browning. Cook this delightful medley until the tortellini begins to develop those coveted golden-brown, slightly crispy edges—that’s the sign of true pan-fried deliciousness! As soon as you achieve that, generously sprinkle in the mozzarella cheese, stirring gently until it melts into a gloriously gooey, irresistible blanket over the entire dish. Mmmmm, I absolutely adore gooey cheese just as much as I adore this Cheesy Pan-Fried Tortellini. In fact, it reminded me of another must-try: I couldn’t help but bookmark this Cream Cheese Chicken Tortellini Bake for our next tortellini-themed dinner. It looks absolutely divine!
Cheesy Pan-Fried Tortellini Recipe
Cheesy Pan-Fried Tortellini
Sweet Basil
15
mins
15
mins
20
mins
4
-6
Ingredients
-
1
Tablespoon
Olive oil -
2
Cloves
Garlic, minced -
1
Large Carrot, sliced thin -
1
Cup
Sweet Peppers or Bell Peppers, julienned -
1/2
Cup
Mushrooms, sliced -
1
Container
Fresh Tortellini , 16 ounce, *see note -
1/2
Cup
Oil packed Sun Dried Tomatoes -
1
Cup
Peas, thawed -
1-2
Tablespoons
Olive Oil or Extra Virgin Olive Oil (for pan-frying) - Salt and Pepper to taste
-
2
Cups
Mozzarella Cheese Shredded
Instructions
-
Heat a large skillet (preferably cast iron) with 1 tablespoon of olive oil over medium-high heat. Add the minced garlic.
-
Sauté the garlic until fragrant, about 30-60 seconds, being careful not to burn it.
-
Add the sliced carrots to the skillet and cook until they begin to tenderize, typically 3-5 minutes.
-
Stir in the julienned bell peppers and sliced mushrooms. Continue to sauté until all vegetables are tender-crisp and lightly browned, about 5-7 minutes more.
-
Meanwhile, bring a pot of salted water to a rolling boil. Add the fresh tortellini and cook according to package directions until al dente. Fresh tortellini cooks very quickly, often just 2-3 minutes, so keep a close eye on it. It will float to the top when nearly done.
-
Drain the cooked tortellini thoroughly. Add the drained pasta to the skillet with the sautéed vegetables. If the pan seems dry, add 1-2 more tablespoons of olive oil or extra virgin olive oil. Increase the heat to medium-high and cook, stirring occasionally, until the tortellini begins to brown and crisp up on the edges, and all the flavors are well combined. Season with salt and pepper to taste.
-
Stir in the oil-packed sun-dried tomatoes and thawed peas. Finally, add the shredded mozzarella cheese, tossing everything together until the cheese is beautifully melted and gooey. Serve immediately and enjoy!
Recipe Notes
We highly recommend using fresh tortellini over dried for this recipe; its tender texture and quicker cooking time are ideal. Feel free to customize the vegetables to your liking! We love sweet peppers, peas, mushrooms, asparagus, and carrots. Just remember to add harder vegetables like carrots earlier than quick-cooking ones like bell peppers or peas.
Leftovers of this Cheesy Pan-Fried Tortellini will keep well in an airtight container in the refrigerator for 3-5 days. Reheat gently on the stovetop or in the microwave.
Nutrition
Serving: 1g
,
Calories: 728kcal
,
Carbohydrates: 71g
,
Protein: 32g
,
Fat: 37g
,
Saturated Fat: 14g
,
Polyunsaturated Fat: 20g
,
Cholesterol: 92mg
,
Sodium: 932mg
,
Fiber: 7g
,
Sugar: 7g
Nutrition information is automatically calculated, so should only be used as an approximation.
Enjoyed this recipe? Leave a comment below!
Looking for More Quick & Delicious Pasta Dinners?
If you loved this Cheesy Pan-Fried Tortellini, you might also enjoy some of our other fast and flavorful pasta recipes. Here’s another family favorite that’s perfect for busy evenings:
20 Minute Creamy Sun-Dried Tomato Chicken Pasta
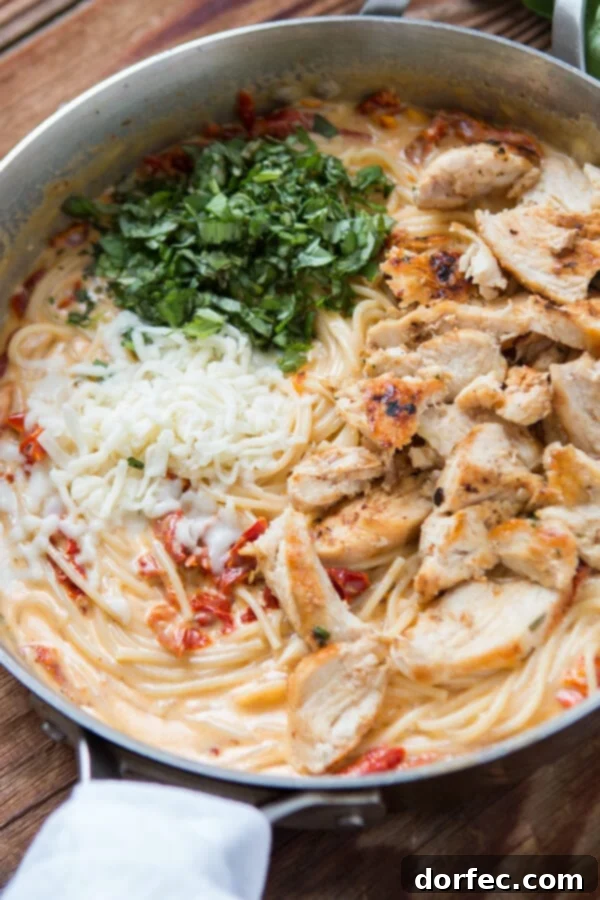
Imagine a rich, creamy pasta dish, brimming with succulent chicken and tangy sun-dried tomatoes, all made in just one skillet! With a few fresh ingredients and a simple process, you’ll have this incredible 20-minute creamy sun-dried tomato chicken pasta on your dinner table in no time. It’s an elegant yet easy meal that proves gourmet flavors can be achieved even on the busiest of weeknights.
This post contains affiliate links, which means we may earn a small commission if you make a purchase through our links at no extra cost to you. Thank you for supporting our blog!