
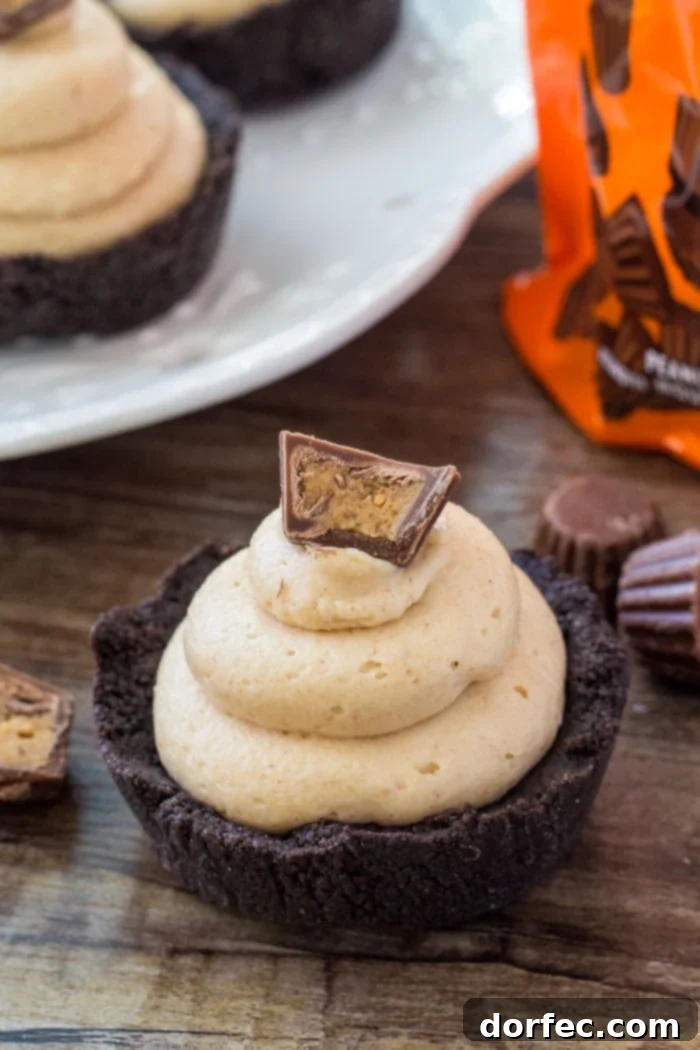
Prepare to be enchanted by the ultimate sweet and savory indulgence: these extraordinary No-Bake Mini Peanut Butter Cheesecakes. Each bite offers a harmonious symphony of textures and tastes, making them an undeniably adorable, incredibly creamy, and perfectly salty-sweet peanut butter delight. Imagine a robust, crunchy Oreo cookie crust providing the perfect foundation for a luscious, smooth peanut butter cheesecake filling, all crowned with the iconic treat of a miniature peanut butter cup. This dessert isn’t just a treat; it’s an experience, designed to captivate both your taste buds and your guests.
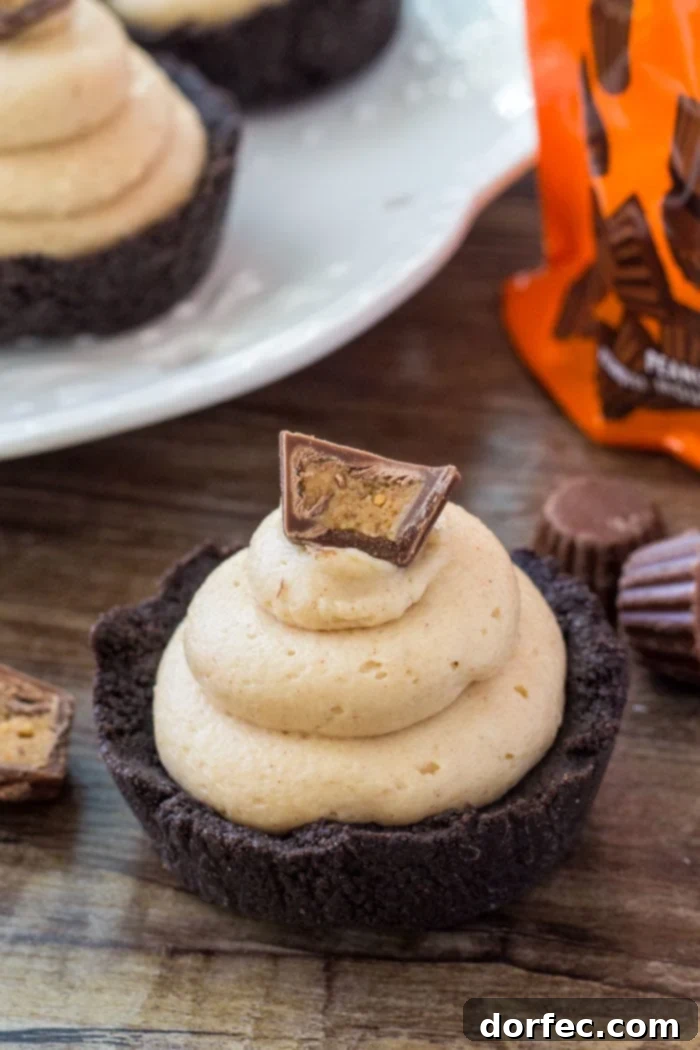
For any dessert enthusiast, the allure of a classic cheesecake is undeniable. That luxurious, creamy, smooth texture, coupled with a buttery cookie crust, is a combination that’s hard to beat. However, the traditional baking process can often be daunting, fraught with the risk of cracks and the fuss of water baths. But what if you could achieve that same decadent experience with minimal effort and no baking required? Even better, what if these delectable treats came in charming, individual portions?
My recent obsession with mini desserts perfectly merges with my long-standing love for cheesecake, leading directly to the creation of these no-bake mini peanut butter cheesecakes. They are not just exceptionally cute; they deliver an intensely creamy, dreamy peanut butter cheesecake flavor that will leave you wanting more. Beyond their irresistible taste, their simplicity is a game-changer. Forget about the anxiety of oven-baked cheesecakes; these come together effortlessly in under 30 minutes of active prep time, plus a brief chill, guaranteeing a flawless, crack-free finish every single time.
The beauty of these mini cheesecakes extends beyond their ease of preparation. They are truly ideal for gatherings, potlucks, and parties, offering a stress-free serving solution. No more wrestling with a large cake, attempting to cut perfect slices, or dealing with messy crumbs. Each guest can simply grab their own perfectly portioned dessert, ready to enjoy. It’s hard to imagine anyone resisting the temptation of a miniature cheesecake, boasting a crisp Oreo cookie crust, a rich, creamy peanut butter filling, and adorned with a delightful peanut butter cup. These treats promise to be a crowd-pleaser, delivering maximum impact with minimal fuss.
Crafting the Perfect Oreo Crust: The Foundation of Flavor
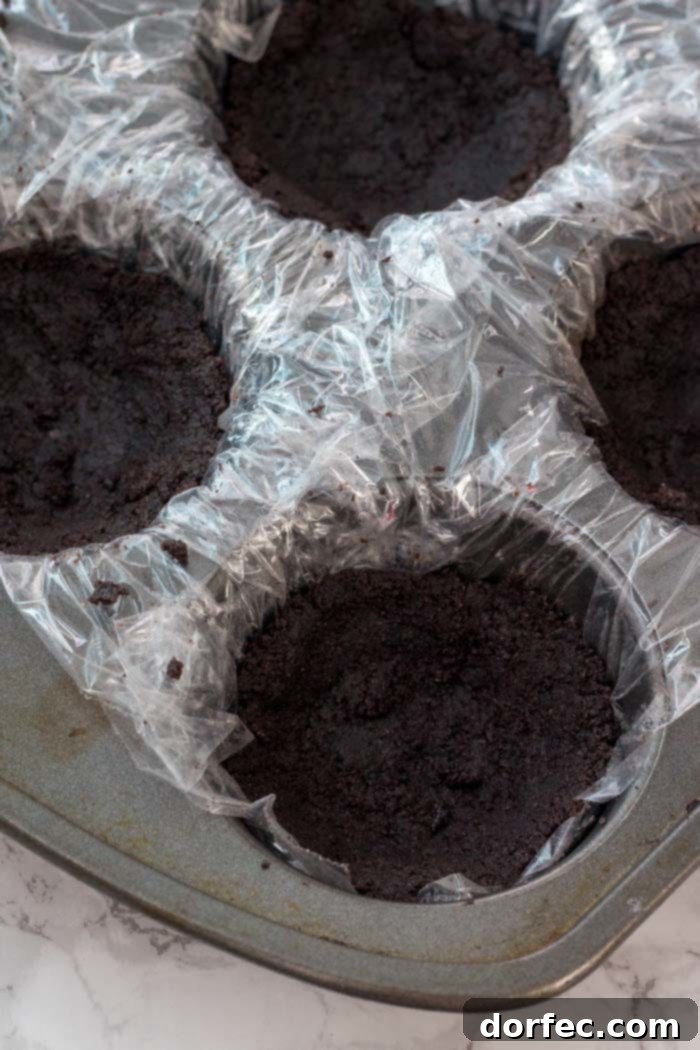
The journey to these delightful mini cheesecakes begins with their irresistible base: the crunchy Oreo crust. This foundation is remarkably simple to create, essentially forming individual tart shells from crushed Oreo cookies and melted butter. The key to a seamless experience, particularly with no-bake desserts, lies in proper preparation of your muffin pan. First, line each muffin cavity with plastic wrap. Depending on the size of your plastic wrap roll, you might need one or two sheets to ensure complete coverage, allowing for easy removal of the finished cheesecakes. Press the plastic wrap firmly into each well, creating a snug fit.
Next, combine the finely crushed Oreo cookies (including their creamy filling for extra flavor and binding power) with melted unsalted butter. Mix these two ingredients thoroughly until the cookie crumbs are uniformly moistened, resembling wet sand. This mixture is then divided evenly among the 12 prepared muffin wells. Using a small glass, the back of a spoon, or even your fingertips, press the mixture down firmly into the bottom of each cavity and about halfway up the sides. This careful shaping creates a sturdy, well-defined tart shell, ready to hold the rich peanut butter filling. Once formed, pop the entire muffin pan into the freezer. This crucial step allows the butter to solidify, setting the crust and ensuring it holds its shape beautifully while you prepare the creamy peanut butter cheesecake filling.
Creating the Dreamy No-Bake Peanut Butter Cheesecake Filling
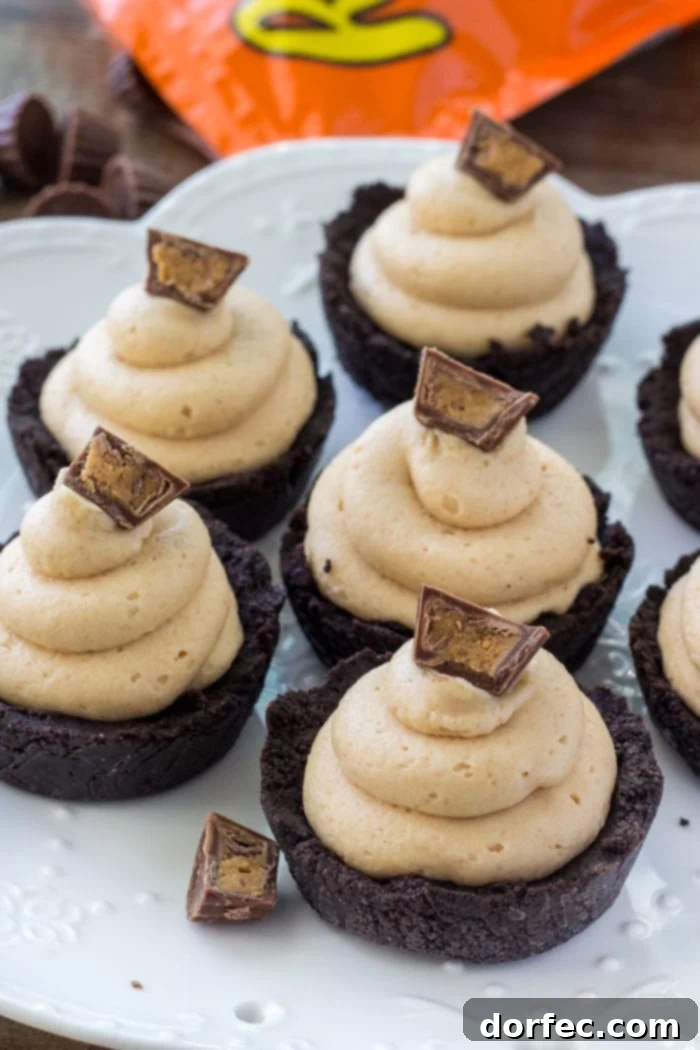
The heart of these mini cheesecakes is their incredibly smooth and flavorful no-bake peanut butter filling. What makes this recipe so appealing is its simplicity, requiring just a handful of common ingredients and minimal effort. To achieve that perfect, stable, and utterly delicious consistency, here’s what you’ll need:
- Cream Cheese
- Powdered Sugar
- Peanut Butter
- Whipped Topping (or equivalent homemade whipped cream)
Can You Use Fat-Free Cream Cheese for Cheesecake?
While the thought of a lighter dessert might be appealing, I cannot stress enough the importance of using full-fat, brick-style cream cheese for this recipe. Through extensive testing, I’ve found that other varieties, such as fat-free or whipped cream cheese, are simply too soft and contain too much moisture. They lack the necessary firmness and richness, resulting in cheesecakes that fail to set properly and lack the luxurious mouthfeel we crave. Stick to the full-fat, block variety for guaranteed success and a truly decadent outcome.
How to Prepare the Peanut Butter Cheesecake Filling
Making the peanut butter cheesecake filling is a straightforward process. Begin by placing the softened cream cheese in a large mixing bowl. Using an electric mixer, beat the cream cheese on medium speed until it’s completely smooth and free of any lumps. This ensures a silky texture for your filling. Next, gradually add the powdered sugar and the creamy peanut butter to the bowl. Continue beating until all ingredients are well combined and the mixture is light and fluffy. It’s important to scrape down the sides of the bowl periodically to ensure everything is incorporated evenly.
Once your cream cheese, sugar, and peanut butter mixture is smooth, it’s time to gently fold in the whipped topping. The key here is to be delicate; you want to maintain as much air as possible in the mixture, which contributes to the light and airy texture of the cheesecake. Use a spatula to fold the whipped topping in until no streaks remain and the filling is uniform. Avoid overmixing at this stage. Now, your heavenly peanut butter filling is ready for assembly.
Assembling Your No-Bake Mini Peanut Butter Cheesecakes
With the creamy filling ready and the crunchy Oreo crusts chilling in the freezer, it’s time for the exciting final step: assembling your mini cheesecakes. There are a couple of methods you can use to fill your crusts, depending on your preference for presentation.
The simplest approach is to spoon the peanut butter cheesecake filling evenly into each of the 12 Oreo crusts. Just dollop a generous amount into each well, then gently smooth the top with the back of a spoon to create a neat finish.
For a more elegant and professional appearance, I highly recommend using a piping bag. Spoon the entire filling into a piping bag fitted with a large round tip (a 1M star tip also works wonderfully for a decorative swirl). If you don’t have a piping bag, a large, heavy-duty Ziploc bag makes an excellent substitute. Simply fill the bag, snip off one bottom corner, and use it just like a piping bag. Pipe a beautiful swirl of the peanut butter filling onto the top of each Oreo crust. This method not only looks stunning but also helps distribute the filling evenly.
Once all the crusts are filled, it’s crucial to chill your cheesecakes to allow them to set properly. For a quicker set, place the muffin pan in the freezer for about 30 minutes. If you have more time, or prefer to prepare them further in advance, you can refrigerate them for at least 2 hours (or even overnight). Proper chilling ensures the cheesecakes are firm, easy to handle, and have the perfect creamy texture when served. Before serving, feel free to remove them from the muffin pan by lifting the plastic wrap liners, then top each with a mini peanut butter cup for that final touch of indulgence. A sprinkle of chopped peanuts or a drizzle of chocolate sauce also makes for a fantastic garnish.
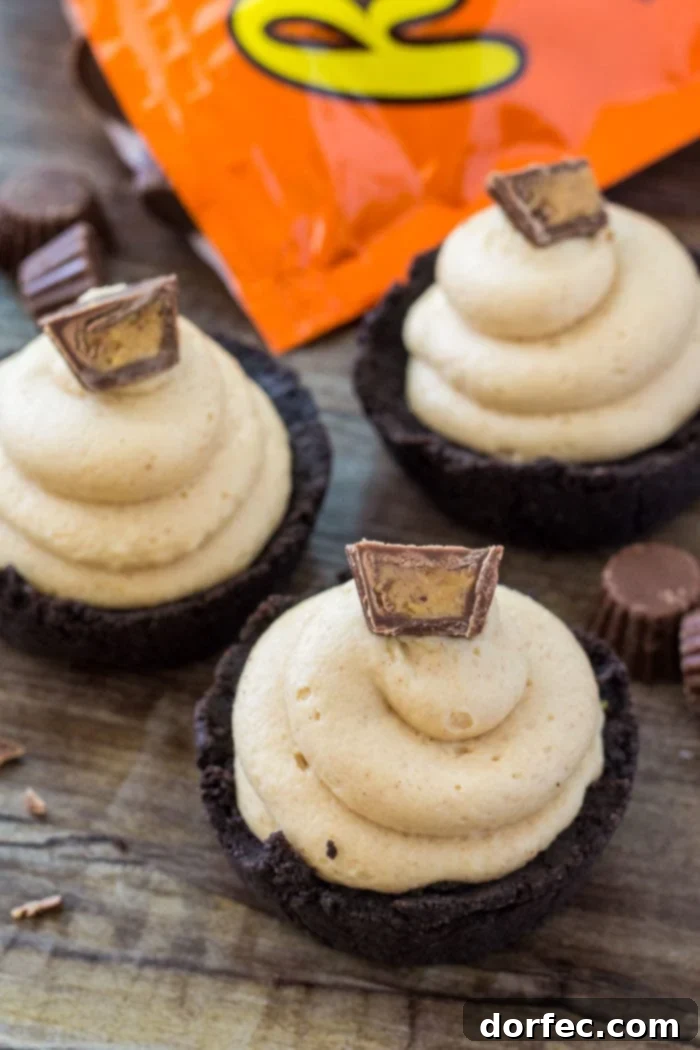
These individual no-bake peanut butter cheesecakes are the epitome of an effortless yet impressive dessert. They are infused with an abundance of rich peanut butter goodness, complemented by the most delightful creamy cheesecake texture, all balanced by the satisfying crunch of an Oreo crust. If you’re on the hunt for an easy-to-make peanut butter dessert that consistently wows crowds and leaves a lasting impression, then these mini cheesecakes are undoubtedly the perfect choice for you. Their charm, convenience, and irresistible flavor make them a staple for any occasion.
No-Bake Mini Peanut Butter Cheesecakes Recipe
No-Bake Mini Peanut Butter Cheesecakes
Fiona
30 mins
1 hr
12 mini cheesecakes
Ingredients
Oreo Crust
- 27 Oreo cookies, including filling
- 6 Tablespoons Unsalted Butter, melted
Peanut Butter Cheesecake
- 10 Ounce Cream Cheese (full-fat, brick style)
- 3/4 Cup Powdered Sugar
- 2/3 Cup Peanut Butter, I don’t recommend natural peanut butter
- 3/4 Cup Whipped Topping (or stabilized whipped cream)
- Mini Peanut Butter Cups, for decorating (optional)
Instructions
Oreo Crusts
-
Crush the Oreo cookies in a food processor until fine crumbs form, or place them in a Ziploc bag and crush them by hand using a rolling pin.27 Oreo cookies
-
In a medium bowl, mix the crushed cookies with the melted butter until well combined.6 Tablespoons Unsalted Butter
-
Line a 12-cup muffin pan with plastic wrap, pressing it down into each muffin cavity to create liners. This will make removing the cheesecakes much easier.
-
Divide the Oreo mixture evenly between the 12 muffin cavities. Press the mixture down firmly into the bottom and about 1/3 to 1/2 way up the sides to create a sturdy tart shell shape.
-
Place the muffin pan in the freezer to chill while you prepare the filling. This helps the crust set.
Peanut Butter Cheesecake Filling
-
In a large bowl, using an electric mixer, beat the softened cream cheese until it is smooth and creamy.10 Ounce Cream Cheese
-
Add the powdered sugar and peanut butter to the cream cheese mixture. Beat until everything is well combined and fluffy. Scrape down the sides of the bowl as needed.3/4 Cup Powdered Sugar, 2/3 Cup Peanut Butter
-
Gently fold in the whipped topping (or stabilized whipped cream) using a spatula until the mixture is uniform and airy. Be careful not to overmix.3/4 Cup Whipped Topping
-
Spoon the peanut butter cheesecake mixture evenly on top of each chilled Oreo crust. For a neater finish, you can spoon the mixture into a piping bag with a round tip (like a 1M star tip) or into a large, heavy-duty Ziploc bag with the corner snipped off, then swirl it on top of each crust.
-
Place the filled cheesecakes back into the freezer to set for 30 minutes, or in the fridge to set for at least 2 hours.
-
Before serving, carefully remove the mini cheesecakes from the muffin pan using the plastic wrap liners. Decorate each with a mini peanut butter cup, a sprinkle of chopped peanuts, or mini chocolate chips, if desired.Mini Peanut Butter Cups
Recipe Notes
Nutrition
Calories: 382kcal,
Carbohydrates: 31g,
Protein: 7g,
Fat: 27g,
Saturated Fat: 12g,
Cholesterol: 41mg,
Sodium: 270mg,
Potassium: 188mg,
Fiber: 2g,
Sugar: 22g,
Vitamin A: 492IU,
Calcium: 40mg,
Iron: 3mg
Nutrition information is automatically calculated, so should only be used as an approximation.
Like this? Leave a comment below!
Explore More: Mini No-Bake Chocolate Cheesecakes
If your heart beats for no-bake cheesecake, then you absolutely must try these delightful no-bake mini chocolate cheesecakes. They are exceptionally creamy, brimming with rich chocolate flavor, and also feature that satisfying crunchy Oreo crust. Perfect for any chocolate lover, these easy cheesecakes are a fantastic alternative when you’re craving a decadent treat without turning on the oven.
Craving Baked? Try Peanut Butter Cheesecake Squares
For those who appreciate the classic, baked cheesecake experience, we recommend these incredible peanut butter cheesecake squares. They offer all the creamy, dreamy peanut butter deliciousness you could ask for, in a convenient square format. A truly satisfying dessert for any occasion that calls for a traditional baked cheesecake with a peanut butter twist.