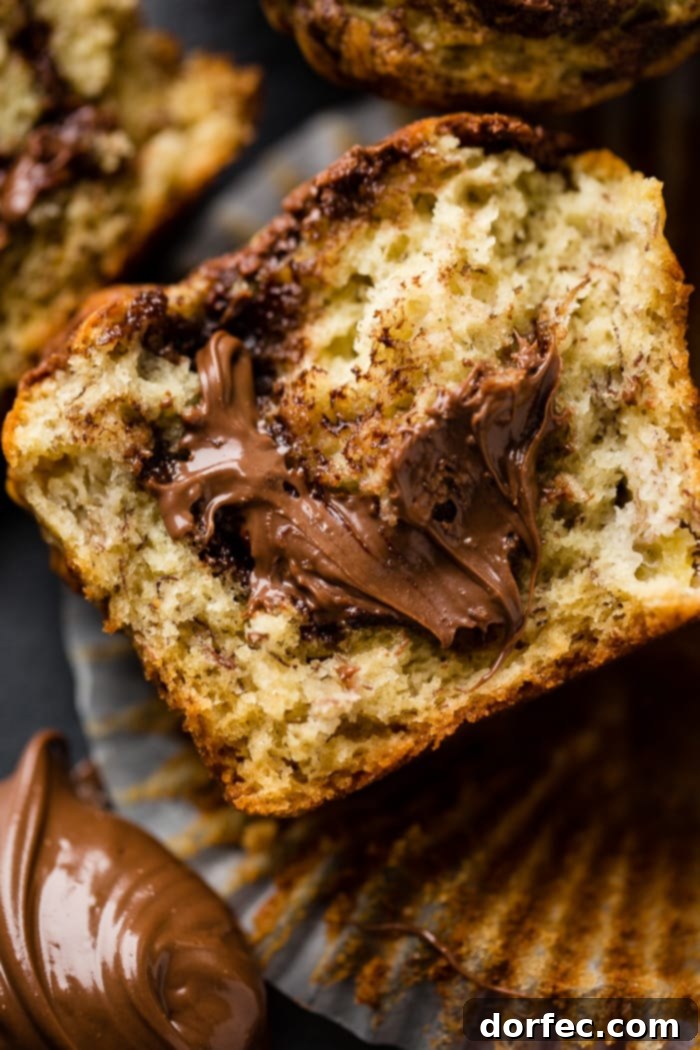
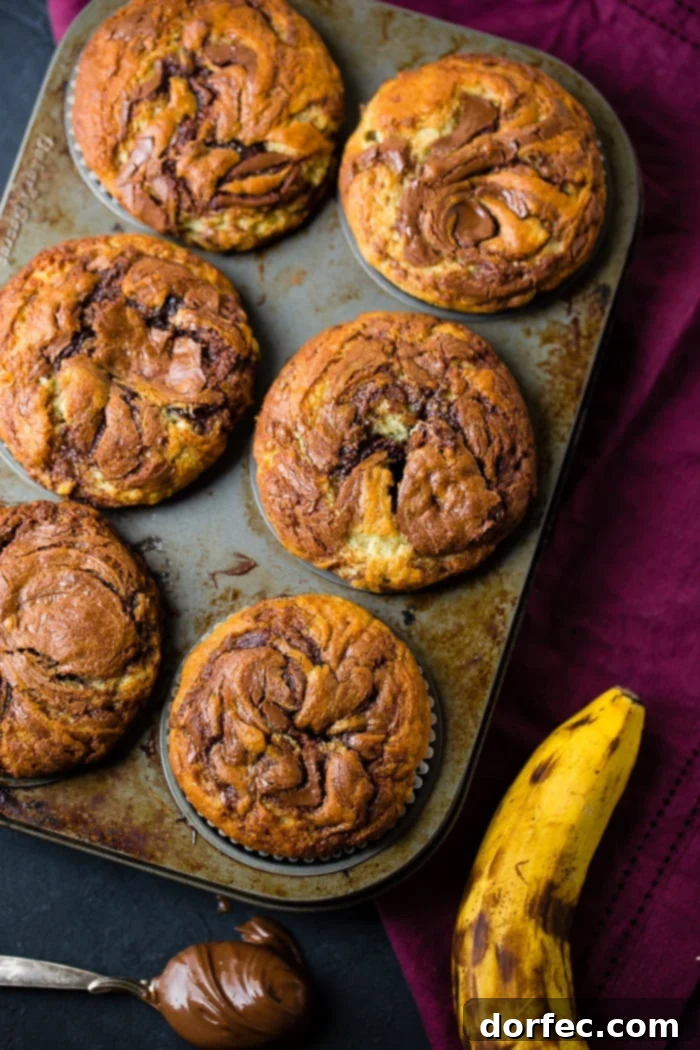
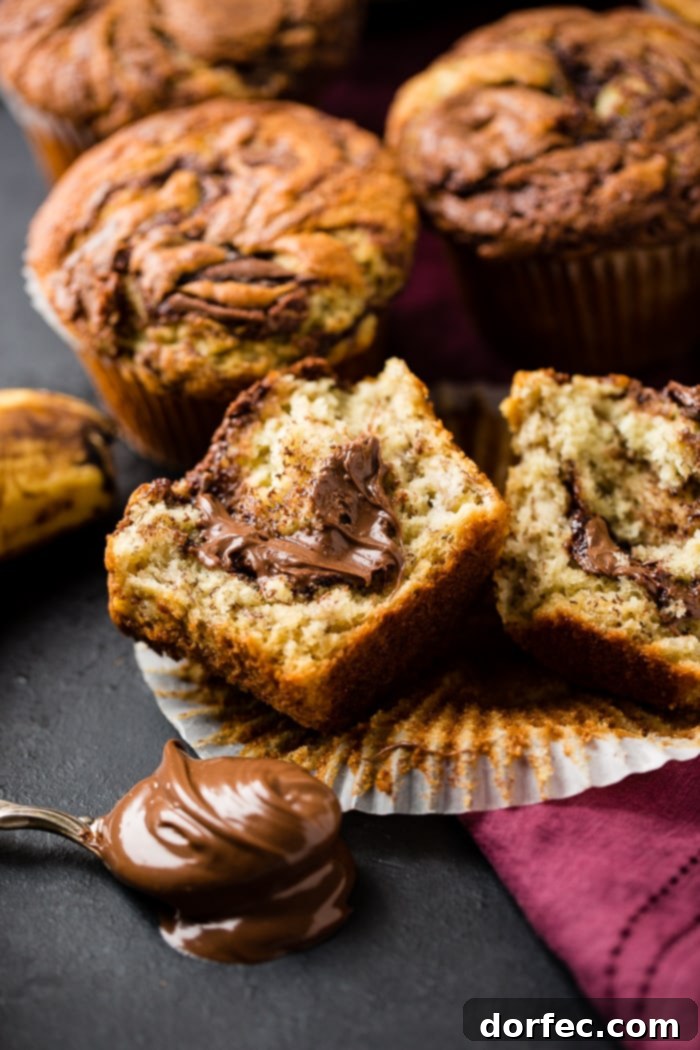
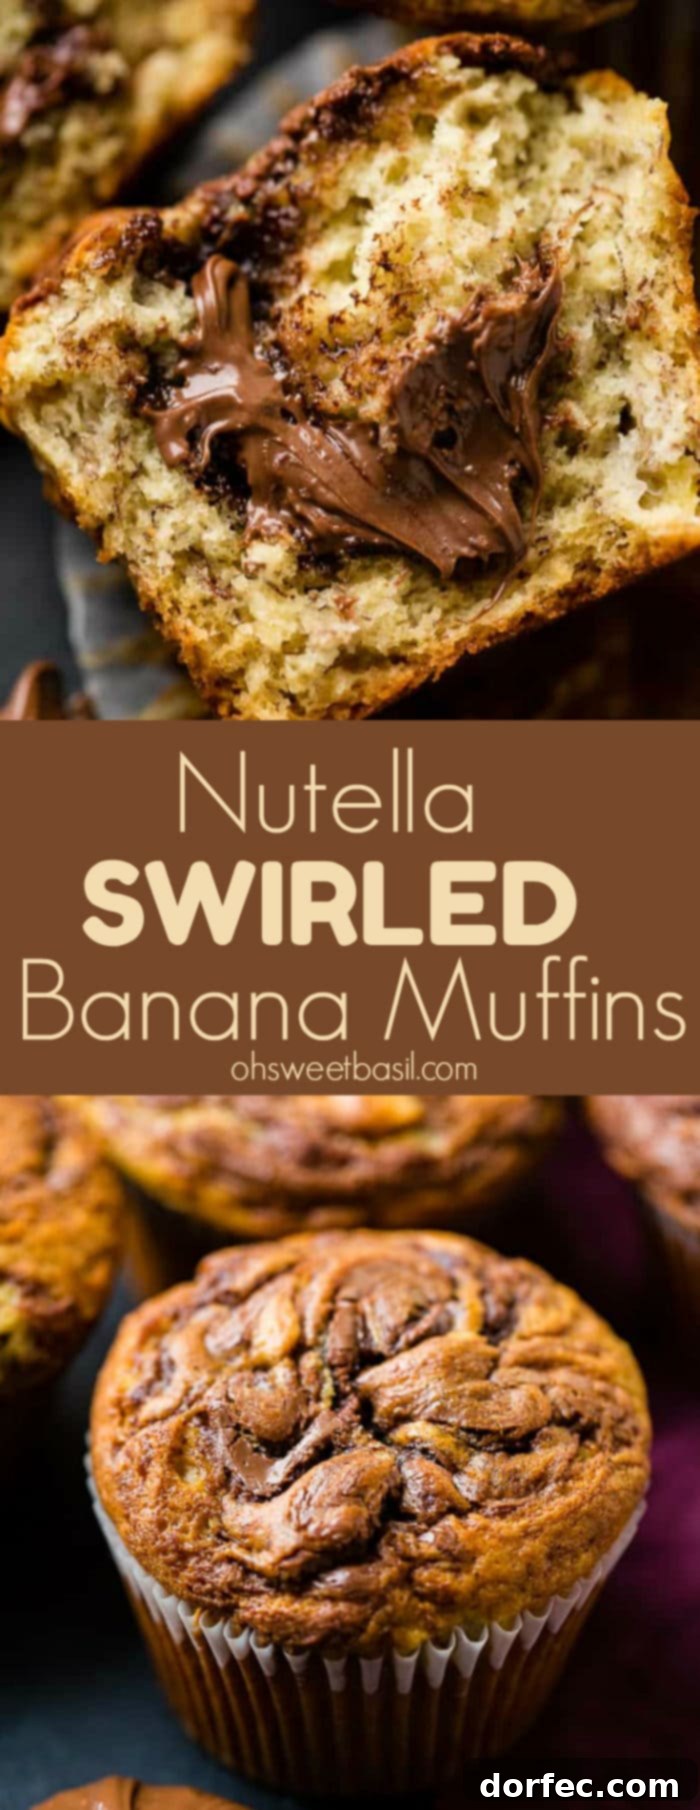
Prepare to experience pure culinary delight! We’ve taken the irresistible combination of rich Nutella and sweet bananas to create something truly magical: our incredible Nutella Swirled Banana Muffins. But wait, there’s more – these aren’t just swirled, they’re also generously stuffed with creamy, luscious Nutella, ensuring a surprise in every bite!
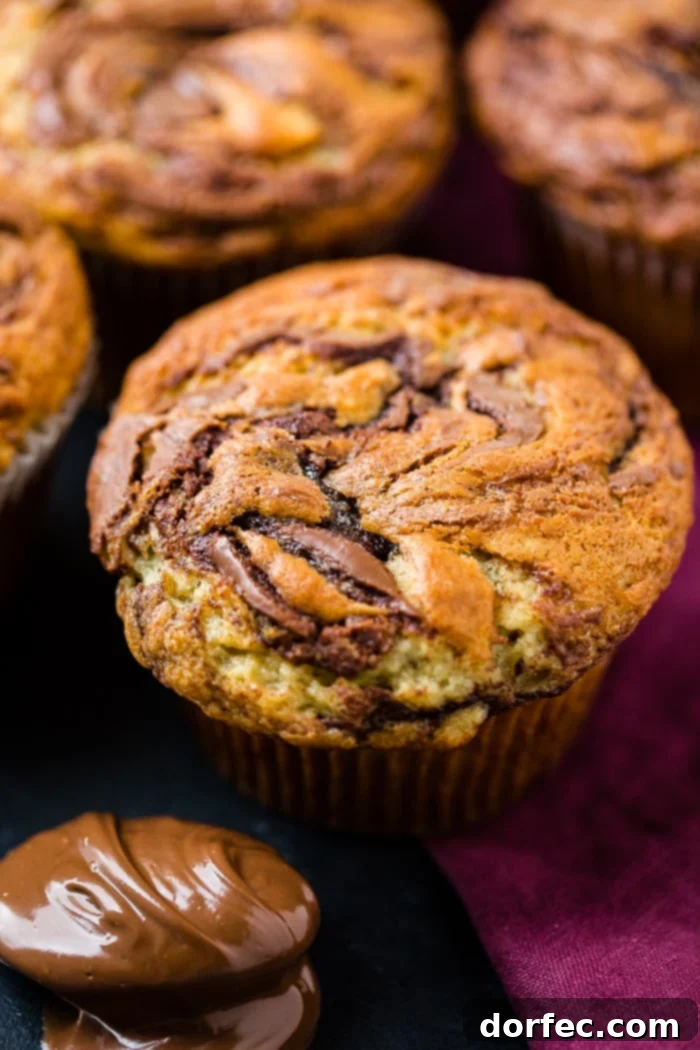
Have you ever encountered a treat so utterly delicious that you find yourself savoring each morsel, almost dreading the last bite because then the blissful experience will be over? That’s precisely the feeling these muffins evoke! We are passionate about good food, and these muffins truly stand out. They are, without exaggeration, the softest, most incredibly moist banana muffins you will ever bake. But the addition of Nutella elevates them to an entirely new dimension of flavor and texture. If you haven’t tried our Nutella Swirled Banana Muffins, you simply haven’t lived!
While some people categorize certain baked goods as strictly for breakfast or dessert, we believe that deliciousness knows no time constraints. Whether it’s a quick weekday breakfast, a leisurely Sunday brunch, or a comforting treat for dinner, these versatile muffins fit any occasion. We often find ourselves enjoying hearty breakfast-style meals for dinner – it’s a fantastic way to break free from routine! While our mornings might feature healthy options like nutritious green protein shakes, wholesome oatmeal, or refreshing fruit and yogurt parfaits (each fortified with protein to keep us energized), evenings are perfect for indulging in more elaborate comfort foods. This includes savory breakfast burritos, delightful muffins, and even our FAMOUS Melt-in-your-mouth Buttermilk Pancakes, all frequently making an appearance at our dinner table. There’s just something inherently satisfying about “breakfast for dinner” – it feels like a comforting, effortless feast, even when it’s not a traditional evening meal.
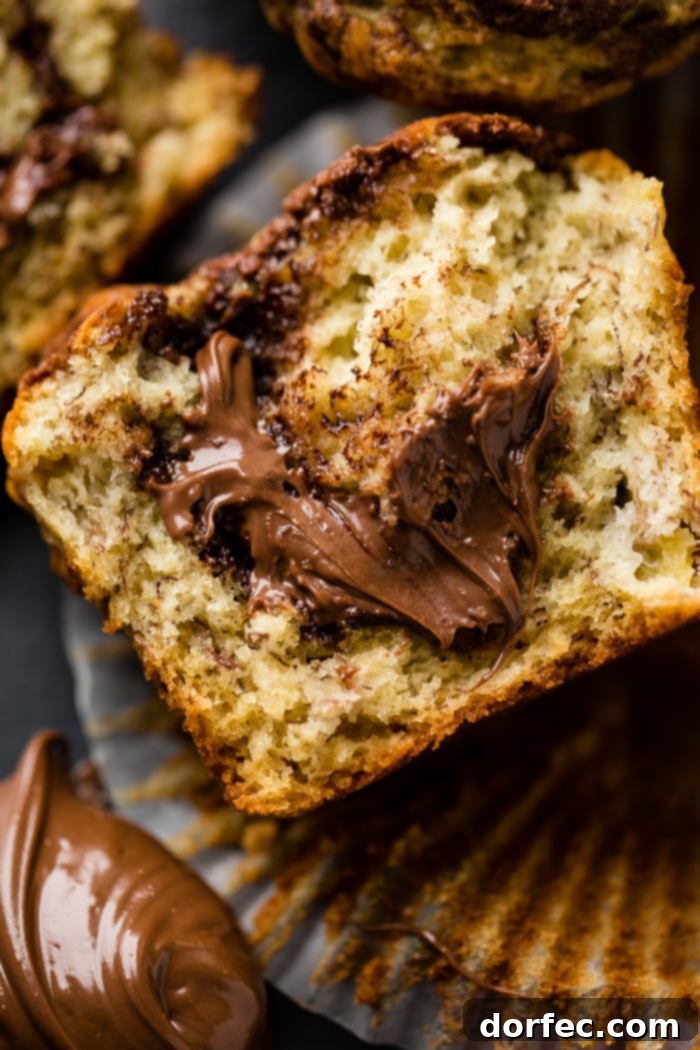
Muffins vs. Cupcakes: Unraveling the Delicious Differences
The great debate: are muffins and cupcakes truly the same thing? While some might argue they’re interchangeable, especially after encountering an extra-large, sweet muffin, there are distinct differences that set them apart. Understanding these distinctions can help you appreciate each treat for its unique qualities and even improve your baking.
One primary difference lies in their ingredient ratios. Cupcakes typically boast a significantly higher proportion of butter and sugar, contributing to their characteristically sweet, cake-like texture. Muffins, on the other hand, often contain less sugar and fat, resulting in a more robust and sometimes healthier profile. This difference in composition is also why cupcakes tend to be lighter and fluffier, while muffins often feel denser and more substantial.
Another key differentiator is the type of flour used. Cupcakes almost exclusively stick to all-purpose flour, or more recently, gluten-free alternatives, to achieve their delicate crumb. Muffins offer much more versatility, accommodating a range of flours from all-purpose to oat flour, whole wheat flour, or even various nut flours. This flexibility allows for both sweet and savory variations, from berry-filled delights to savory cheese and herb creations.
The mixing method also plays a crucial role in defining their texture. Cupcake batter is typically beaten for a longer duration, aiming to incorporate ample air and create a uniform, finely aerated crumb. This extensive mixing results in a light, airy, and consistently smooth batter. Muffin batter, conversely, is mixed just until the ingredients are combined, often leaving a few streaks of flour. This minimal mixing preserves distinct pockets of ingredients and results in a denser, lumpier batter, which ultimately yields a more rugged, chewy, and heavier baked good compared to its delicate cupcake cousin.
Mastering Muffins: Your Guide to Baking From Scratch
Transitioning from those nostalgic Jiffy box mixes to homemade muffins might seem daunting, but it’s a deeply rewarding experience. Even with fond memories of boxed mixes (and yes, we still enjoy them sometimes!), the flavor and texture of scratch-made muffins are simply unparalleled. Here’s how to create perfectly moist and flavorful muffins from scratch, every time.
Start your muffin journey by combining your chosen fat and sugar. We often favor oil for its ability to create exceptionally moist and tender muffins, but butter also imparts a wonderful, rich flavor. Feel free to experiment with either or even a combination to discover your preference. However, we recommend steering clear of margarine or shortening, as they generally don’t deliver the same depth of flavor or desirable moistness. The fat contributes to the rich texture and helps carry flavors throughout the muffin, while sugar provides sweetness and aids in browning and tenderness.
Once you begin mixing, remember that a light hand is your secret weapon. Muffins are notoriously sensitive to overmixing. The key is to mix the wet and dry ingredients just until they are barely combined. You might even see a few small streaks of flour remaining in the batter – and that’s perfectly fine! Resist the urge to keep stirring, even if it feels therapeutic or you want a perfectly smooth batter. Overmixing develops the gluten in the flour too much, leading to tough, chewy muffins instead of the soft, tender ones we crave. Stop stirring, and proceed directly to filling your muffin tin.
Secrets to Achieving Perfectly Fluffy Muffins
Everyone loves a fluffy muffin! While the base recipe is important, a few key techniques can elevate your muffins from good to truly exceptional. Here are our top tips for achieving that coveted light, airy texture:
- Accurate Flour Measurement: This is fundamental. Too much flour can lead to dry, dense muffins. Always use the “spoon and level” method: spoon flour lightly into your measuring cup until it overflows, then level it off with a straight edge (like the back of a knife). Avoid scooping directly from the bag, as this compacts the flour and adds too much. For an even more precise measurement, check out our detailed guide on how to measure flour.
- Sift Your Dry Ingredients: Sifting flour, baking soda, and salt together before adding them to the wet ingredients helps in several ways. It removes any lumps, ensuring a smooth, consistent batter. More importantly, it aerates the flour, making it lighter and easier to incorporate, which directly contributes to a fluffier final product.
- Mix with a Light Hand (No Electric Mixers!): As mentioned before, overmixing is the enemy of fluffy muffins. When combining wet and dry ingredients, switch from a whisk to a rubber spatula or a wooden spoon. This helps prevent over-developing the gluten. An electric mixer, while convenient for many baking tasks, is too aggressive for muffin batter and will almost certainly lead to tough muffins. Mix just until the ingredients are barely combined, leaving those few flour streaks.
- Let the Batter Rest: This is a lesser-known but incredibly effective trick we swear by. After mixing your muffin batter, let it rest in the muffin tin for 8-12 minutes before baking. While neither of us knows the exact science behind it, we’ve consistently observed that rested batter yields significantly higher, fluffier muffins. We once doubled a recipe, baking one batch immediately and letting the second rest – the difference in rise was undeniable! This simple step allows the flour to fully hydrate and the leavening agents to begin their work, resulting in a superior texture.
Freezing Muffins: Your Guide to Long-Lasting Freshness
Muffins are wonderfully freezer-friendly, making them the perfect candidate for meal prep or simply having a delicious treat on hand whenever a craving strikes. But how long do they last, and what’s the best way to freeze them?
When properly stored, muffins can remain fresh in the freezer for up to one month. For shorter storage (up to two weeks), simply place cooled muffins in a freezer-safe zip-top bag, squeezing out as much air as possible before sealing. If you plan to store them for a longer duration, or if you prefer convenience, wrapping each muffin individually in plastic wrap before placing them in a freezer bag or airtight container is ideal. This prevents freezer burn and makes it easy to grab just one muffin at a time.
For optimal extended freshness, consider investing in a Food Saver vacuum sealer. When used correctly, a Food Saver can extend the freezer life of your muffins to two months or even longer. However, there’s a crucial tip: you MUST seal the bag before the machine extracts all the air. If you allow the vacuum to fully compress the muffins, it will literally pull the air from within them, leaving you with flat, dense baked goods. It’s a common mistake, and one that can be quite frustrating if you forget – especially if you’ve already been reminded by a diligent partner!
When you’re ready to enjoy a frozen muffin, simply take it out of the freezer and let it thaw at room temperature on the counter. For a warm, freshly baked experience, you can also gently reheat a thawed or partially thawed muffin in the microwave for 15-30 seconds or in a toaster oven for a few minutes until warmed through.
The Art of Filling Your Muffin Tin: Achieving Perfect Domes
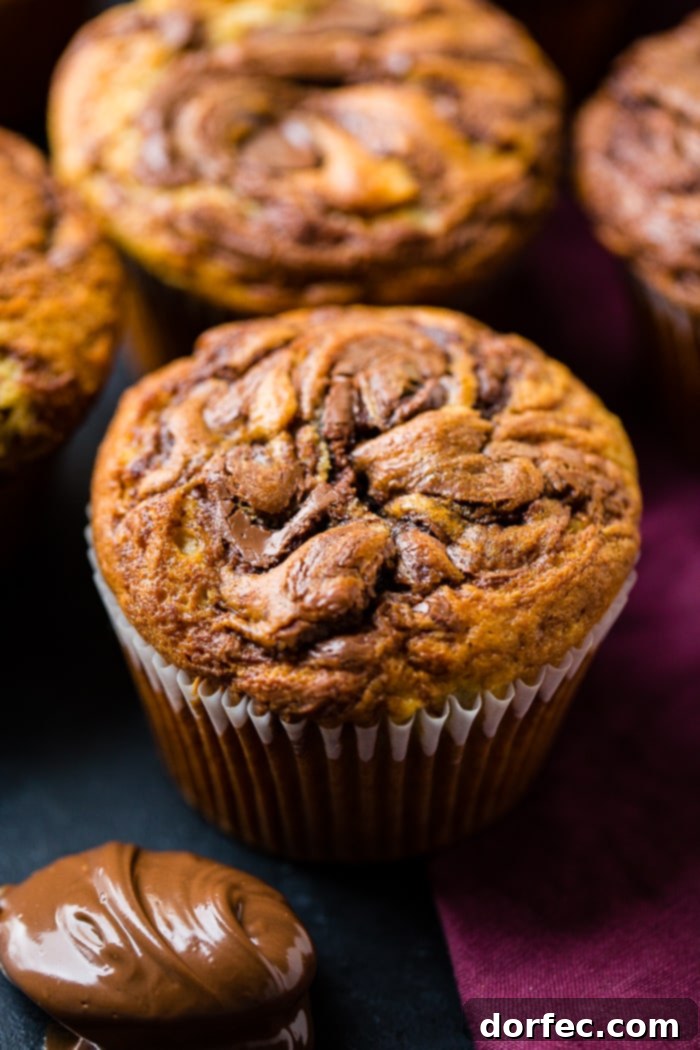
One of the most common questions in muffin baking is, “How much batter should I put in each muffin well?” The general guideline typically suggests filling each well about two-thirds full. This allows enough space for the muffin to rise without overflowing. However, you might find, as we often do, that you can push the boundaries a bit!
Experimentation is key here. While two-thirds full is a safe bet for consistently well-shaped muffins, sometimes filling the wells three-quarters full can yield those coveted, beautifully domed tops, especially with certain recipes. Just be mindful that overfilling can lead to muffins spreading over the edges and sticking together, making them harder to remove and less visually appealing. The ideal fill level depends on your specific recipe and oven, so don’t be afraid to try slightly different amounts to see what works best for your batch of delicious Nutella Swirled Banana Muffins.
Troubleshooting Muffins: Why They Might Fall or Sink
Few things are as disappointing as pulling a batch of muffins from the oven only to see them deflate before your eyes. Muffins typically fall or sink for two primary reasons: improper leavening or under-baking. Let’s explore each issue and how to prevent it.
1. Insufficient Leavening: For most quick breads, including muffins (banana muffins are a slight exception as the acidity of bananas often activates baking soda very effectively), baking powder is the unsung hero. It reacts with moisture and heat to produce carbon dioxide bubbles, which give the muffins their lift and airy texture without excessively browning or crisping the tops. If your baking powder is old or expired, it won’t be as effective, leading to flat or sunken muffins. Always ensure your leavening agents are fresh, and measure them accurately. For banana muffins, baking soda is crucial, as it reacts with the acid in the bananas to create a robust rise.
2. Under-baking: This is a very common culprit. There’s a natural tendency to worry about overcooking baked goods, which sometimes leads to them being pulled from the oven too soon. If the center of a muffin isn’t fully set, it lacks the structural integrity to hold its shape once removed from the heat, causing it to collapse. To check for doneness, gently tap the top of a muffin. If it springs back quickly, it’s likely done. Alternatively, insert a toothpick into the center; it should come out clean or with a few moist crumbs attached, but not wet batter.
To ensure even baking and minimize the risk of sunken muffins, consider this extra step: once your muffins are baked and pass the doneness test, turn off the oven, crack the door slightly, and let the muffins rest on the rack inside for just a minute or two. This gradual temperature change helps stabilize their structure. After this short rest, carefully remove the muffin tin and place it on a cooling rack for a few more minutes before transferring the individual muffins. This gentle cooling process prevents a rapid drop in temperature, which can shock the muffins and cause them to fall.
Solving the Sticky Muffin Liner Mystery
Few things are more frustrating than a delicious muffin that stubbornly clings to its paper liner, tearing apart as you try to unwrap it. If you’re consistently battling sticky muffin liners, here are a few solutions to ensure your muffins release cleanly and beautifully:
- Quality of Liners Matters: Believe it or not, not all paper liners are created equal. Low-quality, thin paper liners are more prone to sticking. Investing in good quality, greaseproof paper liners or silicone liners can make a significant difference.
- Don’t Skimp on Fat in the Recipe: Muffins with lower fat content in the batter are more likely to stick. If you’ve substituted ingredients like applesauce for a significant portion of the oil or butter, you might find your muffins adhering to the liners more often. While healthy swaps are great, sometimes a little extra fat is necessary for optimal texture and release.
- Use Non-Stick Spray, Even with Liners: Just because you’re using paper liners doesn’t mean you should skip the non-stick spray. A quick spritz of non-stick cooking spray inside each paper liner creates an extra barrier, ensuring an easier release. This is especially helpful for lower-fat recipes.
- Introduce Moisture During Baking: This is an old trick our mom used to employ: place a small pan of water on the lower rack of your oven while the muffins bake. The steam generated helps to create a moist environment, which can prevent the muffins from drying out and sticking to the liners.
- Allow for Proper Cooling: This is arguably the most crucial step. The heat from freshly baked muffins can cause them to cling tenaciously to the paper. Even though the aroma is intoxicating and you might want to devour them warm, resist the urge to unwrap them immediately. Let the muffins cool completely on a wire rack before attempting to remove the paper liners. As they cool, the internal structure of the muffin sets, and they naturally pull away from the liners, making for a much cleaner release.
Proper Storage: Can Muffins Be Left Out Overnight?
Yes, muffins can generally be left out overnight at room temperature, but proper storage is key to maintaining their freshness and preventing them from drying out or going stale. The best practice is to store them in an airtight container. A very large rubber container or a sturdy plastic container with a tight-fitting lid works perfectly. This protects them from air exposure, which is the primary cause of staleness, and keeps them soft and moist for longer. If you simply leave them uncovered on the counter, they will quickly lose their delicate texture. For optimal freshness beyond a day or two, consider refrigerating or freezing them as per our freezing instructions.
Nutella Swirled Banana Muffins Recipe
Nutella Swirled Banana Muffins
By Sweet Basil
Prep Time: 5 mins
Cook Time: 25 mins
Total Time: 30 mins
Servings: 6 Jumbo muffins or 12 regular
Pin
It’s happening!! We took Nutella and bananas and made magic. These Nutella Swirled Banana Muffins are also stuffed with creamy, delicious Nutella!
Ingredients
- 2/3 Cup Nutella
- 2 Cups Flour
- 1 teaspoon Baking Soda
- 1/2 teaspoon Salt
- 1/3 Cup Canola Oil
- 1 Cup Sugar
- 2 Large Eggs
- 5 Tablespoons Sour Cream
- 1 1/3 Cups Mashed Banana (about 2 very large bananas or 3 small)
Instructions
- Prepare the Nutella: Place parchment paper or a silpat on a plate. Scoop out small mounds (less than a tablespoon) of Nutella and freeze until solid. This will create the delicious Nutella core for your muffins.
- Set out your eggs and sour cream to come to room temperature. This helps them incorporate better into the batter, leading to a smoother texture.
- Preheat your oven to 350 degrees Fahrenheit (175 degrees Celsius).
- Prepare your muffin tin: Spray a jumbo muffin tin with nonstick spray, or line it with paper liners. If using regular muffin tins, line them accordingly.
- In a large bowl, whisk together the flour, baking soda, and salt. Set the dry ingredients aside.
- In a separate bowl, whisk together the canola oil and sugar until well combined. Add the eggs and sour cream, and whisk again, being careful not to overmix.
- Add the dry ingredients and mashed banana to the wet ingredients. Switch to a rubber spatula or wooden spoon and gently fold the ingredients together just until a few streaks of flour remain. Remember, overmixing leads to tough muffins!
- To assemble: Scoop one large spoonful (a cookie scoop works perfectly for this) of batter into the bottom of each muffin well. Place a dollop of the frozen Nutella into the center of the batter. Cover the Nutella with more muffin batter, filling each well up to about two-thirds high.
- For the swirl: Place a small amount of Nutella on top of the batter in each well. Using a small knife or a toothpick, gently swirl through and around the Nutella, starting from the outside edge of the batter.
- Allow the batter to rest in the muffin pan for 8-12 minutes before baking. This resting period is crucial for achieving fluffy muffins.
- Bake at 350 degrees Fahrenheit (175 degrees Celsius) for 25 minutes for jumbo muffins, or 12-16 minutes for regular-sized muffins. The muffins are done when they are lightly golden brown and the center springs back up when gently touched.
- Once baked: Open the oven door, turn off the oven, and let the muffins rest in the hot oven for 2 minutes (no longer!). This helps them set gradually. Then, carefully remove the tin and place it on a cooling rack for a few more minutes before removing the muffins.
- Enjoy your warm, delicious Nutella Swirled Banana Muffins!
Recipe Notes
You don’t have to freeze the Nutella, but it helps keep it from melting into the batter too quickly, creating a more distinct center. If you need to skip the resting time, that’s perfectly fine; your muffins will still be delicious, just perhaps slightly less fluffy. Muffins can be frozen for up to 3 months when placed in an airtight, heavy-duty freezer bag for optimal freshness.
Nutrition
Serving: 1g, Calories: 327kcal, Carbohydrates: 52g, Protein: 5g, Fat: 12g, Saturated Fat: 5g, Polyunsaturated Fat: 6g, Cholesterol: 34mg, Sodium: 213mg, Fiber: 2g, Sugar: 30g
Nutrition information is automatically calculated, so should only be used as an approximation.
There you have it – a recipe that promises to deliver pure joy with every bite! These Nutella Swirled Banana Muffins are more than just a treat; they’re an experience. The rich, chocolatey hazelnut spread perfectly complements the sweet, moist banana base, creating a symphony of flavors and textures that will have everyone asking for more. Whether you’re making them for a special breakfast, a delightful brunch, or simply to satisfy a sweet craving, this recipe is a guaranteed crowd-pleaser. Don’t be surprised if they disappear faster than you can bake them!
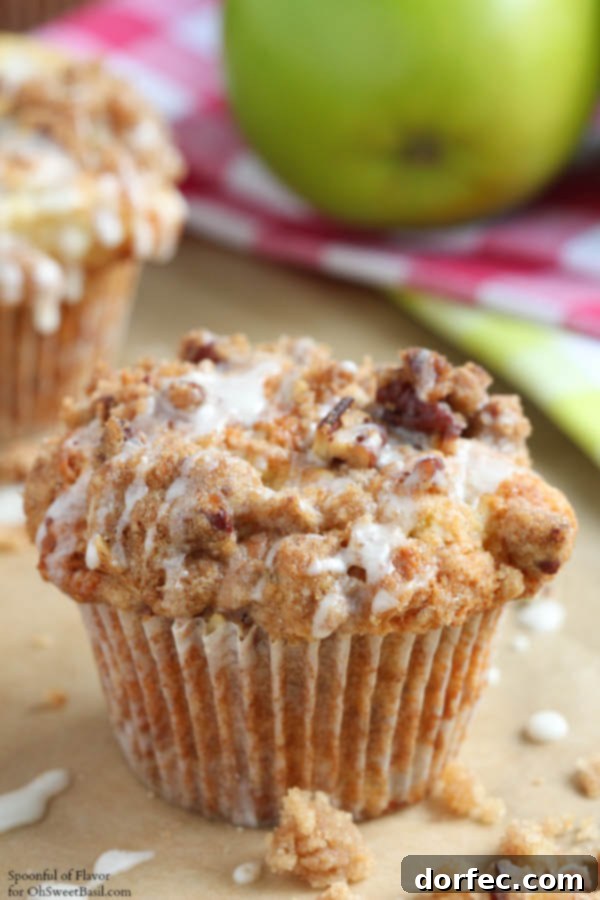
Craving More Muffin Magic? Try Our Apple Coffee Cake Muffins!
If you loved these Nutella Swirled Banana Muffins and are looking for another delightful way to start your day, or just need a comforting treat, you absolutely must try our Apple Coffee Cake Muffins. These muffins combine the heartwarming flavors of spiced apples and a buttery streusel topping, making them the perfect companion to your morning coffee or an afternoon pick-me-up. They’re incredibly moist, flavorful, and just as satisfying!