
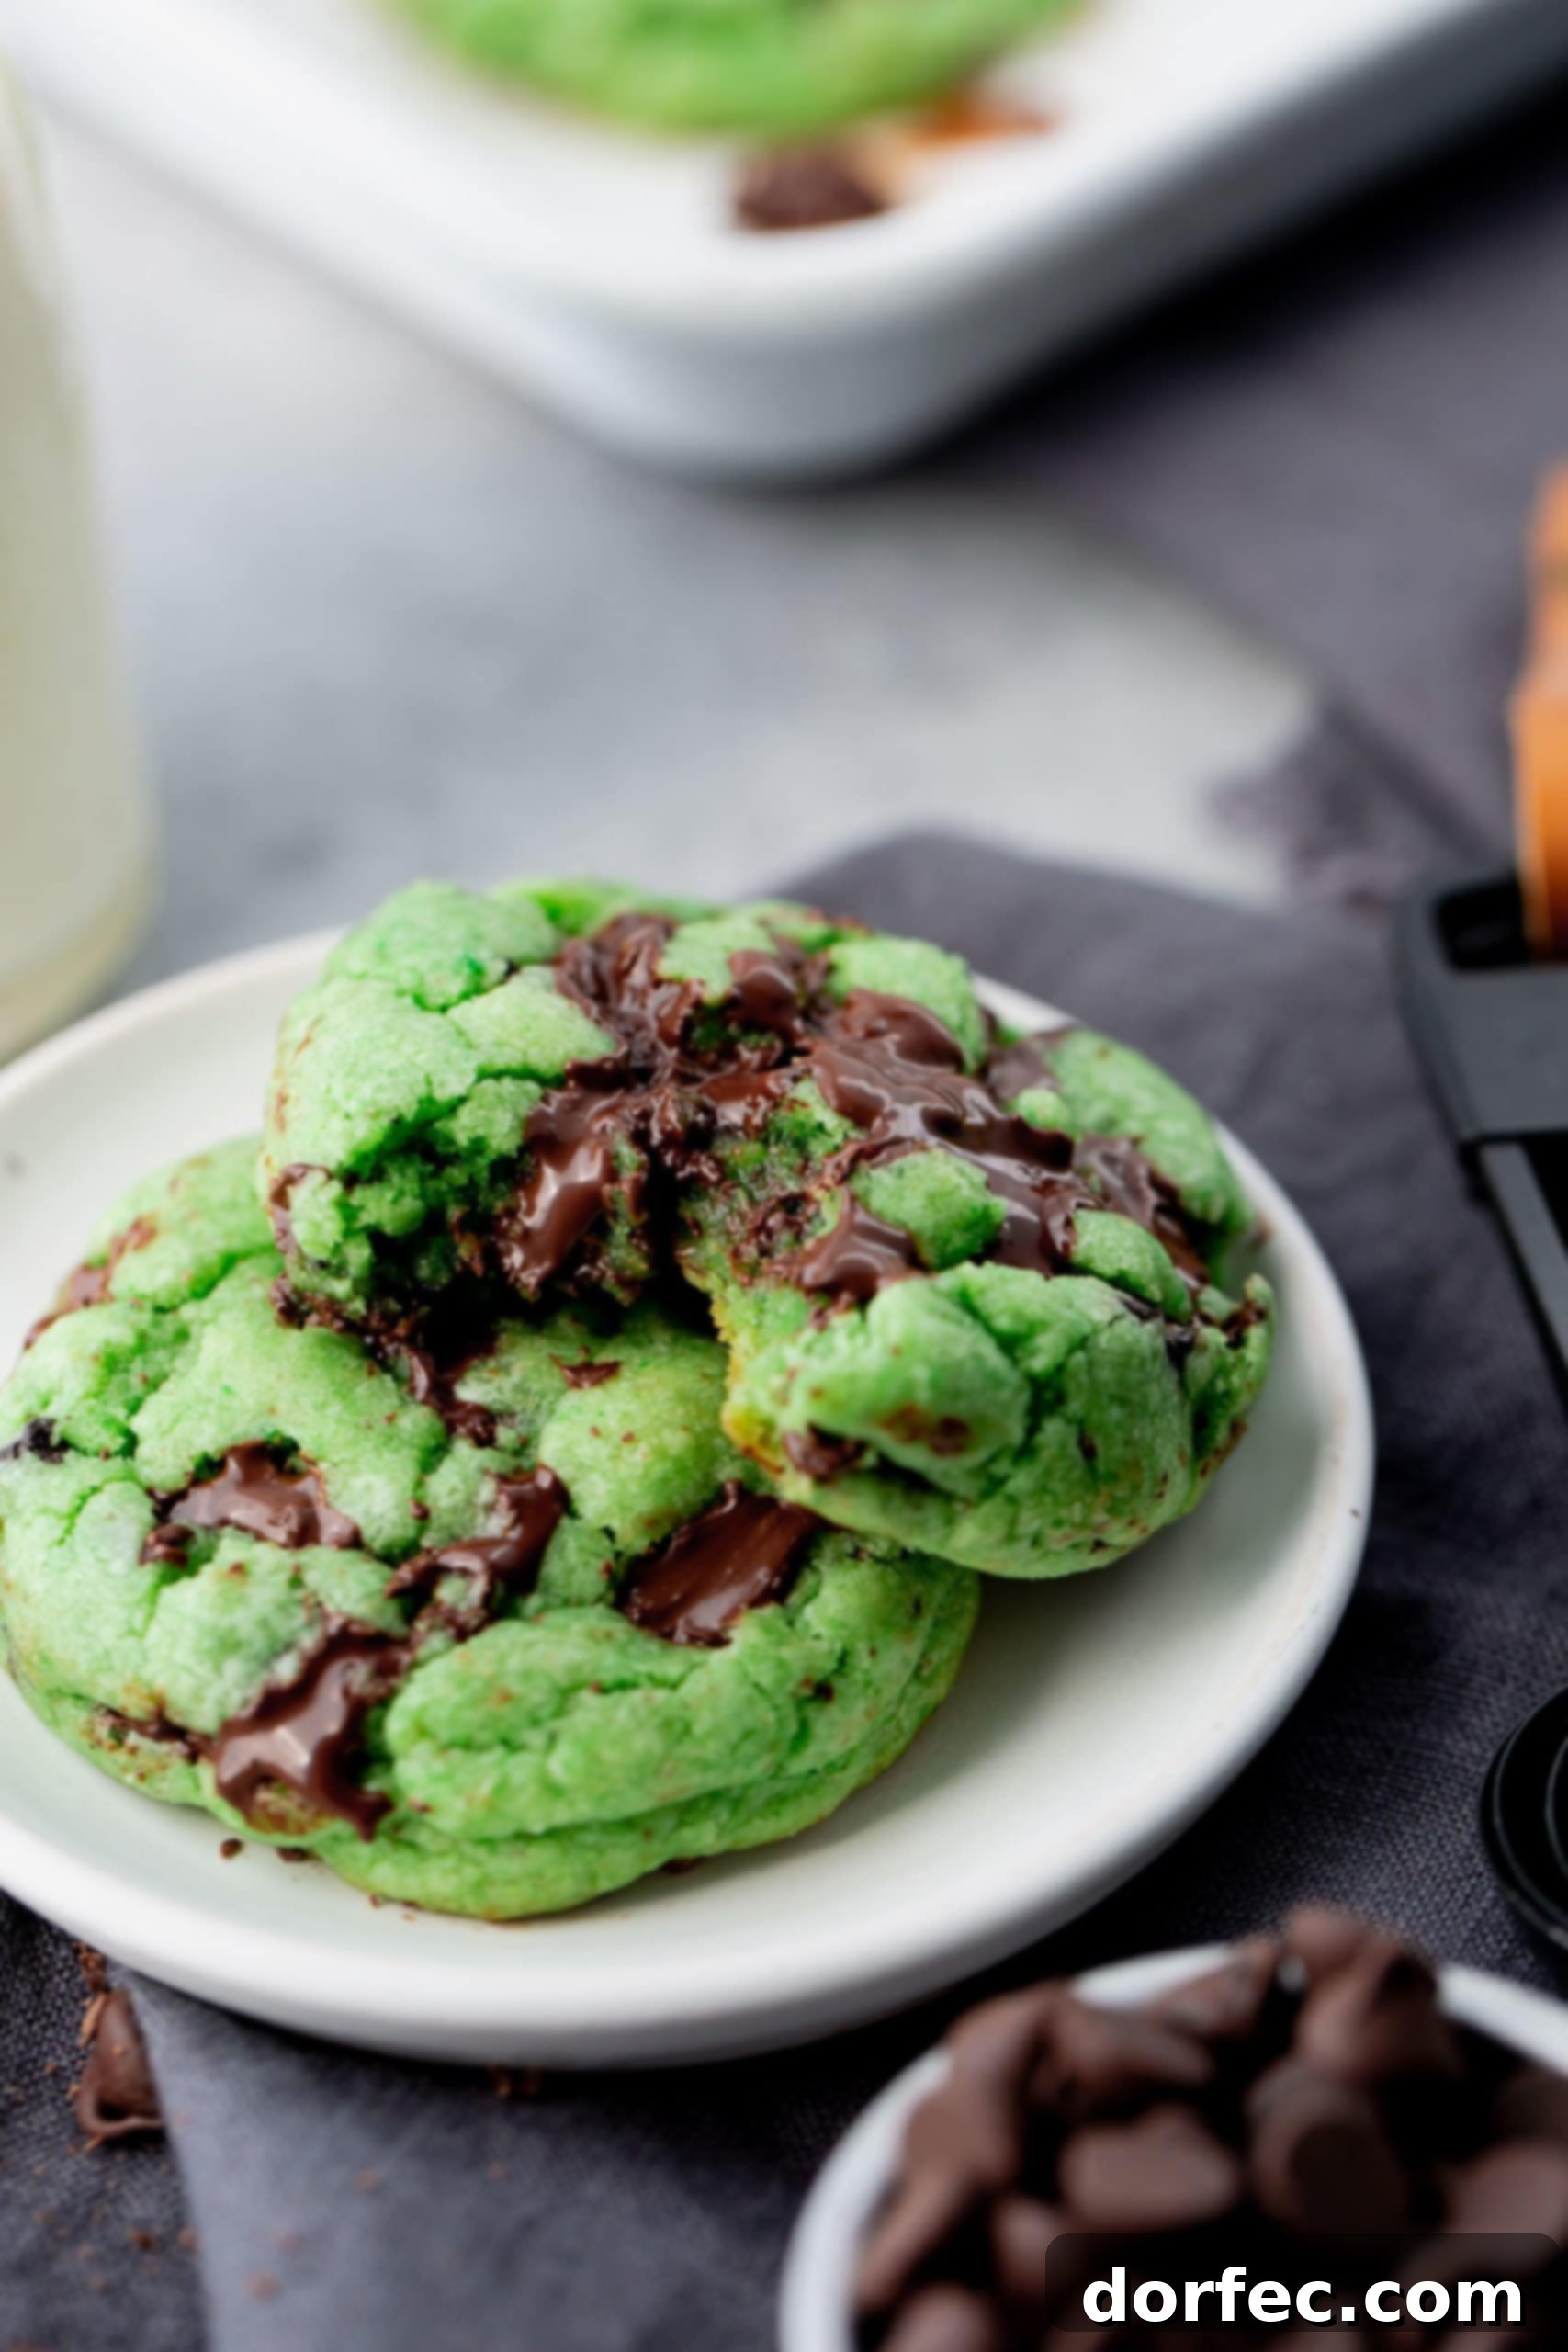
Irresistibly Soft & Chewy Green Mint Chocolate Chip Cookies for St. Patrick’s Day
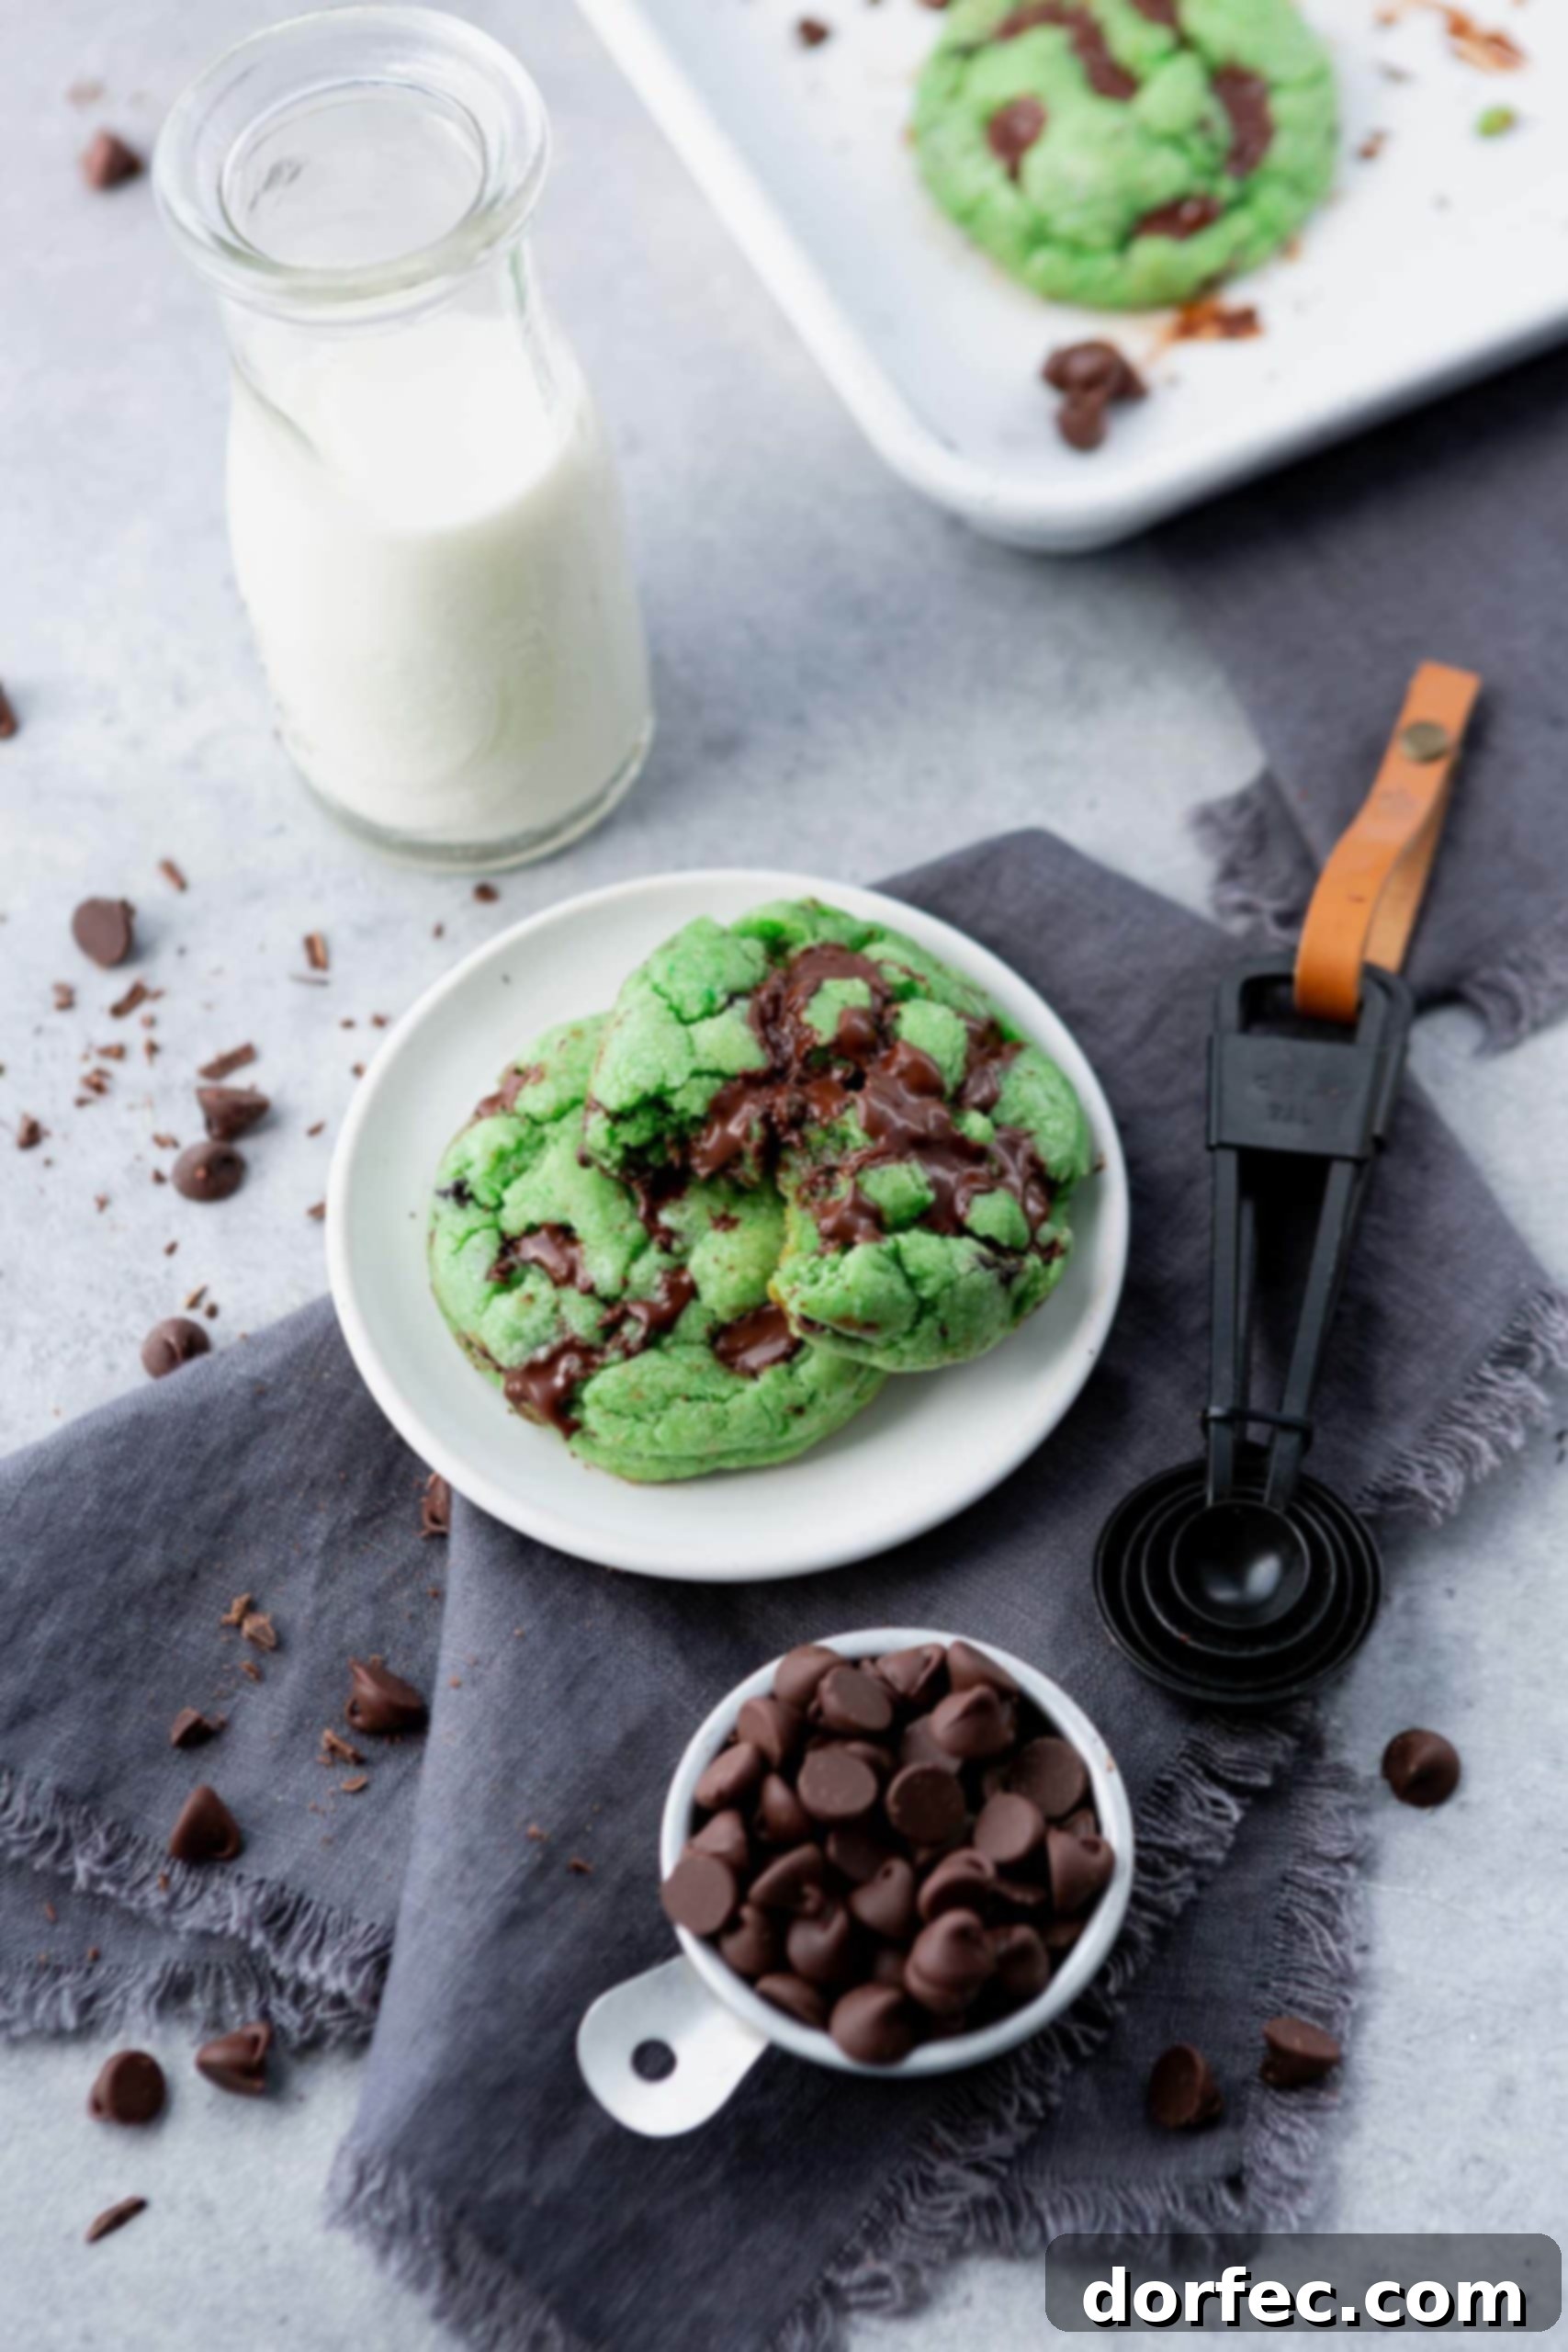
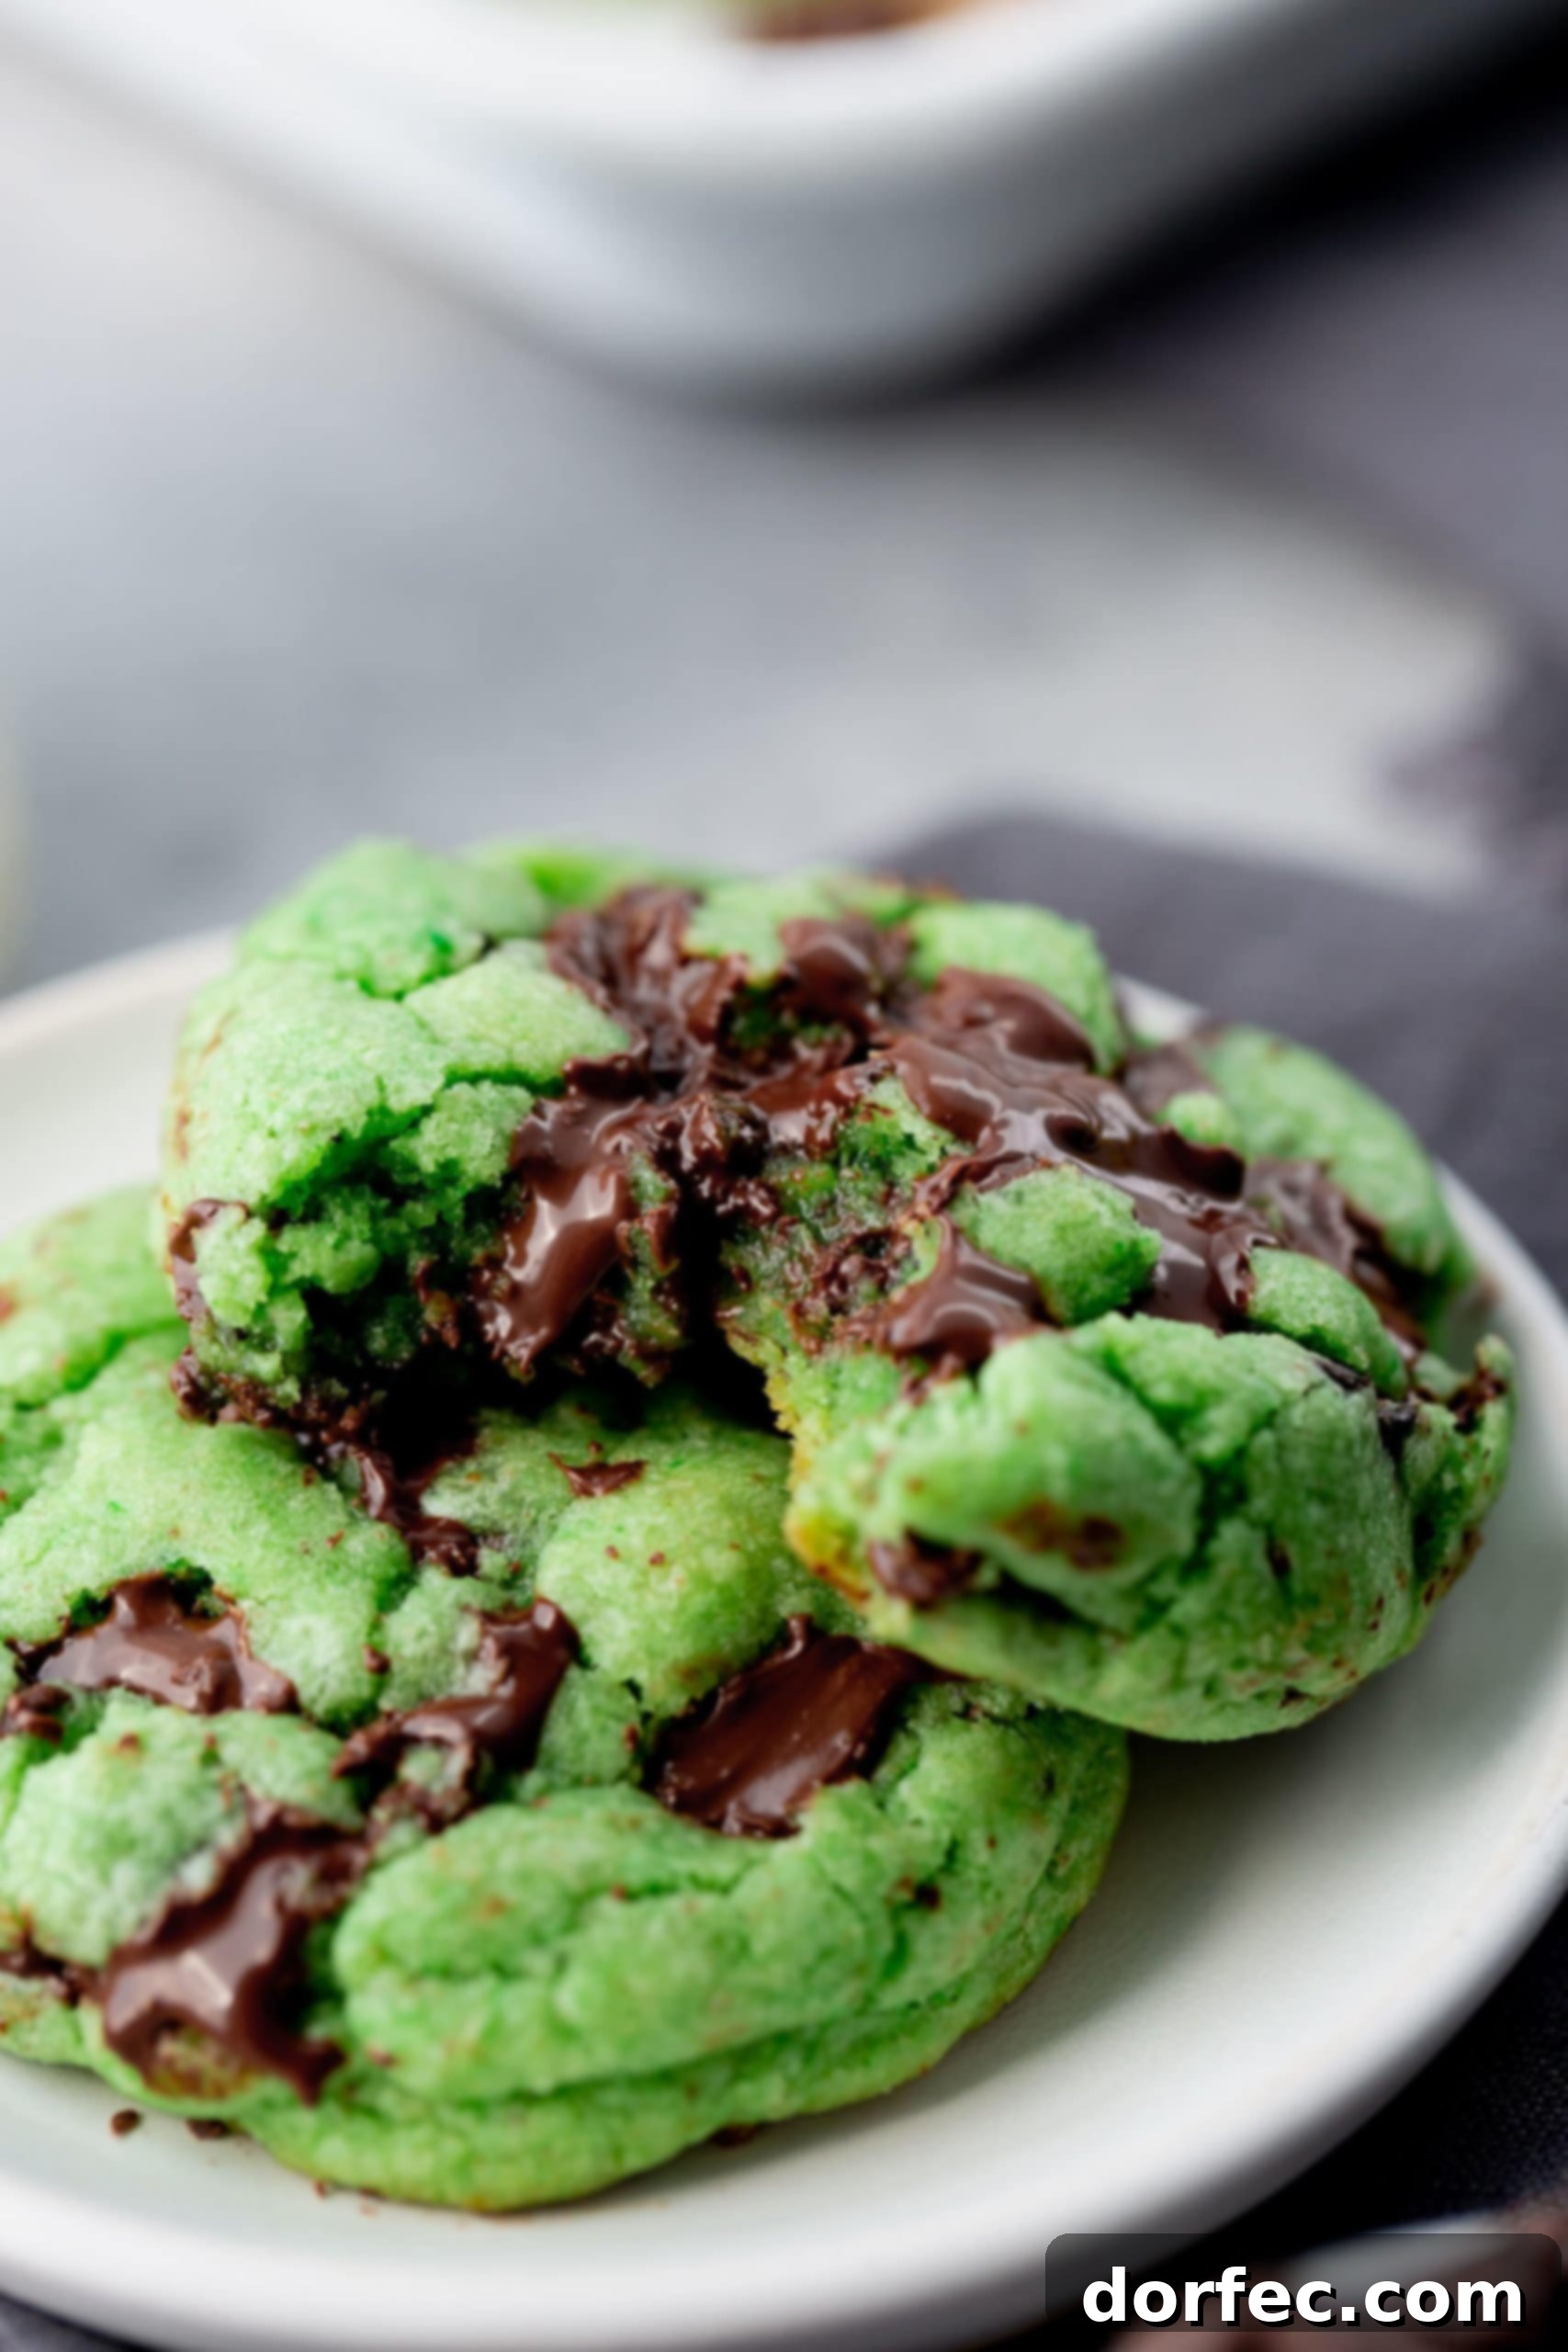
Get ready to elevate your St. Patrick’s Day celebrations with these incredibly huge, wonderfully soft, and delightfully green mint chocolate chip cookies. While St. Patrick’s Day may not always be at the top of my holiday decorating list (much to my kids’ playful dismay!), baking a festive, delicious treat like these cookies is absolutely my kind of celebration. They’re a perfect blend of a classic favorite with a fun, holiday twist that everyone, especially the younger crowd, will adore.
I must confess, last St. Patrick’s Day was a bit of a culinary misstep. You see, my children are growing older, and who knew that not making something vibrantly green for the holiday would be such a heartbreaking omission? I thought buying green-milk-turning Lucky Charms would be a fun novelty since I rarely buy marshmallow cereals. (No judgment if you’re a fan; I just dread the immediate snack requests after cereal, as it never seems to truly fill them up!).
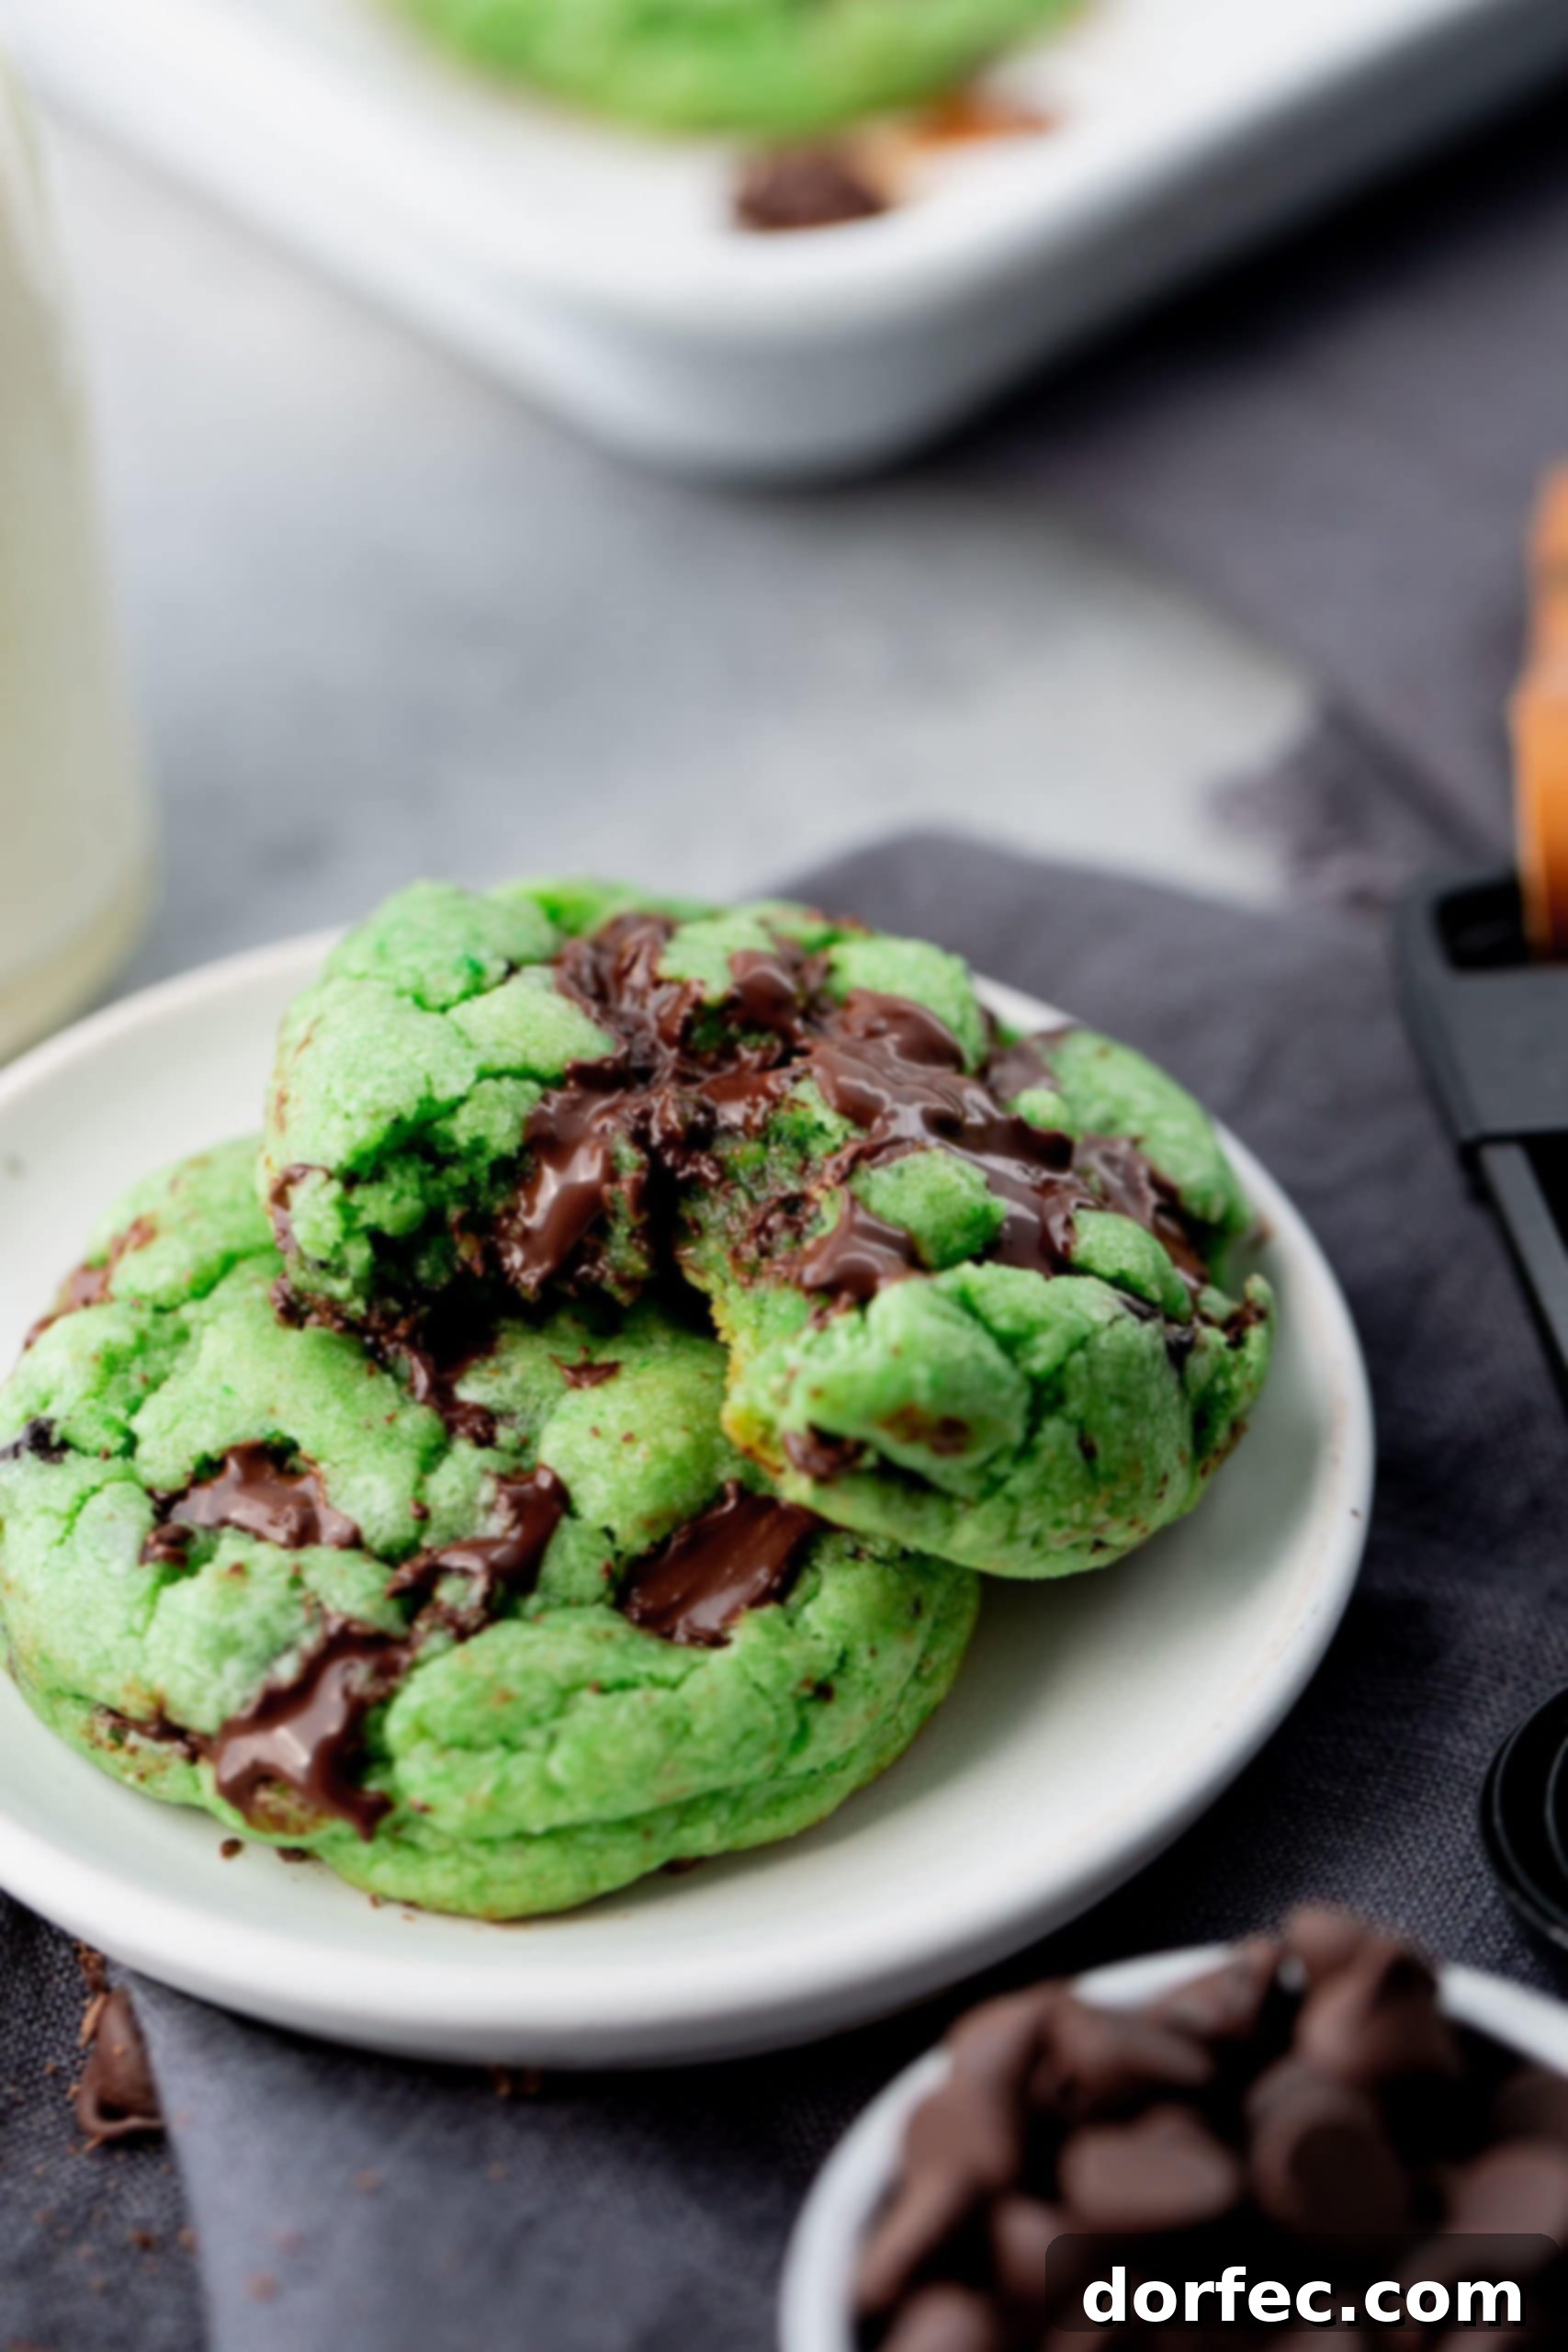
It turned out, it wasn’t even my youngest who was most disappointed, but rather my ten-going-on-eleven-year-old. Oh, the drama! To rectify the situation, I quickly whipped up some green cookies, borrowed a gold spray-painted box from a kind neighbor, and my husband, Cade, even brought home an assortment of green candies and sodas to fill it. It was an impromptu, over-the-top St. Patrick’s Day rescue mission!
While I likely won’t go to such extremes again – it’s just not my primary holiday focus – the undisputed stars of that memorable evening were these very mint chocolate chip cookies. They were such a hit that I simply couldn’t wait to share this fantastic recipe with all of you this year. These cookies aren’t just a treat; they’re a delightful experience, guaranteed to bring smiles and a touch of emerald magic to your holiday table.
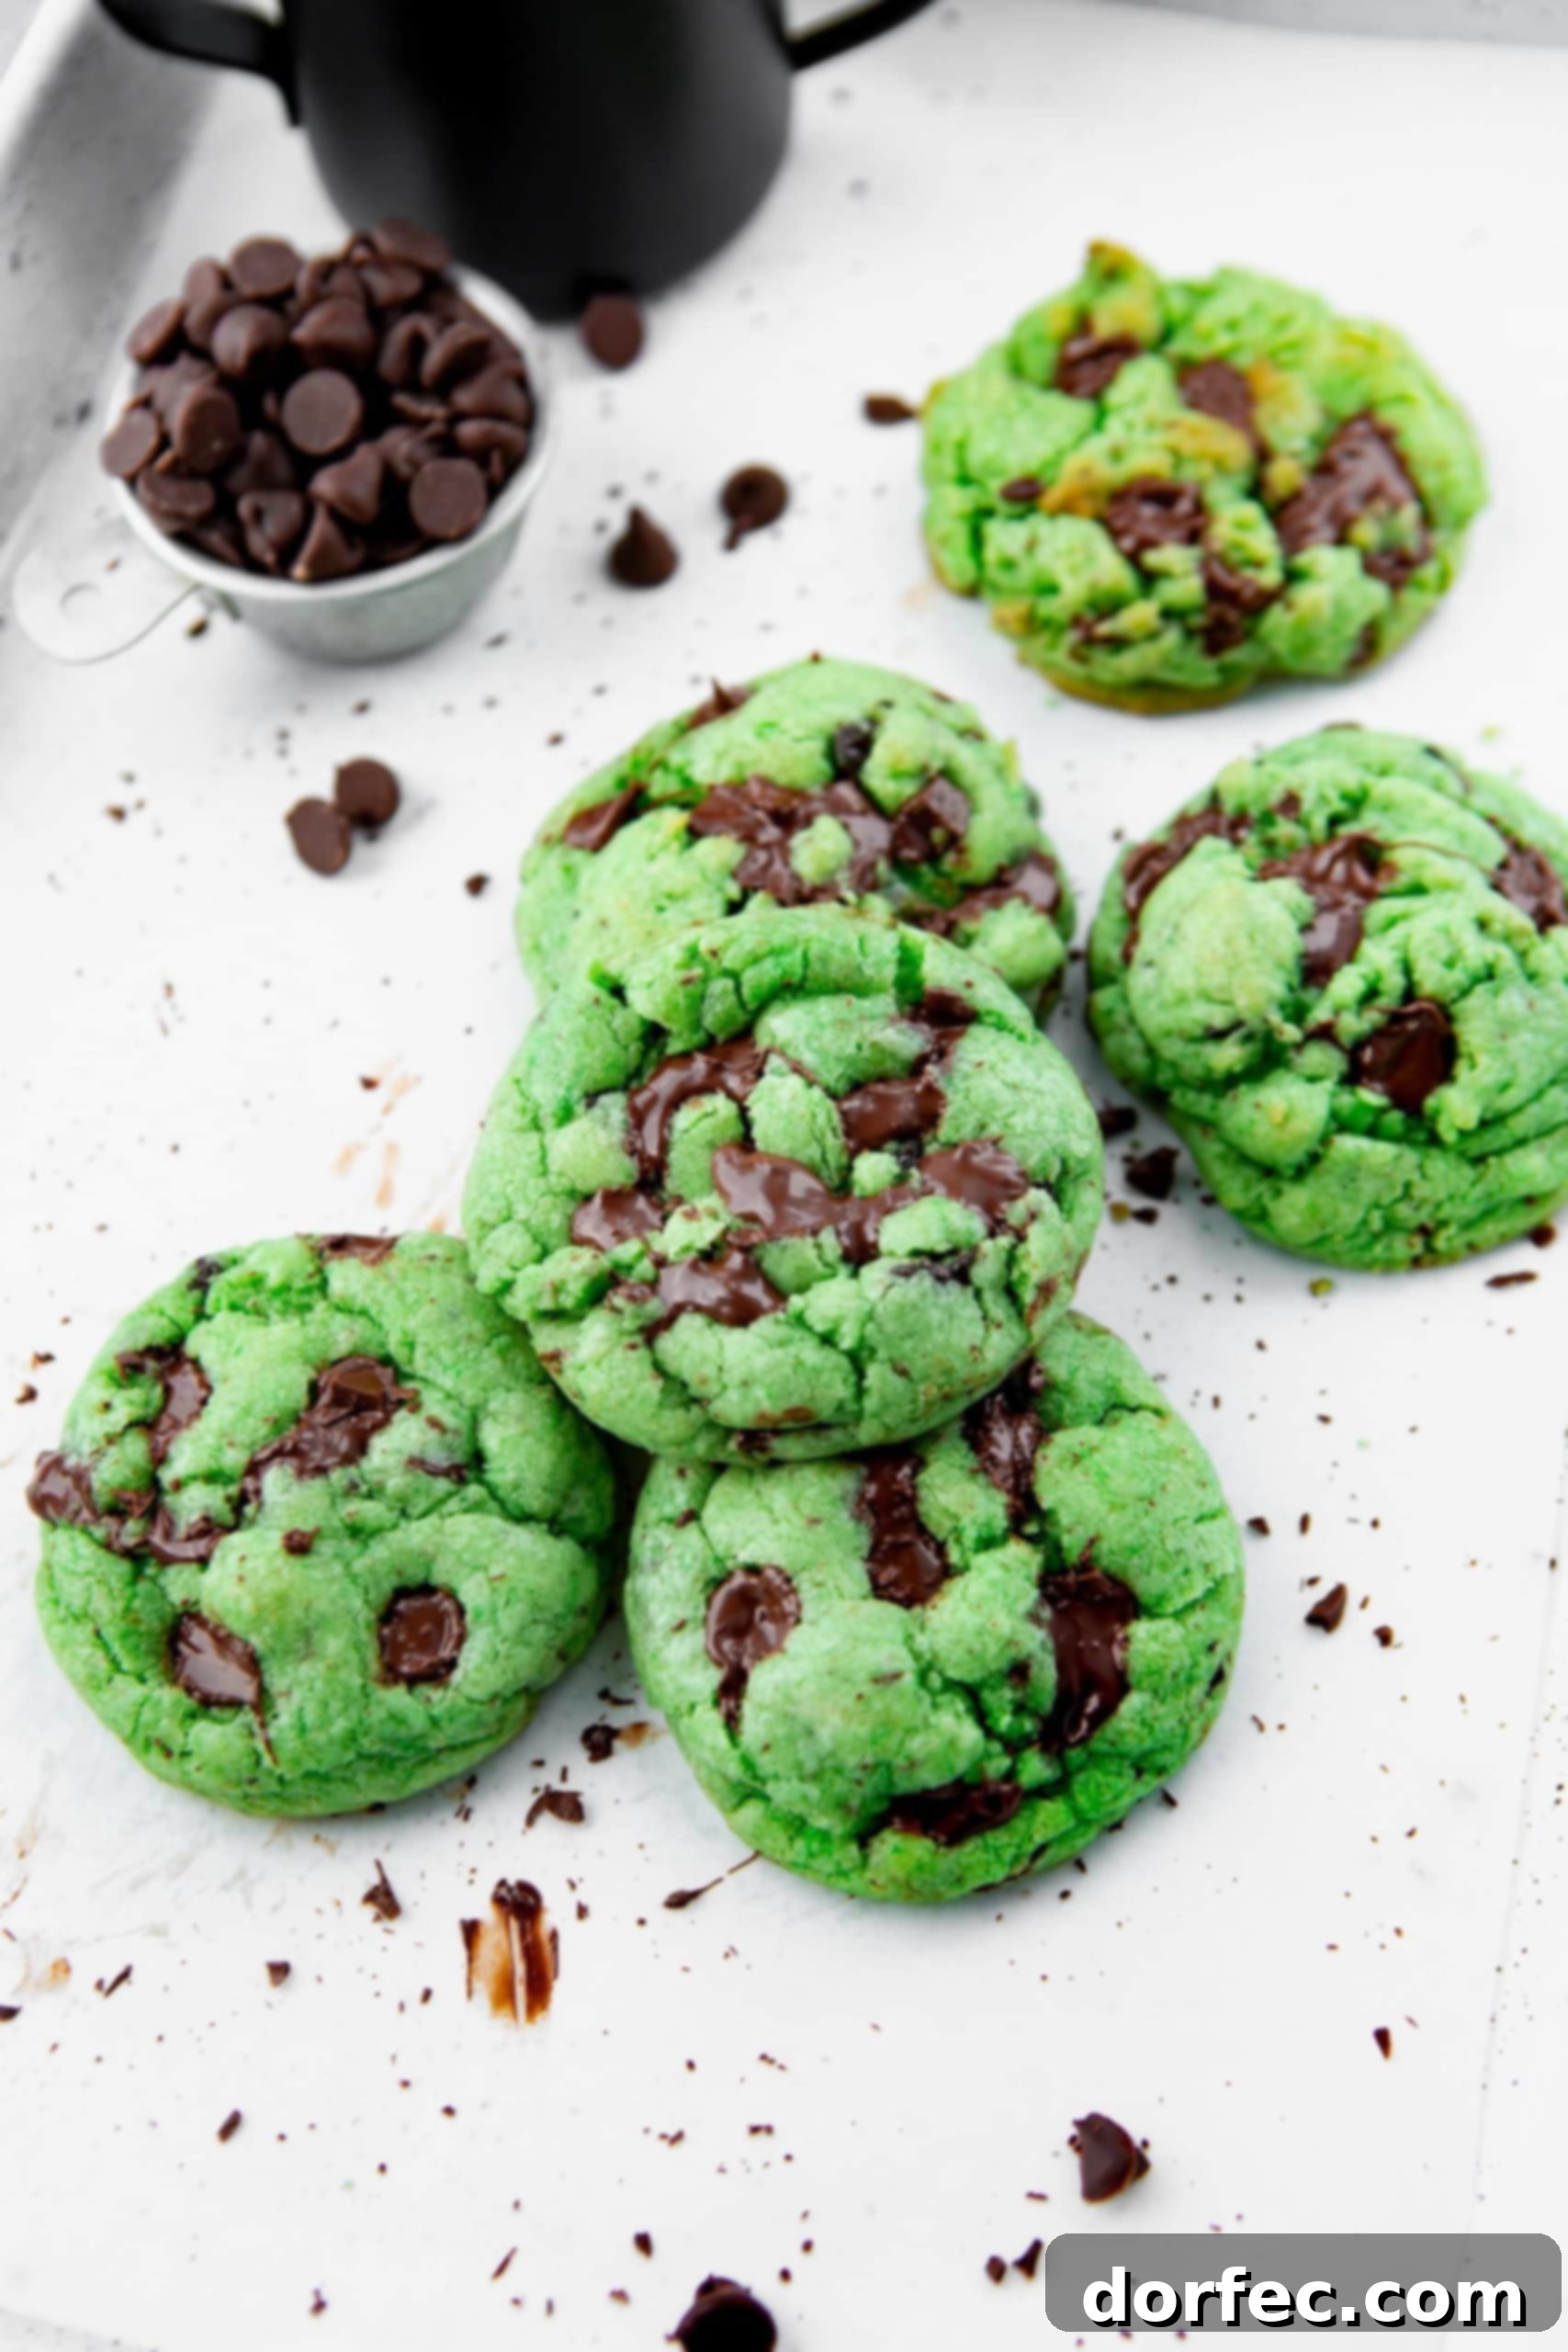
Crafting the Perfect Green Mint Chocolate Chip Cookies
These aren’t just any cookies; they’re a symphony of flavors and textures designed to delight. Imagine your favorite classic chocolate chip cookie, then infuse it with a refreshing burst of mint and a vibrant hint of green, creating a treat that’s not only incredibly delicious but also visually festive. The secret to their irresistible chewiness lies in a few key ingredients, ensuring each bite is a perfect balance of soft, chewy, and melt-in-your-mouth goodness. Let’s delve into what makes these cookies so special, from the essential ingredients to the simple steps that transform them into a holiday masterpiece.
Essential Ingredients for Your Mint Chocolate Chip Cookies
To create these incredible mint chocolate chip cookies, you’ll need a combination of pantry staples and a couple of special additions that bring their signature flavor and color. Think of it as a slight upgrade to your go-to cookie recipe, designed for maximum deliciousness and festive appeal. Here’s a comprehensive look at your grocery list, complete with notes on how each component contributes to the final perfect cookie:
- Butter (softened): The foundation of any great cookie, butter provides richness and helps achieve that tender, chewy texture. Ensure it’s softened to room temperature for smooth creaming with sugar.
- Granulated Sugar: Sweetness and a crisp edge are brought by white sugar, balancing the mint and chocolate.
- Large Eggs (plus 1 egg yolk): Eggs bind the ingredients, add moisture, and contribute to the cookie’s structure. The extra egg yolk is our secret weapon for an incredibly soft and chewy cookie, adding richness without making them cakey.
- Peppermint Extract or Mint Extract: This is where the magic happens! Choose a high-quality extract for a bright, authentic mint flavor. Peppermint offers a stronger, cooler sensation, while pure mint extract might be slightly milder.
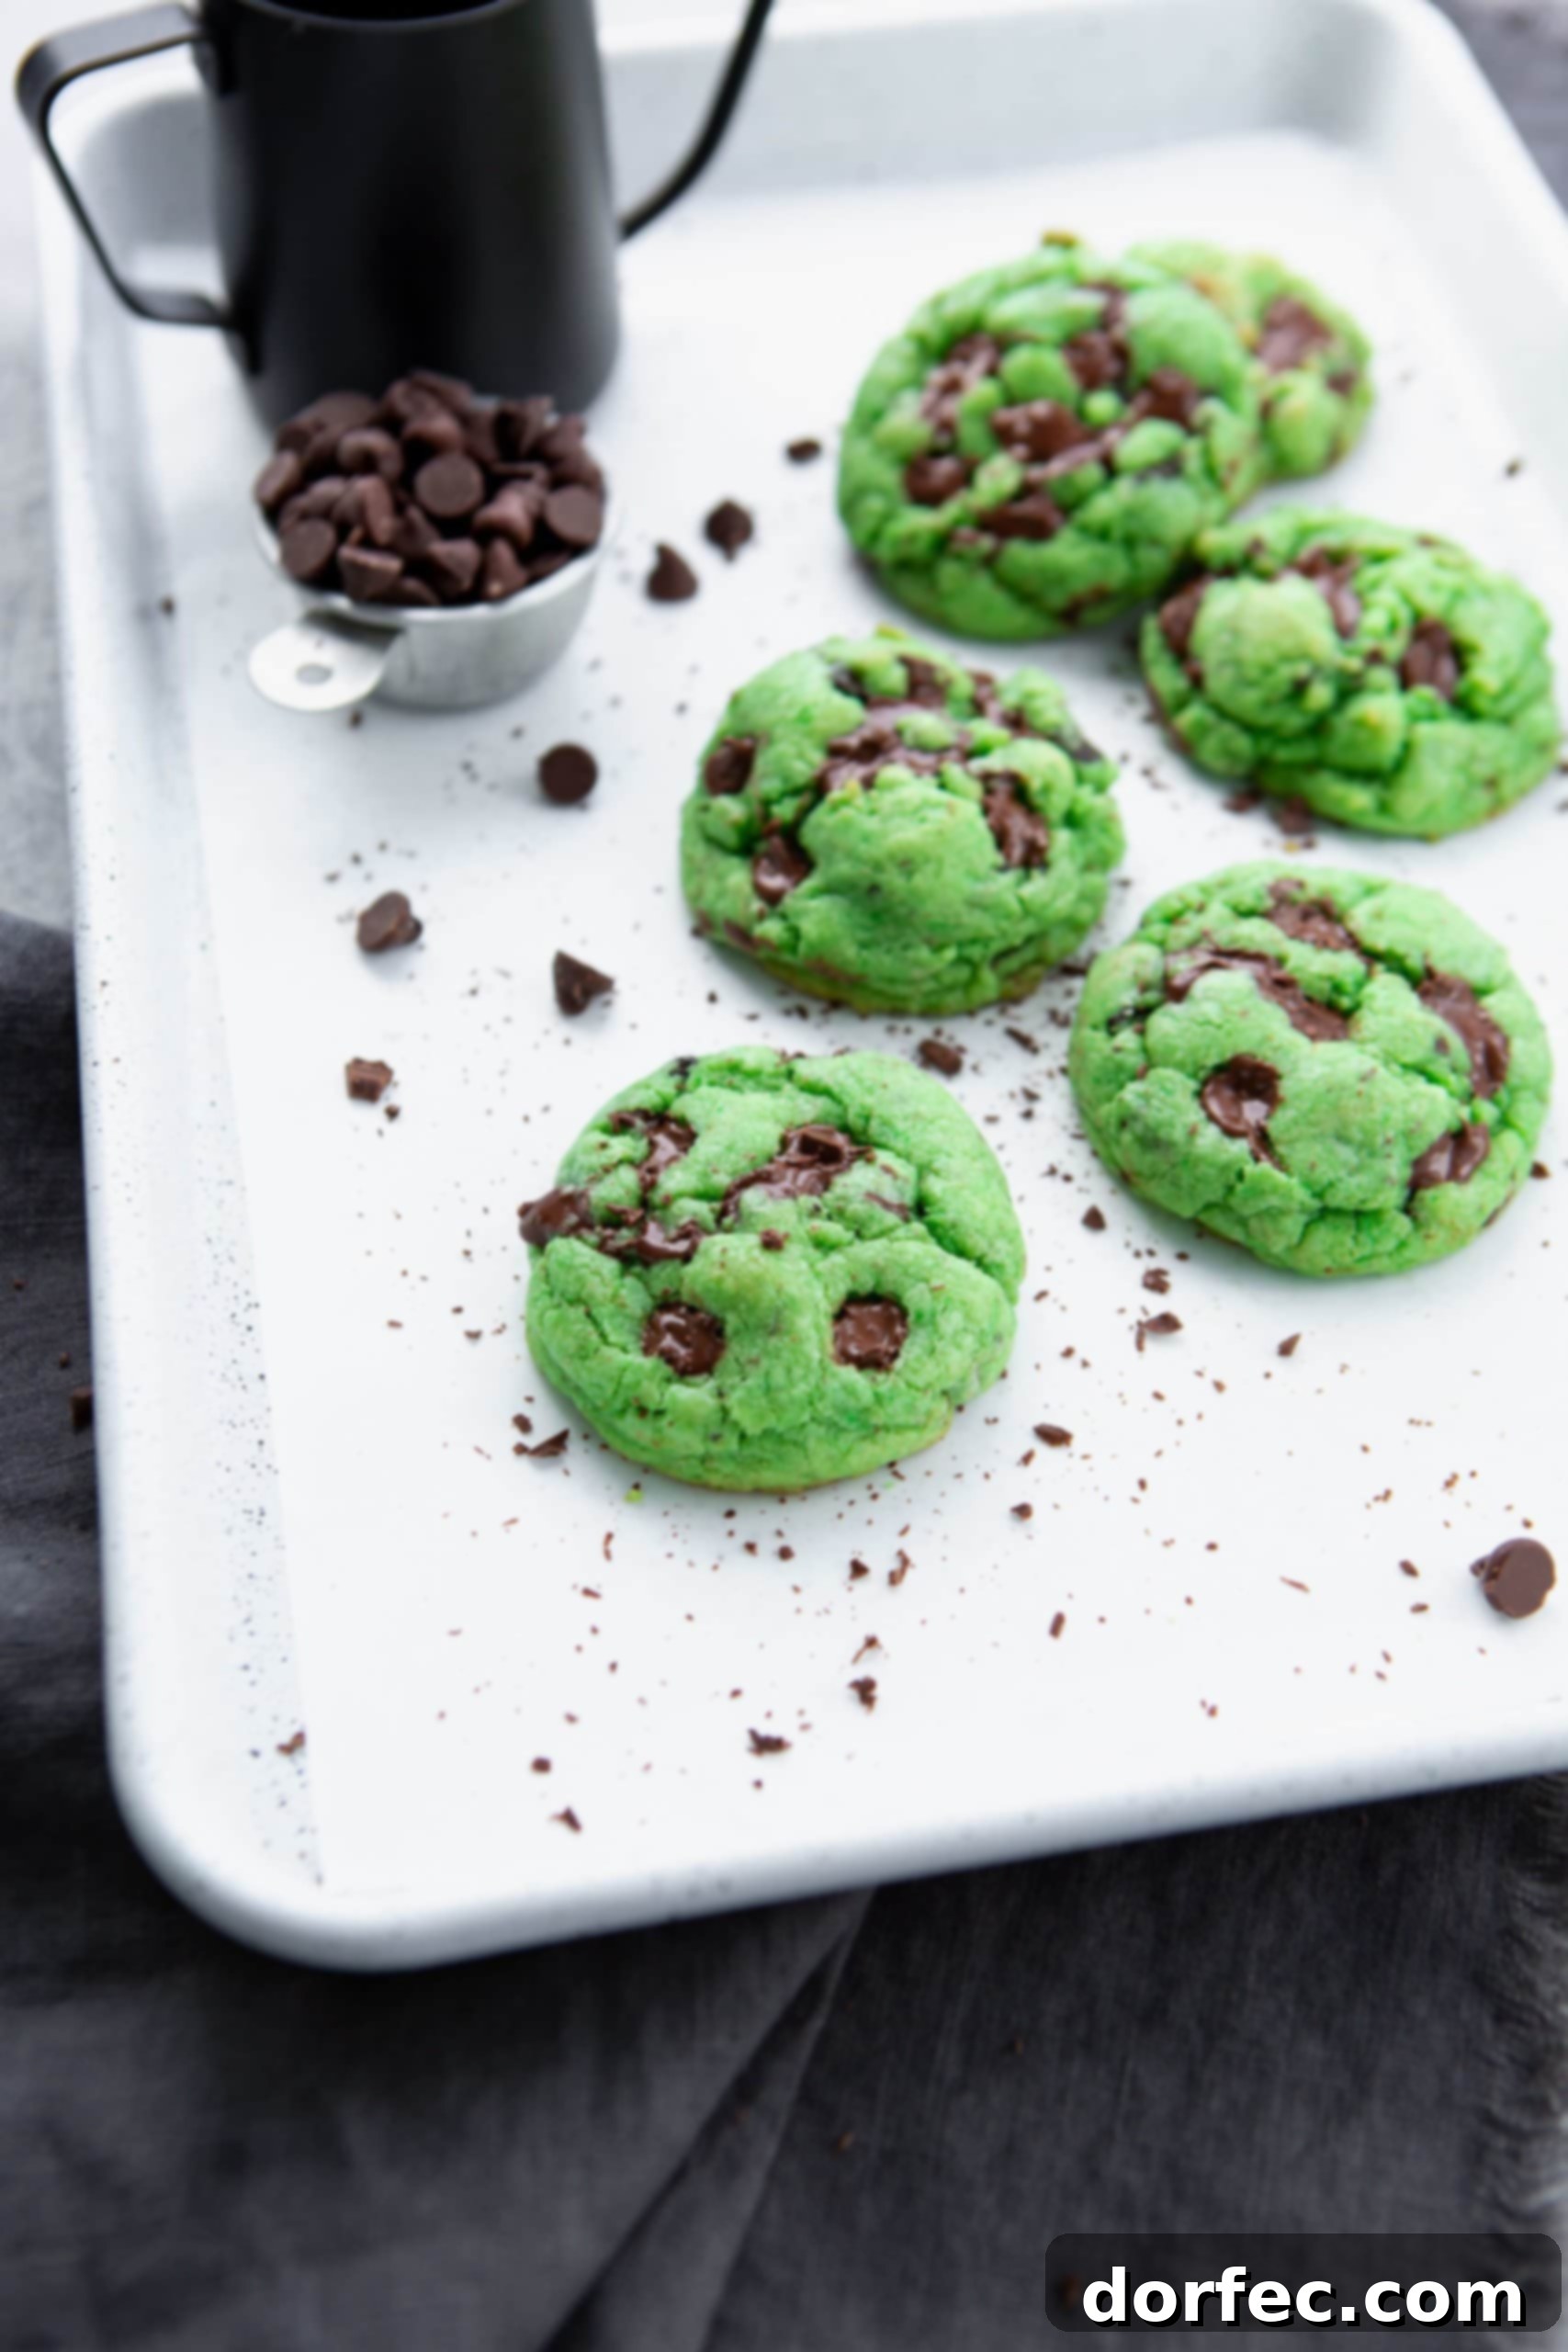
- Green Food Coloring: For that iconic St. Patrick’s Day flair! Gel food coloring usually provides a more vibrant color with less liquid than traditional drops. Adjust the amount to achieve your desired shade of green.
- All-Purpose Flour: The primary dry ingredient, providing structure. Measure it correctly to avoid dry or overly dense cookies.
- Baking Powder & Baking Soda: These leavening agents work together to give the cookies their perfect lift and spread. Baking soda reacts with the acidic cream of tartar to create a soft, airy crumb.
- Cream of Tartar: A crucial ingredient for that classic chewy texture and a slight tangy note that beautifully complements the mint and dark chocolate. It also helps stabilize the dough.
- Cornstarch: Our other secret ingredient for ultimate softness! Cornstarch helps keep the cookies thick, soft, and slightly chewy, preventing them from spreading too thin.
- Salt: Essential for enhancing all the other flavors, balancing the sweetness, and bringing out the mint and chocolate notes.
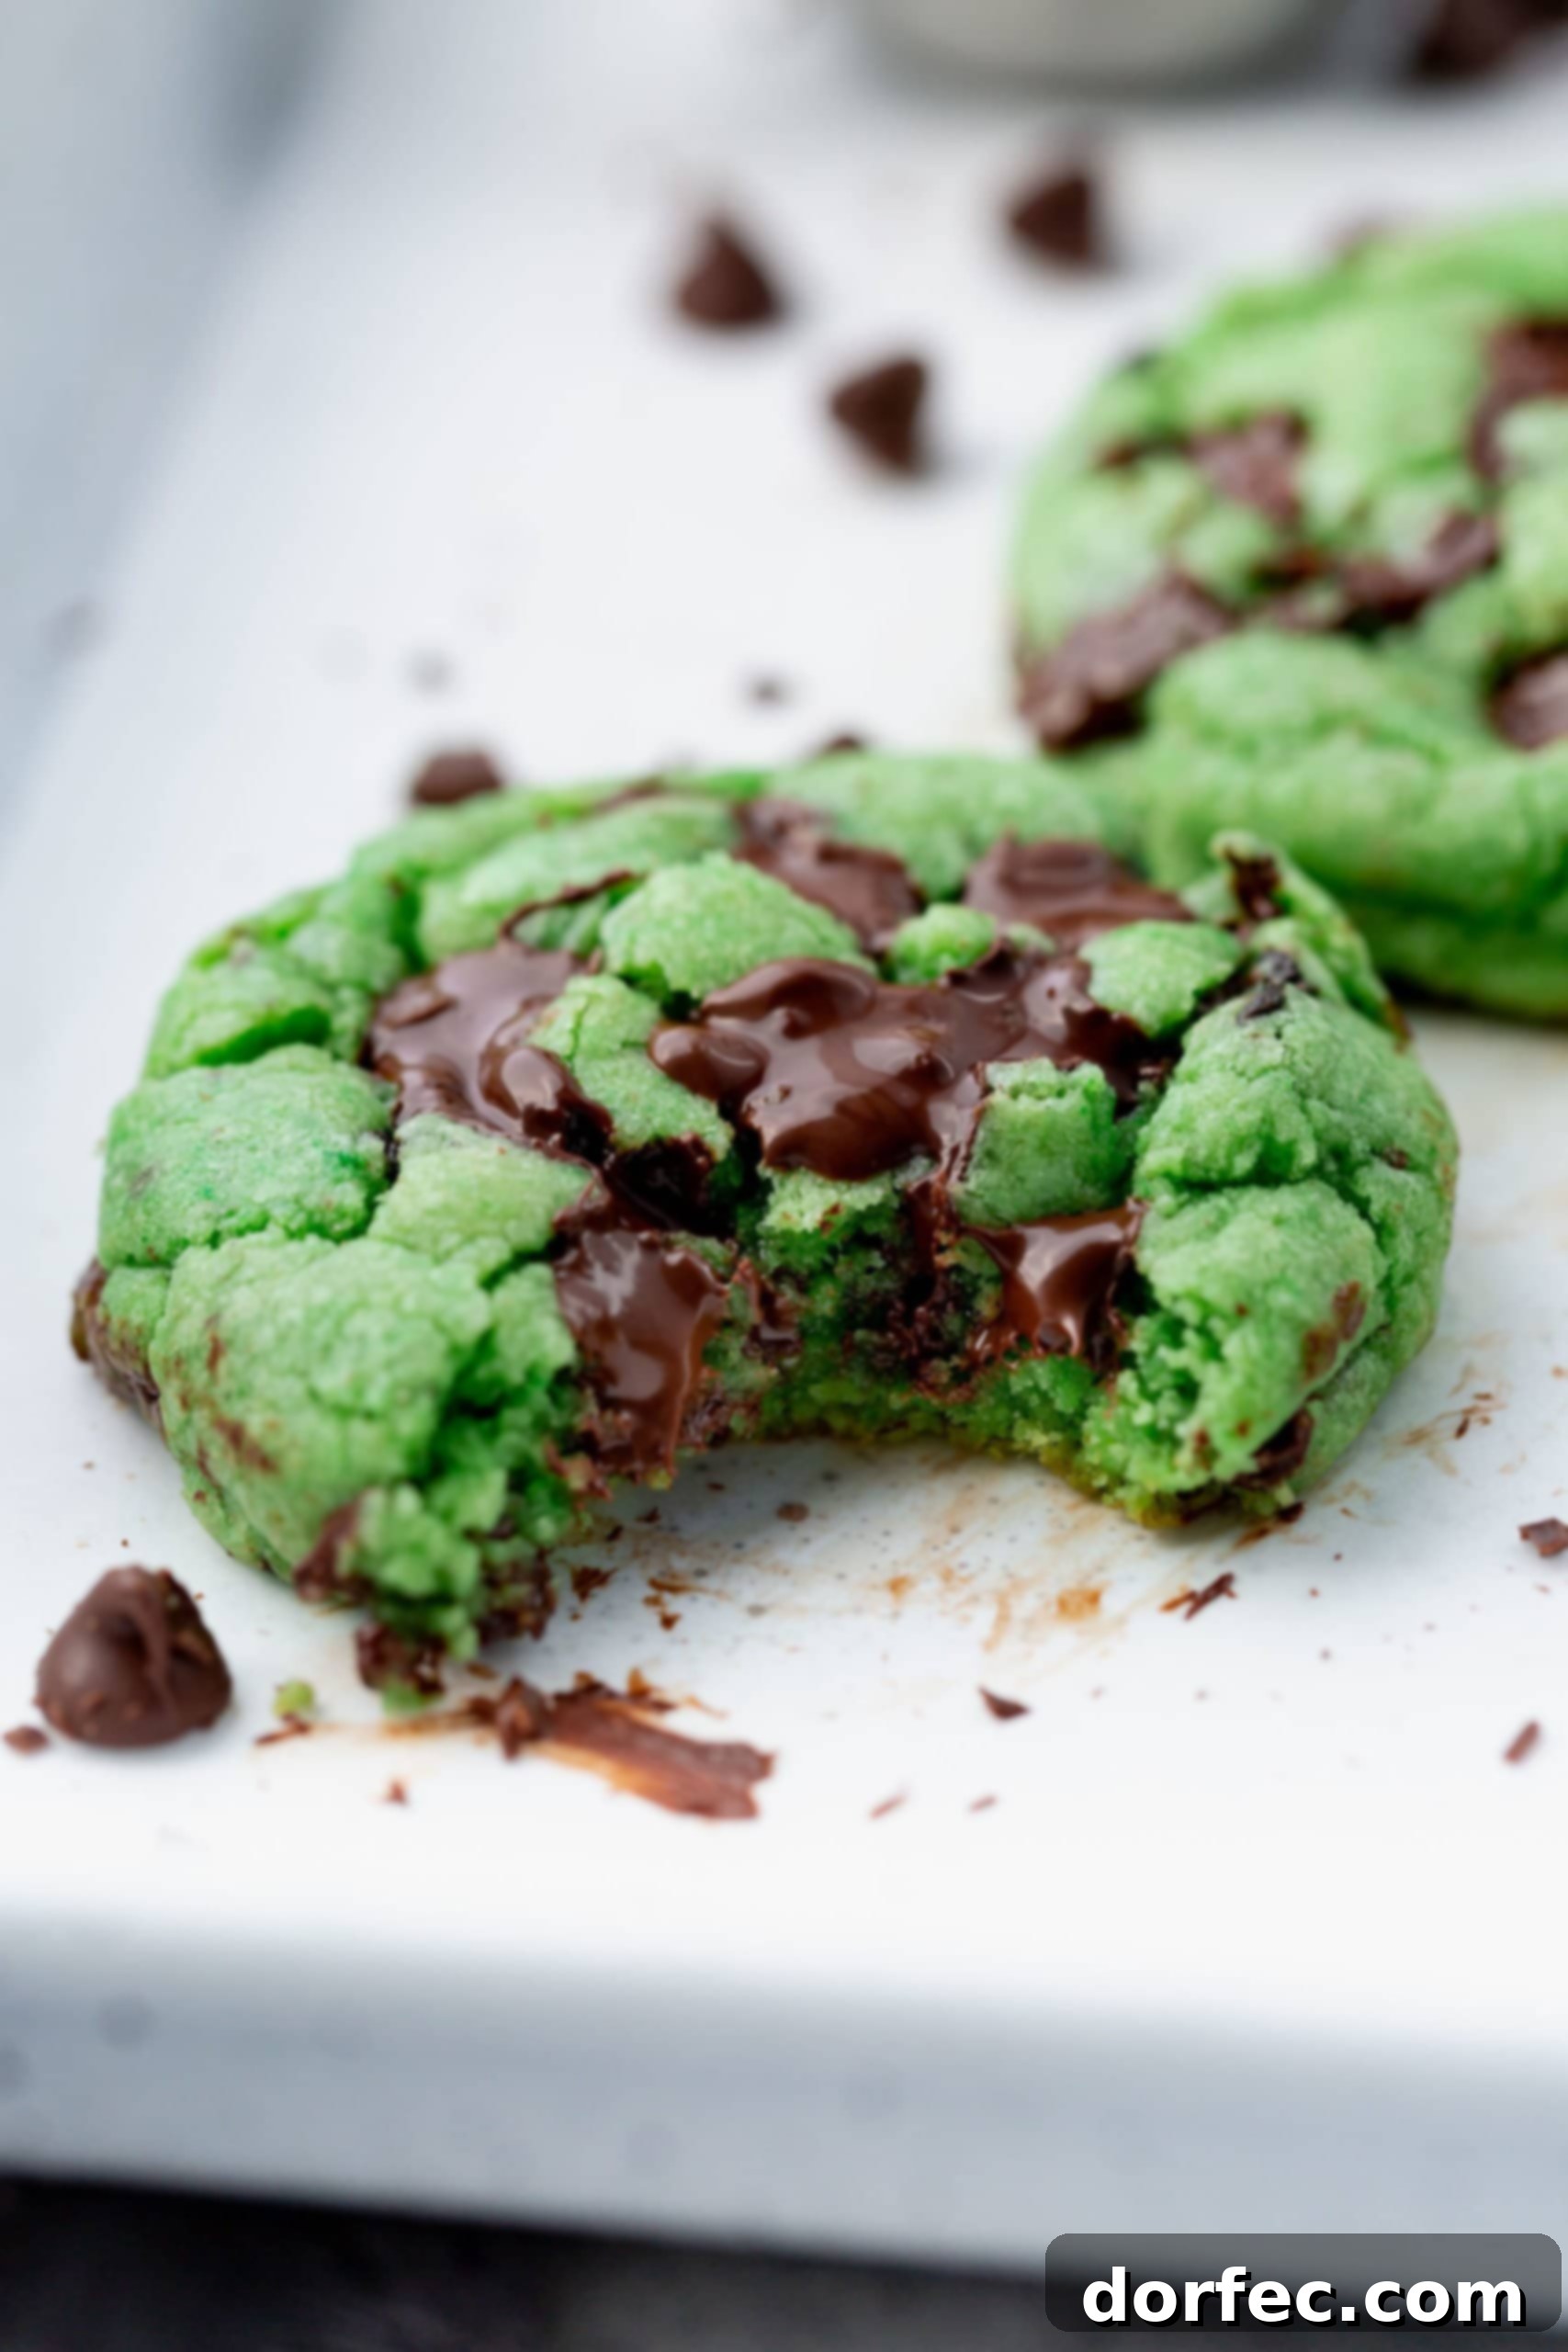
- Dark Chocolate Chips or Chopped Dark Chocolate Bars: Dark chocolate is the ideal partner for mint, offering a rich, slightly bitter contrast. Chopping chocolate bars can create lovely melty puddles of chocolate throughout the cookies, offering a superior texture compared to standard chips.
The precise measurements for each ingredient, along with detailed instructions, can be found in the comprehensive recipe card further down this page.
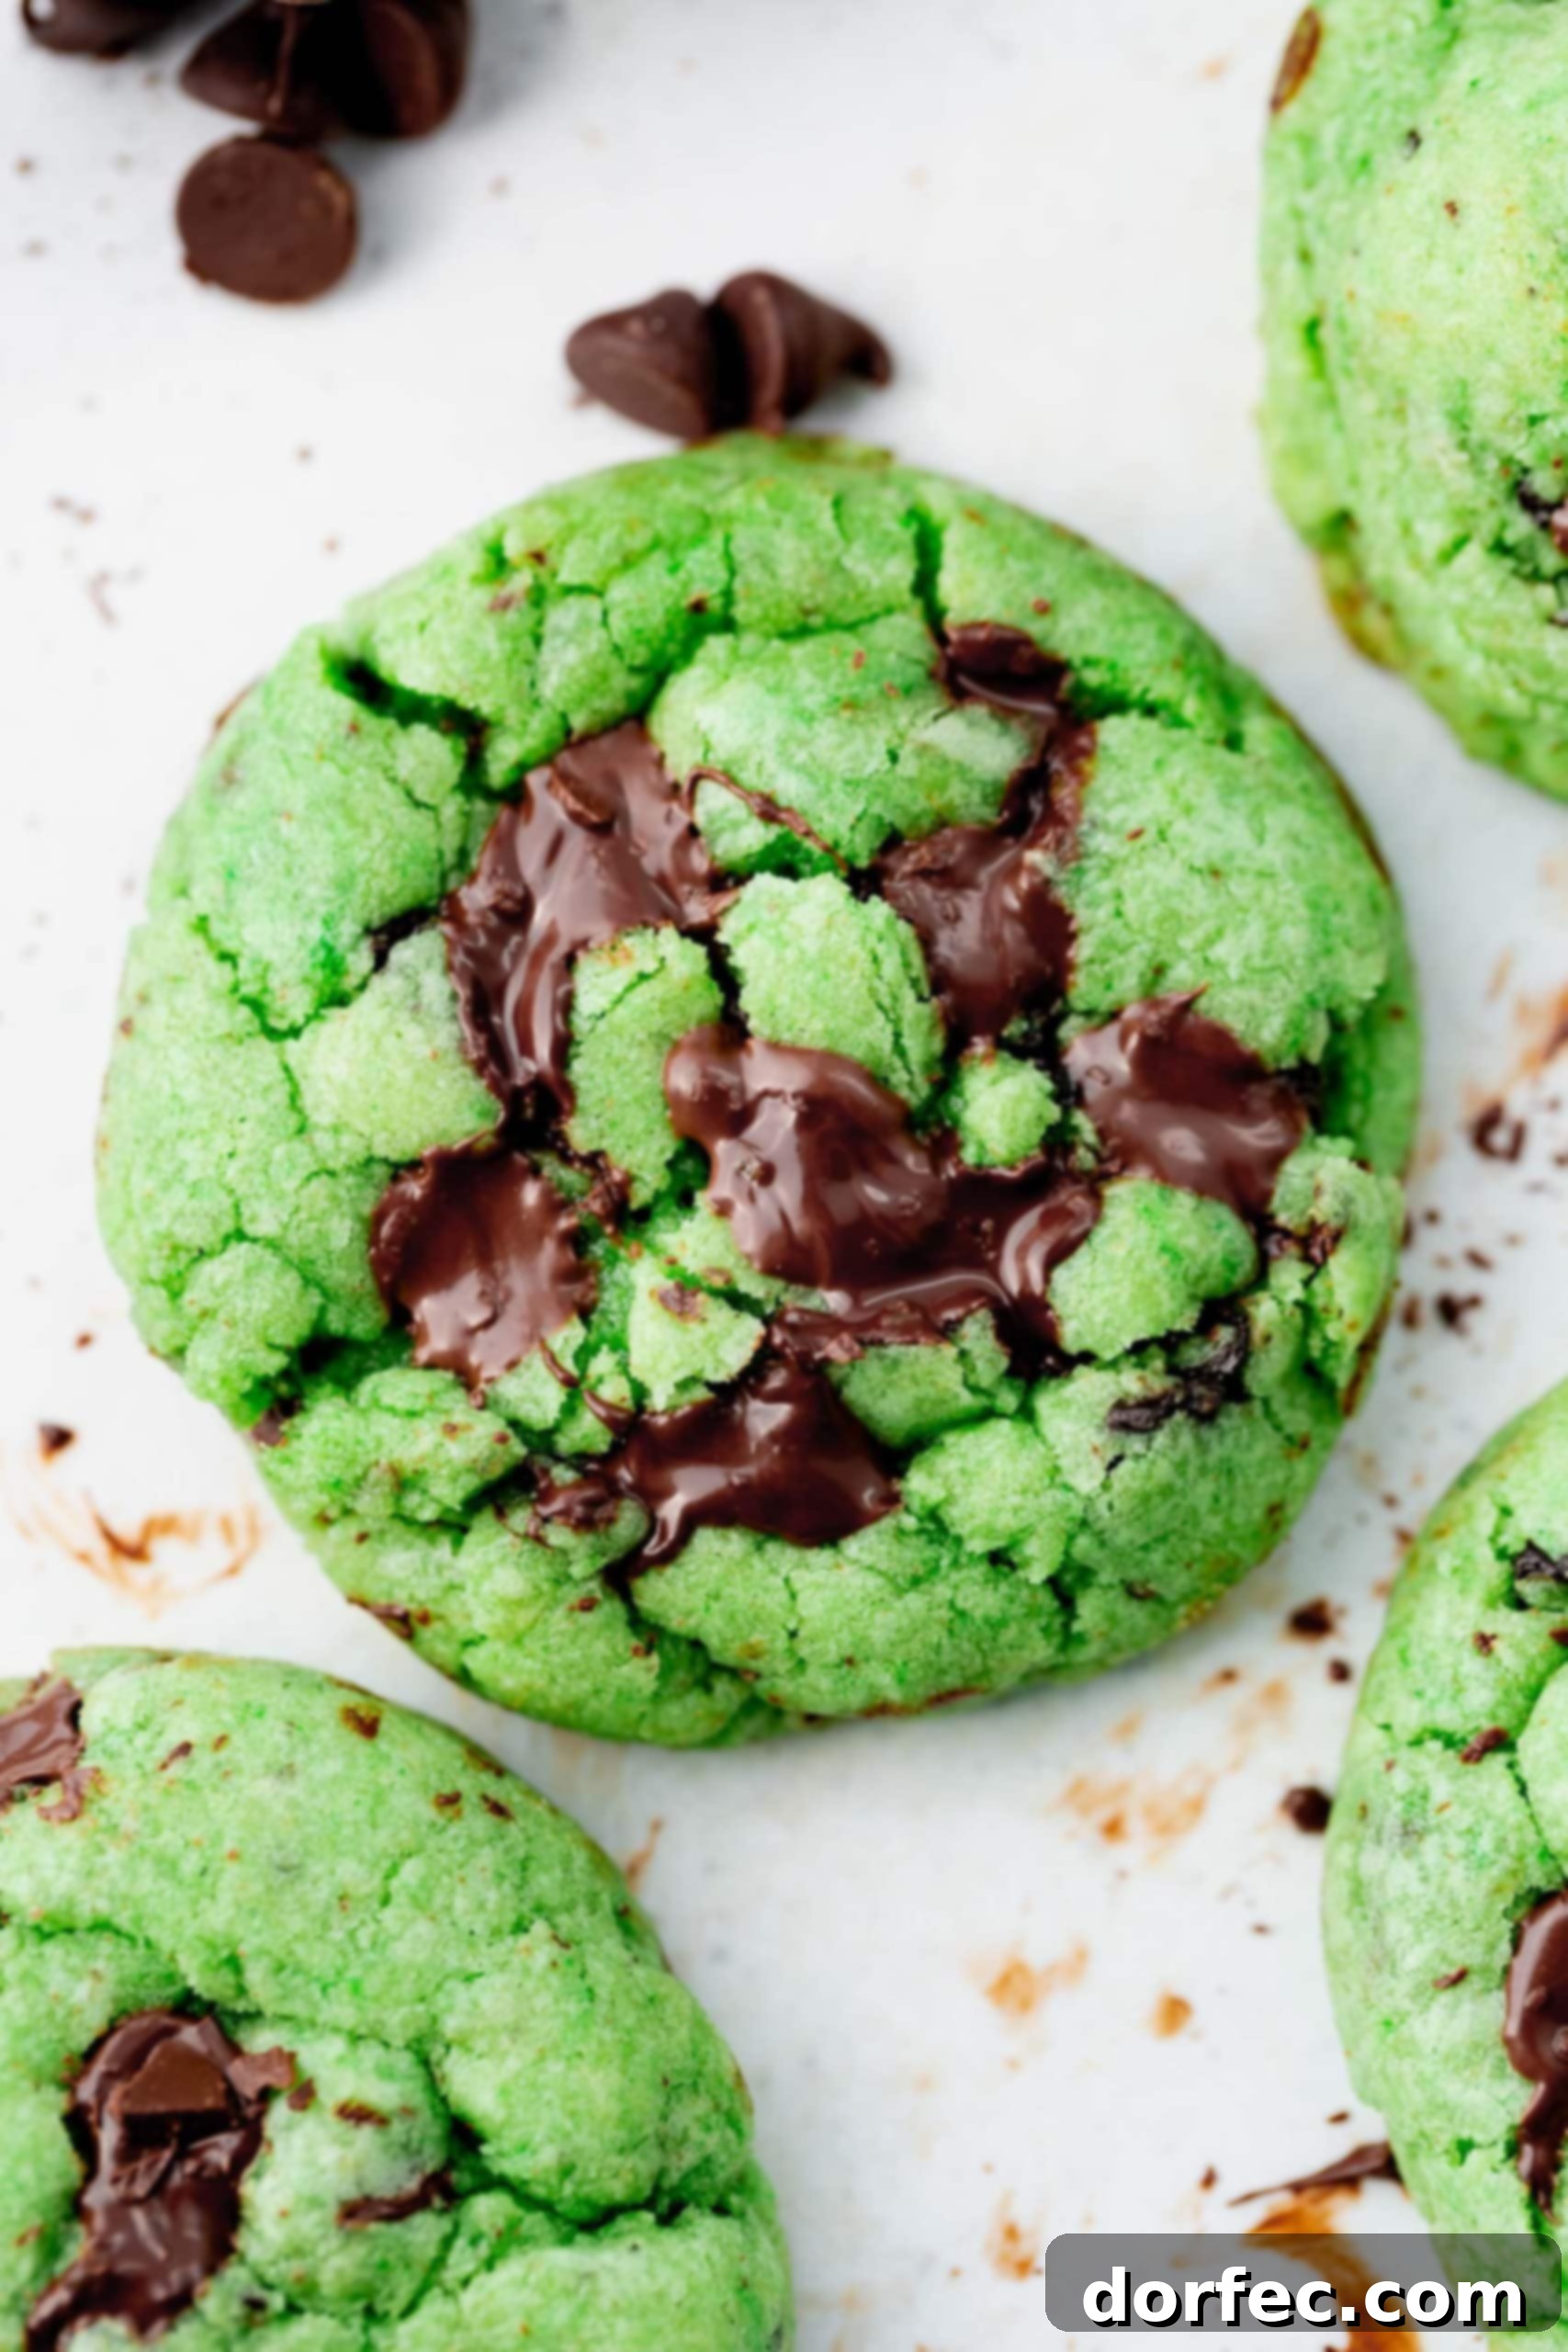
How to Make Perfect Mint Chocolate Chip Cookies
Creating these delightful mint chocolate chip cookies is surprisingly straightforward, following a process very similar to your favorite classic chocolate chip cookie recipe. The key is in the order of mixing and a crucial chilling step that enhances both flavor and texture. With a prep time of approximately 10 minutes and a total time of about 2 hours (including chilling), you’ll have a batch of these festive treats ready in no time. Here’s a detailed breakdown of the steps, ensuring you achieve perfect, soft, and chewy results every single time:
- Cream Butter and Sugar: In a large mixing bowl or the bowl of a stand mixer fitted with the paddle attachment, combine the softened butter and granulated sugar. Beat them together on medium speed for 1 minute to just combine. Then, scrape down the sides and bottom of the bowl thoroughly with a spatula. Continue beating on medium speed for another 1-2 minutes, or until the mixture becomes visibly light, fluffy, and pale in color. This step incorporates air, contributing to the cookies’ final texture.
- Add Wet Ingredients: To the creamed butter and sugar, add the two large eggs plus the extra egg yolk, 1 teaspoon of peppermint extract, and 10 drops of green food coloring. Beat on low speed until all the ingredients are just combined and the mixture is smooth and evenly colored. Avoid overmixing at this stage.
- Combine Dry Ingredients: In a separate, medium-sized bowl, whisk together the all-purpose flour, baking powder, baking soda, cream of tartar, cornstarch, and salt. Whisking ensures these dry ingredients are thoroughly distributed, which is essential for even baking and proper leavening.
- Incorporate Dry into Wet: Gradually add the dry ingredient mixture to the wet mixture in the stand mixer. Mix on low speed until the flour is *almost* fully combined. Stop mixing when you still see a few streaks of flour; overmixing develops gluten, which can lead to tough cookies.
- Add Chocolate Chips: Now for the chocolate! Add half of your dark chocolate chips (or chopped chocolate bars) directly to the dough. For the remaining half, you have a choice: you can add them as is, or for that authentic “mint chocolate chip ice cream” look, coarsely chop them with a knife. This creates smaller flecks of chocolate that distribute beautifully throughout the dough.
- Final Mix & Chill: Add the chopped chocolate to the dough and mix just until combined. Be careful not to overmix. Once mixed, cover the dough tightly with plastic wrap and refrigerate for 1-2 hours. This chilling step is crucial! It allows the flavors to meld, the butter to firm up (preventing excessive spreading during baking), and results in a thicker, chewier, and more flavorful cookie.
- Prepare for Baking: When ready to bake, preheat your oven to 350°F (175°C). Line one or more baking sheets with parchment paper or a silicone baking mat (like a Silpat) to prevent sticking and ensure even baking.
- Scoop & Bake: Use a 1/4 cup measuring cup or an extra-large cookie scoop to form uniform balls of dough. Place them on the prepared baking sheets, leaving enough space between them for spreading (about 2 inches apart). Bake for approximately 8-10 minutes, or until the edges are just starting to turn a light golden brown, but the centers still look soft and slightly underbaked. It’s vital not to overbake them if you want soft and chewy cookies – the tops should not brown.
- Cool: Remove the baking sheets from the oven and let the cookies cool on the pan for about 5 minutes. This allows them to set up without breaking. After 5 minutes, carefully transfer the cookies to a wire rack to cool completely.
For a visual guide to making these scrumptious cookies, be sure to check out the video below!
Frequently Asked Questions About Mint Chocolate Chip Cookies
How Do You Properly Store Chocolate Chip Cookies?
To keep your delicious mint chocolate chip cookies fresh and soft, proper storage is key. Once completely cooled, place them in an airtight container. They will remain wonderfully fresh at room temperature for 3-4 days. If you want to extend their freshness even further, you can refrigerate them for up to a month. Just be sure to bring them back to room temperature before serving for the best texture and flavor.
Can You Freeze Baked Chocolate Chip Cookies?
Absolutely! These cookies freeze beautifully, making them perfect for meal prepping your desserts or having a stash ready for unexpected guests. To freeze baked cookies, ensure they are completely cooled first. Then, arrange them in a single layer on a baking sheet and place them in the freezer until solid. Once frozen, transfer the cookies to a heavy-duty freezer bag or an airtight container, separating layers with parchment paper to prevent sticking. They will keep well in the freezer for up to 3 months. When you’re ready to enjoy, simply thaw them at room temperature or warm them gently in the microwave for a fresh-baked feel.
Is It Possible to Freeze Cookie Dough?
Yes, freezing cookie dough is a fantastic way to prepare ahead and have fresh-baked cookies whenever a craving strikes! The best method is to scoop the dough into individual balls (using your 1/4 cup measuring cup or cookie scoop) and place them on a wax paper-lined baking sheet. Freeze until the dough balls are solid. Once frozen, transfer them to heavy-duty freezer bags. The dough can be stored in the freezer for up to 3 months. When baking from frozen, you may need to add a couple of extra minutes to the baking time.
Can I Use Milk Chocolate Chips Instead of Dark Chocolate?
Of course! While I personally love the robust contrast of dark chocolate with the refreshing mint, you are absolutely welcome to use any chocolate chips you prefer. Milk chocolate chips will yield a sweeter cookie, and a combination of different chocolate chips (like semi-sweet and white chocolate) would also be delicious! For an extra special touch, you could even incorporate Andes Mint pieces, which you can often find in stores, similar to how we use them in our Chocolate Andes Mint Cookies recipe. Experiment and find your favorite combination!
Do I Have to Add Green Food Coloring?
The green food coloring is entirely optional. It’s a fun addition that makes these cookies perfect for St. Patrick’s Day or any festive occasion where a splash of color is desired. However, if you prefer to keep them their natural golden-brown hue, they will taste just as amazing! The flavor comes from the mint extract and chocolate, so feel free to omit the coloring if it’s not to your preference.
What If I Don’t Have Cream of Tartar?
While you can certainly skip the cream of tartar, we highly recommend including it for its unique contribution to these cookies. Cream of tartar adds a subtle tanginess that beautifully complements the mint and dark chocolate flavors, elevating the overall taste profile. More importantly, it helps create that signature soft and chewy texture that we adore in these cookies. If you don’t have it on hand, your cookies will still be delicious, but they might have a slightly different texture and flavor complexity.
Why Do You Add Cornstarch to Cookie Dough?
The addition of cornstarch to this cookie dough is a game-changer for achieving that desired soft and thick texture. Cornstarch works wonders by absorbing moisture and interfering with gluten development, which prevents the cookies from becoming tough or overly crispy. It ensures that your mint chocolate chip cookies remain incredibly soft and chewy, while also helping them maintain their thick shape during baking, rather than spreading out too much. If you’re aiming for thick, soft, and perfectly chewy cookies, cornstarch is your secret weapon!
Should you find yourself in a last-minute scramble to create something special for St. Patrick’s Day to appease your little ones (or even the not-so-little ones!), I highly recommend checking out our St. Patrick’s Day Snack Mix. It’s a quick and easy lifesaver for those moments!
But for a truly satisfying treat, once these incredible mint chocolate chip cookies have cooled, go ahead and pour yourself a tall glass of milk. For an extra festive touch, you can even dye the milk green! Then, dunk these soft, chewy, and irresistibly minty cookies into the milk for a taste of pure joy. They are guaranteed to be a crowd-pleaser and a definite kid-pleaser. Happy St. Patrick’s Day, everyone!
More Mint Chocolate Desserts You’ll Love
If the delightful combination of mint and chocolate has captured your heart with this cookie recipe, then you’re in for a treat! We have a whole collection of recipes dedicated to this classic pairing, offering a variety of desserts to satisfy every craving. From rich brownies to refreshing ice cream, these recipes will allow you to explore the versatility and magic of mint chocolate. Dive into these similar recipes below and discover your next favorite:
- Andes Mint Chocolate Cookies
- Mint Chocolate Stracciatella Ice Cream
- St. Patrick’s Mint Chocolate Bark
- Andes Mint White Chocolate Oreos
- Mint Brownies
- Dark Chocolate Peppermint Bark Cookies
- Chocolate Andes Mint Cookies
- Peppermint Double Chocolate Cookies
Green Mint Chocolate Chip Cookies
By Sweet Basil
Prep Time: 10 mins
Cook Time: 10 mins
Total Time: 2 hrs 20 mins
Servings: 24 cookies

Ingredients
- 1 Cup Butter, softened
- 1 ½ Cups Sugar
- 2 Large Eggs, plus 1 egg yolk
- 1 teaspoon Peppermint Extract
- 10 Drops Green Food Coloring
- 3 ¼ Cups Flour
- 2 teaspoons Baking Powder
- 1 teaspoon Baking Soda
- 1 ½ teaspoons Cream of Tartar
- 1 teaspoon Cornstarch
- 1/2 teaspoon Salt
- 12 Ounces Dark Chocolate Bars, chopped (divided per recipe, or use dark chocolate chips)
Instructions
- In a large bowl or stand mixer, beat the butter and sugar together for 1 minute. Scrape the sides and bottom of the bowl, then beat on medium for about 1-2 minutes, or until light and fluffy.
- Add the eggs + yolk, peppermint extract, and food coloring, beating together just until smooth.
- In a separate bowl, combine flour, baking powder, baking soda, cream of tartar, cornstarch, and salt. Dump into the wet ingredients and combine until the flour is almost mixed in.
- Add half of the chocolate chips to the dough. Chop the other half coarsely with a knife to add small flecks like you see in mint chocolate chip ice cream.
- Add the chopped chocolate to the dough, and mix until just combined.
- Cover the dough and refrigerate for about 1-2 hours.
- Preheat the oven to 350 degrees F. Line one or more baking sheets with parchment paper or a Silpat.
- Use a 1/4 cup measuring cup to form balls of dough. Place them on the cookie sheet lined with parchment paper.
- Bake at 350 for about 8-10 minutes, or until BARELY starting to brown on the edges. Do not brown the tops.
- Let cool 5 minutes on the pan, then remove to a cooling rack.
Recipe Notes
* Adapted from Little Dairy on the Prairie.
Cookies can be frozen for up to 3 months.
Dark chocolate bars all chopped up will give you more melty chocolate than chocolate chips.
Nutrition
Serving: 1 cookie
Calories: 261 kcal
Carbohydrates: 34g
Protein: 3g
Fat: 13g
Saturated Fat: 9g
Trans Fat: 1g
Cholesterol: 34mg
Sodium: 183mg
Potassium: 180mg
Fiber: 1g
Sugar: 17g
Vitamin A: 258IU
Vitamin C: 1mg
Calcium: 64mg
Iron: 1mg
Nutrition information is automatically calculated, so should only be used as an approximation.
We love hearing from you! If you try this recipe, please share your thoughts and experiences in the comments section below. Your feedback helps us and other home bakers!
REMEMBER TO SUBSCRIBE TO OUR FREE Oh Sweet Basil NEWSLETTER AND RECEIVE EASY RECIPES DELIVERED INTO YOUR INBOX EVERY DAY!
When you try a recipe, please use the hashtag #ohsweetbasil on INSTAGRAM for a chance to be featured in our stories! FOLLOW OH, SWEET BASIL ON FACEBOOK | INSTAGRAM | PINTEREST | TWITTER FOR ALL OF OUR LATEST CONTENT, RECIPES AND STORIES.