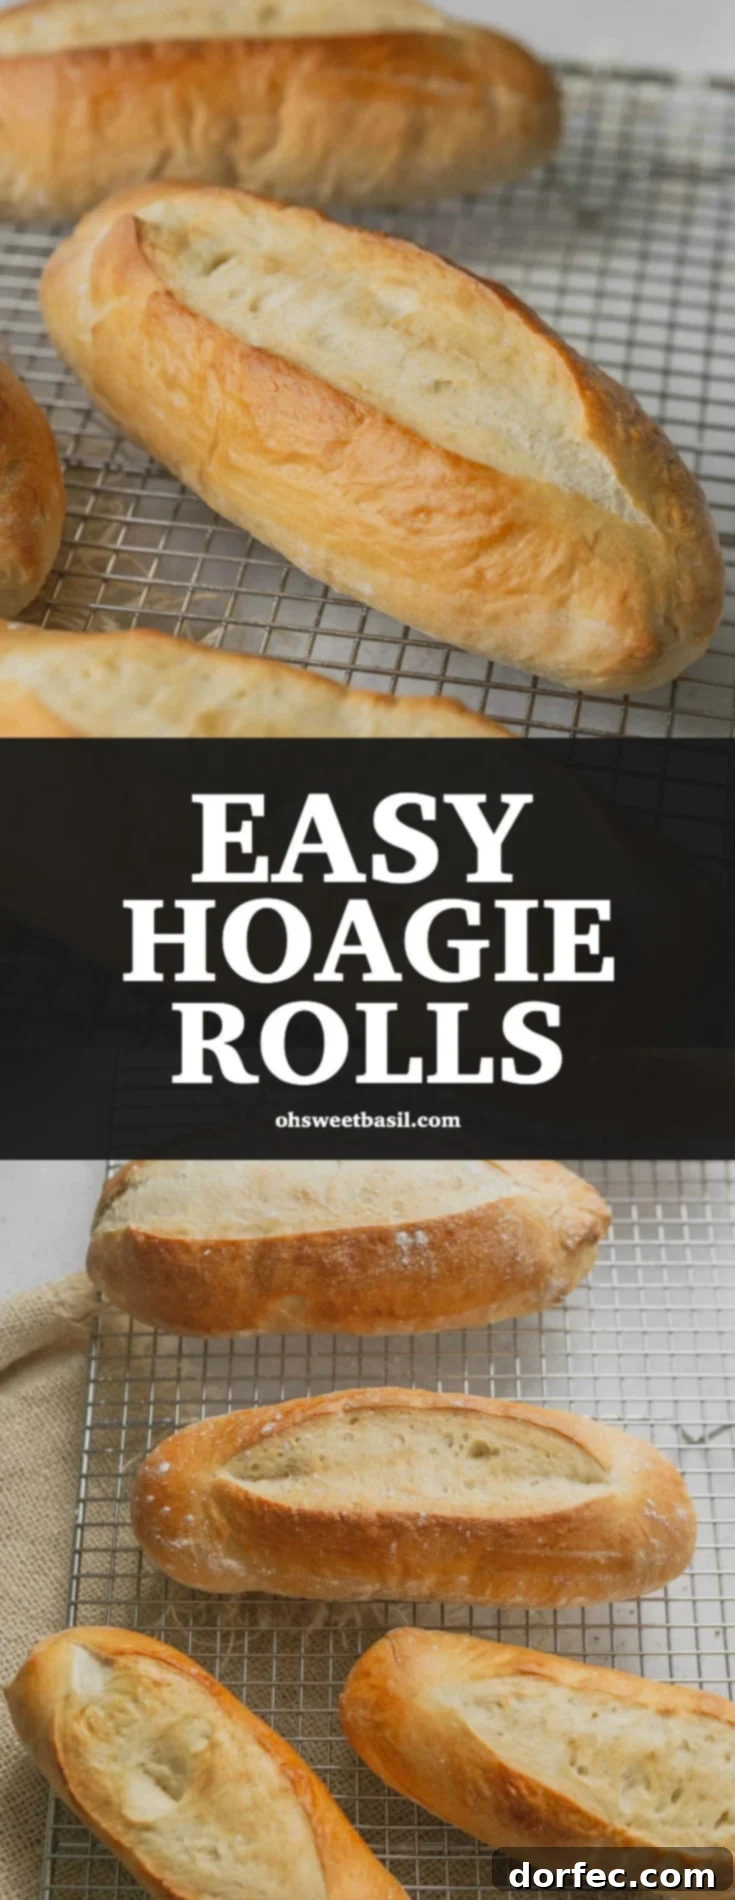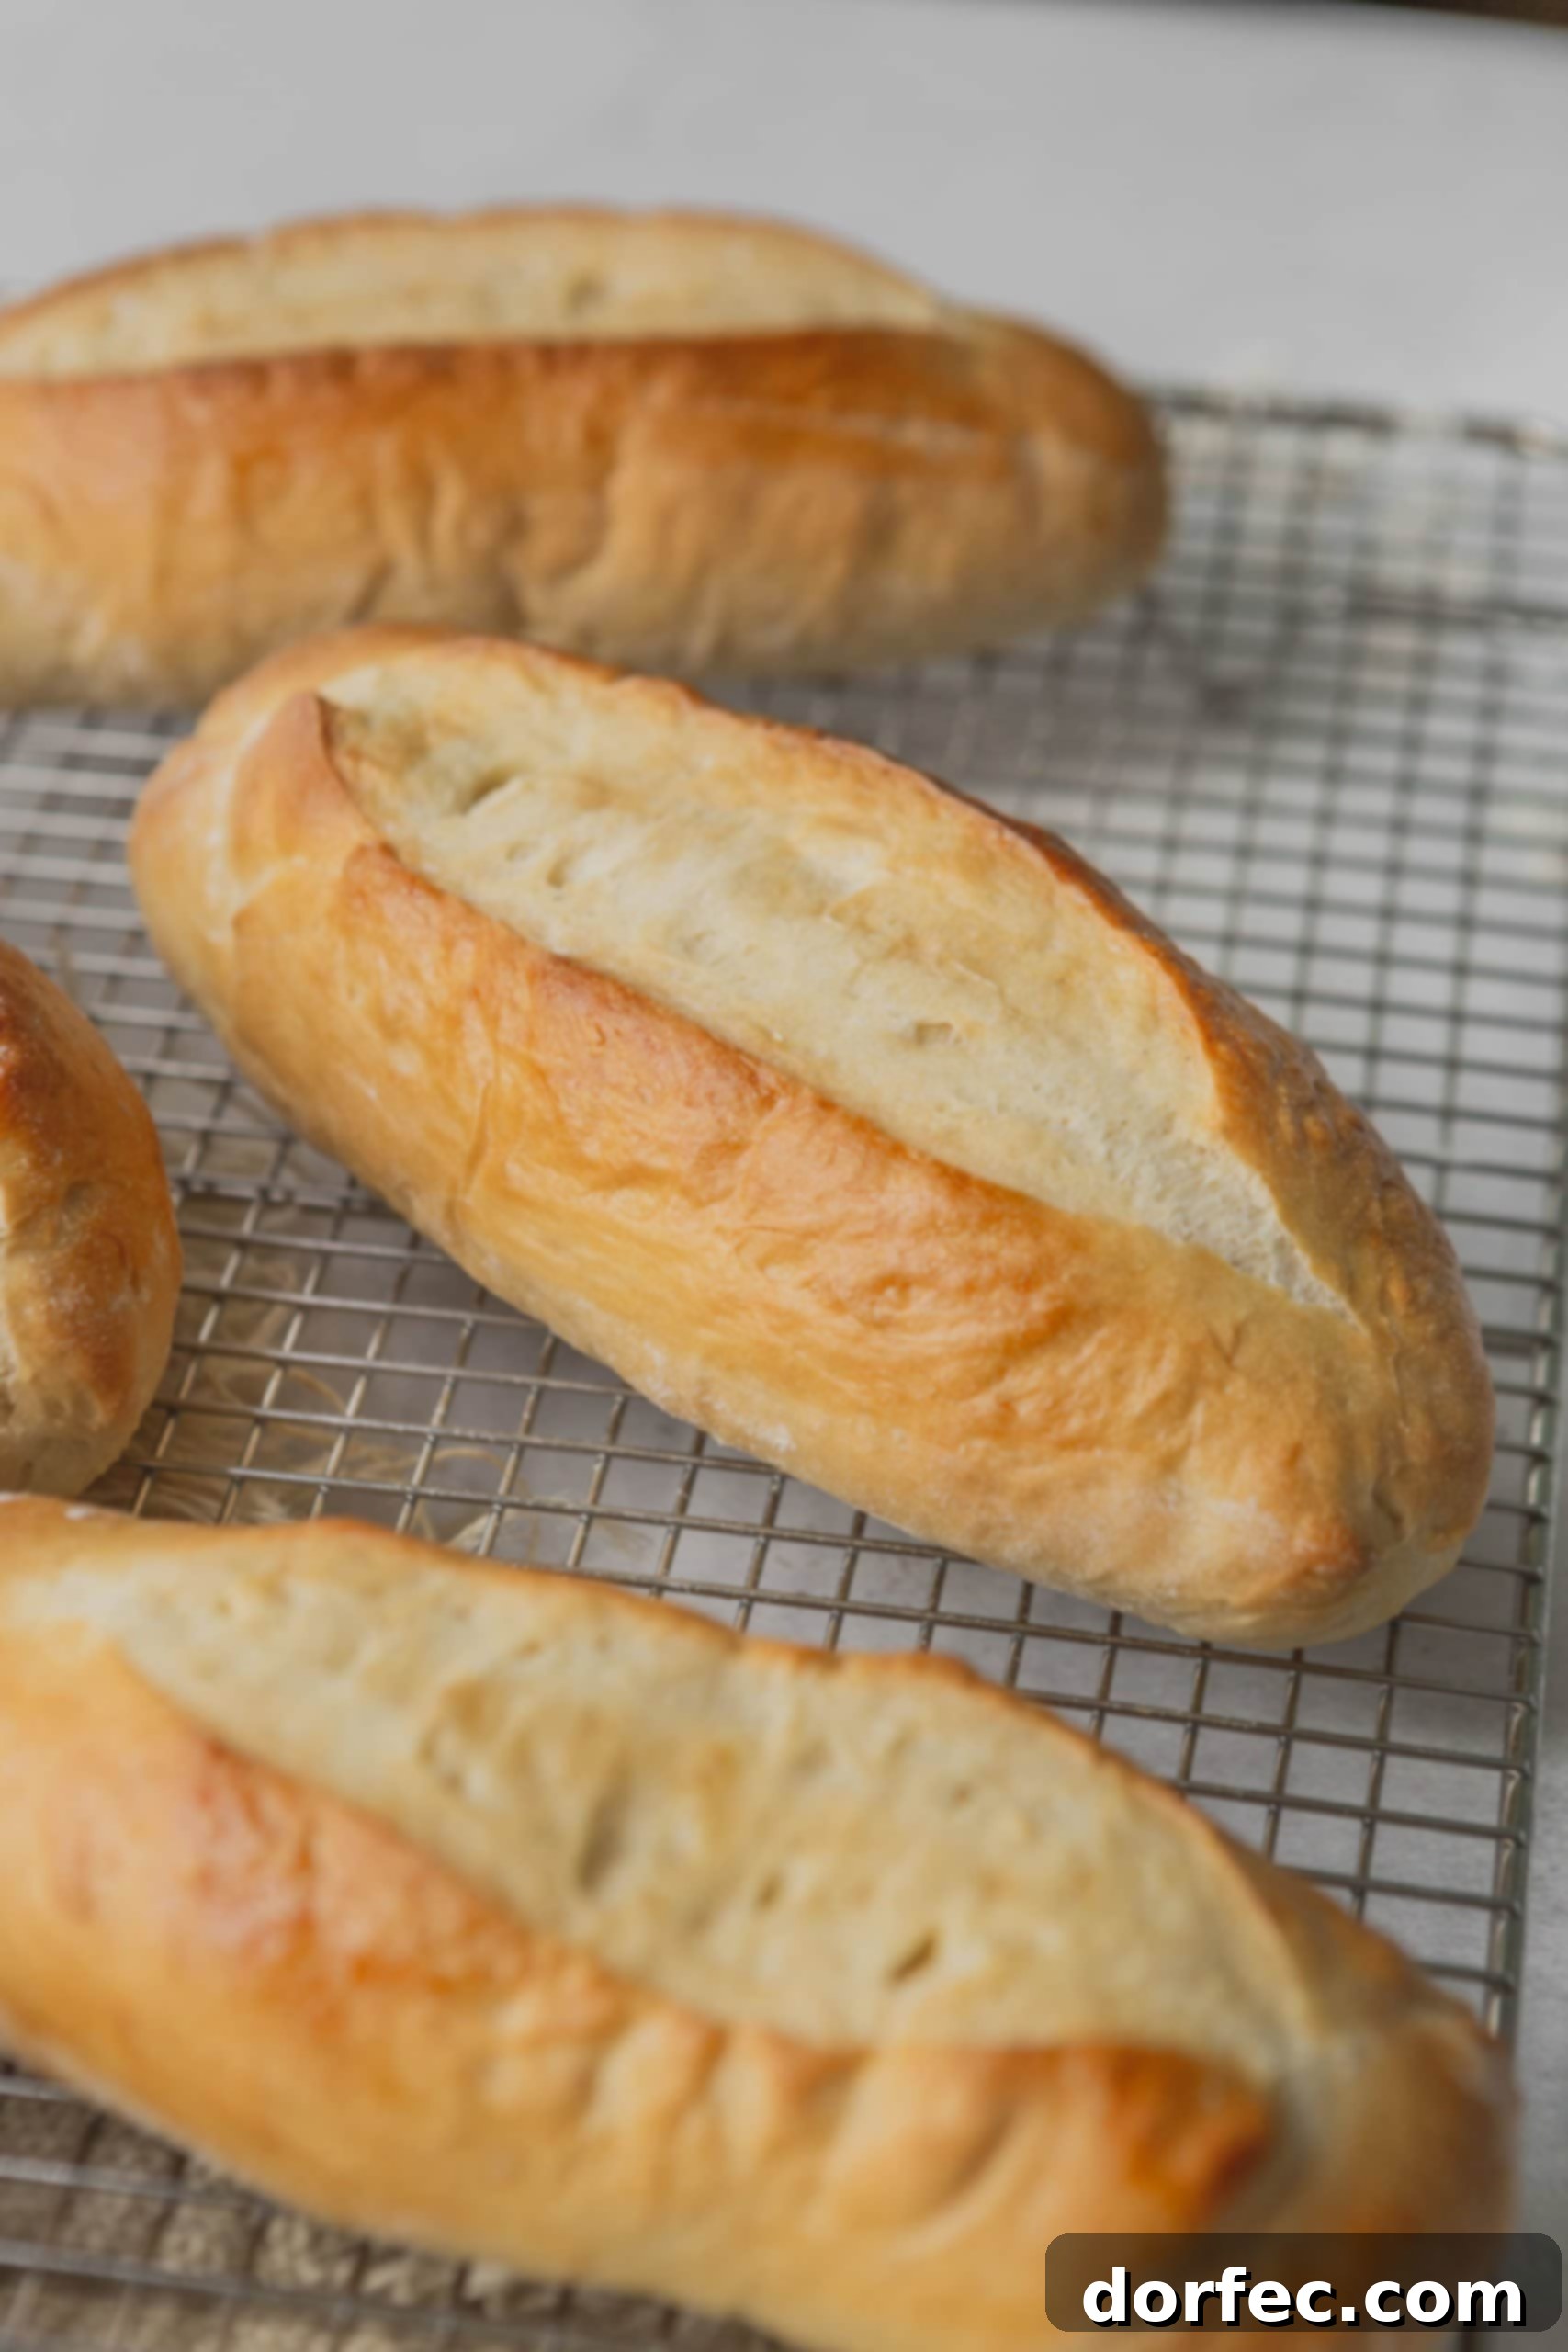
Imagine sinking your teeth into a perfectly crafted sandwich, where the bread itself is a star – soft and chewy on the inside, with a delightfully crisp, golden crust on the outside. This dream becomes a reality with our incredibly easy homemade Hoagie Rolls recipe. Made with just 9 simple, readily available ingredients, these versatile rolls are not just a base; they are the foundation for elevating your favorite sandwiches, from hearty French dip sliders and savory meatball subs to gourmet pesto meatball paninis and beyond. Forget the bland, store-bought options; once you experience the superior taste and texture of fresh, homemade hoagie bread, you’ll never look back.
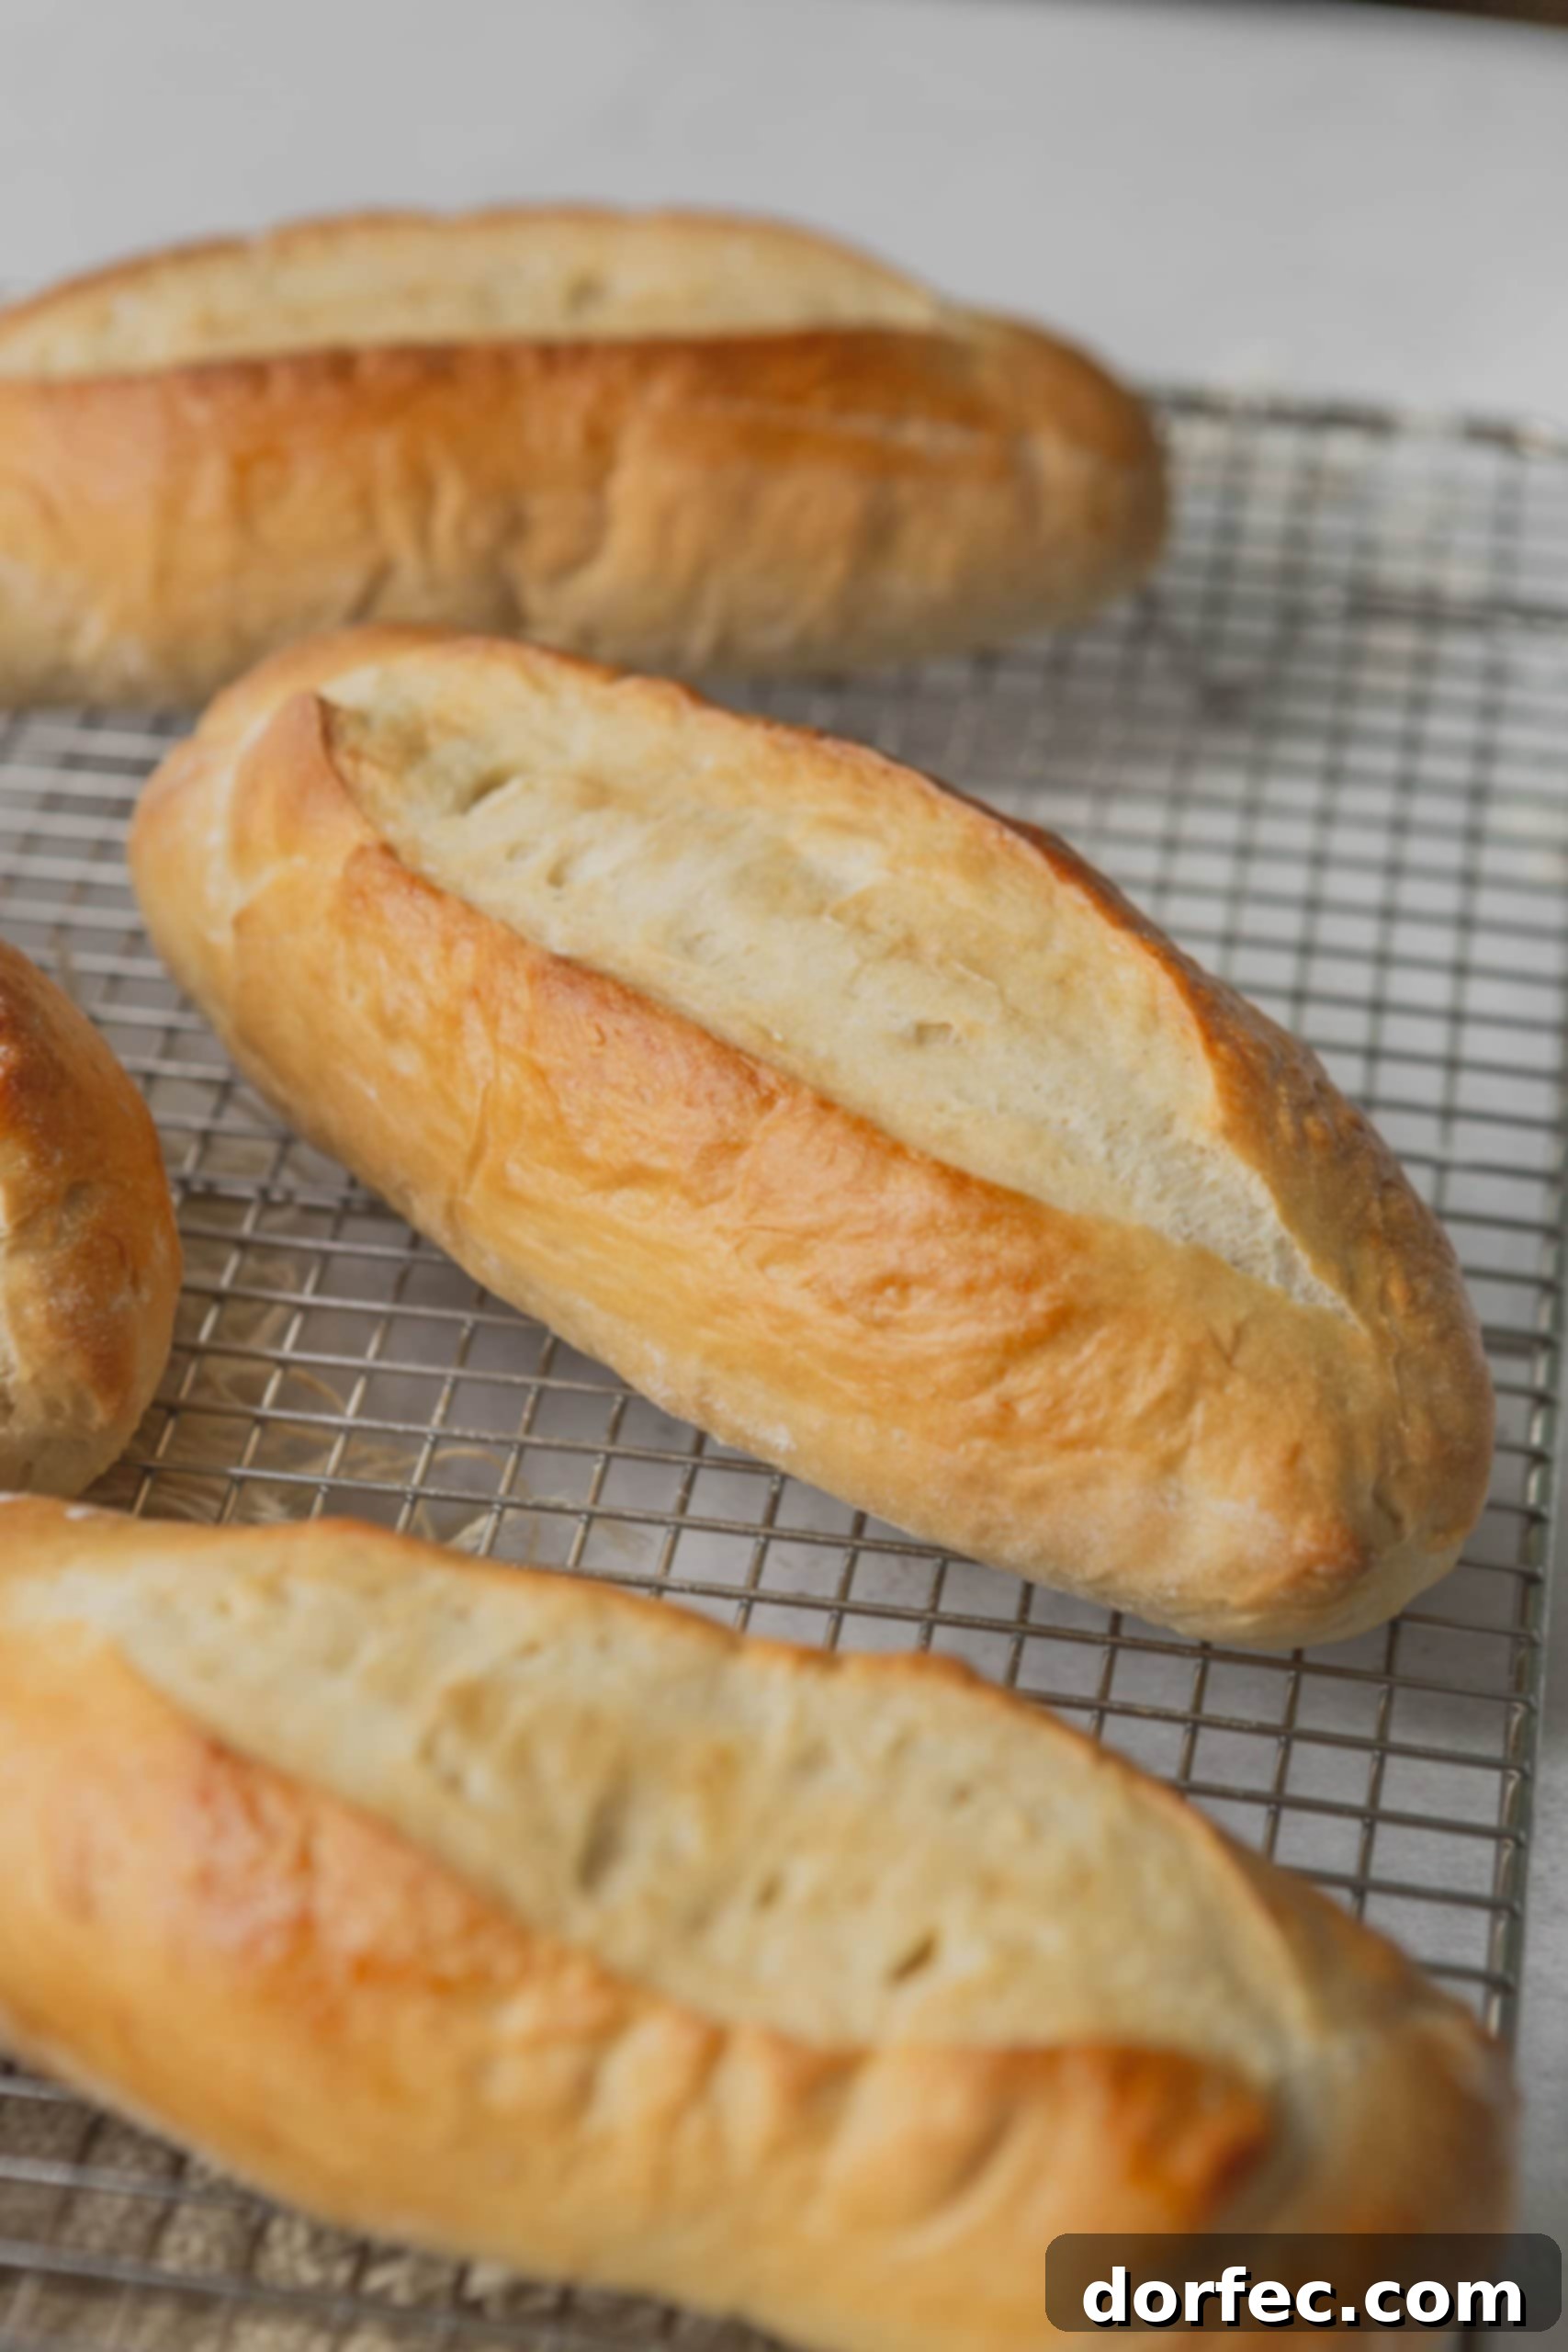
There’s a unique satisfaction that comes with baking your own bread, and these homemade hoagie rolls are no exception. The process is surprisingly straightforward, yielding results that far surpass anything you can find on supermarket shelves. Each roll boasts a perfect textural contrast: a slightly firm, golden-brown exterior that gives way to an irresistibly soft, pillowy interior. This isn’t just bread; it’s an experience that transforms ordinary meals into extraordinary culinary delights. The aroma filling your kitchen as these rolls bake is simply intoxicating, setting the stage for a truly comforting and delicious feast.
The Journey to Your New Favorite Hoagie Roll Recipe
It’s a story many home bakers can relate to: a quest for the perfect bread that ends with a recipe so beloved, people can’t stop asking for it. For years, our incredibly popular French Dip Sandwiches recipe, a slow cooker sensation with minimal ingredients, has been a go-to for countless families seeking ultimate comfort food. What we didn’t fully anticipate was the overwhelming demand for the accompanying, equally delicious homemade hoagie rolls. The secret was out, and our inboxes and comment sections were flooded with requests! It turns out, when you bake something truly exceptional, people want in on the magic.
Why Homemade Hoagie Rolls Are a Game Changer
Beyond the simple joy of baking, opting for homemade hoagie rolls offers a multitude of benefits that elevate your sandwich game to an entirely new level. Firstly, there’s the undeniable taste. Freshly baked bread, warm from the oven, with its distinct aroma and perfect texture, is simply unparalleled. You get a delicate balance of crisp crust and airy interior that factory-made rolls can only dream of achieving. Secondly, you become the culinary hero of your household. Serving up sandwiches nestled in your own handcrafted bread sends a clear message of love and dedication, transforming a simple meal into a memorable occasion. Imagine the compliments! Thirdly, convenience. While it might seem counterintuitive, once you get the hang of this straightforward recipe, making a batch of hoagie rolls can be quicker and more efficient than a last-minute trip to the grocery store, especially when you already have the staple ingredients on hand. Plus, you control exactly what goes into your food, avoiding unwanted additives and preservatives found in many commercial products. It’s a win-win for flavor, freshness, and peace of mind.
Essential Ingredients for Perfect Homemade Hoagie Rolls
Crafting these delectable hoagie rolls requires just 9 straightforward ingredients, each playing a crucial role in achieving that ideal soft, chewy interior and perfectly golden crust. The beauty of this recipe lies in its simplicity and the accessibility of these pantry staples. Here’s what you’ll need:
- Warm Water: Not too hot, not too cold – warm water is essential for waking up and activating the yeast. It provides the ideal environment for the yeast to begin its work, creating the carbon dioxide that makes your bread light and airy. Aim for a temperature between 105-115°F (40-46°C).
- Instant Yeast: This type of yeast is fantastic for its convenience; it can be added directly to your dry ingredients without prior proofing. However, if you only have active dry yeast, simply activate it in the warm water with a pinch of sugar for 5-10 minutes until foamy before combining with other ingredients.
- Granulated Sugar: Beyond adding a subtle sweetness, granulated sugar serves as vital food for the yeast, accelerating its activation and contributing to the beautiful golden-brown color of the crust during baking.
- Honey: A touch of honey adds a natural depth of flavor and another layer of sweetness, complementing the overall taste profile of the rolls. It also helps with moisture retention, keeping the rolls fresh longer.
- All-Purpose Flour: Good old reliable all-purpose flour is the backbone of these hoagie rolls. It provides the necessary gluten structure for a chewy yet tender crumb. While bread flour can be used for an even chewier texture, all-purpose yields excellent results.
- Salt: Don’t underestimate the power of salt in bread making! It’s not just for flavor; salt controls yeast activity, strengthening the gluten structure and preventing the dough from over-rising too quickly, leading to a much better texture and taste.
- Unsalted Butter: Cubed and added later in the mixing process, butter enriches the dough, contributing to its tender crumb and adding a wonderful, subtle richness. Using unsalted butter allows you to control the overall salt content in the recipe.
- Egg (for Egg Wash): An egg white, combined with a tablespoon of milk, creates the perfect egg wash. This magical mixture is brushed onto the rolls just before baking, giving them a beautiful shine and promoting that desirable golden-brown, slightly crunchy crust.
- Milk (for Egg Wash): Paired with the egg, milk in the egg wash ensures an even, golden color and a slightly softer finish on the crust, making your hoagie rolls look as professional as they taste.
For precise measurements of each ingredient, please refer to the detailed recipe card conveniently located at the end of this article.
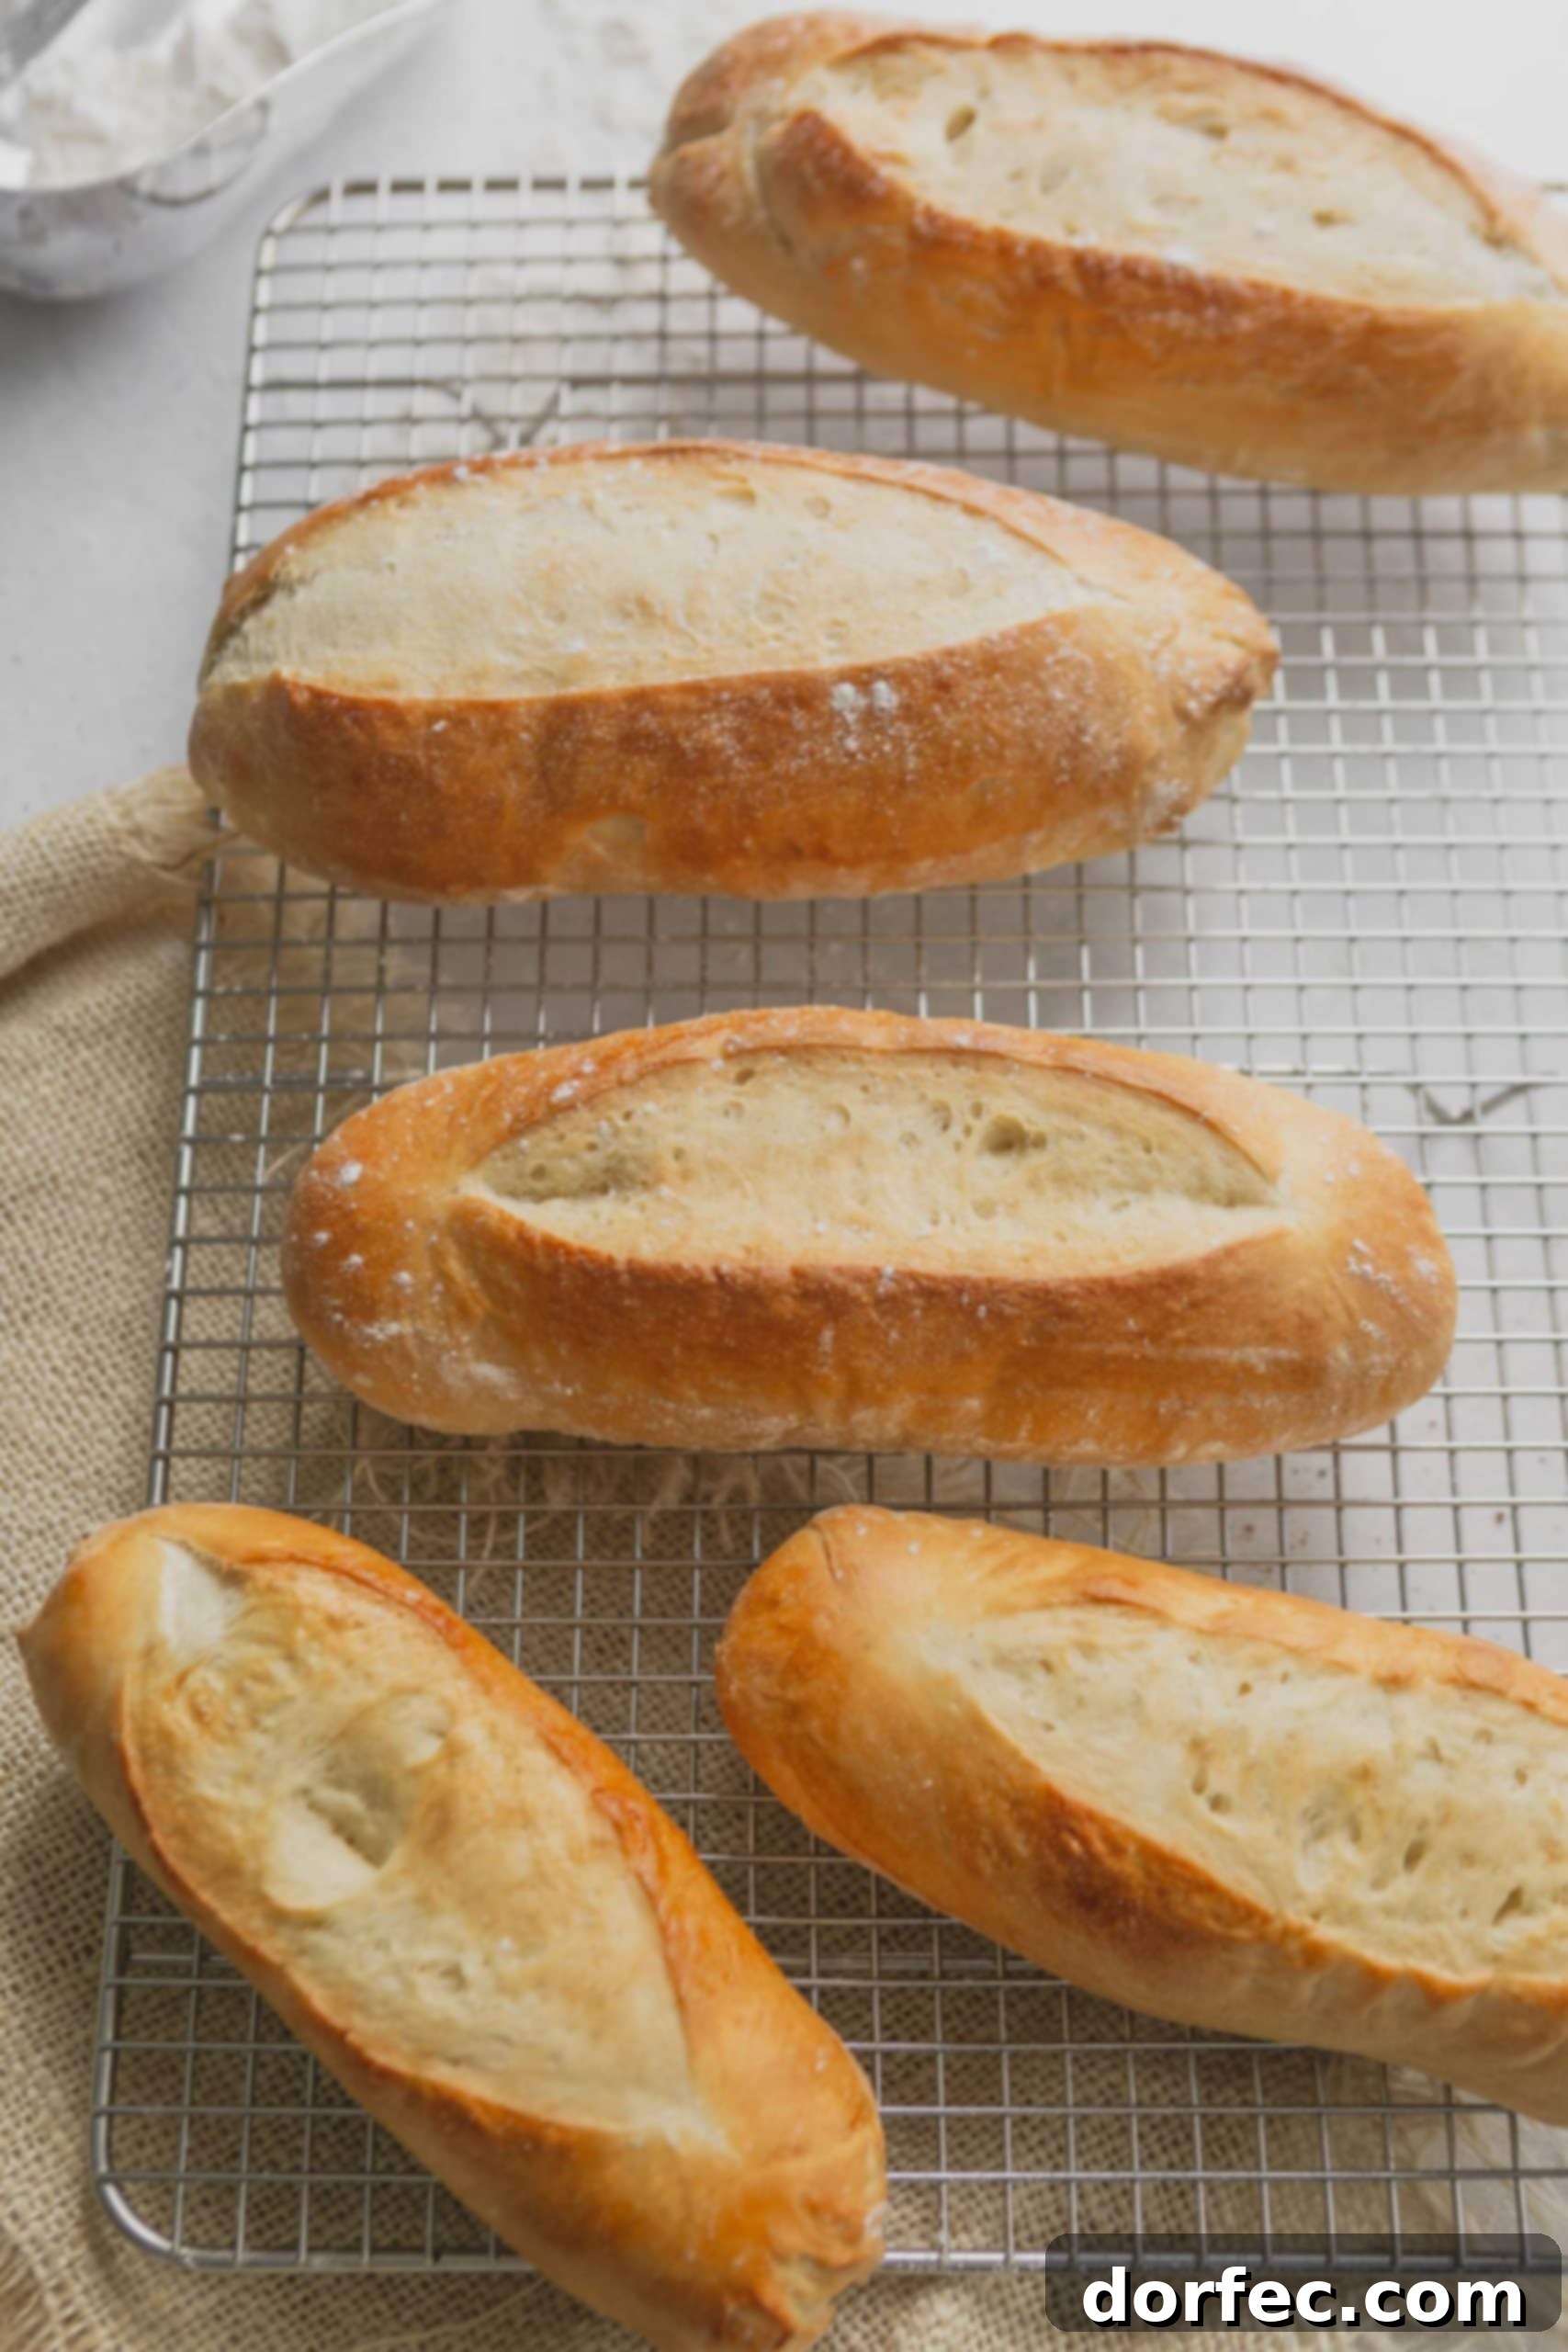
Step-by-Step Guide to Baking Irresistible Hoagie Rolls
This sub roll recipe is renowned for its ease, yet it does require a touch of patience, primarily due to the dough undergoing two crucial rising periods. These rises are vital for developing flavor and achieving the desired light, airy texture. Follow these steps for perfect results:
- Activate the Yeast: In the bowl of your stand mixer, combine the warm water (ensure it’s between 105-115°F), instant yeast, granulated sugar, and honey. Give it a gentle stir. Allow this mixture to sit undisturbed for about 5 to 10 minutes until it becomes visibly foamy. This bubbling indicates that your yeast is active and ready to work its magic.
- Begin Dough Mixing: Attach the dough hook to your stand mixer. Add the all-purpose flour to the activated yeast mixture. Mix on low speed for 4 minutes. The dough will initially appear quite wet and shaggy; this is perfectly normal and expected for a “slack dough.” Resist the urge to add more flour at this stage, as continued mixing will transform it.
- Incorporate Salt and Develop Gluten: Increase the mixer speed to medium and add the salt. Continue mixing for another 3 minutes. During this period, the gluten will start to develop, and you’ll notice the dough beginning to pull away from the sides of the bowl and become more cohesive.
- Add Butter for Richness: Reduce the mixer speed to low. Gradually add the cold, cubed unsalted butter, one tablespoon at a time. Allow each addition to mix for a minute or two before adding the next. It might look unusual at first, with butter chunks slapping around, but trust the process. Continue mixing until all the butter is fully incorporated and the dough becomes smooth, elastic, and silky to the touch. This step is crucial for the rolls’ tender texture and rich flavor.
- First Rise (Bulk Fermentation): Lightly oil a large bowl (olive oil or vegetable oil works well). Transfer the dough to the oiled bowl, turning it once to coat all sides. Cover the bowl snugly with a clean kitchen towel or plastic wrap to prevent drying. Let the dough rise in a warm, draft-free place for 1 to 2 hours, or until it has visibly doubled in size. This initial rise develops much of the bread’s flavor and structure.
- Shape the Hoagie Rolls: Once doubled, gently punch down the dough to release the air. Line a baking sheet with a Silpat mat or parchment paper. Divide the dough into 4 to 8 equal pieces, depending on your desired hoagie roll size (8 typically yields standard sandwich rolls). To shape each roll, flatten a piece of dough into a rectangle. Fold one end up towards the middle, like an envelope flap. Turn the dough 180 degrees and fold the other end over the first. Repeat this folding and rolling process a few times until you achieve a classic hoagie roll shape. Pinch the seams tightly to seal, ensuring a smooth top.
- Second Rise (Proofing): Place the shaped hoagie rolls seam-side down on the prepared baking sheet, leaving ample space between them for expansion. Lightly cover them with a towel and allow them to rise again for another 1 to 2 hours, or until they look puffy and have nearly doubled in size. This second rise, known as proofing, is critical for the final texture and volume of your baked rolls.
- Prepare Egg Wash and Score: While the rolls are proofing for the second time, preheat your oven to 375°F (190°C). In a small bowl, whisk together the egg white and milk to create your egg wash. Just before baking, use a very sharp knife or a razor blade to make a single, shallow slit (about ½ inch deep) down the center top of each roll. This scoring allows for even expansion during baking and creates that classic hoagie roll appearance. Carefully brush the tops of the rolls with the egg wash.
- Bake to Golden Perfection: Place the baking sheet with the prepared hoagie rolls into the preheated oven. Bake for 16 to 22 minutes, or until the rolls are beautifully golden brown and sound hollow when you gently tap their crust. The exact baking time can vary slightly depending on your oven and the size of your rolls.
- Butter and Cool: Immediately upon removing the hot rolls from the oven, you can optionally brush them with a little melted butter. This adds extra flavor and helps soften the crust. Transfer the baked rolls to a wire cooling rack. It’s normal for them to feel hard initially, but they will soften as they cool. Allow the sub rolls to cool for at least 15-20 minutes before slicing and serving. This cooling time is crucial for the internal structure to set, preventing a gummy texture.
The full, printable recipe with precise ingredient amounts and detailed instructions can be found in the recipe card at the end of this post, making it easy to save or print for your convenience.
Mastering the Dough: Expert Tips for Hoagie Roll Success
Achieving the perfect hoagie roll largely hinges on understanding and correctly handling the dough. Many first-time bakers, and even some experienced ones, might be surprised by the initial texture of this dough. Here are some key tips to ensure your hoagie rolls turn out perfectly every time:
- Embrace the “Slack Dough”: When you first start mixing, the dough will appear quite wet, sticky, and shaggy. This is what bakers refer to as a “slack dough” – a dough with a higher hydration level. Resist the strong urge to add more flour! Adding extra flour will result in dense, dry rolls. The magic happens with continued mixing.
- Patience with the Mixer is Key: Trust the process and let your stand mixer do the work. The extended mixing time (as specified in the recipe) is vital for developing the gluten. As the gluten strands form and strengthen, the dough will gradually transform from a shaggy, formless mass into a smooth, elastic, and silky ball that pulls away from the sides of the bowl. This could take a full 7-10 minutes, especially after the butter is incorporated. Don’t stop mixing until you reach this smooth, elastic consistency.
- Temperature Matters for Rising: Yeast loves warmth! Ensure your kitchen is not too cold during the rising periods. A warm, draft-free spot (like an oven with the light on, but turned off) is ideal. If your kitchen is particularly chilly, the rising times might be longer than specified. Don’t rush it; allow the dough to fully double in size for both rises.
- Proper Shaping Prevents Blowouts: When shaping the rolls, make sure to pinch the seams tightly. This creates tension on the surface of the dough, which helps the rolls hold their shape and prevents them from splitting open haphazardly during baking. A well-sealed seam leads to a beautifully uniform hoagie roll.
- Scoring is More Than Just Looks: The shallow slit you make on top of the rolls just before baking is called scoring or slashing. This isn’t purely decorative; it guides where the bread expands, preventing uncontrolled tears and creating a perfect, even rise and a professional appearance. Use a very sharp blade (a bread lame or sharp razor works best) for a clean cut.
By keeping these expert tips in mind, you’ll gain confidence in handling the dough and consistently produce fantastic homemade hoagie rolls.
Frequently Asked Questions About Homemade Hoagie Rolls
What Exactly Is a Hoagie Roll?
A hoagie roll is a type of long, flat-bottomed roll specifically designed to hold a generous filling, typically for a hoagie sandwich. It’s known by many regional names across the United States, including sub roll, hero sandwich roll, grinder roll, or torpedo roll, but it always refers to the same essential item: a sturdy yet soft bread perfect for substantial sandwiches.
Is There a Difference Between a Hoagie Roll and a Sub Roll?
No, there is no inherent difference between a hoagie roll and a sub roll. These terms are used interchangeably and refer to the same type of elongated bread. The name simply varies depending on the geographic region or even local preferences. For example, “hoagie” is common in the Philadelphia area, while “sub” is more widespread.
Where Did the Name “Hoagie” Originate?
The exact etymology of “hoagie” is debated among food historians, but there is a general consensus that the term originated in the Philadelphia area, likely sometime in the early to mid-20th century. Several theories exist, including connections to Hog Island shipbuilders (who were said to eat large sandwiches, hence “hoggy”), or from the Italian word “hoga” (meaning “hook”), but no single theory is universally accepted. Regardless of its origin, the name has become synonymous with a delicious and iconic sandwich.
How Long Will Homemade Hoagie Rolls Stay Fresh?
To maintain freshness, wrap your cooled hoagie rolls tightly in plastic wrap or place them in an airtight zip-top bag. Stored at room temperature, these homemade hoagie rolls will remain fresh and delicious for 3-5 days. For optimal texture, you might want to lightly toast them on subsequent days.
Can Hoagie Rolls Be Frozen?
Absolutely! Hoagie rolls freeze beautifully, making them perfect for meal prepping. To freeze, ensure the rolls are completely cooled. Wrap each roll individually in plastic wrap, then place them together in a large freezer-safe zip-top bag. They will keep well in the freezer for up to 3 months. When ready to use, simply thaw at room temperature or in the microwave, then warm them in the oven for a few minutes for a freshly baked taste and texture.
Serving and Storing Your Freshly Baked Hoagie Rolls
Once your homemade hoagie rolls emerge from the oven, golden and fragrant, a few final touches can elevate them even further, and proper storage ensures you enjoy their freshness for days to come.
- The Butter Brush Finish: For an extra layer of richness and a softer crust, generously brush the warm rolls with melted unsalted butter immediately after taking them out of the oven. The residual heat will help the butter soak in beautifully.
- Add a Touch of Crunch: If you love a little texture and nutty flavor, consider sprinkling some sesame seeds or poppy seeds on top of the rolls right after brushing them with butter. This adds a classic “sub shop” appeal.
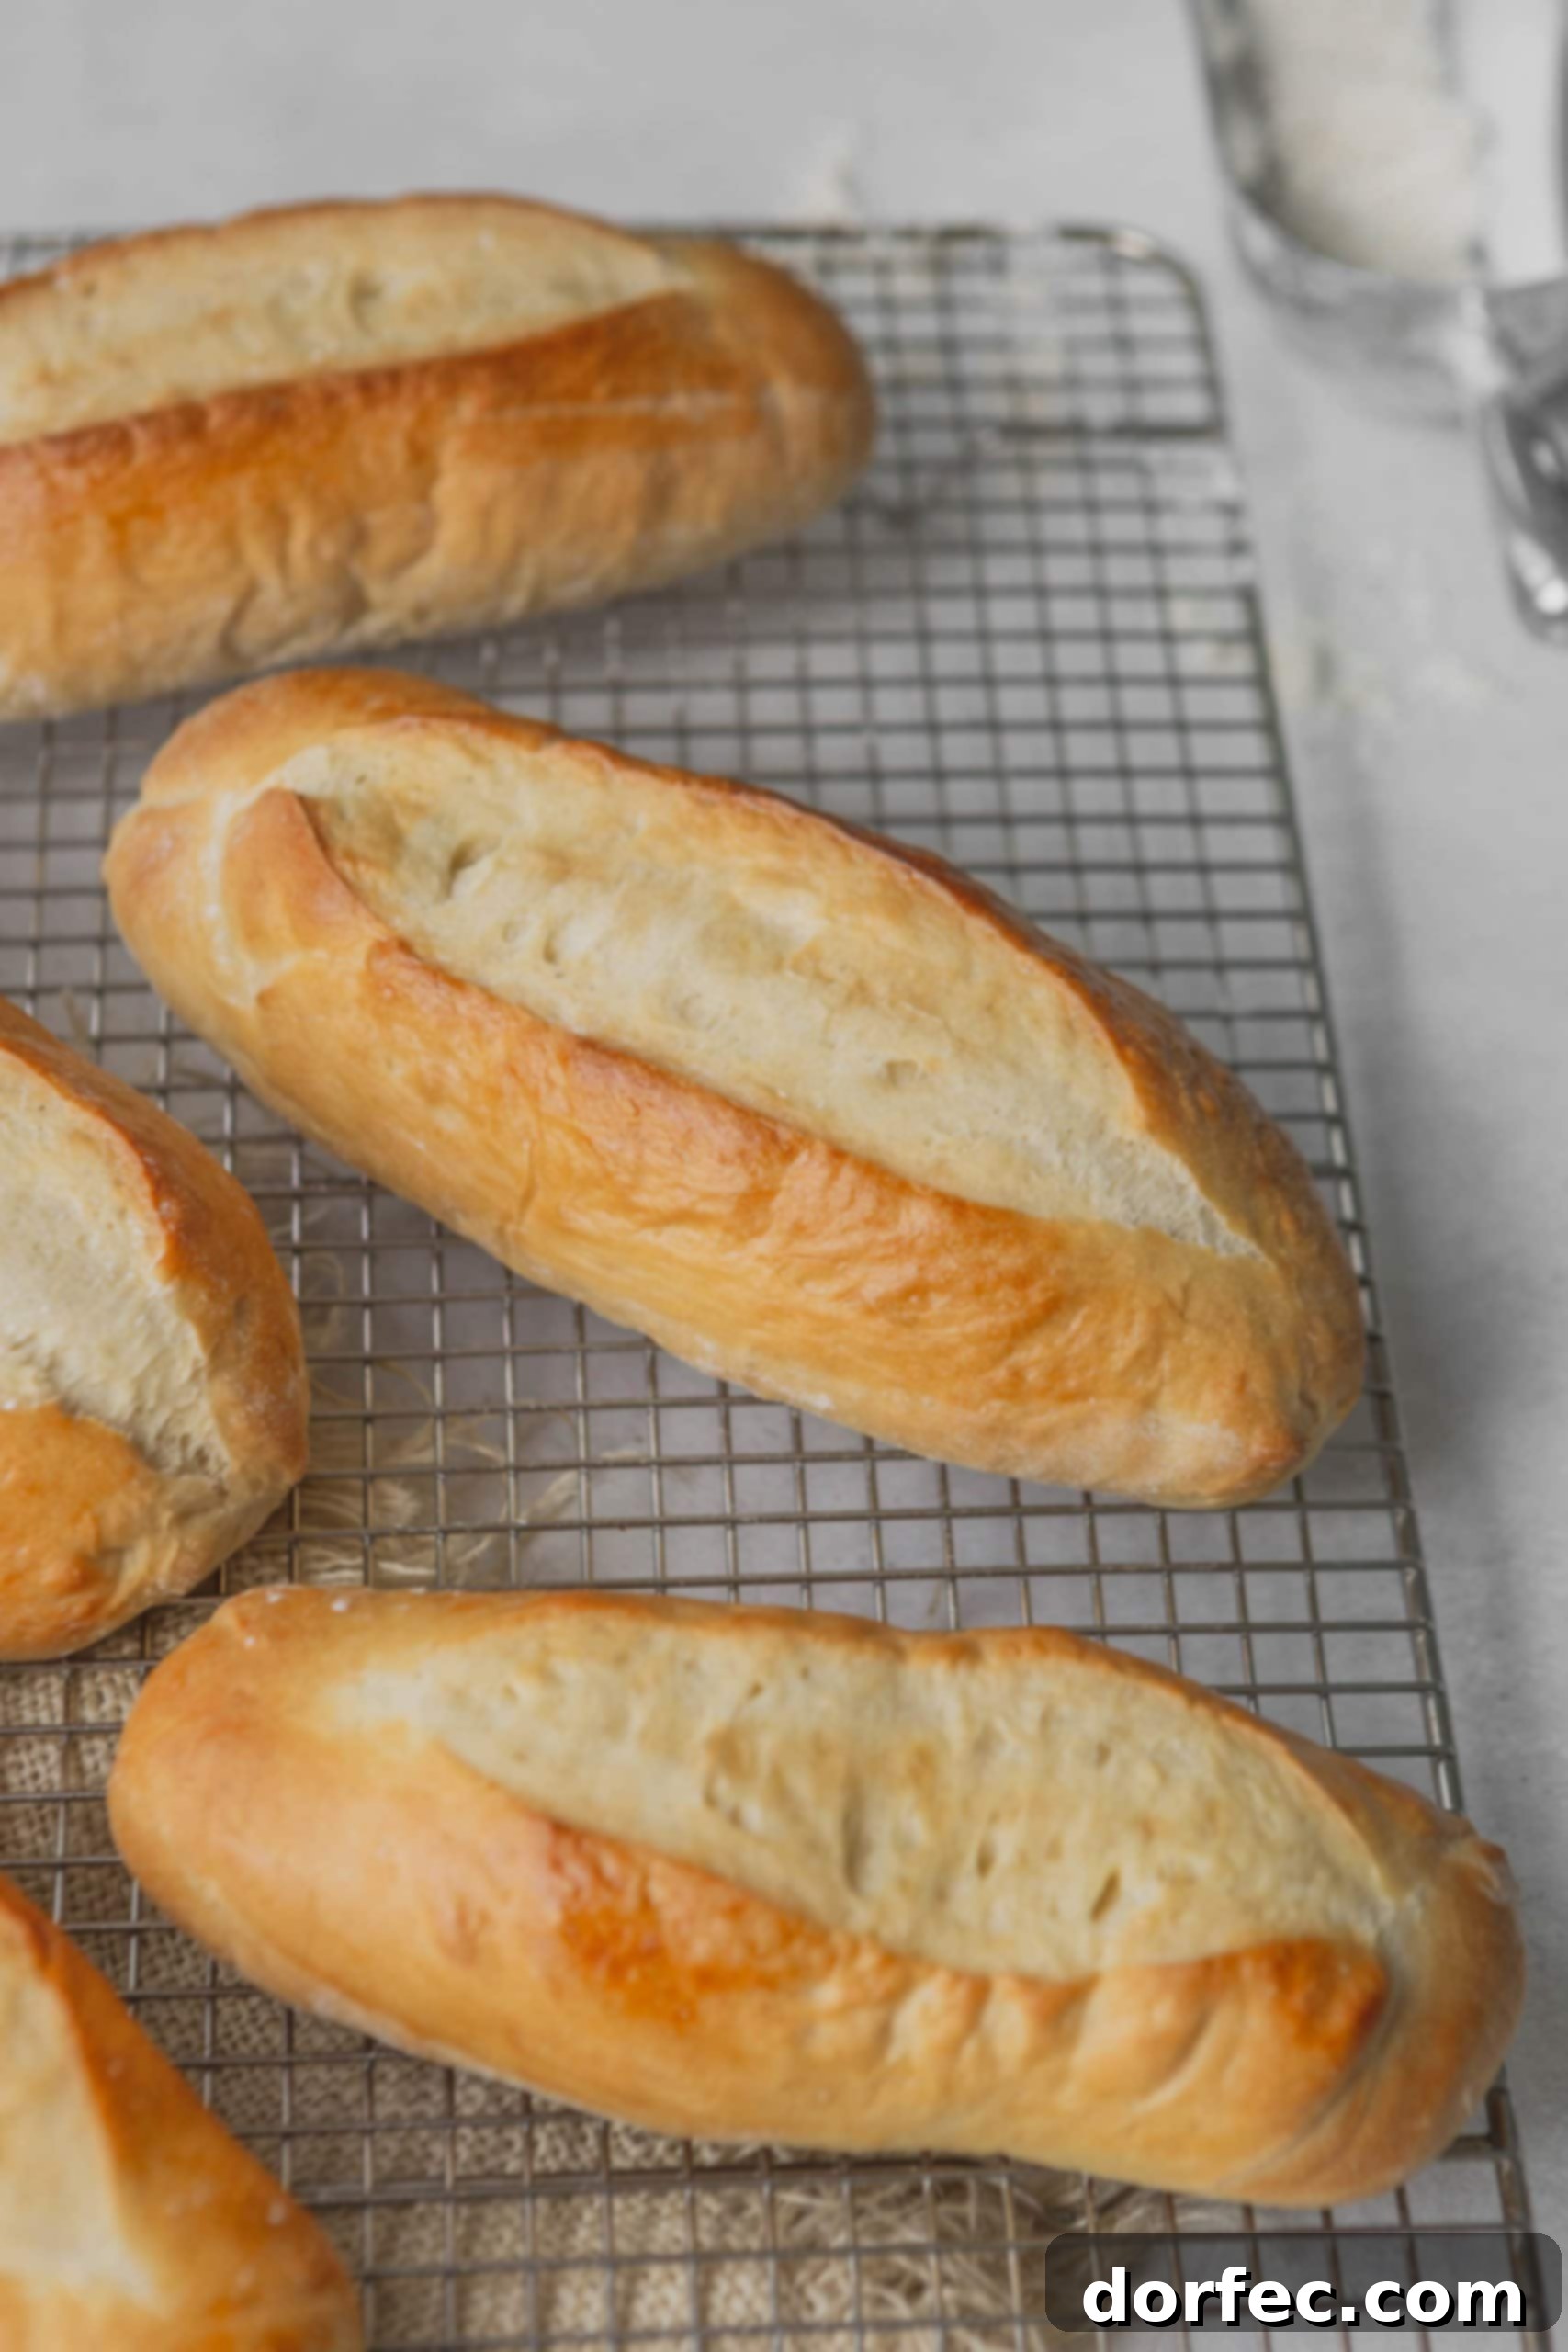
- Don’t Panic if They Feel Hard: When first removed from the oven, your hoagie rolls will feel quite hard to the touch. This is perfectly normal and does not mean they are overbaked. As they cool, the crust will soften, while the interior remains wonderfully soft and pillowy.
- Patience is a Virtue (for Cooling): It’s tempting to slice into these warm, aromatic rolls immediately, but resist the urge for at least 15-20 minutes. Allowing the rolls to cool on a wire rack lets the internal structure set properly, preventing a gummy texture when cut.
- Optimal Storage: For short-term storage, once completely cooled, place the hoagie rolls in an airtight plastic bag at room temperature. They will stay fresh for 3-5 days. For longer storage, refer to the freezing tips in the FAQ section above.
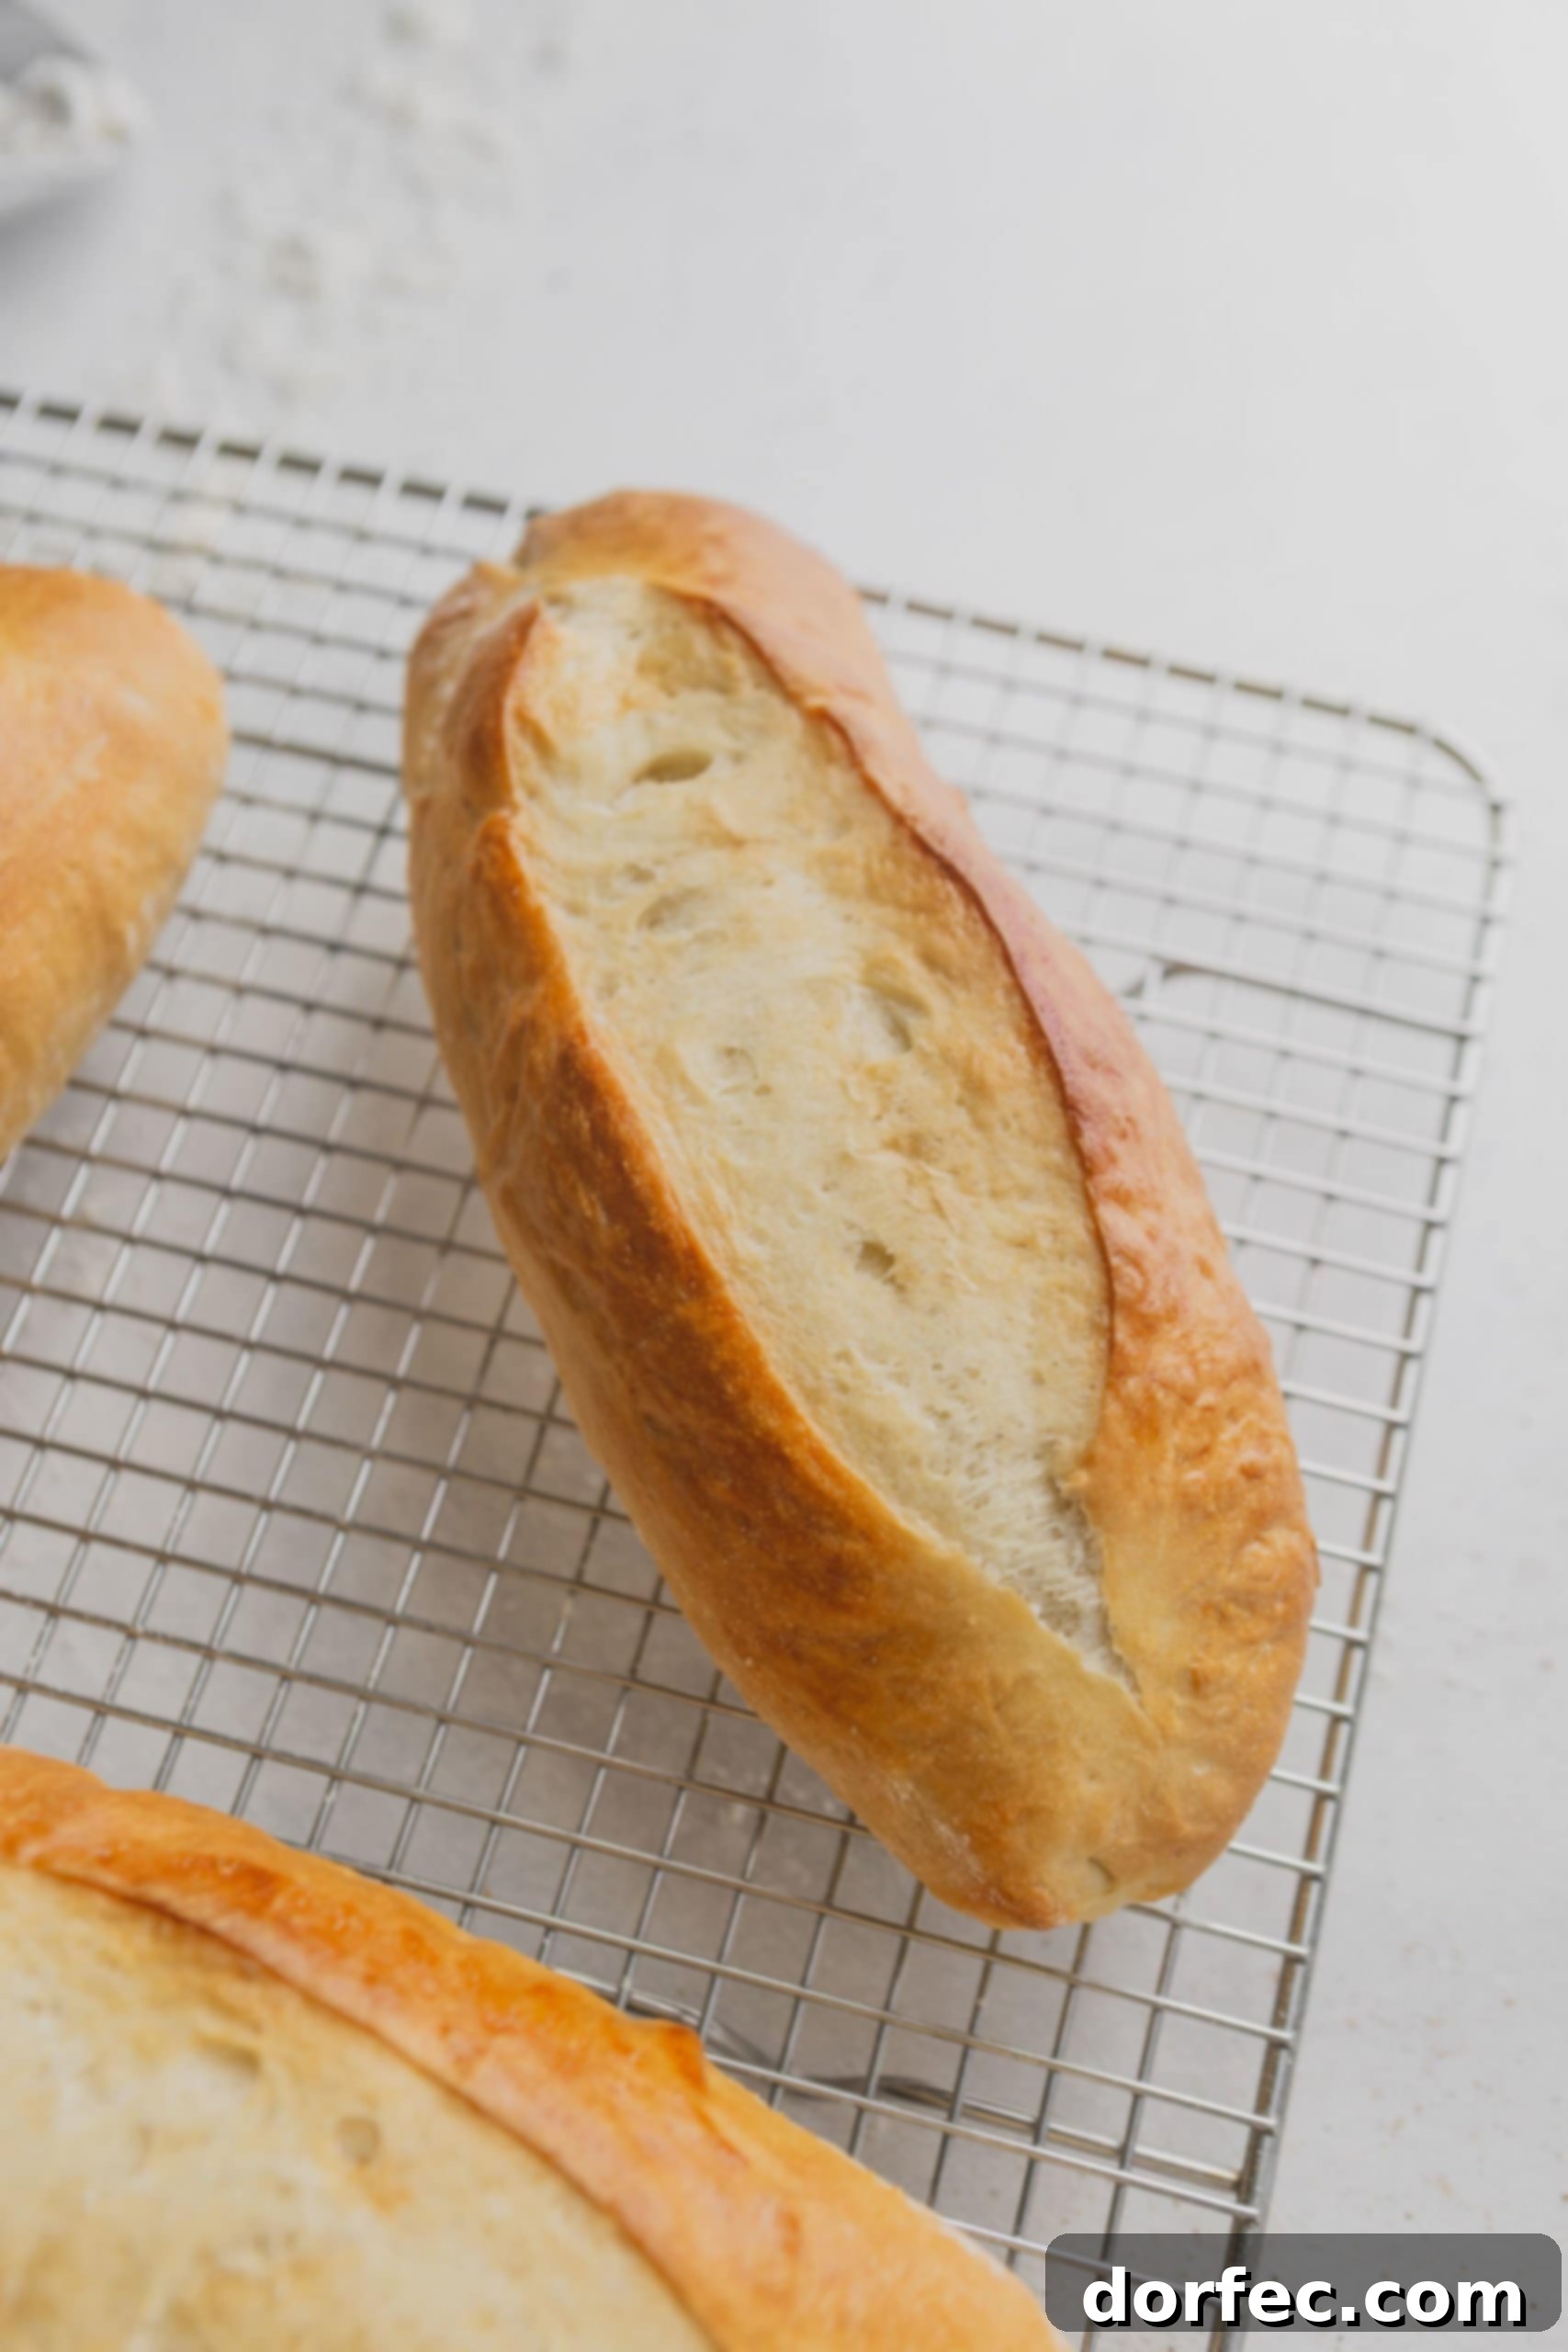
There’s truly nothing quite like the taste and aroma of homemade bread, and these easy hoagie rolls are a testament to that. Skip the trip to the grocery store and instead, enjoy the incredible satisfaction of creating these perfect sandwich bases right in your own kitchen. With just 9 simple ingredients, you likely have everything you need on hand to embark on this rewarding baking adventure. Get ready to elevate your favorite sandwiches and delight your taste buds!
More Easy Bread Recipes to Try:
- No-Knead Artisan Bread
- French Bread
- Herbed Focaccia Bread
- Homemade Sweet Cornbread
- Classic Potato Rolls
- Homemade Naan
- Soft Pumpkin Dinner Rolls
- 7 Up Biscuits
- Ham and Cheese Scones
- Perfect Soft Pretzels
- All of our bread recipes!
Easy Homemade Hoagie Rolls
By Sweet Basil
Made with just 9 simple ingredients, these easy Hoagie Rolls are the perfect base for French dip sandwiches, meatball subs, and more!
Recipe Details
- Prep Time: 20 minutes
- Cook Time: 16-22 minutes
- Total Time: Approximately 4 hours 36 minutes (including rising times)
- Yields: 8 hoagies
Ingredients
- 1 ½ Cups Warm Water (105-115°F / 40-46°C)
- 1 Tablespoon Instant Yeast
- 1 Tablespoon Granulated Sugar
- 1 Tablespoon Honey
- 3 ¾ Cups All-Purpose Flour
- 1 Tablespoon Salt
- 3 Tablespoons Unsalted Butter, cubed and cold
- 1 Egg White (for egg wash)
- 1 Tablespoon Milk (for egg wash)
Instructions
- In the bowl of a stand mixer, combine the warm water, instant yeast, granulated sugar, and honey. Allow to foam up for about 5 to 10 minutes, indicating yeast activation.
- Add the all-purpose flour. Using a dough hook, mix on low speed for 4 minutes until roughly combined. The dough will appear wet and shaggy.
- Increase the speed to medium. Add the salt and continue mixing for another 3 minutes. The dough will start to develop gluten and become more cohesive.
- With the mixer on low, add the cold, cubed unsalted butter, one tablespoon at a time. Mix for 1-2 minutes after each addition. Continue mixing until all butter is fully incorporated and the dough becomes smooth, elastic, and silky.
- Place the dough in a lightly oiled bowl, turning to coat all sides. Cover with a clean towel or plastic wrap and let rise in a warm, draft-free place for 1 to 2 hours, or until doubled in size (first rise).
- Once risen, gently punch down the dough to deflate. Line a baking sheet with a Silpat mat or parchment paper. Divide the dough into 8 equal pieces.
- Shape each piece into a hoagie roll: flatten into a rectangle, fold one end up, turn 180 degrees, and fold the other end over. Repeat to form the desired roll shape, pinching all seams tightly to seal.
- Place the shaped rolls seam-side down on the prepared baking sheet. Cover lightly with a towel and allow to rise again for another 1 to 2 hours, or until puffy and nearly doubled (second rise).
- While the rolls are proofing, preheat your oven to 375°F (190°C). In a small bowl, whisk together the egg white and milk for the egg wash.
- Just before baking, use a very sharp knife or razor blade to make a shallow slit down the top of each roll. Brush the tops evenly with the egg wash.
- Bake in the preheated oven for 16 to 22 minutes, or until the rolls are golden brown and sound hollow when tapped on the crust.
- Remove from the oven. Optionally, brush with a little melted butter for extra flavor and a softer crust.
- Transfer the rolls to a wire cooling rack and allow to cool for at least 15-20 minutes before slicing and serving. They will soften as they cool.
Recipe Notes
Store cooled hoagie rolls in an airtight plastic bag at room temperature for 3-5 days, or freeze for up to 3 months.
Nutrition Information (per 1 roll serving, approximate)
- Calories: 270 kcal
- Carbohydrates: 49.1g
- Protein: 6.7g
- Cholesterol: 11.4mg
- Fiber: 2g
- Sugar: 3.9g
Nutrition information is an approximation and may vary based on ingredients and preparation.
REMEMBER TO SUBSCRIBE TO our FREE Oh Sweet Basil NEWSLETTER AND RECEIVE EASY RECIPES DELIVERED INTO YOUR INBOX EVERY DAY!
When you try a recipe, please use the hashtag #ohsweetbasil on INSTAGRAM for a chance to be featured in our stories! FOLLOW OH, SWEET BASIL ON FACEBOOK | INSTAGRAM | PINTEREST | TWITTER FOR ALL OF OUR LATEST CONTENT, RECIPES AND STORIES.