
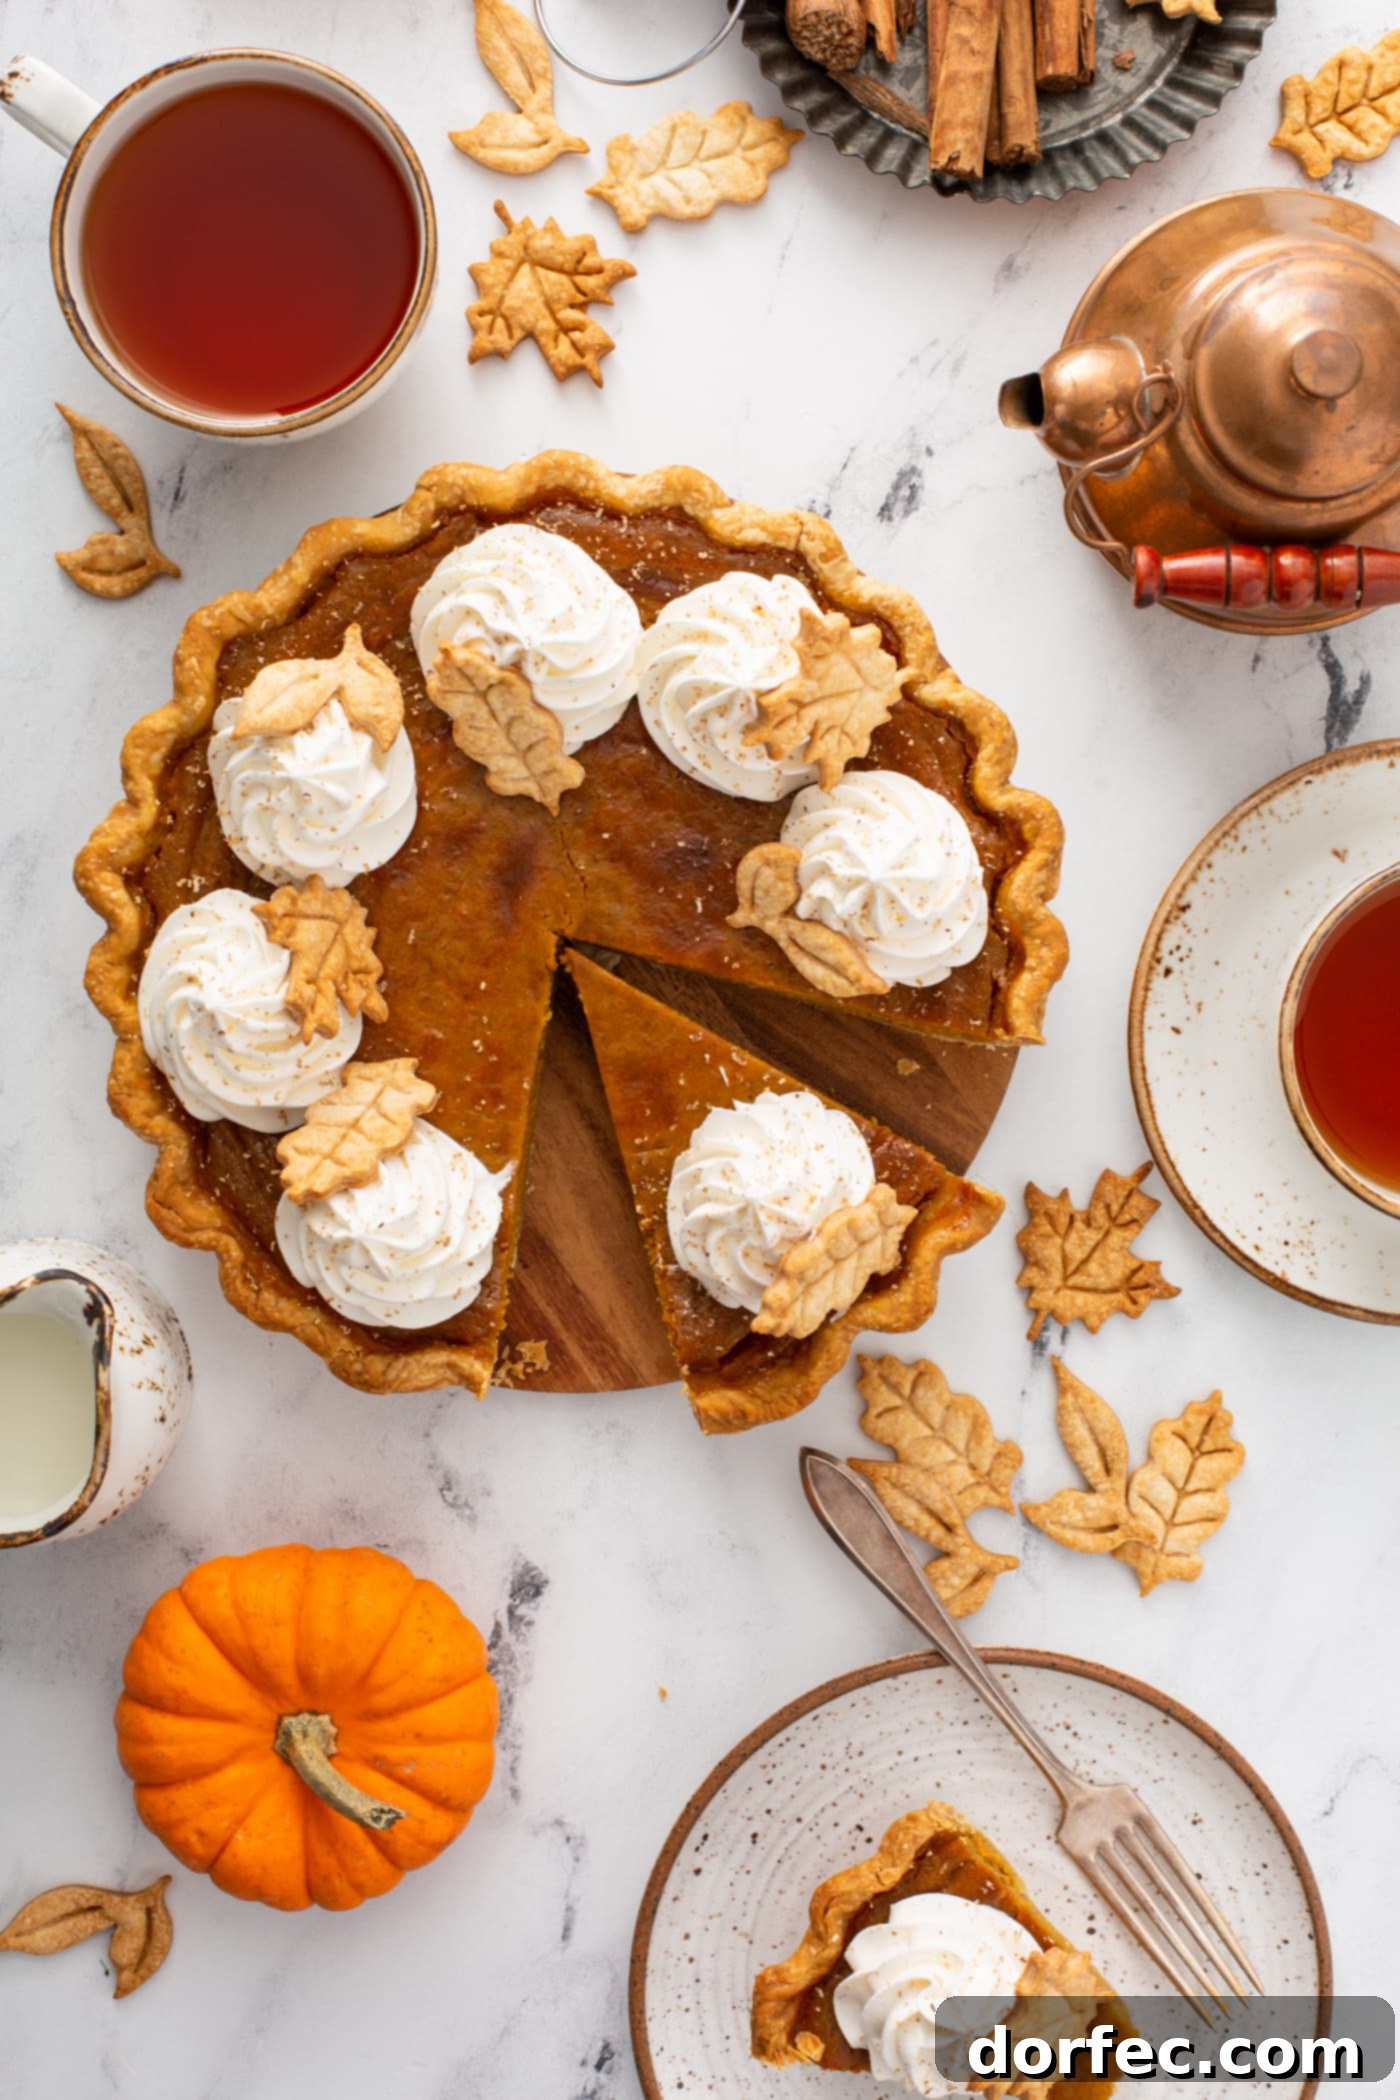
There’s an undeniable magic in a truly **classic pumpkin pie made entirely from scratch**. It transcends mere dessert, becoming a symbol of comfort, tradition, and the cozy embrace of autumn. Forget those store-bought imitations; this homemade masterpiece boasts a velvety, perfectly spiced filling nestled within a tender, buttery crust, delivering that iconic Thanksgiving flavor we eagerly anticipate all year long. If the thought of making **pumpkin pie from scratch** has ever seemed daunting, put your worries aside. I’m here to guide you through every single step, ensuring your pie bakes up flawlessly smooth, exquisitely creamy, and utterly perfect each and every time.
Whether you’re planning to host a grand Thanksgiving feast or simply yearn for a comforting fall dessert, this comprehensive guide offers the **only pumpkin pie recipe you’ll ever need**. It’s designed to make your baking experience joyful and the results absolutely unforgettable.
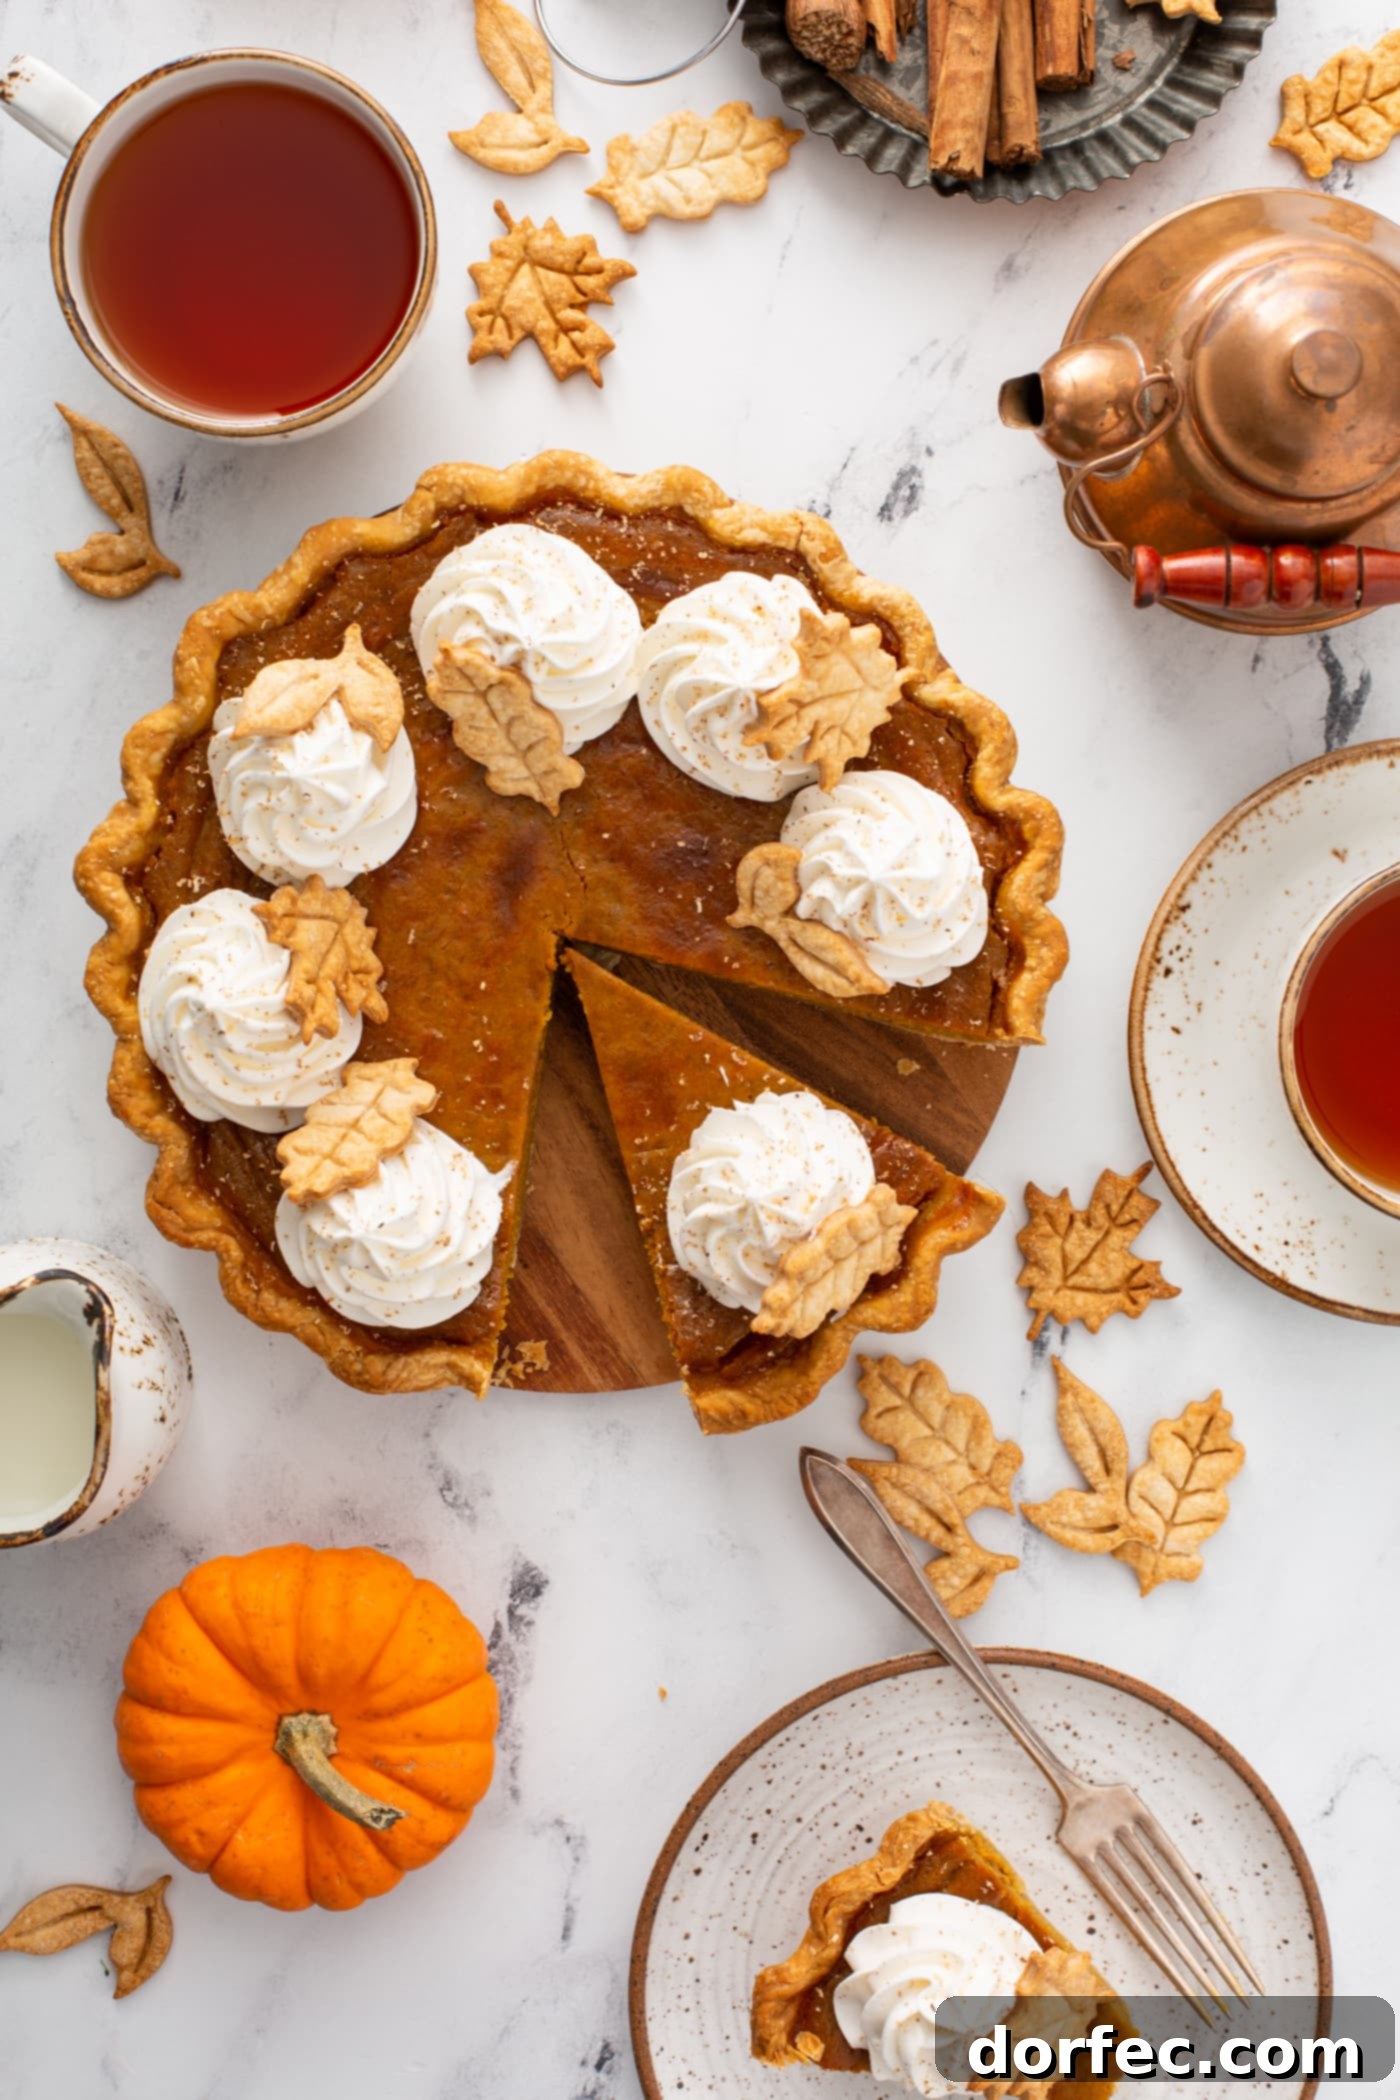
Oh, **pumpkin pie**, oh pumpkin pie, your warm flavors bring such joy! While holiday carols fill the air, for many, the true soundtrack of the season features the sweet promise of a perfectly baked pie. While some may claim to be “pumpkin pie haters” (and yes, we acknowledge that unique preference!), we firmly believe that certain classic recipes are essential for every kitchen. And this **homemade pumpkin pie** is, without a doubt, one of our absolute favorites. Alongside it, of course, is our beloved Mom’s Lemon Meringue Pie – another timeless classic.
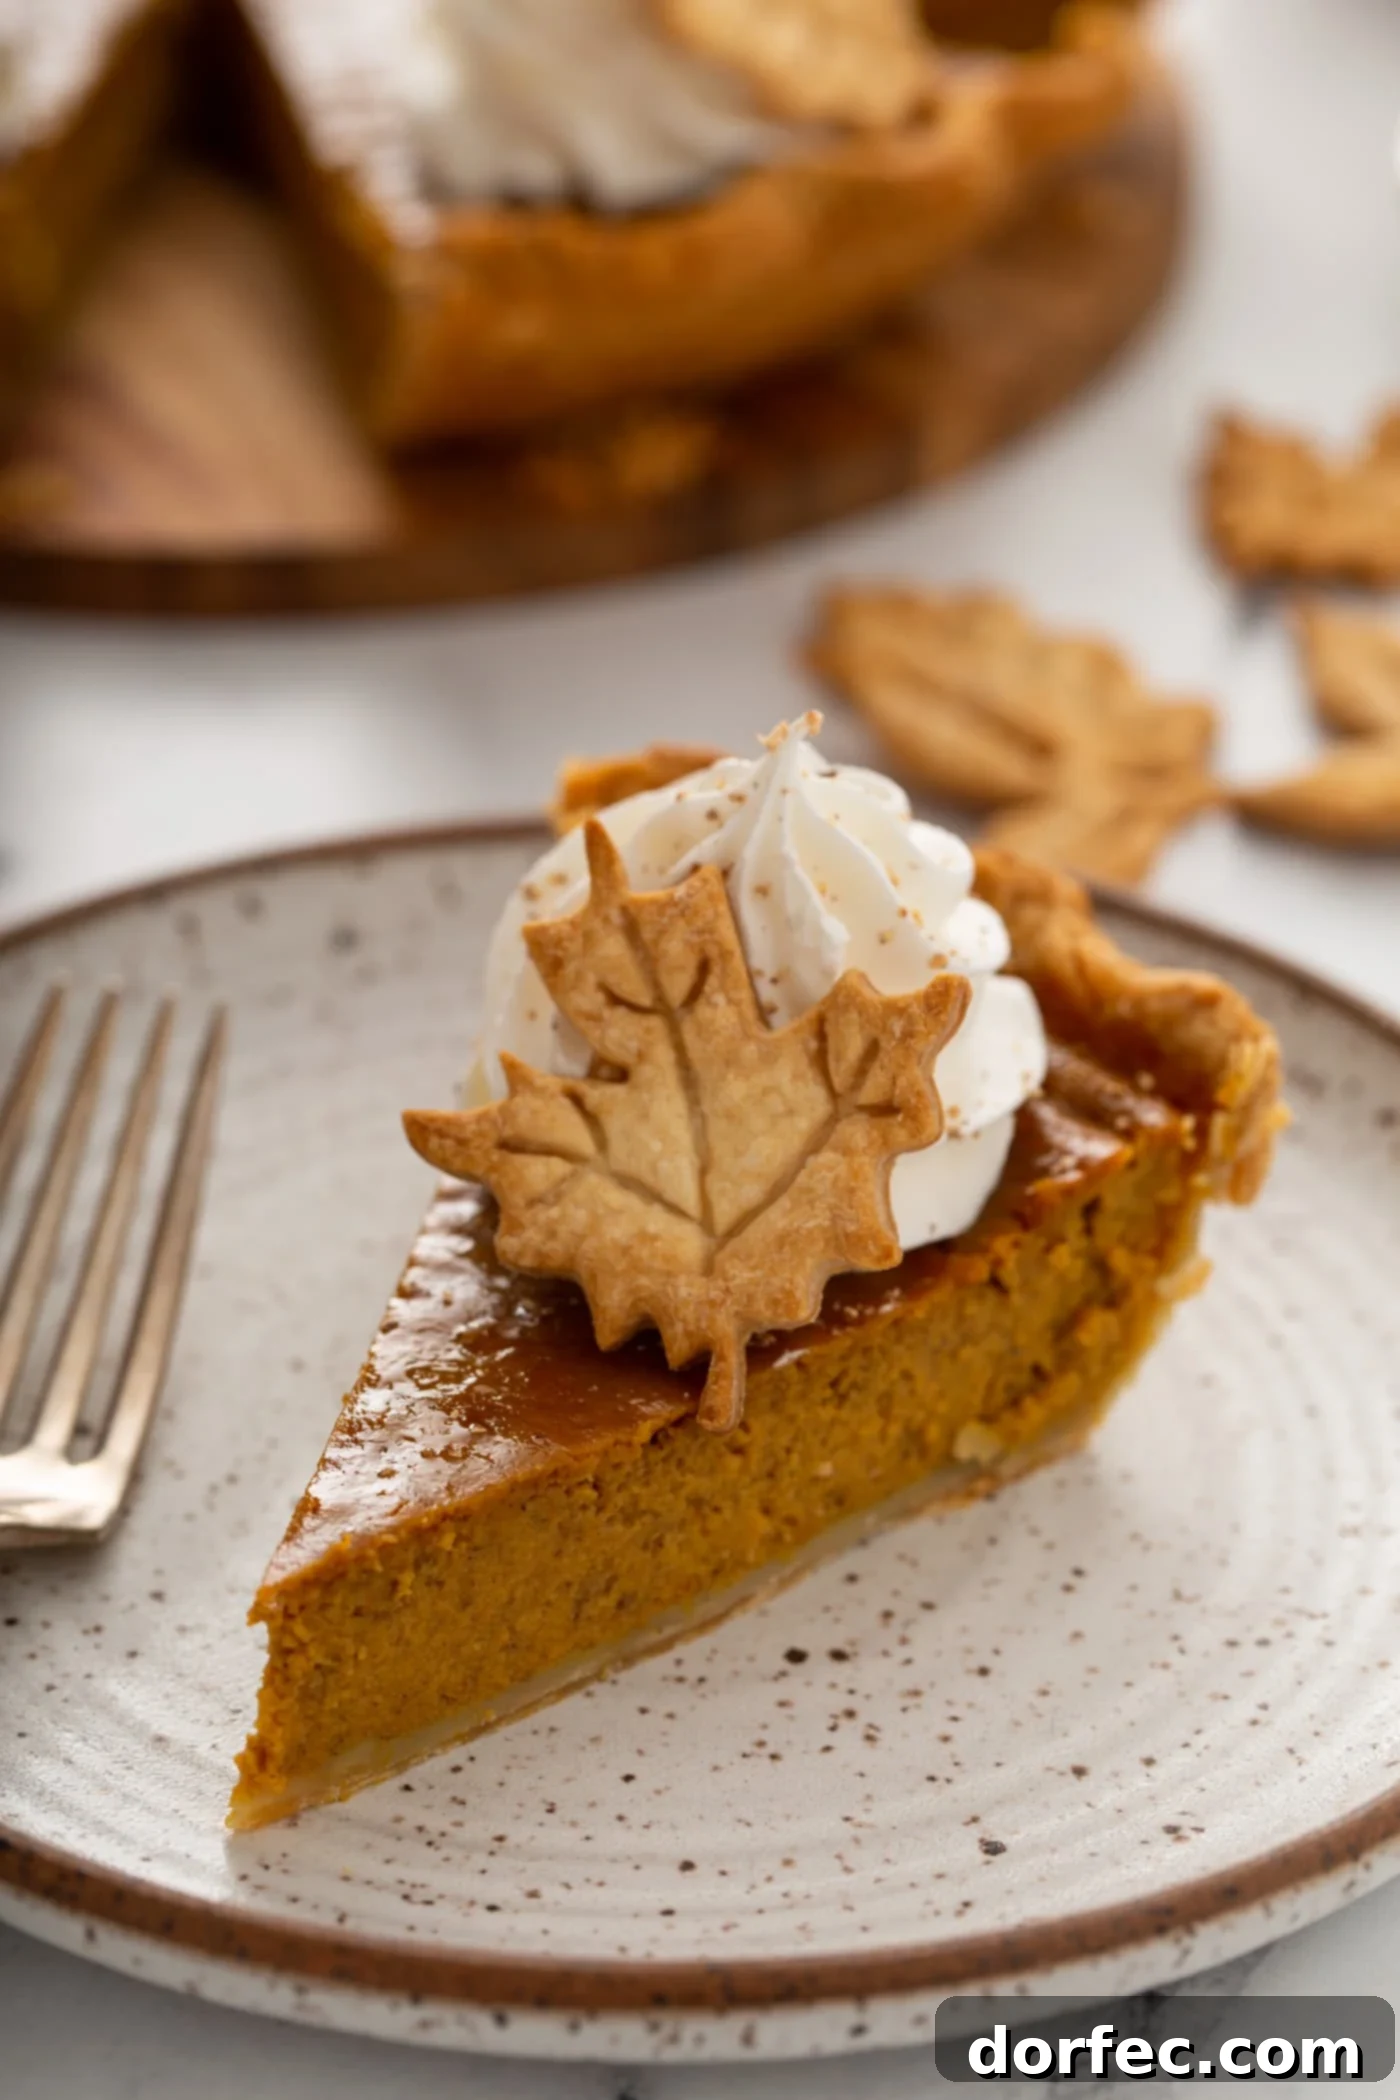
The Enduring Tradition of Thanksgiving Pie: A Personal Reflection
Thanksgiving has always held a special place in my heart, woven with cherished memories from childhood. Growing up, the holiday meant piling into my grandpa’s house in Le Grande, Oregon. Cousins, aunts, uncles – everyone would gather, filling every nook and cranny with folding tables and chairs. The house always seemed to hold more people than it physically should, creating a lively, bustling atmosphere. More than once, we kids found ourselves happily perched on the floor, plates balanced, soaking in the festive chaos.
Even when we stayed home in Vancouver, Washington, our house would similarly swell with family, often joined by a few church friends who had nowhere else to go. My dad always made it a point to ensure no one spent Thanksgiving alone. The cousins would play endlessly, adults would snack and share stories, and eventually, we’d all gather for “dinner” in the early afternoon. After the inevitable cleanup (always paper plates for sanity’s sake!), the ladies and kids would engage in Christmas crafts, while the men settled in to watch football. And then came the moment everyone truly waited for: **pie time!** That first slice of **creamy, spiced pumpkin pie** was the perfect culmination of a day filled with gratitude and togetherness.
Honestly though, my absolute favorite part was often the day after: lazily lounging with movies, enjoying Thanksgiving leftovers, and savoring those incredible turkey sandwiches on rolls. Those simple, relaxed moments, filled with good food and family, sometimes even surpassed the grandeur of the big meal itself. It truly cemented the feeling of holiday warmth and satiety.
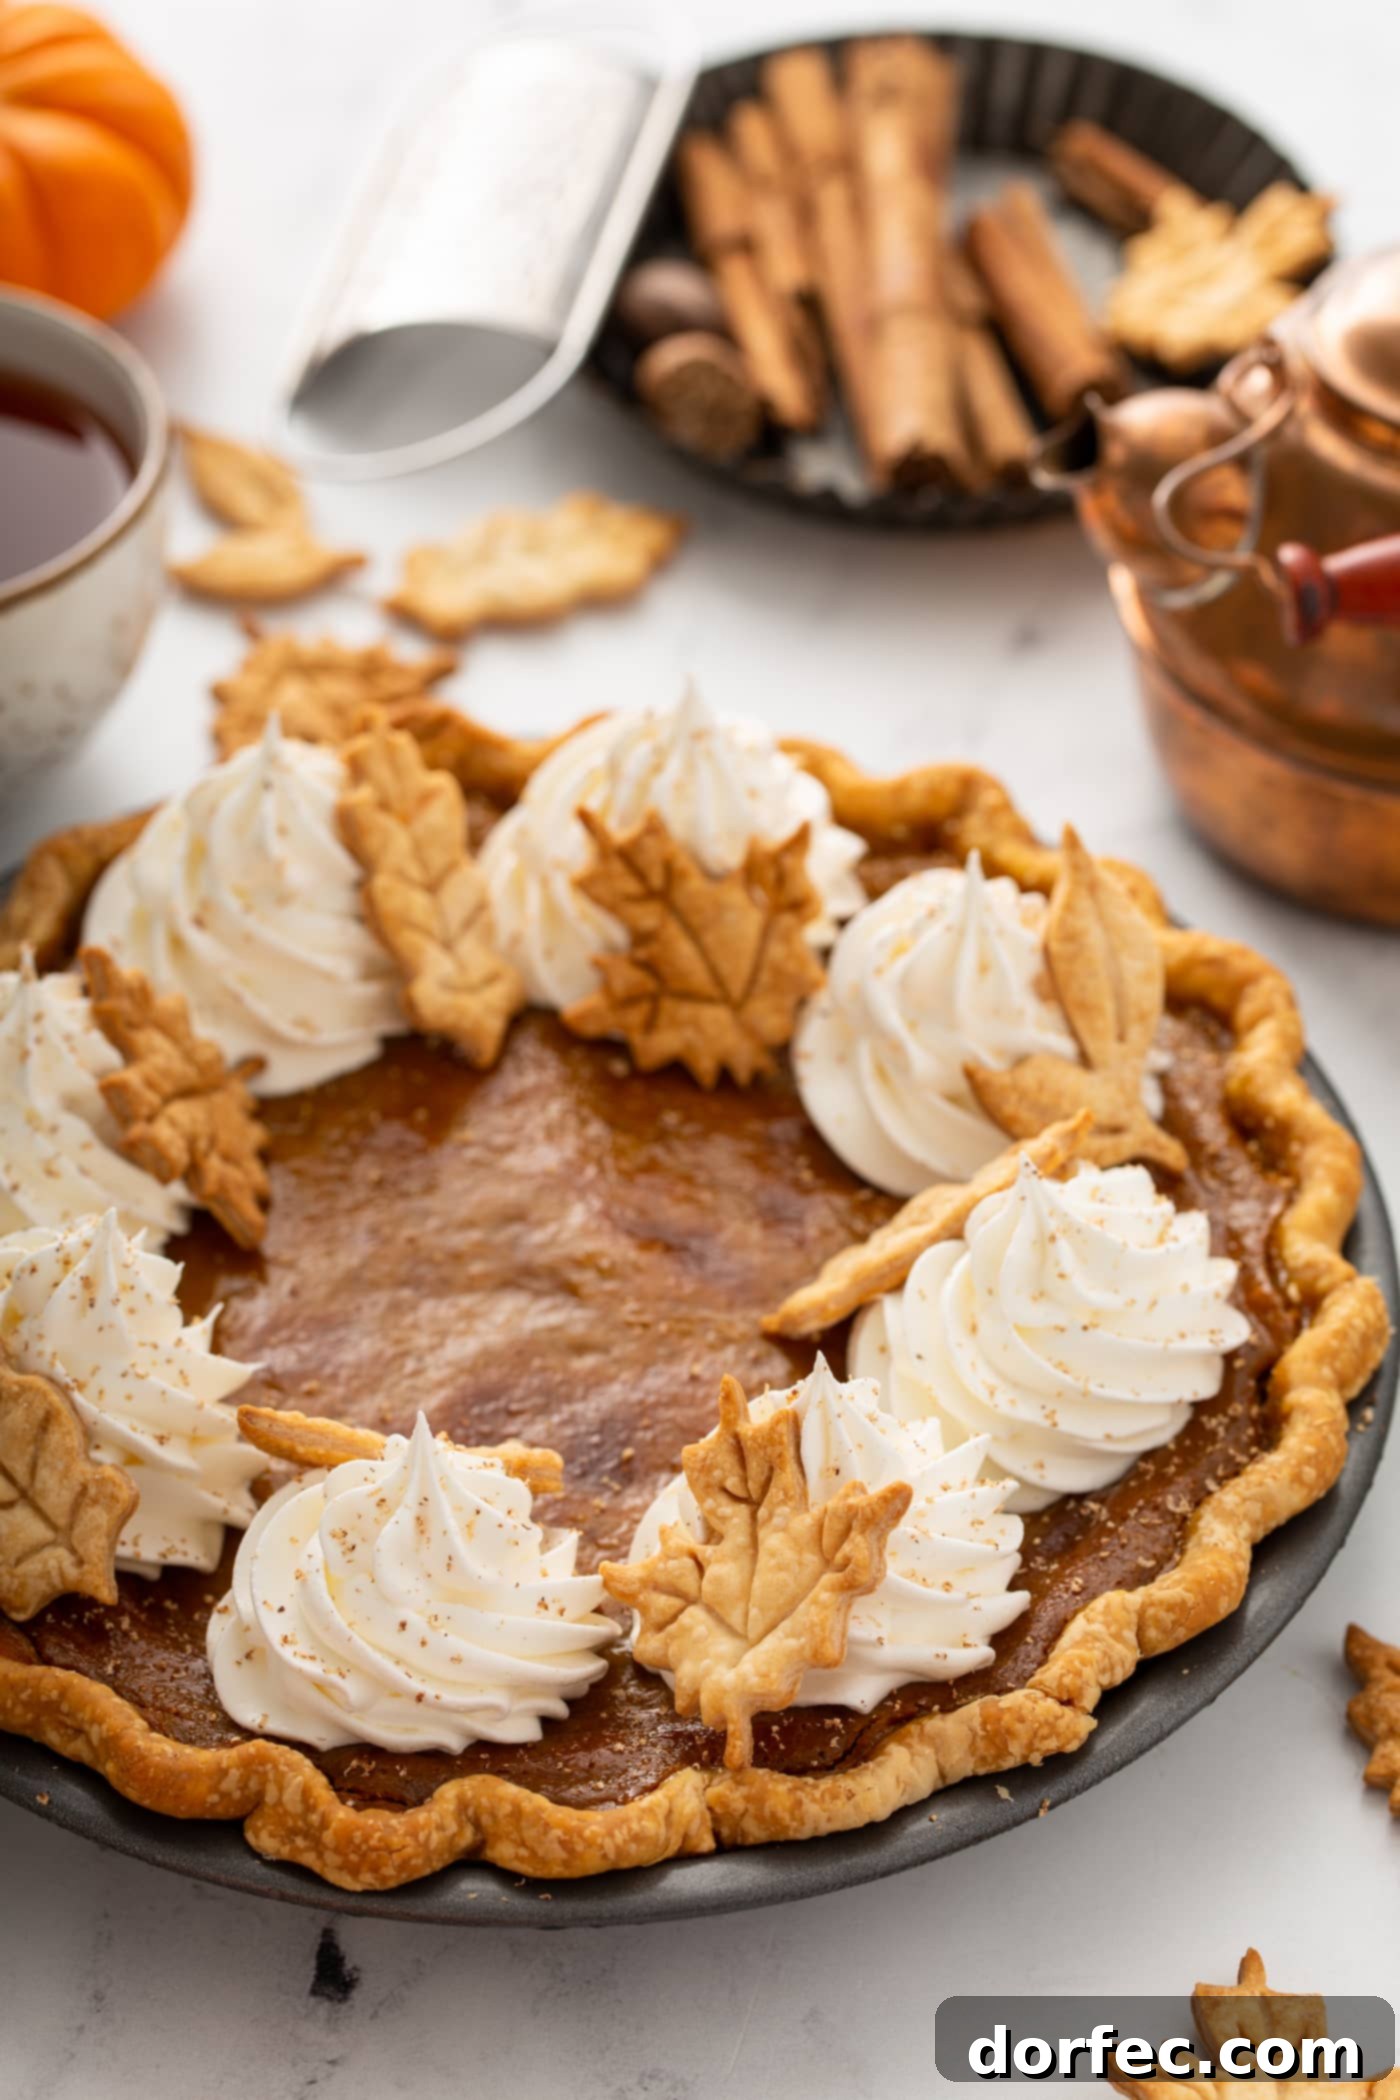
Thanksgiving Today: Keeping the Pie Tradition Alive
As an adult, Thanksgiving takes on a slightly different shape. Where we live now, most families have deep local roots and their own expansive gatherings, which can sometimes make the holiday feel a bit quieter if we’re not traveling. It’s not always the same bustling, overflowing household I grew up with, but this change has taught me an invaluable lesson: to embody my dad’s spirit and always look around to see who might need a place at our table. The spirit of hospitality and inclusion remains paramount.
Our traditions may have evolved, but one thing remains constant: **we still have pie**. And truthfully, a slice of warm, homemade pumpkin pie has a miraculous way of making everything feel just right. It connects us to those cherished childhood memories and creates new ones, proving that some traditions are simply too sweet to let go.
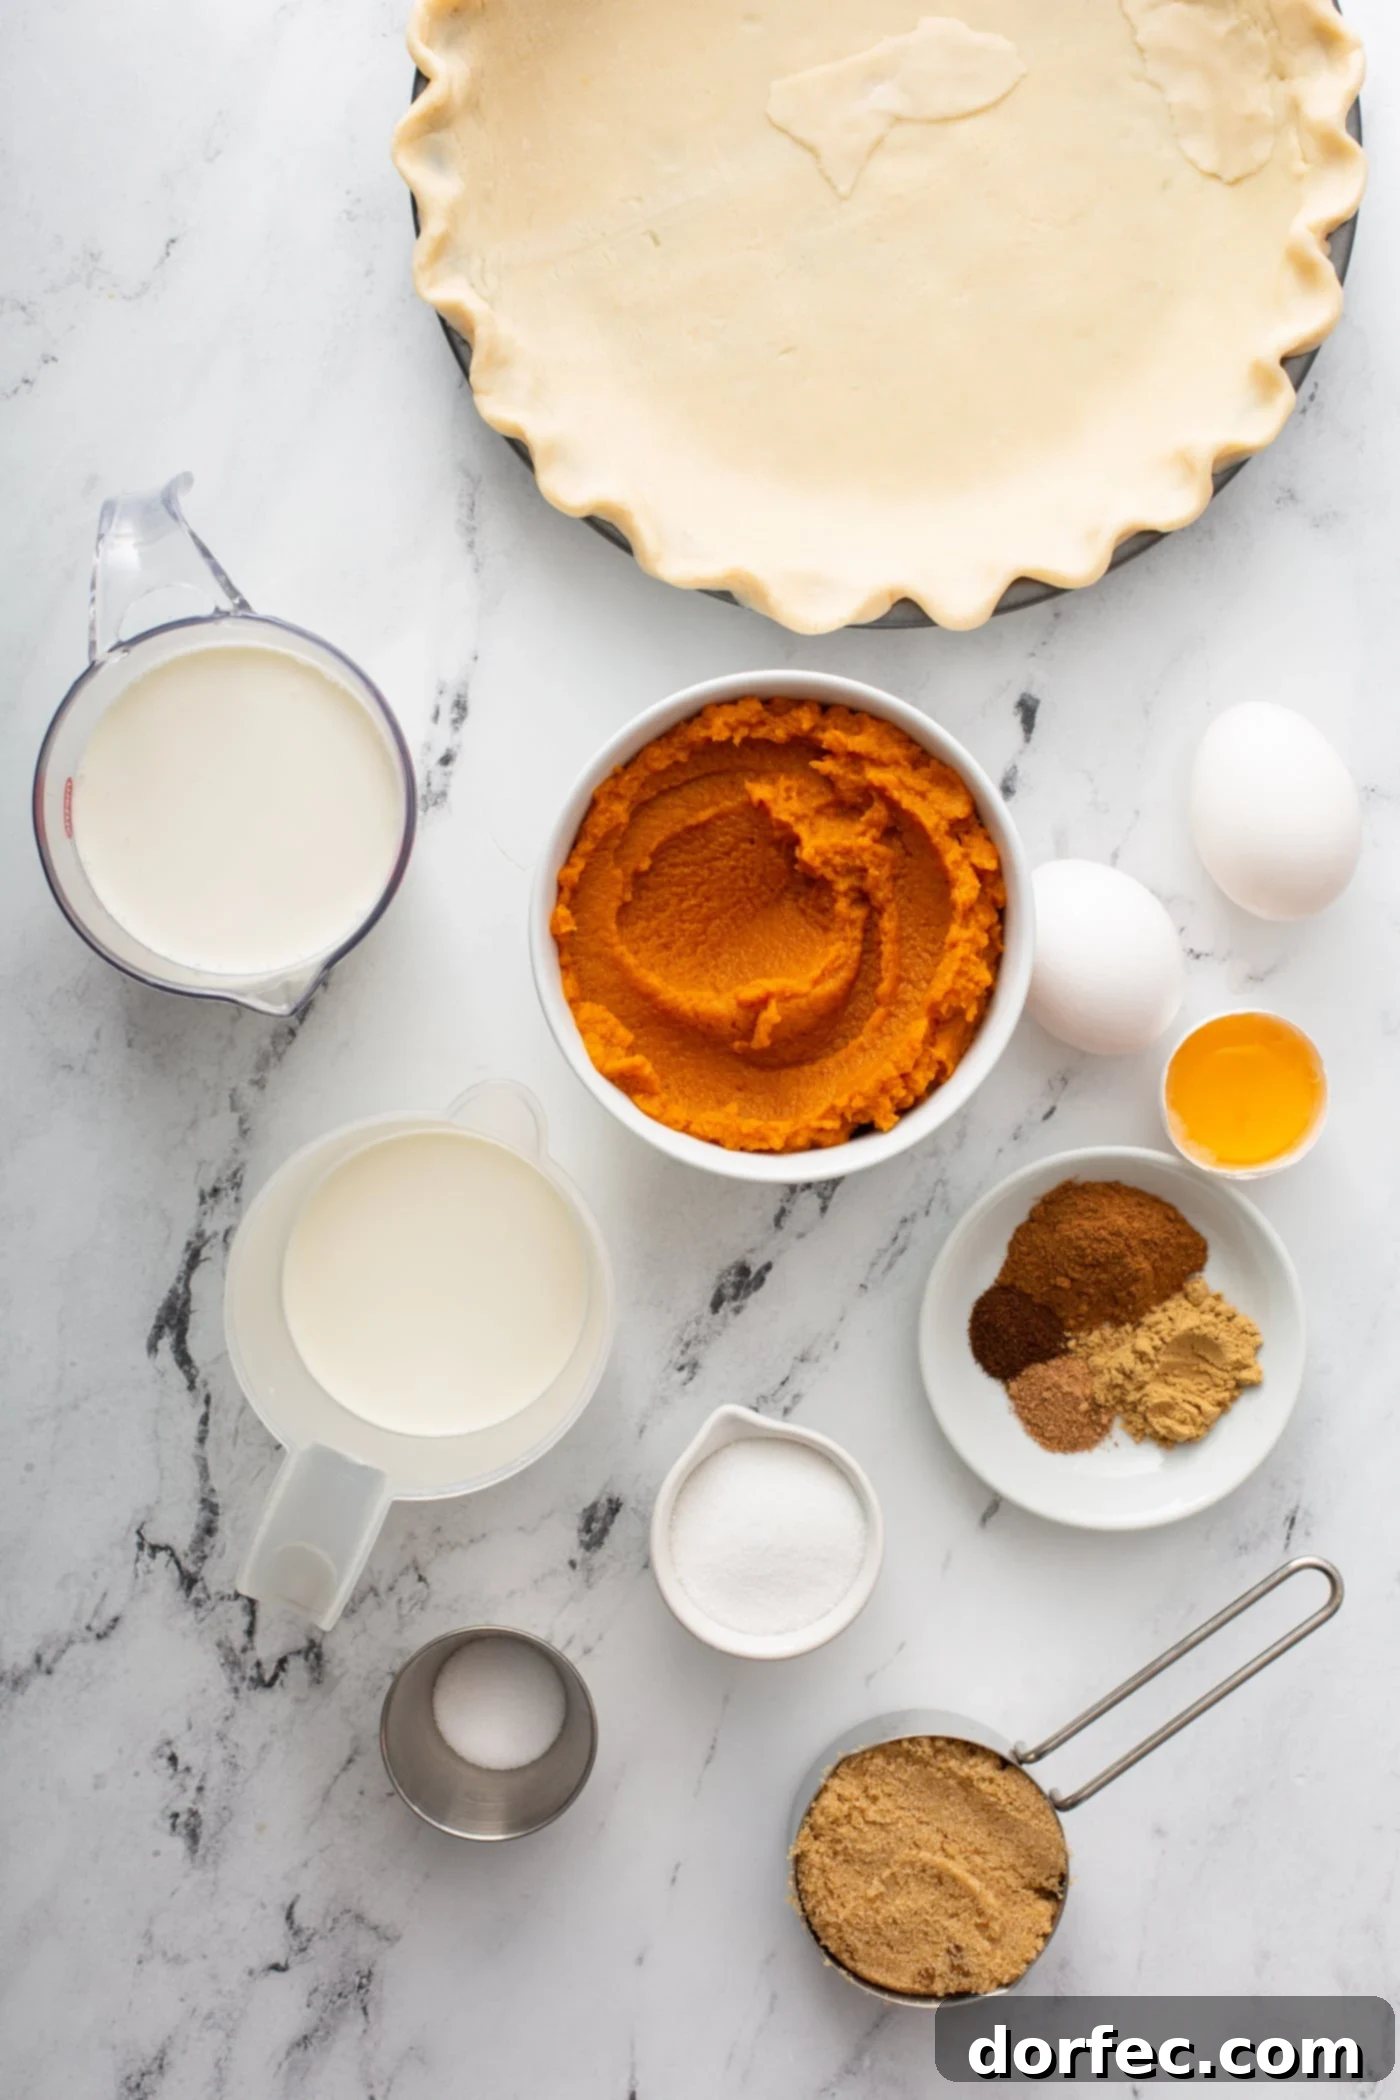
Essential Ingredients for the Perfect Pumpkin Pie
To embark on your journey to creating the **best pumpkin pie recipe**, you’ll want to start with a fantastic crust. I highly recommend either my favorite all-butter pie crust recipe or Mom’s fail-proof magic crust. Both recipes yield enough dough for a double crust, meaning you’ll only need half for this single pumpkin pie. The remaining dough can be easily frozen for future baking endeavors, used to make a second delicious pumpkin pie, or even for a tangy lemon meringue pie!
Here’s your essential grocery list for creating the rich, **creamy pumpkin pie filling**:
- Pumpkin Purée: This forms the foundational base of your filling, providing both body and moisture, along with that quintessential **classic pumpkin pie** flavor. Be sure to use 100% pure pumpkin purée, not pumpkin pie filling, which already contains spices and sweeteners.
- Heavy Cream: Integral for achieving a luxurious richness and that desired silky, custard-like texture that defines a truly **perfect pumpkin pie**.
- Half and Half: This helps to perfectly balance the heavy cream, ensuring the filling remains incredibly creamy without becoming overly dense or heavy. It contributes to the pie’s smooth consistency.
- Salt: A crucial flavor enhancer. Salt doesn’t just add its own taste; it brightens and elevates the natural sweetness of the pumpkin and makes all the warm spices truly sing.
- Granulated Sugar: Provides essential sweetness, working in harmony with the other ingredients to help the filling set into a beautifully smooth custard.
- Brown Sugar: Beyond just sweetness, brown sugar introduces deep, complex caramel notes that enrich the overall flavor profile of the pie. Its inherent moisture also contributes to a tender, delightful texture.
- Eggs (Whole & Yolk): These are the binding agents that bring the entire filling together. As the pie bakes, the eggs coagulate, transforming the liquid mixture into a firm, smooth, and sliceable custard. Using both whole eggs and an extra yolk contributes to a richer mouthfeel and helps prevent cracking.
- Ground Cinnamon: The dominant warming spice that unmistakably defines the classic taste and aroma of **Thanksgiving pumpkin pie**. It’s the heart of the spice blend.
- Ground Nutmeg: Adds another layer of warmth, offering a subtly sweet and earthy, nutty note that complements the pumpkin beautifully.
- Ground Cloves: This potent spice provides a bold, intensely aromatic depth. Just a hint of cloves is enough to impart that signature, deep fall flavor that’s both comforting and distinctive.
- Ground Ginger: Offers a bright, slightly zesty, and gentle spicy kick. This element is vital for balancing the sweetness of the sugars and preventing the pie from tasting too one-dimensional.
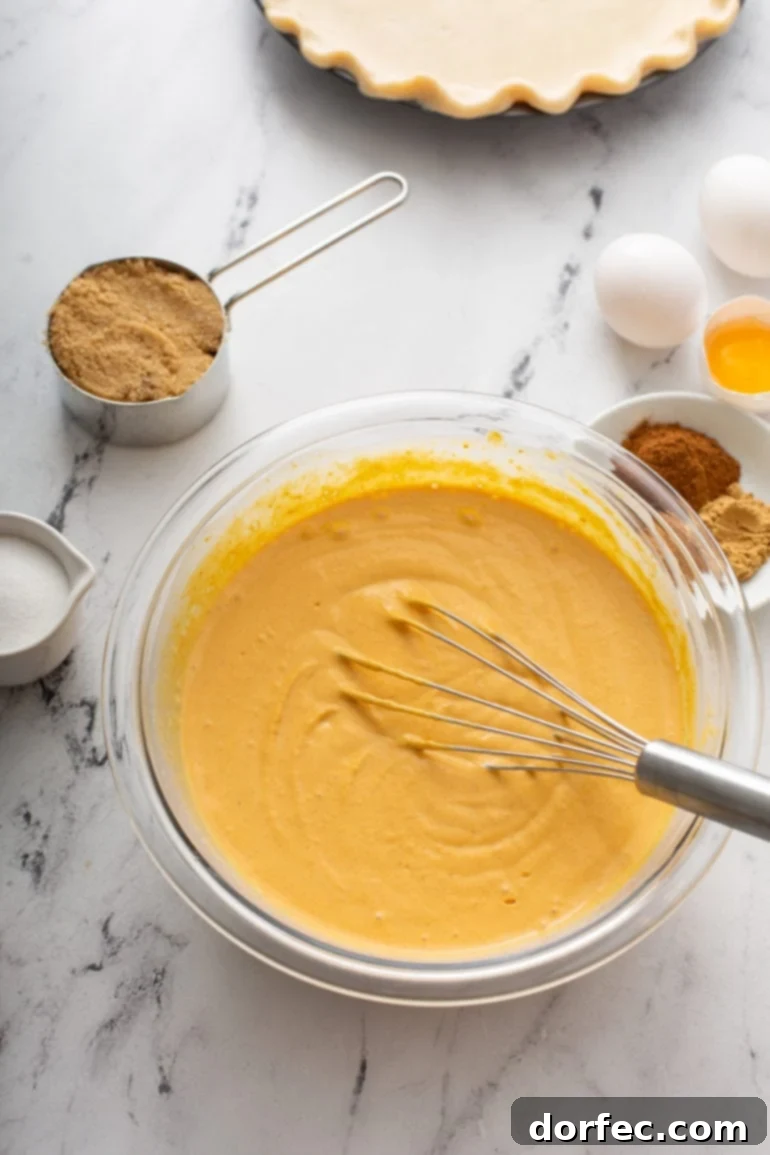
Baking the Best Pumpkin Pie: A Step-by-Step Guide
**Homemade pumpkin pie** is surprisingly one of the simplest pies you can master. The filling essentially comes together with a few stirs, then is poured into your prepared crust and baked to perfection. The key is in the details, ensuring a smooth, **no-crack pumpkin pie** every time. Here are the precise steps to achieve a truly **creamy, spiced pumpkin pie**:
- Prepare Your Workspace and Oven: Begin by preheating your oven to a precise 400°F (200°C). This initial high heat is crucial for setting the crust and preventing sogginess.
- Craft the Perfect Pie Crust: Prepare your chosen pie crust recipe, such as our all-butter pie crust. Divide the dough in half and roll out one half into an even circle, approximately 12 inches in diameter. Carefully transfer it to a standard 9-inch pie pan, gently pressing it into the bottom and up the sides. Trim and crimp the edges as desired.
- Chill the Pie Crust for Success: Using a fork, generously prick the bottom of the pie crust all over. This creates small vents that prevent the crust from puffing up excessively during baking. Place the prepared pie crust into the refrigerator to chill for at least 30 minutes. This step is vital for a **flaky pie crust** and helps it hold its shape.
- Blind Bake the Crust (The Secret to No Soggy Bottom): Line the chilled pie crust with parchment paper or aluminum foil, then fill it with pie weights, dried beans, or rice. Blind baking is a critical step that helps to **avoid a soggy crust** once the moist filling is added. Bake for 15 minutes with the foil and weights. Carefully remove the foil and weights, then continue baking for another 6-8 minutes, or until the crust is lightly golden and just starting to crisp. Remove the blind-baked crust from the oven and set it aside.
- Prepare the Silky Pumpkin Pie Filling: In a large, heavy-bottomed pot, combine the pumpkin purée, salt, granulated sugar, brown sugar, cinnamon, nutmeg, cloves, and ginger. Place the pot over medium heat and bring the mixture to a gentle simmer, stirring constantly with a whisk to prevent scorching. Allow the filling to cook for 5 minutes; this helps to deepen the flavors and cook out some of the pumpkin’s raw starchiness, contributing to a **creamy pumpkin pie filling**.
- Incorporate the Dairy and Eggs for Richness: Stir in the heavy cream and half and half into the pumpkin mixture. Continue stirring for another minute over medium-to-medium-high heat until the mixture is sputtering and gently simmering. In a separate small bowl, whisk together the large eggs and egg yolk until smooth. To prevent the eggs from scrambling, you must temper them: slowly drizzle about a tablespoon of the hot pumpkin mixture into the whisked eggs while continuously whisking. Repeat this a few times, gradually raising the temperature of the eggs. Then, slowly pour the tempered egg mixture back into the large pot with the pumpkin filling, whisking constantly until fully combined. This meticulous tempering ensures a perfectly smooth, **no-crack pumpkin pie**.
- Final Bake to Golden Perfection: Carefully pour the entire luscious pumpkin filling into your warm, blind-baked pie shell. Place the pie in the preheated 400°F (200°C) oven and bake for 25 minutes. After 25 minutes, immediately lower the oven temperature to 350°F (175°C) and continue baking for another 10-20 minutes, or until the pie appears puffed up slightly in the middle and the center barely jiggles when gently shaken. The edges may show slight cracks, which is normal. If the crust begins to brown too quickly, loosely cover the edges with aluminum foil. This two-stage baking temperature helps create a beautifully cooked custard without overbaking the edges.
- Cool for the Perfect Set: Once baked, remove the **spiced pumpkin pie** from the oven and transfer it to a wire cooling rack. Allow it to cool completely for at least 2 hours at room temperature. This crucial cooling period allows the custard to fully set, resulting in a firm, sliceable pie.
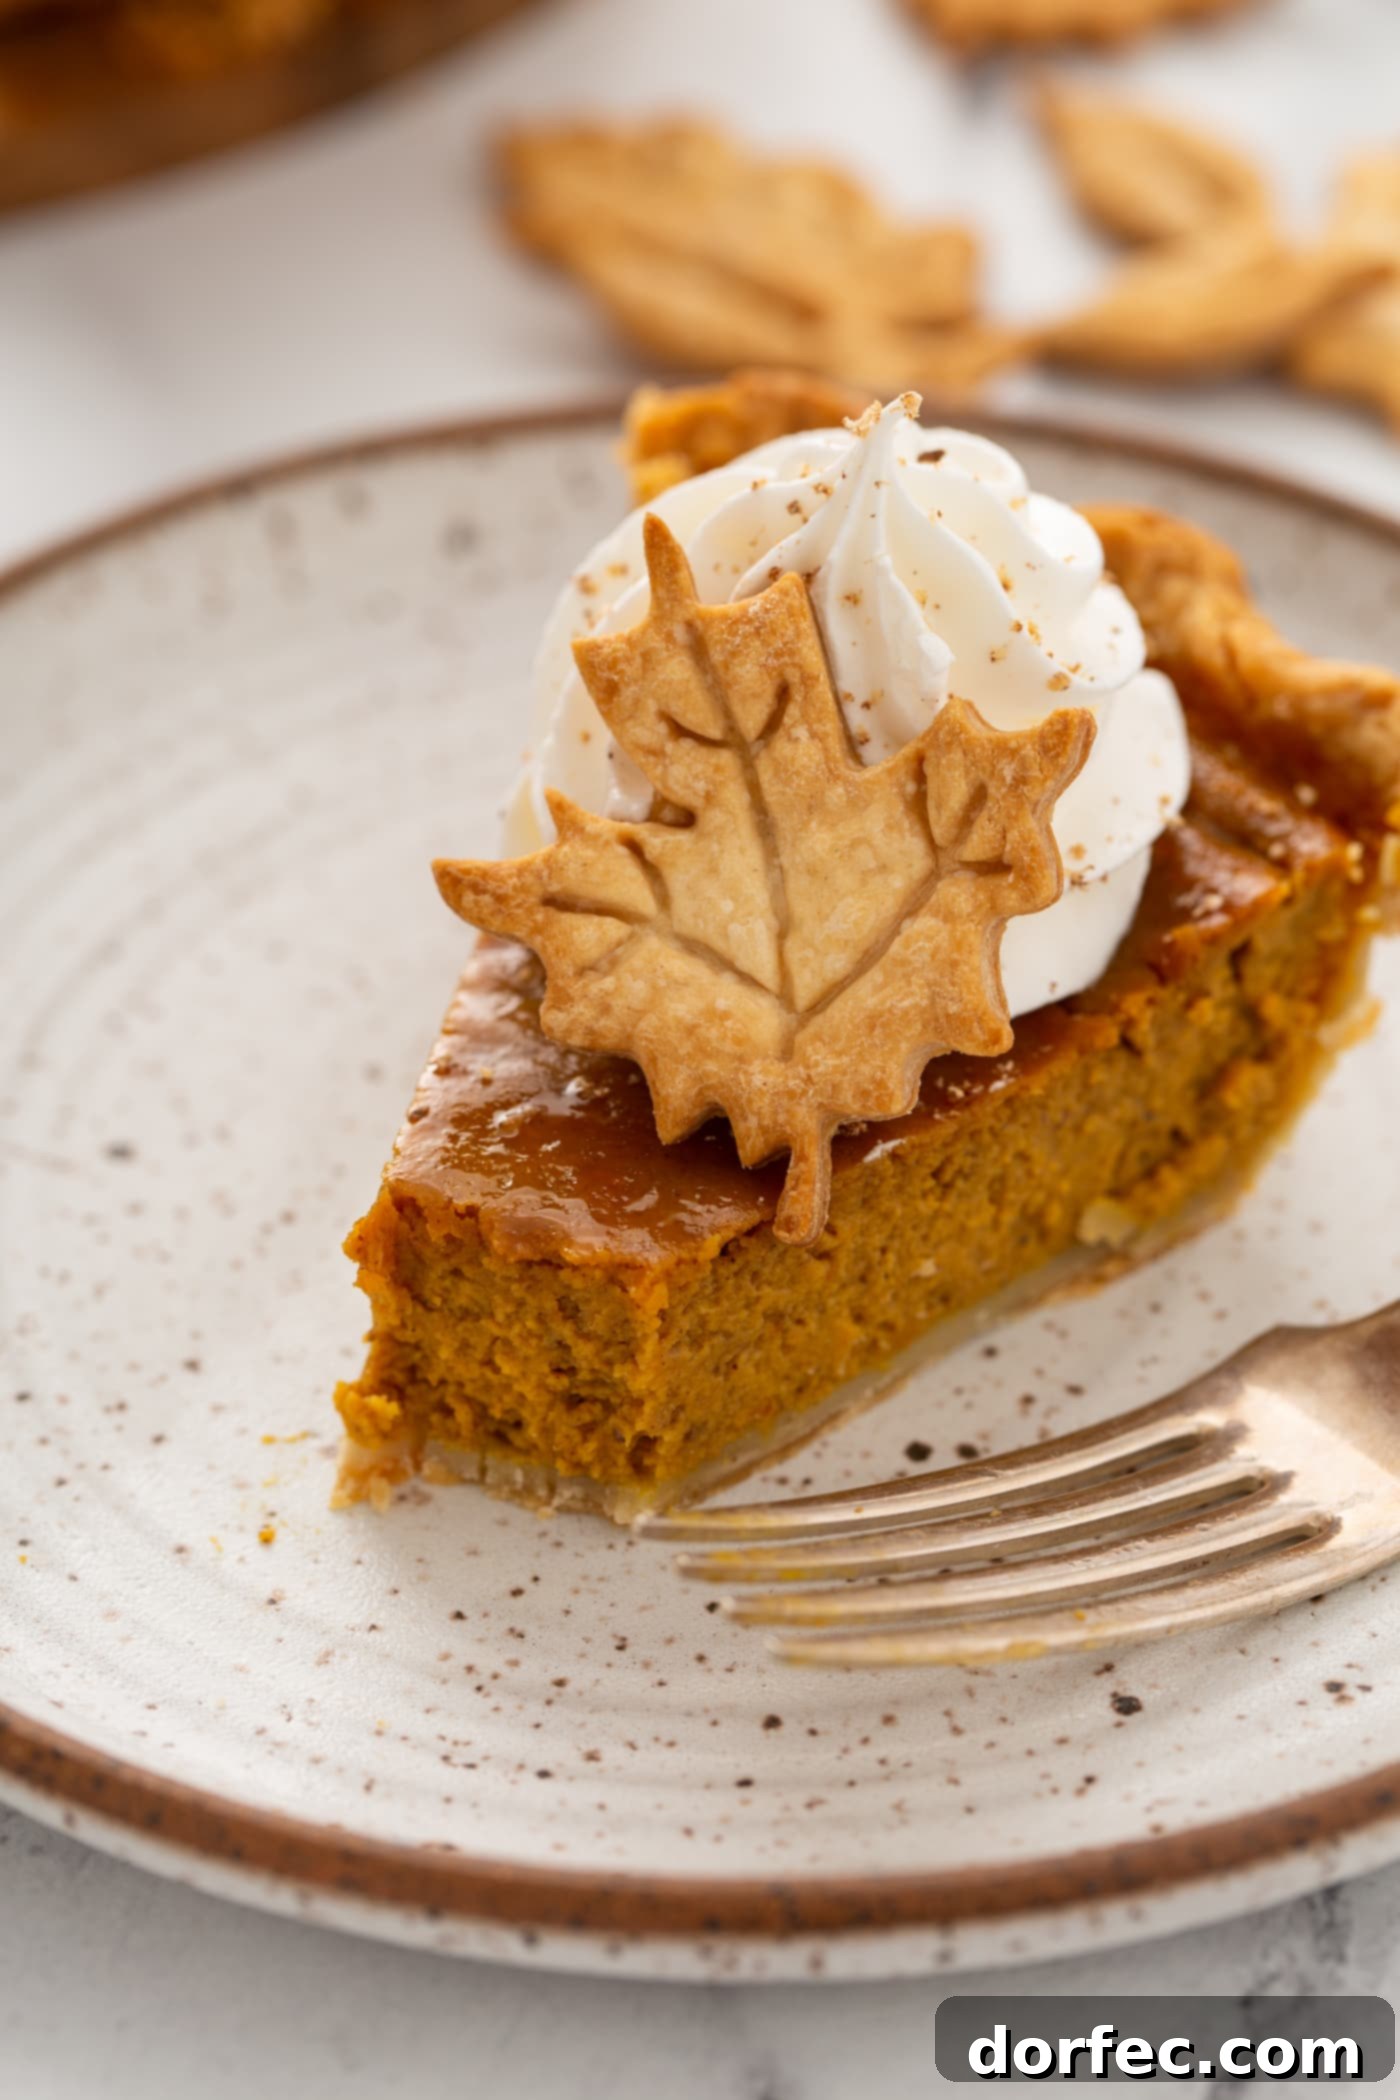
- Garnish and Serve!: Before serving, lavishly top your **best pumpkin pie** with generous dollops of fresh whipped cream or a dusting of powdered sugar. You can also get creative with decorative pie crust cutouts!
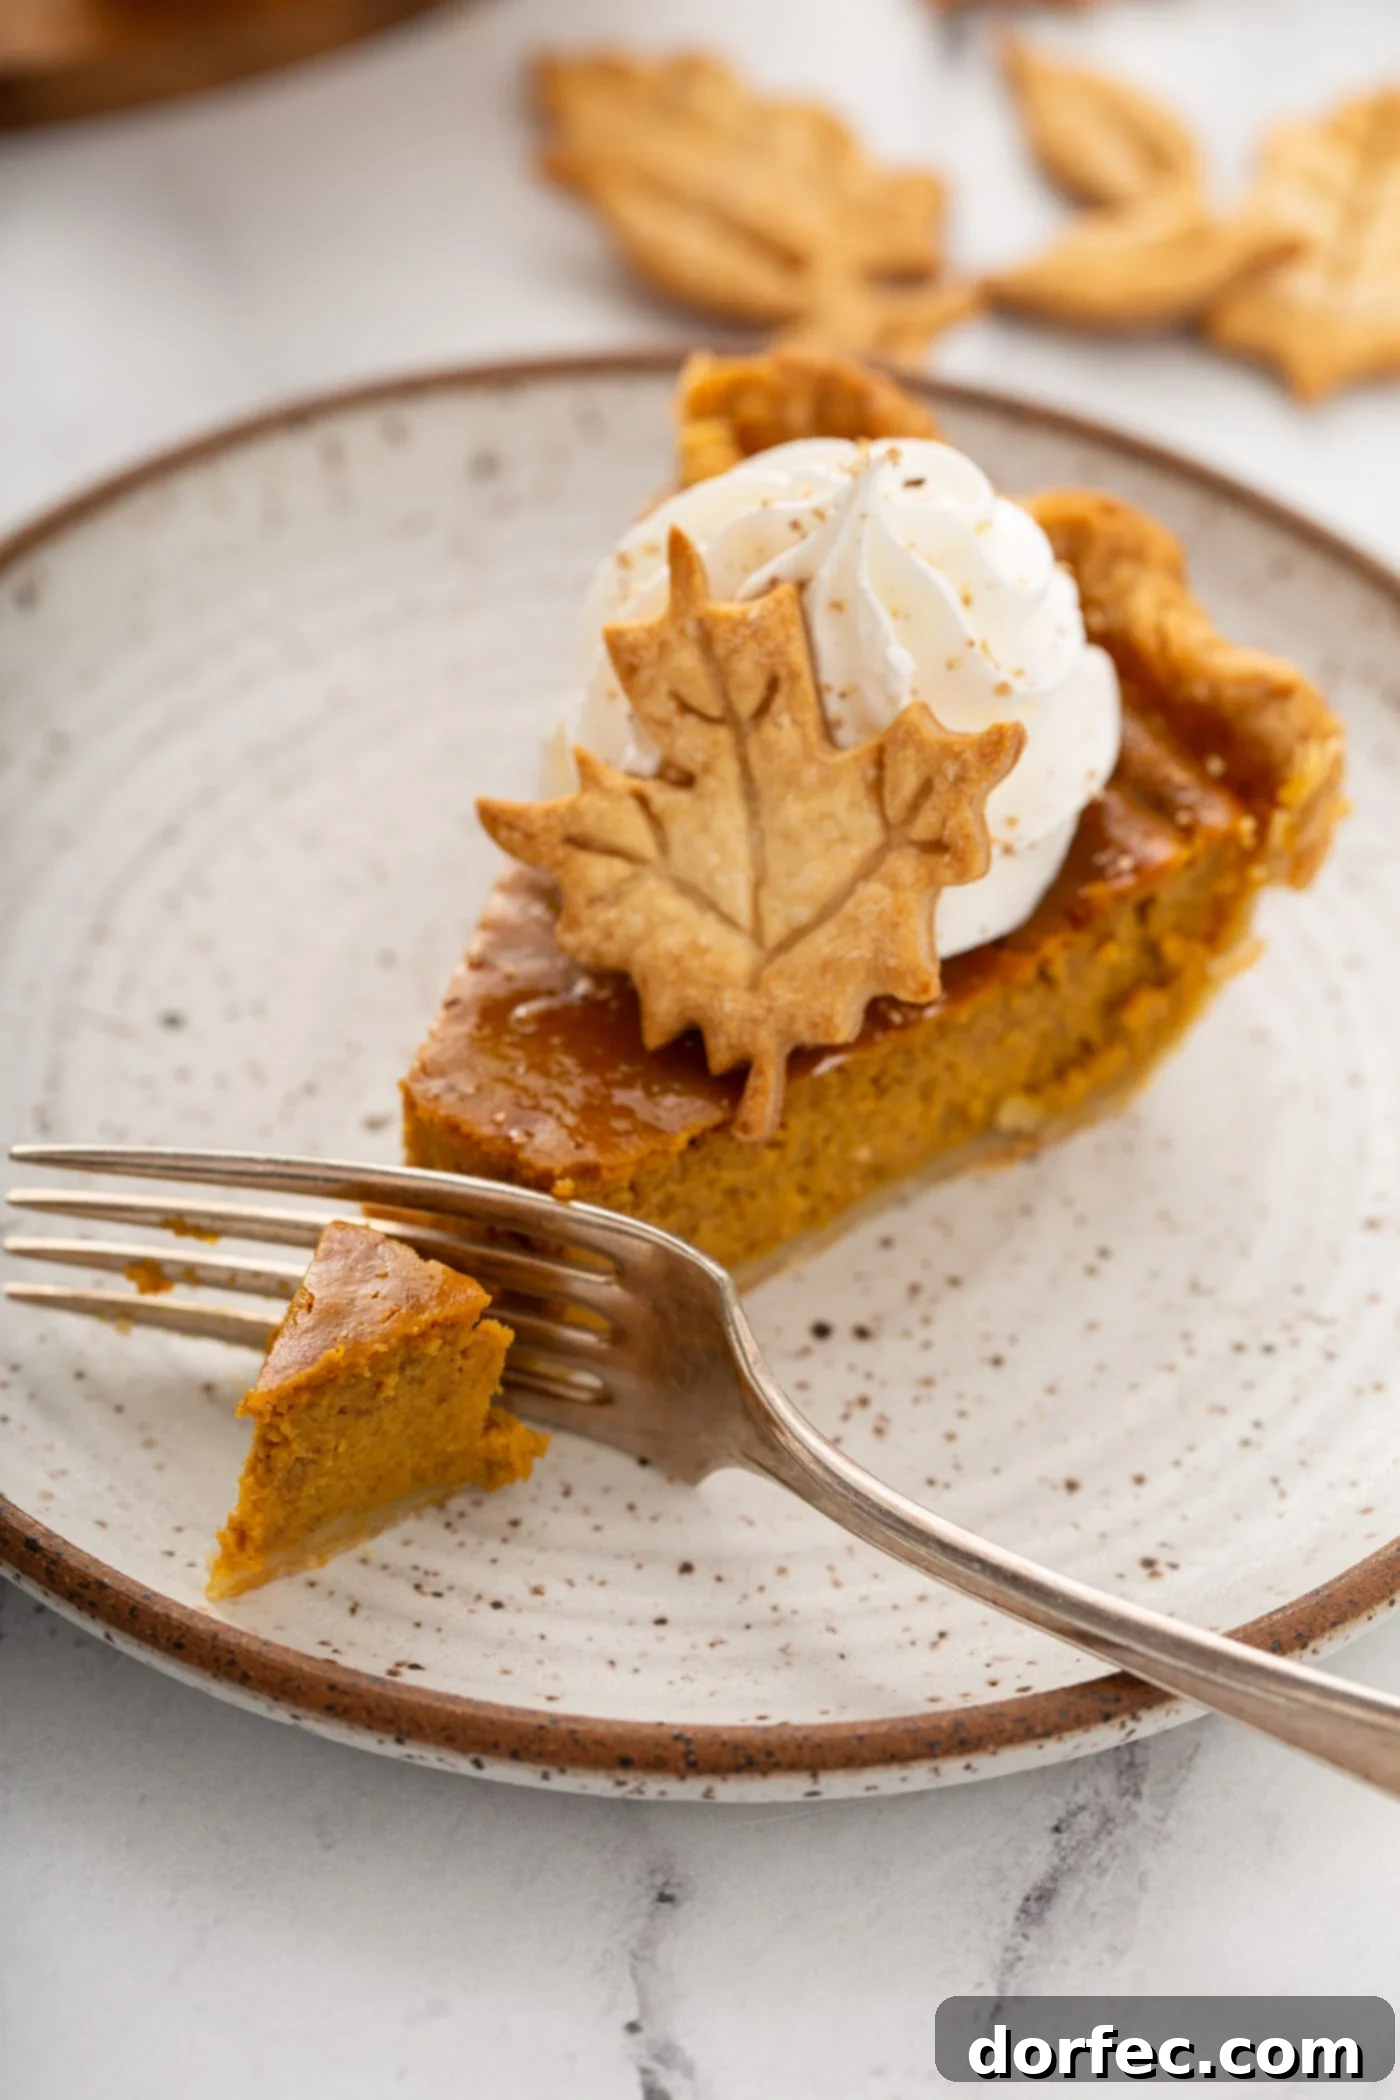
Elevating Your Pumpkin Pie with Delicious Toppings
There’s a meme circulating of a pumpkin pie so gloriously covered in whipped cream that the pie itself is barely visible – and it makes me laugh every time! There’s no denying that fluffy whipped cream is the ultimate companion to **classic pumpkin pie**. For those aspiring to create those picture-perfect, piped dollops, I highly recommend making stabilized whipped cream. Its firmer texture holds its shape beautifully, making your pie an absolute showstopper.
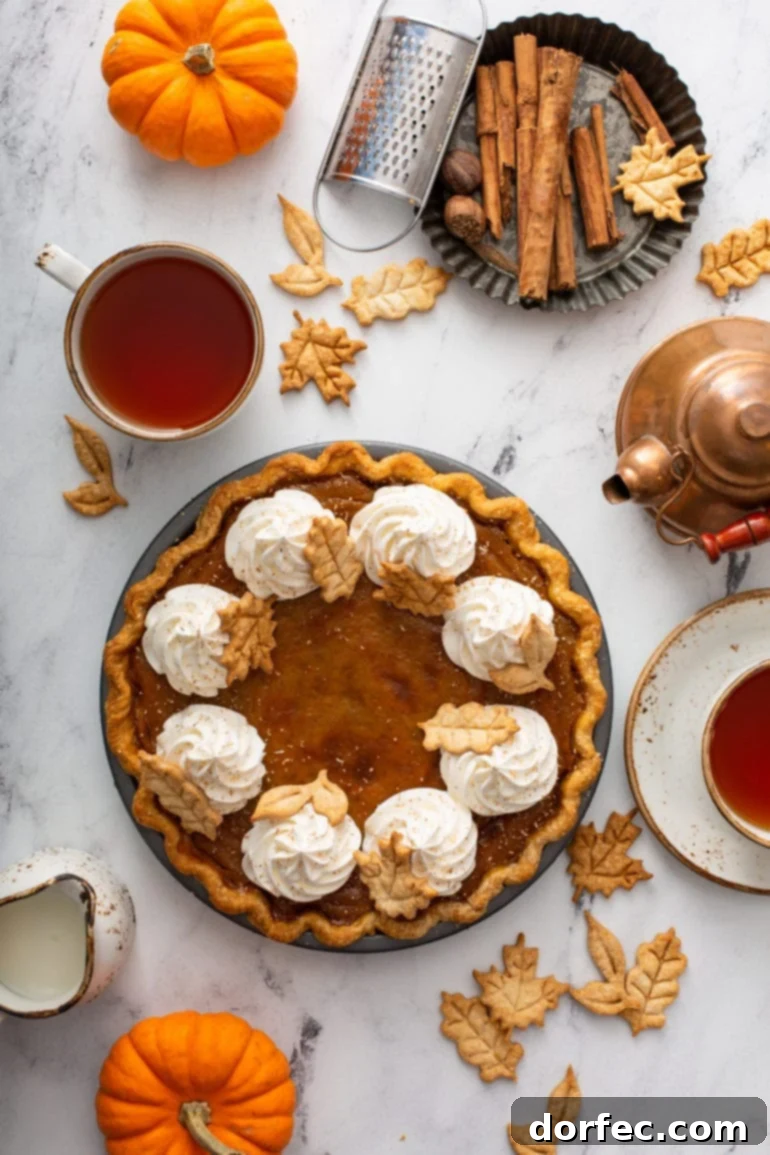
Beyond the classic whipped cream, why not get creative with your presentation? I’m quite taken with the charming pie stamps featured in these photos. They add such an adorable, homemade touch! And for someone who generally doesn’t “do cute,” that’s saying something. They’re incredibly easy to use: simply roll out your leftover pie crust dough (remember that other half from earlier?), press the stamps firmly to create delicate leaves or other shapes, and then bake them for 15-20 minutes at 375°F (190°C) until golden brown. Arrange them artfully on top of your whipped cream for an extra festive flair.
Other fantastic topping ideas include a dusting of cinnamon or freshly grated nutmeg, a sprinkle of toasted pecans or candied walnuts, or a drizzle of caramel sauce for an extra touch of decadence. Each adds its own dimension to the rich flavors of your **homemade pumpkin pie**.
Pumpkin Pie FAQs: Your Baking Questions Answered
Why does pumpkin pie crack?
The most common culprit behind a cracked **homemade pumpkin pie** is simply **over-baking**. When a pumpkin pie bakes for too long or at too high a temperature, the custard sets too rapidly and becomes overly firm, causing it to contract and crack as it cools. Our specific two-stage baking method—starting at a higher temperature for a short burst and then reducing it for the remainder of the baking time—is designed to help you achieve a beautifully smooth pie. Additionally, allowing the pie to cool undisturbed for at least 2 hours is crucial; this allows the residual heat to gently finish setting the custard, minimizing the risk of cracks.
Is pumpkin pie better with fresh or canned pumpkin?
Nine times out of ten, when asked about using fresh versus canned ingredients, I would champion fresh. However, for **Thanksgiving pumpkin pie**, I wholeheartedly recommend going with **canned pumpkin purée**. Canned pumpkin is specifically processed to achieve a consistently smooth texture and optimal moisture content that is ideal for pumpkin pie custard. It sets up more reliably, yields a superior, velvety texture, and ultimately tastes better in the finished pie compared to fresh pumpkin, which can sometimes be too watery or fibrous, leading to an inconsistent result.
Can I use a store-bought pie crust?
Absolutely, yes! While I’ll always encourage the delightful experience of making a **flaky pie crust** from scratch, I completely understand that sometimes, time is simply not on your side. A good quality store-bought pie crust is a perfectly acceptable and convenient shortcut that will still result in a delicious homemade-tasting pumpkin pie. Just be sure to blind bake it according to our instructions to prevent a soggy bottom!
How do I know when pumpkin pie is done?
Knowing when your **easy pumpkin pie recipe** is perfectly baked is key to preventing cracks and achieving that ideal creamy texture. Look for the pie to appear puffed up slightly in the middle. When you gently shake the pie, the center should have only a very slight, almost imperceptible jiggle, while the outer edges are set and firm. It’s better to underbake slightly than to overbake, as the pie will continue to set as it cools. Once you see these signs, remove it from the oven immediately and let it cool completely to finish setting up.
Is Pumpkin Pie Filling Gluten Free?
If you are following this specific recipe for the filling, then yes, the **creamy pumpkin pie filling** itself is naturally gluten-free, as it contains no wheat or other gluten-containing ingredients. However, it’s important to remember that a traditional pie crust is made with wheat flour and is therefore NOT gluten-free. If you need a completely gluten-free pumpkin pie, you would need to pair this delicious filling with a certified gluten-free pie crust.
Make-Ahead, Storage & Freezing Instructions for Your Pumpkin Pie
One of the many advantages of **homemade pumpkin pie** is its make-ahead friendly nature, making it an ideal candidate for busy holiday preparations like Thanksgiving. Here’s how to ensure your pie stays fresh and delicious:
Make-Ahead: Pumpkin pie is a fantastic dessert to prepare in advance, freeing up valuable time on Thanksgiving Day or any special occasion. Bake and cool the pie completely as directed in the recipe instructions. Once fully cooled, wrap it securely with several layers of plastic wrap to prevent it from drying out or absorbing refrigerator odors. Store the wrapped pie in the refrigerator for up to 2 days before your meal. Always remember to add the fresh whipped cream or other delicate toppings just before you’re ready to serve.
Storing Leftovers: Any leftover **creamy pumpkin pie** should always be stored in the refrigerator due to its custard base. To keep it fresh, cover the pie loosely with plastic wrap or aluminum foil. Properly stored, leftovers will maintain their delicious taste and texture in the fridge for 3-4 days. For optimal enjoyment, allow chilled slices to come to room temperature for about 15-20 minutes before serving, or gently warm in the microwave for a few seconds if you prefer a warm slice.
Freezing for Future Enjoyment: This **best pumpkin pie recipe** also freezes exceptionally well, allowing you to savor its flavors long after the holidays. Ensure the pie is completely cooled to room temperature after baking. Then, wrap it tightly with multiple layers of plastic wrap, followed by a layer of aluminum foil to prevent freezer burn. Place the well-wrapped pie in a sealed freezer bag or an airtight container. It will keep beautifully in the freezer for **up to 1 month**. To serve, remove the frozen pie and let it thaw slowly in the refrigerator for 10-12 hours, or overnight, before slicing and enjoying. Add fresh toppings once thawed.
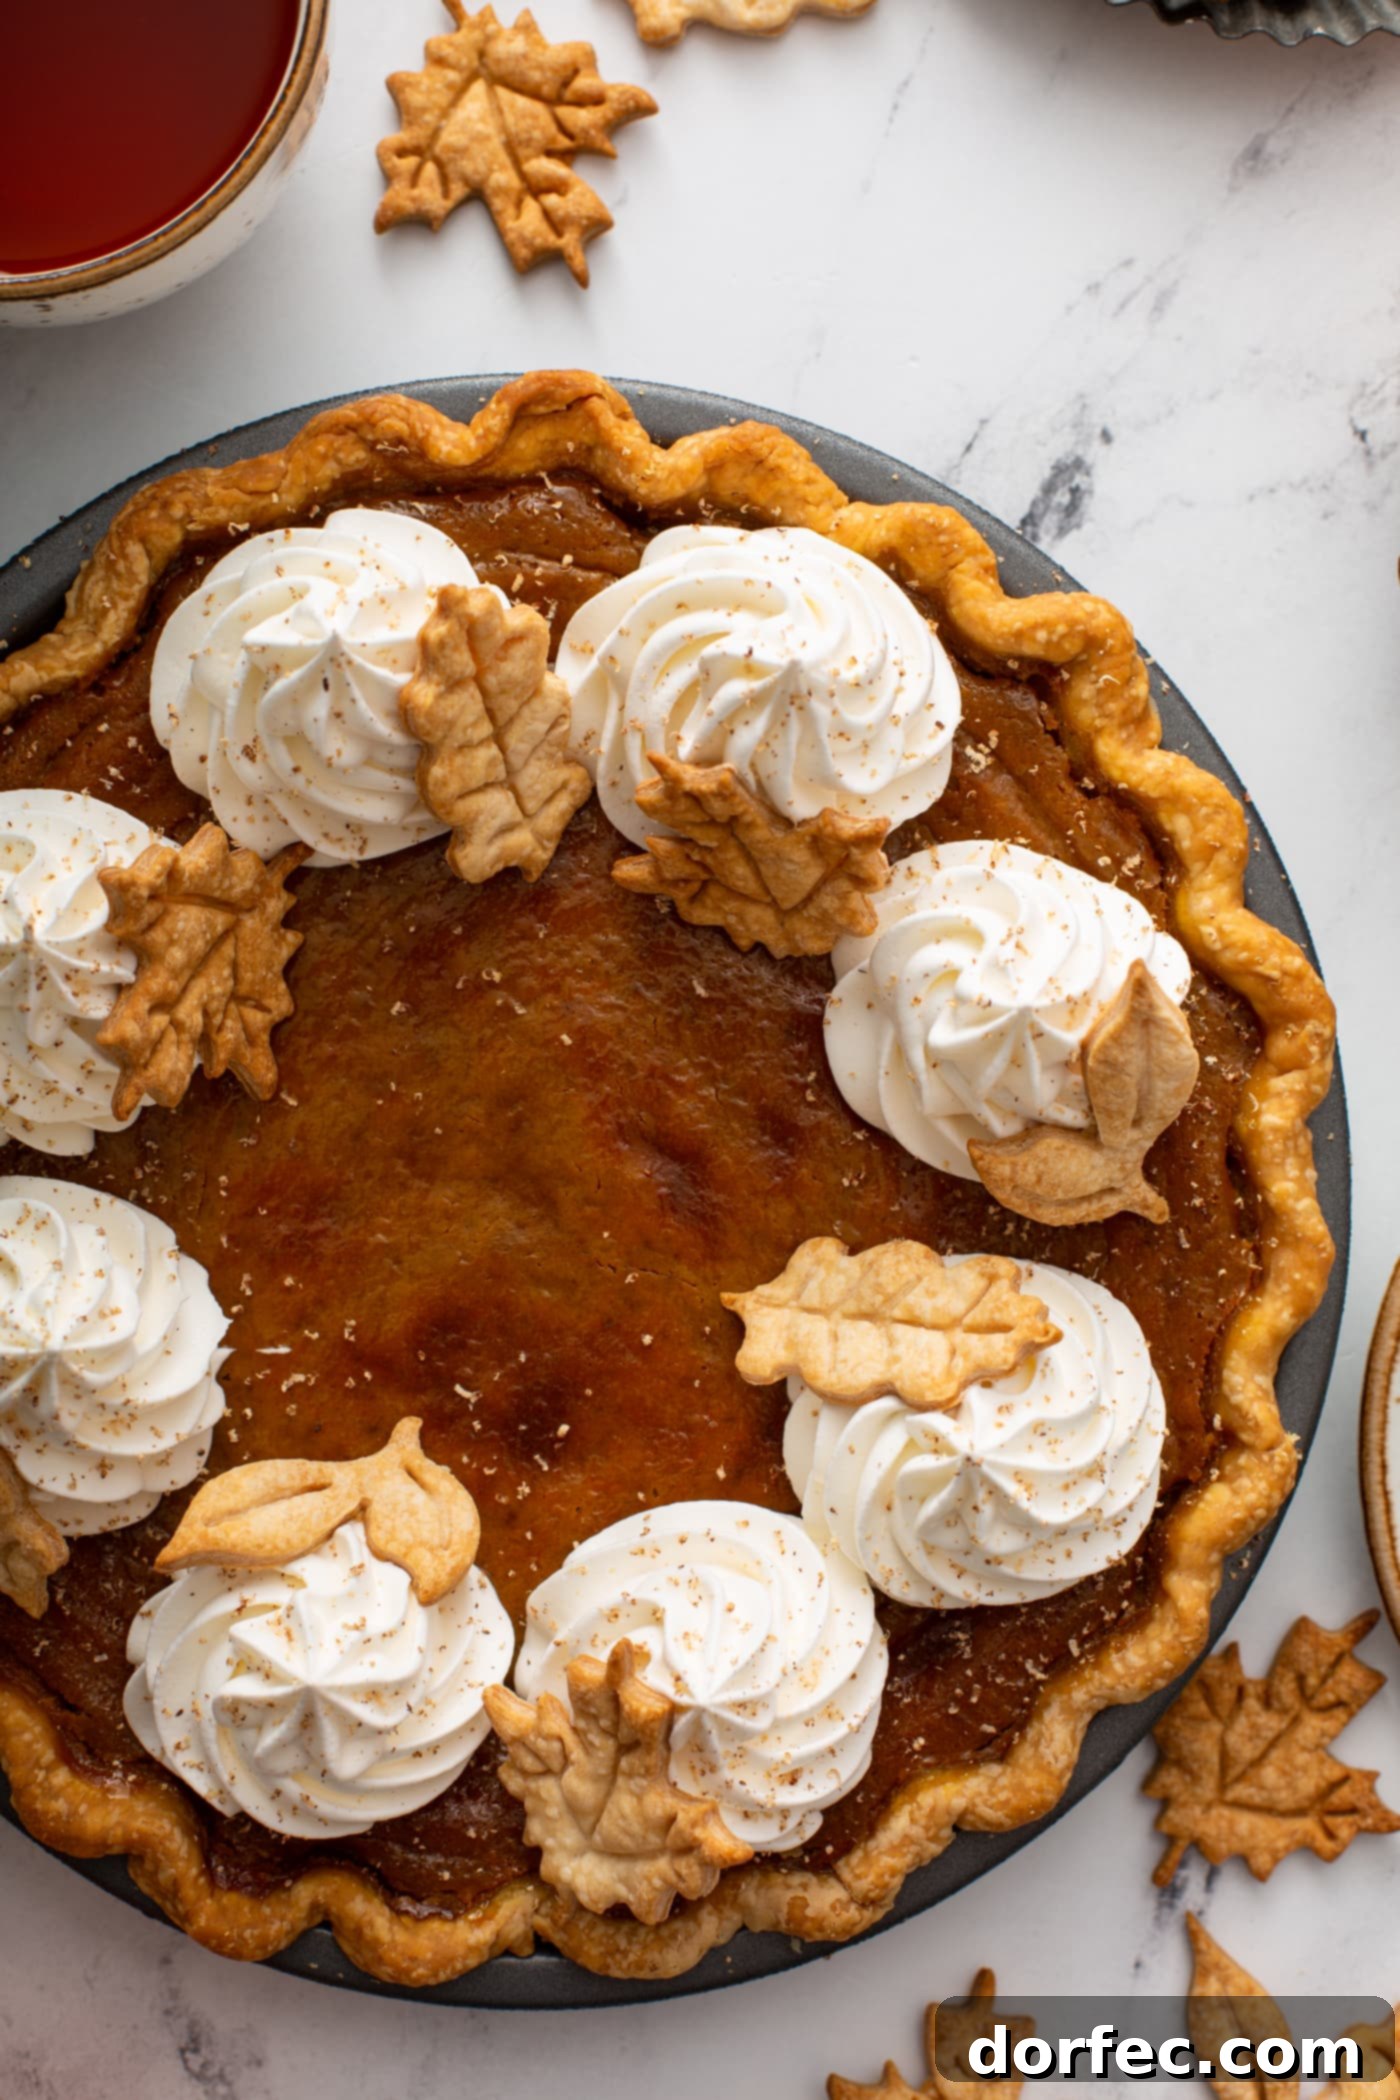
There’s truly no Thanksgiving without the heartwarming aroma and taste of **homemade pumpkin pie from scratch**! This recipe delivers a silky, creamy, and perfectly spiced dessert that will be the star of your holiday table. Gather your family, friends, and anyone who needs a place to feel loved around your table, and serve up this perfect pumpkin pie. It’s more than just a dessert; it’s a tradition, a memory, and a taste of pure autumnal bliss.
More PIE RECIPES You’ll Love:
- Homemade Apple Pie
- Razzleberry Pie
- Pecan Pie
- Dulce de Leche Banana Cream Pie
- French Chocolate Silk Pie
- Sweet Potato Pie
- Blueberry Pie
- ALL OF OUR PIE RECIPES!
Watch How This Recipe is Made…
Watch our video tutorial to see how this delicious Pumpkin Pie is made!
Pumpkin Pie From Scratch
Print Recipe
Ingredients
- 1 Pie Crust, see recipe notes for details
- 2 Cups Pumpkin Puree, not pumpkin pie filling
- ½ teaspoon Salt
- ¼ Cup White Granulated Sugar
- ½ Cup Brown Sugar
- 2 teaspoons Ground Cinnamon
- ¼ teaspoon Ground Nutmeg
- ¼ teaspoon Ground Cloves
- ¾ teaspoon Ground Ginger
- 1 Cup Heavy Cream
- ½ Cup Half and Half
- 2 Large Eggs, whisked
- 1 Large Egg Yolk, whisked
Instructions
-
Preheat the oven to 400°F (200°C).
-
Prepare your pie crust according to your chosen recipe (e.g., our all-butter pie crust recipe). Roll out half of the dough into a 9-inch circle and place it in your pie pan. Prick the bottom of the crust generously with a fork and place it in the fridge for 30 minutes to chill.1 Pie Crust
-
Add pie weights (or dried beans/rice) to the crust, covering it loosely with foil to prevent excessive browning. Bake for 15 minutes. Carefully remove the foil and weights, then bake for another 6-8 minutes, or until the crust is lightly golden. Remove the pie crust from the oven and set aside.
-
Meanwhile, in a large, heavy-bottomed pot, combine the pumpkin purée, salt, both sugars, cinnamon, nutmeg, cloves, and ginger. Set the heat to medium and bring the mixture to a gentle simmer, cooking for 5 minutes while stirring constantly to prevent scorching.2 Cups Pumpkin Puree, ½ teaspoon Salt, ¼ Cup White Sugar, ½ Cup Brown Sugar, 2 teaspoons Cinnamon, ¼ teaspoon Ground Nutmeg, ¼ teaspoon Ground Cloves, ¾ teaspoon Ground Ginger
-
Add the heavy cream and half and half to the pot, stirring for another minute over medium-to-medium-high heat until the mixture is sputtering and gently simmering.1 Cup Heavy Cream, ½ Cup Half and Half
-
In a separate bowl, thoroughly whisk the 2 eggs and 1 egg yolk until smooth. To temper the eggs and prevent scrambling, slowly add a tablespoon of the hot pumpkin mixture to the eggs while continuously whisking. Repeat this process a few times. Then, gradually pour the warmed egg mixture into the pumpkin mixture in the pot, whisking constantly until fully incorporated. Pour the entire silky pumpkin mixture into your prepared, blind-baked pie shell.2 Eggs, 1 Egg Yolk
-
Bake the pie at 400°F (200°C) for 25 minutes. Immediately reduce the oven temperature to 350°F (175°C) and continue baking for another 10-20 minutes, or until the pie is slightly puffed in the middle and shows only a slight, gentle jiggle in the center when gently shaken. The edges may show small cracks. If your crust is browning too much, you can loosely cover the edges with aluminum foil for the last 20 minutes of baking.
-
Place the baked pumpkin pie on a wire cooling rack and allow it to cool completely at room temperature for at least 2 hours. This ensures the custard sets properly.
-
Serve your perfectly baked pumpkin pie with fresh whipped cream, a dusting of powdered sugar, or decorative pie crust cutouts.
Recipe Notes
Always store pumpkin pie in the refrigerator.
Nutrition
Calories: 341kcal,
Carbohydrates: 37g,
Protein: 5g,
Fat: 20g,
Saturated Fat: 10g,
Polyunsaturated Fat: 2g,
Monounsaturated Fat: 6g,
Trans Fat: 0.004g,
Cholesterol: 104mg,
Sodium: 273mg,
Potassium: 237mg,
Fiber: 3g,
Sugar: 23g,
Vitamin A: 10117IU,
Vitamin C: 3mg,
Calcium: 82mg,
Iron: 2mg
Nutrition information is automatically calculated and should only be used as an approximation.
Enjoyed this recipe? Share your thoughts below!