
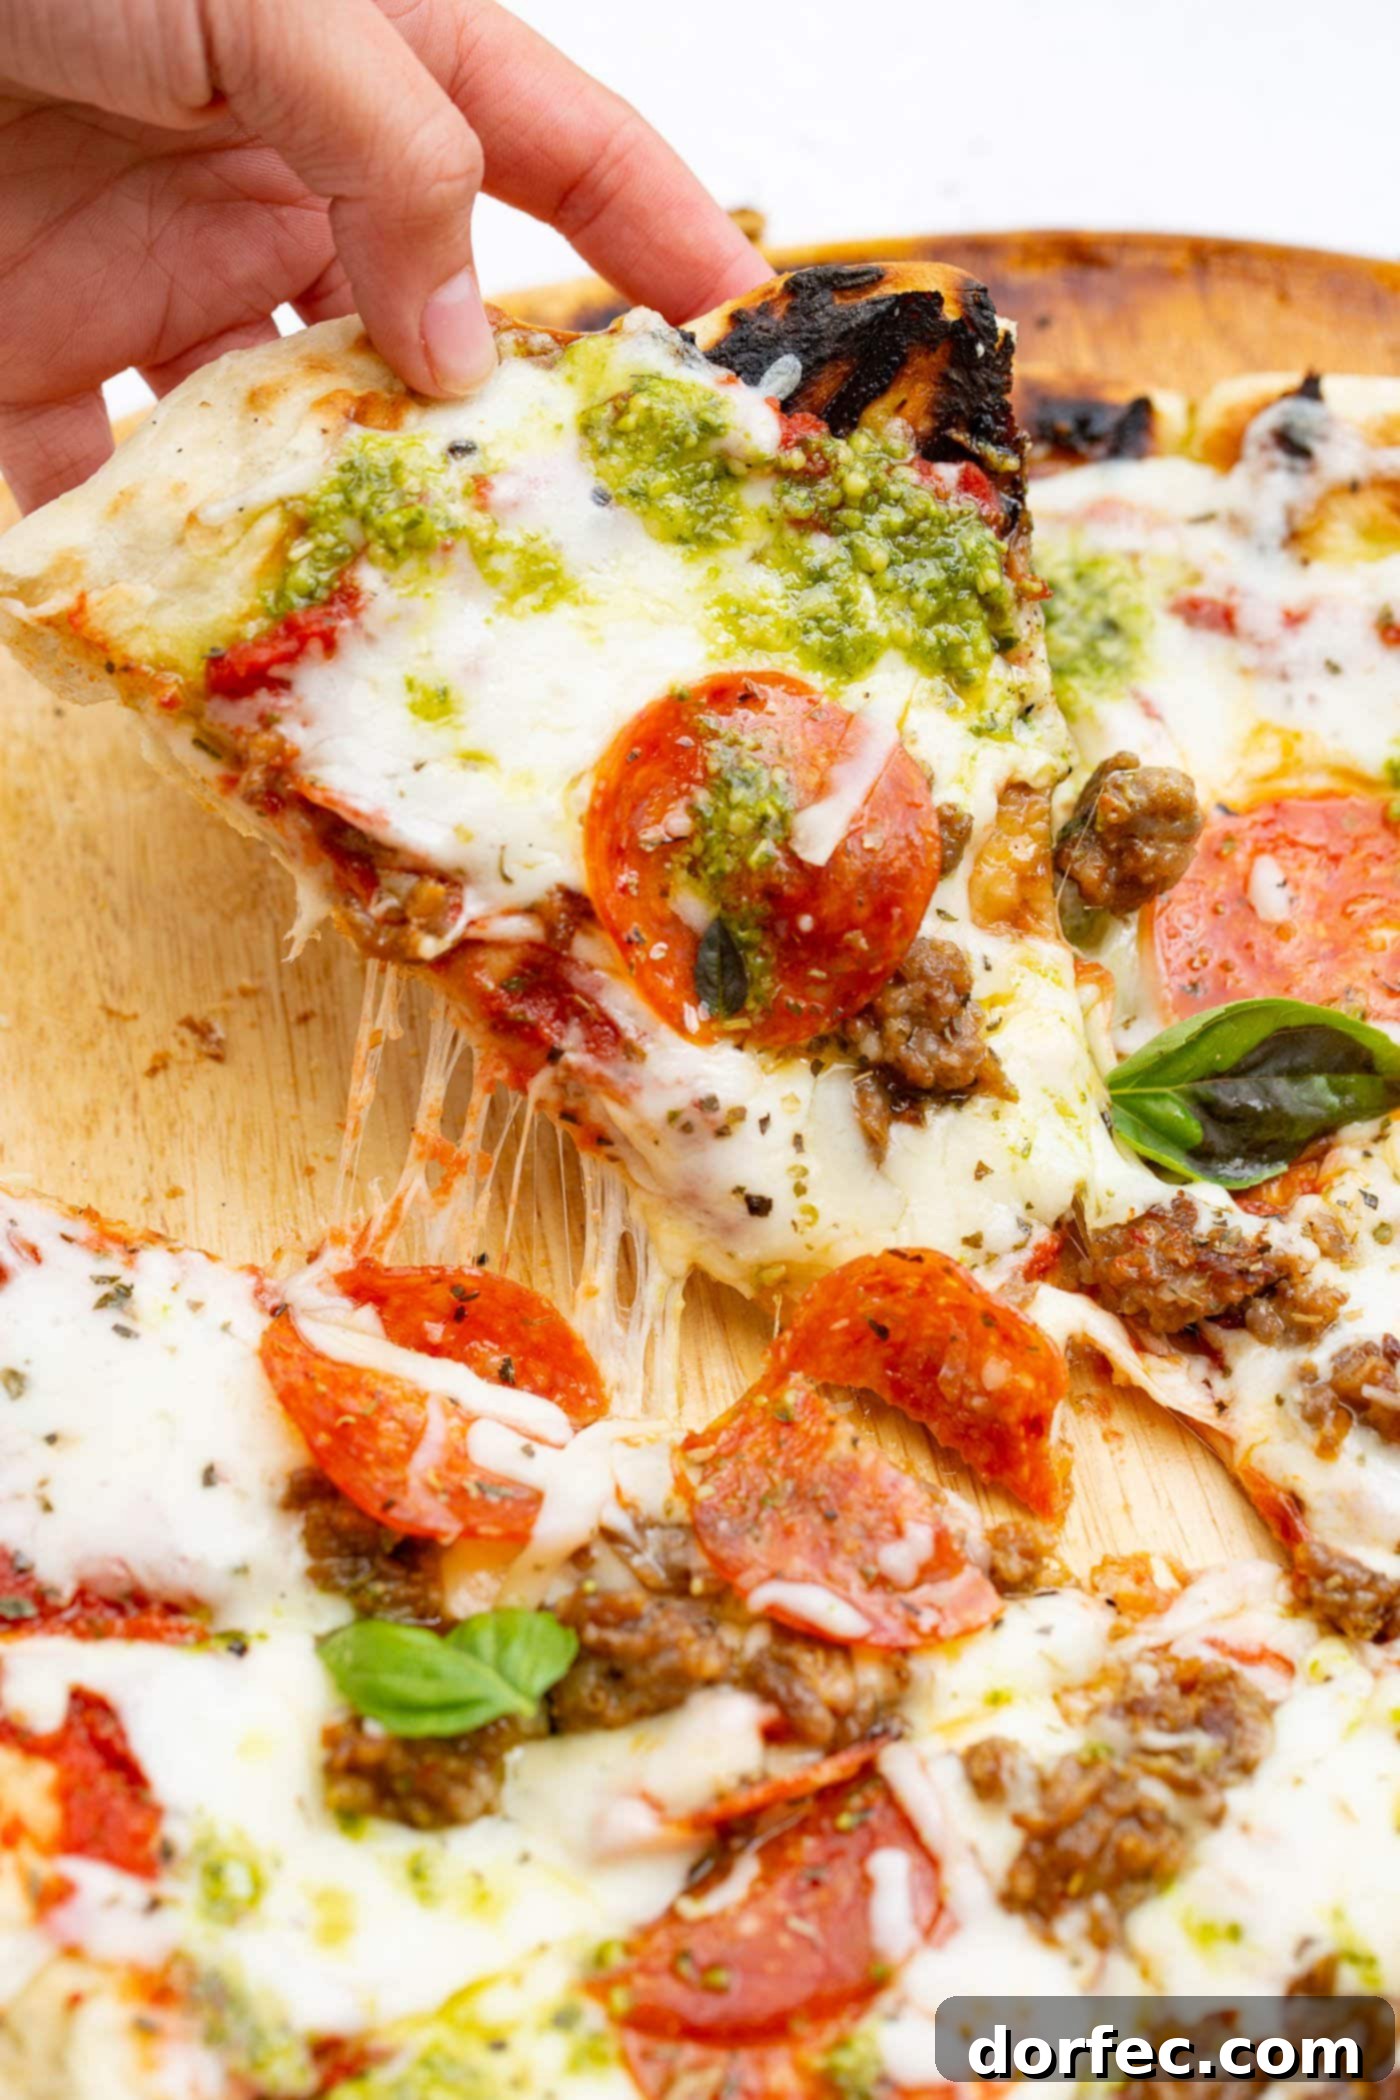
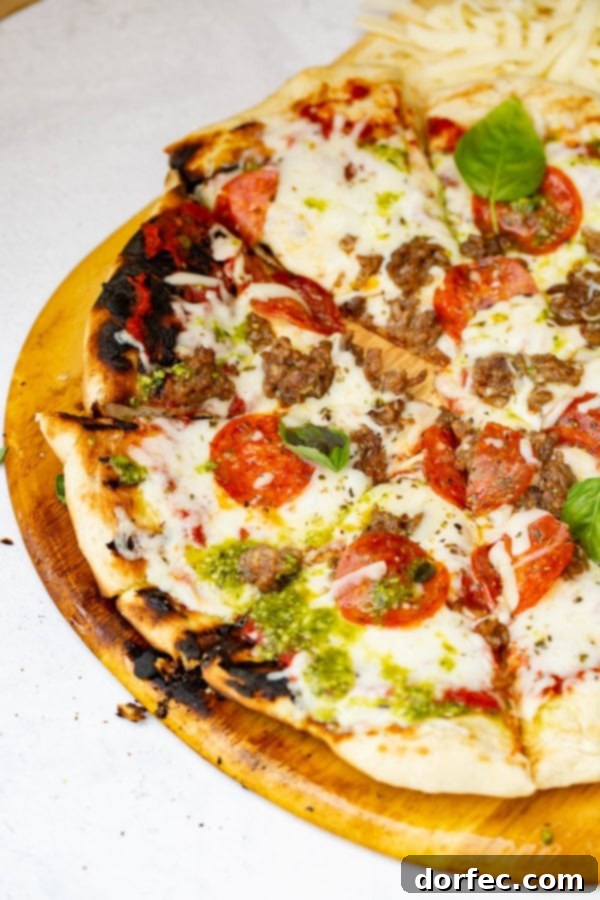
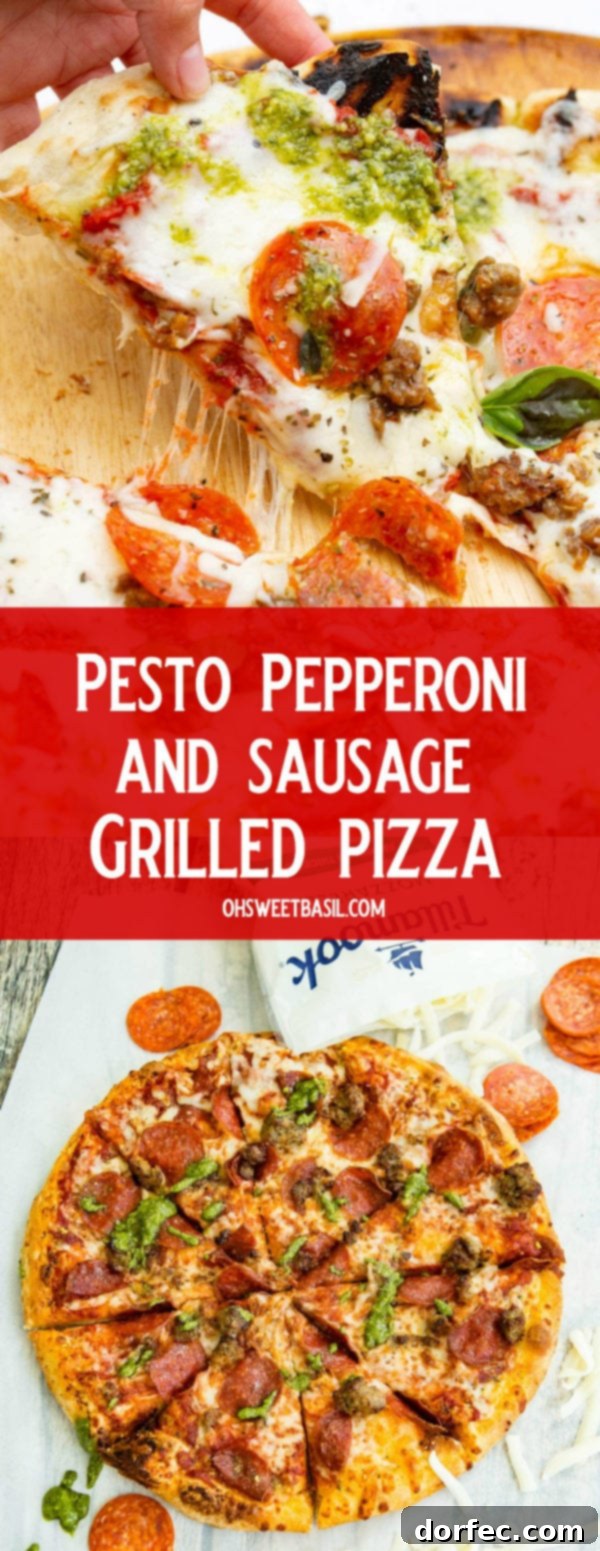
Experience the ultimate summer culinary delight with our Grilled Pesto Pepperoni and Sausage Pizza! This isn’t just any pizza; it’s a masterpiece of texture and flavor, featuring a perfectly crispy yet delightfully chewy crust, generously topped with an abundance of creamy Tillamook cheese, savory pepperoni, seasoned sausage, and bright, vibrant pesto sauce. Imagine the sizzle of the grill, the aroma of smoky crust mingling with fresh basil – this is more than a meal, it’s an experience.
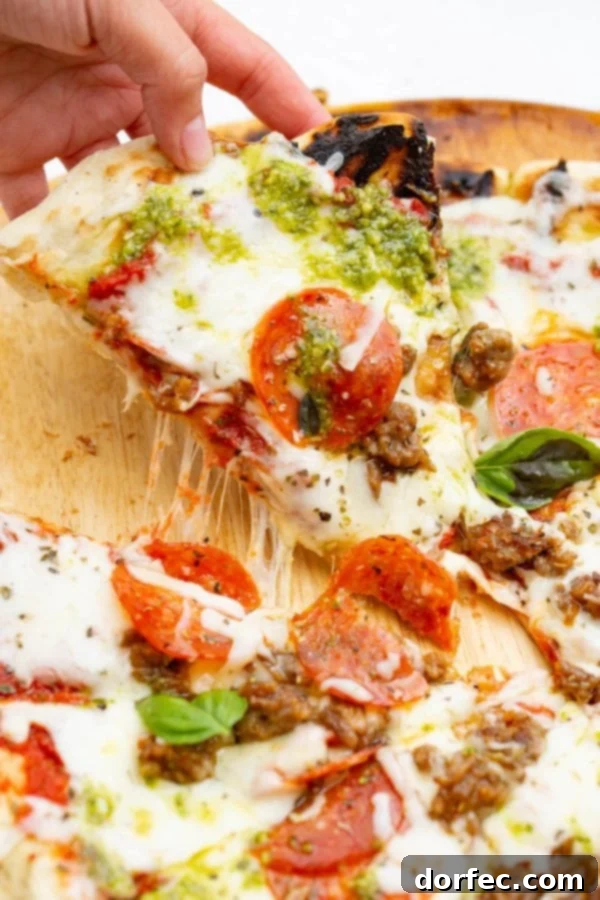
Summer can sometimes bring unexpected challenges, like a full-scale kitchen renovation that leaves you craving simple joys and delicious food. After navigating through weeks of dust, disruption, and a few minor culinary nightmares, our family desperately needed a break filled with fun and flavor. So, we did what any sensible family would do: we grabbed our homemade pizza dough and ventured outdoors to the grill. It became an instant family tradition, a masterclass in outdoor cooking where we taught the kids the art of grilling pizza. The clear winner? A fantastically quick and easy 5-minute pesto pepperoni grilled pizza that stole everyone’s hearts.
While I was keen on adding a handful of briny olives to my personal creation, my husband, Cade, firmly disagreed. It seems when it comes to olives on pizza, there’s no middle ground – you either love them or you don’t, and in our kitchen, that difference is keenly felt!
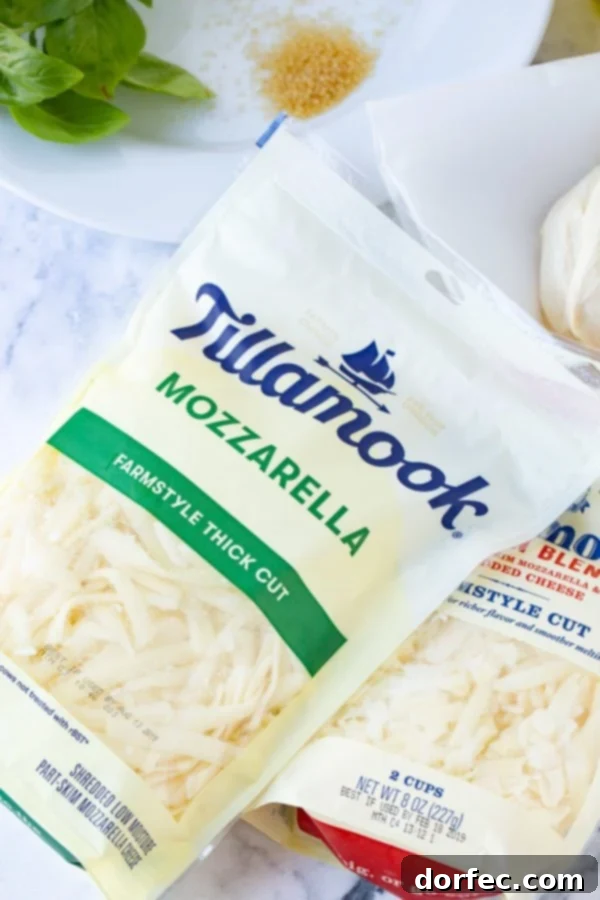
For years, our family has been enthusiastically devoted to Tillamook products. Their commitment to quality and exceptional taste truly shines through, especially in this grilled pizza recipe. The Tillamook Farmstyle Thick Cut Shredded Cheese is simply a game-changer. We particularly adore their mozzarella; its superior meltability creates that perfect, gooey, irresistible blanket over your toppings, delivering an unparalleled pizza experience. The extensive range of Tillamook cheese varieties means the possibilities for different pizza combinations are truly endless. We’re constantly experimenting with new flavor profiles, and we promise to share more of our delicious creations with you soon, so keep an eye out for those!
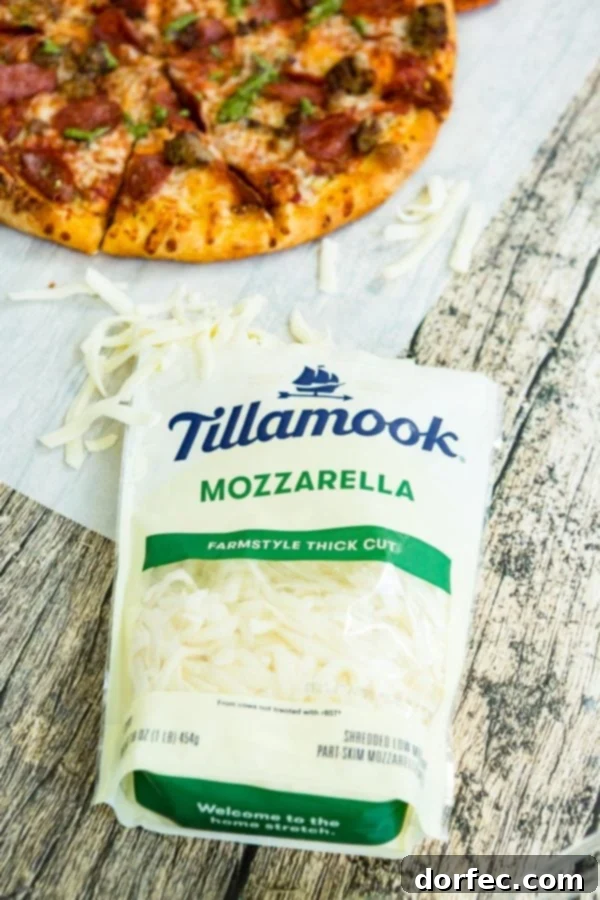
Whether you’re battling a full-blown kitchen renovation or simply enduring a scorching summer day when the thought of turning on your oven is unbearable, the grill emerges as a true culinary hero. It truly rescued our summer cooking, allowing us to create incredible meals without heating up the house. There’s a certain magic and unmatched deliciousness that comes from a grilled pizza. The intense heat of the grill imparts a wonderful smoky flavor to the dough, creating an irresistibly crispy base while ensuring the cheese melts into a beautifully bubbly, golden layer. If you haven’t experienced it yet, you absolutely must try it! It’s a revelation that will change your pizza night forever.
Crafting Your Perfect Homemade Grilled Pizza
For this pesto pepperoni pizza, we embrace the joy of making everything from scratch. Our pesto, easy pizza sauce, and the pizza crust are all lovingly prepared in-house. Don’t be intimidated; I often make the pizza sauce and pesto well in advance, which significantly reduces the workload on pizza night. Let’s walk through the essential steps for creating a fantastic pizza crust that forms the foundation of this incredible grilled pizza.
Step-by-Step Pizza Crust Perfection
- **Activate the Yeast:** In a large bowl or the bowl of your stand mixer, combine warm water, a touch of sugar, and yeast. Stir gently and allow this mixture to sit undisturbed for about 5 minutes. You’ll know the yeast is active and proofed when it becomes foamy and bubbly, indicating it’s ready to work its magic.
- **Initial Flour Addition:** Once your yeast is proofed, add 2 ½ cups of all-purpose flour to the mixture. If using a stand mixer, attach the dough hook. Mix on low speed until the ingredients are just combined, forming a shaggy dough.
- **Final Kneading:** Incorporate the remaining 2 ½ cups of flour and the salt. Continue kneading with the dough hook (or by hand on a lightly floured surface) for 7-10 minutes. The goal is a smooth, elastic, and pliable dough that springs back when gently pressed. This thorough kneading develops the gluten, which is crucial for a chewy yet tender crust.
- **First Rise (Resting):** Form the dough into a ball and place it back into the clean bowl. Cover the bowl tightly with plastic wrap to prevent a skin from forming. Let the dough rest at room temperature for 10 to 20 minutes. This short rest allows the gluten to relax, making the dough easier to handle and shape. This is an ideal time to prepare all your other delicious pizza toppings.
- **Adjusting Consistency:** After resting, gently remove the dough from the bowl. If it feels too sticky to work with, add a very small amount of flour at a time, kneading it in until the dough is manageable but still soft. Avoid adding too much flour, as this can result in a tough crust.
- **Shaping and Oiling:** On a lightly floured surface or directly on a piece of aluminum foil (which makes transferring to the grill much easier), press the dough into your desired circular shape. The thickness is up to you, but aim for an even crust. Brush one side generously with olive oil; this helps prevent sticking to the grill and adds a lovely crispness.
Achieving a wonderfully crisp and delicate base for your pizza is simpler than you might think. Many wonder about the secret to a perfect thin crust pizza.
The Secret to a Crispy Thin Crust Pizza
If your heart desires a truly thin and crispy pizza crust, the trick lies in chilling your dough. After preparing your pizza dough according to the steps above, simply cover it tightly and place it in the refrigerator for at least an hour, or even up to two days. The cold temperature slows down yeast activity and firm the gluten, making it much easier to roll or press out into a very thin, even layer without it springing back. This chilling process is the key to that delightful, shatteringly crisp base.
Essential Tips for Grilling Pizza Like a Pro
Grilling pizza has become a staple in our household, and through countless pizza nights, we’ve perfected a few techniques to ensure consistently amazing results. Here are our top tips for making the best grilled pizza you’ve ever tasted:
- **Start with a Spotless Grill:** Before you even think about placing dough on your grill, ensure it’s sparkling clean. Give those grates a thorough scrub to remove any remnants from previous cooks. Leftover food bits can stick to your pizza crust and burn, imparting an unpleasant flavor.
- **Achieve High Heat:** Preheat your grill to a scorching 500 degrees Fahrenheit (approximately 260 degrees Celsius). High heat is crucial for achieving that signature crispy, slightly charred crust that cooks quickly, preventing the dough from becoming tough or drying out.
- **Prep Everything in Advance (Mise en Place):** Once the pizza hits the grill, things move very fast! Have all your ingredients—sauce, shredded cheese, pre-cooked meats like sausage and pepperoni, and any other desired toppings—chopped, measured, and within arm’s reach. This ensures a smooth and stress-free assembly process.
- **Oil Both Sides of the Dough:** Place your prepared dough, oil-side down, directly onto the super-hot grill grates. Immediately brush the uncooked top side with a little more olive oil. This double oiling technique enhances crispness and prevents sticking.
- **The Rapid Flip and Top:** Grill the first side for only 3 to 4 minutes, or until distinct grill marks appear and the dough puffs slightly. Using tongs or a pizza peel, quickly flip the crust. Immediately spread your sauce on the grilled side, then generously layer on the Tillamook Farmstyle Thick Cut Mozzarella Shredded Cheese, cooked sausage, pepperoni, or whatever toppings your heart desires.
- **Melt and Finish:** Close the grill lid for just 1 to 2 minutes to allow the cheese to melt into a bubbly, golden perfection. Keep a close eye on it to prevent burning. If your grill runs too hot, you can momentarily turn down the flames during this step.
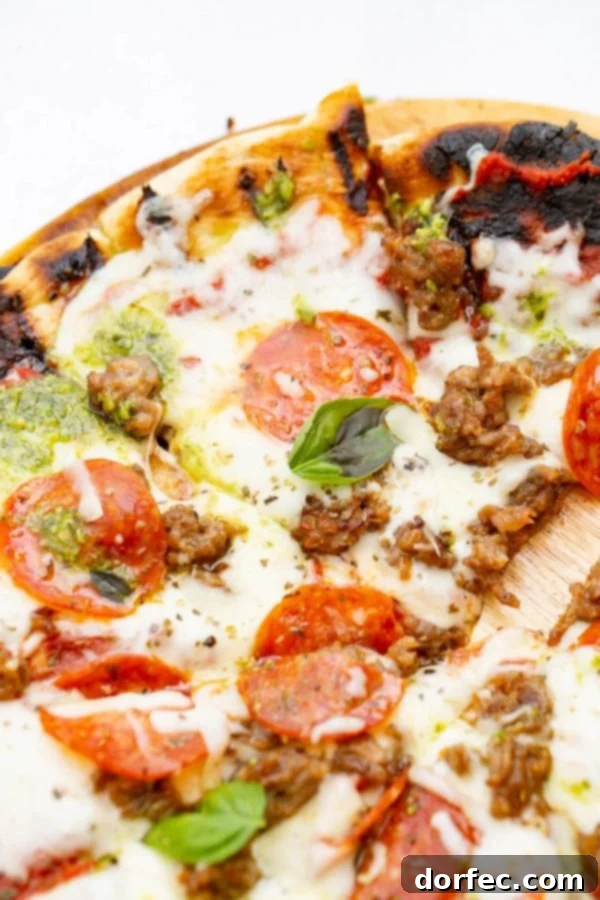
- **The Pesto Drizzle:** Once the pizza is cooked to perfection and the cheese is beautifully melted, transfer it off the grill. Finish with a fresh drizzle of vibrant pesto sauce. The fresh, herbaceous notes of the pesto elevate the entire dish, creating an explosion of flavor. Booyah! You’ve just made the best grilled pizza ever!
Mastering Grilled Pizza on a Pizza Stone
While we opted for direct grilling for these particular pizzas, many home chefs swear by a pizza stone for an even crispier, more oven-like crust. If you wish to incorporate a pizza stone into your grilling routine, the process is straightforward:
The key is to preheat the pizza stone along with your grill. Place the pizza stone directly on the grill grates *before* you light the grill. Allow the stone to heat up gradually with the grill to your target temperature of 500 degrees Fahrenheit. This ensures the stone is uniformly hot, ready to provide an intense, even heat to your pizza crust. Once the stone is piping hot, carefully transfer your olive-oiled pizza dough onto the stone, and then follow the grilling instructions as written, including oiling the top, flipping, topping, and melting the cheese. The pizza stone helps achieve a beautifully browned and consistently crisp bottom crust, mimicking the intense heat of a traditional pizza oven.
Achieving Restaurant-Quality Pizza Crust at Home
Longing for that distinctive, perfectly chewy yet crisp crust found in your favorite pizzerias? We’ve got a few simple tips to help you achieve a truly restaurant-style pizza crust right on your grill:
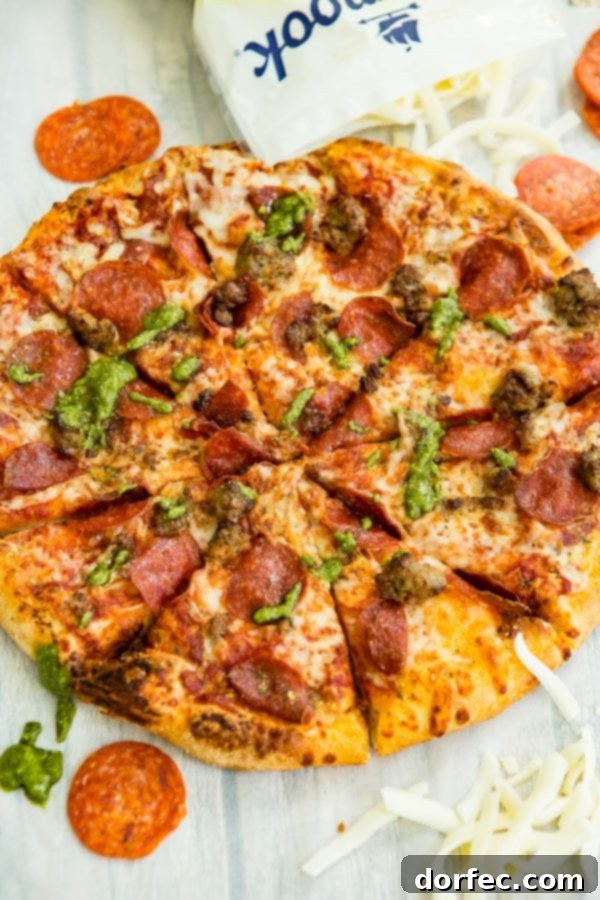
- **Skip the Chill for a Softer Interior:** Unlike the thin crust method, for a restaurant-style crust, you generally do NOT want to chill the dough first. After you’ve whipped up your pizza dough and allowed it to complete its initial rise in the mixer or bowl, immediately proceed to shaping your pizza crust. This allows for a slightly softer, airier interior while still achieving crispness on the outside.
- **The Cornmeal Crunch:** When you’re ready to transfer your shaped pizza to the grill, generously sprinkle a little cornmeal on your work surface or pizza peel. This isn’t just for easy transfer; the cornmeal creates a fantastic, subtle crunch on the bottom of the crust, adding an authentic pizzeria texture and preventing the dough from sticking.
- **Embrace the Edge – Create a Crust:** Don’t press your dough out evenly all the way to the edges. Instead, consciously leave a slightly thicker rim around the outside edge of the pizza. This creates that desirable puffy, airy, and beautifully browned crust that provides a satisfying bite and helps contain your delicious toppings.
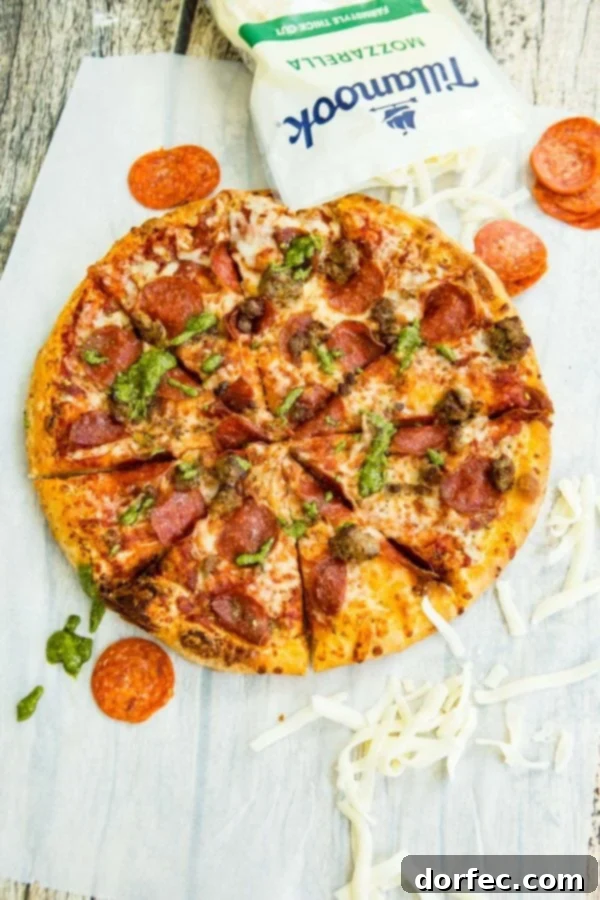
A true restaurant-style pizza often boasts a crust that’s a little thicker and more substantial, which is precisely why a high-quality cheese like Tillamook is absolutely essential. Its wonderfully robust, thick-cut shreds don’t just melt down beautifully; they deliver a rich, creamy flavor that stands up to the crust without being overpowered. This balance ensures every bite is a harmonious blend of textures and tastes.
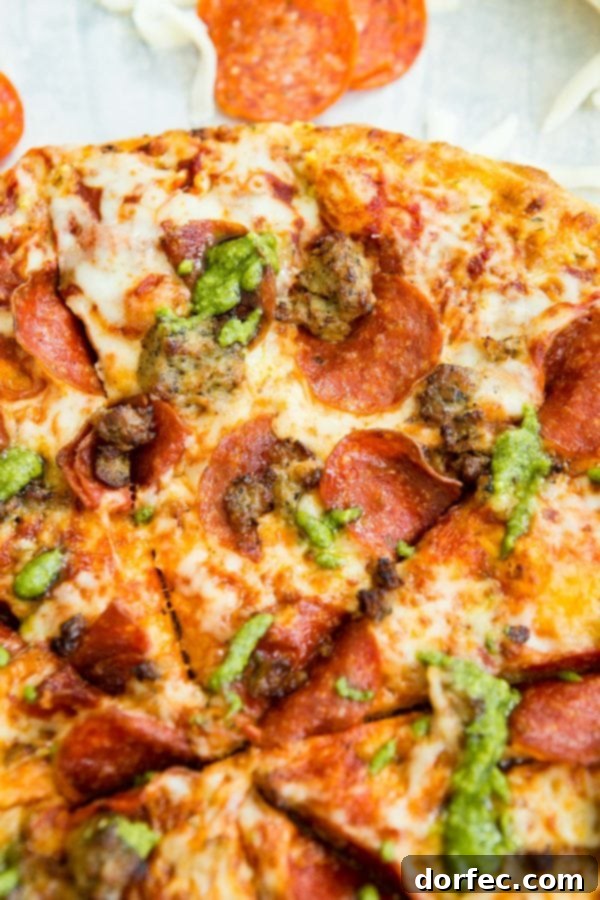
But I must confess, lately, I’ve found myself utterly captivated by the charm of that thin, crispy crust, so let’s circle back to discussing the delightful aspects of our toppings.
Pesto: Storage, Freezing, and Safety Tips
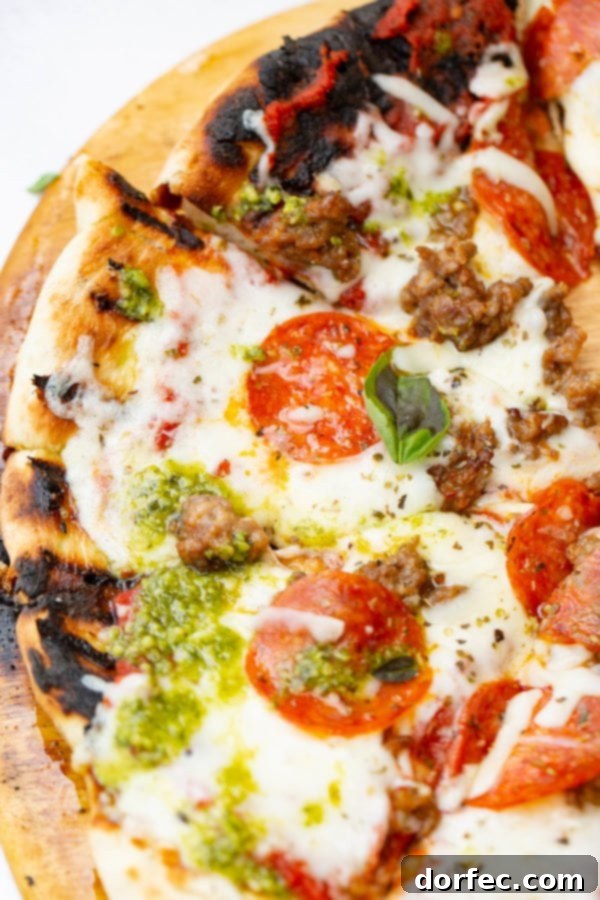
Let’s delve a little deeper into the delicious toppings we’re using, starting with our vibrant pesto. As mentioned, we love to make our own homemade pesto, which offers an unbeatable freshness. However, homemade pesto, due to its fresh ingredients and lack of preservatives, has a relatively short shelf life, typically lasting only **about a week** in the refrigerator. If you opt for a store-bought jar of pesto, it will contain added preservatives designed to extend its freshness. Once opened, a jarred pesto will usually remain good for **about two weeks** when properly refrigerated.
Can You Freeze Pesto for Later Use?
Absolutely! Pesto freezes exceptionally well, which is fantastic news given its short refrigerator shelf life. We highly recommend freezing any extra pesto to enjoy later. A convenient method is to freeze it in ice cube trays. Once the pesto cubes are solid, simply pop them out and transfer them to a freezer-safe ziploc bag or an airtight container. This way, you can easily grab just the amount of pesto you need for future meals. Properly frozen, pesto will maintain its quality and flavor for up to **6 months**.
Can Pesto Cause Food Poisoning?
Like any food product, pesto can spoil and, if consumed, potentially cause food poisoning. It’s important to recognize the signs of spoilage. Pesto typically begins to turn brown when it starts to go bad. While the olive oil in the pesto helps protect the basil from browning for a few days, once you observe a significant color change towards brown, it’s a clear indicator that the pesto should no longer be eaten. Always err on the side of caution when it comes to food safety.
Pepperoni: Storage and Pregnancy Safety
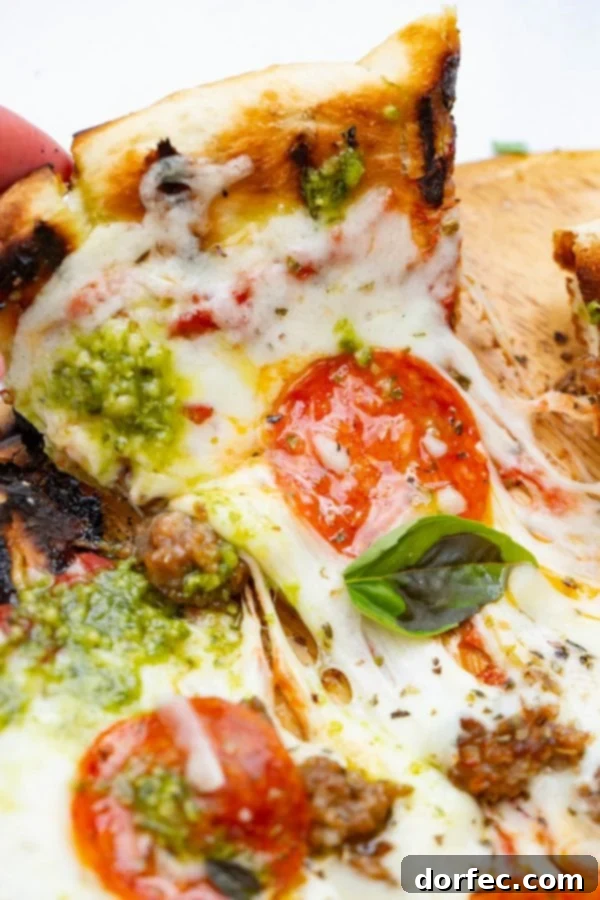
Let’s talk about pepperoni, a classic pizza topping. Once a package of pepperoni has been opened, it should always be stored in the refrigerator. When kept properly in an airtight container, sliced pepperoni will remain fresh and safe to eat for up to **3 weeks**. While leftover pizza is one of my favorite indulgences, it’s crucial not to leave it out overnight at room temperature. According to the United States Department of Agriculture (USDA) guidelines, any cooked food should not be consumed if it has been left at room temperature for more than 2 hours to prevent bacterial growth and potential foodborne illness.
Is Pepperoni Safe to Eat During Pregnancy?
Yes, cold cured meats like pepperoni are generally considered safe to eat during pregnancy, provided they have been stored correctly and are not past their expiration date. The curing process typically makes them safe. However, if you have any concerns, it’s always best to consult with your healthcare provider.

Reheating Your Delicious Grilled Pizza
Do you enjoy your leftover pizza piping hot or refreshingly cold? For me, it’s always a unanimous HOT! If you’re like me and prefer your pizza warmed up, you have a few options for reheating:
- **Microwave (Quick but Compromises Texture):** You can quickly reheat a slice in the microwave for a minute or two. While this method is fast and convenient, it typically results in a softer, often slightly soggy crust, losing all of that wonderful grilled crispness.
- **Oven (Best for Crispness):** For optimal results that preserve the pizza’s original crispiness, I always recommend reheating in a conventional oven. Preheat your oven to 350 degrees Fahrenheit (175°C). Place your pizza directly on the oven rack or on a baking sheet and bake for 3-4 minutes, depending on the thickness of your crust and toppings, until the cheese is bubbly and the crust is crisp again.
- **Broiler (Fast and Crispy Top):** The broiler is another excellent option for a quick reheat and a crispy top. Keep a very close eye on it, as it cooks rapidly. Place the pizza under the broiler for just a minute or two, watching carefully to prevent burning. This method is fantastic for re-crisping toppings and melting cheese quickly.
Can You Eat Grilled Pizza Cold?
The short answer, from a food safety perspective, is yes, you can eat it cold, assuming it was properly refrigerated within the safe timeframe (within 2 hours of cooking). However, the real question is, “whhhhyyyyy?!” Pizza, in its truest form, is meant to be hot, with gooey, melty cheese and a wonderfully textured crust. But hey, if you’re one of those unique individuals who enjoys a chilled slice, more power to you! No judgment here – to each their own! (Deep breaths, Carrian, deep breaths! Lol!).
Grilled pizza is truly where it’s at, my friends! The beauty lies in its versatility; you can top it with anything your heart desires, making it perfect for utilizing seasonal ingredients. If your garden is overflowing with ripe tomatoes, whip up a huge batch of fresh pizza sauce and get grilling! And please, for an absolutely unbeatable flavor and melt, do not forget to use Tillamook Farmstyle Thick Cut Shredded Cheese. It tastes the best, melts the best, and is just the most unbelievably delicious choice for your grilled pizza creations!
More Delicious Grilled Pizza and Dessert Recipes:
- Grilled Vegetable Flatbread Pizza
- Grilled Garlic Naan Pizza
- All Our PIZZA Recipes!
- Grilled S’mores Dessert Quesadilla
- Grilled Chocolate Strawberry Croissants
- Brown Sugar Grilled Pineapple Sundaes
Pesto Pepperoni and Sausage Grilled Pizza
By: Sweet Basil
Prep Time: 10 mins
Cook Time: 5 mins
Total Time: 15 mins
Servings: 12
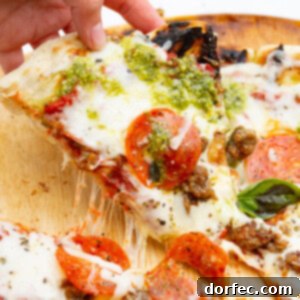
A crisp and chewy grilled pizza topped with plenty of Tillamook cheese, pepperoni and bright pesto sauce!
Ingredients
Pizza Dough
- 2 Cups Water, warm
- 2 teaspoons Sugar
- 1 Tablespoon Yeast
- 5 Cups Flour, divided
- 1 Tablespoon Salt
Pizza Toppings
- Pizza Sauce
- Tillamook Mozzarella Farmstyle Thick Cut
- 1/4 lb Cooked Sausage
- Pepperoni
- Pesto
Instructions
- Mix warm water, sugar and yeast and let sit 5 minutes until yeast proofs.
- Add 2 ½ cups flour with the yeast which has bubbled and mix well in Kitchen Aid or with a dough hook.
- Add additional 2 ½ cups flour and salt, knead until smooth. Cover bowl with saran wrap. Let dough rest in a ball for 10 to 20 minutes.
- Remove dough from bowl and add more flour as needed (a little at a time) so it’s not as sticky but only add as needed.
- Press the dough into a circle and brush one side with olive oil.
- Heat a grill to 500 degrees and put the oiled side down. Brush the top with more oil.
- Flip the dough as soon as marks appear and spread with sauce, Tillamook Mozzarella Farmstyle Thick Cut Cheese, sausage and pepperoni and close the lid for a minute or two to melt the cheese. Turn the flames down if needed.
- Serve with a drizzle of fresh pesto!
Recipe Notes
To reheat on the grill, set the grill to medium high, place pizza on grill for 6 minutes.
Nutrition
Serving: 1g, Calories: 193kcal, Carbohydrates: 41g, Protein: 6g, Fat: 1g, Saturated Fat: 1g, Sodium: 583mg, Potassium: 59mg, Fiber: 1g, Sugar: 1g, Calcium: 8mg, Iron: 2mg
Nutrition information is automatically calculated, so should only be used as an approximation.
Like this? Leave a comment below!
When you try a recipe, please use the hashtag #ohsweetbasil on INSTAGRAM for a chance to be featured in our stories! FOLLOW OH, SWEET BASIL ON FACEBOOK | INSTAGRAM | PINTEREST | TWITTER FOR ALL OF OUR LATEST CONTENT, RECIPES AND STORIES.