

How to Make Perfectly Stabilized Whipped Cream That Holds Its Shape for Days
Imagine biting into a beautifully decorated dessert – a towering cake, a luscious pie, or a perfectly piped cupcake – only to find that its whipped cream topping has started to weep, deflate, or melt away. It’s a common disappointment, especially after all the effort put into baking. The secret to those picture-perfect, bakery-quality toppings that stay fluffy and firm for extended periods is **stabilized whipped cream**. Don’t let the name intimidate you; this culinary trick is surprisingly simple to master and will elevate all your desserts to a professional level. Say goodbye to soggy, sad toppings and hello to consistently delightful, airy, and resilient whipped cream that maintains its exquisite shape for days in the refrigerator. We’re about to unlock the magic!
Stabilized whipped cream is an absolute game-changer for anyone who loves baking and wants their creations to look as good as they taste, long after they’ve been prepared. Whether you’re a seasoned baker preparing elaborate holiday feasts or just looking for a simple, elegant topping for everyday treats, this easy-to-follow guide will equip you with the knowledge and techniques to achieve flawless results every single time. It’s lighter than buttercream, less sweet, and offers a delightful, melt-in-your-mouth texture that complements a wide array of desserts without overpowering their flavors. Get ready to transform your dessert game!

The beauty of this **no-melt whipped cream** lies in its versatility and durability. Unlike traditional whipped cream, which can start to break down and become watery within hours, stabilized whipped cream remains light, airy, and holds its form beautifully for up to 2-3 days when refrigerated. This makes it an ideal choice for topping an array of confections, including pies, cupcakes, cakes, cheesecakes, and even hot beverages. Its subtle sweetness ensures it enhances rather than overshadows the primary flavors of your dessert, creating a harmonious and utterly delicious experience.
The secret ingredient that provides this incredible structure and prevents deflation is **unflavored gelatin**. When prepared and incorporated correctly, gelatin acts as a discreet stabilizer, adding absolutely no discernible flavor or texture, but lending robust structural integrity to your whipped cream. This means your beautifully piped swirls will stand tall and proud, resisting the common issues of weeping or melting that often plague unstabilized versions. Mastering this technique is a simple step that yields truly impressive and satisfying results, especially when planning for events or simply wanting to enjoy your desserts over a few days.
Before we dive into the step-by-step instructions, we’ll cover everything you need to know, from the essential ingredients to expert tips for perfect execution. Whether you’re preparing for a festive holiday baking spree or simply want to elevate your everyday desserts, this comprehensive guide will ensure your whipped cream stands the test of time and impresses everyone who takes a bite.
Essential Ingredients for Flawless Stabilized Whipped Cream
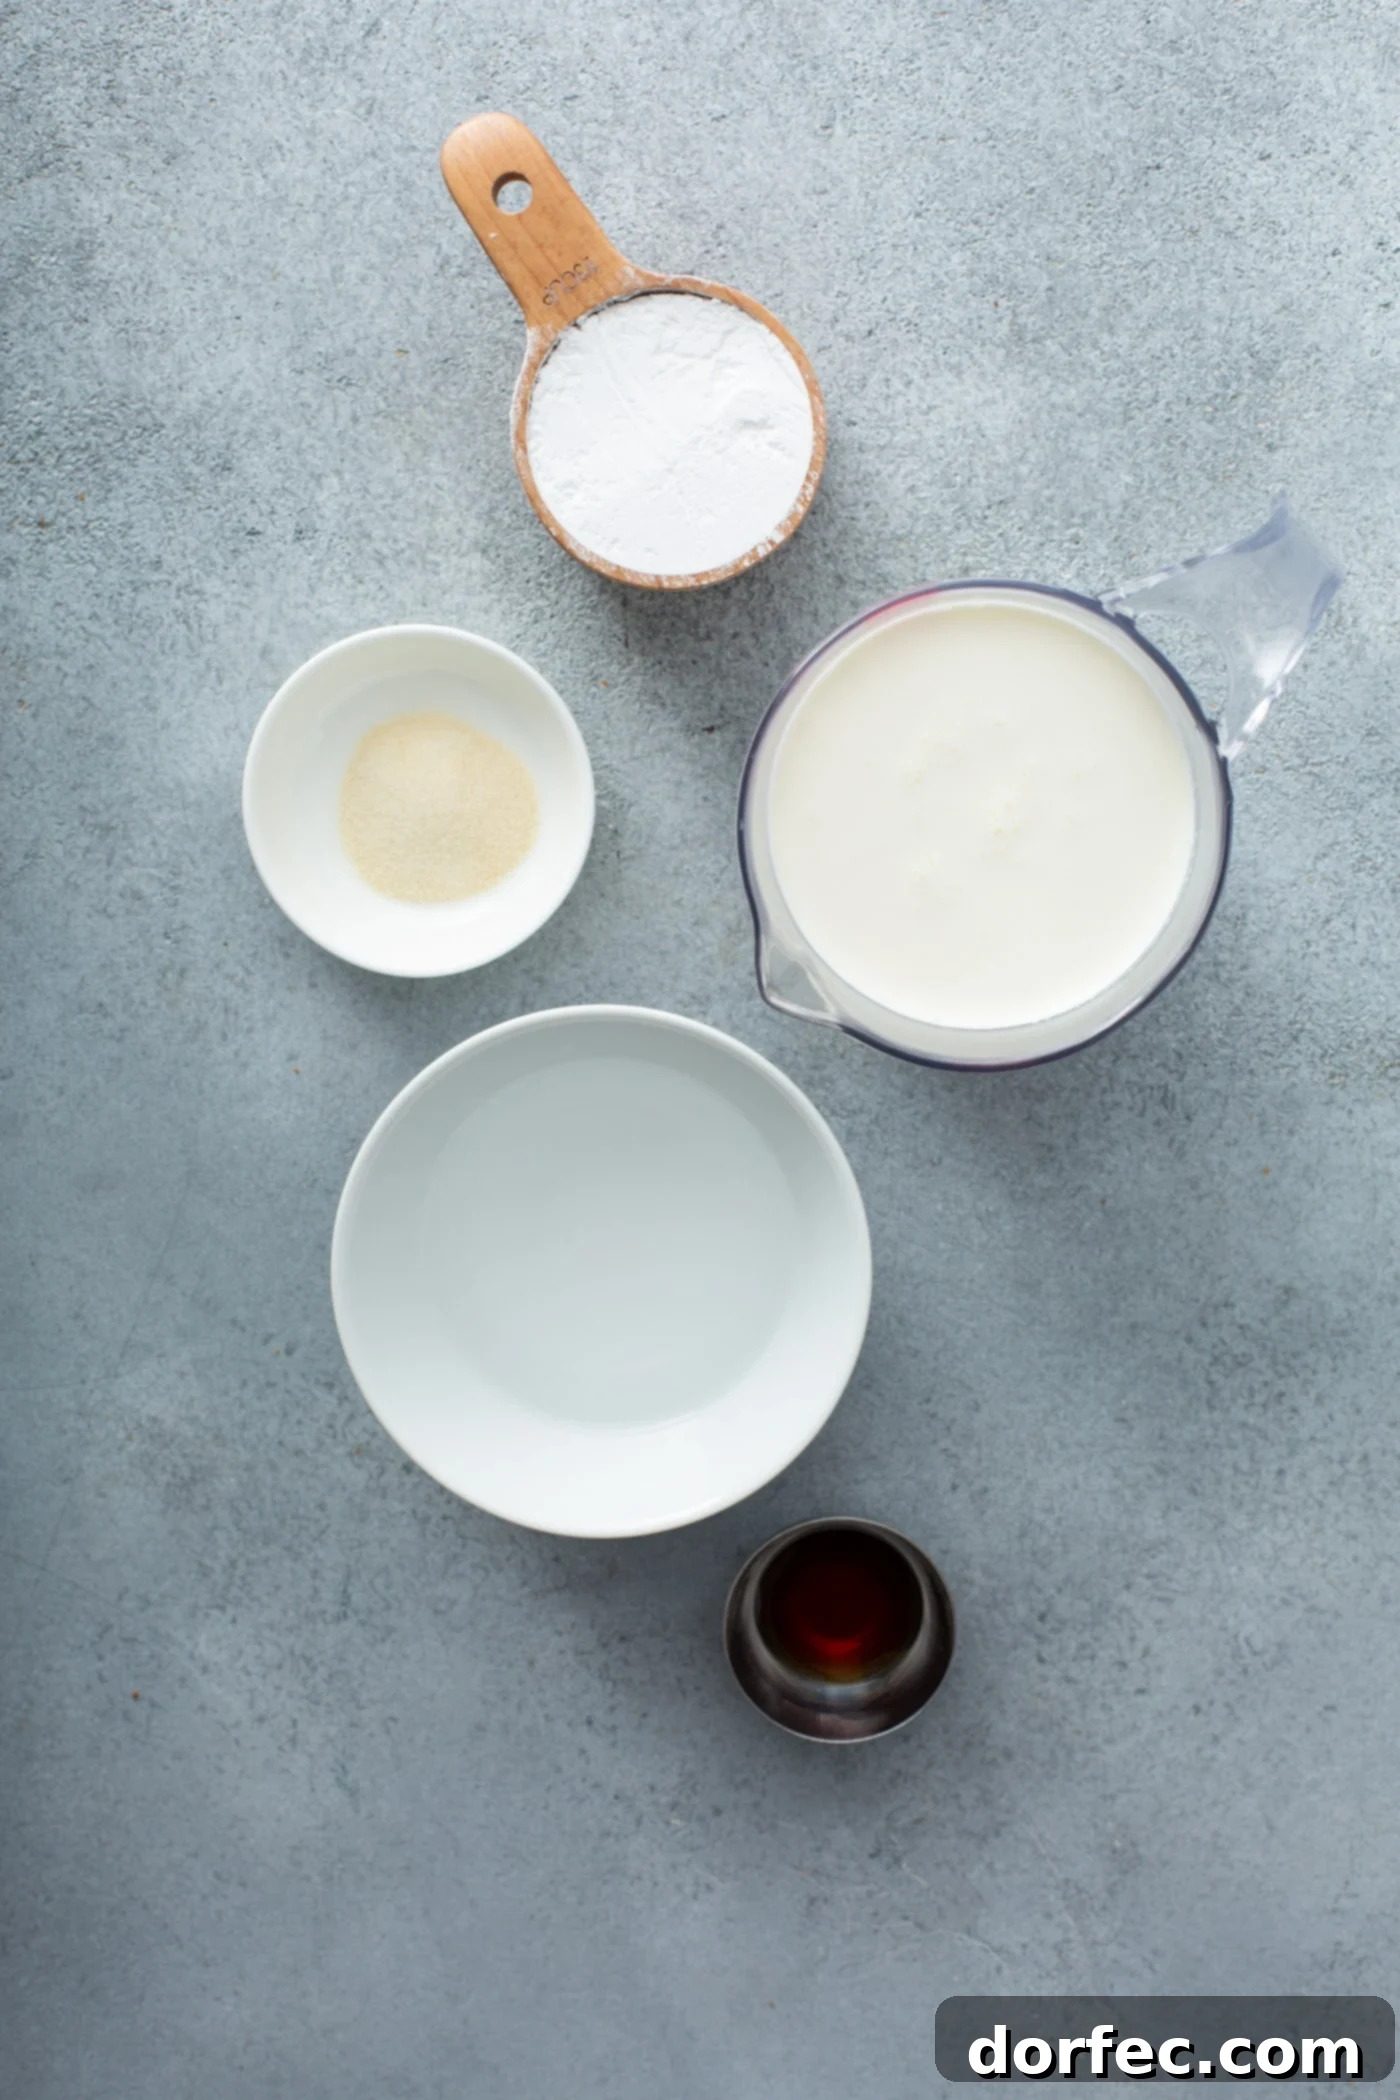
Crafting exceptional stabilized whipped cream requires just a handful of common pantry staples. The quality of your ingredients can make a noticeable difference in the final product’s taste and texture, so always opt for the freshest and best you can find. Here’s what you’ll need for this simple yet transformative recipe:
- Cold Heavy Whipping Cream: This is the star of our show. Look for heavy cream with a fat content of 36% or higher. The colder it is, the quicker and more effectively it will whip, yielding a greater volume and stable structure.
- Unflavored Gelatin: The unsung hero! This is what gives our whipped cream its lasting power. It’s typically found in the baking aisle, often near the Jell-O products. Ensure it is *unflavored* to avoid any taste interference.
- Powdered Sugar (Confectioner’s Sugar): Unlike granulated sugar, powdered sugar contains a small amount of cornstarch, which also contributes to the stability and helps prevent the cream from weeping. Its fine texture dissolves smoothly, ensuring a silky finish without graininess.
- Vanilla Extract: A touch of pure vanilla extract enhances the flavor profile, adding warmth and sweetness. Opt for high-quality extract for the best taste.
- Water: Essential for blooming and dissolving the gelatin.
These five simple ingredients combine to create a topping that is not only delicious but also remarkably resilient. You’ll be amazed at how such minimal additions can make such a significant difference in the longevity and structural integrity of your whipped cream!
Step-by-Step Guide: Crafting Your Perfect Stabilized Whipped Cream
Making stabilized whipped cream is a straightforward process that involves just a few key steps. Follow these instructions carefully to achieve light, fluffy, and perfectly stable results:
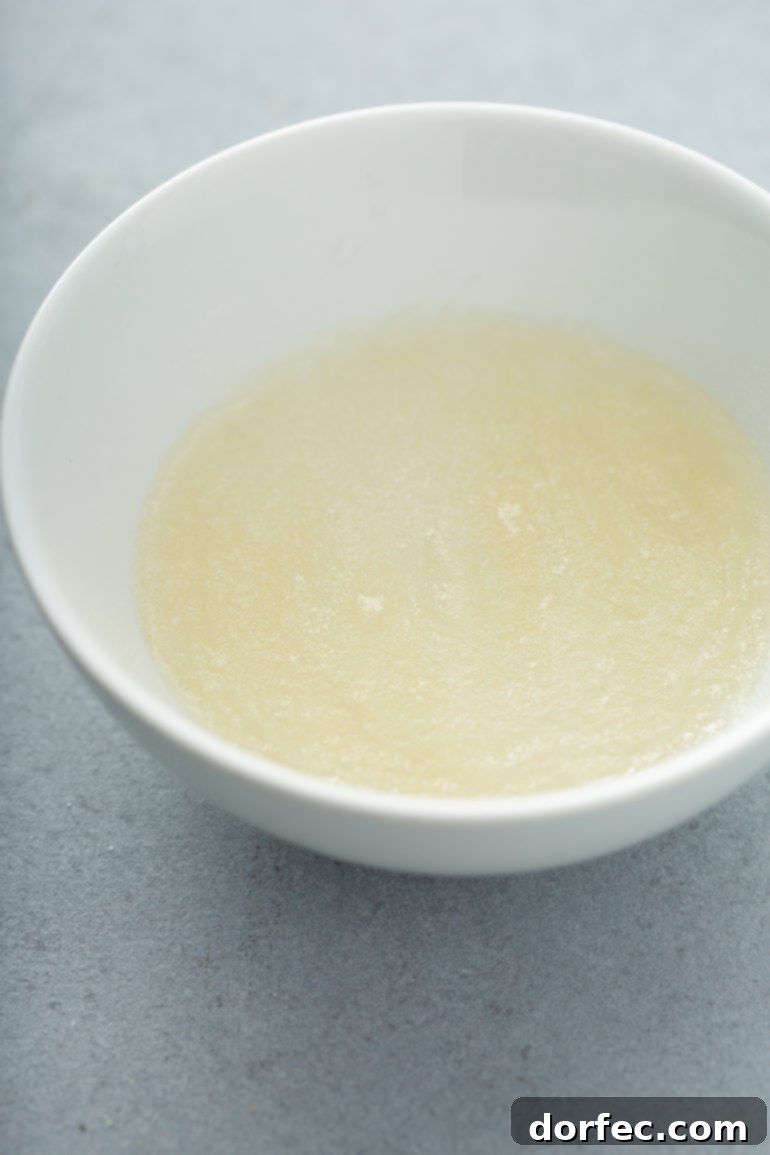
- Bloom the Gelatin: Begin by adding cold water to a small, microwave-safe bowl. Evenly sprinkle the unflavored gelatin powder over the surface of the water. Do not stir it in immediately. Allow the gelatin to sit undisturbed for about 3-5 minutes, or according to package directions, until it “blooms.” This means the gelatin granules will absorb the water and swell, creating a thick, gel-like paste. This blooming step is crucial for smooth dissolution later.
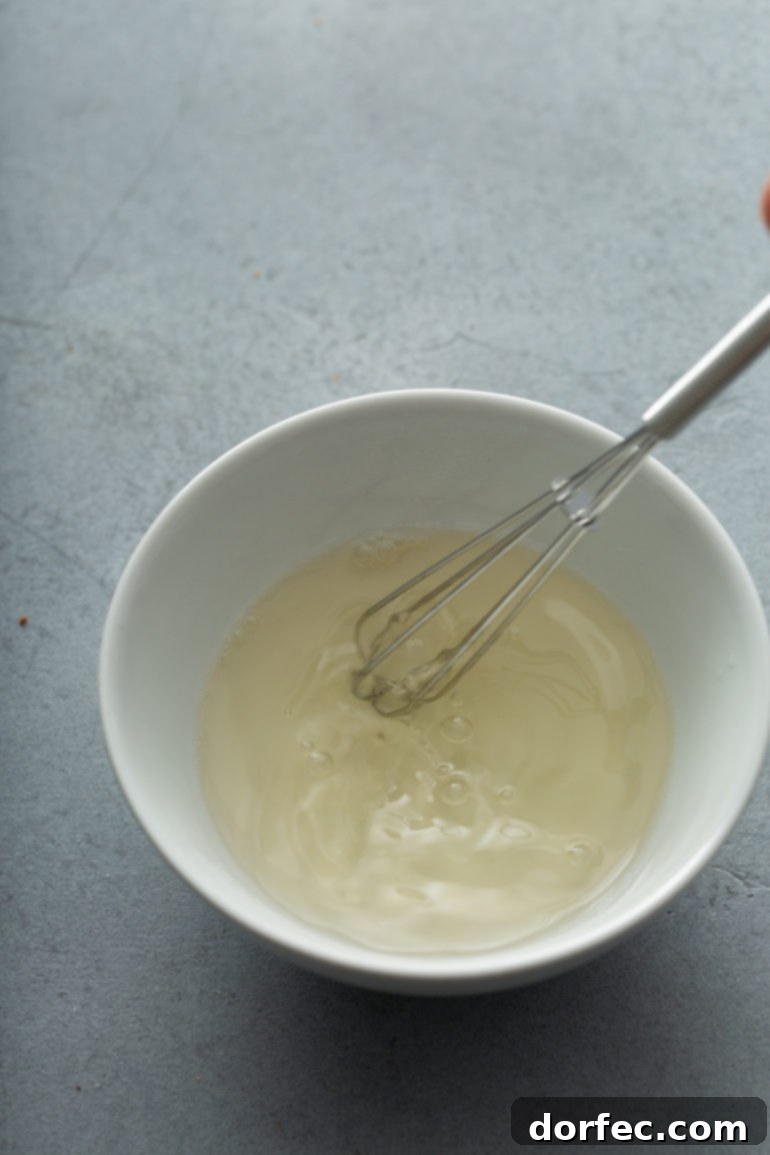
- Dissolve the Gelatin: Gently transfer the bloomed gelatin mixture to the microwave. Heat it for a very short duration, typically 5-7 seconds, until the gelatin is fully dissolved. It should be clear and liquid, without any visible granules. Alternatively, you can dissolve the gelatin over a stovetop in a small saucepan over low heat, stirring constantly until clear. Be careful not to boil the mixture. Once dissolved, remove it from the heat and set it aside to cool slightly. It should be warm to the touch, but not hot – aiming for roughly room temperature to lukewarm. If it’s too hot, it will melt the fat in the cream, and if too cold, it will solidify and create lumps.
- Whip the Cream to Soft Peaks: In the clean, chilled bowl of a stand mixer fitted with the whisk attachment (or using an electric hand mixer), combine the cold heavy whipping cream, powdered sugar, and vanilla extract. Begin whipping on medium-high speed. Continue to beat until the mixture starts to thicken and soft peaks form. Soft peaks are achieved when you lift the whisk, and the cream holds its shape for a couple of seconds before gently flopping over.
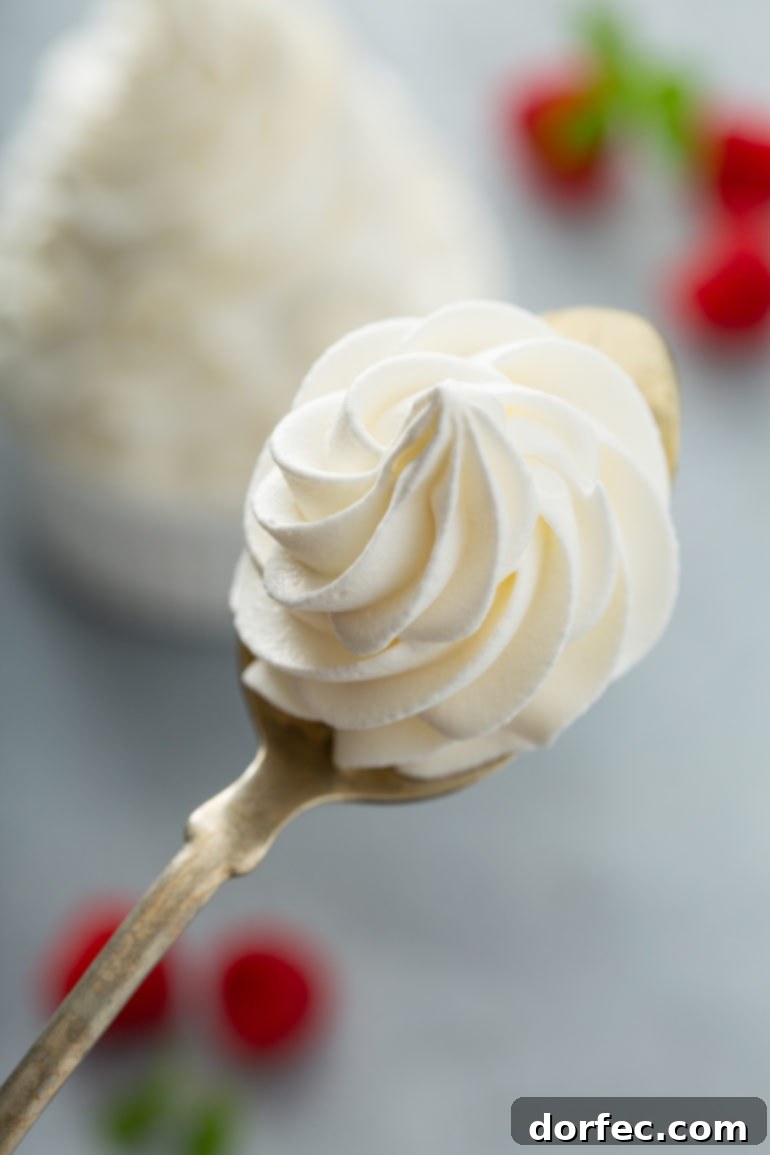
- Incorporate the Gelatin and Achieve Stiff Peaks: With the mixer running on low speed, slowly and steadily pour the cooled, dissolved gelatin mixture into the whipping cream. Once the gelatin is fully incorporated, increase the mixer speed to medium-high and continue whipping until stiff peaks form. Stiff peaks are characterized by the cream holding its shape firmly when the whisk is lifted, with no drooping. Be careful not to over-whip, as this can lead to a grainy texture.
- Pipe and Chill: Once your stabilized whipped cream reaches stiff peaks, it’s ready to use! Transfer it to a piping bag fitted with your favorite decorative tip, or simply use a spoon or offset spatula to spread it onto your chosen dessert. For best results, refrigerate your dessert immediately until you are ready to serve. This allows the gelatin to fully set and solidify the whipped cream’s structure, ensuring it remains perfect for hours, even at room temperature (for short periods).
Following these steps ensures a consistently beautiful and delicious whipped topping that will hold its elegant form and delight everyone who enjoys your culinary creations.
Expert Tips for the Best Stabilized Whipped Cream
Achieving consistently perfect stabilized whipped cream is easier with a few insider tips. Keep these pointers in mind for a truly flawless outcome:
- Chill Your Equipment: For maximum volume and quickest whipping, place your mixing bowl (especially if it’s metal or glass) and whisk attachment in the refrigerator or freezer for about 10-15 minutes before you start. Cold equipment helps keep the cream cold, which is essential for proper aeration and stability.
- The Importance of Gelatin Temperature: This is a critical step! After dissolving the gelatin, allow it to cool to lukewarm or room temperature. If the gelatin is too hot, it will melt the fat in the cold cream, preventing it from whipping properly and potentially creating a runny mess. If it’s too cold, it will seize and form tiny lumps in your whipped cream. Aim for a temperature that’s just warm enough to remain liquid.
- Using the Right Mixer: A stand mixer fitted with a whisk attachment is ideal for convenience and consistent results, allowing you to gradually add the gelatin while the machine runs. However, an electric hand mixer will also work wonderfully, just be mindful of steady pouring while continuing to beat.
- Gelatin Over Other Stabilizers: While there are various methods to stabilize whipped cream (such as cornstarch, instant pudding mix, or powdered milk), gelatin remains our top choice. It provides superior stability without altering the flavor or texture, resulting in a smooth, light, and truly professional finish. Other stabilizers can sometimes leave a slight grittiness or artificial taste.
- Watch for Over-whipping: Be attentive during the final whipping stage after adding the gelatin. Whipped cream can go from perfectly stiff peaks to over-whipped (and grainy, eventually turning into butter) very quickly. Stop the mixer as soon as stiff peaks are achieved.
- Yield Prediction: A good rule of thumb is that 1 cup of heavy cream will typically yield approximately 2 cups of stabilized whipped cream, offering plenty for your favorite desserts.
By incorporating these expert tips, you’ll confidently create the most stable, fluffy, and delicious whipped cream every time, ensuring your desserts not only taste incredible but look professionally crafted too!
Troubleshooting Common Stabilized Whipped Cream Issues
Even with careful preparation, sometimes things don’t go exactly as planned. Here are some common problems you might encounter and how to fix them:
Why isn’t the Gelatin Incorporating Smoothly?
This is often the trickiest part and typically boils down to temperature. If the dissolved gelatin is either too cold (starting to solidify) or too hot (melting the cream), it won’t mix in properly, resulting in lumps or a runny consistency. To prevent this, ensure the gelatin cools to lukewarm before adding it. A useful technique is to temper it: take a small spoonful of whipped cream and stir it into the cooled gelatin mixture before pouring the gelatin into the larger batch of cream. This helps equalize temperatures and ensures smoother incorporation. Also, make sure the gelatin is fully dissolved and not gritty before you even cool it down.
Why is my Whipped Cream Not Thickening?
Several factors can prevent your cream from reaching stiff peaks:
- Warm Cream: Heavy cream must be very cold to whip properly. If it warms up too much during the process, it won’t aerate effectively. Keep everything chilled!
- Low Fat Content: Ensure you are using “heavy whipping cream” or “heavy cream” with at least 36% milk fat. Lighter creams won’t whip to the desired consistency.
- Over-hydration of Gelatin: Using too much water for the gelatin can dilute its stabilizing power, or too little water can make it too stiff. Stick to the precise measurements.
- Gelatin Not Fully Dissolved: If the gelatin isn’t completely dissolved, it won’t contribute its full stabilizing effect, leading to a weaker cream structure.
Why is my Whipped Cream Grainy?
Graininess usually indicates that the cream has been over-whipped. Once stiff peaks form, stop immediately. If you continue beating, the fat globules in the cream will separate, leading to a curdled, grainy texture, and eventually, butter. Unfortunately, once cream is over-whipped to this stage, it’s very difficult to salvage, so it’s better to start fresh.
Don’t get discouraged if your first attempt isn’t perfect. With a little practice and attention to these details, you’ll soon be whipping up perfect stabilized cream every time!
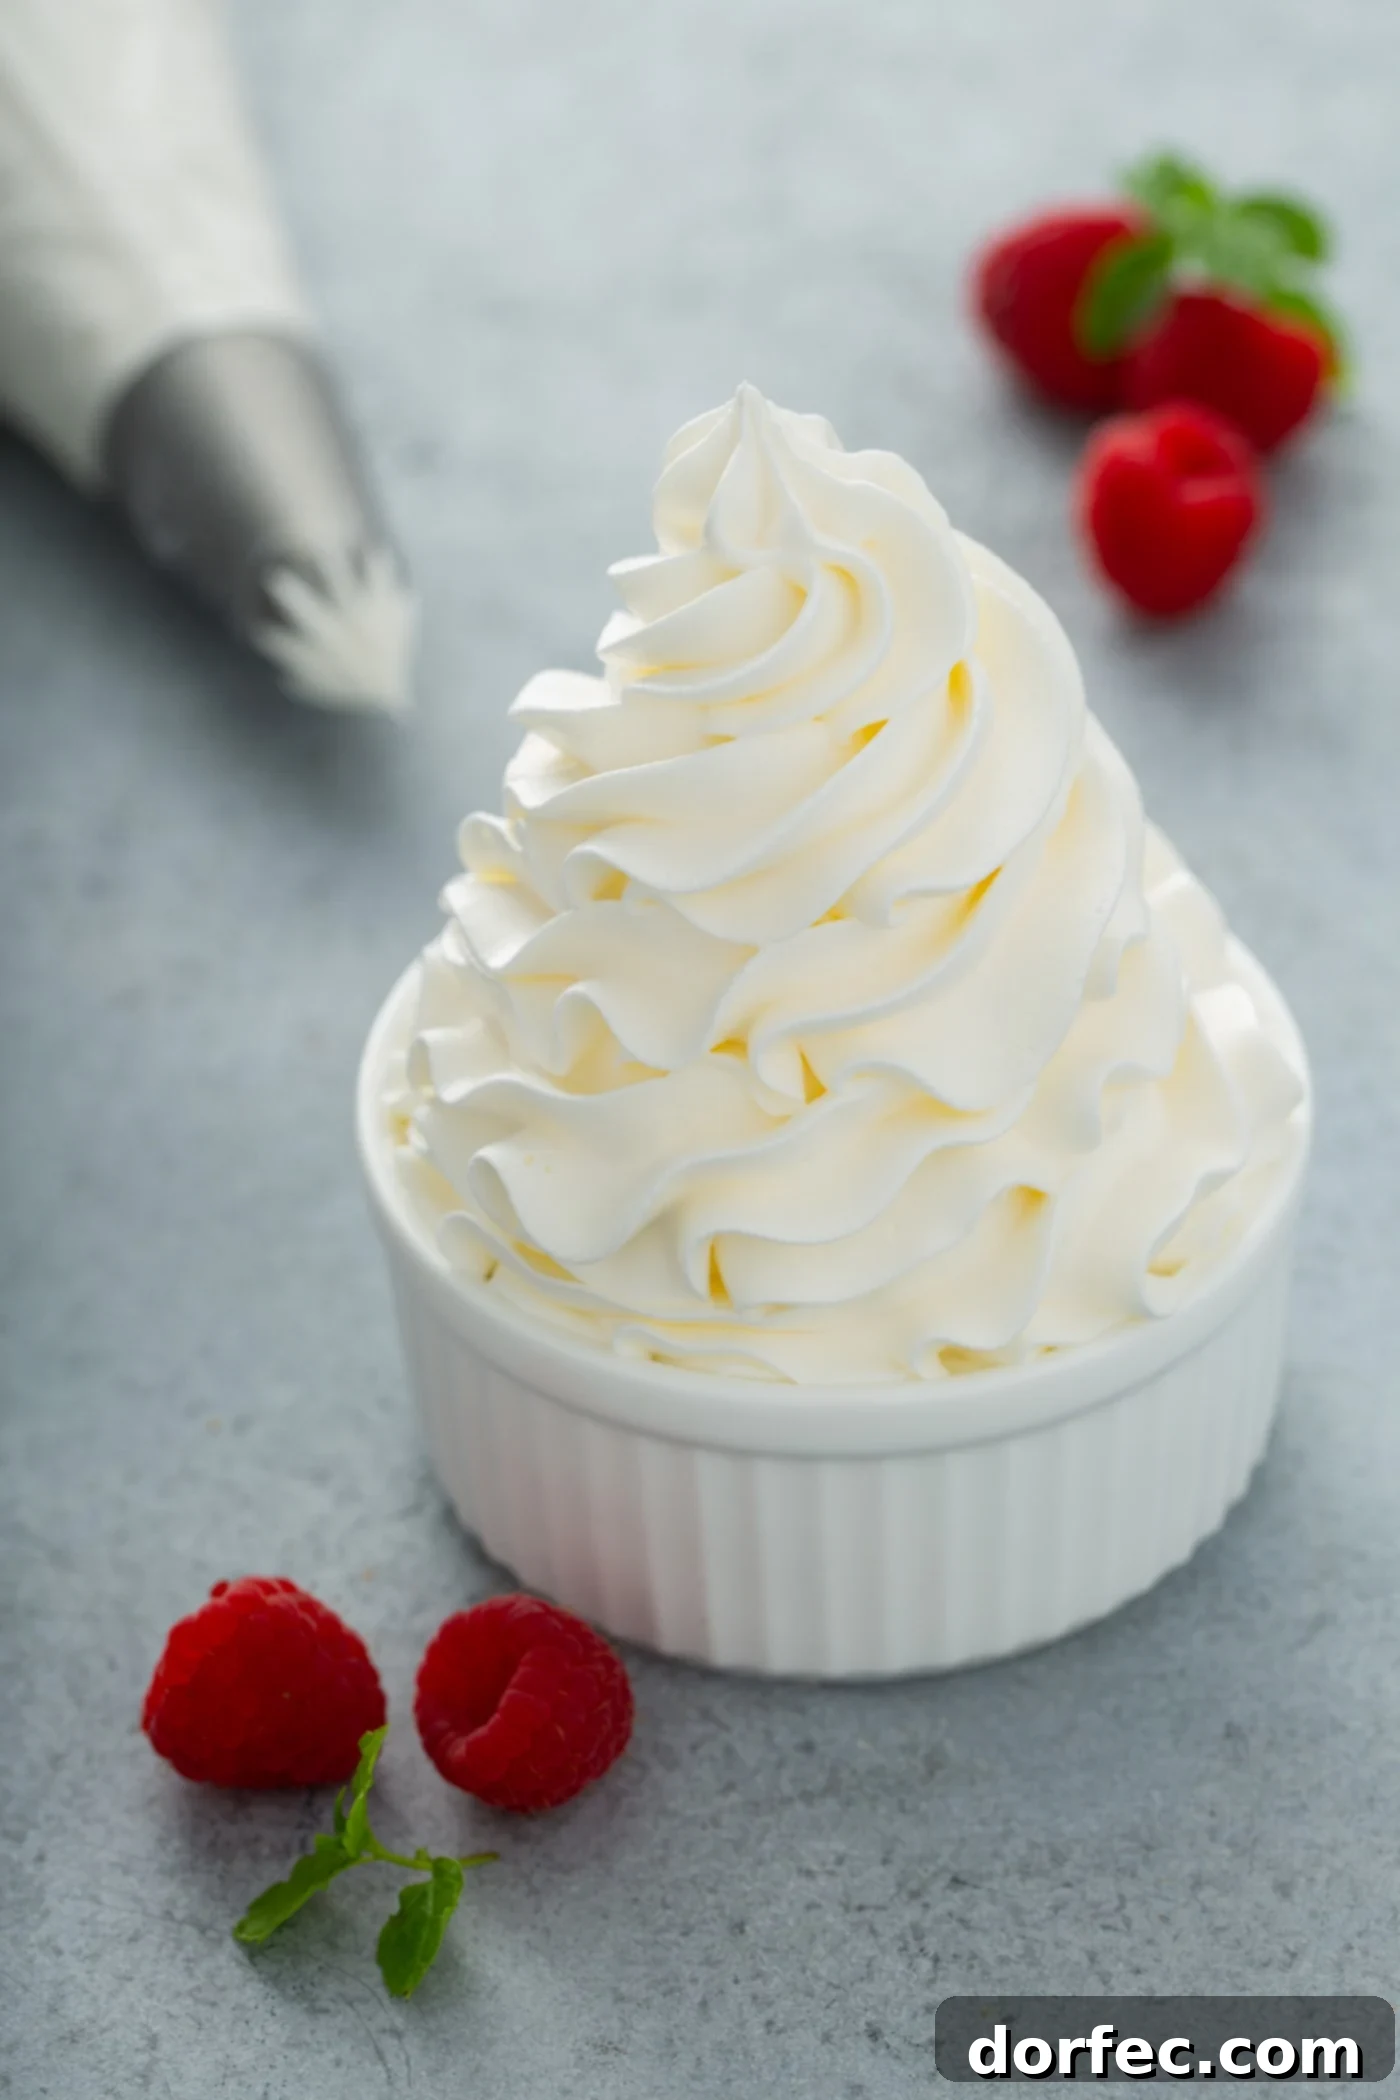
Delightful Ways to Utilize Stabilized Whipped Cream
With its impressive ability to hold shape and resist melting, stabilized whipped cream is a superior choice for an endless variety of desserts and confections. Its versatility truly shines, making it an indispensable tool in any baker’s arsenal. Here are just a few inspiring ways to incorporate this fluffy, no-fail topping into your culinary repertoire, especially as the holidays approach!
Perfect for Holiday Pies
The holiday season calls for pies, and what’s a pie without a generous dollop of cream? Stabilized whipped cream is ideal for adorning your favorite Thanksgiving and Christmas pies. Imagine beautifully piped swirls gracing classic pecan pie, rich pumpkin pie, decadent French silk pie, easy no-bake Oreo pie, or a vibrant fresh strawberry pie. Its stability means you can prepare your pies in advance, and the topping will still look fresh and inviting when it’s time to serve.
Elevate Your Cheesecakes and Bars
Cheesecakes, with their creamy, dense texture, are a natural partner for light and airy whipped cream. A swirl of stabilized whipped cream adds an elegant touch and a delightful textural contrast to any cheesecake, from classic New York style to inventive flavors. Don’t forget cheesecake bars either! Try it on our delightful gingersnap pumpkin cheesecake bars for a festive treat, or add a cloud-like topping to refreshing lemon blueberry cheesecake squares.
A Lighter Alternative for Cakes and Cupcakes
For those who prefer a less sweet and richer alternative to traditional buttercream, stabilized whipped cream makes an exquisite frosting for cakes and cupcakes. It’s light, pipeable, and holds intricate designs beautifully. Use it as a simple, elegant frosting for a comforting pumpkin pie cake or to add a delicate finish to one of our fruity Jello cakes. It’s especially wonderful for summer desserts where a heavy frosting might be too much.
Beyond Desserts: Hot Beverages and More!
And let’s not forget the cozy comforts! A generous dollop of stabilized whipped cream is the perfect crowning glory for a steaming mug of homemade hot chocolate throughout the chilly winter months. Its ability to hold its shape means it won’t quickly melt into your drink, allowing you to savor every sip. You can also use it to top fruit salads, trifles, or even breakfast items like pancakes and waffles for an extra special touch.
With stabilized whipped cream, your creativity is the only limit. Prepare to impress with desserts that look as good on the last slice as they did on the first!
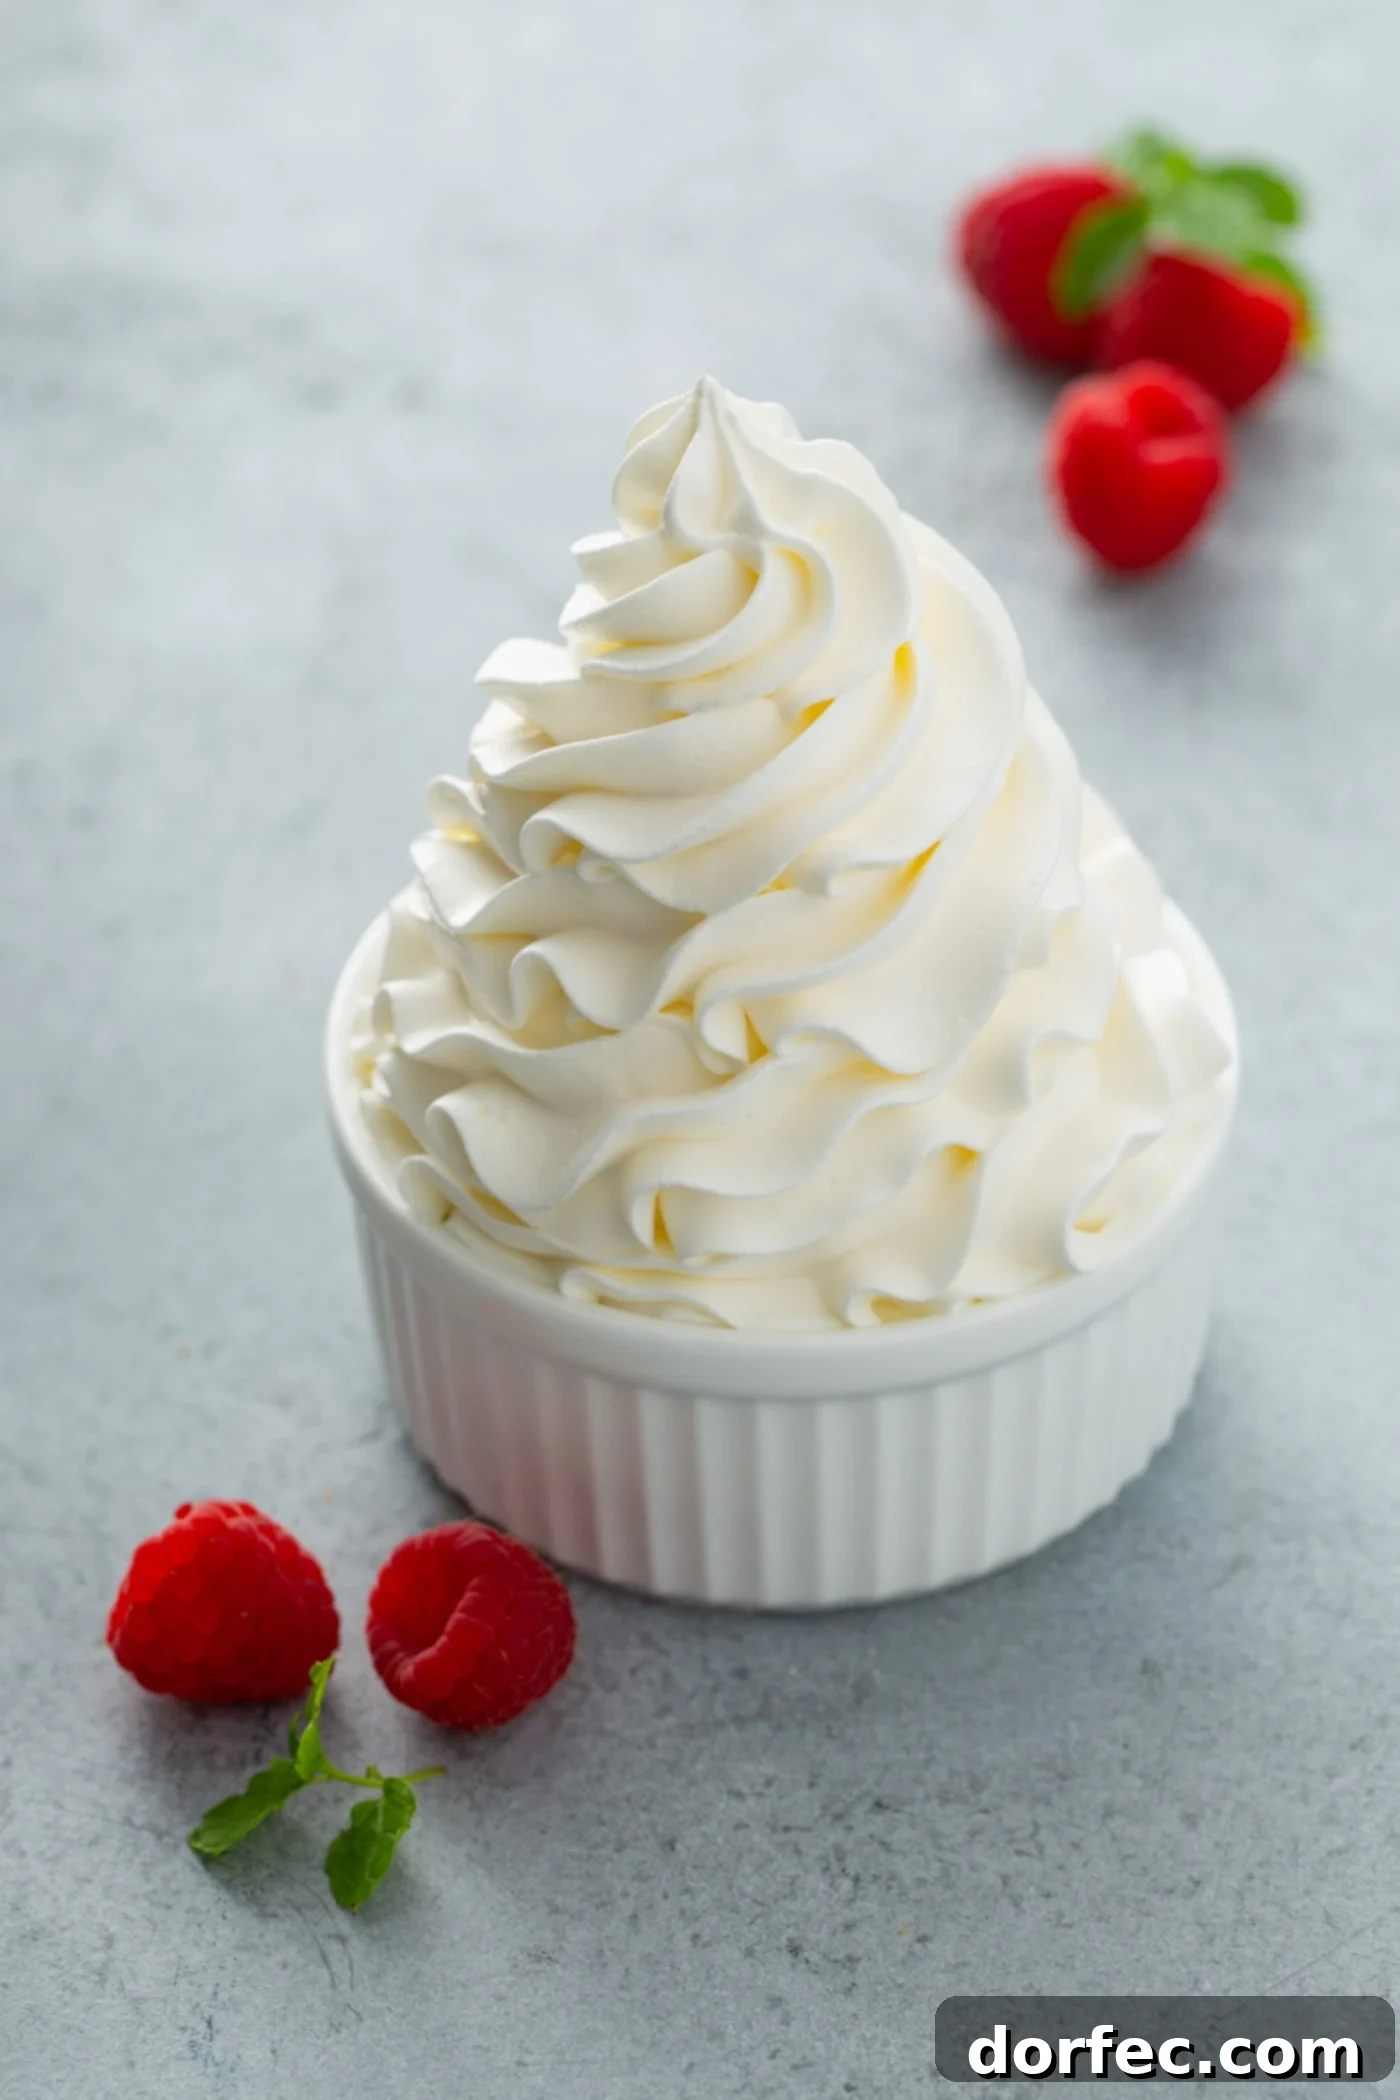
Storage and Make-Ahead FAQs for Stabilized Whipped Cream
One of the greatest advantages of stabilized whipped cream is its impressive shelf life compared to traditional whipped cream. This makes it an excellent choice for planning ahead for parties, holidays, or simply enjoying your desserts over several days. Here are some common questions regarding its storage:
How Long Will Stabilized Cream Keep at Room Temperature?
While stabilized whipped cream is significantly more resilient than regular whipped cream, it still contains dairy and should not be left at room temperature for extended periods. For food safety, it’s best to limit its exposure to no more than one hour, especially in warm environments. For optimal freshness and appearance, always keep refrigerated until just before serving.
How Long Will Whipped Cream Keep in the Refrigerator?
When stored properly in an airtight container, stabilized whipped cream will maintain its fluffy texture and firm shape for a solid 2-3 days in the refrigerator. This allows for excellent make-ahead potential, freeing up precious time on busy days or when entertaining guests. Always cover your desserts or the whipped cream itself to prevent it from absorbing refrigerator odors or drying out.
Can Stabilized Cream Be Frozen?
Yes, stabilized whipped cream freezes and thaws exceptionally well, making it a fantastic option for longer-term storage. However, for the best results, it’s generally recommended to pipe or spread the whipped cream onto your dessert *before* freezing, rather than freezing it in a bulk container and attempting to pipe it later. Once piped onto your dessert, place the item in the freezer until the whipped cream is solid. Then, carefully wrap it tightly in plastic wrap, followed by a layer of aluminum foil, to prevent freezer burn. It will keep beautifully for up to 3 months. When ready to enjoy, simply thaw in the refrigerator for a few hours, and it will be ready to serve with its shape and texture largely intact.
These storage advantages make stabilized whipped cream a highly practical and convenient choice for any dessert enthusiast!
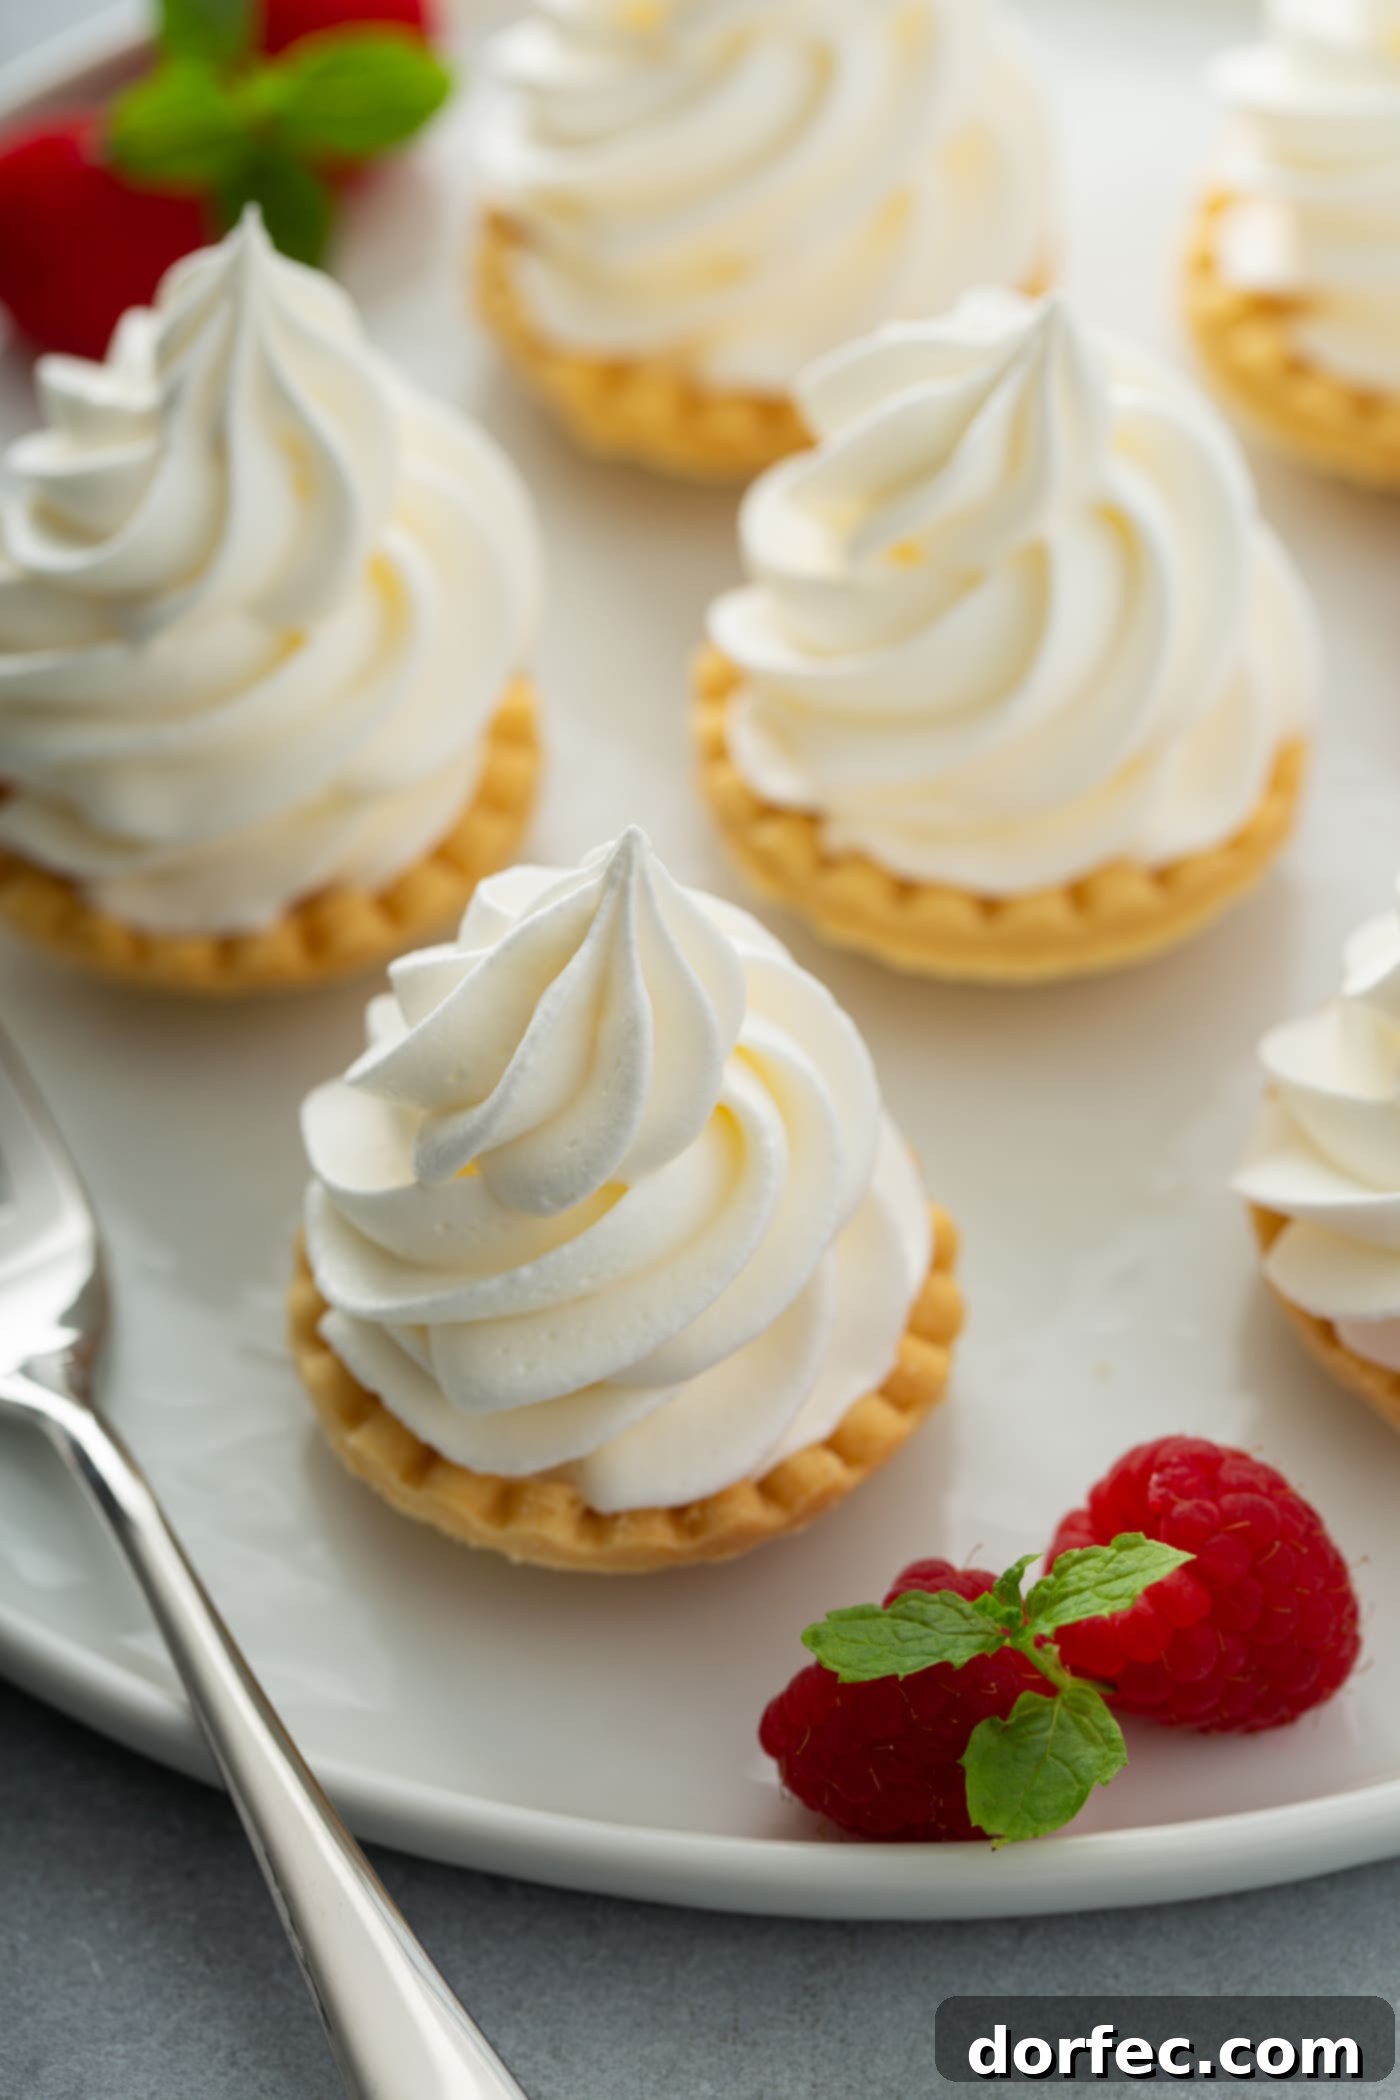
Exploring More About Stabilized Whipped Cream
Let’s address a few more common questions that often arise when discussing stabilized whipped cream:
Is Stabilized Whipped Cream the Same as Cool Whip?
While stabilized whipped cream shares a similar texture and remarkable stability with store-bought toppings like Cool Whip, they are fundamentally different. Stabilized whipped cream is a homemade product, allowing you complete control over the ingredients, sweetness level, and quality of flavor. It uses real dairy cream and natural stabilizers like gelatin. Cool Whip, on the other hand, is a whipped topping made from a blend of water, corn syrup, vegetable oil, and various artificial flavors and stabilizers, often containing little to no actual cream. The main advantage of stabilized whipped cream is its fresh, authentic dairy taste and the absence of artificial additives. In most recipes, however, you can confidently substitute homemade stabilized whipped cream for Cool Whip, resulting in a fresher and more delicious outcome.
Can You Add Color to Stabilized Cream?
Absolutely! Adding food coloring to your stabilized whipped cream is a fantastic way to customize your desserts for various themes, holidays, or special occasions. Simply add a few drops of gel food dye during the final stages of whipping, once the gelatin has been incorporated and the cream is thickening. Continue to whip until the desired color is achieved and stiff peaks form. Gel food coloring works best as it is highly concentrated and won’t thin out the cream like liquid dyes might. Imagine vibrant blues for baby showers, festive reds and greens for Christmas, or pastel shades for Easter cupcakes! It looks incredibly pretty and adds an extra layer of visual appeal to your treats.
There you have it! The definitive guide to making **perfectly stabilized whipped cream** that will revolutionize your baking. No more worries about sad, deflated toppings. With this easy recipe and these invaluable tips, you’re now equipped to create stunning, long-lasting whipped cream for all your culinary masterpieces. Go ahead, give it a try – you’re going to love the results!
Recipes That Should Be Topped With Stabilized Whipped Cream:
- Fresh Strawberry Pie
- Pecan Pie
- Lemon Jello Cake
- Lime Cheesecake
- Pumpkin Pie
- Lemon Mandarin Orange Jello Salad
- Banana Pudding
- Discover all our delicious DESSERT RECIPES here!
Stabilized Whipped Cream Recipe
This easy recipe for stabilized whipped cream yields a fluffy, pipeable topping that holds its shape for days, perfect for all your favorite desserts.
Ingredients
- 4 teaspoons cold Water
- 1 teaspoon unflavored Gelatin
- 1 Cup cold Heavy Whipping Cream
- 1/3 Cup Powdered Sugar (confectioner’s sugar)
- 1/2 teaspoon Vanilla Extract
Instructions
- Add water to a microwave-safe bowl and sprinkle the unflavored gelatin evenly over the top. Allow to sit for a few minutes until it blooms.
- Transfer the gelatin mixture to the microwave and heat for 5-7 seconds until the gelatin is fully dissolved. Stir the mixture, then set aside to cool to lukewarm. (This can also be done on the stove top in a sauce pan over low heat.)
- In the chilled bowl of a stand mixer fitted with the whisk attachment, combine the heavy whipping cream, powdered sugar, and vanilla extract. Whip on medium-high speed until the mixture starts to thicken and soft peaks form.
- Turn the mixer to low speed and slowly pour in the cooled gelatin mixture until well combined. Increase the mixer to medium speed and continue mixing until stiff peaks form. Be careful not to over-whip.
- Place the whipped cream into a piping bag with your favorite tip. Pipe onto your dessert and refrigerate until ready to serve.
Recipe Notes
- Ensure gelatin is fully dissolved and cooled to lukewarm before adding to cream to prevent lumps.
- Whipped cream will keep for 2-3 days in an airtight container in the refrigerator.
Nutrition (Approximate per serving)
Serving: 0.25 cup, Calories: 124kcal, Carbohydrates: 6g, Protein: 1g, Fat: 11g, Saturated Fat: 7g, Cholesterol: 41mg, Sodium: 13mg, Potassium: 22mg, Sugar: 5g, Vitamin A: 437IU, Vitamin C: 1mg, Calcium: 19mg
Nutrition information is automatically calculated and should only be used as an approximation.
REMEMBER TO SUBSCRIBE TO our FREE Oh Sweet Basil NEWSLETTER AND RECEIVE EASY RECIPES DELIVERED INTO YOUR INBOX EVERY DAY!
When you try a recipe, please use the hashtag #ohsweetbasil on INSTAGRAM for a chance to be featured in our stories! FOLLOW OH, SWEET BASIL ON FACEBOOK | INSTAGRAM | PINTEREST | TWITTER FOR ALL OF OUR LATEST CONTENT, RECIPES AND STORIES.