
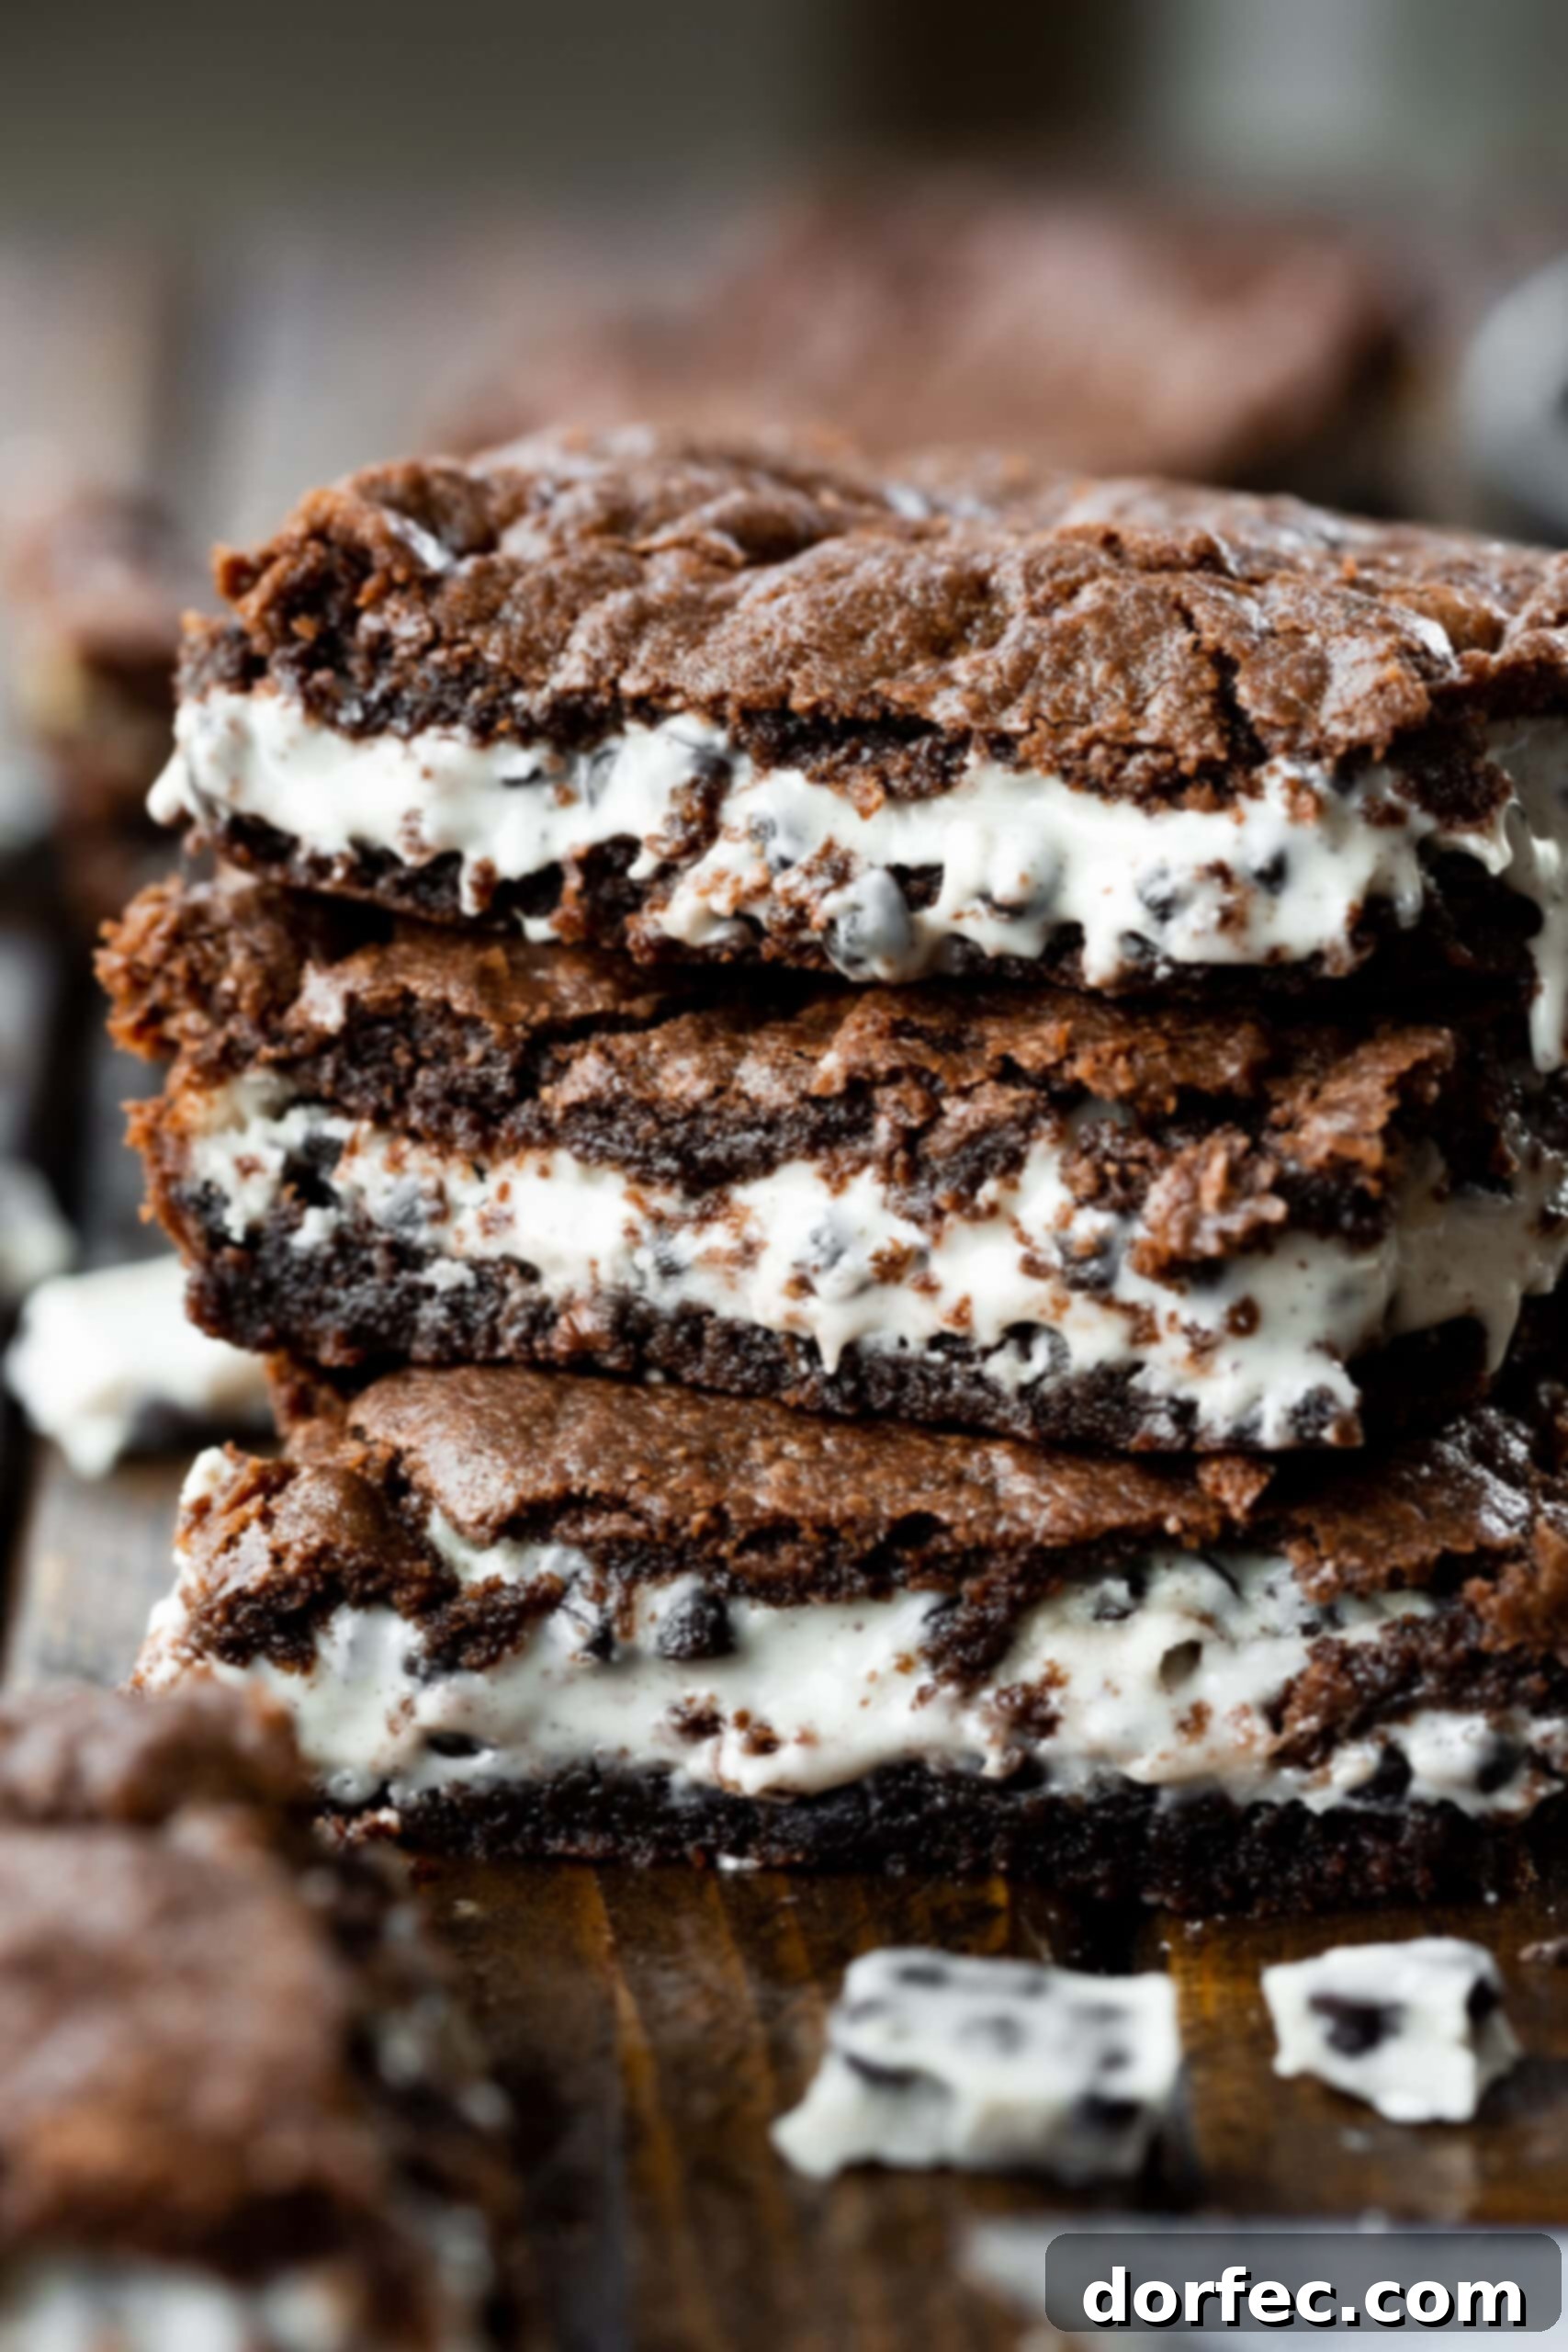
Irresistibly Fudgy Cookies and Cream Brownies: Your New Go-To 4-Ingredient Recipe
Prepare for an extraordinary dessert experience with these incredibly simple yet utterly decadent cookies and cream brownies. Boasting a rich, fudgy texture and a luscious, creamy center, this recipe is a true game-changer, requiring just 4 essential ingredients! You’ll be amazed at how effortlessly these brownies come together, delivering a gourmet taste that belies their minimal effort.
At our home, these cookies & cream brownies, featuring the iconic Hershey’s Cookies ‘N’ Creme candy bars, have become an instant legend. The sheer delight they bring to every bite has solidified their place as a permanent staple in our pantry. We now keep a generous supply of these delightful candy bars alongside our chocolate chips, ensuring that this beloved treat is always within reach. They are, without a doubt, a forever favorite.
The brownies themselves are a masterpiece of texture and flavor: perfectly fudgy, wonderfully gooey, intensely chocolatey, and utterly delicious. The secret to their incredible ease lies in using a simple chocolate cake mix as a base, transforming what could be a complex baking project into a joyful, straightforward process. You’ll adore the signature “crust” that forms on top, contrasting beautifully with the tender, melt-in-your-mouth gooeyness of the interior.
Honestly, even if this recipe yielded just a plain brownie, it would likely be hailed as our favorite. But it’s far from plain. The addition of that glorious cookies ‘n’ creme center elevates these treats to an entirely different level of amazing. It’s an explosion of sweet deliciousness that will have you reaching for just one more slice.
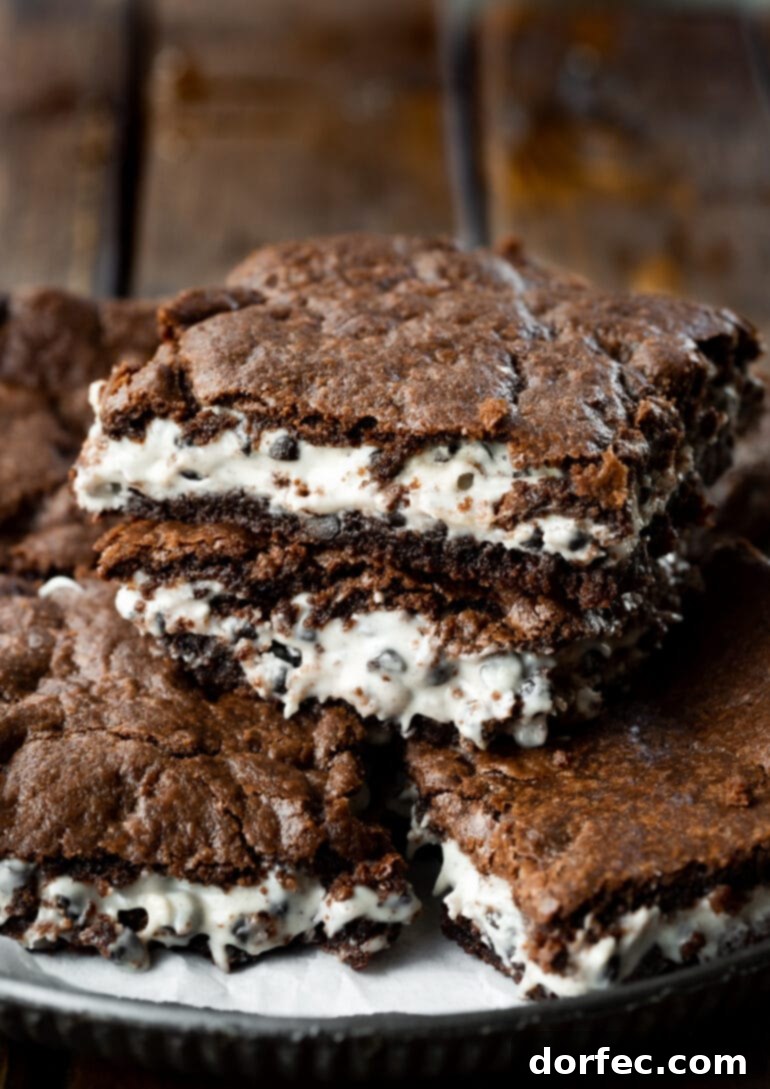
Why These Cookies and Cream Brownies Are an Absolute Must-Try
What makes these brownies so uniquely special? It’s the harmonious blend of textures and flavors that creates an unforgettable dessert. Imagine sinking your teeth into a rich, dense chocolate brownie that gives way to a smooth, creamy white chocolate filling, all topped with another layer of that irresistible brownie goodness. The crunch of the cookie bits within the Hershey’s bars adds a delightful textural contrast, preventing any bite from being monotonous.
This isn’t just a dessert; it’s an experience. The simplicity of the recipe means you can whip up a batch for an unexpected guest, a sudden craving, or a quick potluck contribution without breaking a sweat. Yet, their impressive flavor and appearance will leave everyone convinced you spent hours in the kitchen. They are truly the best of both worlds: incredibly easy to make and astonishingly delicious to eat.
The Magic of Just 4 Ingredients for Ultimate Indulgence
The concept of a truly gourmet dessert made with only four ingredients might sound like a myth, but these 4-ingredient cookies and cream brownies prove it’s a delicious reality. This minimalist approach streamlines your baking process, saving you time and effort without compromising on the luxurious taste and texture you expect from a premium brownie. Forget long ingredient lists and complicated steps; this recipe focuses on maximizing flavor with minimal fuss. Each ingredient plays a crucial role, working in synergy to create a dessert that is greater than the sum of its parts. It’s proof that sometimes, less truly is more, especially when it comes to satisfying your sweet tooth.
Essential Ingredients for Your Cookies & Cream Brownies
As mentioned, you only need four readily available ingredients to bring these delectable brownies to life. The key to their success lies in choosing the right type of each, especially when it comes to the fat component. Here’s a detailed look at what you’ll need:
- Chocolate Fudge Cake Mix: This forms the foundational layer of your brownies, providing that deep, rich chocolate flavor and a head start on texture. While many brands offer chocolate cake mixes, we find that the Betty Crocker brand consistently delivers the best results for fudginess and flavor in this particular recipe. Its specific blend contributes to the dense, moist texture we’re aiming for.
- Margarine (Melted and Cooled): This is perhaps the most critical ingredient choice. For optimal fudginess and the unique texture of these layered brownies, margarine is essential. Unlike butter, which has a higher water content and can lead to a more cake-like brownie, margarine’s composition—often with a higher fat content and different emulsifiers—helps create that wonderfully greasy, thick dough that bakes into an intensely fudgy brownie. Be sure to melt it and then allow it to cool slightly before mixing, as hot margarine can affect the dough’s consistency.
- Evaporated Milk: This isn’t just any milk; evaporated milk is a game-changer for enhancing the richness and fudginess of the brownie layers. Its concentrated nature and slightly caramelized flavor contribute to a deeper, more luxurious chocolate taste and an incredibly moist crumb. Do not substitute with regular milk, as it lacks the necessary richness and consistency.
- Hershey’s Cookies ‘N’ Creme Candy Bars: The star of the show, providing the signature creamy, crunchy center. You’ll need approximately 10 ounces in total. You can achieve this with a bag of smaller, individually wrapped candy bars (which are often easier to arrange) or by grabbing a few regular-sized bars and breaking them into pieces. The distinct white chocolate and cookie crumb combination from Hershey’s is what truly makes these “cookies and cream” brownies, offering a sweet contrast to the rich chocolate.
Specific measurements for all ingredients can be found in the comprehensive recipe card located at the conclusion of this post.
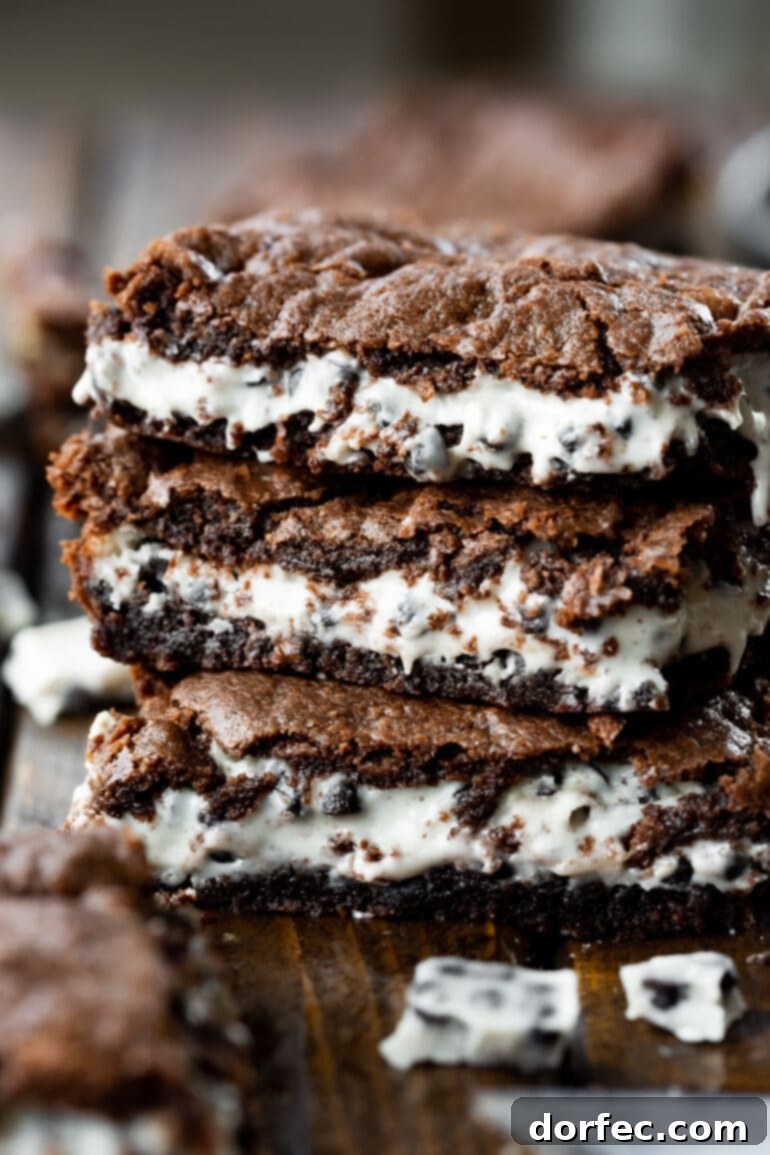
Crafting Your Delicious Layered Cookies & Cream Brownies: A Step-by-Step Guide
Making these layered brownies involves a slightly different approach than simply mixing everything and pouring it into a pan. The layering technique is what gives them their unique texture and presentation. Don’t worry, the steps are straightforward, and with a few key tips, you’ll master them in no time:
- Prepare Your Oven: Begin by preheating your oven to 350°F (175°C). This ensures the oven is at the correct temperature for even baking from the moment your pan goes in.
- Combine the Dough Ingredients: In a large mixing bowl, combine the chocolate fudge cake mix, the melted and cooled margarine, and the evaporated milk. Use a sturdy spoon or a stand mixer with a paddle attachment to mix these ingredients thoroughly until they are completely incorporated.
- PRO TIP: The resulting dough will be notably thick and quite greasy. This is exactly the consistency you want! It’s what contributes to the rich, fudgy texture of the finished brownies. If your margarine was too warm, the dough might be a little too soft; a quick chill in the fridge for 10-15 minutes can help firm it up.
- Form the Bottom Layer: Take approximately half of the prepared dough and press it firmly and evenly into the bottom of a greased 8×8 or 9×9 inch baking pan. Ensure the layer is consistent in thickness across the entire pan for even baking.
- Pre-Bake the Base: Place the pan in your preheated oven and bake for 6-7 minutes. This initial bake is crucial as it allows the bottom brownie layer to partially set and firm up, providing a stable foundation for the creamy candy bar layer. It won’t be fully cooked, but it should no longer be completely liquid.
- Add the Cookies ‘N’ Creme Layer: Carefully remove the partially baked brownie from the oven. Immediately, arrange the unwrapped Hershey’s Cookies ‘N’ Creme candy bars in a single, even layer over the warm brownie base. Ensure they are distributed well so every slice gets a taste of that creamy center.
- Create the Patchwork Top Layer: Now, for the unique “patchwork” technique for the remaining dough. This method helps to evenly cover the candy bars without disturbing them. You’ll need a couple of hints for this step to go smoothly:
- Cold Hands are Key: Run your hands under cold water and dry them thoroughly. Cold hands prevent the greasy dough from sticking excessively and melting from your body heat. Re-chill your hands as needed throughout this process.
- Flatten and Place: Scoop a generous spoonful of the remaining dough into one of your cold hands and gently press it out flat into a thin, disc-like shape.
- Careful Transfer: Lift one edge of the flattened dough from your hand and carefully tilt your hand, allowing the dough to peel off in a single sheet into your other hand. Gently place this sheet over the candy bars, covering a section.
- Repeat and Cover: Continue this “patchwork” process, repeating the flattening and placing steps until all the remaining dough is used, and the entire surface of the candy bars is covered. Don’t worry if it’s not perfectly smooth; a rustic, slightly uneven top adds to its charm. Remember to cool and dry your hands if the dough starts becoming too sticky or difficult to handle.
- Finish Baking: Return the pan to the oven and continue baking for another 15-18 minutes, or until the top layer is set and appears slightly crackled.
- Cool Before Slicing: This is arguably the hardest step – resist the urge to cut into them immediately! Allow the brownies to cool completely for at least an hour, or even longer, before slicing and serving. This cooling time is vital for the fudgy texture to fully develop and for the layers to set, ensuring clean, perfect squares.
For the most precise measurements and timings, please refer to the detailed recipe card at the end of this article.
Mastering the Art of Gooey Brownies: Knowing When They’re Perfectly Done
Determining when brownies are done can be a bit of an art, especially if you’re aiming for that perfect gooey texture. The classic toothpick test is often recommended: stick a toothpick into the center of the brownies around the suggested baking time. If it comes out clean, they’re typically done. If there are traces of wet batter, continue baking for a few more minutes and retest.
However, this recipe for cookies and cream brownies presents a unique challenge to the traditional toothpick test. Due to the melty Hershey’s Cookies ‘N’ Creme center, your toothpick will likely *never* come out completely clean, as it will pick up melted white chocolate and cookie bits. Therefore, relying solely on the toothpick test can lead to overbaked, dry brownies.
Instead, for these layered brownies, you’ll want to go by visual cues. Look for a top that has set and developed a beautiful, slightly crackled appearance. The edges should appear firm, but the very center should still feel slightly soft when gently pressed. If you’ve followed the suggested baking times, observed the crackled top, and the edges are firm, they should be perfectly ready for cooling. Trust your eyes and the recipe’s timing for that ideal fudgy result.
Achieving That Ultimate Fudgy Texture
The quest for truly fudgy brownies is a noble one, and it largely comes down to a few key factors beyond just the ingredients: precise baking time and adequate cooling. Overbaking is the arch-nemesis of fudgy brownies; even just three minutes too long can transform a gooey delight into a dry, cakey disappointment. Conversely, underbaked brownies can be unpleasantly gooey and unset.
To achieve that sublime fudginess, aim to pull your brownies from the oven when they are just set around the edges but still have a slight wobble in the very center. As they cool, the residual heat will continue to cook them gently, and the internal structure will firm up, resulting in that dense, rich, and wonderfully chewy texture. Allowing them to cool completely, preferably at room temperature, is crucial for locking in that fudginess and making them easier to cut into perfect squares. As you can see from the images, these brownies achieve a perfect melty, gooey consistency that you’ll absolutely adore!
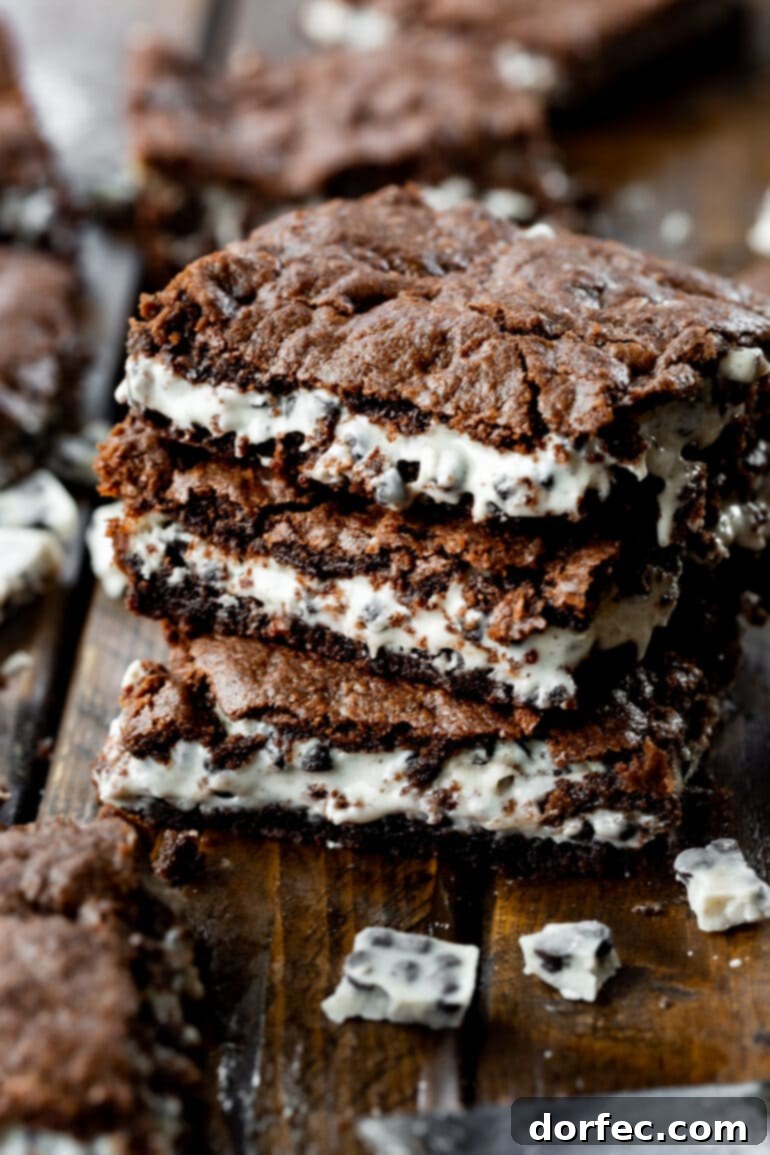
Can You Double This Recipe for a Larger Crowd?
Absolutely! This recipe is incredibly versatile and scales up beautifully. If you’re looking to feed a larger gathering or simply want more of these amazing brownies on hand, you can easily double all the ingredients. When doubling, bake the brownies in a larger 9×13 inch baking dish. The resulting brownies will be wonderfully thick and substantial, making them an even more impressive treat. They are guaranteed to be a total crowd-pleaser!
NOTE: If you prefer a slightly thinner brownie but still want to make a larger batch, you can opt to only double the Hershey’s Cookies ‘N’ Creme candy bars while keeping the other dough ingredient measurements the same. This will give you more of that creamy center without increasing the brownie thickness too much.
Storing Your Delicious Cookies and Cream Brownies
Once cooled, these brownies are best stored in an airtight container at room temperature for up to 3-4 days to maintain their optimal fudgy texture. For longer storage, or if you’ve made a large batch, these brownies freeze exceptionally well:
- To Freeze Brownies: Allow the brownies to cool completely before attempting to freeze them. For best results, it’s advisable not to cut them into individual servings before freezing. Wrap the entire slab of brownies tightly in several layers of plastic wrap, ensuring no air can get in. Then, wrap them again with a layer of aluminum foil for added protection against freezer burn. Properly wrapped, these brownies can be stored in the freezer for up to 3 months.
- To Serve from Frozen: When you’re ready to enjoy your frozen brownies, simply transfer the wrapped slab from the freezer to your countertop and let it thaw at room temperature. This typically takes a few hours. Once fully thawed, you can slice them into individual servings and enjoy their fresh-baked taste and texture.
These cookies and cream brownies effortlessly tick all the boxes for what a perfect brownie should be: wonderfully gooey, intensely fudgy, and richly chocolatey, with the added bonus of creamy indulgence from the Cookies ‘N’ Creme candy bars. You’re not just going to like them; you’re going to be utterly obsessed!
More Irresistible Brownie Recipes You’ll Love:
- Cream Cheese Brownies
- Caramel Brownies from Scratch
- Cosmic Brownies Copycat
- Peanut Butter Caramel Brownies
- Blackberry Cheesecake Brownies
- S’mores Brownies
- Mint Brownies
Cookies and Cream Brownies
By Sweet Basil
Cook: 25 mins
Total: 50 mins
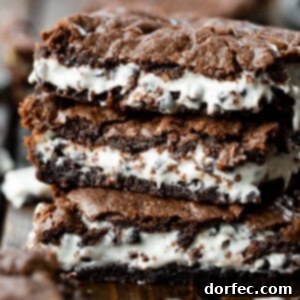
These cookies and cream brownies are so easy to make and it all starts with a chocolate cake mix and some Hershey’s candy bars.
Ingredients
Recipe By Me
- 1 Box Betty Crocker Chocolate Fudge Cake Mix, *See note
- 3/4 Cup Margarine, melted, and cooled
- 1/3 Cup Evaporated Milk
- 1 Bag Hershey’s Cookies N Creme small Candy Bars or a few King Size Bars, 10 oz
Instructions
- Heat the oven to 350°F (175°C).
- Mix the cake mix, margarine, and evaporated milk in a bowl (preferably a standing mixer).
- Mix until completely incorporated. Dough should be thick, but very greasy.
- Press 1/2 of the dough into a greased 8×9 inch pan.
- Bake for 6-7 minutes or until the brownie is starting to firm up.
- Lay the candy bars evenly over the partially baked brownie bottom.
- Place a large spoonful of dough into your hand and press it out flat.
- Carefully lift one edge of the dough off of your hand, tilting the hand holding the dough, so that it comes off in one sheet, and place it over the candy bars.
- Continue “patching” the dough all over the candy bars until they are completely covered.
- Place back in the oven for another 15-18 minutes, or until set.
- These are a bit gooey, and the center is chocolate, so your toothpick probably won’t come out clean.
- Set aside to cool for 5-10 minutes. Enjoy!
Recipe Notes
***When you are making these brownies it is essential that the dough is thick. If the margarine is too hot the batter won’t thicken. You will need to set the entire bowl in the fridge to let it cool and thicken. Later, when you are placing the top layer on the brownies it will help out a ton if your hands are cool. I like to rinse mine under cool water so that the dough doesn’t melt on my hands which makes it more difficult to remove and place on the brownies. If it does begin to stick just stop, wash your hands well and start again. If your batter is not very thick you could always spray a little cooking spray on both hands to help it not stick to you.
Brownies can be frozen for up to 3 months.
Nutrition
Serving: 1g, Calories: 355kcal, Carbohydrates: 36g, Protein: 4g, Fat: 23g, Saturated Fat: 5g, Polyunsaturated Fat: 6g, Monounsaturated Fat: 11g, Cholesterol: 3mg, Sodium: 585mg, Potassium: 195mg, Fiber: 1g, Sugar: 19g, Vitamin A: 701IU, Vitamin C: 0.2mg, Calcium: 103mg, Iron: 2mg
Nutrition information is automatically calculated, so should only be used as an approximation.
Like this? Leave a comment below!