
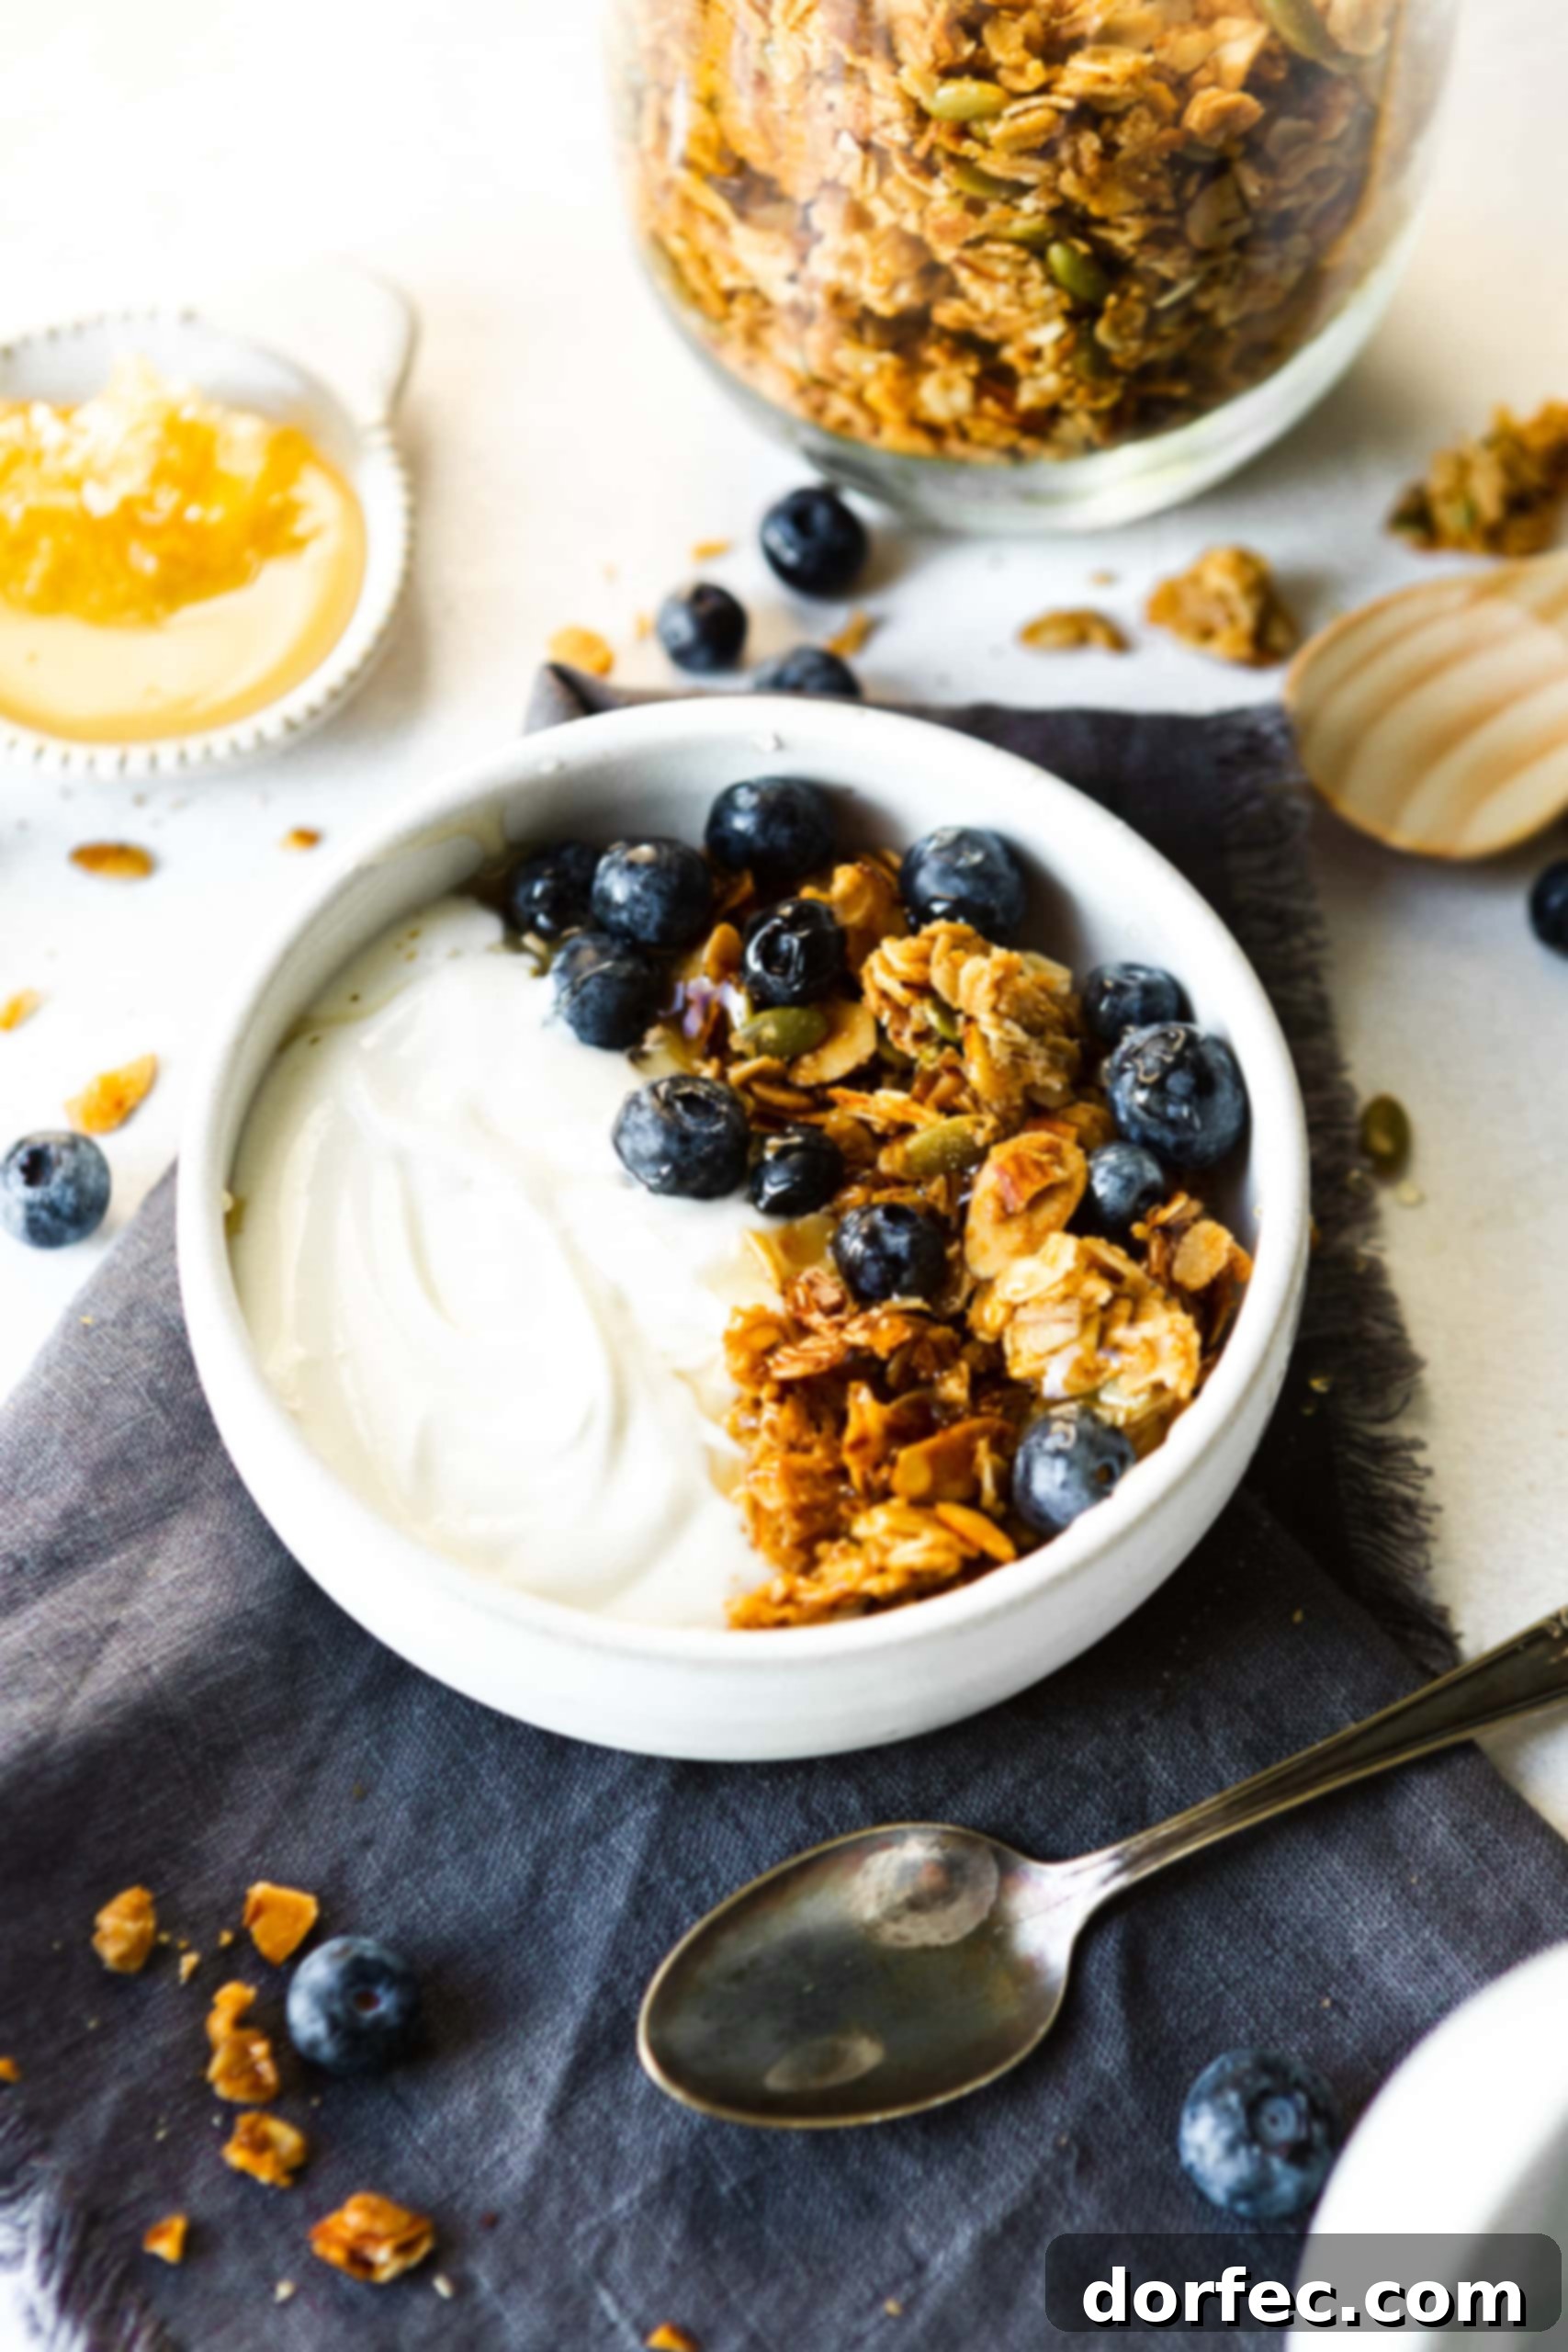
Unlock a world of wholesome flavor and irresistible crunch with this game-changing homemade granola recipe, featuring the unexpected star: olive oil. For too long, coconut oil dominated the granola scene in my pantry, often sitting unused for other recipes. But a simple switch to extra virgin olive oil has transformed my kitchen and my breakfast routine. The result? A perfectly crisp, richly flavored, and deeply satisfying granola that will make you ditch store-bought versions forever. Get ready to discover your new favorite, easily customizable to your taste!
My journey to this exceptional olive oil granola began with a desire for pantry efficiency and a love for homemade goodness. After realizing my coconut oil was reserved almost exclusively for granola, I decided to experiment. A quick online search confirmed my suspicion: olive oil in granola was not only a thing, but a highly praised one! I adapted my original strawberry almond granola recipe, drawing inspiration from Food52, and the outcome has been nothing short of spectacular. This isn’t just a recipe; it’s a revelation that will elevate your breakfast, snack time, and even dessert.
Why Olive Oil is the Secret to the Best Granola
You might be surprised to see extra virgin olive oil listed as a key ingredient for granola, but trust me, it’s a game-changer. While traditional granola often calls for butter or coconut oil, olive oil brings a unique depth of flavor and an incredible crispness that sets this recipe apart. Its fruity, slightly peppery notes beautifully complement the sweetness of maple syrup and brown sugar, without overpowering the other ingredients. Beyond taste, olive oil is packed with monounsaturated fats, making this healthy granola recipe a more heart-friendly choice compared to many saturated fat-laden alternatives. It’s the essential binding agent, ensuring every cluster of oats and nuts bakes up to golden-brown perfection.
Essential Ingredients for Truly Crunchy Homemade Granola
Crafting the perfect batch of crunchy granola requires just a few pantry staples, making it an accessible and rewarding kitchen project. The beauty of homemade granola lies in its simplicity and inherent customizability. Here’s a detailed look at the core ingredients that form the foundation of this delectable recipe:
- Old-Fashioned Oats: These are non-negotiable for achieving that signature granola texture. Unlike quick oats, old-fashioned oats retain their structure during baking, providing a hearty base and promoting crisp, distinct clusters. They are also an excellent source of soluble fiber, which supports heart health and digestion. If you’re aiming for gluten-free granola, ensure you purchase certified gluten-free oats.
- Raw Pumpkin Seeds (Pepitas): These vibrant green seeds contribute a fantastic textural contrast and a boost of nutty flavor. Beyond their delightful crunch, pumpkin seeds are a powerhouse of nutrition, rich in protein, magnesium, zinc, and antioxidants. They add a savory counterpoint to the sweetness of the granola.
- Sliced Almonds: Offering a delicate crunch and a buttery flavor, sliced almonds are a wonderful addition. They provide healthy fats, fiber, and protein, making your granola more satisfying and nutritious. Whole or chopped almonds can also be used, but sliced almonds integrate beautifully into the clusters.
- Pure Maple Syrup: As a natural sweetener, maple syrup delivers a warm, complex sweetness that pairs beautifully with the other ingredients. Its sticky consistency also helps bind the granola mixture together, contributing to those coveted crunchy clusters. If you prefer, high-quality honey can be substituted for a slightly different flavor profile.
- Extra Virgin Olive Oil: As discussed, this is the star of our recipe. It provides the essential fat needed to toast the oats and nuts evenly, ensuring a golden, crisp finish. Its nuanced flavor adds a sophisticated touch that you won’t find in typical granolas.
- Brown Sugar: A touch of brown sugar enhances the caramelization process during baking, adding an extra layer of sweetness and a deeper, more complex flavor. It contributes to the beautiful golden color and helps create sticky, crunchy bits.
- Kosher Salt: Do not skip the salt! It’s crucial for balancing the sweetness and enhancing all the individual flavors in the granola, preventing it from tasting flat or overly sweet.
Precise measurements for each ingredient can be found in the detailed recipe card below. Remember, this recipe is incredibly versatile, so feel free to explore additional mix-ins, which we’ll discuss in the next section, to truly make it your own.
Simple Steps to Making the Best Homemade Granola
One of the most appealing aspects of homemade granola, apart from its incredible taste, is how remarkably easy it is to prepare. Forget complicated techniques or specialized equipment; this recipe simplifies the process, making it perfect for even novice bakers. Here’s your straightforward guide to baking a batch of truly delicious and crispy granola:
- Preheat and Prepare: Begin by preheating your oven to 300°F (150°C). This moderate temperature allows the granola to bake slowly and evenly, ensuring maximum crispness without burning. Line a large baking sheet with parchment paper. This step is crucial, as it prevents sticking and makes for easy cleanup. A non-stick baking mat also works wonderfully.
- Combine All Ingredients: In a generously sized mixing bowl, combine all the dry ingredients first (oats, pumpkin seeds, almonds, brown sugar, salt). Then, pour in the wet ingredients (maple syrup and extra virgin olive oil). Stir thoroughly until every oat flake, seed, and nut is uniformly coated. It’s important to mix well to ensure even baking and flavor distribution. Once combined, spread the mixture onto your prepared baking sheet in a thin, even layer. For extra clusters, gently press the mixture down with the back of a spatula.
- Bake to Golden Perfection: Place the baking sheet in the preheated oven. Bake for 20 minutes, then carefully remove the sheet and give the granola a good stir. This ensures that all sides get golden and crunchy. Return it to the oven and continue baking for another 20-25 minutes, or until the granola is a beautiful golden brown and feels dry to the touch. Keep a close eye on it during the final minutes, as granola can go from perfectly toasted to burnt very quickly.
- Cool Completely and Store: This is arguably the most important step for achieving ultimate crunch! Once baked, remove the granola from the oven and let it cool completely on the baking sheet. Resist the urge to break it up too soon! As it cools, the granola will firm up and develop its signature crisp, clustered texture. Once fully cooled, break it into desired pieces and transfer to an airtight container for storage.
These detailed instructions, along with precise measurements, are also available in the recipe card at the end of this post, making it easy to follow along.
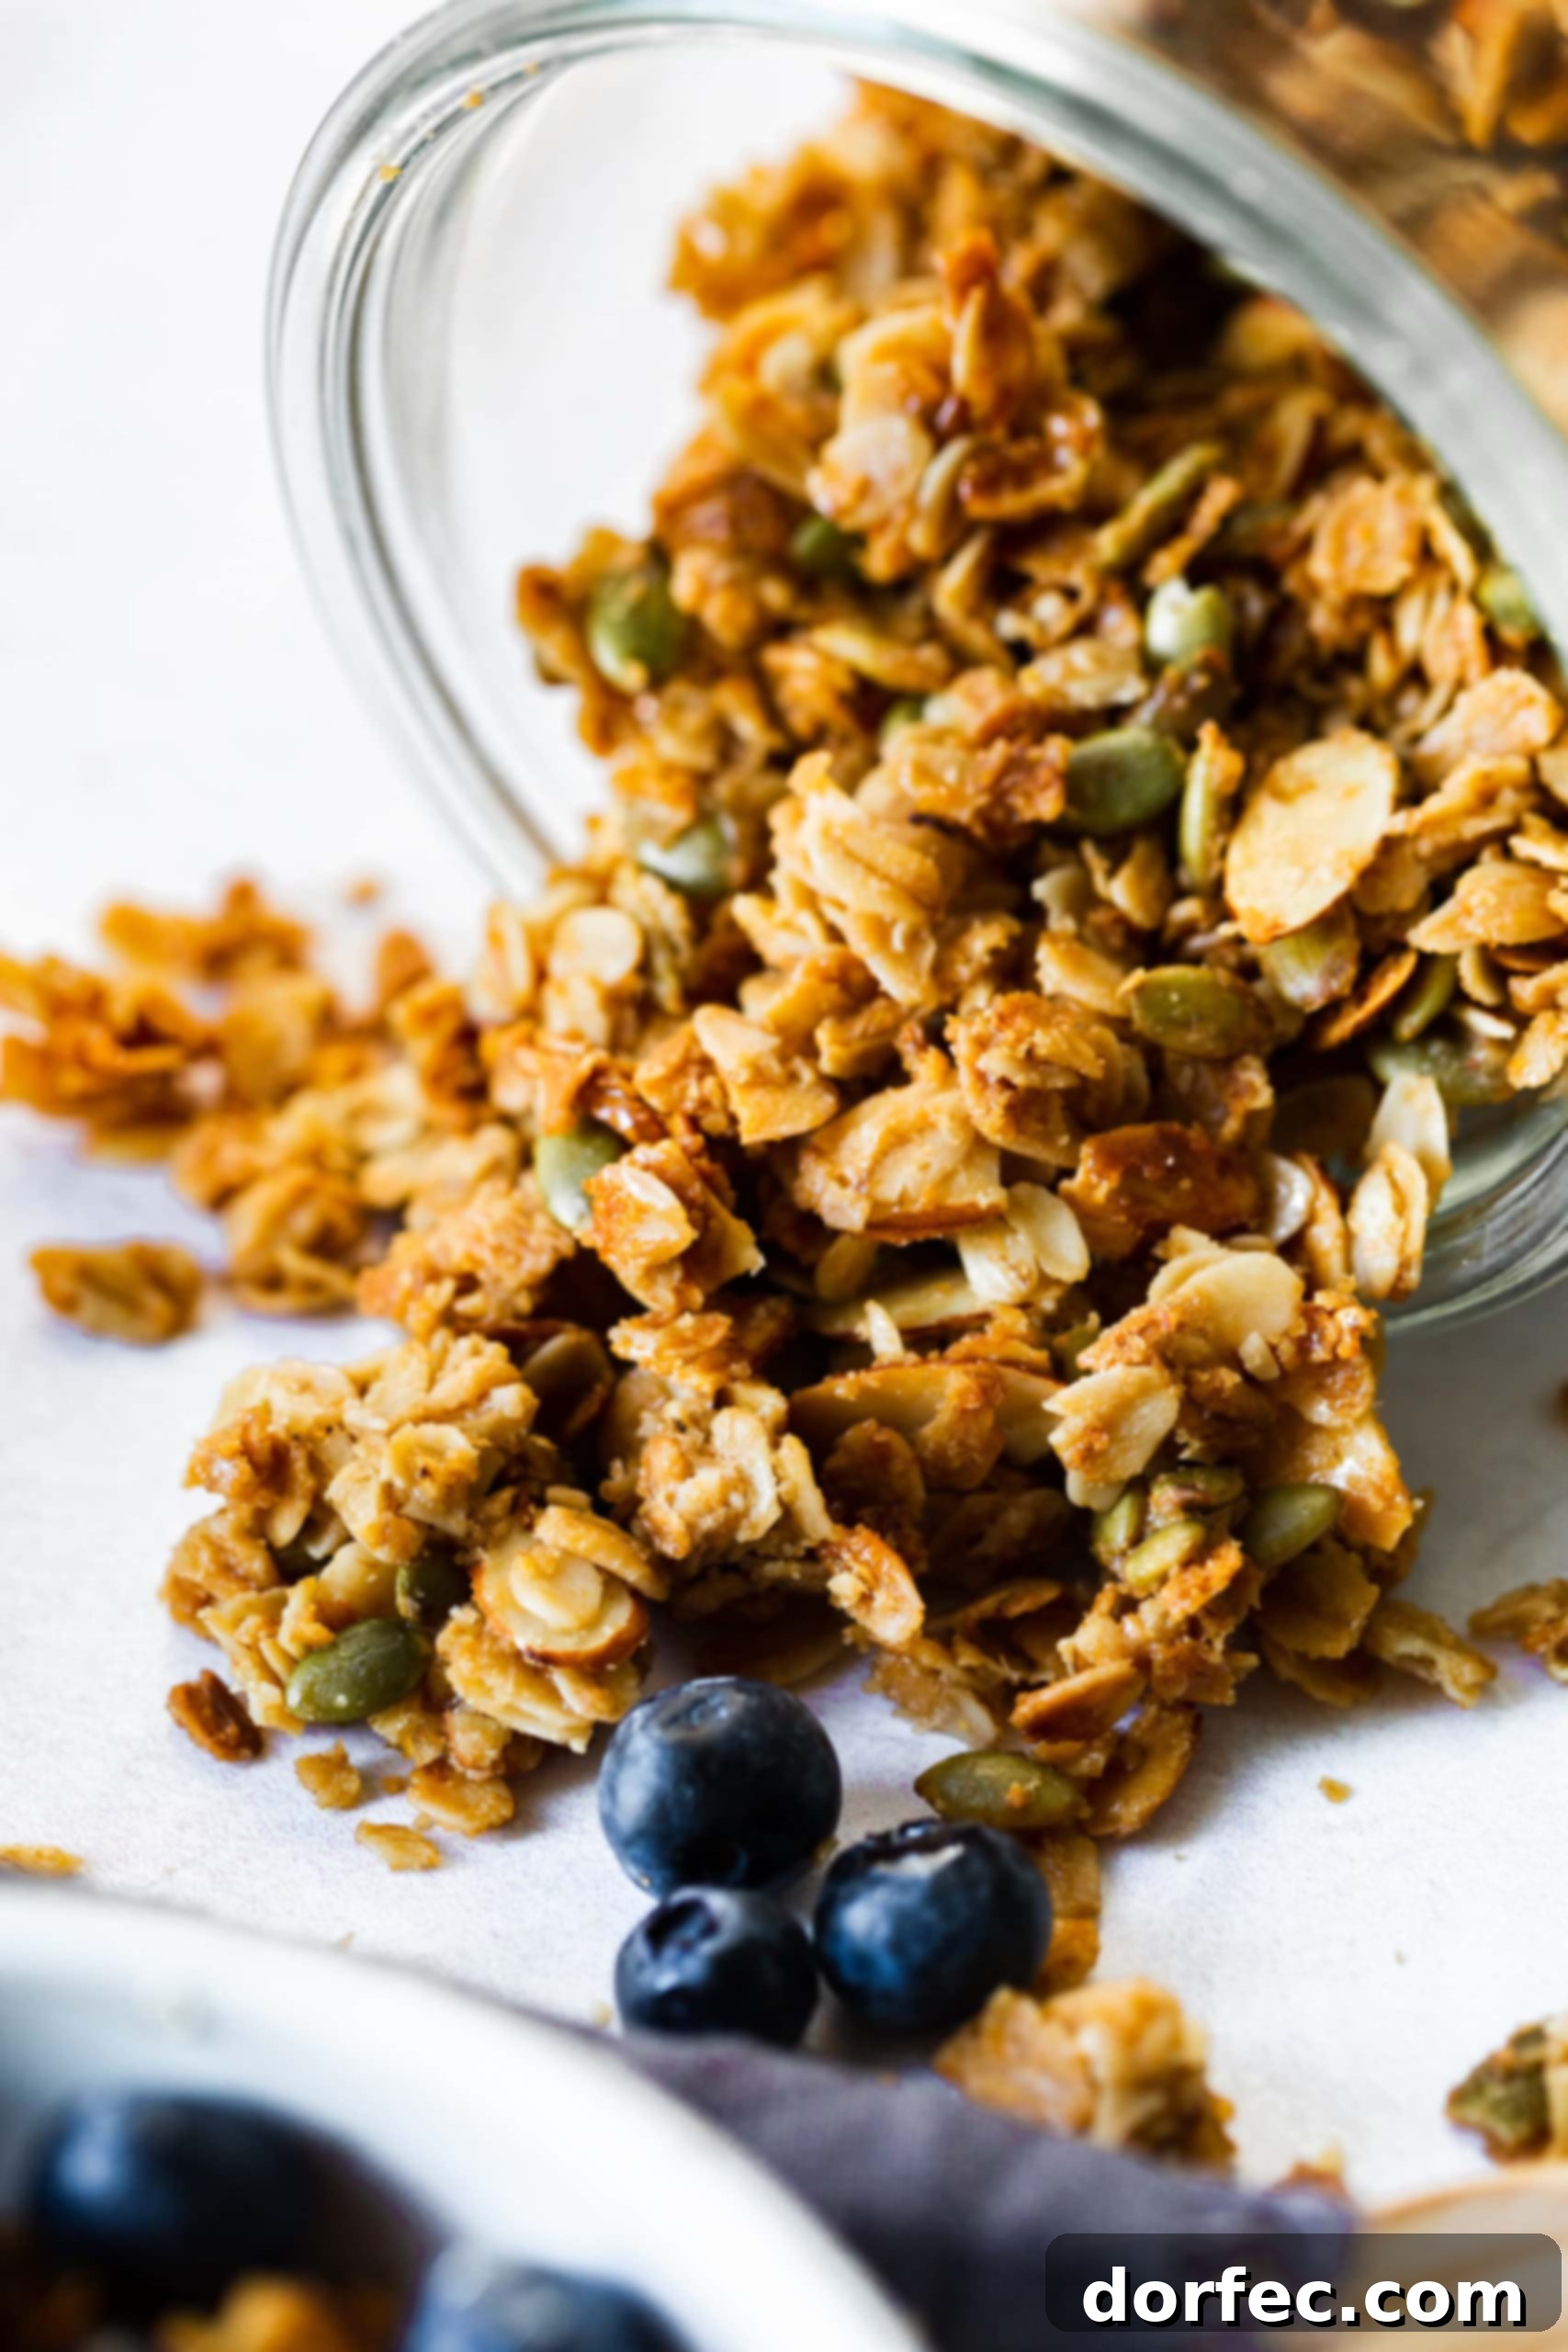
Endless Customization: More Optional Mix-Ins for Your Granola
The beauty of making your own homemade granola is the freedom to customize it to your heart’s content. The list of possible substitutions and additions is truly endless, allowing you to create unique flavor combinations every time. Here are some fantastic ideas to inspire your next batch of customizable granola:
- Nuts: Beyond almonds, explore pecans for a buttery richness, walnuts for earthy notes and omega-3s, cashews for a creamy texture, peanuts for a classic crunch, pistachios for a vibrant color and distinct flavor, or macadamia nuts for a luxurious touch.
- Seeds: Boost the nutritional profile and texture with sunflower seeds (great source of Vitamin E), chia seeds (omega-3s, fiber, protein), flax seeds (more omega-3s and fiber), or sesame seeds for a subtle, nutty flavor.
- Sweets & Indulgences: For a delightful treat, consider adding chocolate chips (dark, milk, or white), mini M&Ms, or even shards of a chopped chocolate bar. Coconut flakes (toasted or raw) add a tropical sweetness and texture.
- Dried Fruit: Introduce bursts of chewiness and natural sweetness with dried cranberries (craisins), raisins, chopped dried cherries, apricots, figs, or any other diced dried fruit. A little citrus zest (orange or lemon) can also add a bright, aromatic lift.
- Flavor Boosters: Enhance the overall aroma and taste with ground cinnamon, nutmeg, or pumpkin spice for a warm profile. A splash of vanilla extract or almond extract can deepen the flavor. For a richer, more indulgent granola, consider stirring in a tablespoon or two of peanut butter or almond butter into the wet mixture before baking.
PRO TIP: If you plan to add any heat-sensitive ingredients like chocolate chips or delicate dried fruits, always stir them in *after* the granola has cooled completely. This prevents the chocolate from melting and the fruit from becoming too hard or burning.
Expert Tips for the Best, Crunchiest Granola Every Time
Achieving perfectly crisp, clump-filled olive oil granola is simple when you follow a few key tips. These insights will help you bake a batch that rivals any gourmet store-bought variety:
- Stick to Old-Fashioned Oats: As mentioned, these oats are crucial. Their heartier structure holds up during baking, creating distinct clusters and a satisfying chew. Quick oats tend to break down and become mushy.
- Press into an Even Layer: After spreading the granola mixture on the baking sheet, use the back of a spatula or your hands to gently but firmly press it into a single, compact layer. This encourages the formation of larger, crunchier clusters, as the ingredients bond together while baking.
- Patience is Key: Let It Cool Completely: This is perhaps the most vital tip for achieving maximum crunch. Granola will not be truly crisp until it has cooled entirely on the baking sheet. As it cools, the sugars caramelize and harden, transforming the soft, warm mixture into crunchy clusters.
- Stir Midway Through Baking: While pressing the granola helps with clusters, a gentle stir about halfway through the baking time ensures even browning and crispness throughout the batch. This prevents soft spots and guarantees that every morsel is perfectly toasted.
- Don’t Overcrowd the Pan: For best results, use a large baking sheet and ensure the granola is spread in a relatively thin layer. If the pan is too crowded, the granola will steam rather than toast, resulting in a less crispy texture. If you’re doubling the recipe, use two baking sheets.
Delicious Ways to Enjoy Your Homemade Granola
Once you’ve mastered this easy granola recipe, you’ll find countless ways to incorporate it into your daily routine. Its versatility makes it a fantastic addition to almost any meal or snack:
- Classic with Milk: Just like a bowl of cold cereal, homemade granola pairs wonderfully with your favorite milk (dairy or plant-based). It’s a simple, comforting, and quick breakfast option.
- Yogurt Parfaits: Layer your olive oil granola with creamy yogurt and fresh berries for a vibrant, texture-rich yogurt parfait. It’s a delightful breakfast or a refreshing snack that feels indulgent yet remains healthy.
- Straight from the Handful: Sometimes, the simplest pleasures are the best. Grab a handful of this crunchy, flavorful granola for an energizing snack on the go. It’s perfect for satisfying those mid-morning or afternoon cravings.
- Topping for Smoothies and Smoothie Bowls: Add a generous sprinkle of granola to your morning smoothie or smoothie bowl for added texture, nutrients, and a satisfying crunch.
- Dessert Enhancer: Crumble granola over baked apples, fruit crumbles, or even a scoop of ice cream for a delightful textural element. It also makes a fantastic base for no-bake cheesecake crusts.
- Salad Topper: For a surprising twist, sprinkle a savory-spiced version of this granola over salads for added crunch and flavor.
Is This Olive Oil Granola a Healthy Choice?
Yes, absolutely! When consumed in moderation, this homemade granola is a truly wholesome and nourishing option. Like with any food, too much of a good thing isn’t always beneficial, but the ingredients in this recipe are all natural and packed with valuable nutrients. This particular granola recipe is an excellent source of:
- Fiber: Old-fashioned oats and seeds are rich in dietary fiber, which is essential for digestive health, helps regulate blood sugar levels, and promotes a feeling of fullness.
- Protein: Oats, pumpkin seeds, and almonds contribute a good amount of plant-based protein, crucial for muscle repair, satiety, and overall body function.
- Healthy Fats: Extra virgin olive oil, pumpkin seeds, and almonds provide an abundance of monounsaturated and polyunsaturated fats. These “good” fats are vital for heart health, brain function, and nutrient absorption.
- Vitamins and Minerals: Ingredients like pumpkin seeds are loaded with magnesium, zinc, and iron, while almonds offer Vitamin E. Maple syrup provides some trace minerals as well.
By making your own granola, you have complete control over the amount of sugar and type of fat used, allowing you to create a delicious and genuinely healthy snack for your family.
How to Store Your Freshly Made Granola
Proper storage is essential to maintain the crispness and extend the shelf life of your homemade granola. Follow these guidelines to keep your granola fresh and delicious for weeks or even months:
- Room Temperature Storage: This recipe is best stored in an airtight container at room temperature. A glass jar with a tight-fitting lid or a sturdy plastic container works perfectly. Stored this way, homemade granola will retain its freshness and crunch for 2-4 weeks. Ensure it has cooled completely before storing to prevent condensation, which can make it soggy.
- Freezer Storage: For an even longer shelf life, granola can be stored in the freezer. Once completely cooled, transfer the granola to a freezer bag or a freezer-safe airtight container. Frozen granola will maintain its quality for up to 3-6 months. You can enjoy it directly from the freezer; it thaws very quickly and often retains its crunch even better. This is a fantastic way to prepare larger batches and always have delicious granola on hand!
Whether you’re looking for a healthy and filling after-school snack for your kids, a quick breakfast, or the perfect topping for yogurt parfaits at your next brunch, this olive oil granola recipe is an absolute winner. You’ll be captivated by its rich flavor, irresistible crunch, and the unique, subtle notes that extra virgin olive oil brings to every bite. Give it a try, and prepare to be amazed!
More Granola Recipes to Explore:
- Strawberry Almond Granola
- Chocolate Lovers Granola
- Pecan Quinoa Granola
- Pistachio Pomegranate Granola
- Honey Bunches of Oats Granola Bars
- S’mores Granola Bars
- Green Smoothie Granola Parfait
My New Favorite Granola Recipe
By Sweet Basil
Prep Time: 10 mins
Cook Time: 40 mins
Total Time: 50 mins
Servings: 8
*Adapted from food52
Ingredients
- 3 Cups Old Fashioned Oats
- 1 Cup Raw Pumpkin Seeds
- 1 Cup Sliced Almonds
- 3/4 Cup Maple Syrup
- 1/2 Cup Extra Virgin Olive Oil
- 1/2 Cup Brown Sugar
- 1 teaspoon Kosher Salt
- 3/4 Cup Rice Krispies Cereal (or puffed rice, optional)
- 2 Tablespoons Chia Seeds (optional)
Instructions
- Heat oven to 300°F (150°C) and line a baking sheet with parchment paper.
- Stir all ingredients together in one large bowl until evenly coated, then spread evenly on the prepared baking sheet.
- Bake for 20 minutes, then stir the granola, and bake for another 20-25 minutes, or until golden brown and crispy.
- Remove from oven and let cool completely on the baking sheet before breaking it up into pieces and transferring to a jar for storage.
Nutrition
Serving: 1 cup
Calories: 504 kcal
Carbohydrates: 61g
Protein: 10g
Fat: 26g
Saturated Fat: 3g
Polyunsaturated Fat: 6g
Monounsaturated Fat: 15g
Trans Fat: 0.01g
Sodium: 314mg
Potassium: 361mg
Fiber: 6g
Sugar: 33g
Vitamin A: 178IU
Vitamin C: 2mg
Calcium: 114mg
Iron: 4mg
Nutrition information is automatically calculated, so should only be used as an approximation.
REMEMBER TO SUBSCRIBE TO our FREE Oh Sweet Basil NEWSLETTER AND RECEIVE EASY RECIPES DELIVERED INTO YOUR INBOX EVERY DAY!
When you try a recipe, please use the hashtag #ohsweetbasil on INSTAGRAM for a chance to be featured in our stories! FOLLOW OH, SWEET BASIL ON FACEBOOK | INSTAGRAM | PINTEREST | TWITTER FOR ALL OF OUR LATEST CONTENT, RECIPES AND STORIES.